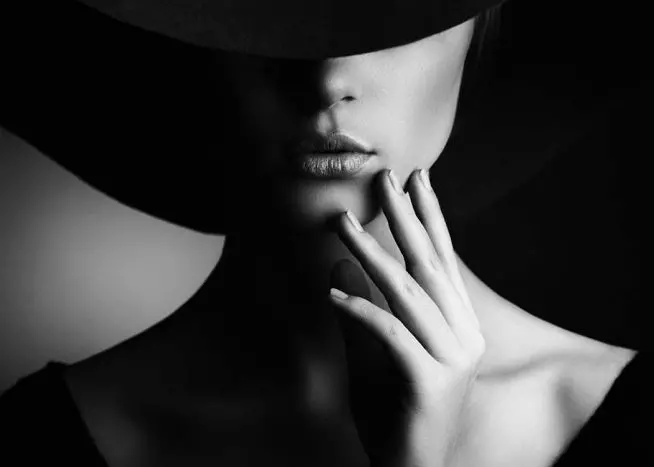
What is studio lighting?
Studio lighting is the use of artificial lighting in order to create a mood or atmosphere by adding to the light that’s already there.
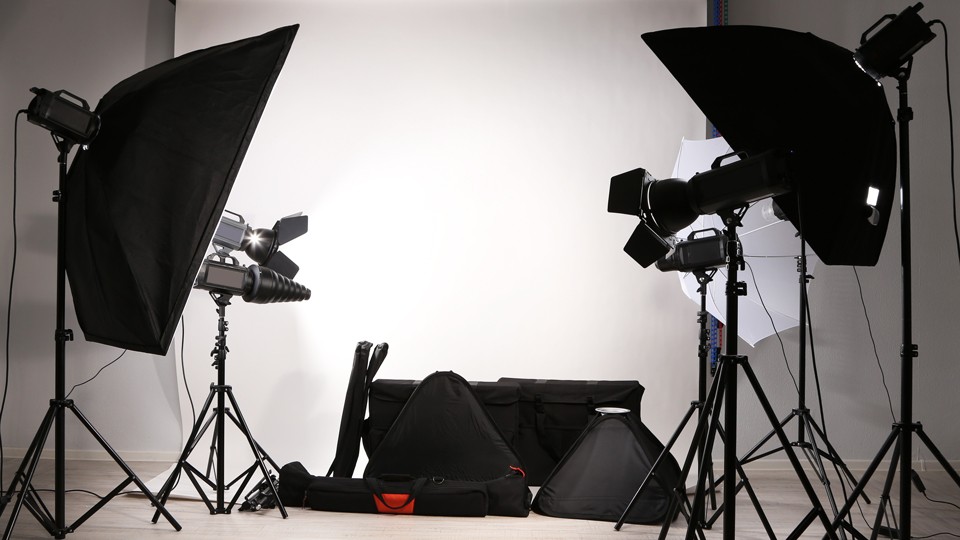

Different lighting techniques
REMBRANDT LIGHTING
Who was Rembrandt?
Rembrandt Harmenszoon van Rijn otherwise just known as Rembrandt was a dutch painter born in July 15, 1606, Leiden, Netherlands , he was known to be an incredible visual artist and is recognised for his work in regards to lighting
Definition + what you will need
- achieved using one light and a reflector
- characterised by an area of the face that is illuminated to appear as though it is an upside down triangle under the eye
How to achieve
‘Normally, the key light is placed high and to one side at the front, and the fill light or a reflector is placed half-height and on the other side at the front, set to about half the power of the key light, with the subject, if facing at an angle to the camera, with the key light illuminating the far side of the face. The key in Rembrandt lighting is creating the triangle or diamond shape of light underneath the eye. One side of the face is lit well from the main light source while the other side of the face uses the interaction of shadows and light, also known as chiaroscuro, to create this geometric form on the face. The triangle should be no longer than the nose and no wider than the eye. This technique may be achieved subtly or very dramatically by altering the distance between subject and lights and relative strengths of main and fill lights’
– Wikipedia
Example

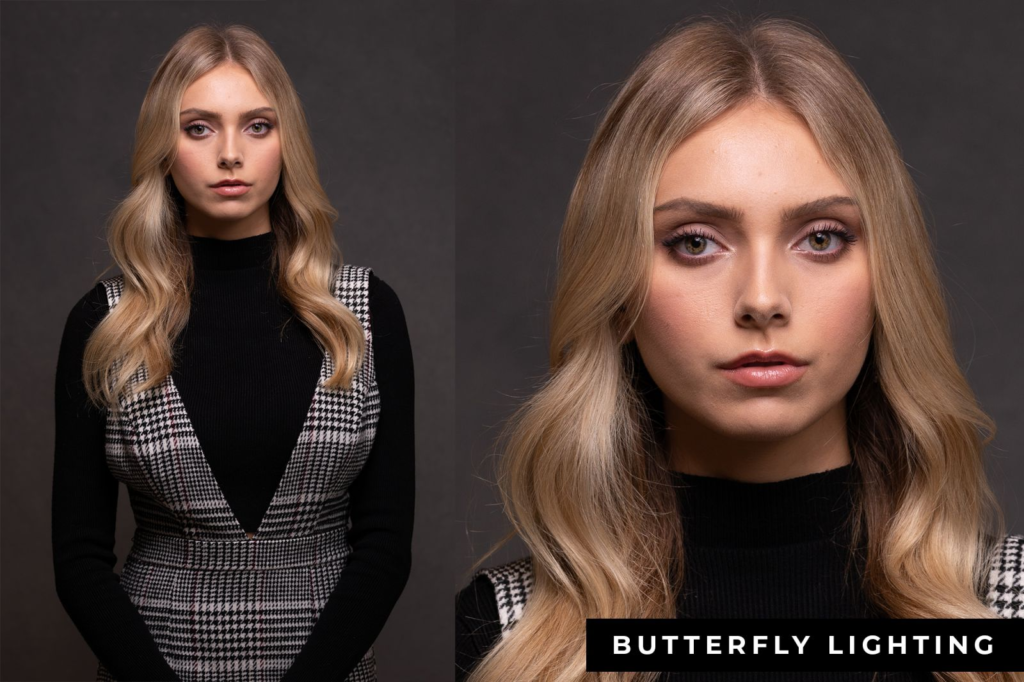
BUTTERFLY LIGHTING
Definition
‘Butterfly lighting is a lighting pattern where the light source is placed slightly above and centre on the face of the subject. You may also see this technique referred to as paramount lighting. When discussing butterfly lighting, we often focus on the tell-tale sign: The shadow under the nose with a butterfly shape.’
You will need:
- A key light
- Flashes and triggers
- Modifiers
- Reflector
How to achieve
Butterfly lighting setups are simple. In its purest form, it’s a single source (key light) directly in line with the subject’s face and the camera. If the shadows are a little too deep, a reflector can be placed below the subject to bounce light back up into the face.
– Wikipedia
Example
CHIAROSCURO
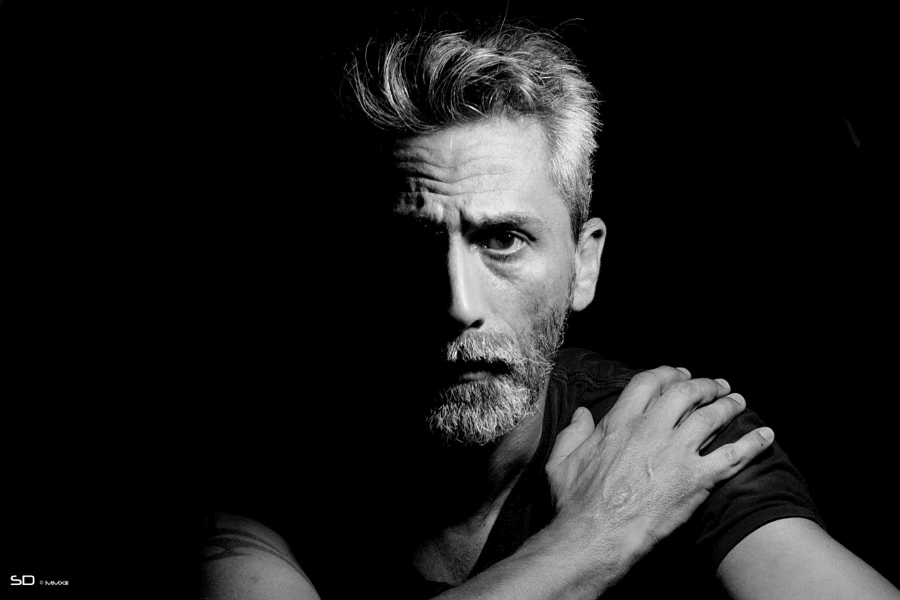
Definition
Chiaroscuro is an Italian term which translates as light-dark, and refers to the balance and pattern of light and shade in a painting or drawing.
Example

Photo shoot plan
In order to get the most effective lighting and the best photos, i planned to use a studio that had access to different back drops (one white one black) and a plethora of lights , flash lights ,ring lights and more.
I planned to capture split lighting and different coloured lighting and possibly explore rebrand lighting
inspiration
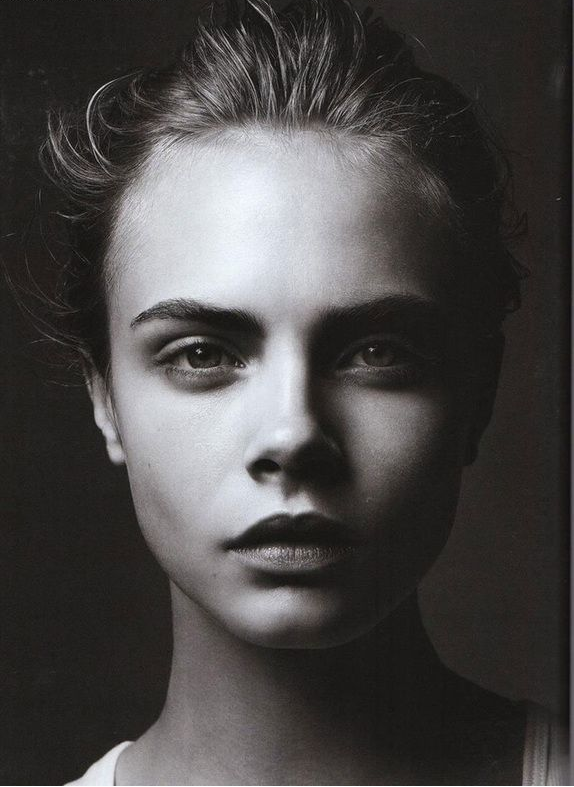
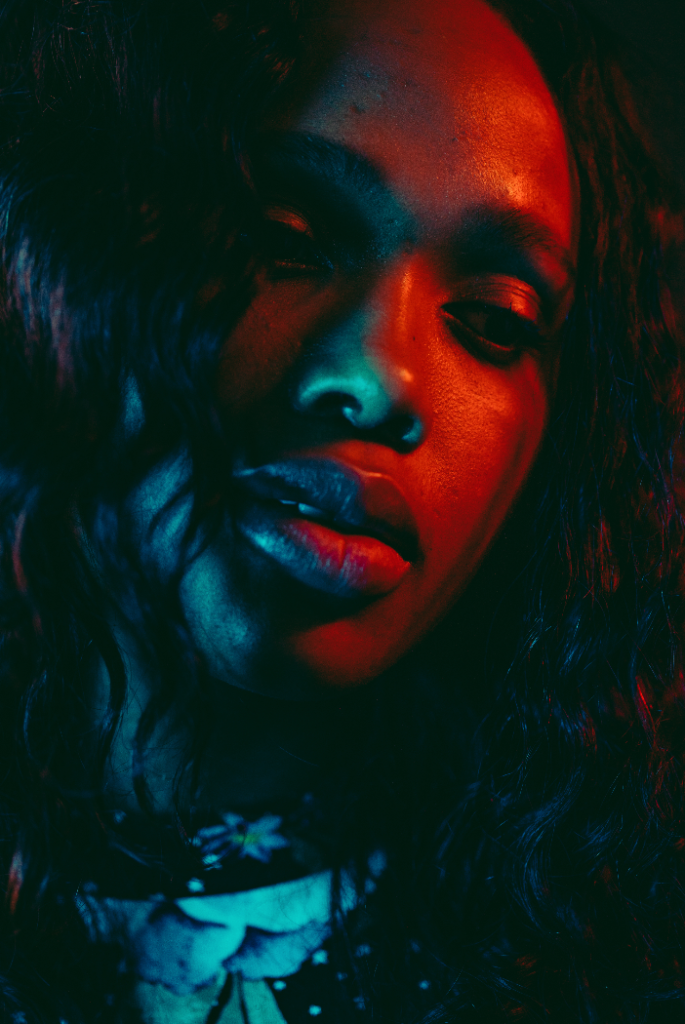
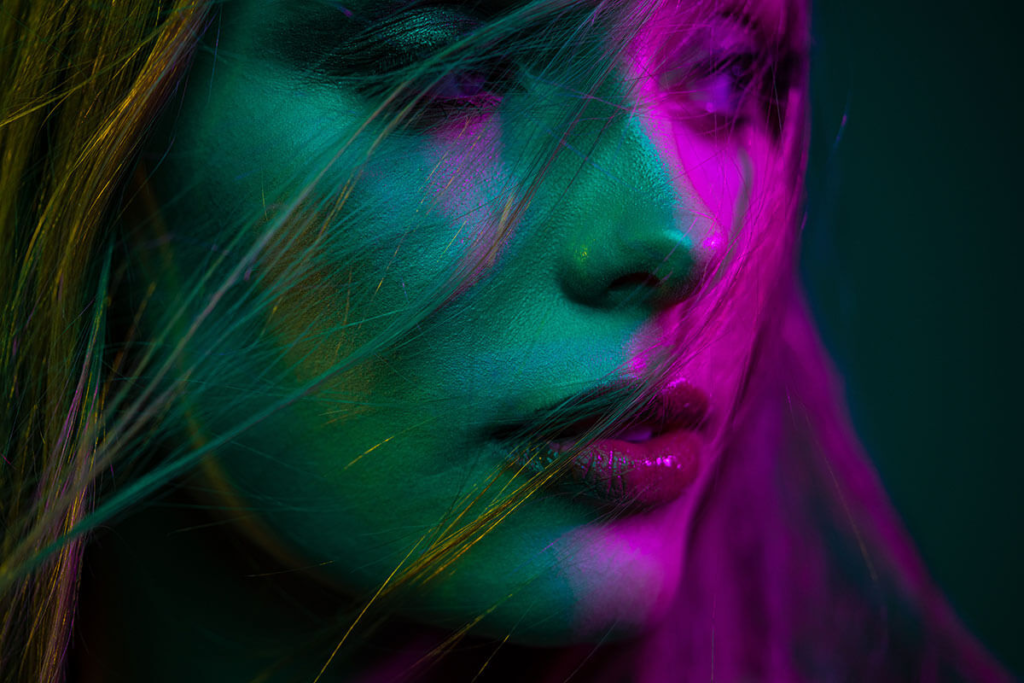
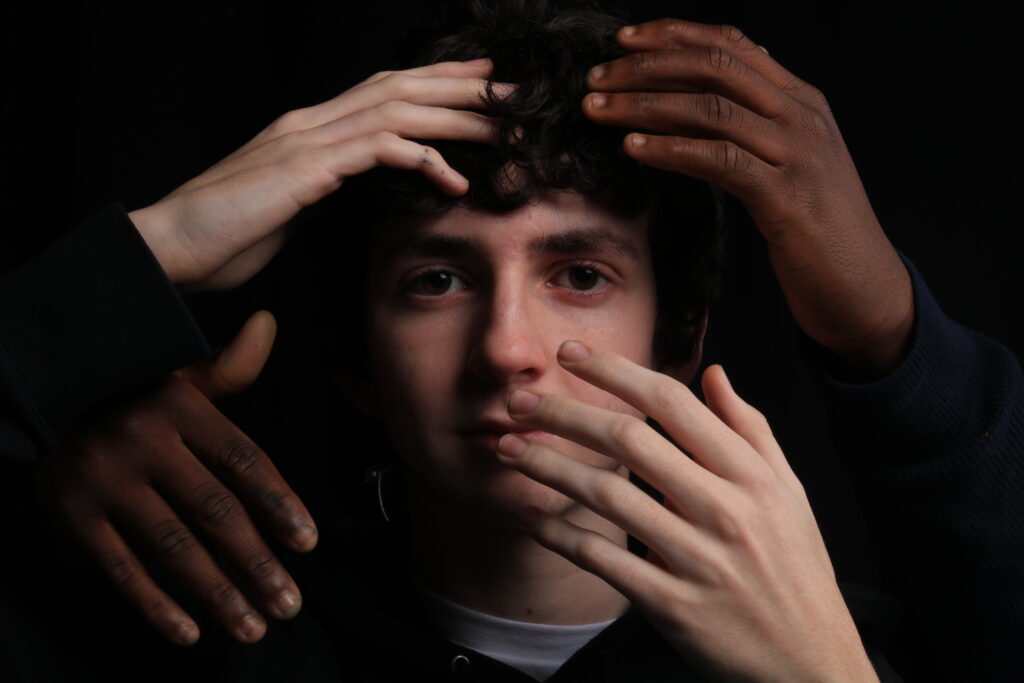
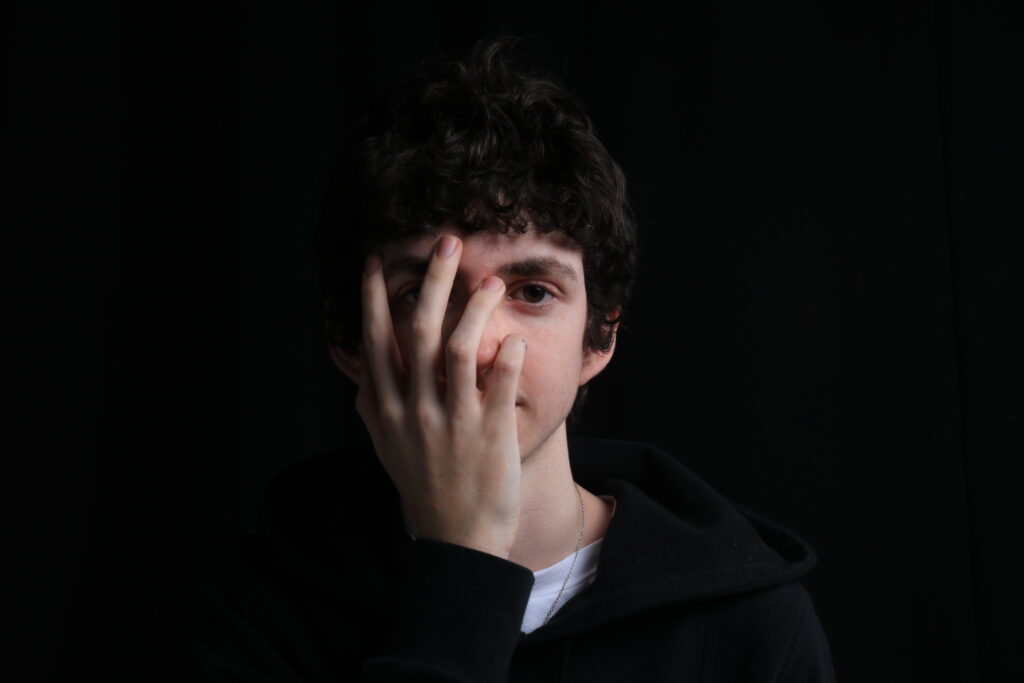
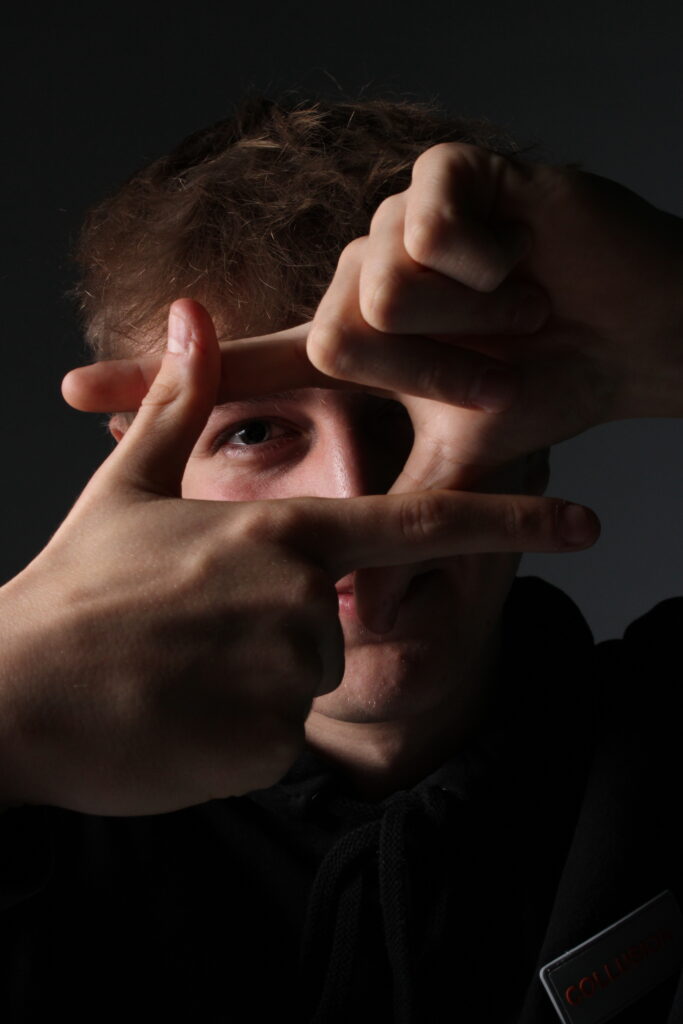
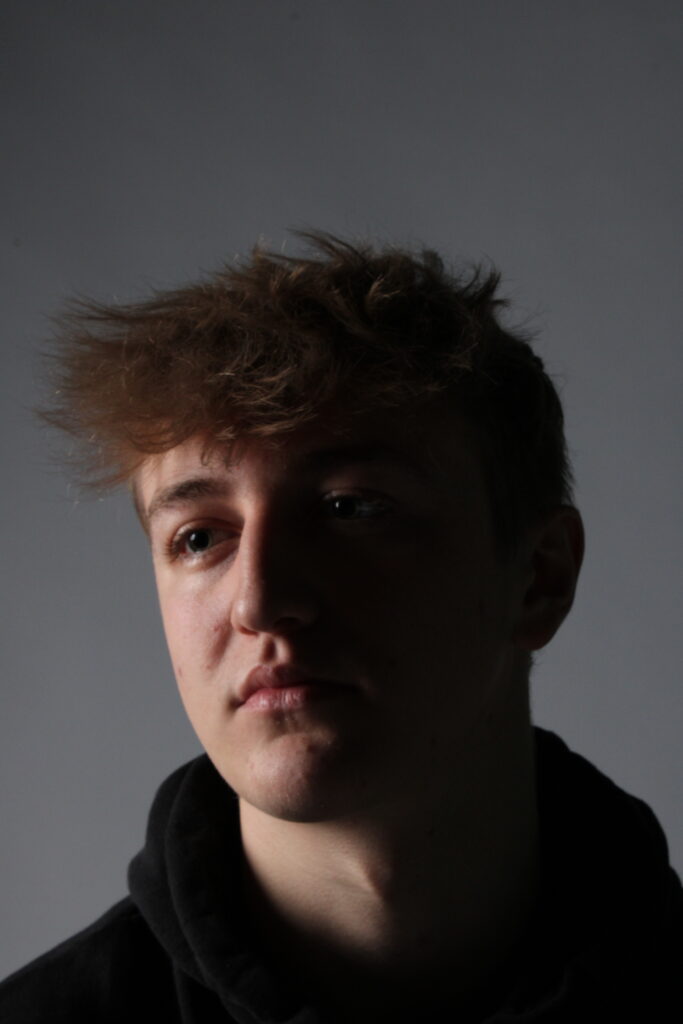
Raw images
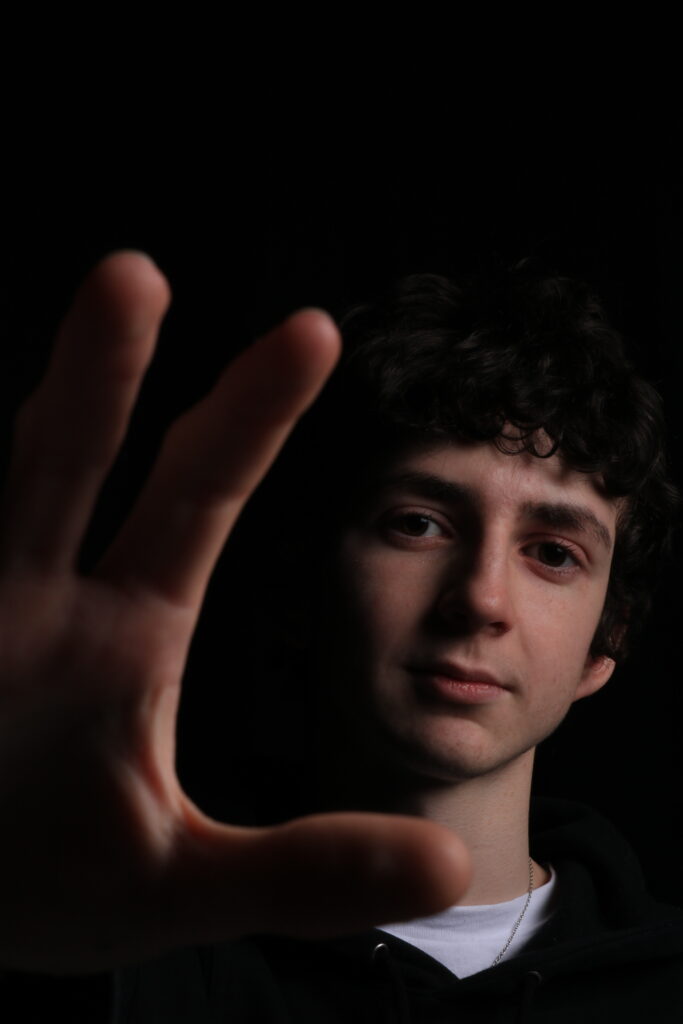
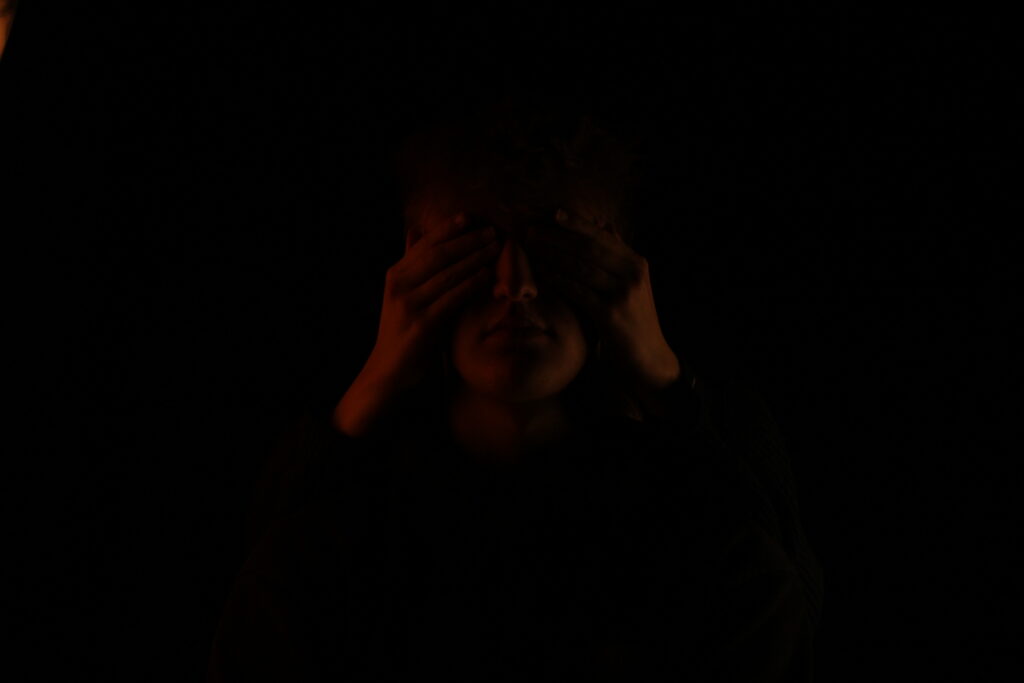
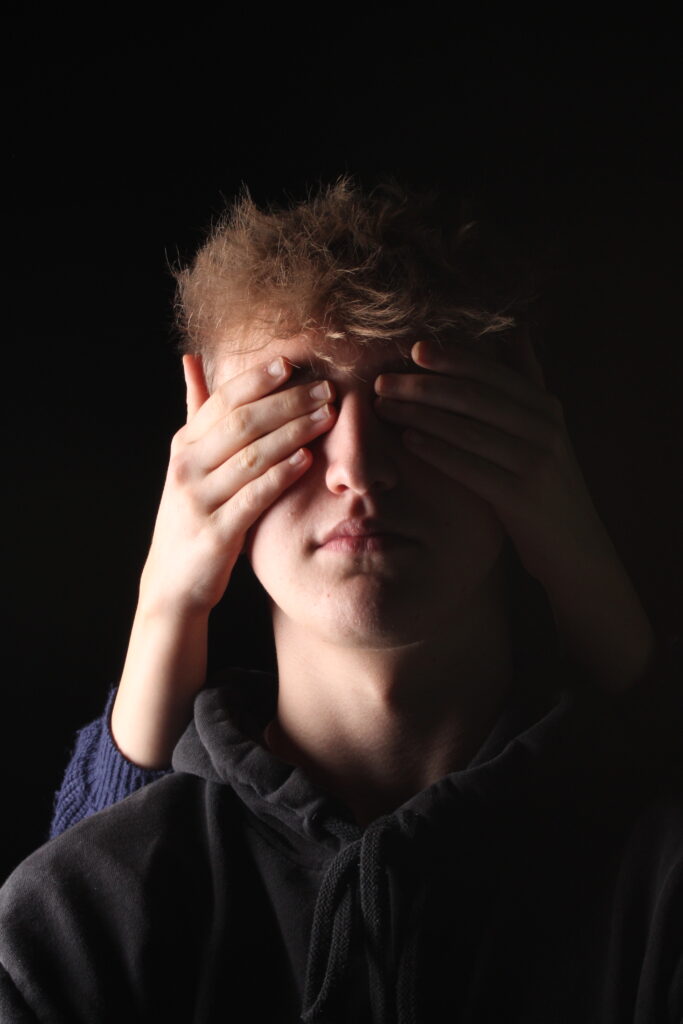
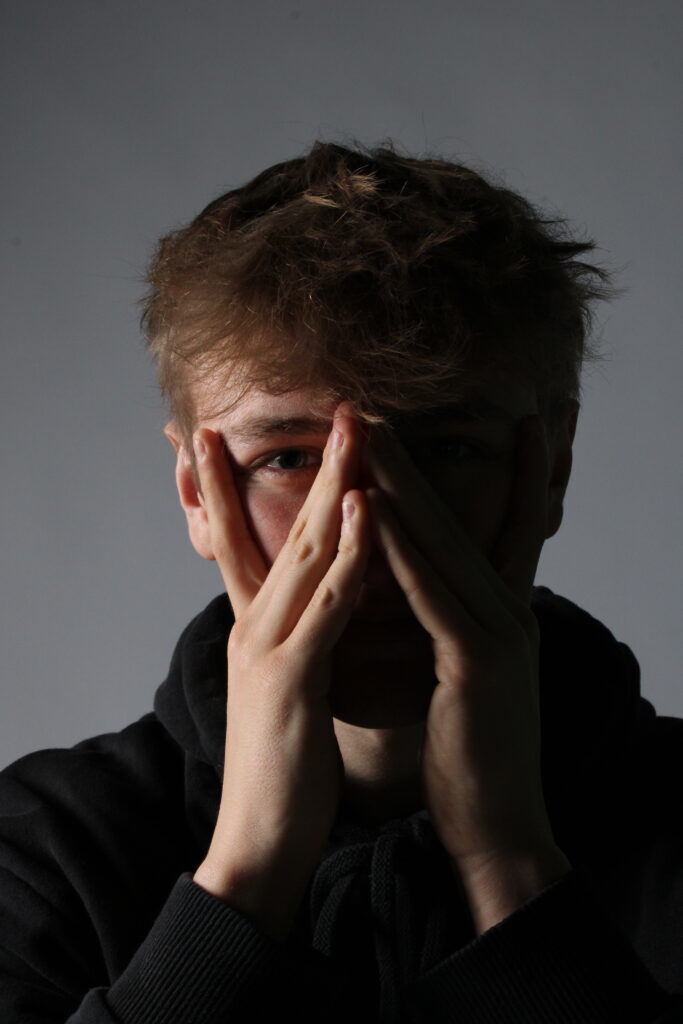
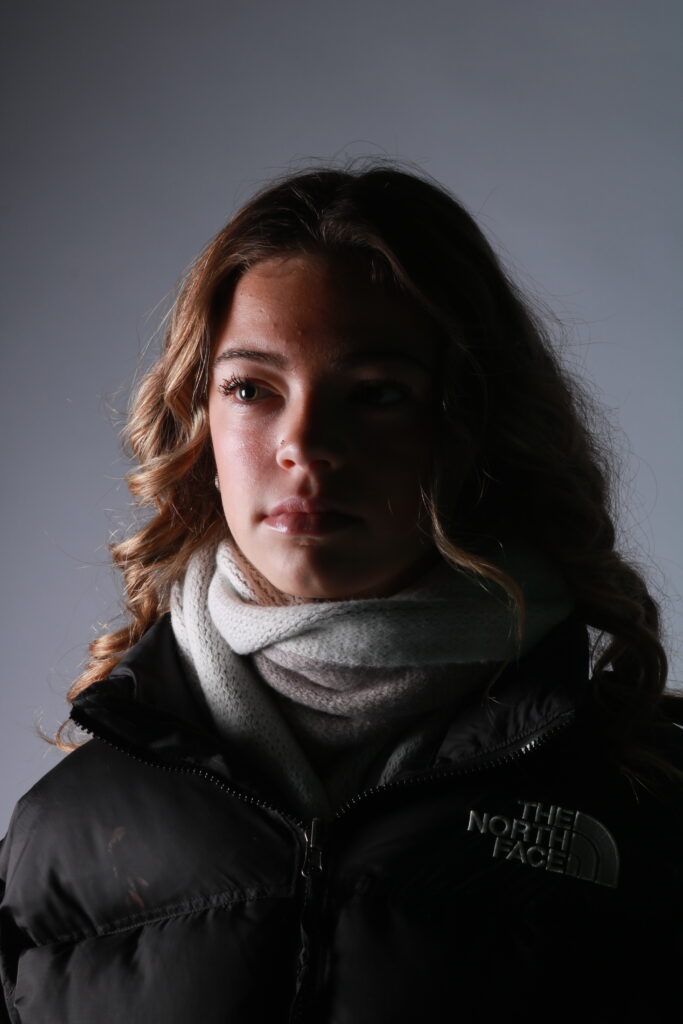
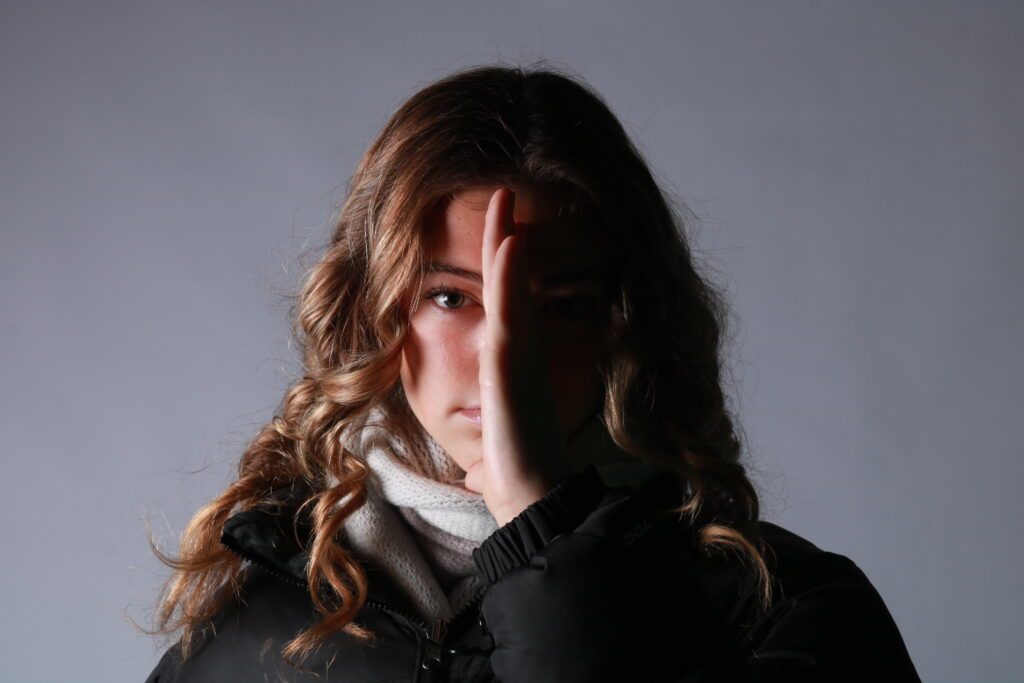
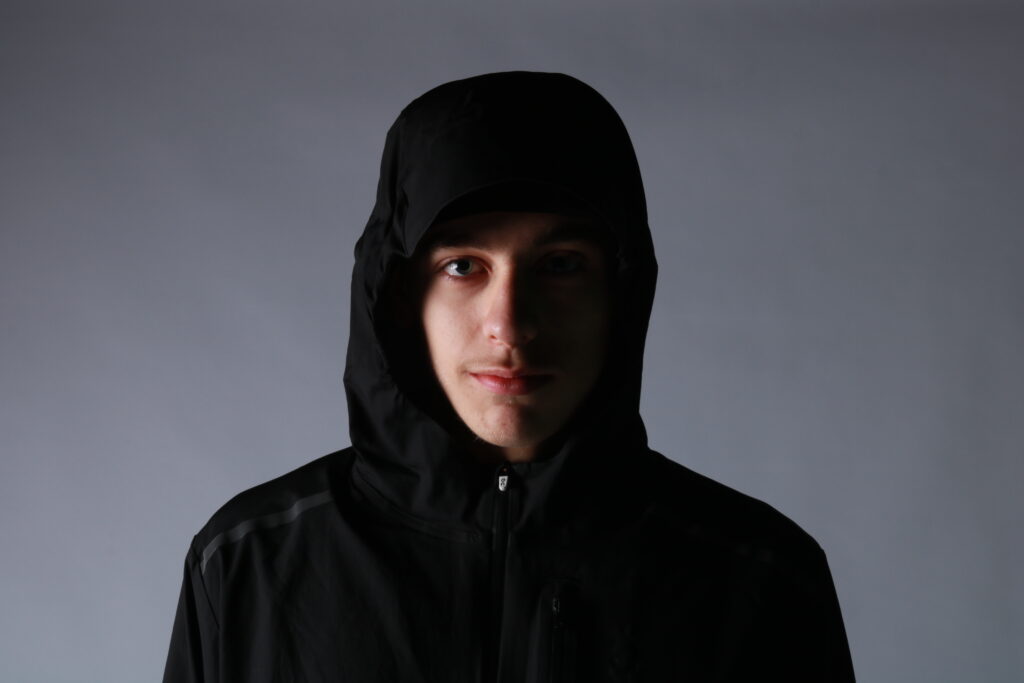
Editing and photo selection


Here is my selection of images from a total of three photoshoots , in each photoshoot i used different models to experiment with how light hits different structures and features on each face
I then took my preferred images and edited them to intensify the lighting
Results analysis
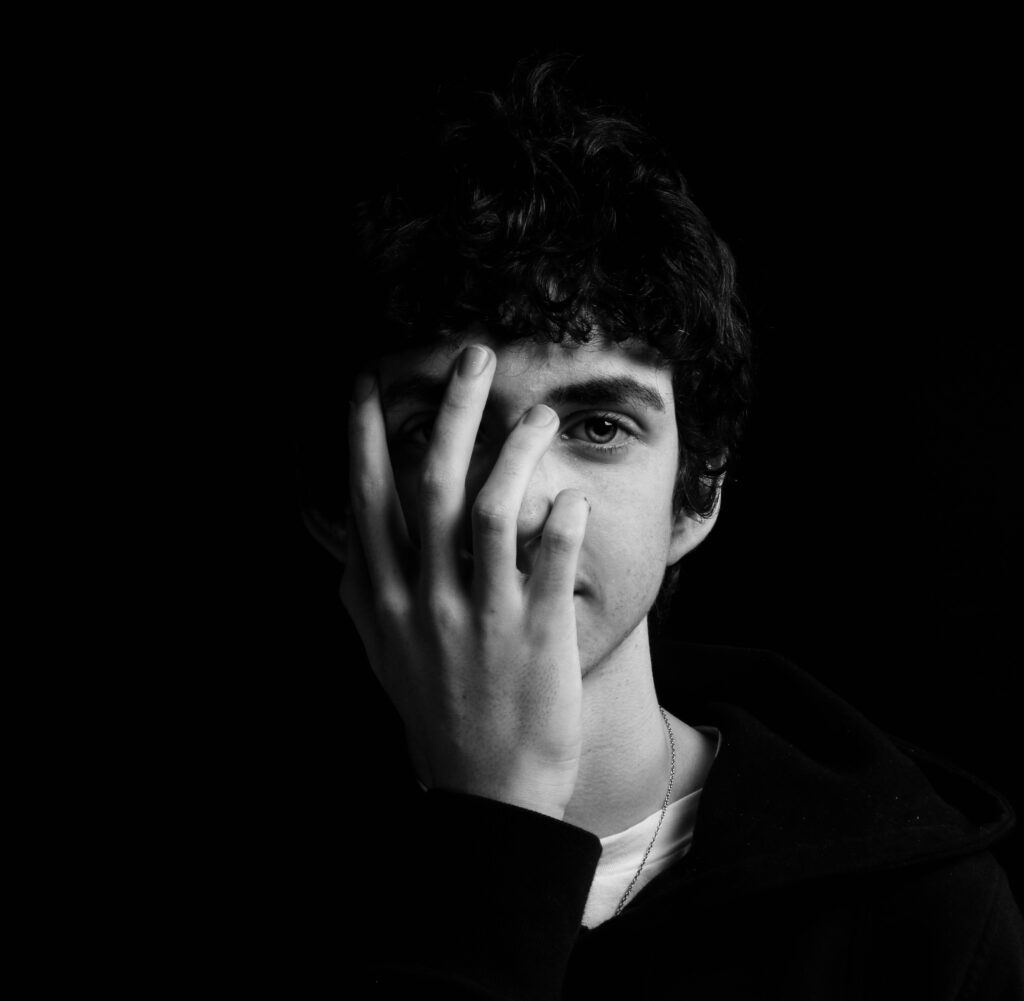
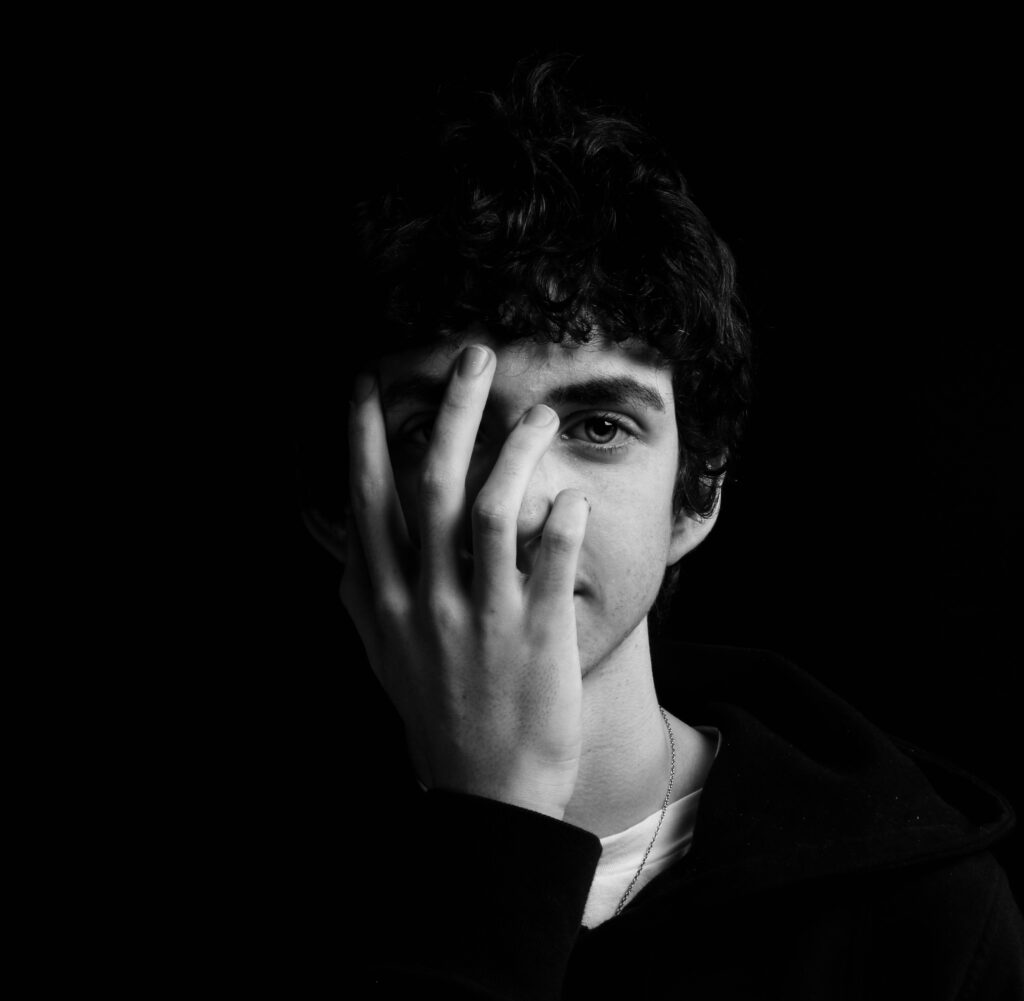
With this image , i cropped the photo to make the subject more central and eye catching , i changed the image to black and white and altered the exposure , contrast , shadows etc. Then i created a ‘mask’ over the eye and increased exposure and contrast to make the iris stand out giving the image a better focus point.
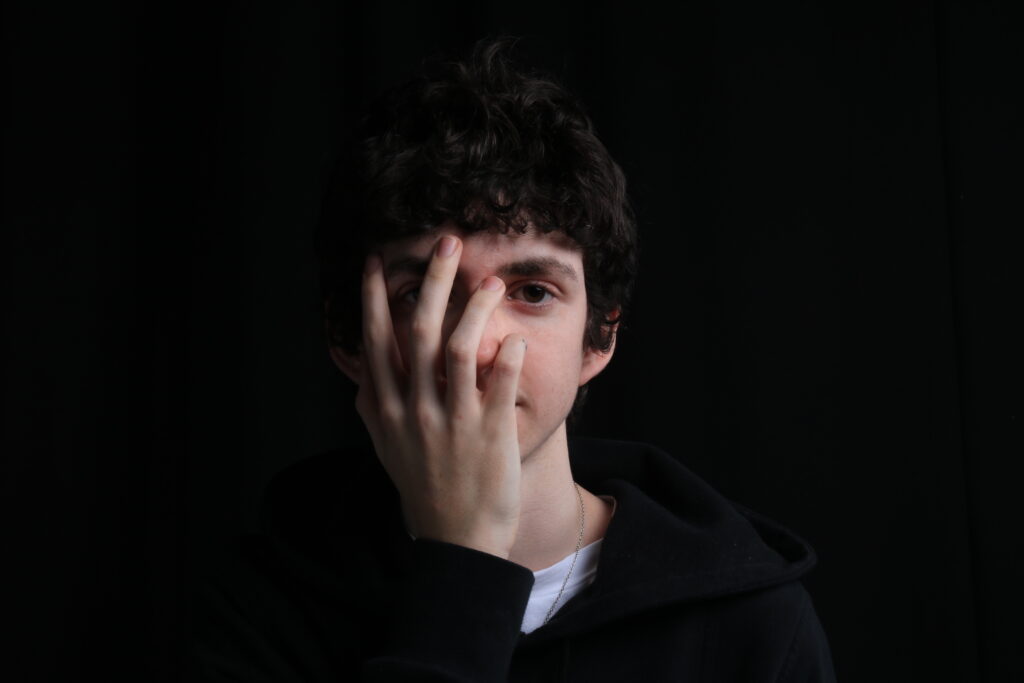
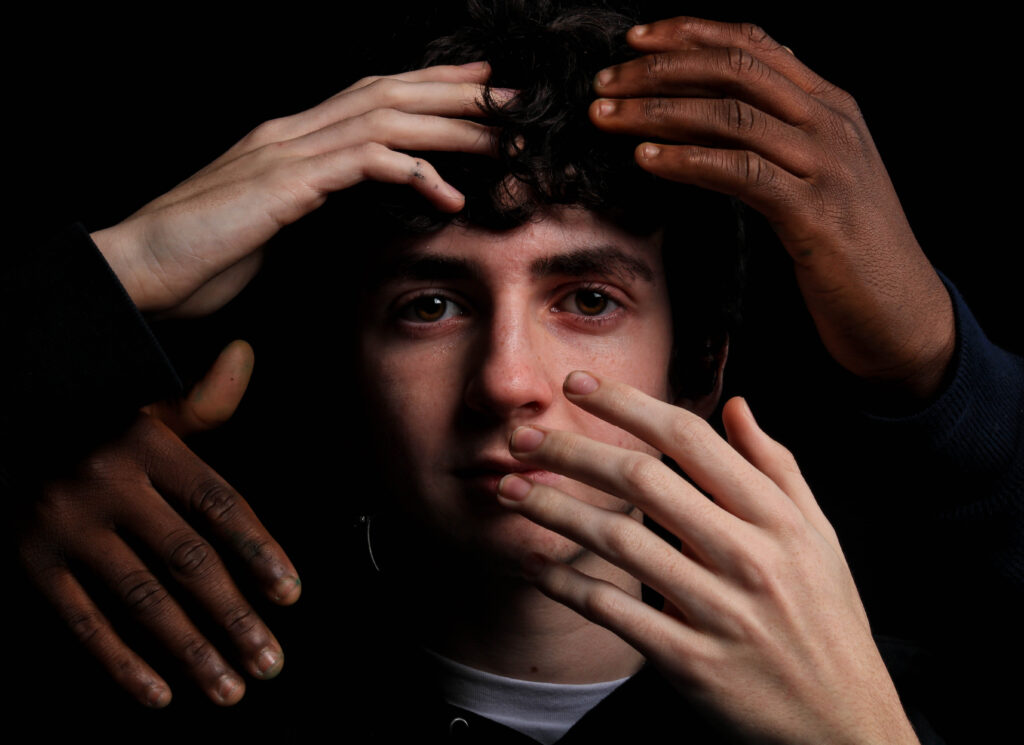
Once again i cropped the image to centralise the subject , i created a mask over the eyes and eyebrows to make them more distinct and then increased exposure and contrast , i decided not to overly edit this image as i didn’t want to take away from the natural context of the contrasting skin
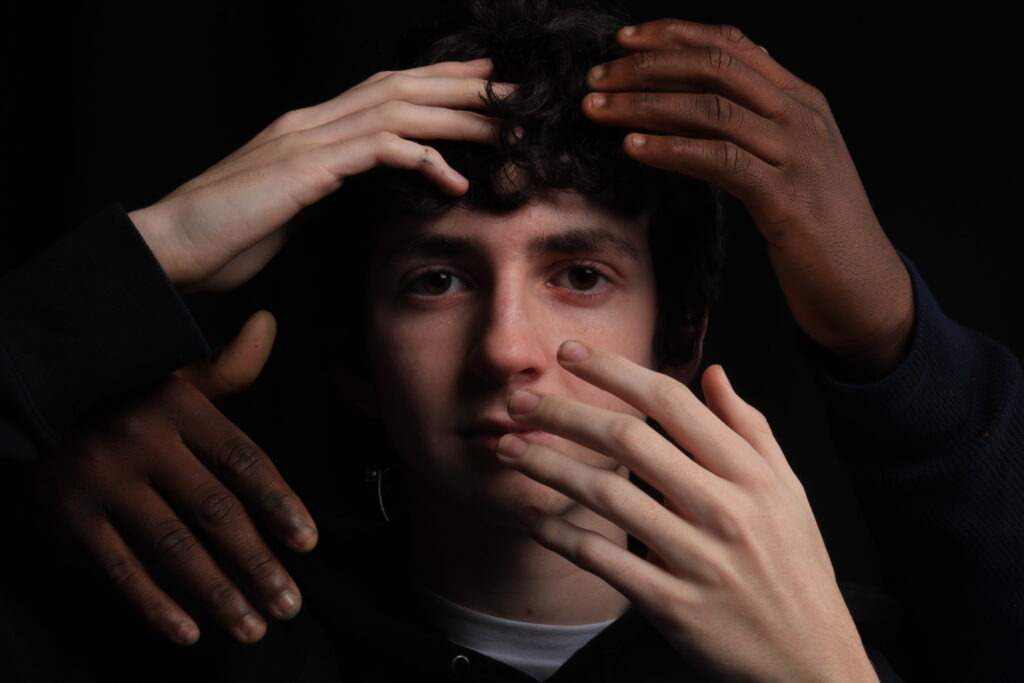
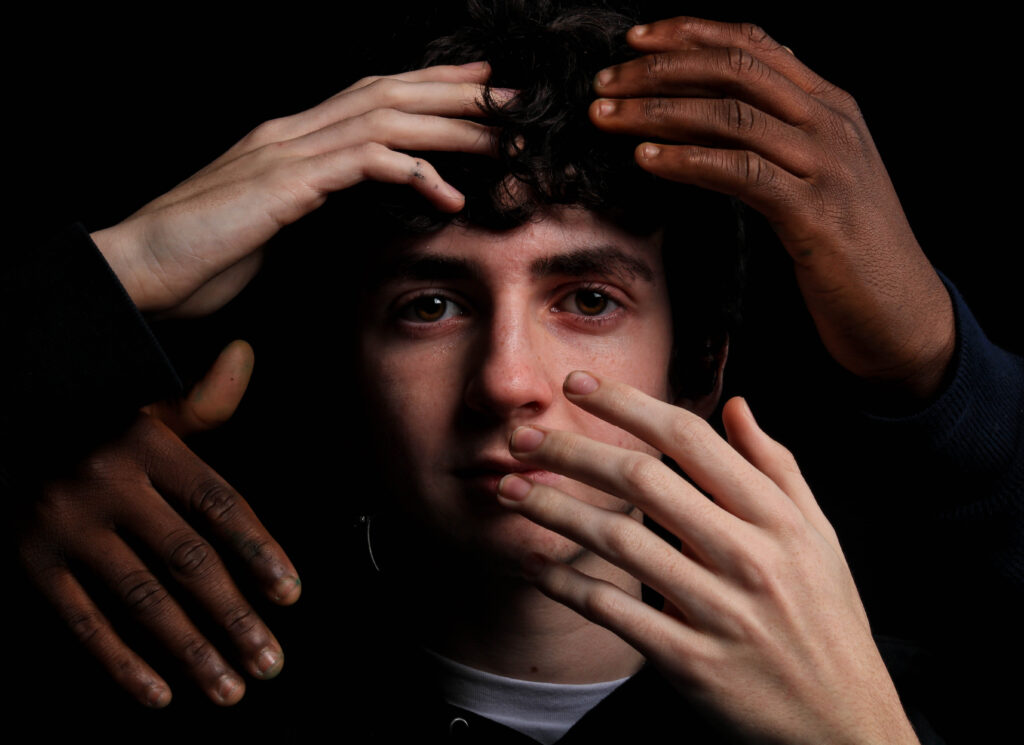
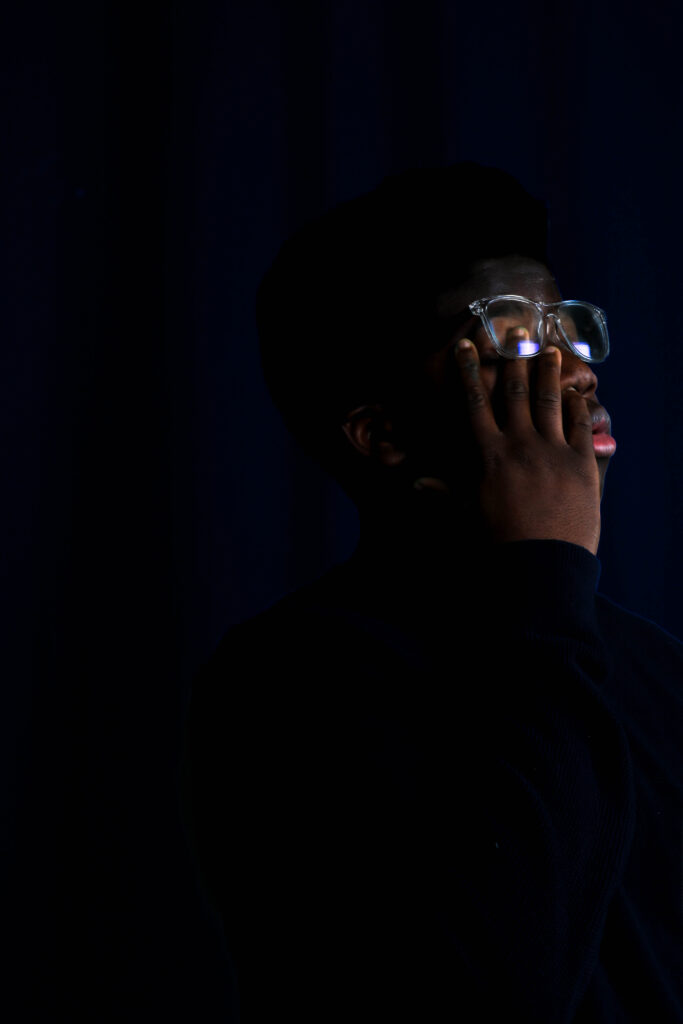
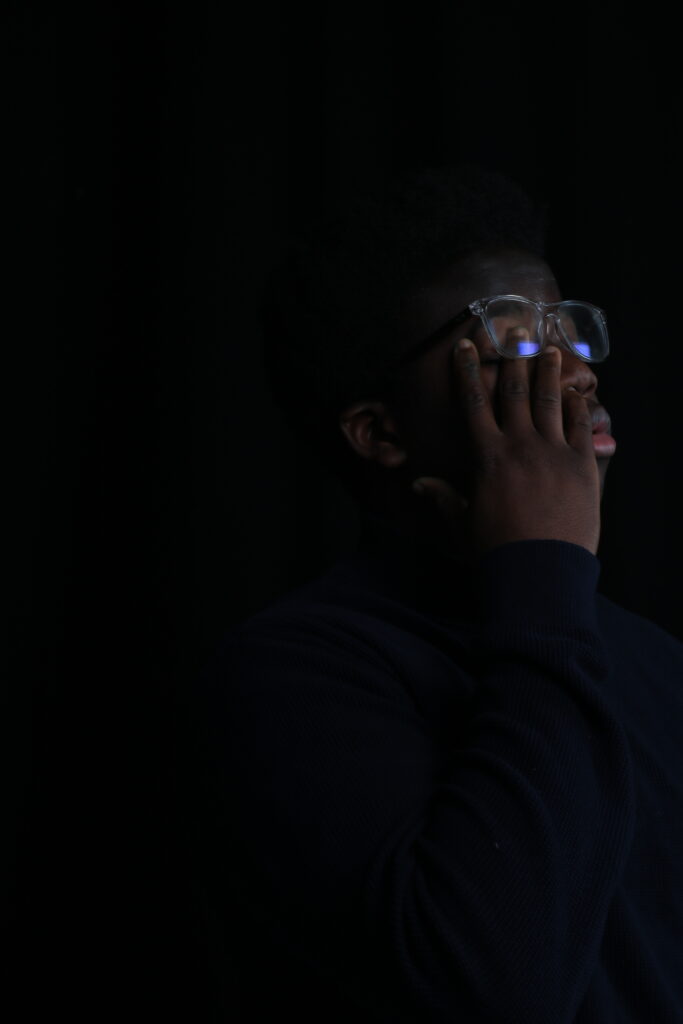
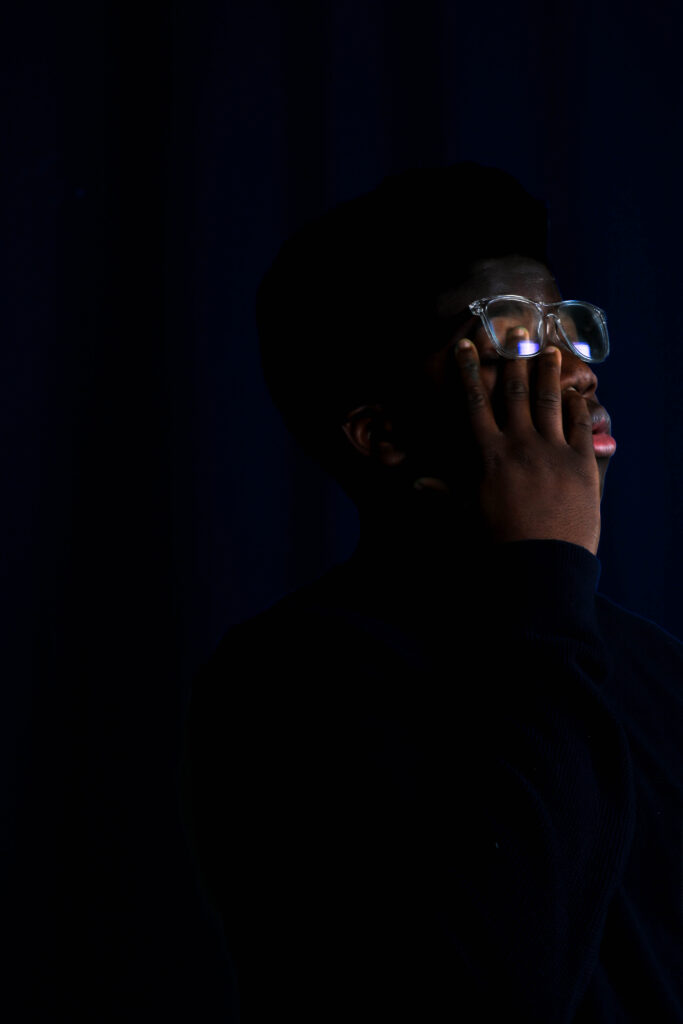
I wanted to keep this image uncropped to explore the idea of negative space , i left the background dark to leave the subject undefined i then adjusted the saturation and exposure
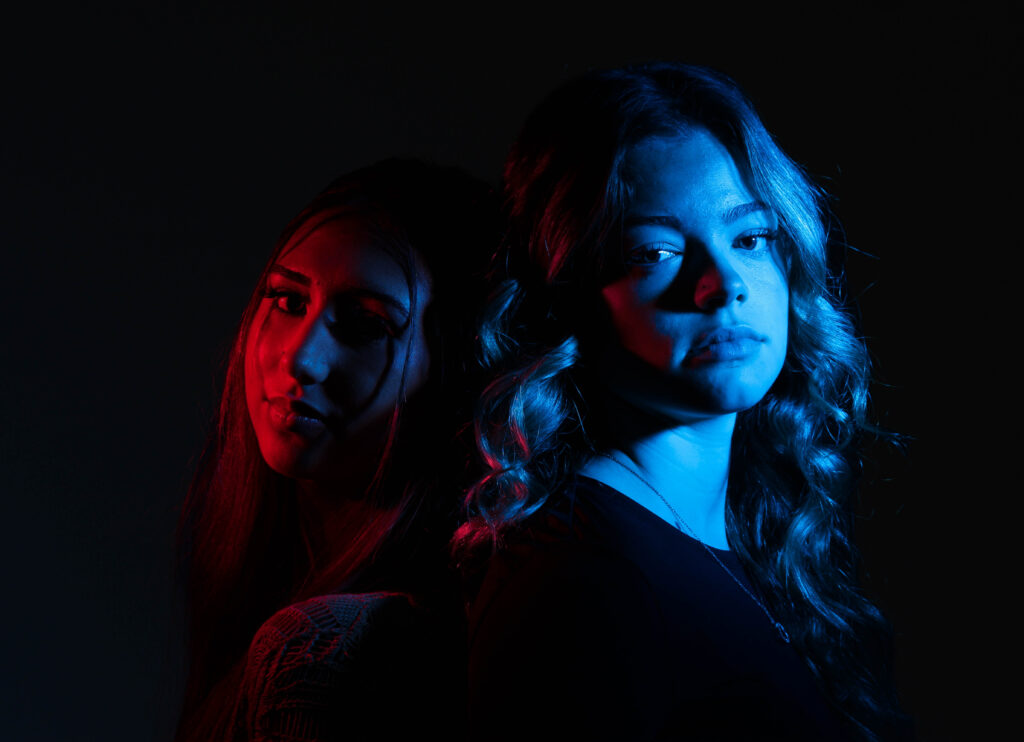
For this image i tried to capture contrasting subjects in the same image without using much editing so i positioned two lights facing two people to make it appear as though its two different environments , i then enhanced the colours in editing and cropped the image
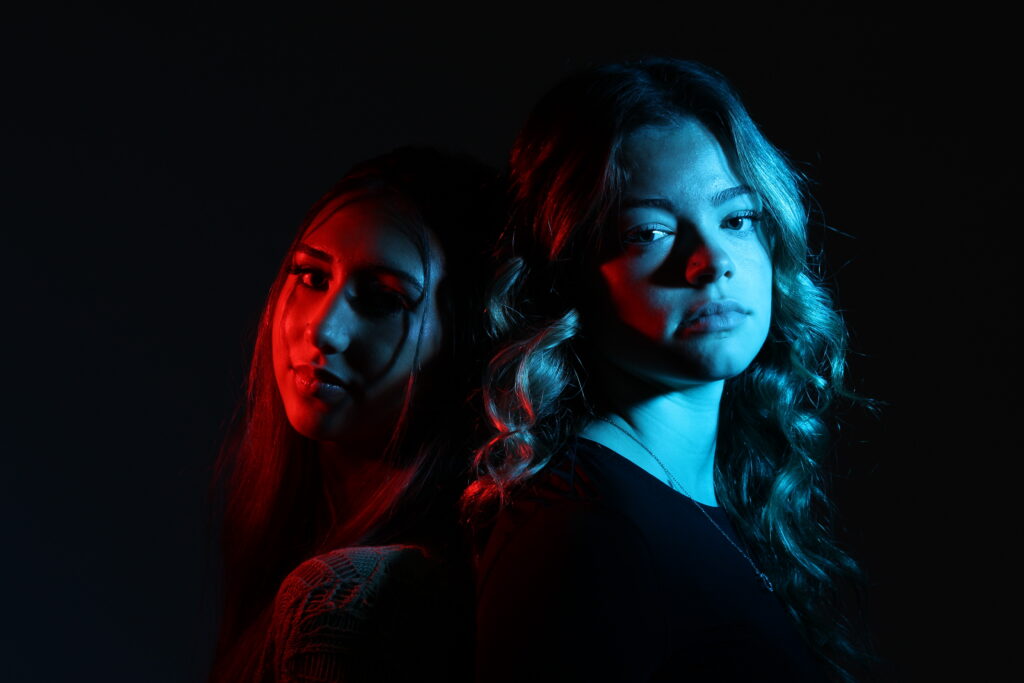
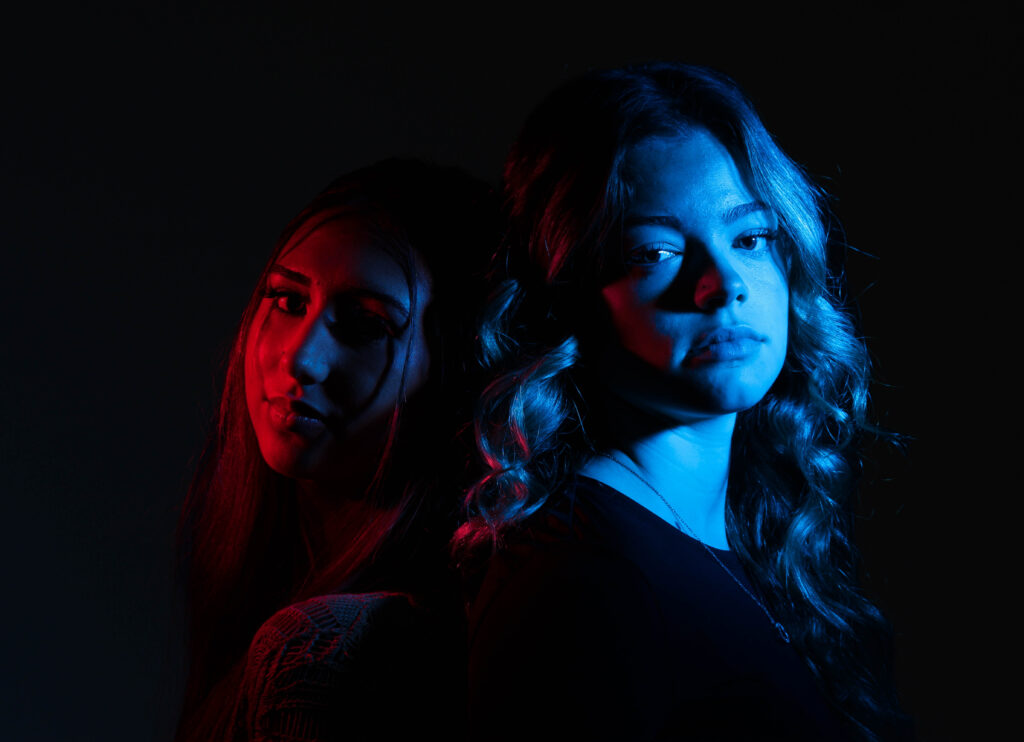
OTHER FINAL IMAGES
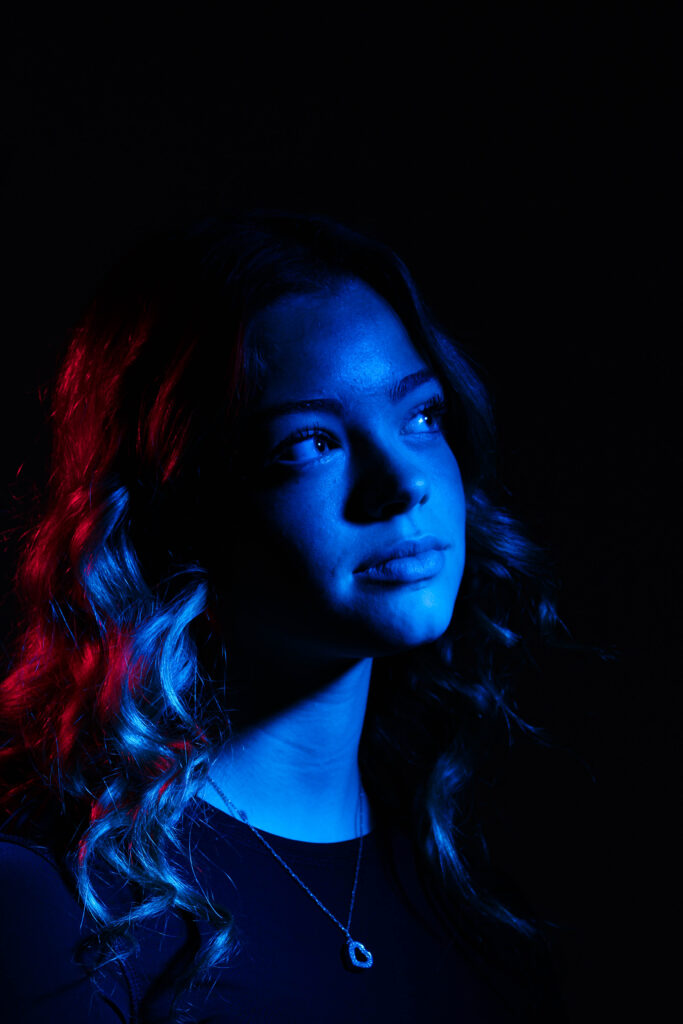
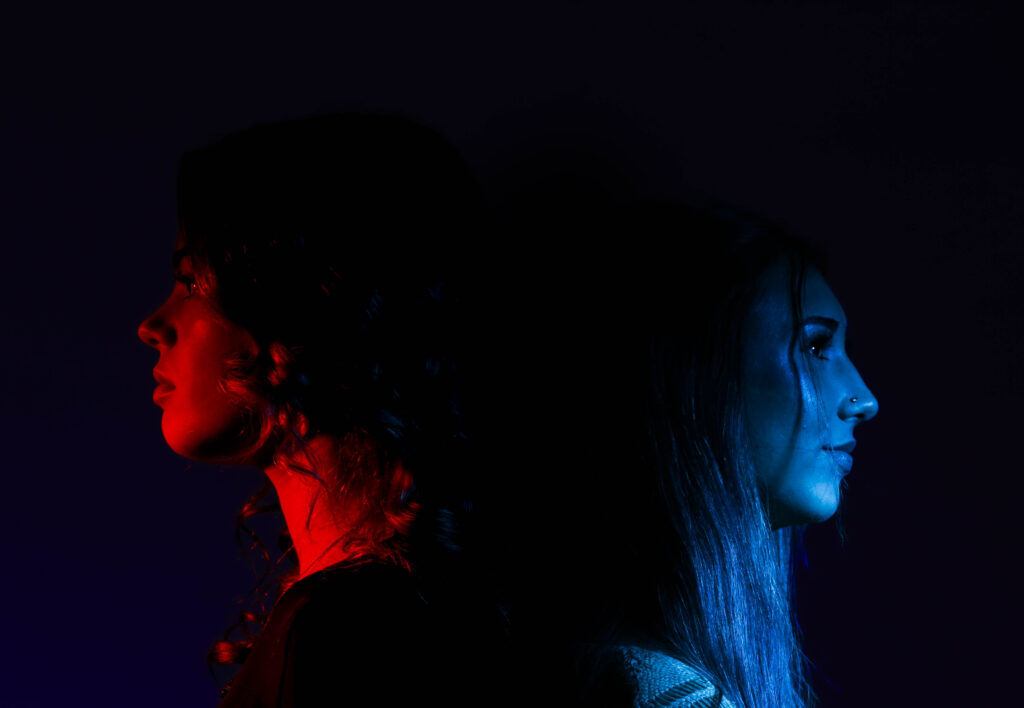

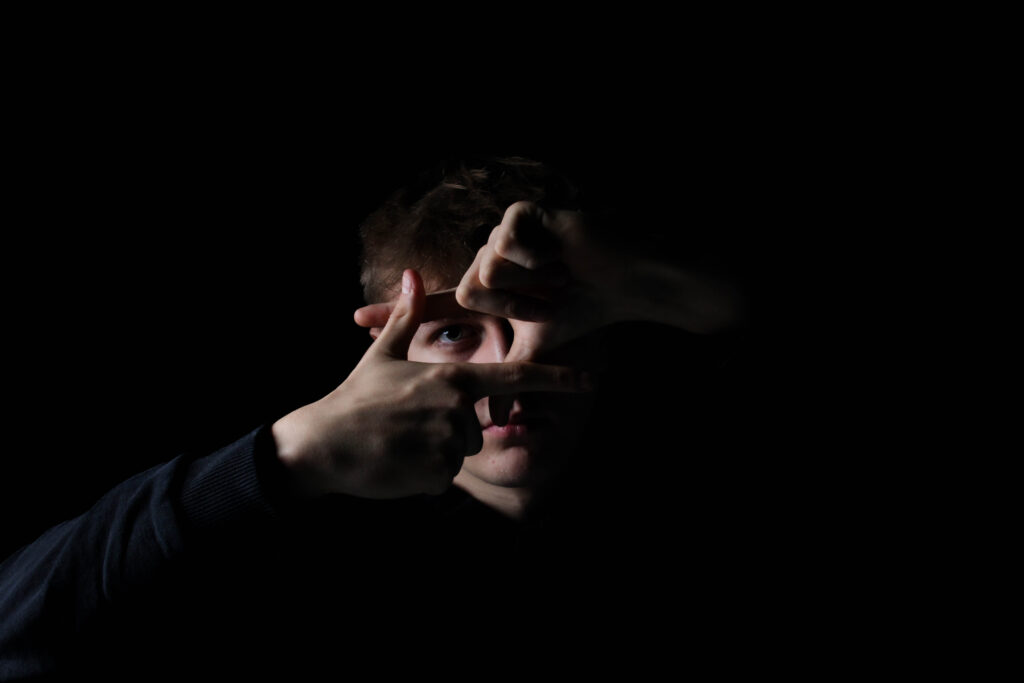
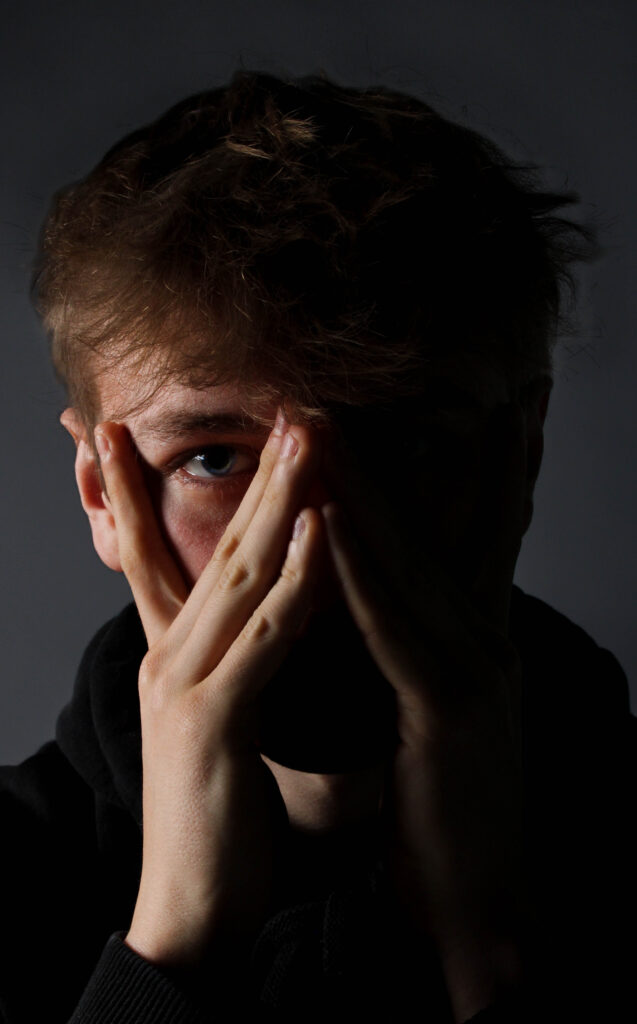
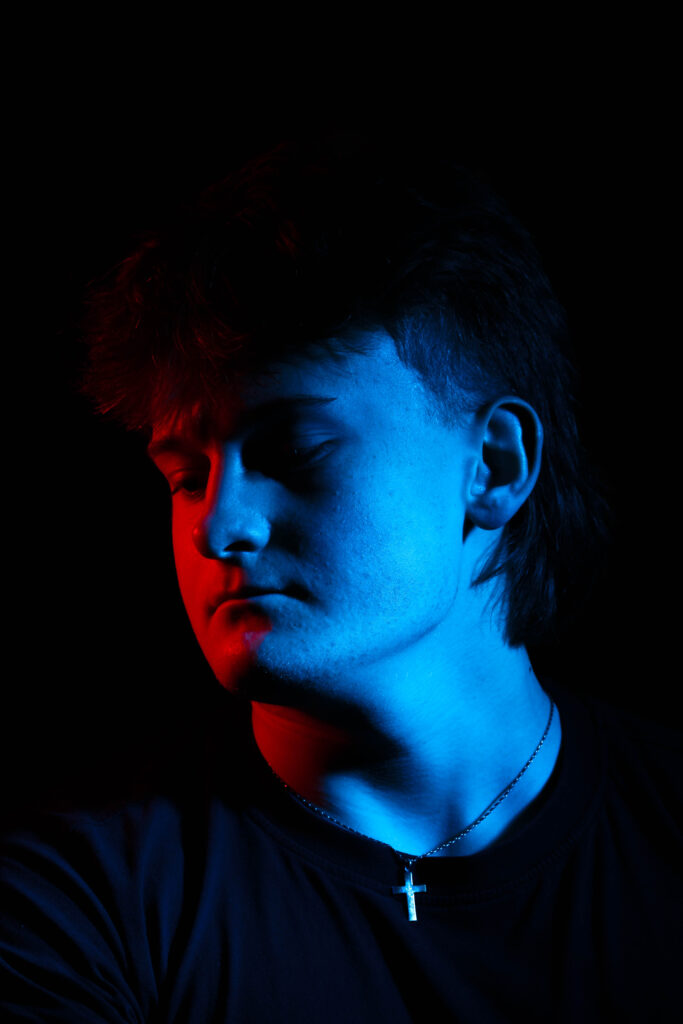
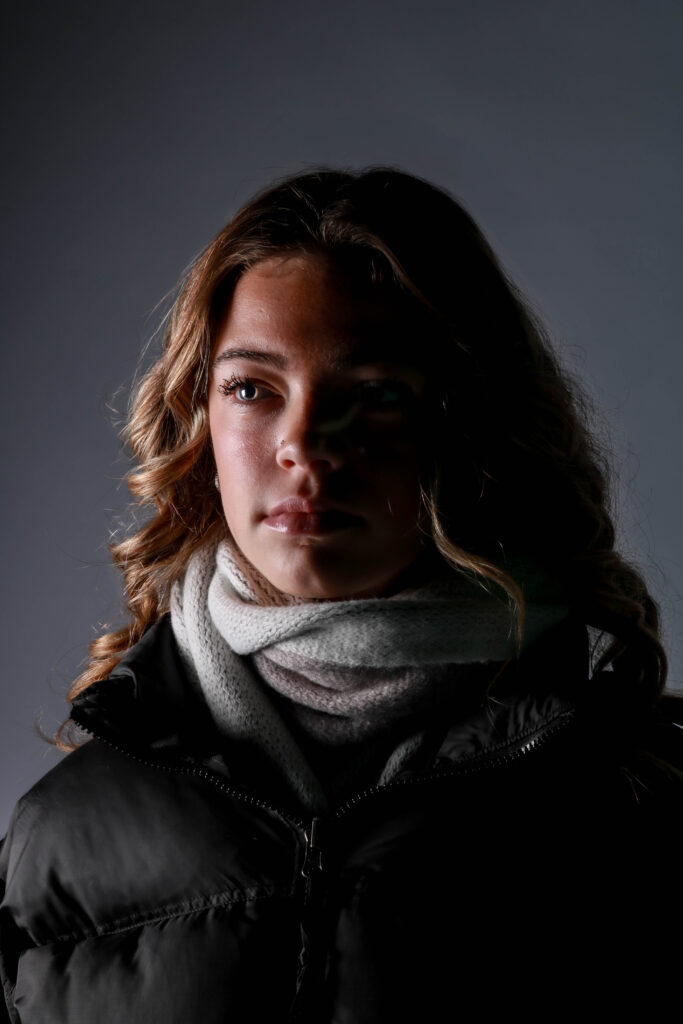

Amelie, overall the blog post demonstrates confident and assured ability with some very strong portraits using appropriate lighting techniques. Your portraits have a strong sense of identity and attitude using hands and face expressions to create interesting poses, shapes etc. The layout of your images is varied and interesting with a mix of single/ diptychs and grids.
The only thing to improve would be to provide more written annotation as you develop images, comment on lighting set up/ techniques and image analysis of best portraits. For example:
1. After each edit of your set of images choose your best portrait and analyse using photography vocabulary sheet: TECHNICAL, VISUAL, CONTEXTUAL, CONCEPTUAL.
2. You could include diagrams of lighting setup that show how you positioned the lights in the studio – see our blog post for examples or use internet.
3. Lastly you could compare one or two of your best studio portraits with an artists/ photographer case study that inspired your shoot, if relevant.
Good work…keep going!