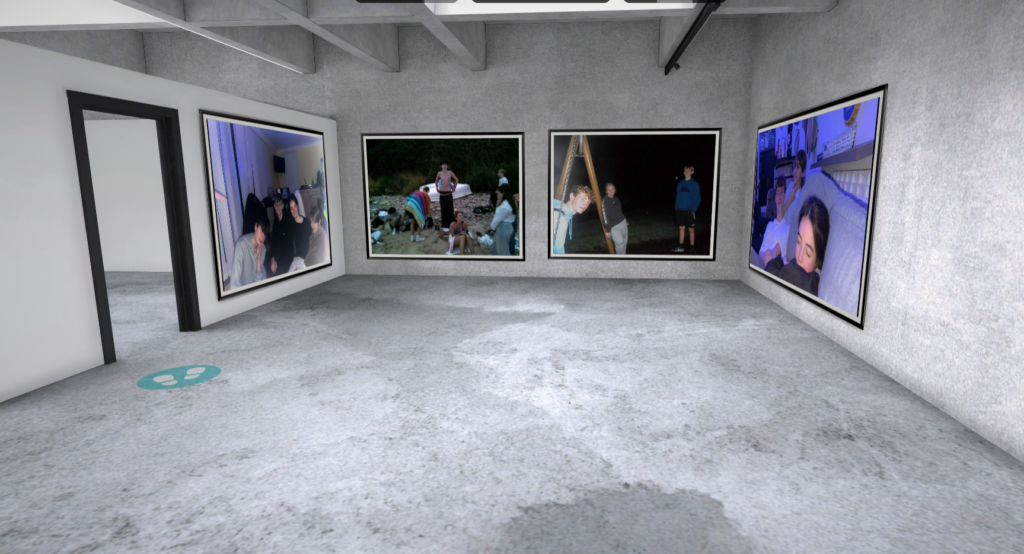
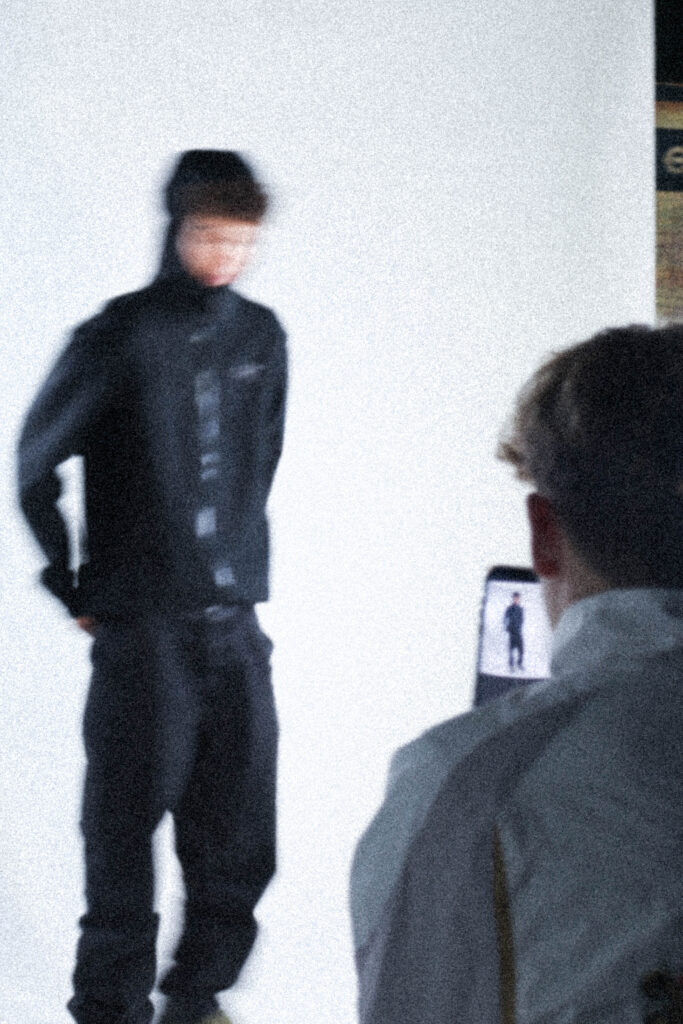
Studio Lighting Mood Board
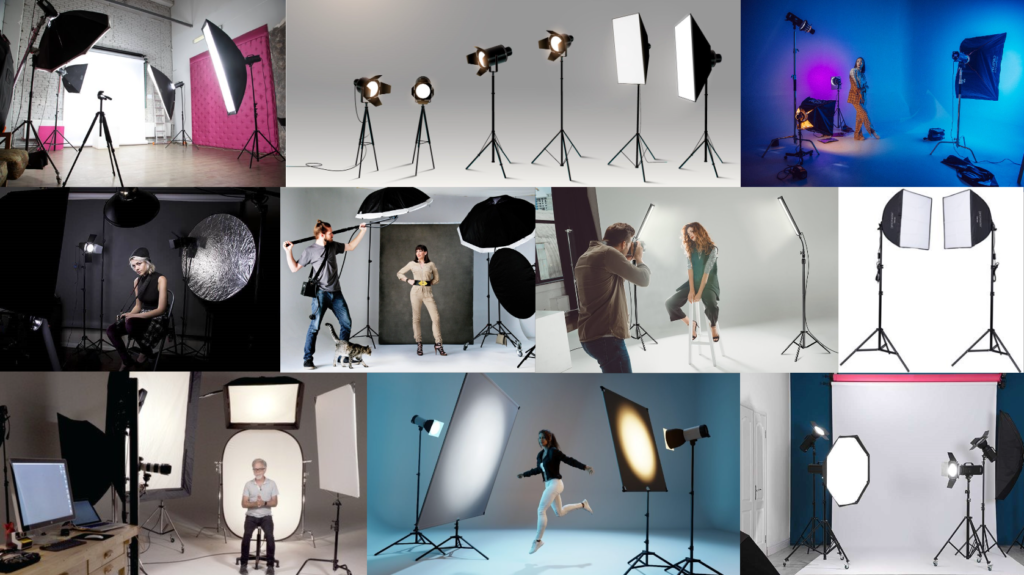
What is Studio Lighting?
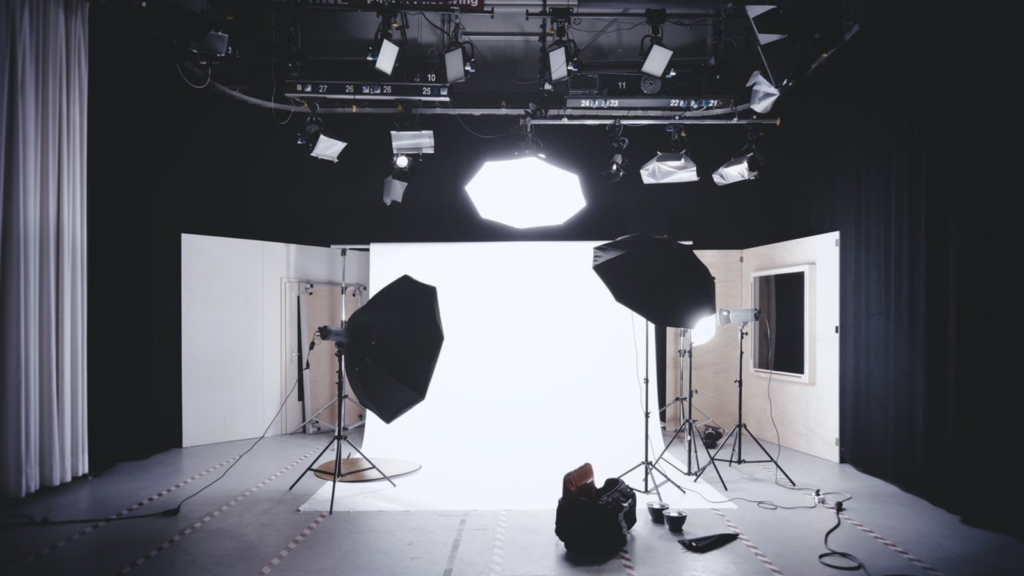
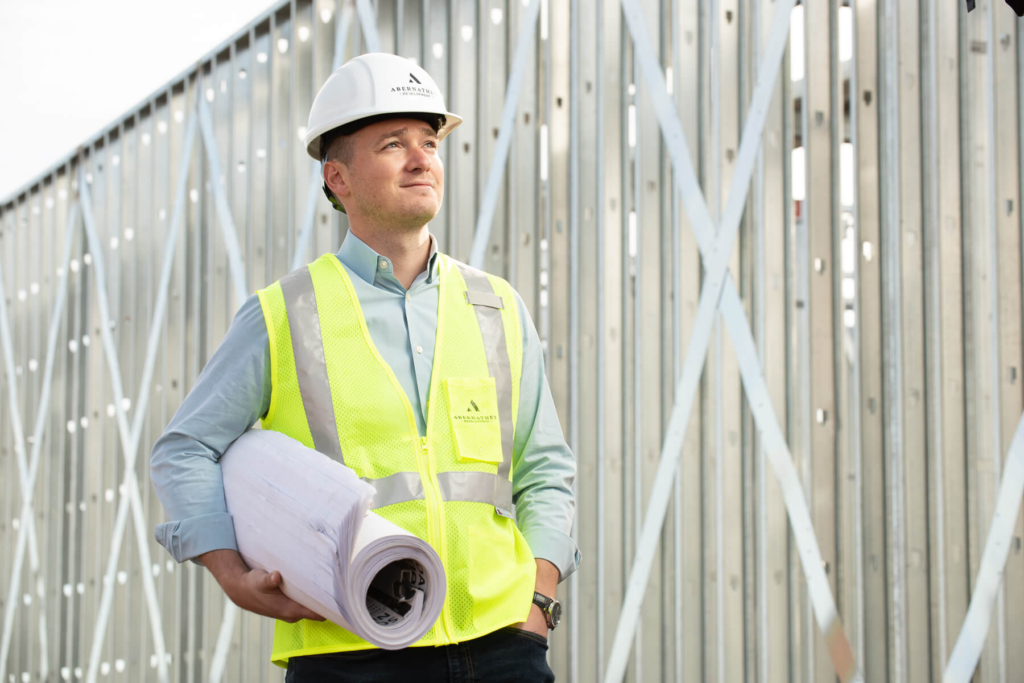
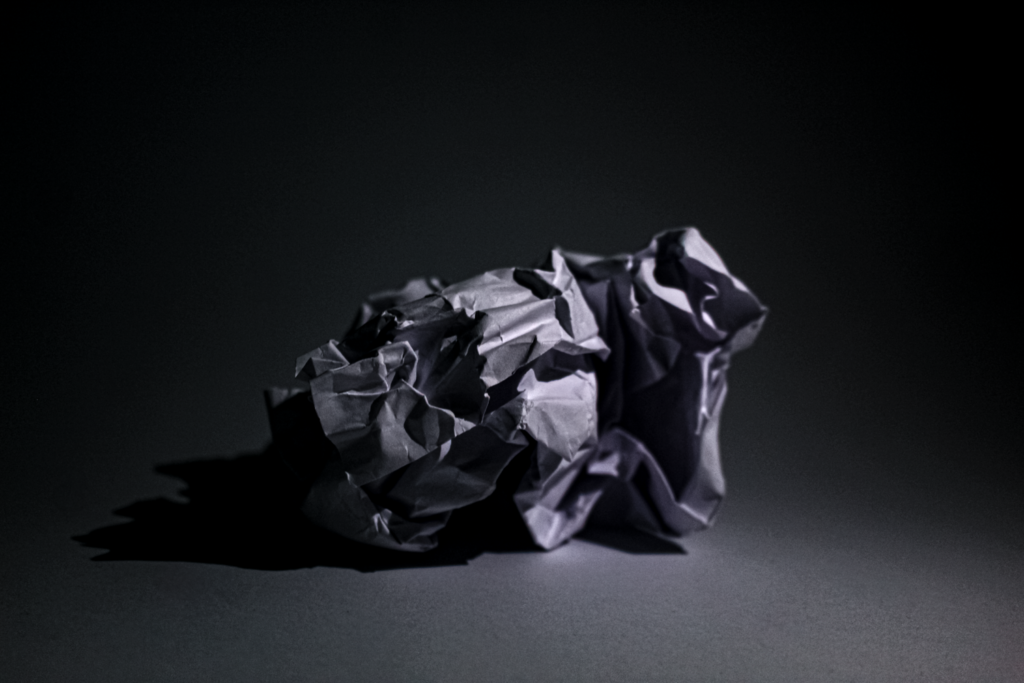
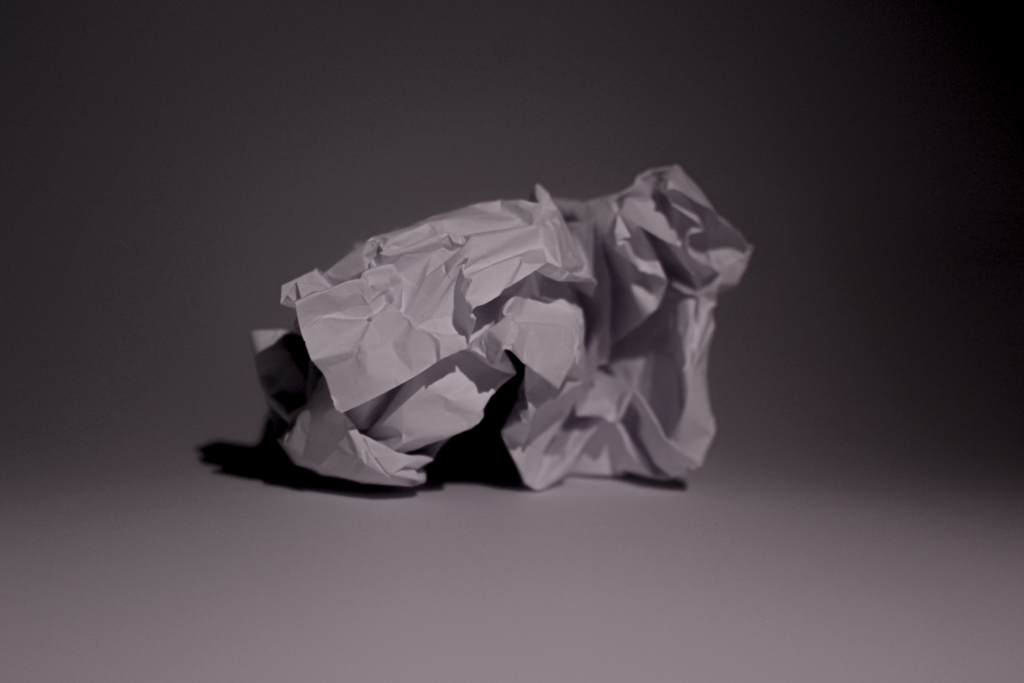
Studio lighting refers to the use of artificial lights in a controlled environment to illuminate subjects for photography. It’s essential because it allows photographers to manipulate light to achieve the desired mood, highlight details, and create professional-quality images. By using different types of lights, such as soft boxes, umbrellas, and strobes, photographers can control shadows, contrast, and colour balance, resulting in more visually appealing photos. This control over lighting is crucial, especially when trying to convey a specific emotion or atmosphere in the image.
For instance, soft lighting can create a warm and inviting feel, while harsher lighting can add drama and intensity.
Additionally, studio lighting enables consistency across a series of shots, which is particularly important for product photography or portrait sessions. The ability to adjust and experiment with the lighting setup also encourages creativity, allowing photographers to explore various styles and techniques. Ultimately, mastering studio lighting can significantly enhance the quality of photographs and help tell a more compelling story through visual imagery.
1-2-3 Point Lighting
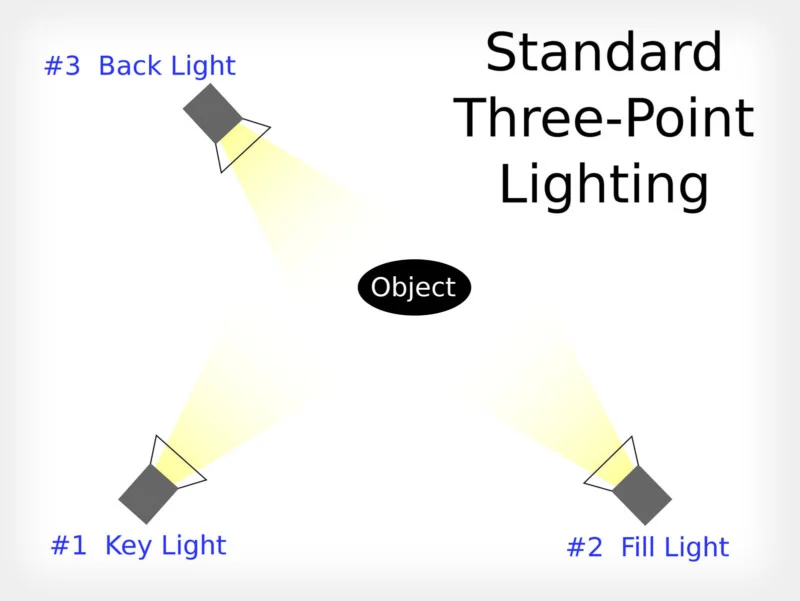
The difference between 1-point, 2-point, and 3-point lighting lies in the number of light sources used and the effects they create in photography.
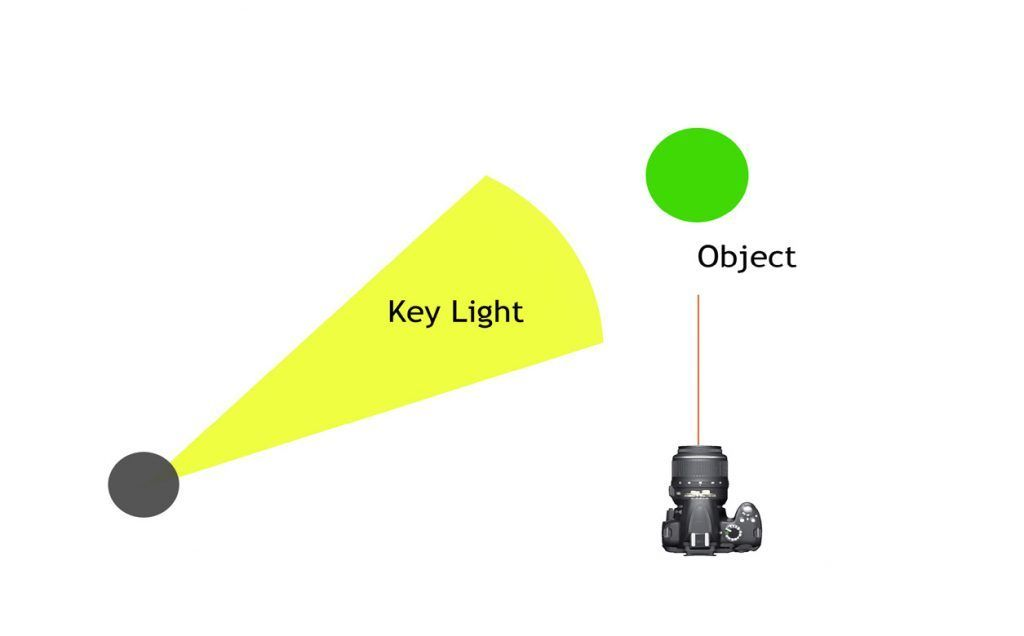
1-Point Lighting: This technique uses a single light source to illuminate the subject. It creates strong shadows and highlights, which can produce dramatic effects. It’s often used in portrait photography to emphasize facial features or in artistic shots where mood is more important than detail.
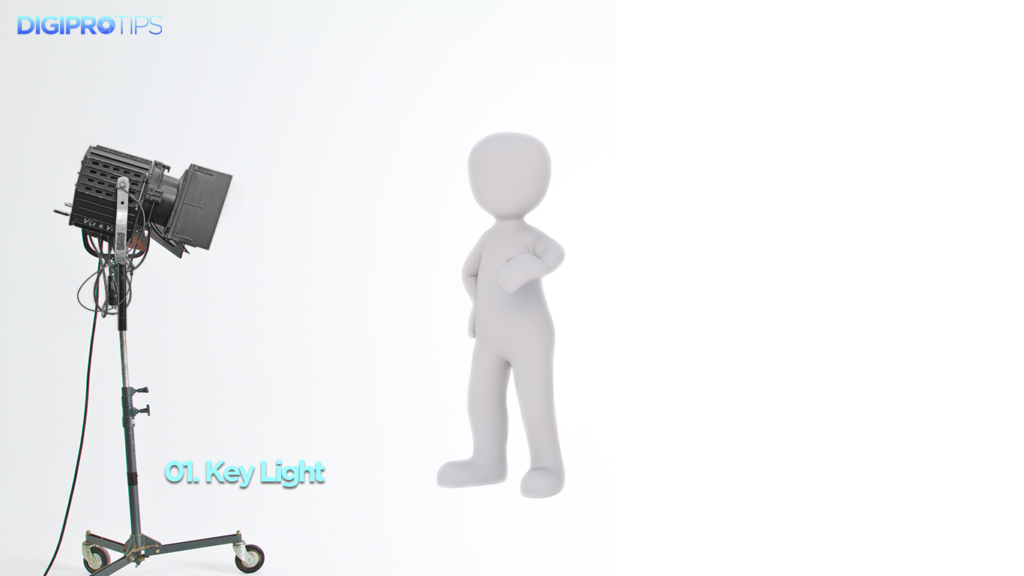
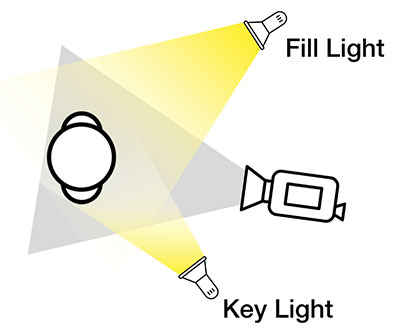
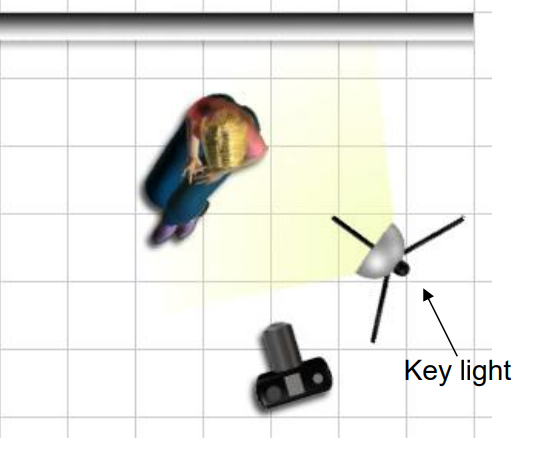
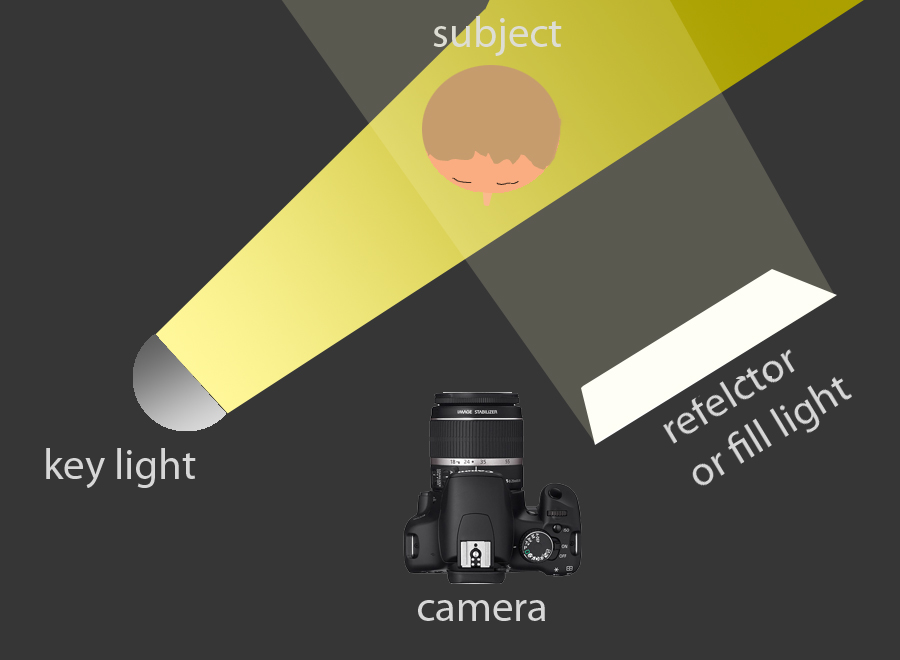
2-Point Lighting: This setup involves two light sources. Typically, one light serves as the key light, providing the main illumination, while the second acts as a fill light to soften shadows created by the key light. This technique balances light and shadow, adding depth and dimension to the subject, making it ideal for interviews or product shots.
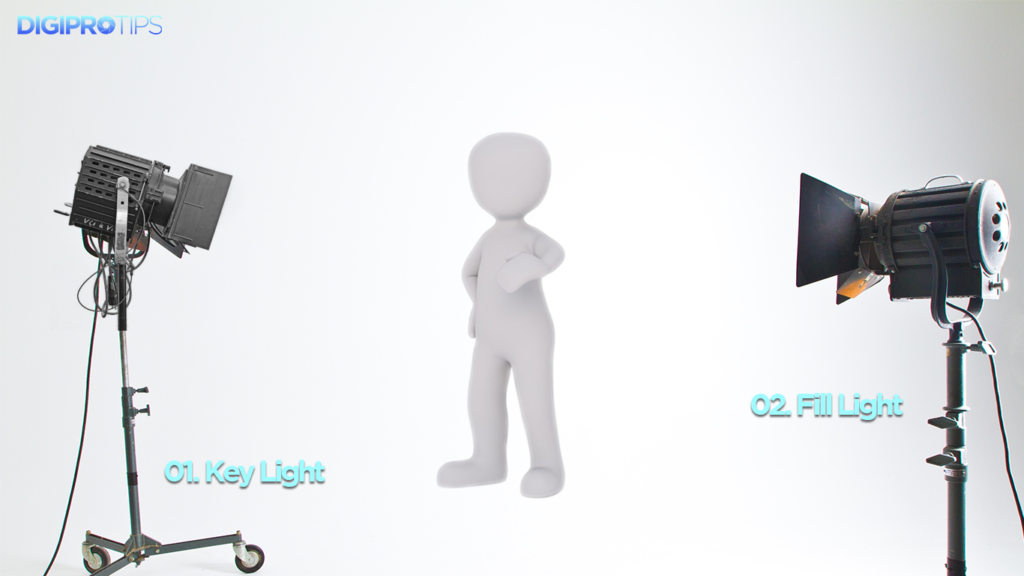
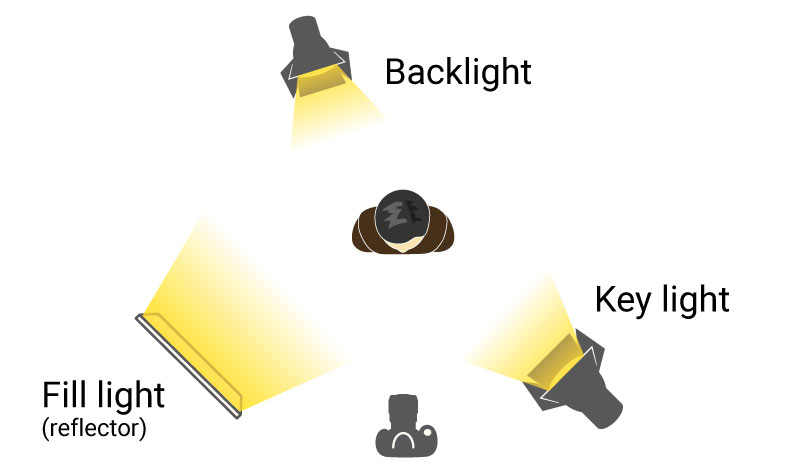
3-Point Lighting: This is a more advanced technique that uses three lights: the key light, fill light, and backlight (or rim light). The key light is the main source, the fill light reduces harsh shadows, and the backlight adds separation between the subject and the background, creating a three-dimensional look. This method is commonly used in film and television because it provides a well-rounded and professional appearance, enhancing the overall quality of the image.
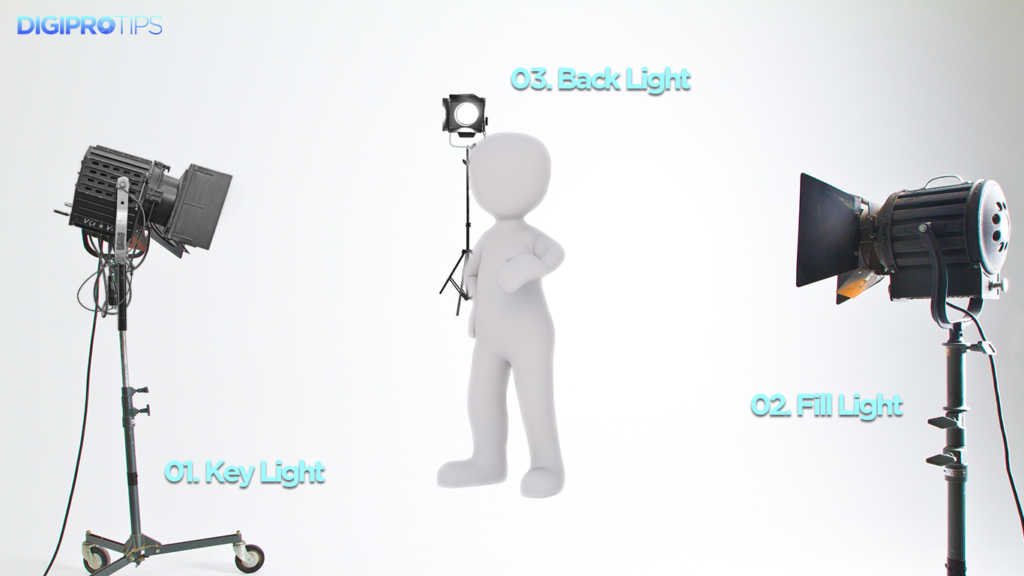
Each technique serves a different purpose and can be chosen based on the desired mood and effect in the photograph.
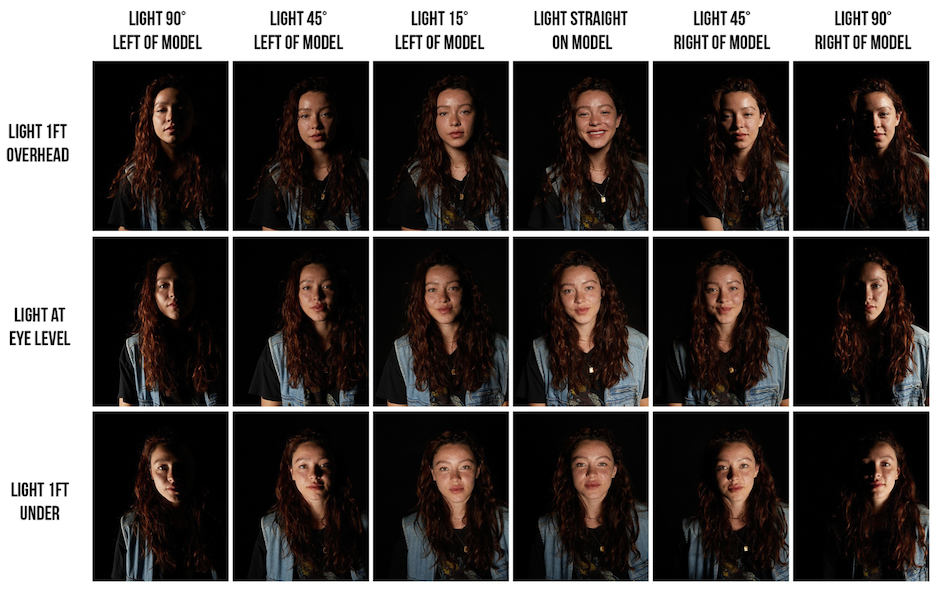
Rembrandt Lighting, Butterfly Lighting, and Chiarascuro
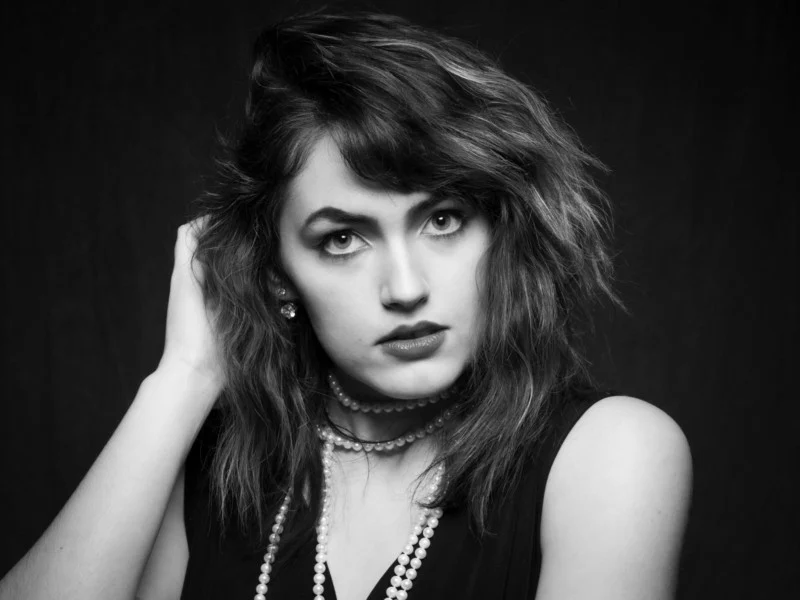
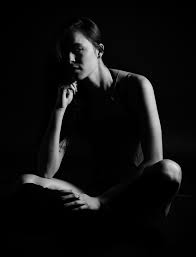
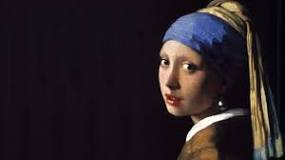
Rembrandt lighting, butterfly lighting, and chiaroscuro lighting are all different lighting techniques that can dramatically change the mood and appearance of a photograph, so understanding them can help create the desired effect in my portraits.
Rembrandt Lighting
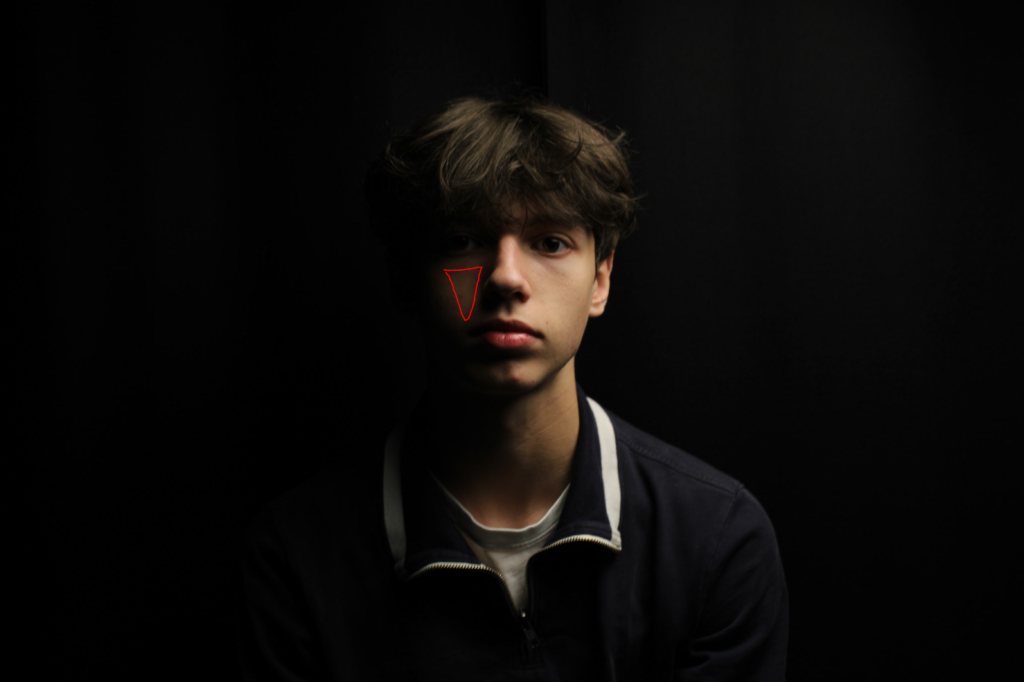
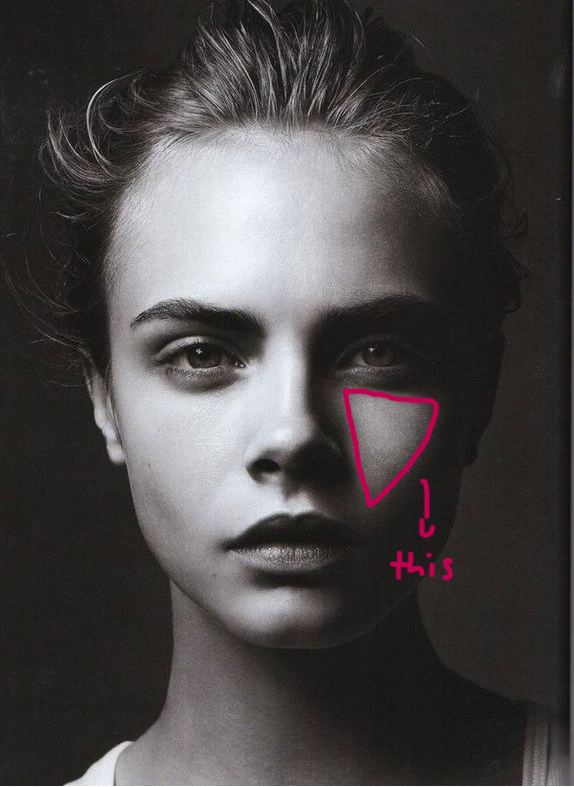
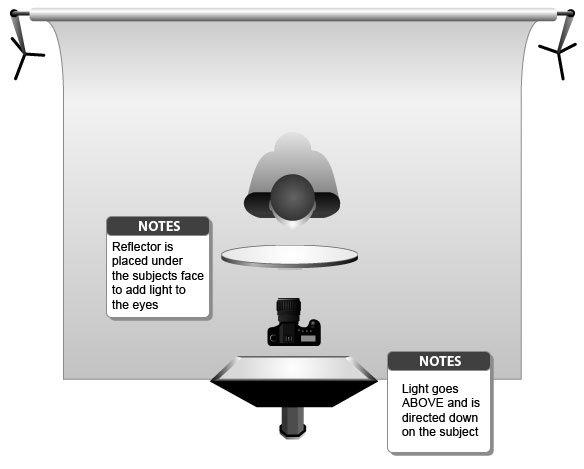
This technique is characterized by the triangle of light that appears on the cheek opposite the light source. It involves placing the light source at a 45-degree angle to the subject and slightly above eye level. This creates a dramatic effect with both highlights and shadows, giving depth to the face.
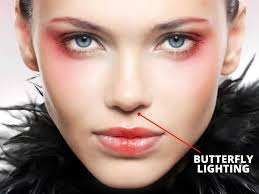
Butterfly Lighting
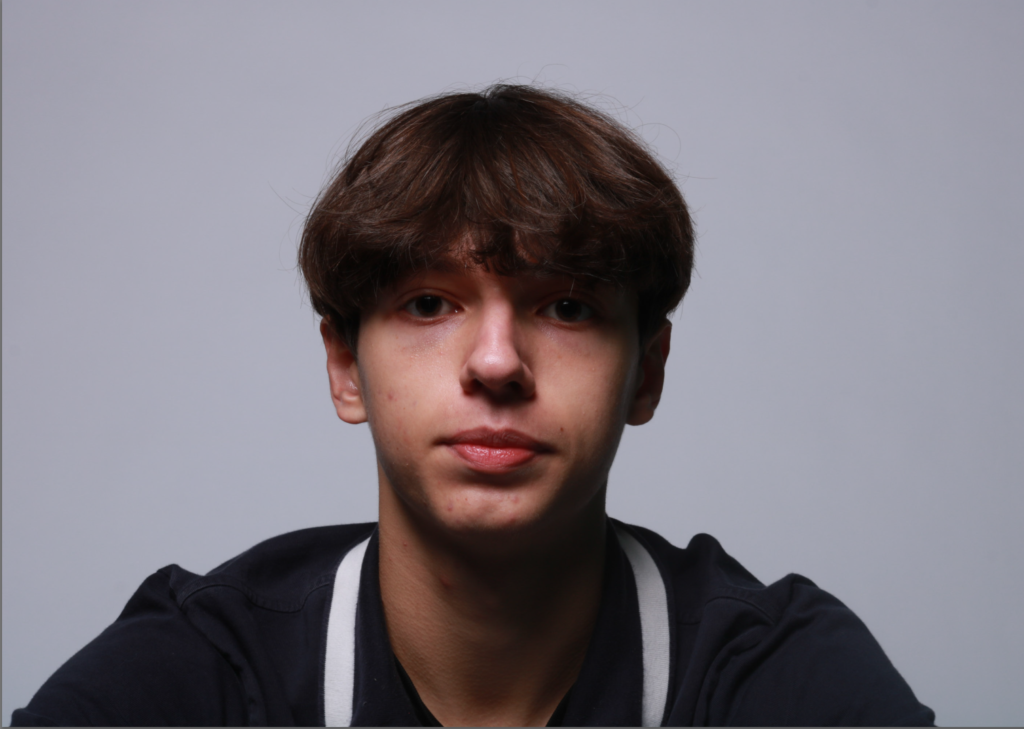
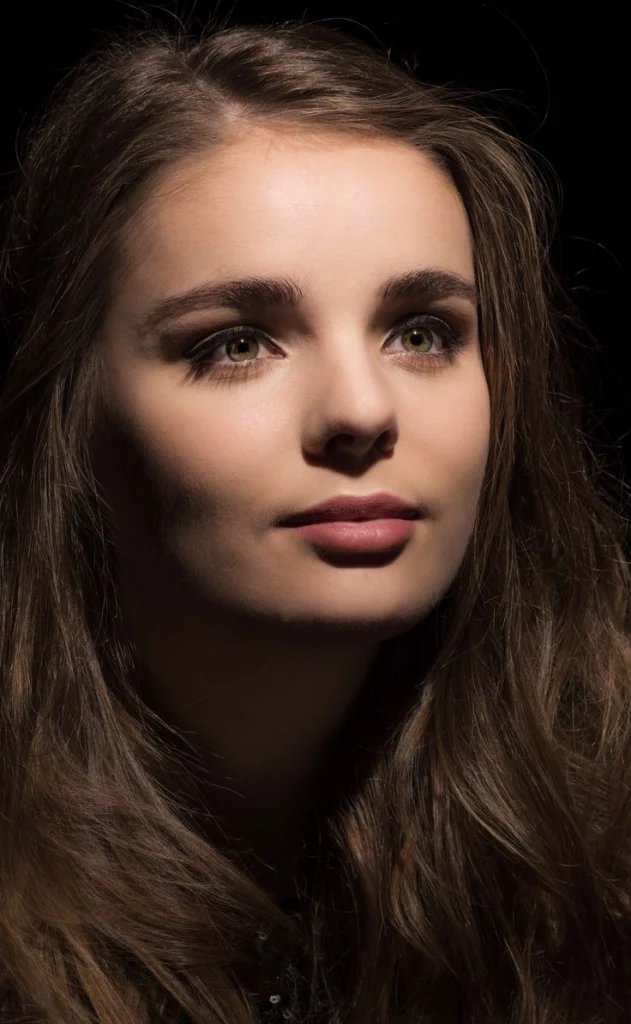
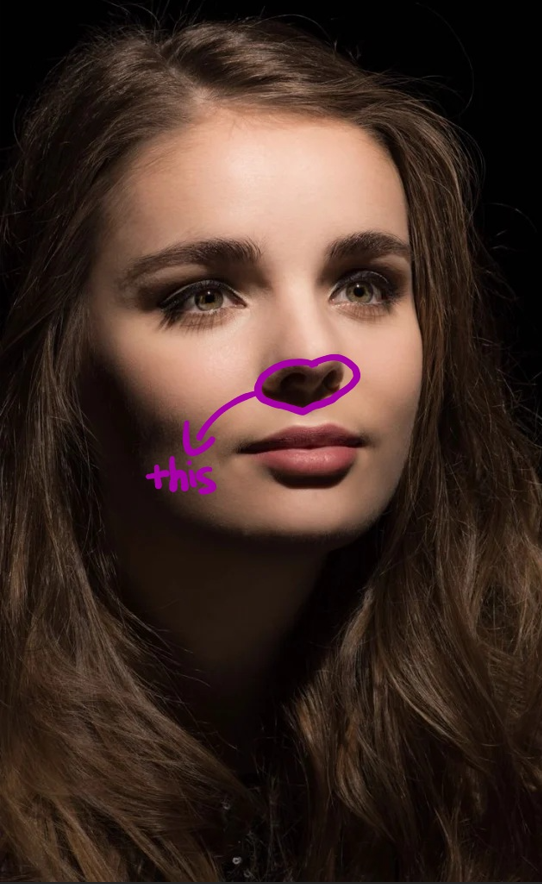
Also known as “Paramount lighting,” this technique creates a butterfly-shaped shadow under the nose. It involves positioning the light source directly in front of and above the subject’s face. This lighting is often used in beauty photography as it highlights the cheekbones and creates a soft, flattering look.
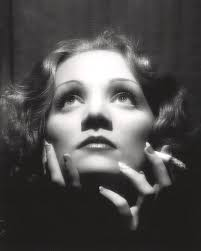
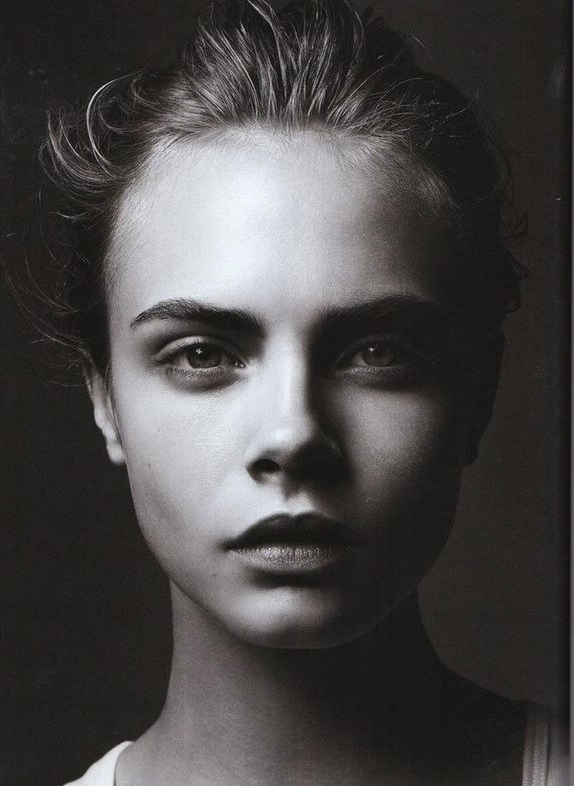
Chiarascuro
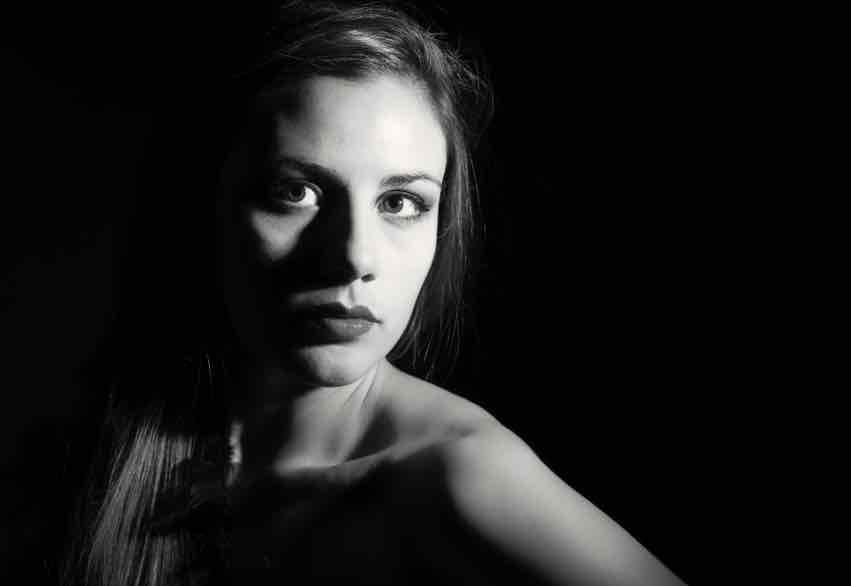
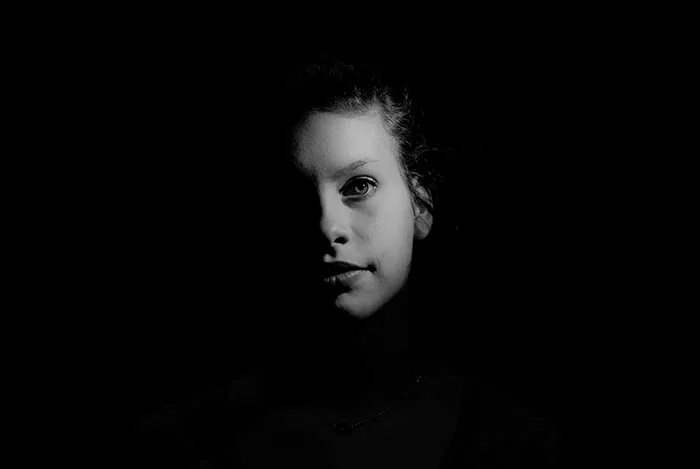
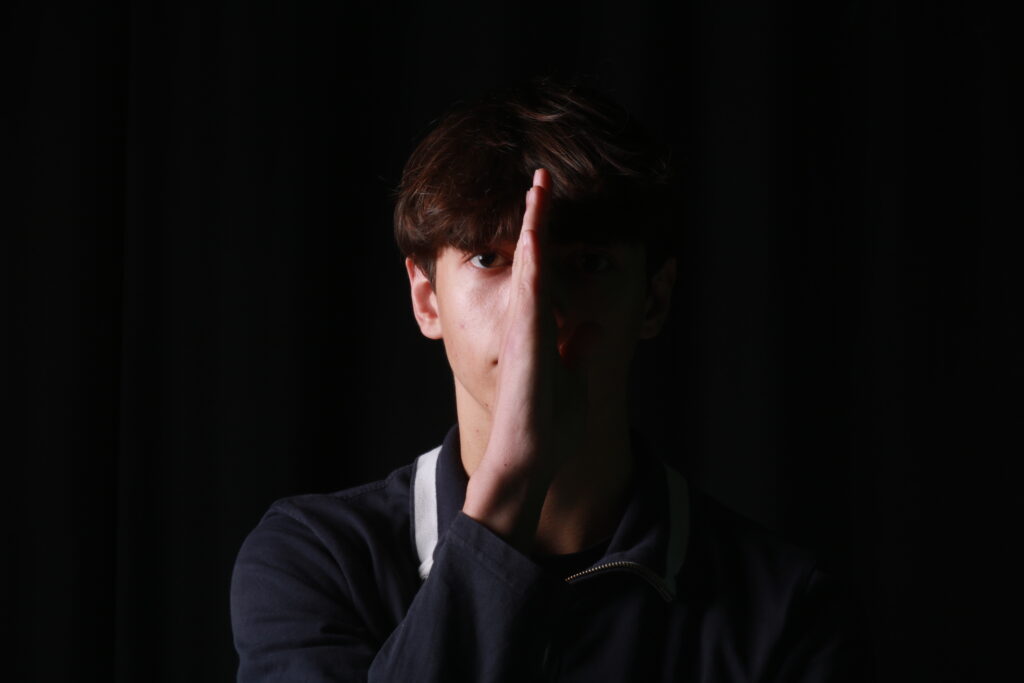
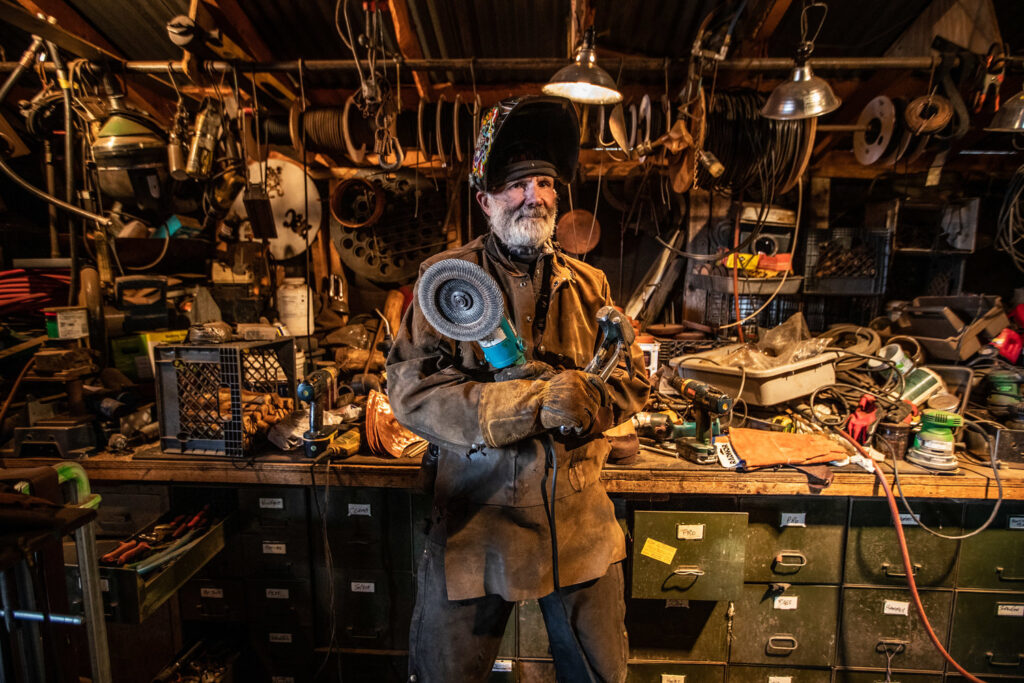
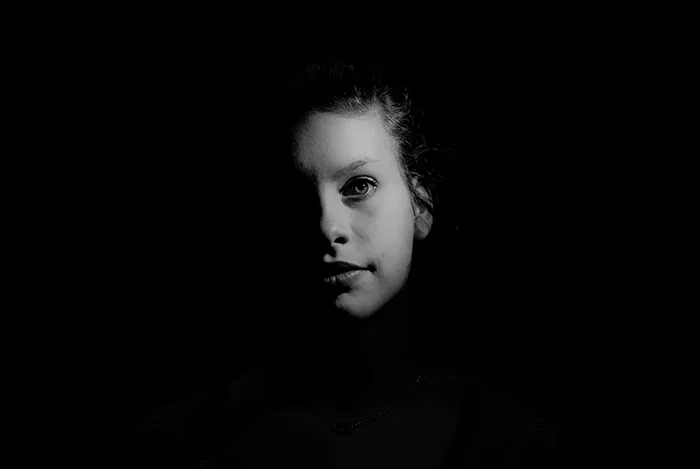
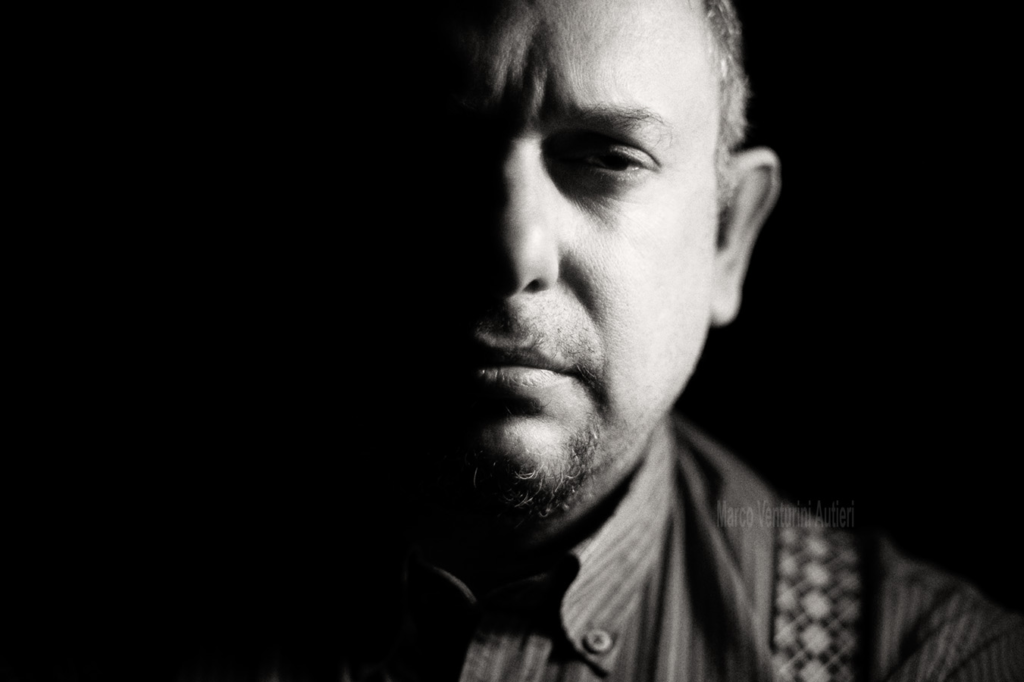
This is a broader artistic technique that uses strong contrasts between light and dark to create a sense of volume and three-dimensionality. In photography, it can involve dramatic lighting that emphasizes shadows and highlights, often used to evoke a particular mood or atmosphere.
Photography Lighting Equipment for Beginners (Extra Info)
The world of studio lighting can be an exciting aspect of photography for some people, while others are intimidated by what seems to be a never-ending stream of equipment and technical information. The Information that I have researched here will help me decide on what Studio Lighting and equipment will be best for my Photography.
Keep in mind, that the items that I have researched are all geared towards portrait photographs.
Flash Units and Diffusers
A DSLR has a component on top, called a hot shoe, where you can attach a flash that is purchased separately from your camera. While most DSLRs have an on camera flash that can work well in some situations, it is always great to have a separate flash.
Photography Lighting Equipment for Beginners
With a separate flash, I don’t just have the luxury of a more powerful flash with a better quality of light, I also have the option of attaching diffusers to my flash, and even using my flash off-camera.
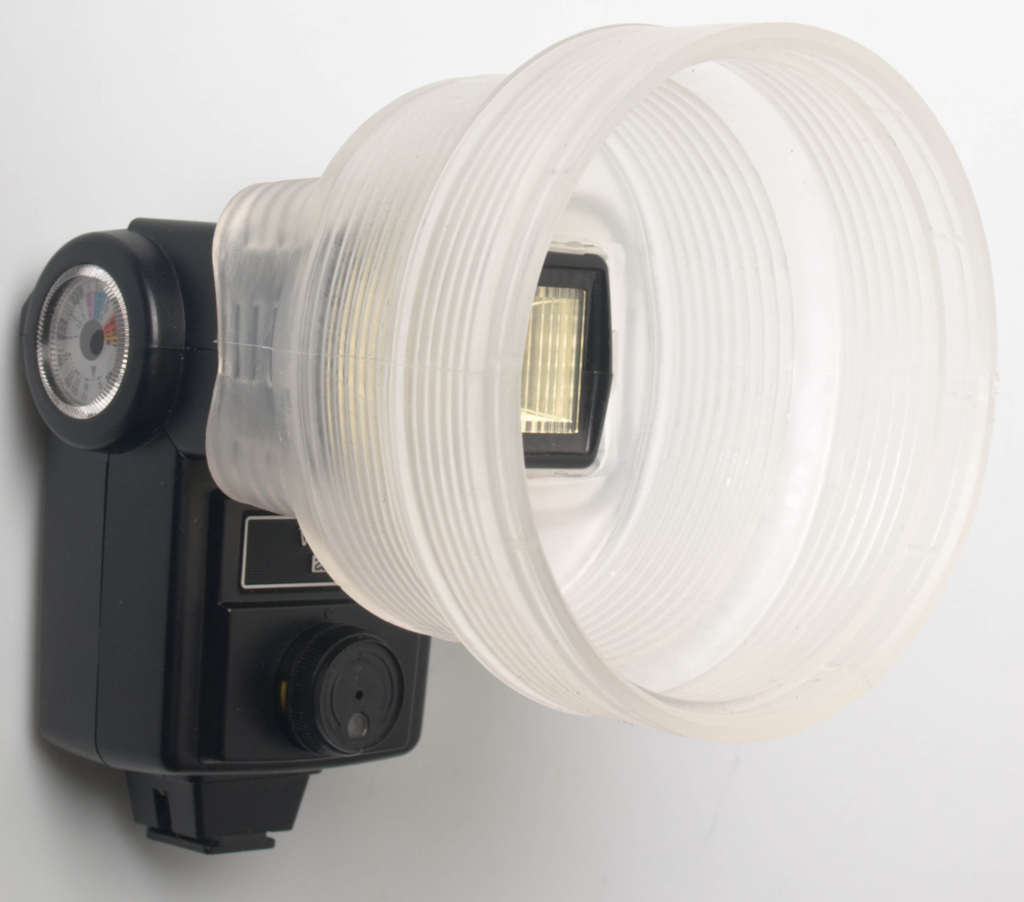
Now, if I purchase a flash or the school already has one, it will most likely come with a small, white, plastic diffuser to attach to the top of the flash. This can work very well to diffuse the light, minimizing shadows and red-eye. I also have the ability to turn the flash so that it isn’t pointing straight at the subject, and bounce the light off a ceiling or nearby wall to make the light even more diffused.
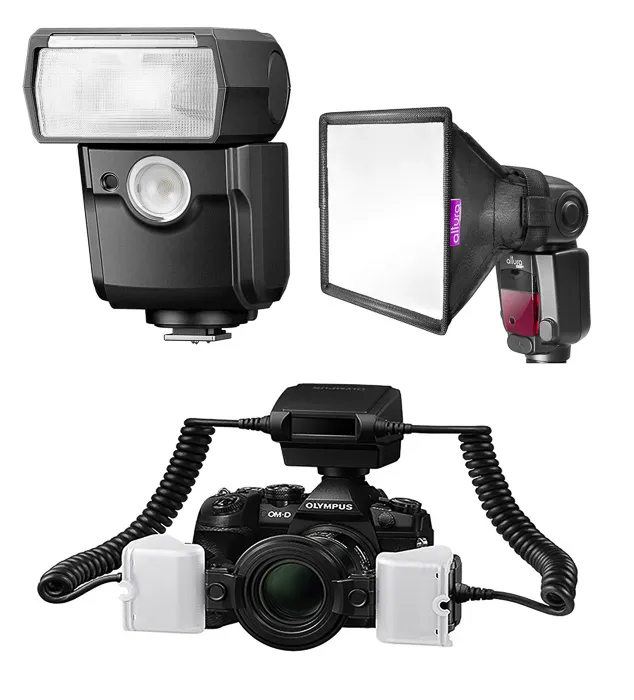
Photo Lighting Equipment
A great option is the Light sphere Dome, by Gary Fong. The Light sphere Dome is lightweight, and it has never fallen off of a flash as some diffusers have a tendency to do and it fits both my Nikon and Canon flashes. It a great, multi-purpose diffuser.
Reflectors
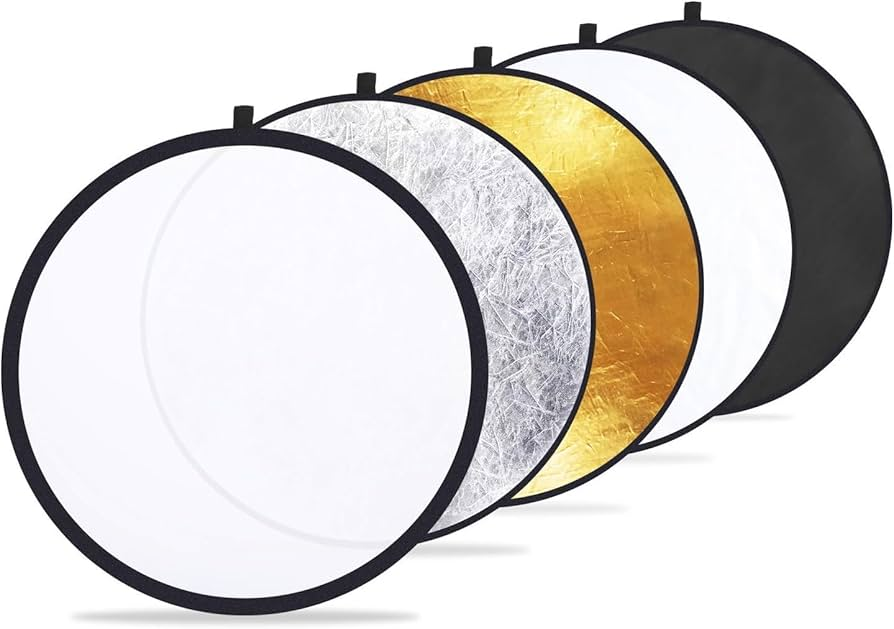
A Reflector provides natural light and they come in various shapes, sizes, and colours, but the silver, circular reflector seems to be the most popular.
How to Choose Studio Lighting
I can use stands to hold my reflector, or, if I have another person on-hand, I can have them assist me in holding and positioning the reflector. It will increase the light on the subject by reflecting the available light. They also work extremely well to fill in the light behind the subject, or, if I am shooting outside and my subjects back is lit, positioning the reflector to face directly will bring out more detail on their face, without creating harsh, unnatural lighting.
Off Camera Lighting
Now, if I am feeling comfortable enough to experiment with off-camera lighting, I can either use separate lights, or I can trigger a flash off camera.
Photography Lighting Kits for Beginners
If I am using a flash, I will most likely need to invest in triggers. Some DSLRs can trigger a flash off-camera through an infrared sensor that is built-in to the camera, but triggers are a bit more reliable.
Basically, there are two components involved with triggers, a transmitter that attaches to the camera, and a transceiver that is attached to the flash. The transmitter communicates with the receiver, allowing you to place the flash off camera on a light stand, and use various umbrellas and soft boxes to diffuse the light.
Cactus Triggers are widely popular, and more affordable than a lot of the other triggers on the market.
Once I have decided how I want my trigger to flash, I should look deeper at various umbrellas and soft boxes. Umbrellas tend to create a more direct pool of light, while soft boxes will create a more even light source.
Basic Photo Lightning Kit
I will need a stand that will hold my flash, and my diffuser. I can scout for a kit that comes with a light stand, a mount for my flash and umbrella, as well as basic reflector umbrellas or just use the schools.
In short, if I am using a flash off-camera, here is what I will need:
- Trigger – a transmitter and a transceiver.
- Light Stand
- Mount – to attach to light stand and hold the flash/umbrella/softbox
- Umbrella – or your choice of diffuser
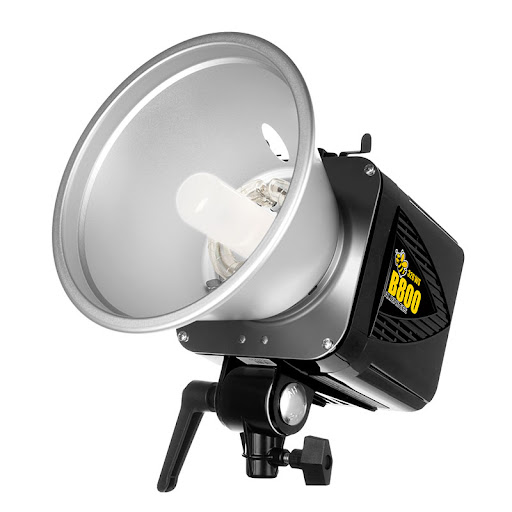
Triggering the flash off-camera is a lightweight, portable method of achieving studio-like lighting. If I am shooting in my house or the studio at school, I may have to look at larger flashes such as Alien Bees. Alien Bees also makes a portable power pack, so if I decide to take my lights outdoors for a shoot, I can with no issues.
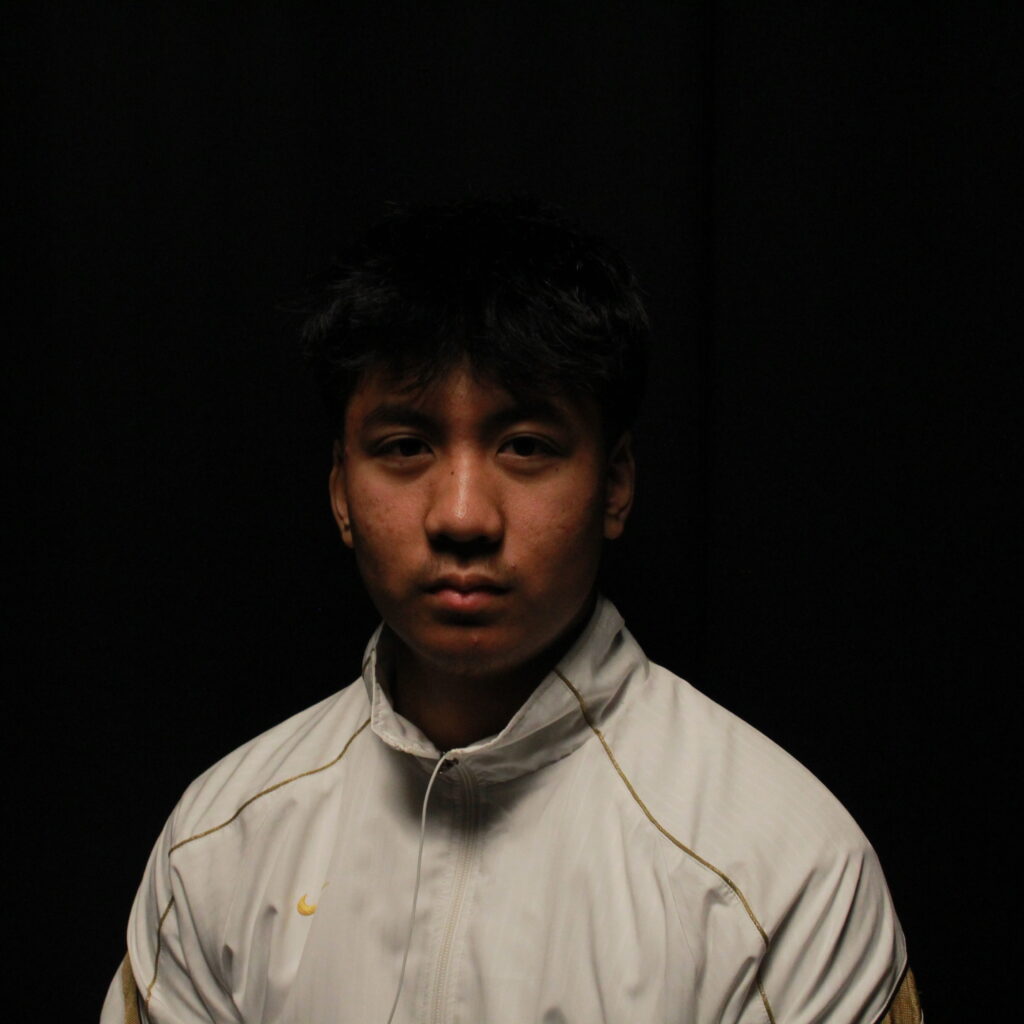
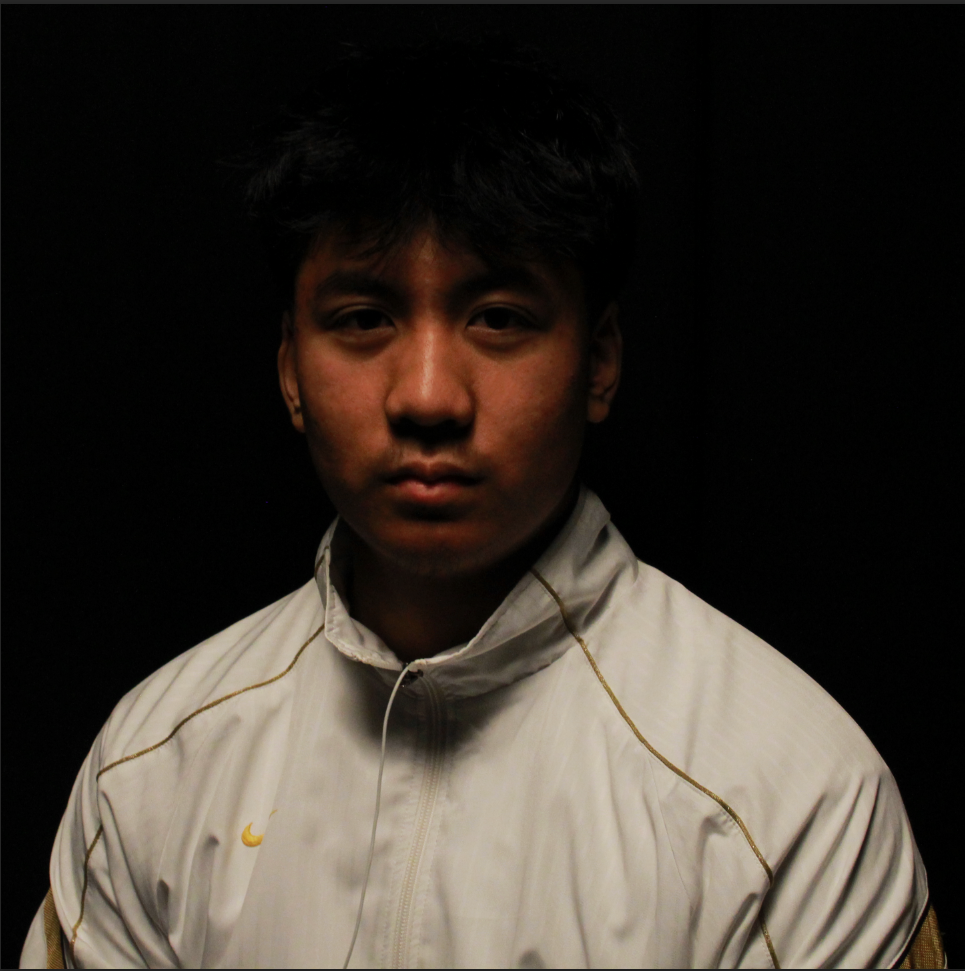
My Rembrandt Lighting, Butterfly Lighting, and Chiarascuro Examples
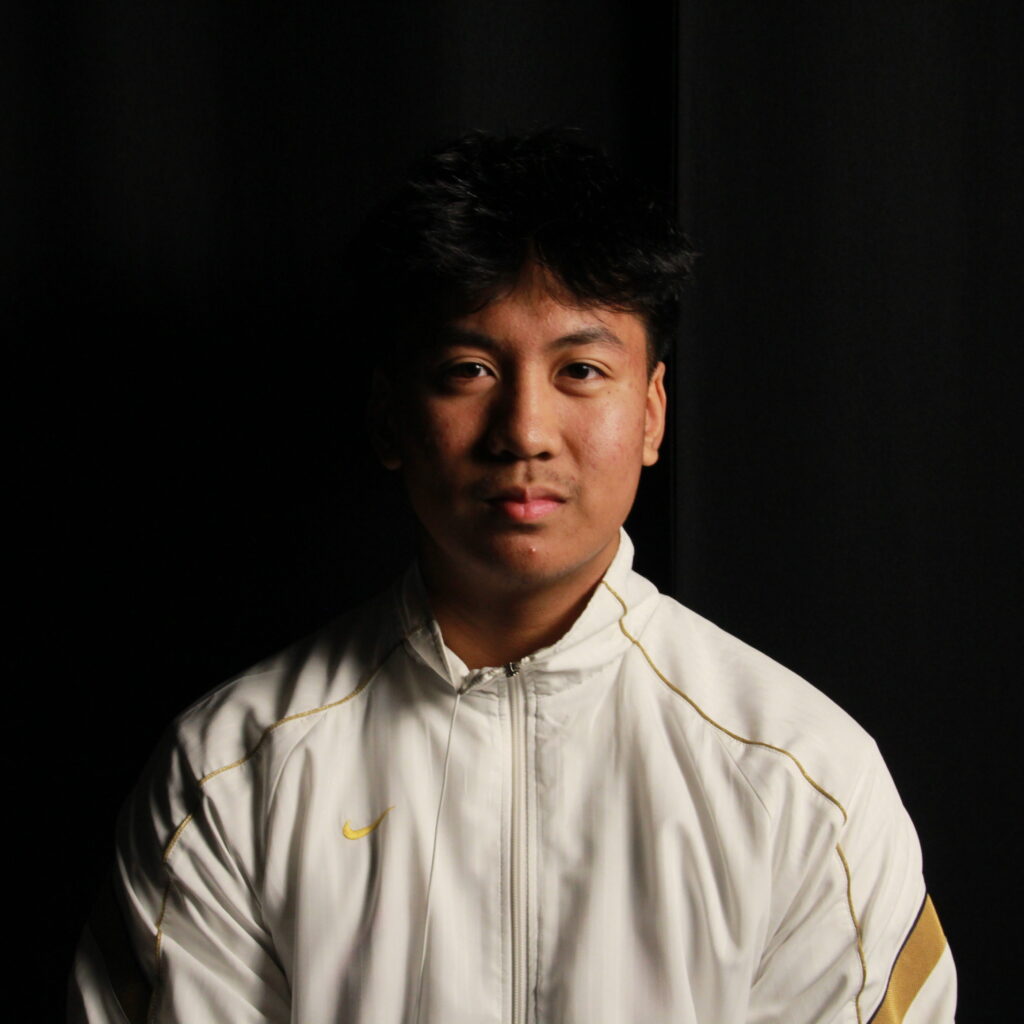
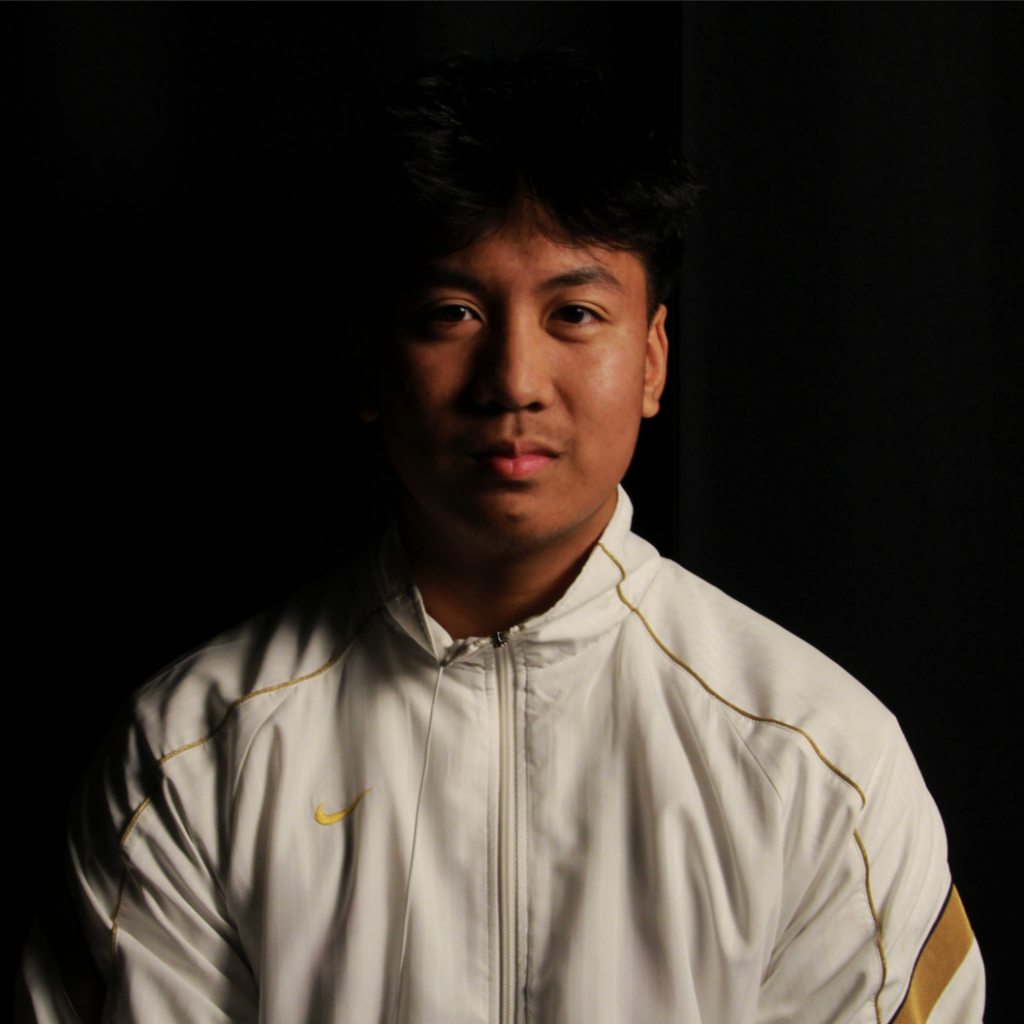
This is one of my Rembrandt Lighting photographs that I tried experimenting with.

Photo A
This Image uses a bright light high-lighting the left side of the face with no Reflector used. The camera produced a clear image with no faults and has successfully produced the Triangle under the eye and has made the Shadows a lot darker.
Photo B
This Image uses a bright light high-lighting the left side of the face and using a Reflector from the right. The camera produced a clear image with no faults and has successfully produced the Triangle under the eye on the right side of the face and has made the Shadows a lot brighter.

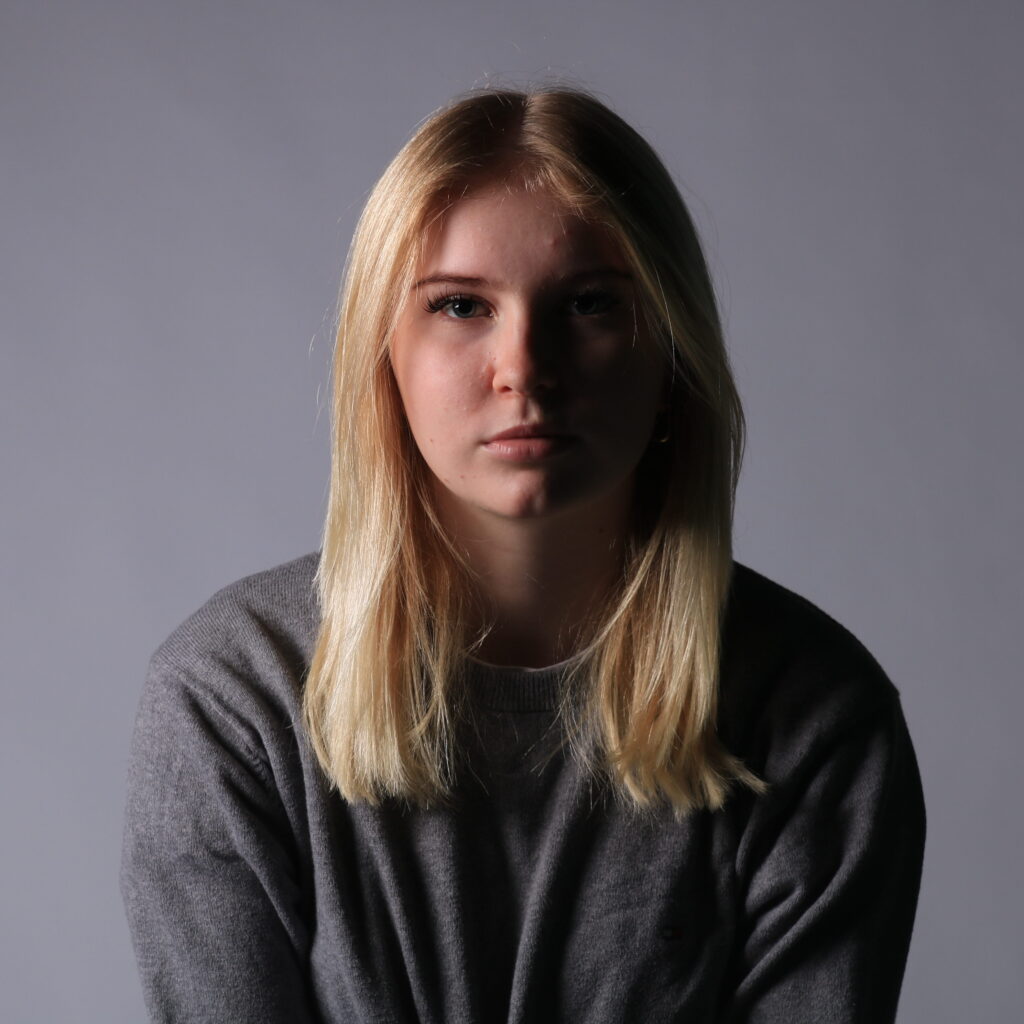
This is one of my Butterfly Lighting photographs that I tried experimenting with.
Both of these Images use the same equipment and settings, I struggled to get a clear dark Butterfly shadow under the nose but it has been successfully produced. At least that’s what I can see.


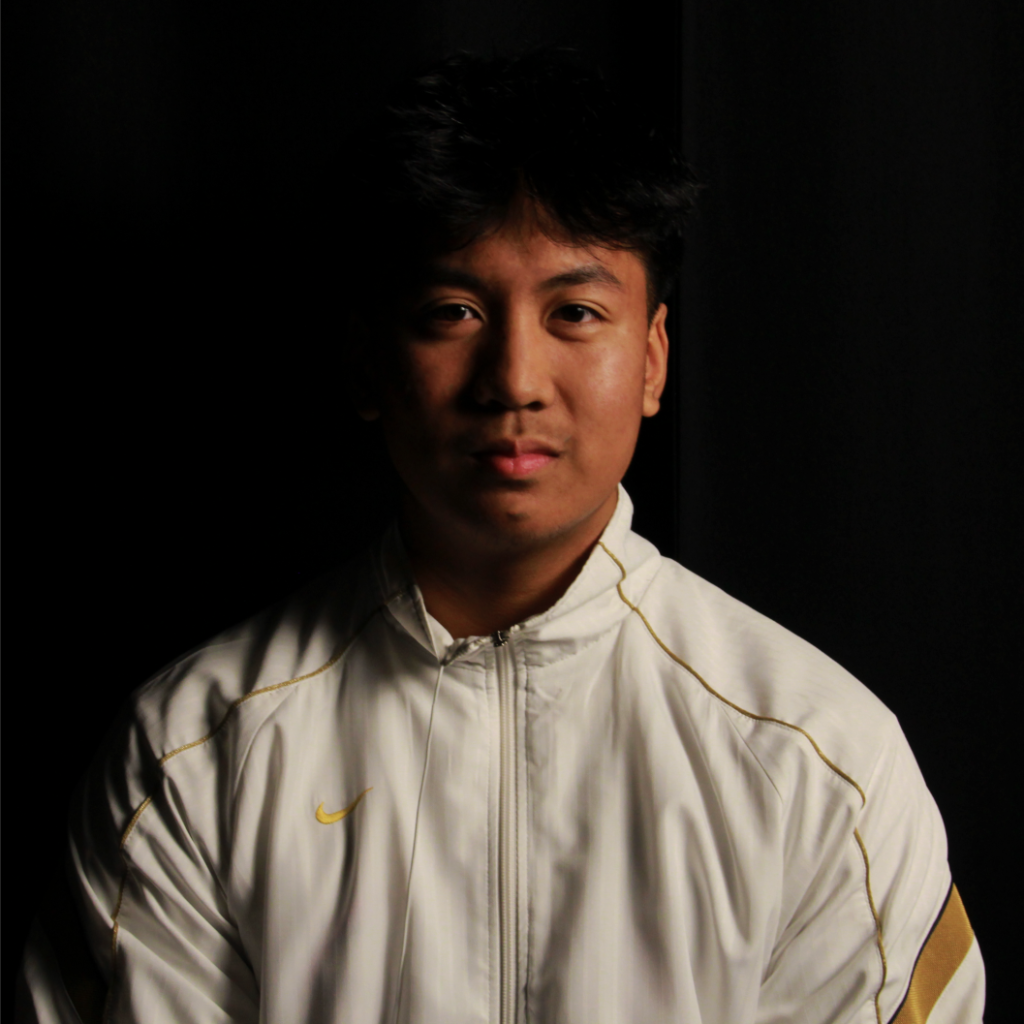
This is one of my Chiarascuro photographs that I tried experimenting with.
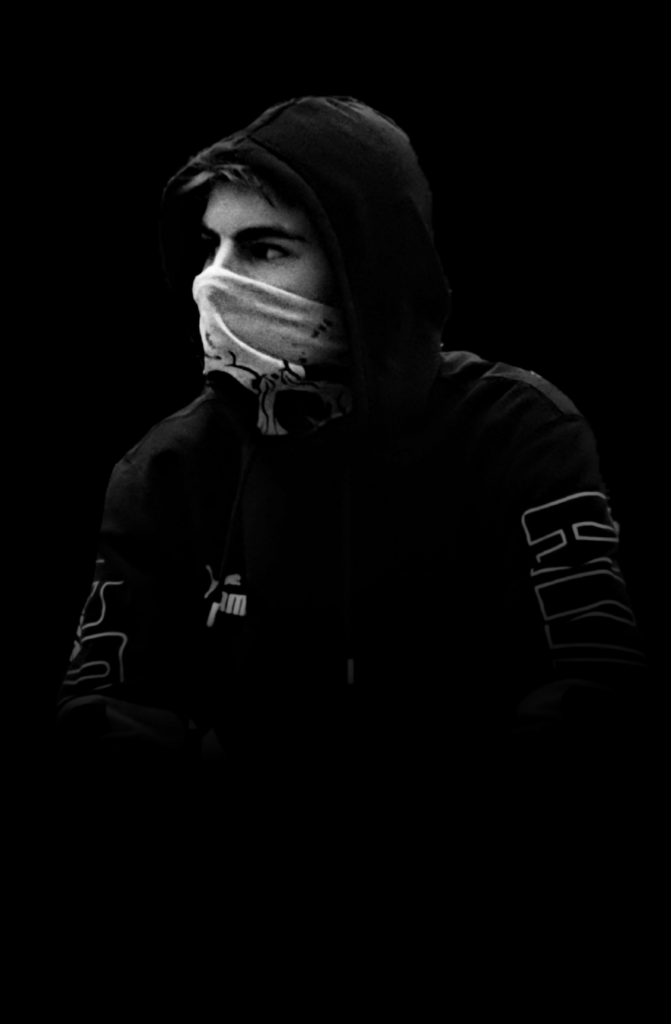
Photo A
This Image uses a bright light high-lighting the left side of the face and using a dimmed light from above. The camera produced a bit of a grain on the image and highlights some shadows and reveals my head and shoulders clearer.
Photo B
This Image uses a slightly darker light for the side of my face and from above. The camera didn’t produce a film grain, which is good as it makes the image look a lot smoother and untouched. The highlights are almost barely visible, some shadows revealing the tone in my Buff aren’t as clear.
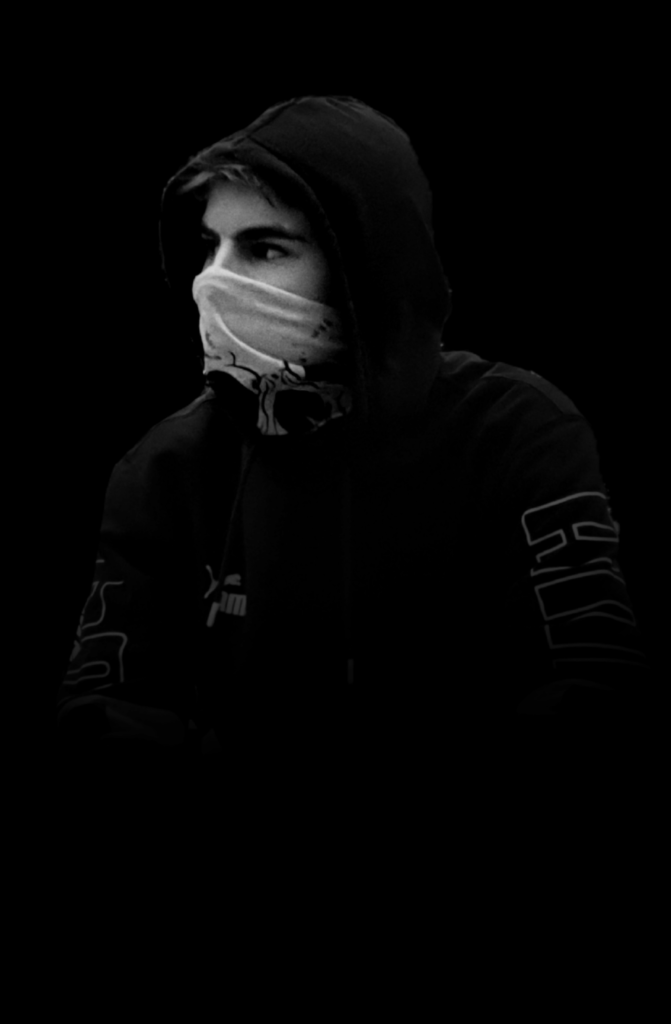
Inspirations: Portraiture
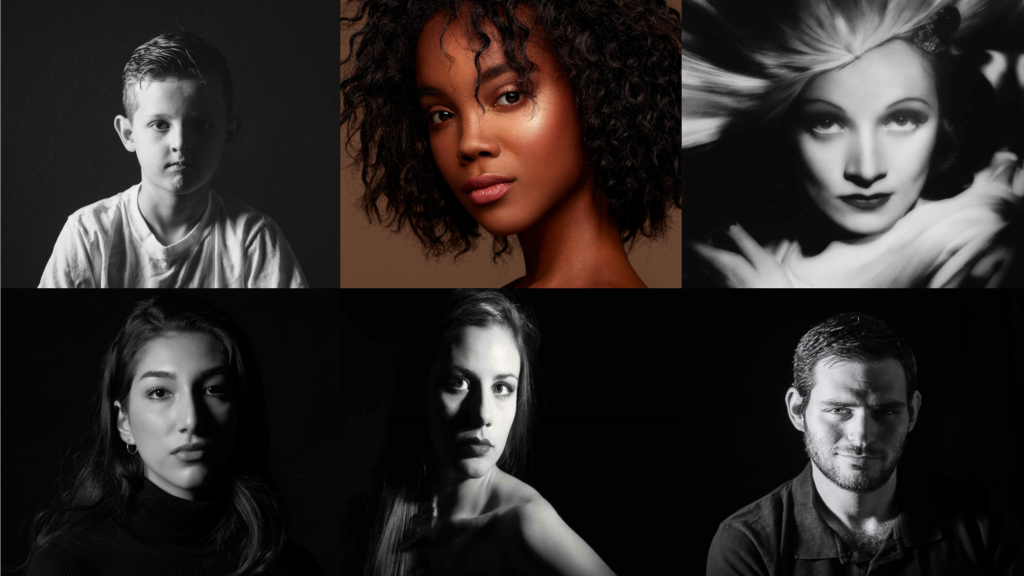
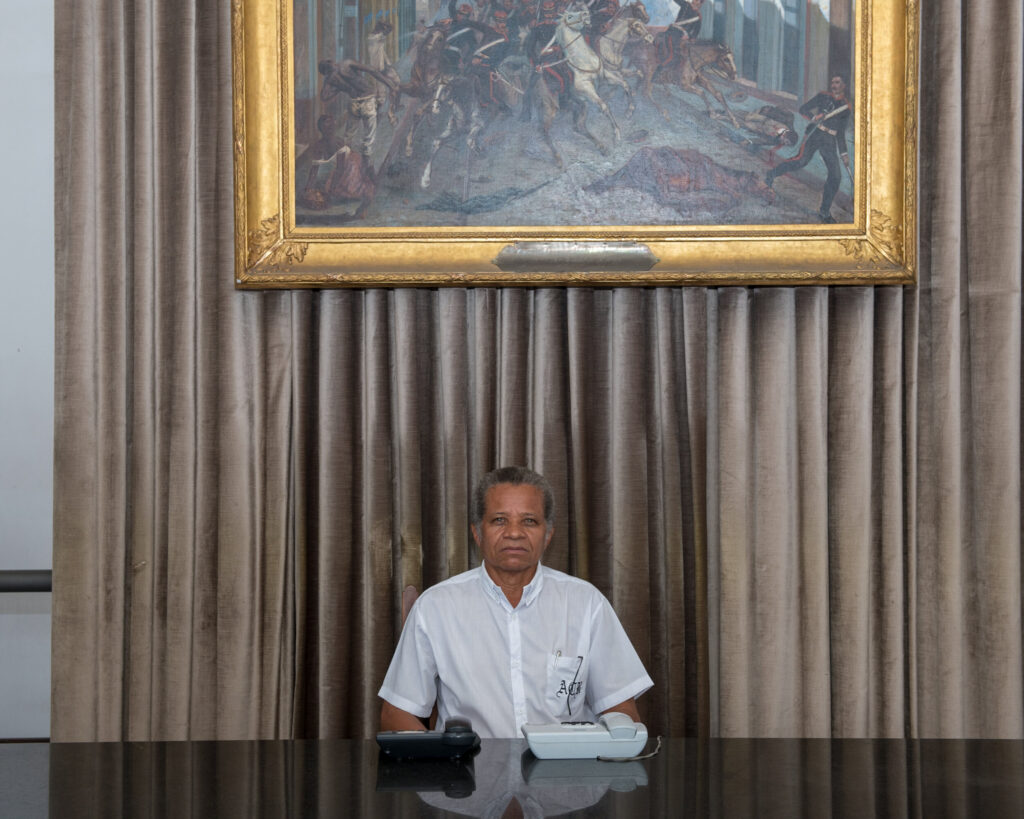
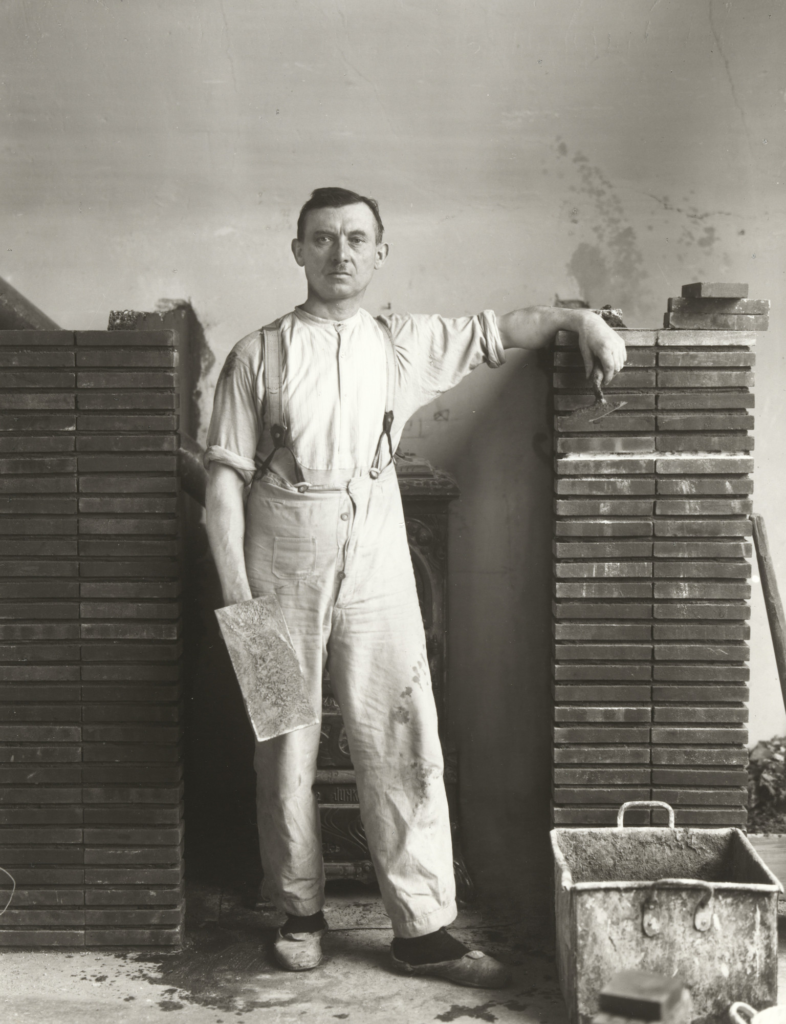
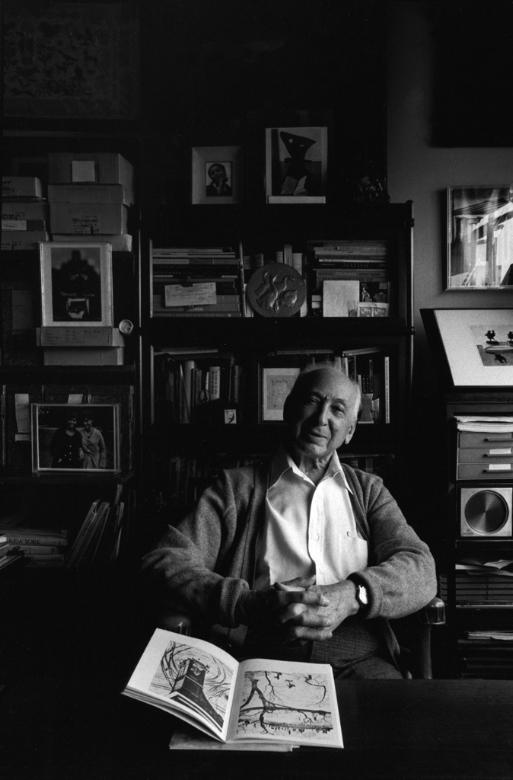
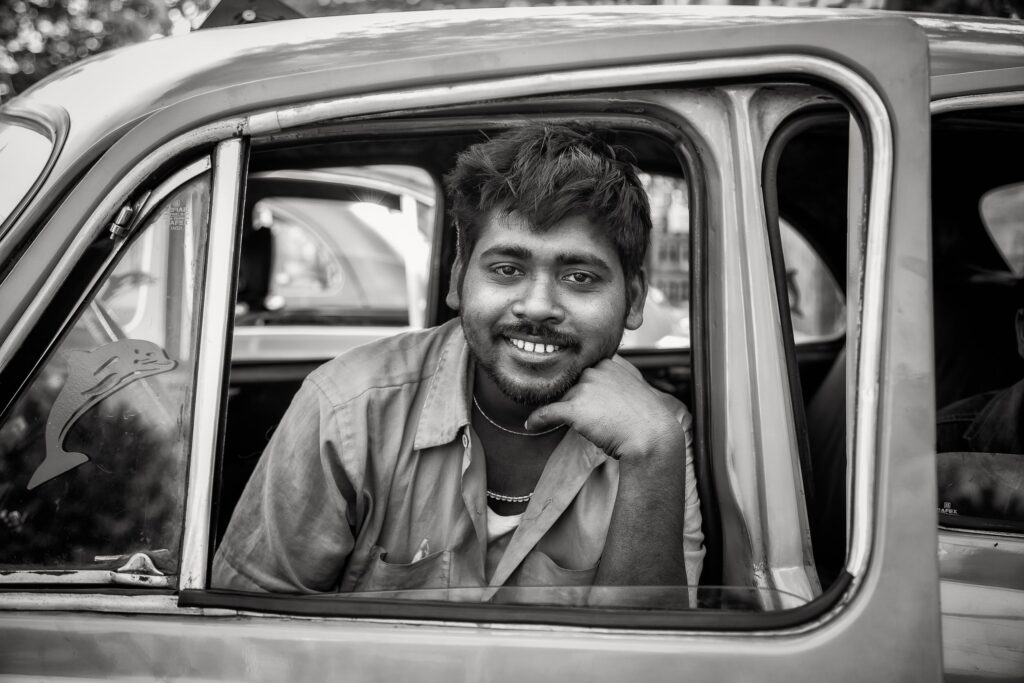
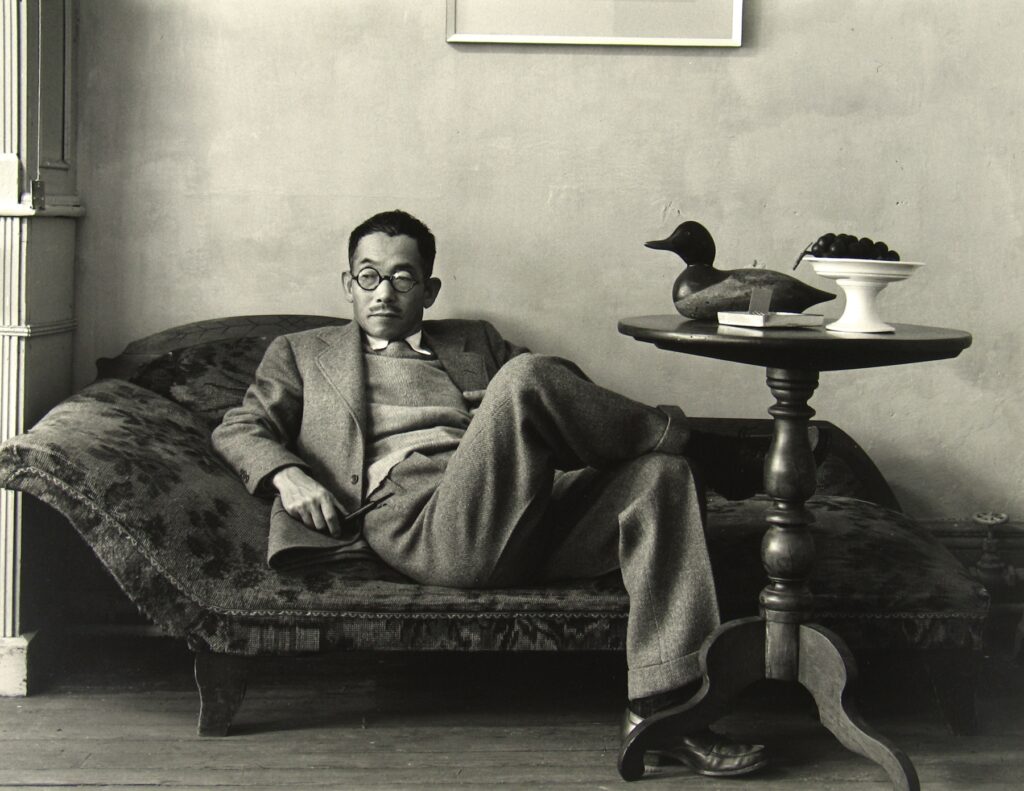
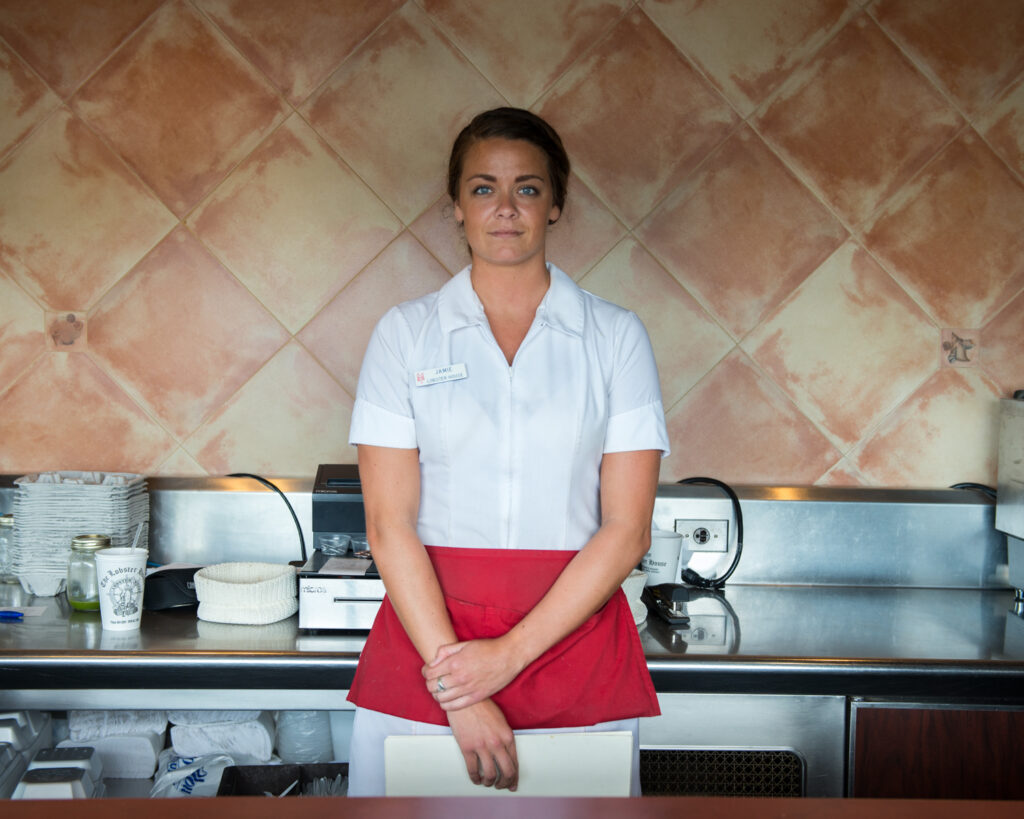
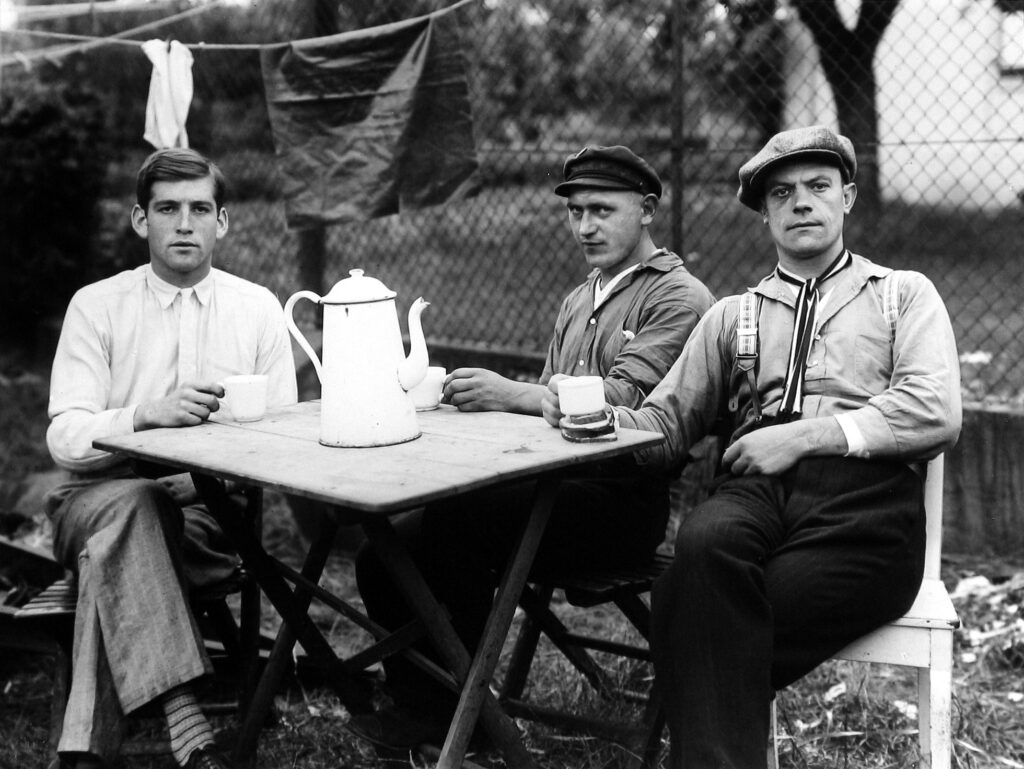
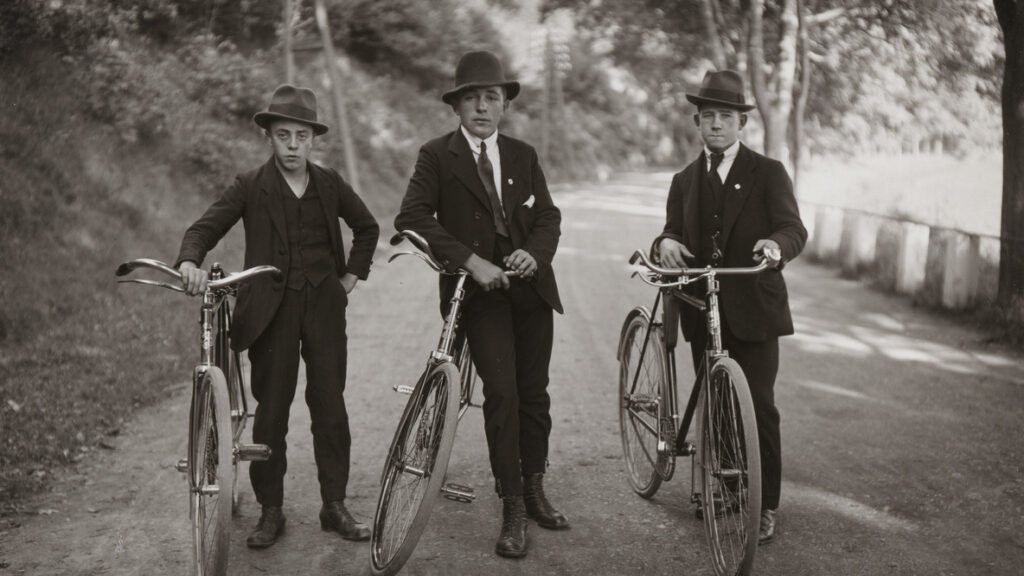
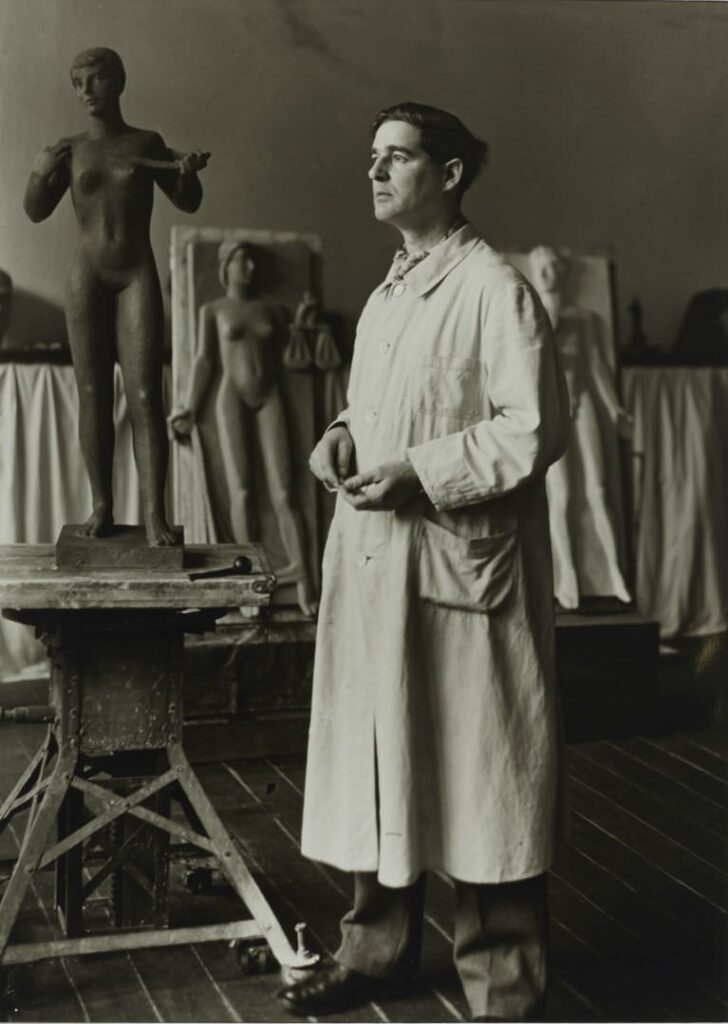
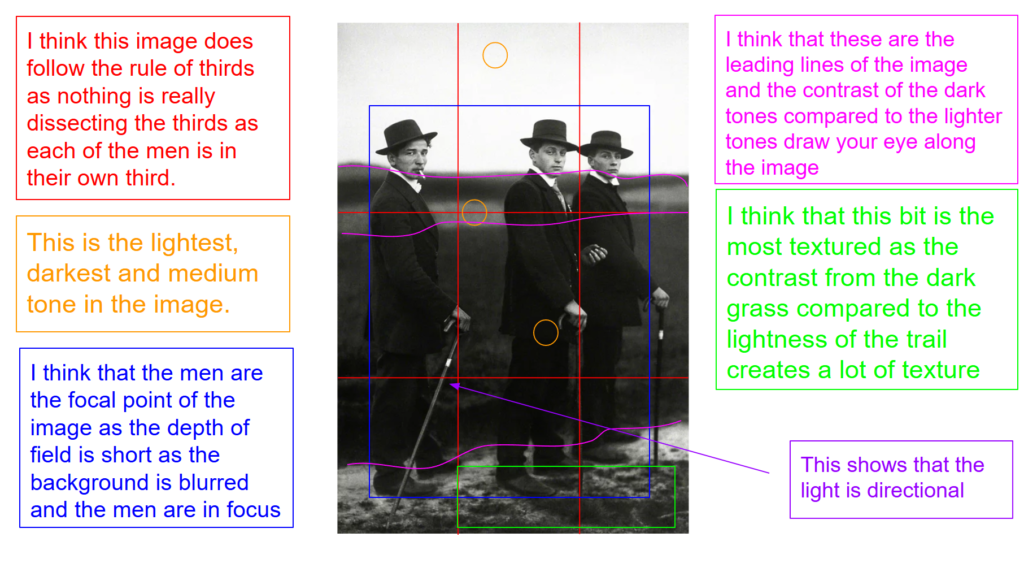
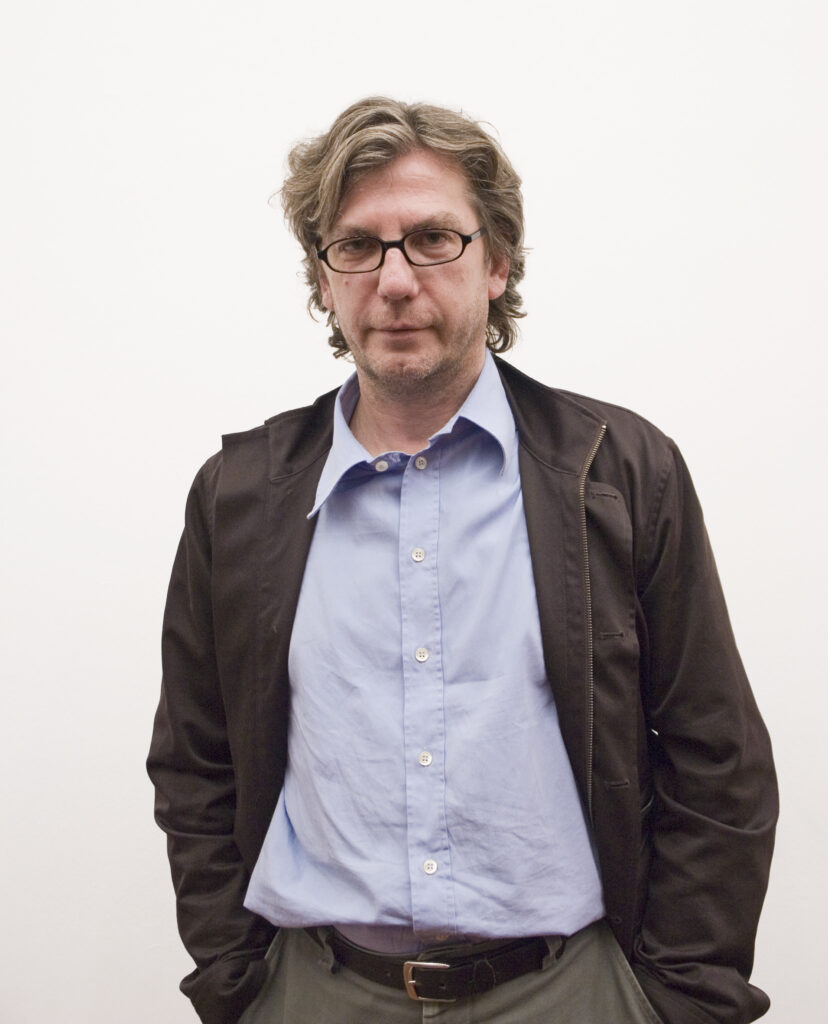
Some photographers we were given to look at for Inspiration with our Photographs are Annie Leibovitz, Irving Penn, John Rankin, Nadav Kandar, Richard Avedon, Yousef Karsh, David Bailey, Mario Testino, Steve McCurry, Jill Greenberg, Nick Knight, Tim Walker, Corrine Day, Jane Bown, Rineke Djikstra and Thomas Ruff.
Annie Leibovitz
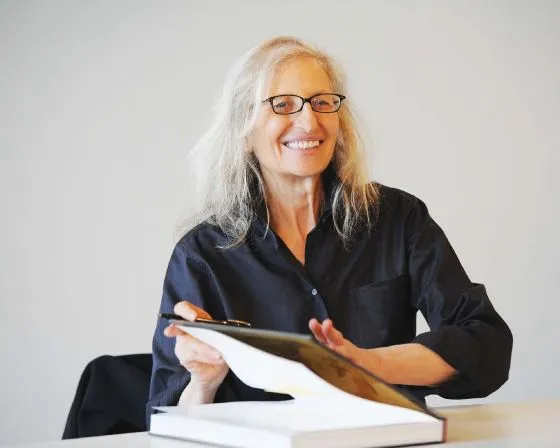
Annie Leibovitz is known for her stunning portraits of celebrities, often capturing them in intimate and sometimes unconventional settings.
She often uses large-format cameras and natural lighting. Her subjects are usually posed in ways that reveal their personalities. She doesn’t rely heavily on filters but rather focuses on composition and lighting.
Irving Penn
Irving Penn was a master of still life and fashion photography, known for his clean, elegant compositions and use of natural light.
He utilized a variety of cameras, including large-format and medium-format. Penn often uses simple backgrounds and dramatic lighting to enhance the subject.
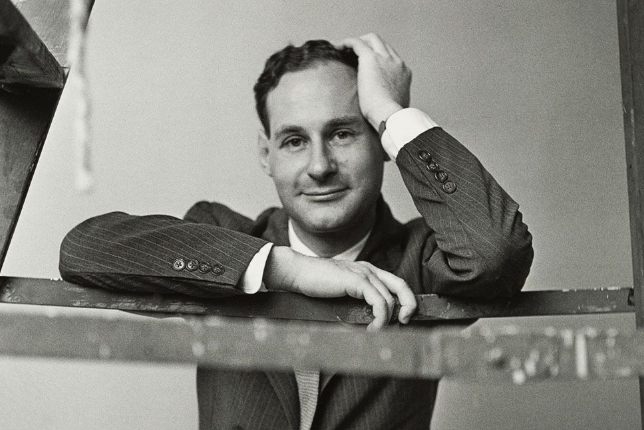
John Rankin
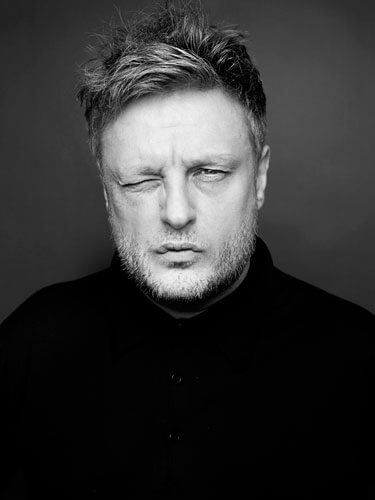
John Rankin is famous for his bold, provocative style, often pushing boundaries in fashion and portrait photography.
Rankin uses digital cameras. He often employs creative lighting and post-production techniques but tends to keep his images raw and expressive.
Nadav Kandar
Nadav Kandar is recognized for his evocative landscapes and portraits that often explore themes of identity and place.
He often uses medium-format cameras and emphasizes natural light. Kander’s work is characterized by its contemplative nature.
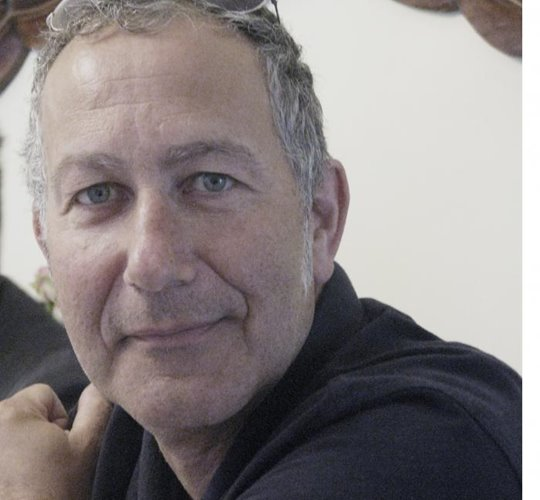
Richard Avedon
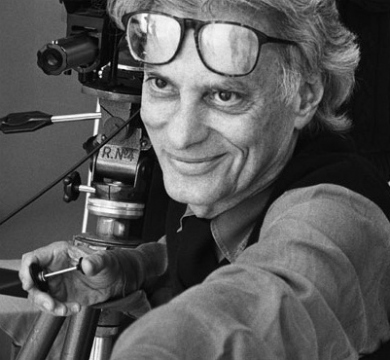
Richard Avedon revolutionized fashion photography with his dynamic, expressive images that focused on the personality of the subjects.
Avedon used large-format cameras. His work often captures the essence of his subjects through careful posing and lighting.
Yousef Karsh
Yousef Karsh is celebrated for his iconic portraits of notable figures, using dramatic lighting to convey deep emotion.
Karsh used large-format cameras and dramatic lighting to create powerful images that convey emotion and character.
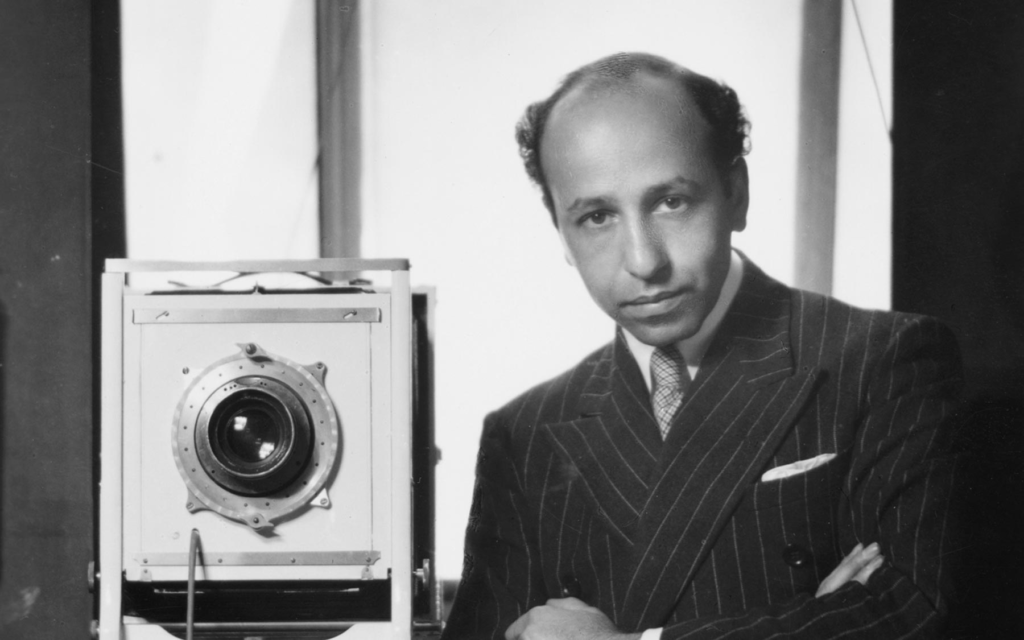
David Bailey
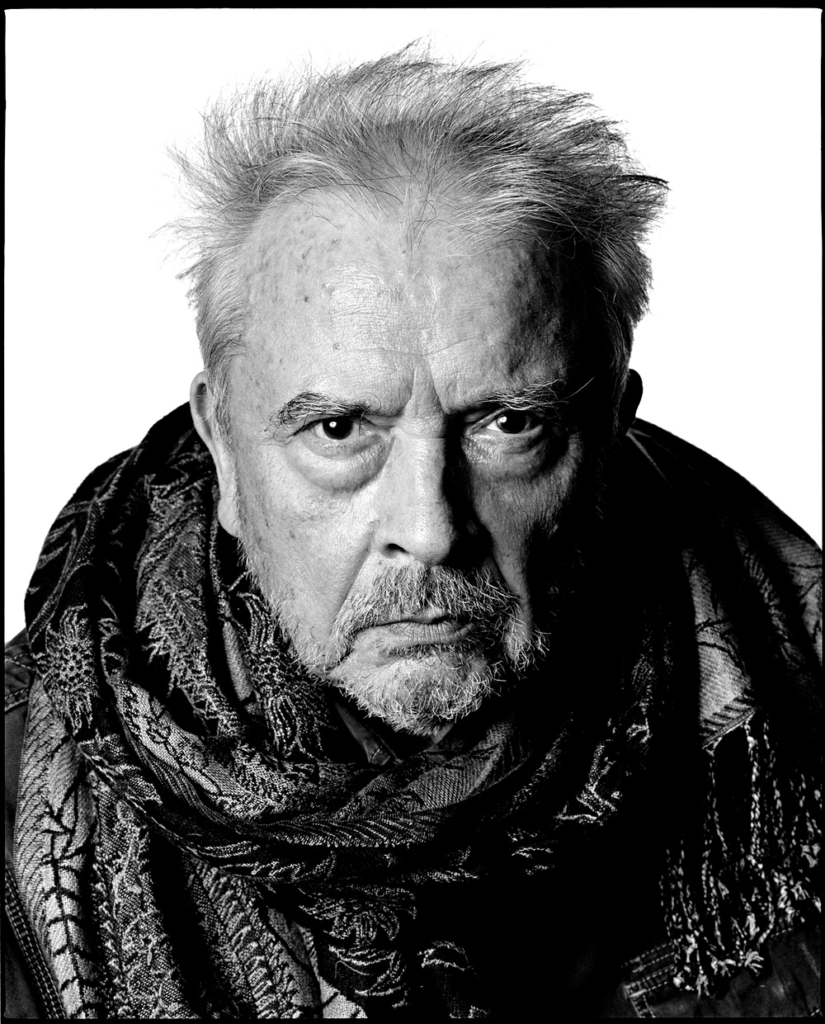
David Bailey is a legendary fashion photographer known for his raw, energetic style and ability to capture the essence of his subjects.
Bailey often used 35mm cameras and was known for his candid style. His work in fashion photography helped define the swinging ’60s, capturing the essence of youth and rebellion.
Mario Testino
Mario Testino is famous for his glamorous and vibrant fashion photography, often working with top models and celebrities.
Testino often uses digital cameras. He has a keen eye for capturing the personality of his subjects, often using vibrant colours and soft lighting.
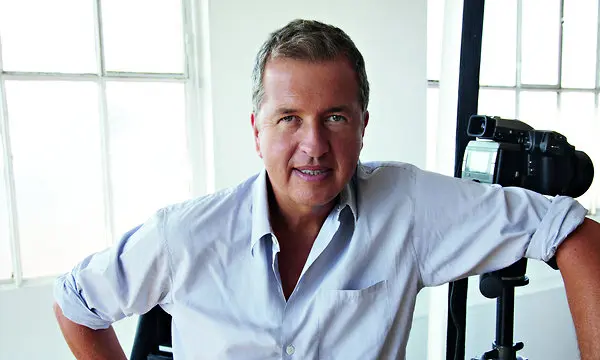
Steve McCurry
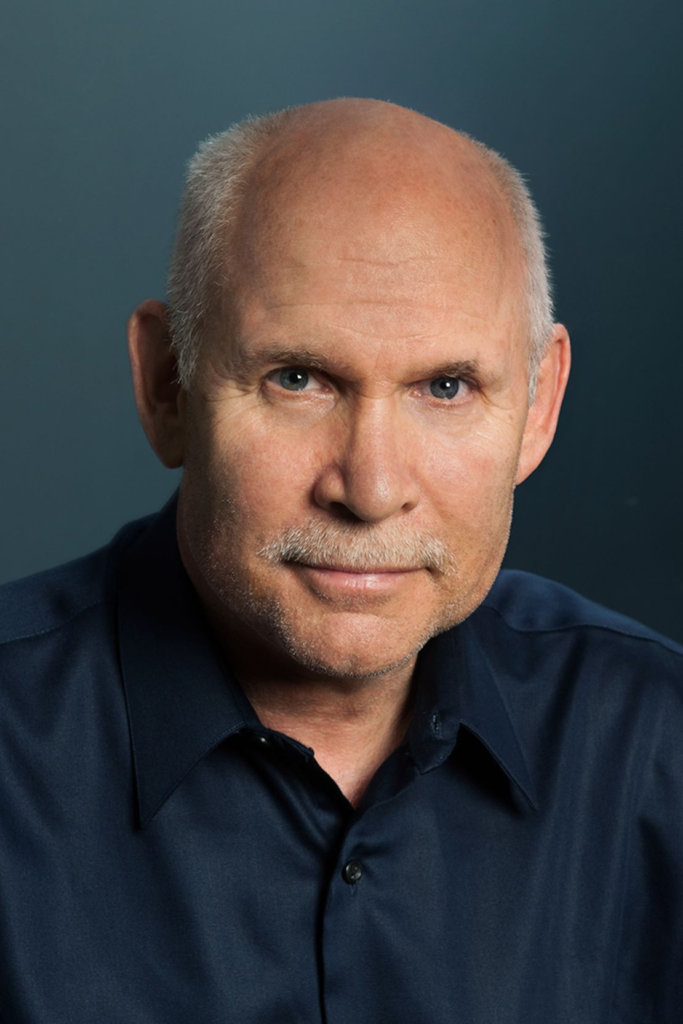
Steve McCurry is renowned for his striking documentary photography, particularly his iconic “Afghan Girl” portrait.
McCurry often uses 35mm cameras. His iconic “Afghan Girl” photograph showcases his ability to capture human emotion in a single frame.
Jill Greenberg
Jill Greenberg is known for her striking and often controversial portraits, particularly of children and animals, using dramatic lighting and post-production techniques to evoke strong emotions.
Greenberg’s portraits often involves dramatic lighting and post-production techniques. She often captures the essence of her subjects through expressive facial expressions.
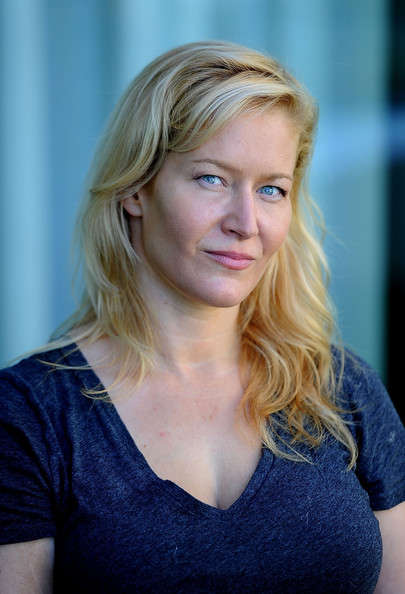
Nick Knight
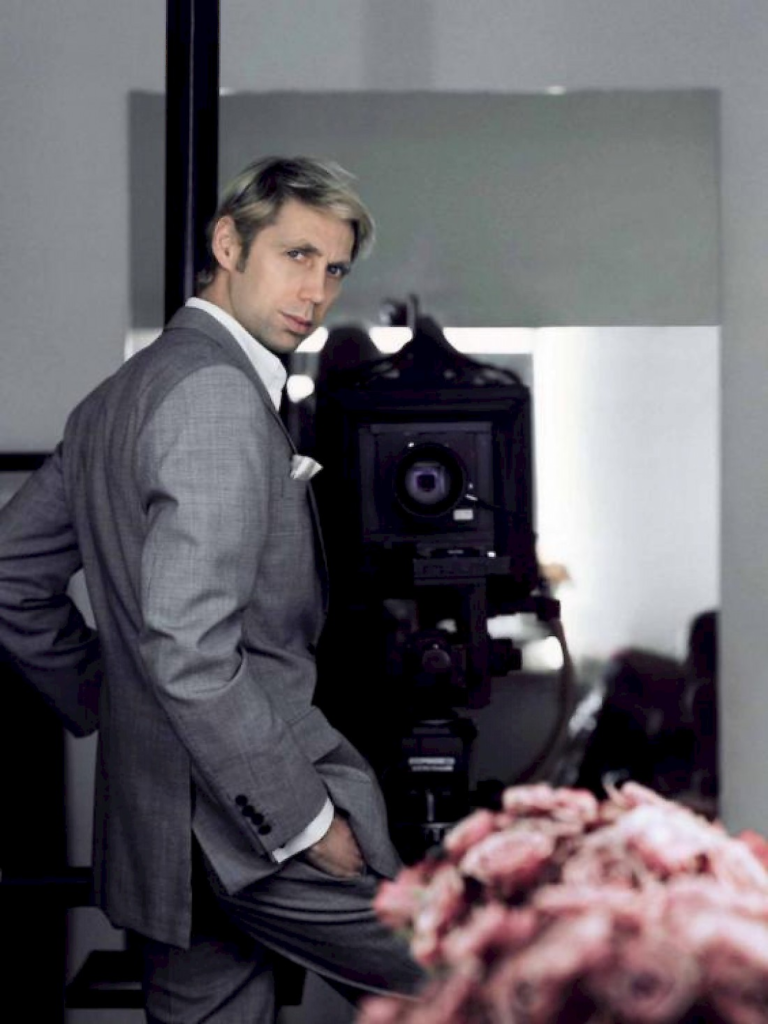
Nick Knight is a highly innovative fashion photographer who blends fine art with commercial photography, often experimenting with digital technology and pushing the boundaries of traditional fashion imagery.
Knight often incorporates digital manipulation and experimental techniques. His images are known for their boldness and creativity.
Tim Walker
Tim Walker is celebrated for his whimsical, dreamlike photographs that often tell a story, using elaborate sets, props, and a sense of fantasy.
Walker uses large-format cameras. His unique sets and imaginative storytelling set his work apart.
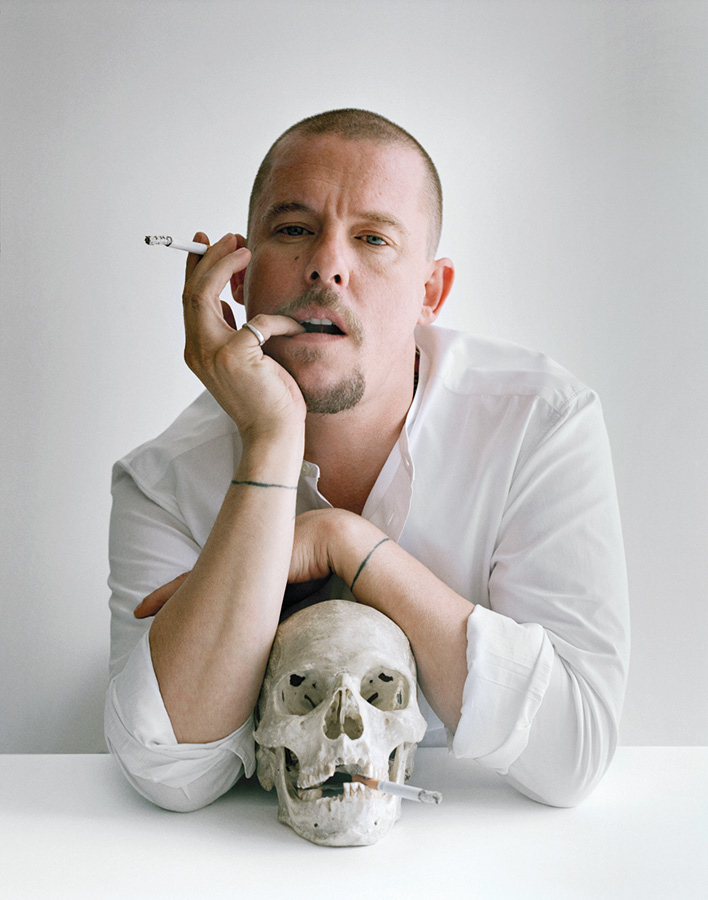
Corrine Day
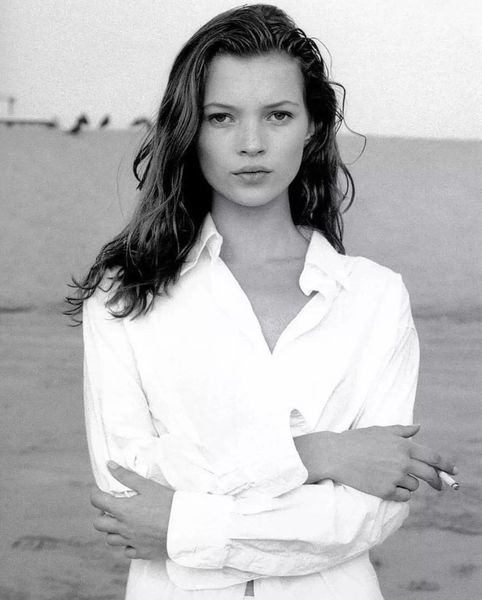
Corinne Day was a pioneer in the grunge aesthetic of the 1990s, known for her raw, unposed style that captured the authenticity of her subjects, often focusing on youth culture.
Day’s documentary-style photography often uses natural light and a raw aesthetic. Her work is characterized by its authenticity and emotional depth.
Jane Bown
Jane Bown was renowned for her intimate and candid portraits of celebrities and everyday people, using natural light and a documentary approach to reveal the essence of her subjects.
Bown often uses a medium-format camera. Her work captures the essence of her subjects with minimal distractions.
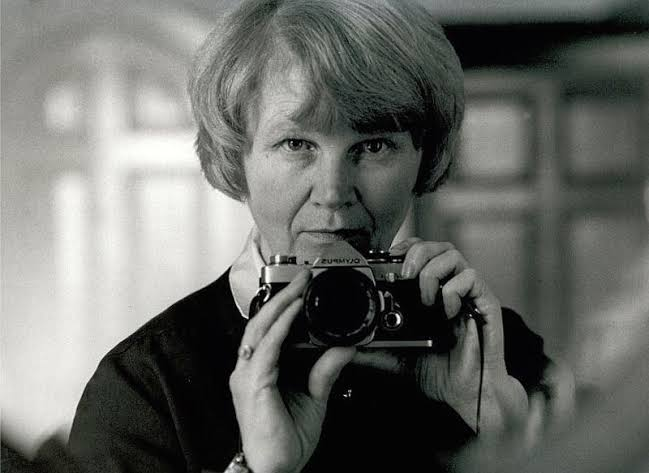
Rineke Djikstra
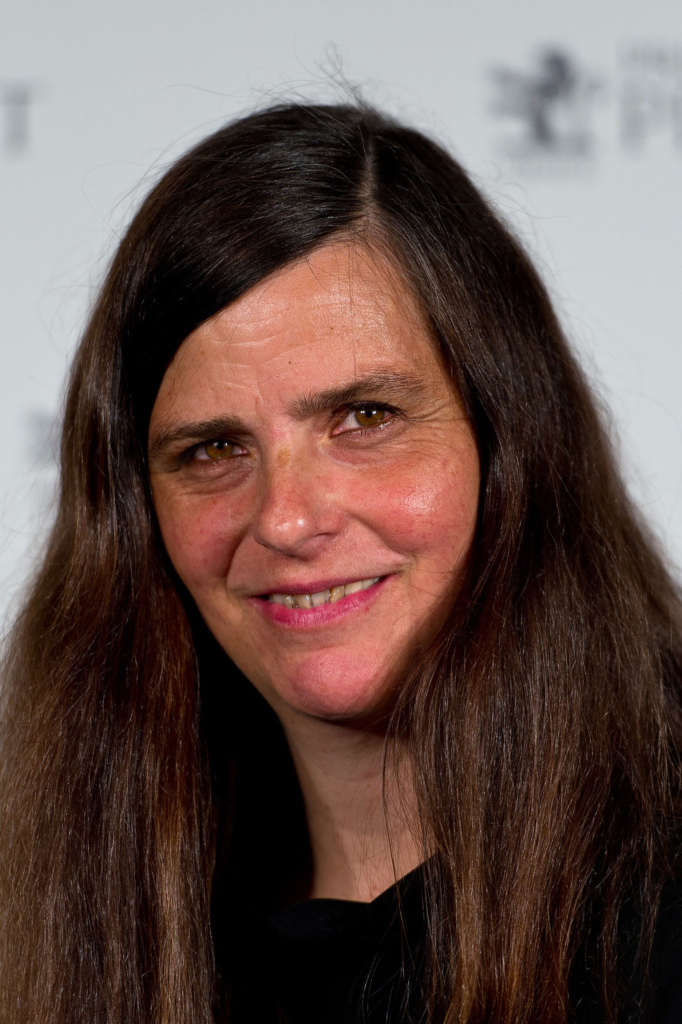
Rineke Dijkstra is known for her striking portraits that often highlight the transition between adolescence and adulthood, capturing her subjects in a way that emphasizes their vulnerability and strength.
Dijkstra uses large-format cameras. Her work often explores themes of identity and transition.
Thomas Ruff
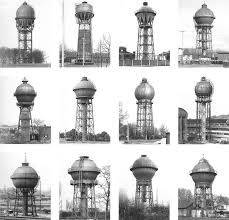
Thomas Ruff is recognized for his conceptual approach to photography, often exploring the boundaries between reality and representation through large-scale images, digital manipulation, and a focus on the medium itself.
Ruff uses digital photography and often experiments with different techniques, including large-scale prints and manipulation. His work challenges traditional notions of photography.
Creative Responses
Gel Lighting
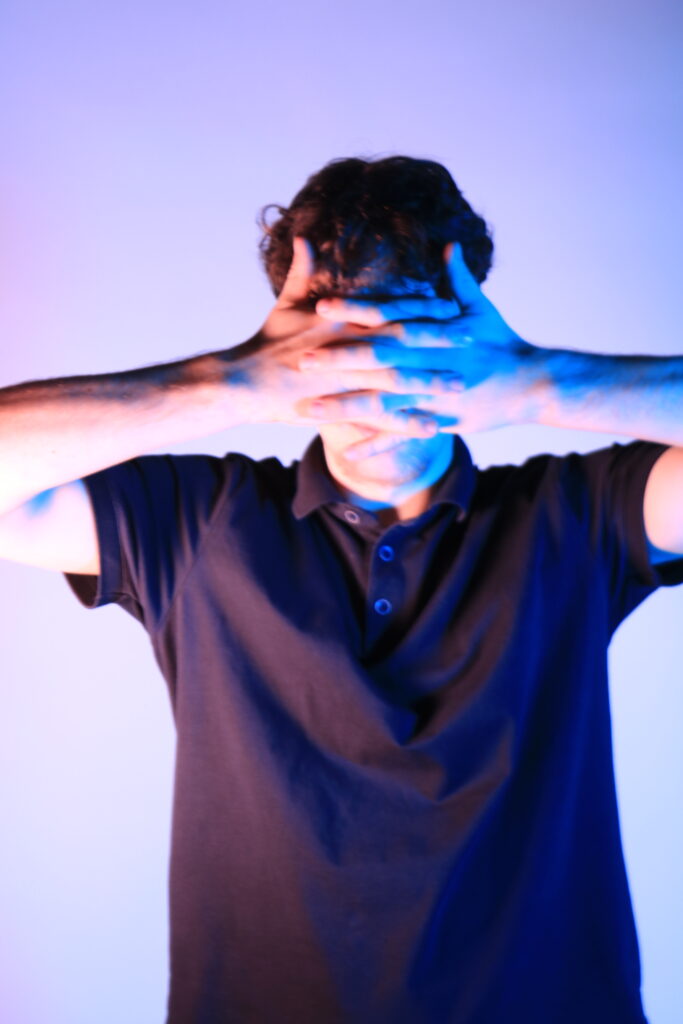
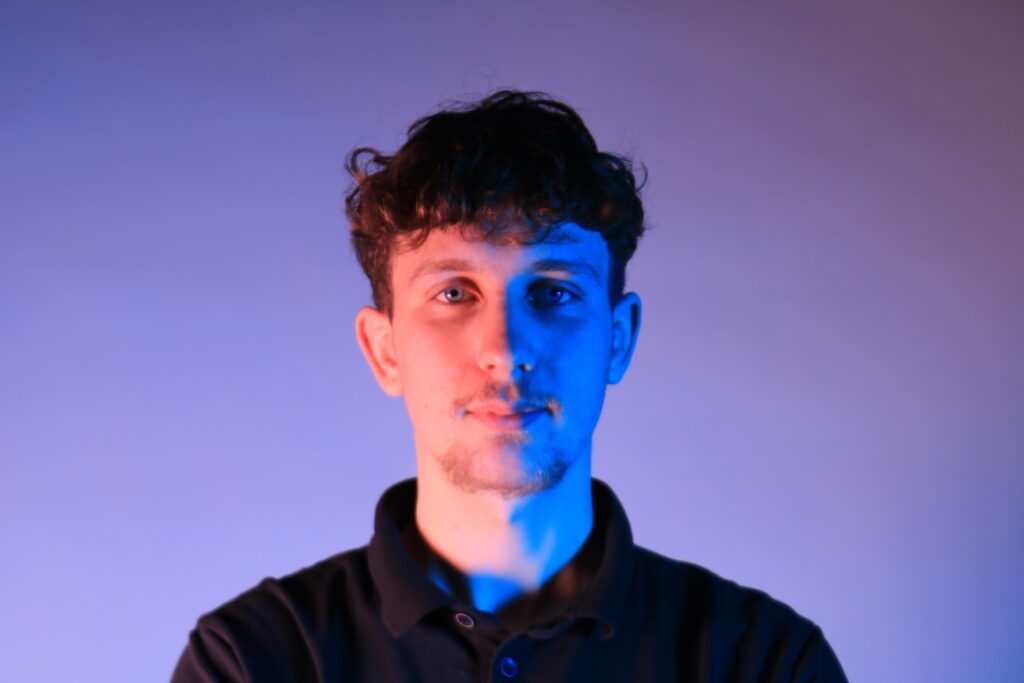
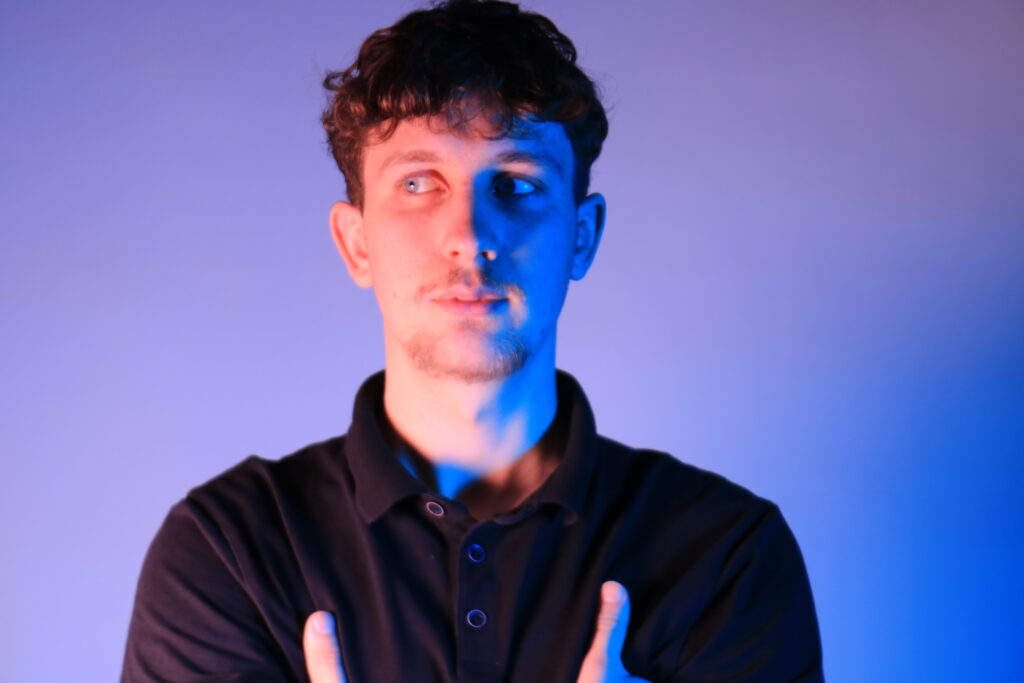
We Experimented with a lighting technique called Gel lighting. Gel lighting in photography refers to the use of coloured gels placed over light sources to create specific colour effects in images. These gels are typically made from thin sheets of coloured plastic or acrylic and can be attached to lights to modify their colour temperature or add creative hues to a scene. Knowing this, it has helped me produce the following photographs.

The reason that we Photographers use gels are for various purposes, including:
1. Colour Correction: To adjust the colour temperature of the light to match the ambient light or to create a specific mood.
2. Creative Effects: To add colour to shadows or highlights, enhancing the overall aesthetic of the photo.
3. Separation and Depth: To add colour behind subjects, helping them stand out from the background and creating depth in the composition.
Best Gel Photographs
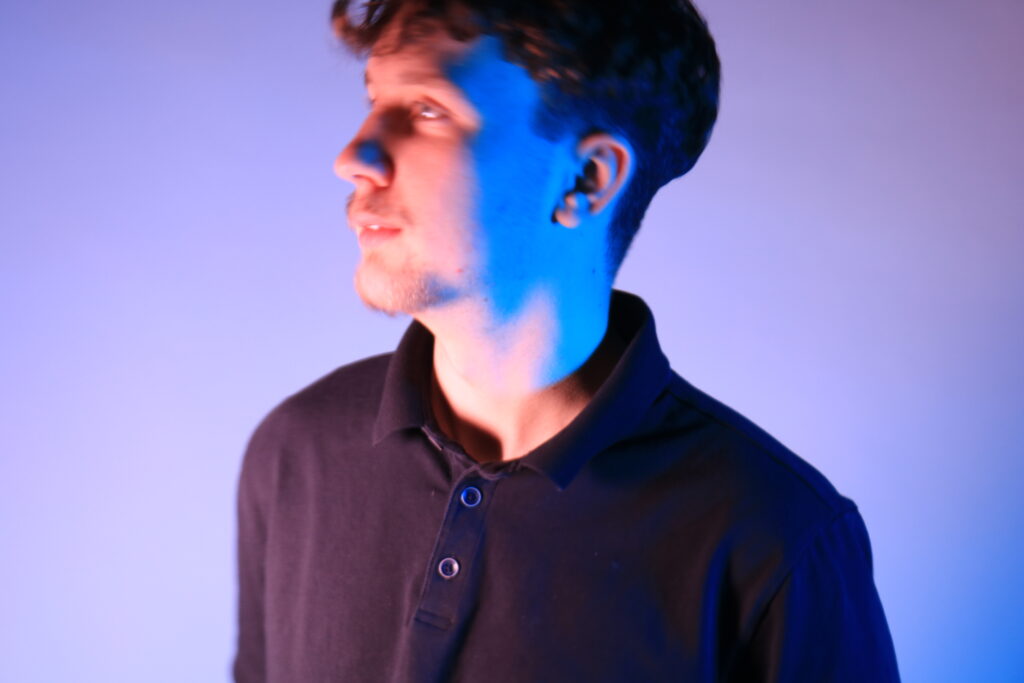
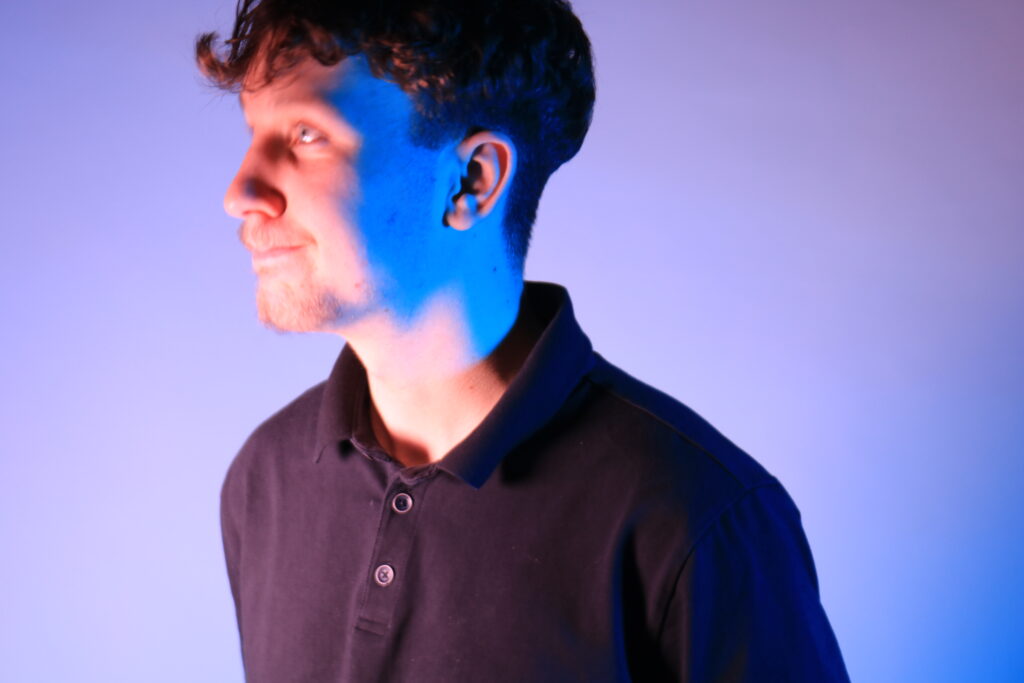
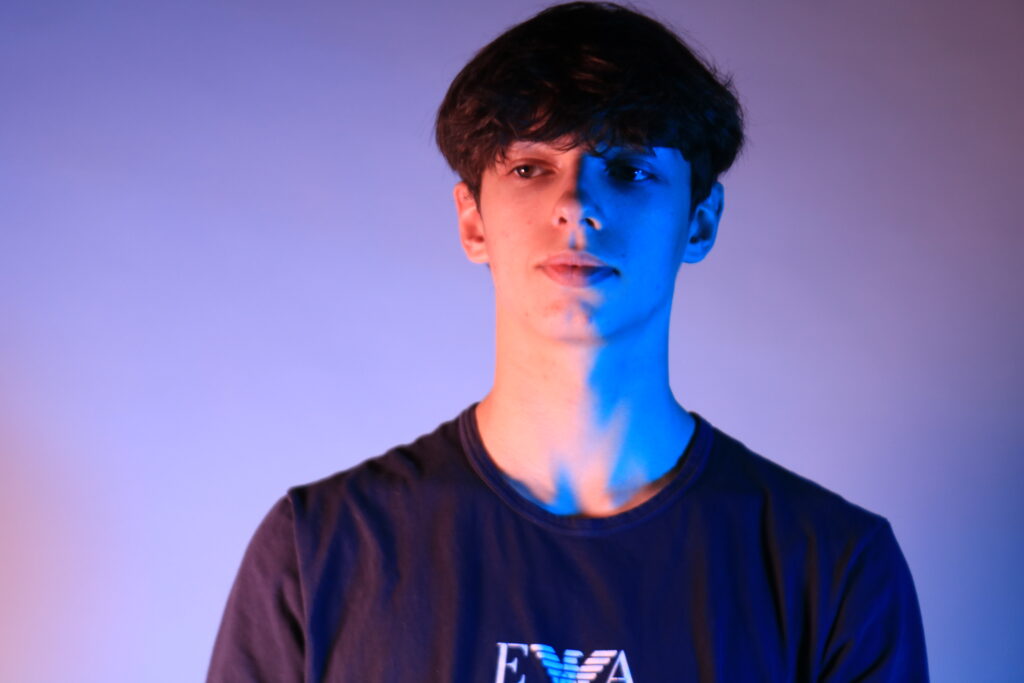
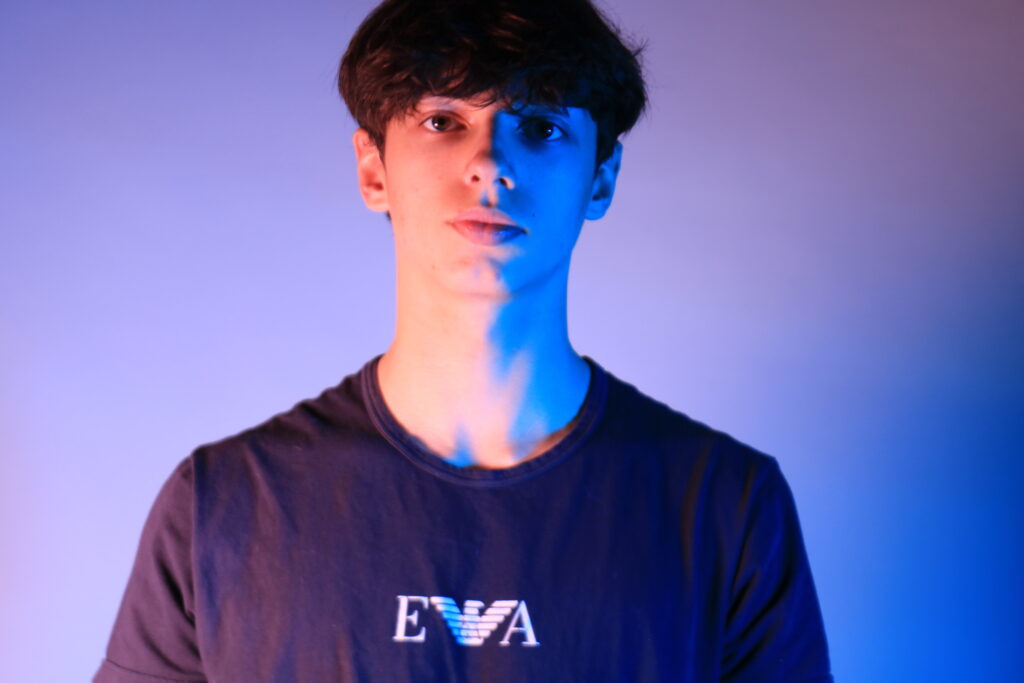
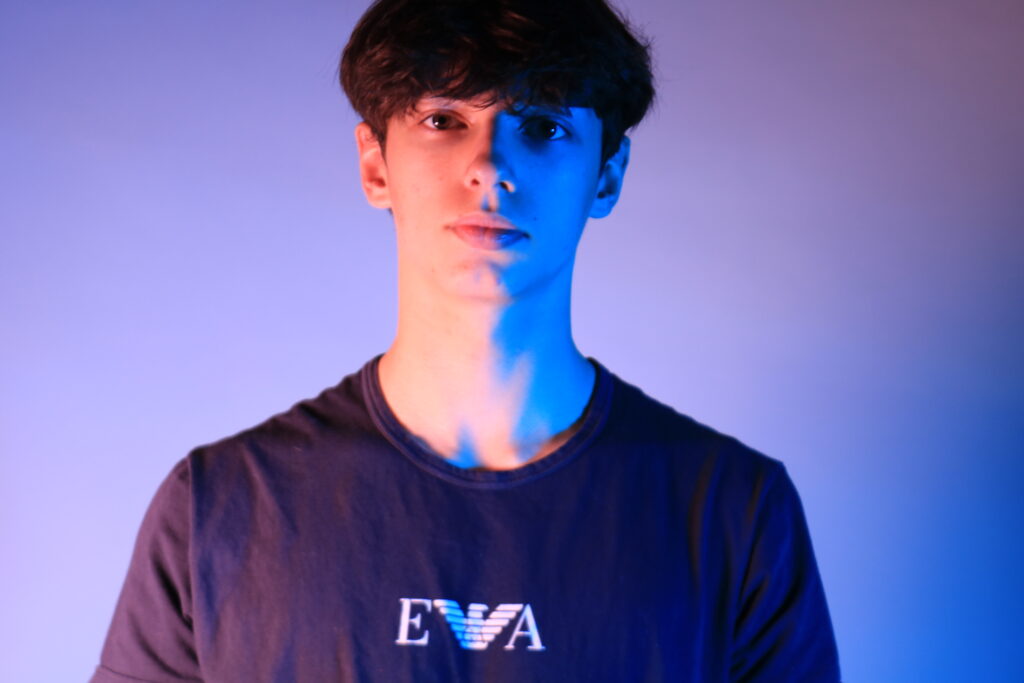
Edited Gel Photographs
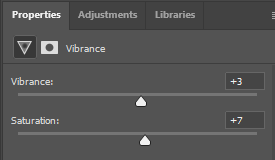
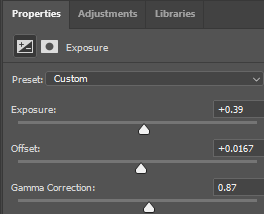
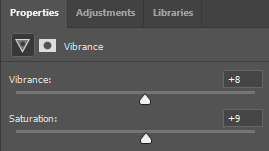
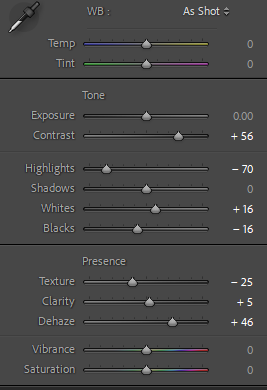
Even though I clearly stated that the Photographs from above are my “Best Gel Photographs”, that doesn’t necessarily mean that I am not going to edit them. So I boosted the Vibrancy to 100 and kept the Saturation to 0, which made the Red mixed Orange stand out a lot more.


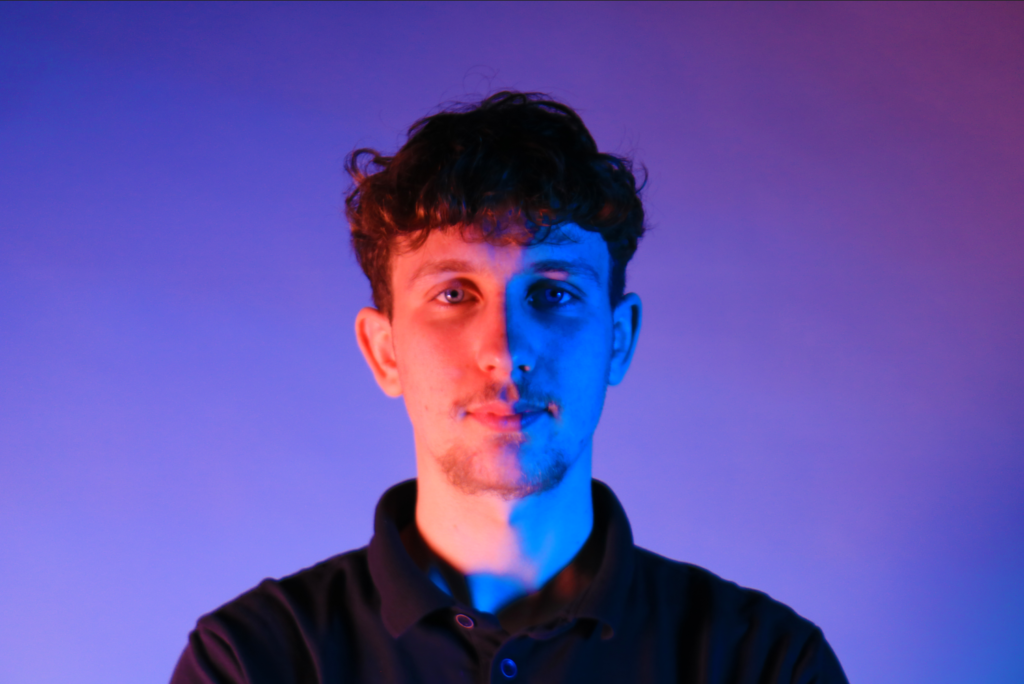

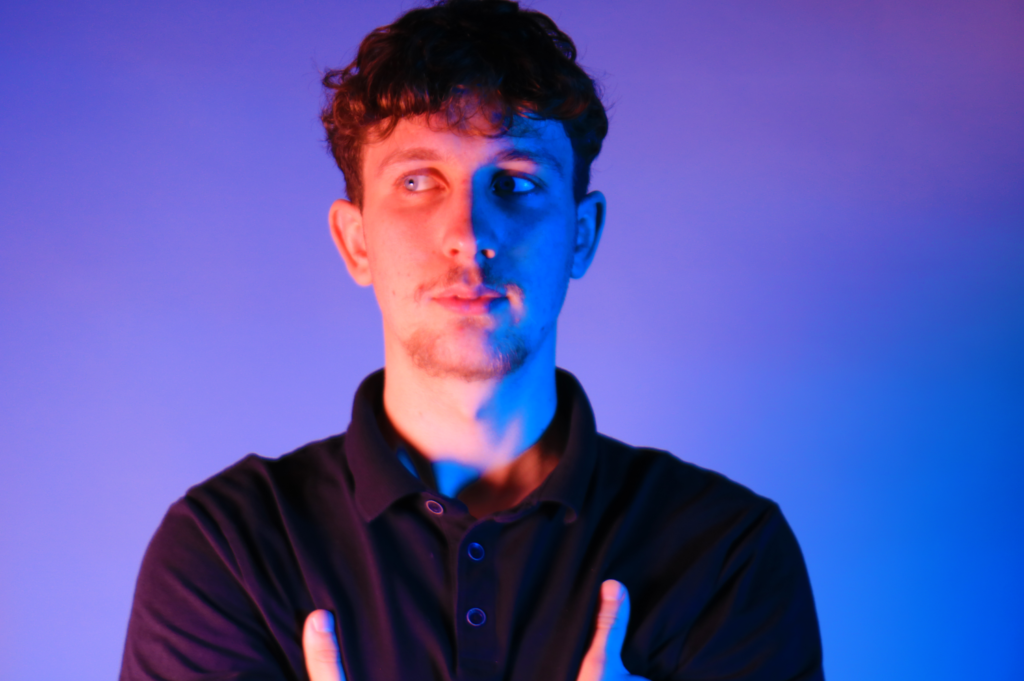

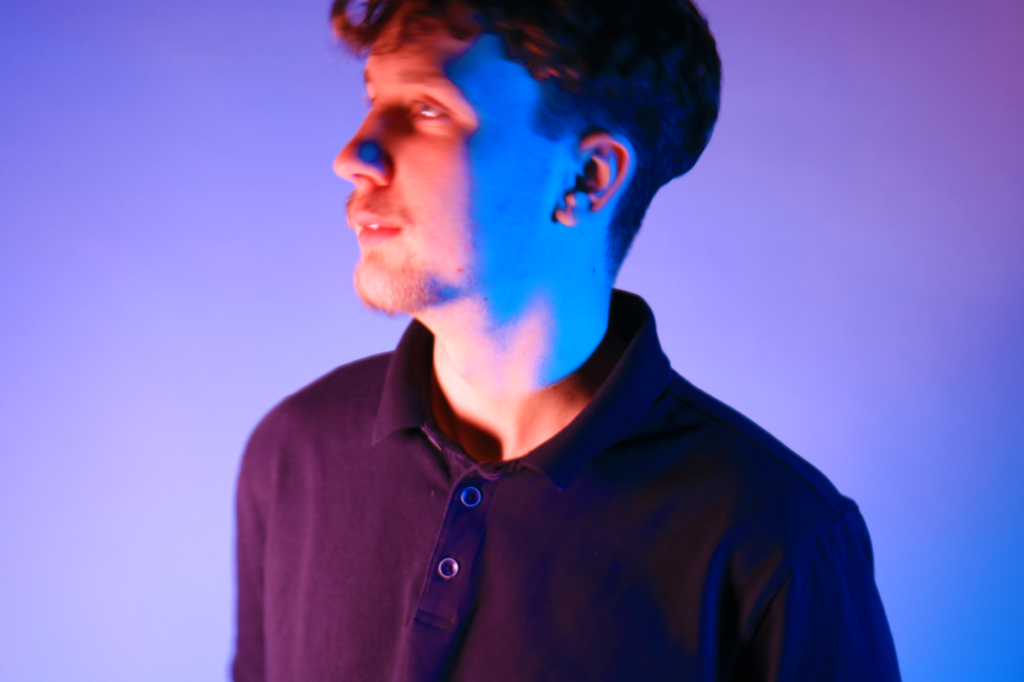

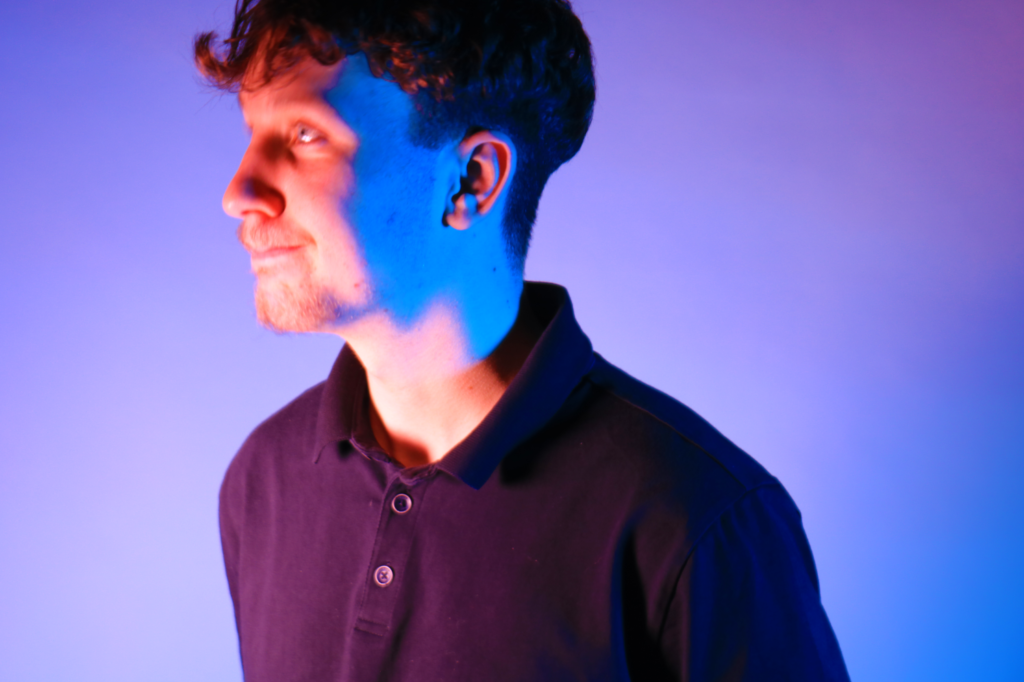
I wanted my 2 models to have their own individual colours associated with them. Like with my previous model Eddie, I associated Red and Blue with him, and for my Upcoming model Vincent I associated Orange and Purple. I used the same Gel Plastic colours and the same Vibrancy but I also changed the Hue in the Photograph to produce the following.


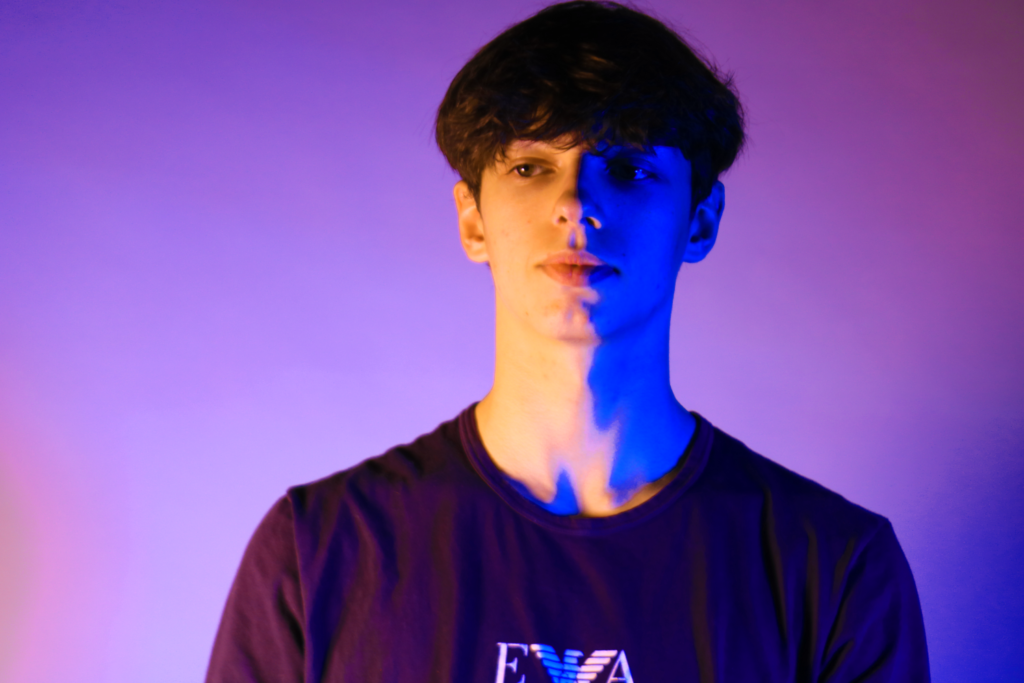

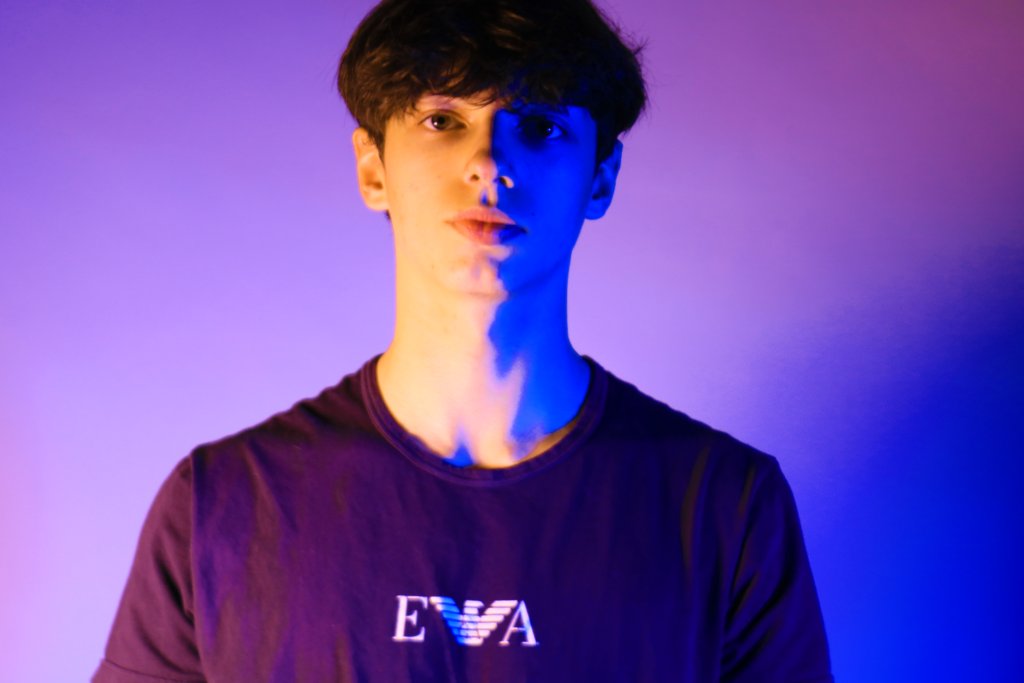

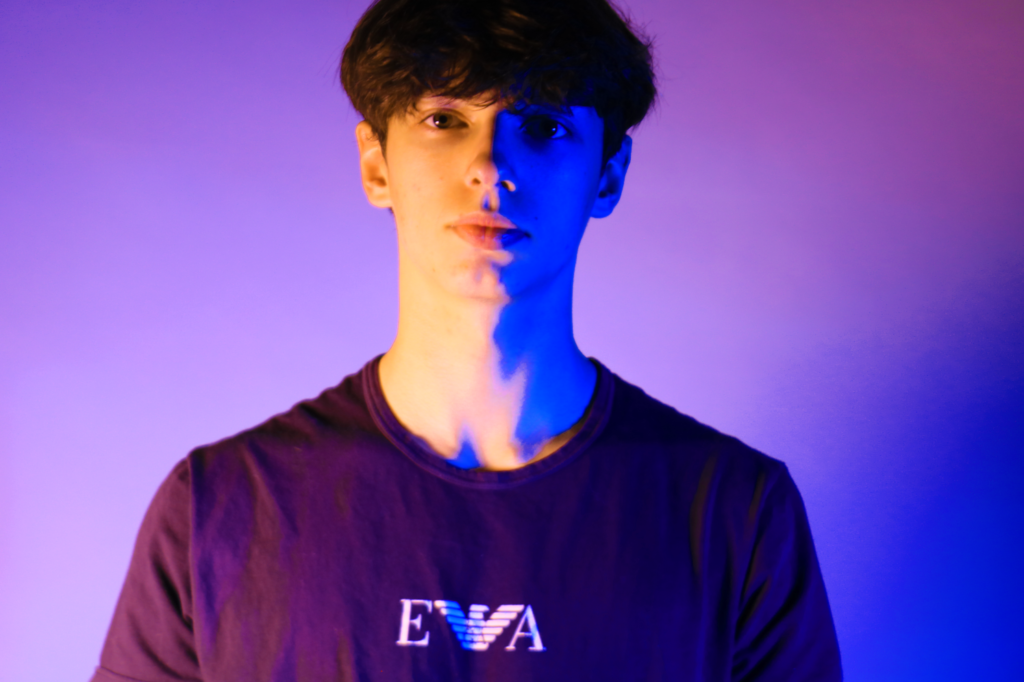
Photo Montages
Juxtaposition
For the purposes of a ‘juxtaposition in photography’ definition, we can say that juxtaposition photography involves combining two or more elements in the same picture, highlighting the interesting contrast between them, to create an eye-catching and thought-provoking image.
Or to be specific, juxtaposition is when you put two opposite things together, and the contrast of those two things becomes interesting.
For example:
- Fat person next to skinny person
- Tall person next to short person
- Dark colors next to light colors
- Circles next to rectangles
- Old people next to young people

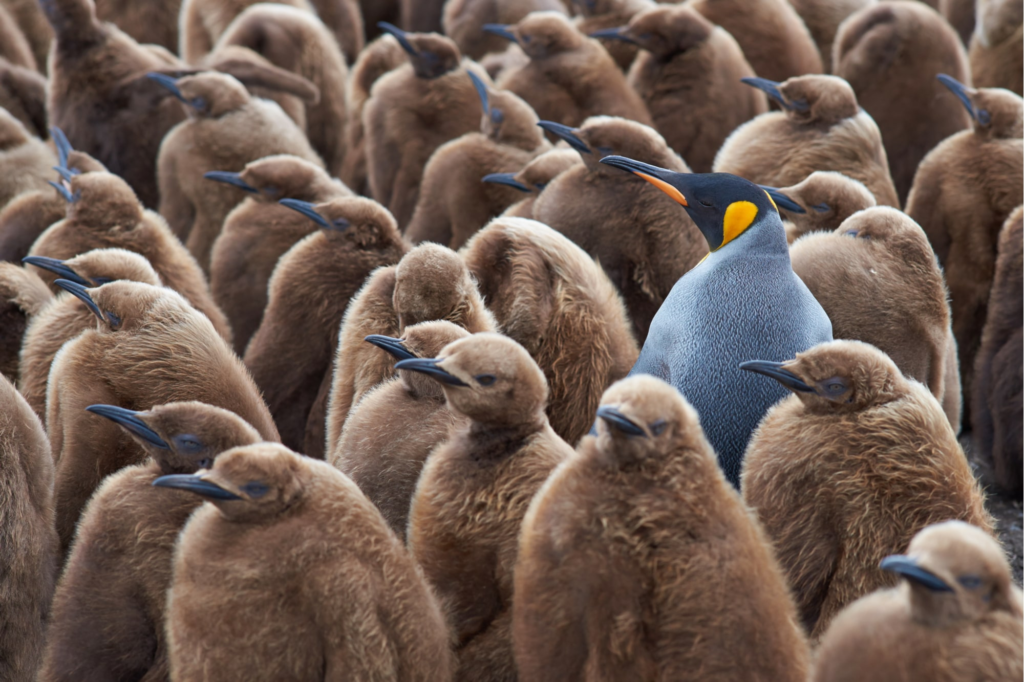
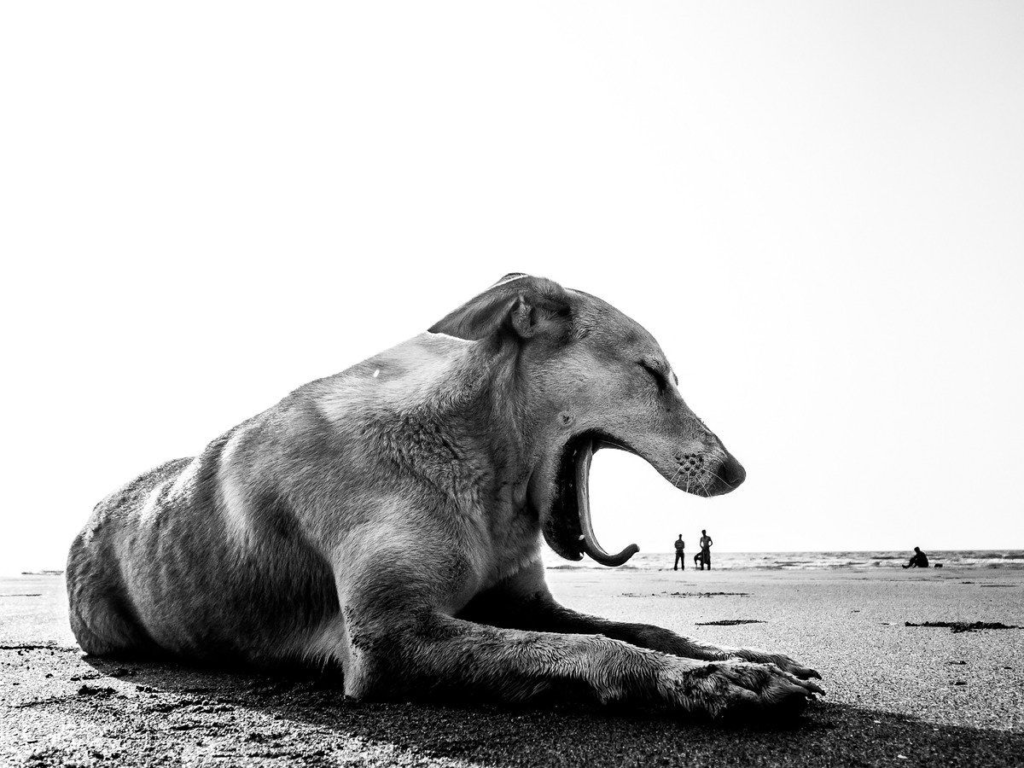


Generally with ‘juxtaposition’ — you are making a statement through the contrast of elements you put in the frame.
My Experimentation
Double Exposure
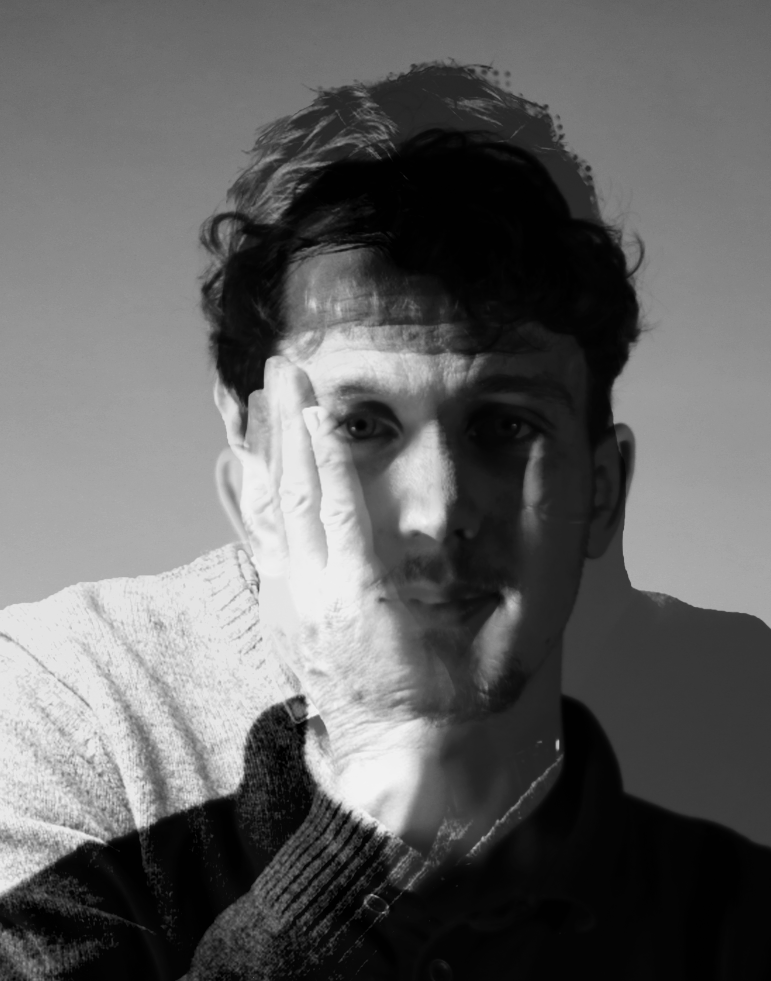
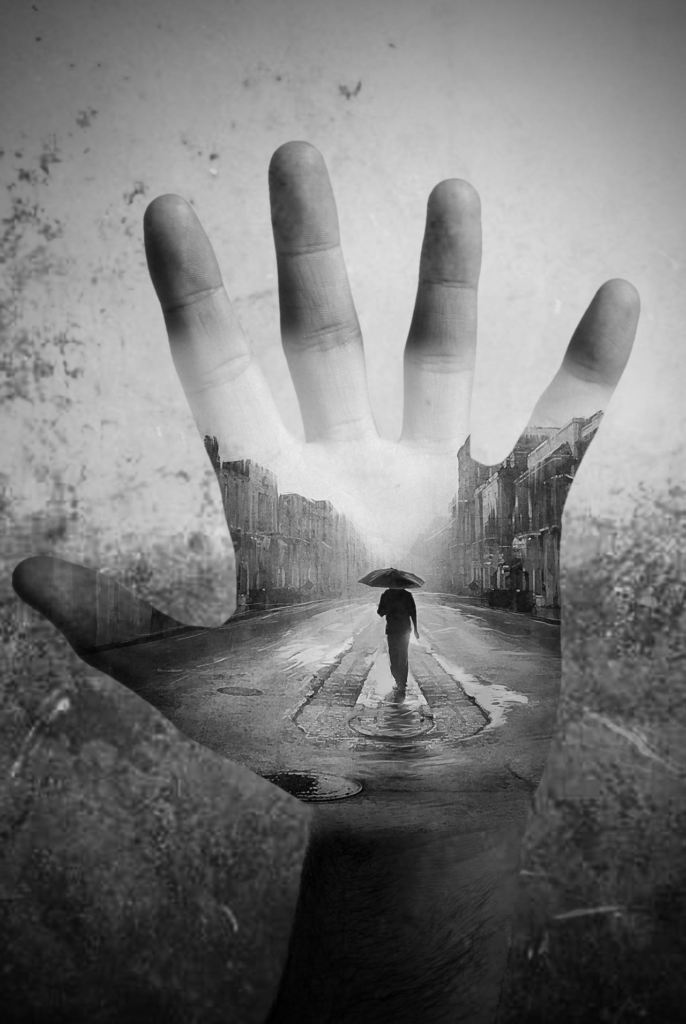
A double exposure is created by exposing a single frame to two different images. Traditionally, you’d achieve this effect with film cameras, but this technique is now accessible to digital photographers through in-camera settings or via post-processing software like Photoshop.
Double exposure photography allows you to juxtapose contrasting scenes, textures, or subjects, resulting in images that can spark curiosity, ignite the imagination or tell a poignant message.


My Experimentation
