What is it?
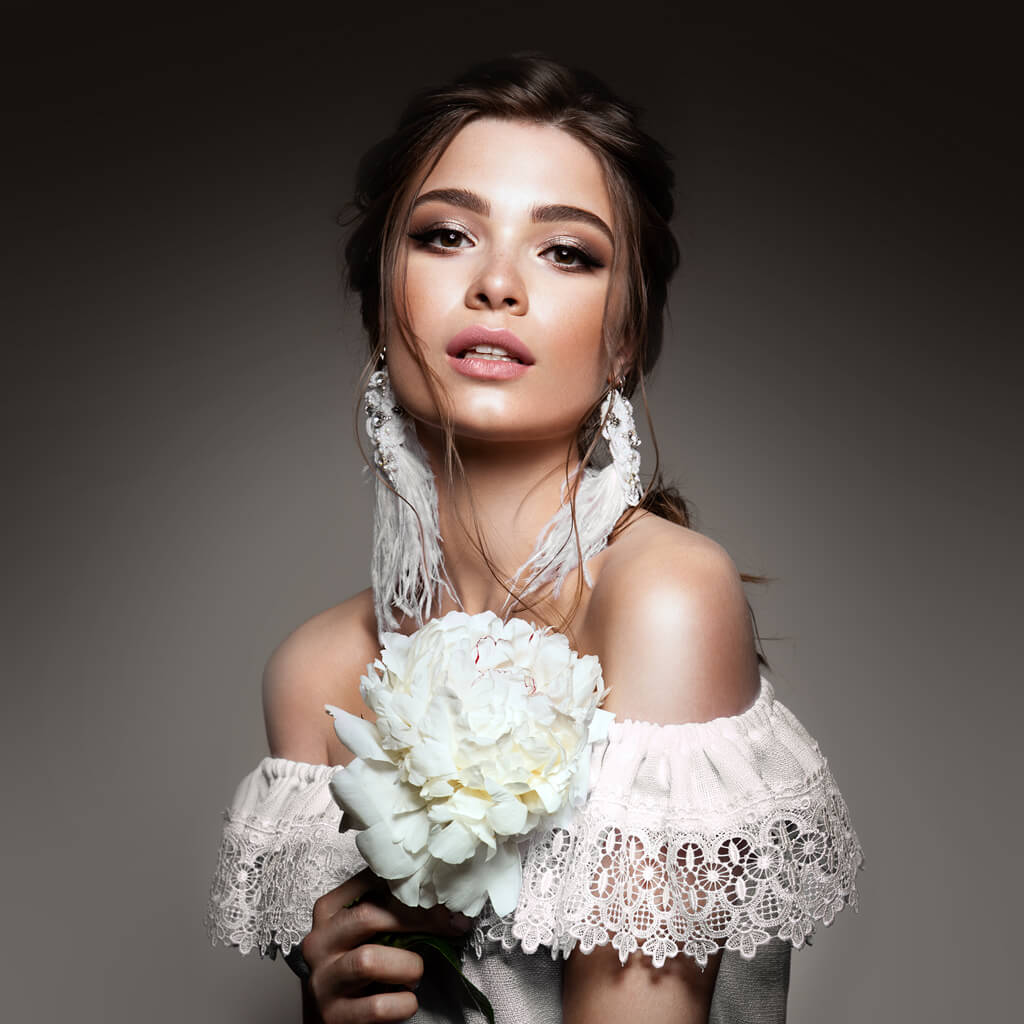
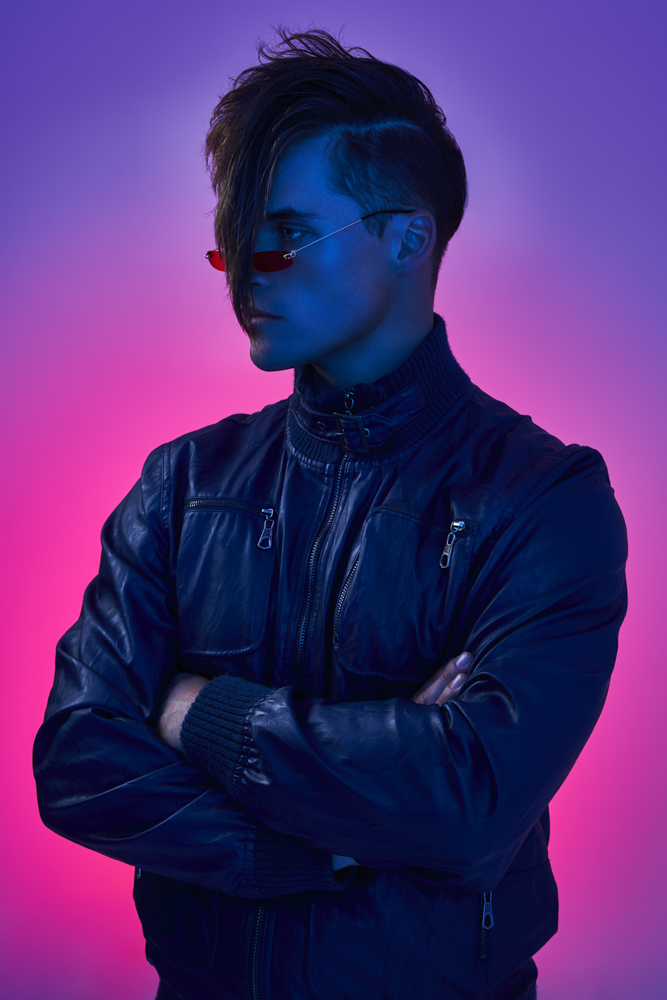
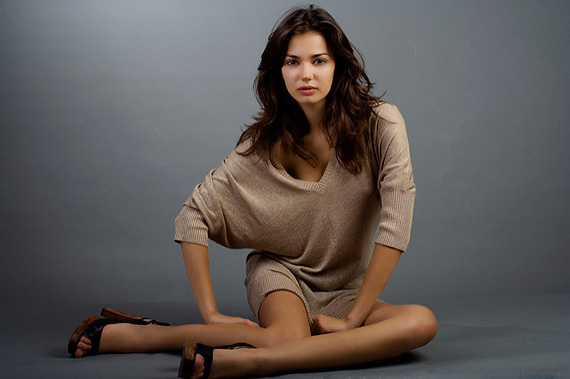
Studio photography, at its core, takes place indoors in a controlled environment where the photographer can manage every aspect of the photo shoot. This type of photography can capture a diverse range of subjects, from people and animals to various products like cars and jewellery. Typically, a photography studio begins as an empty room. The photographer then creates backdrops and makes choices about what to add or leave out, including outfits for models and different props.
Examples



Different Types of Studio Lighting
Rembrandt Lighting
Rembrandt lighting is a common technique in studio portrait photography and filmmaking. It can be used alongside butterfly lighting for different effects. You can create this look with just one light and a reflector, or with two lights. It’s favoured because it can produce natural and striking images without needing a lot of gear. The key feature of Rembrandt lighting is a lit triangle, known as the “Rembrandt patch,” that appears under the eye on the darker side of the subject’s face. This style is named after the Dutch artist Rembrandt, who commonly used this lighting in his work.

Butterfly Lighting
Butterfly lighting is a technique where the light is positioned just above and in front of the person’s face. Sometimes, this style is also called paramount lighting. When we talk about butterfly lighting, one of the key features to look for is the shadow that forms under the nose, which resembles a butterfly.

Chiaroscuro Lighting
Chiaroscuro refers to the dramatic differences between light and dark in art, creating striking contrasts that impact the entire piece. Artists and art historians use this term to describe how these light contrasts help give depth and shape to three-dimensional objects and figures. This technique is also seen in movies, as well as in black and white and low-key photography, where it’s still referred to as chiaroscuro.

Lighting Diagrams

Artist Analysis
Nadav Kander
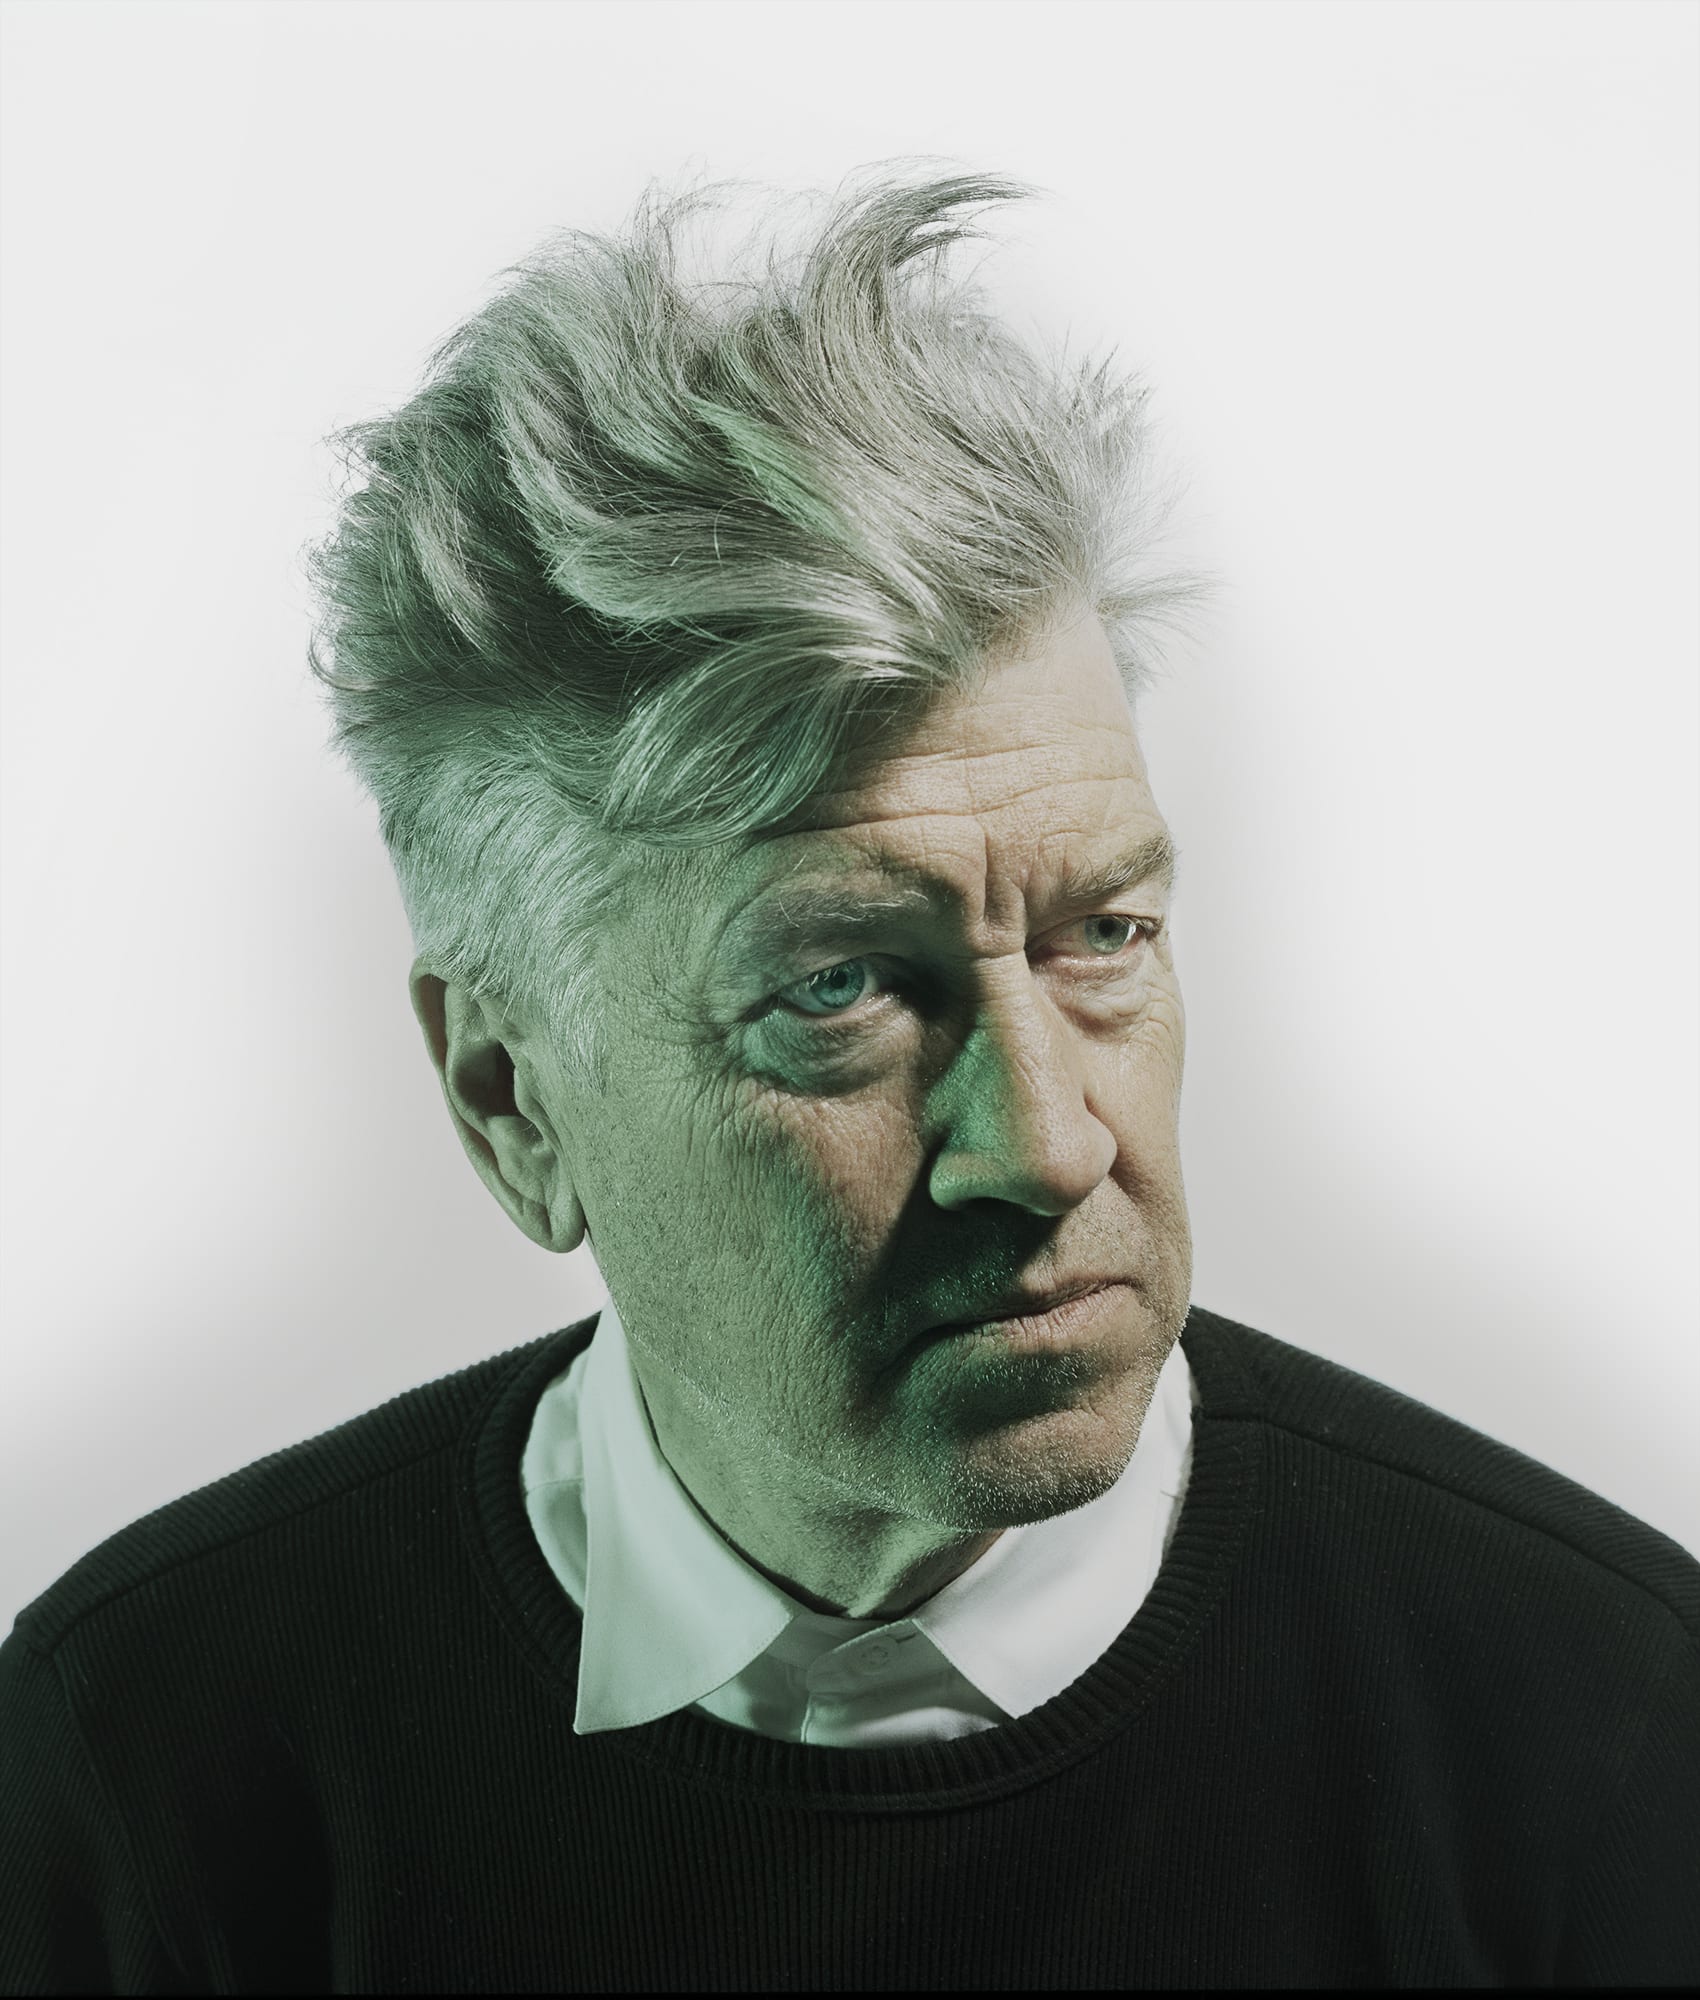
Nadav Kander, who was born in 1961, is a photographer, artist, and director based in London. He is famous for his stunning portraits and landscapes. Kander has created several books and has showcased his work in many exhibitions. In 2015, he was honoured with an Honorary Fellowship from the Royal Photographic Society and also won the prestigious Prix Pictet award.
Photos by him
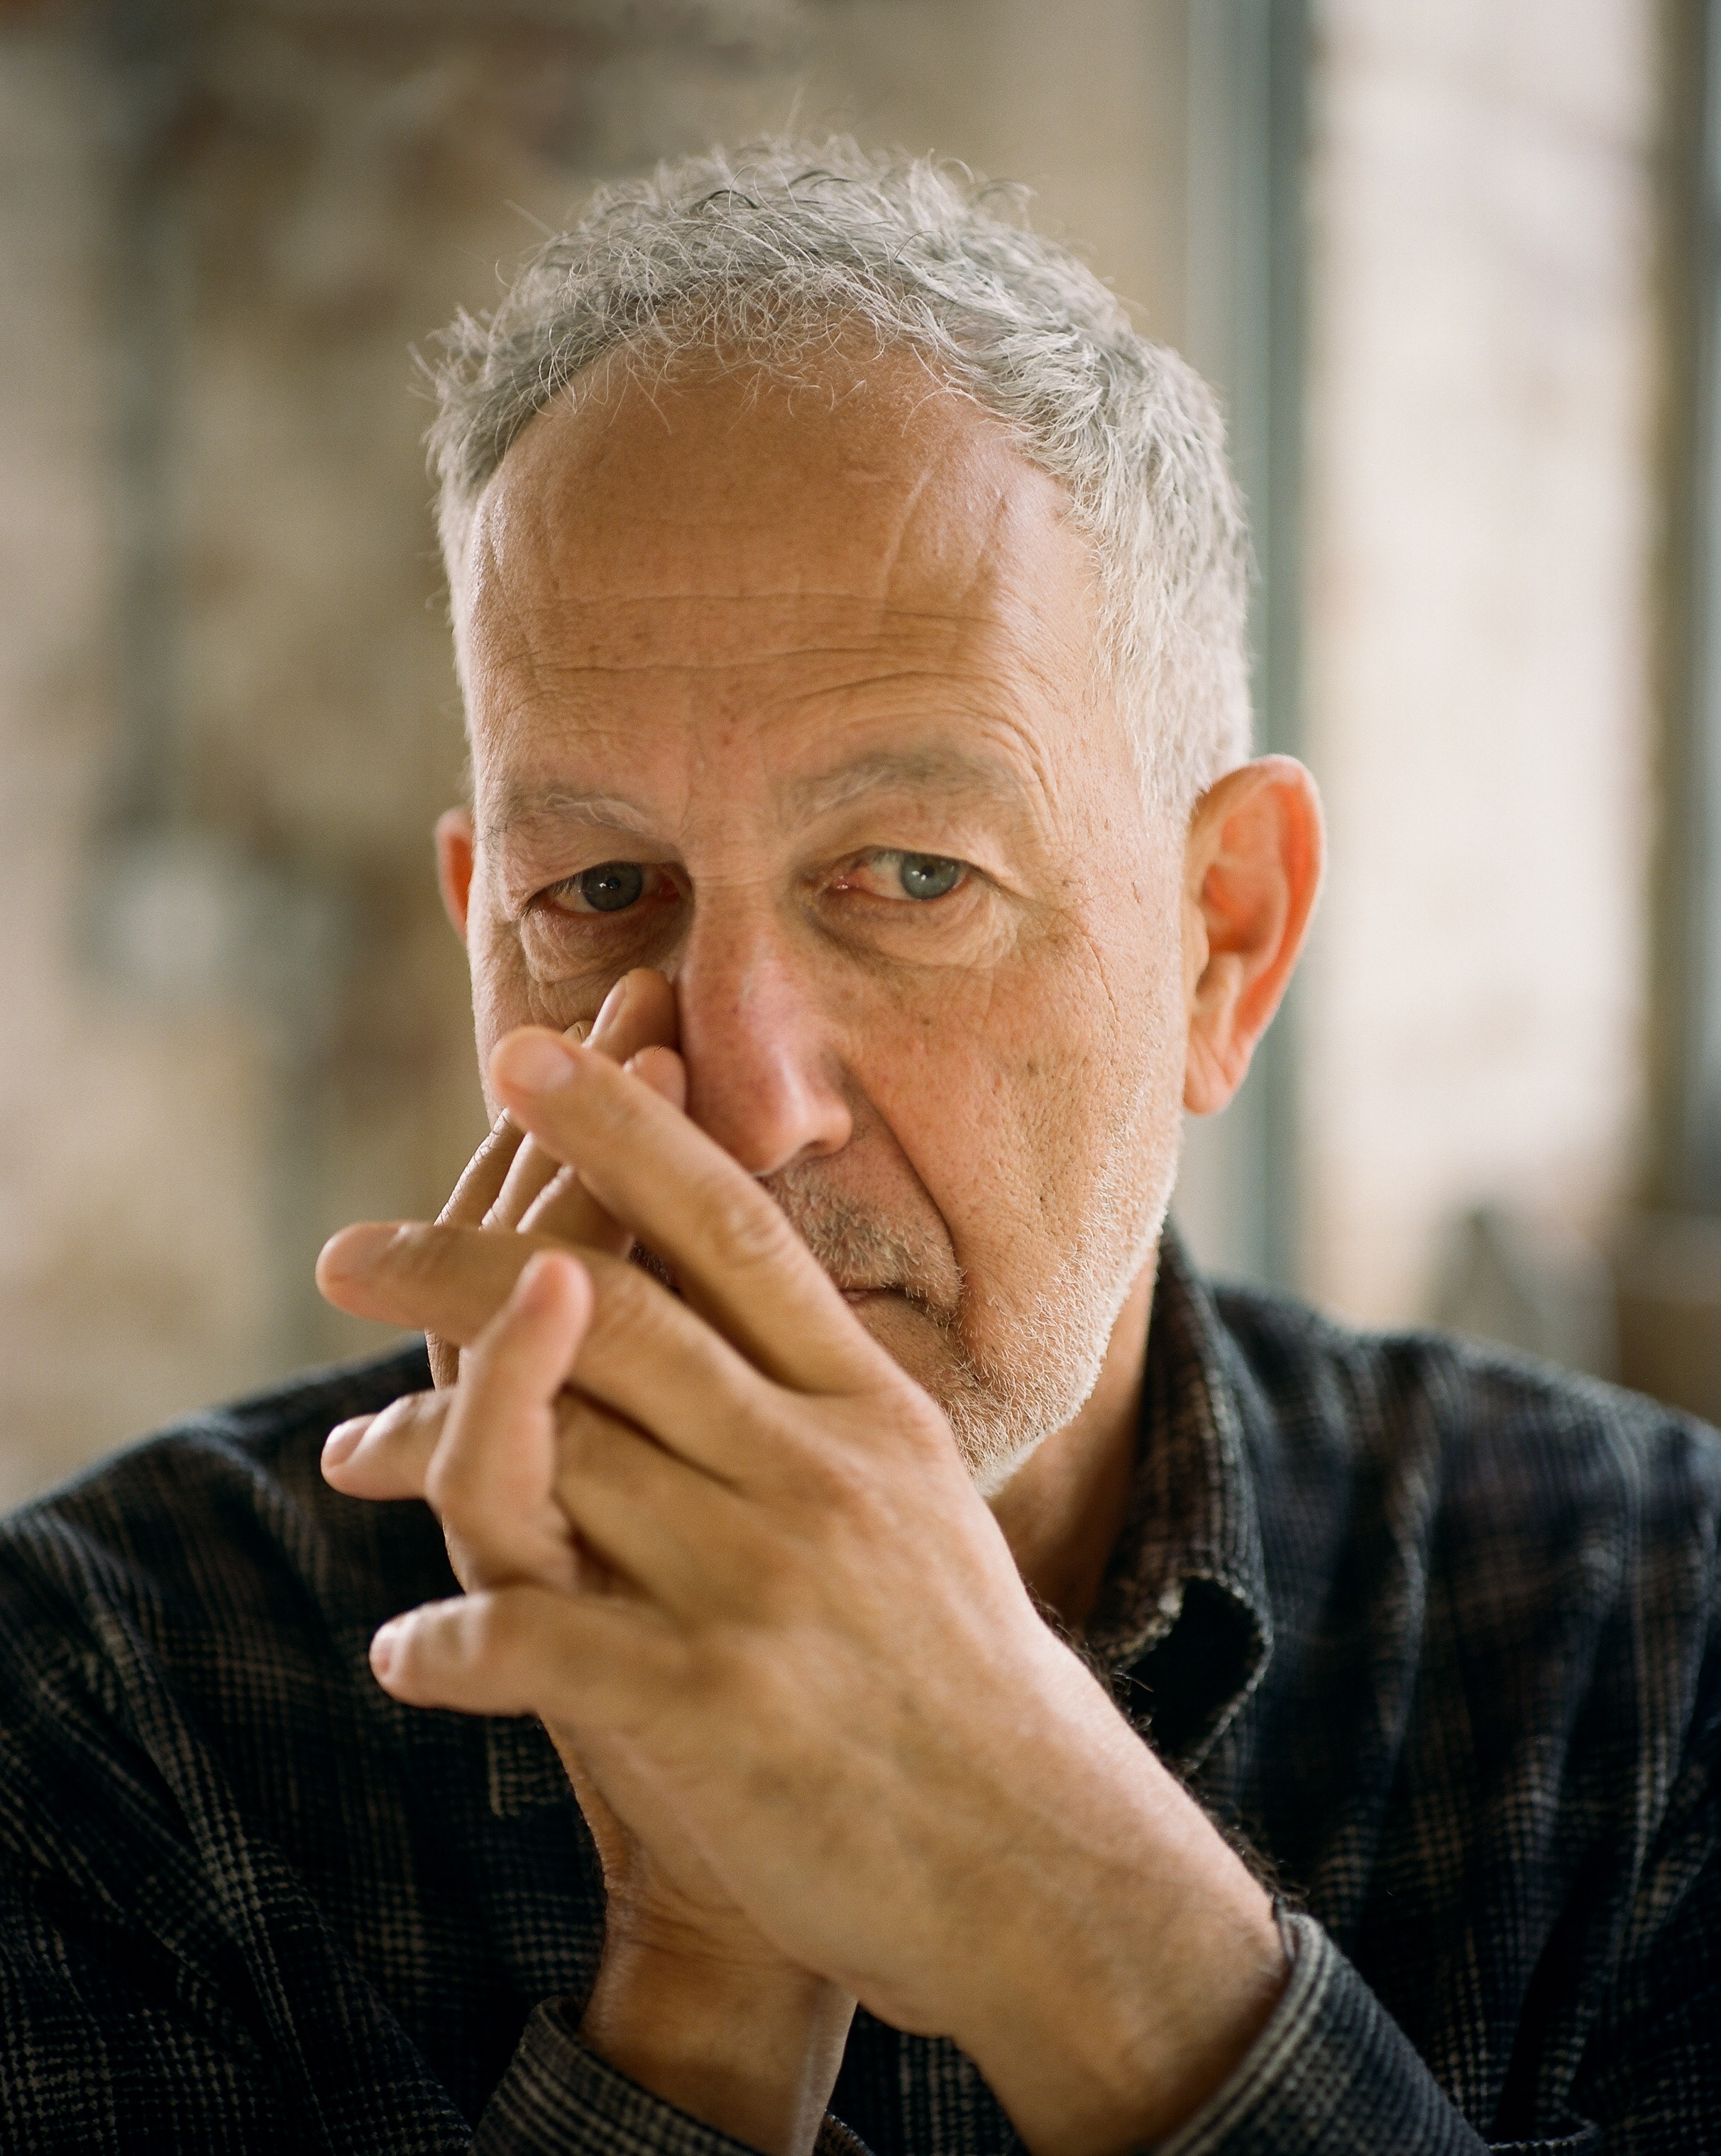


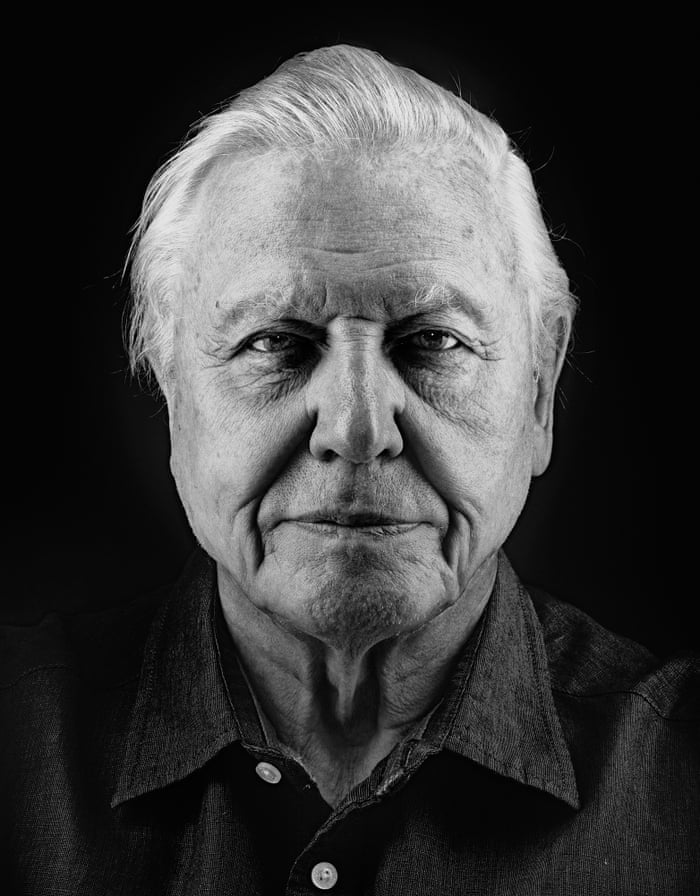


Image Analysis
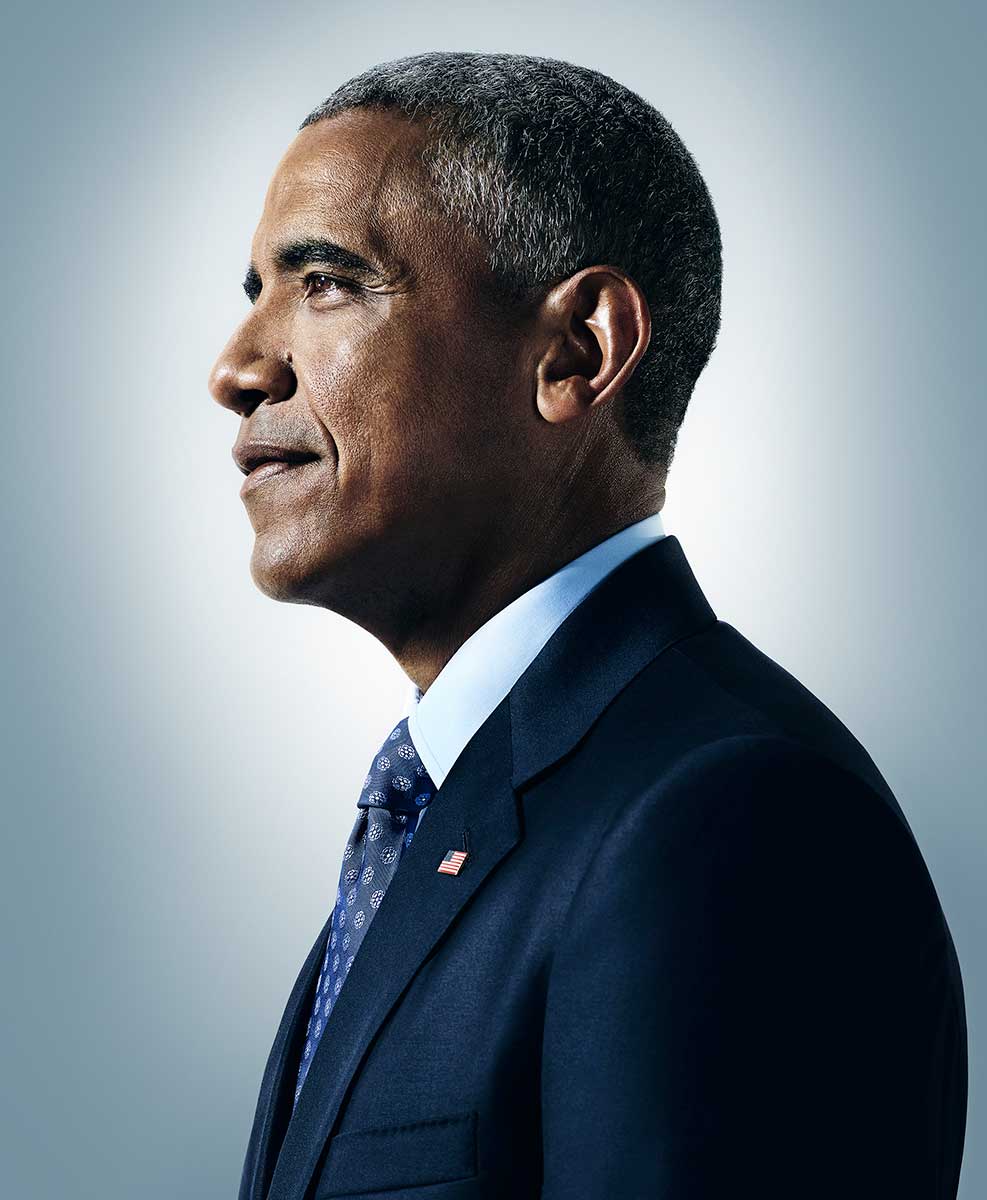
Visual – This is a photo of Ex president Barack Obama. In this photo there is a large amount of blue, in the background and his suit, these two blues complement each other really well. The background is soft with little texture or shape, furthermore there is no pattern in the background, this makes the viewer fully focus on the subject with little attention to the background. Obama is centre frame with his head in the upper centre of the frame, this creates an equal rule of thirds.
Technical – The lighting in this photo is cold with little warmth and is from the front of his face, you can see this because his face is in the light and the back / side of his head is left in the dark. I think that the type of lighting is moist probably artificial or studio lighting. The aperture in this photo is large with a shallow depth of field, probably shot at f/1.4 or f/1.8, something really low, I can tell this because the background is completely blurred and the subject is fully in focus. Moreover I think the shutter speed would have been fast, something like 1/500 or 1/300, this is because there is already plenty of light already and the subject has no blur and is fully in focus. The ISO is probably something like 100, this is because there is no need to let in more light due to the bright studio lights, I can also tell this due to the lack of grain in the image.
Contextual – Right before Barack Obama started his presidency, photographer Nadav Kander was asked to capture portraits of the important people in his team. Like the secretary of state, the outcome was an intriguing glimpse of a group of individuals about to make history. The exhibition, Obama’s People, will be showcased at the Flowers East Gallery in London starting September 11.
Conceptual – The concept behind this photo and why this photo is so important is because Barack Obama was the first black president in history. I think this photo represents hope, this is because he isn’t looking directly at the camera and more off to the side, he looks like he is gazing out over his people and land with almost a smile and ambition.
Photoshoot Plan
I plan to use the studio to take photos of my friend. Furthermore I plan to use different lighting angles and techniques to experiment and find out which one looks the best.
Our studio Set up
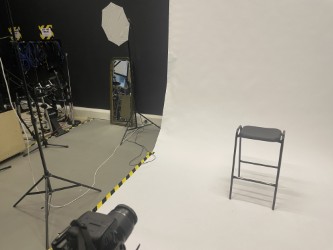
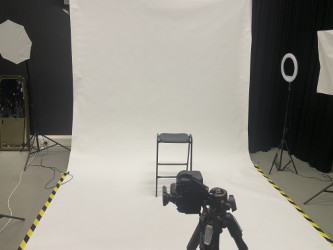
Contact Sheet

Selection Process

My Example of Rembrandt Lighting
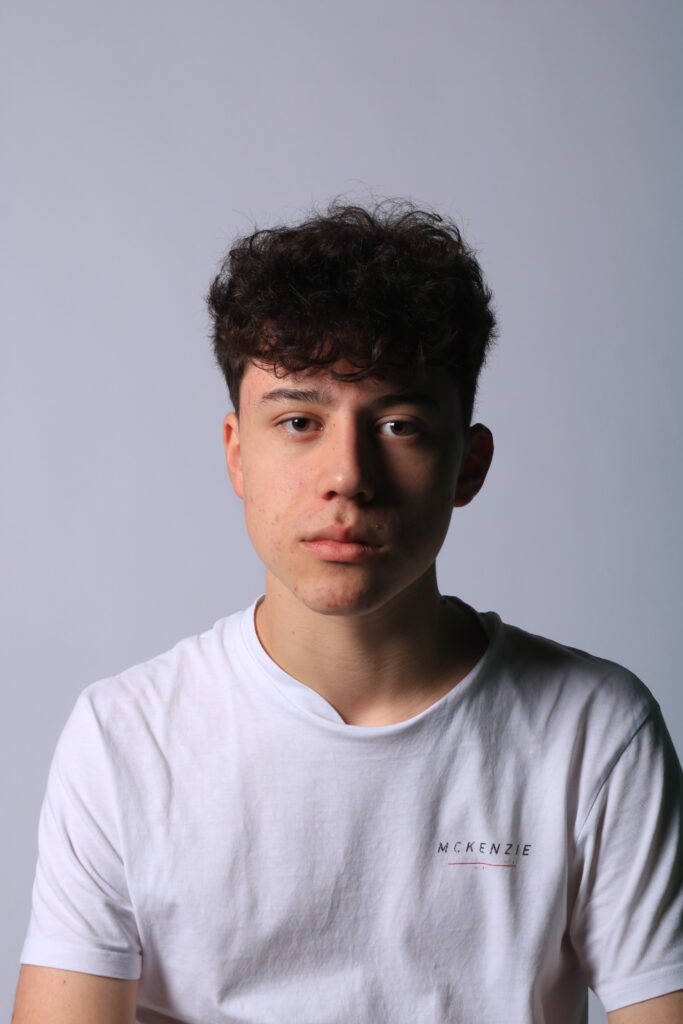
This photo shows a good example of Rembrandt lighting, this is because there is a triangle of light on the right of the nose which perfectly brings out the colour in the right eye.
My Example of Butterfly Lighting
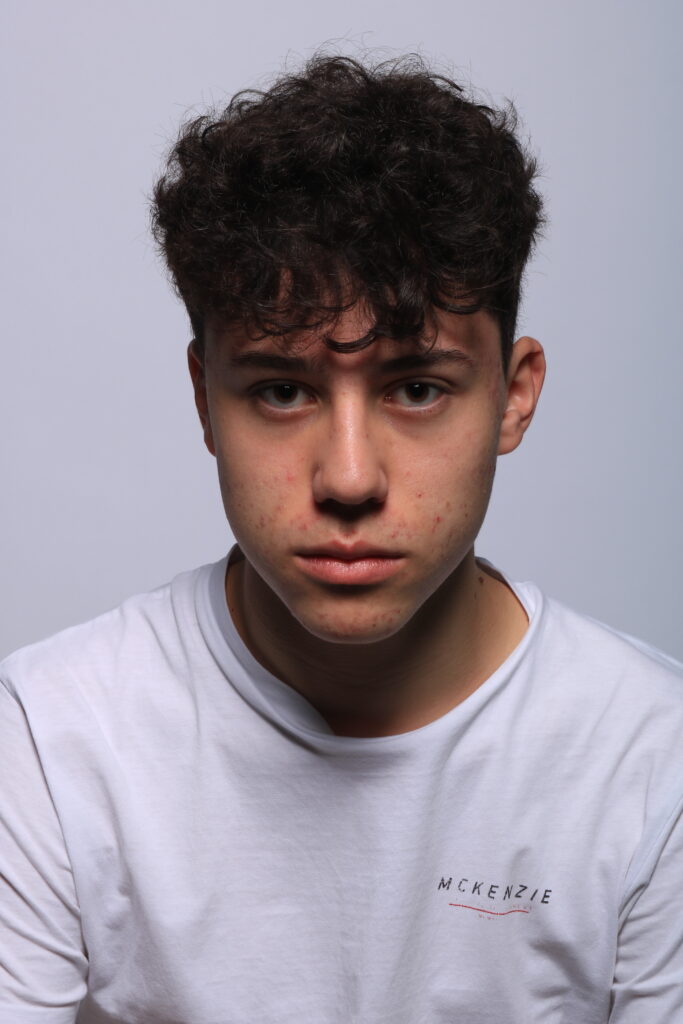
This photo shows good Butterfly lighting. This is due to the butterfly shaped shadow underneath the nose.
My Example of Split Lighting
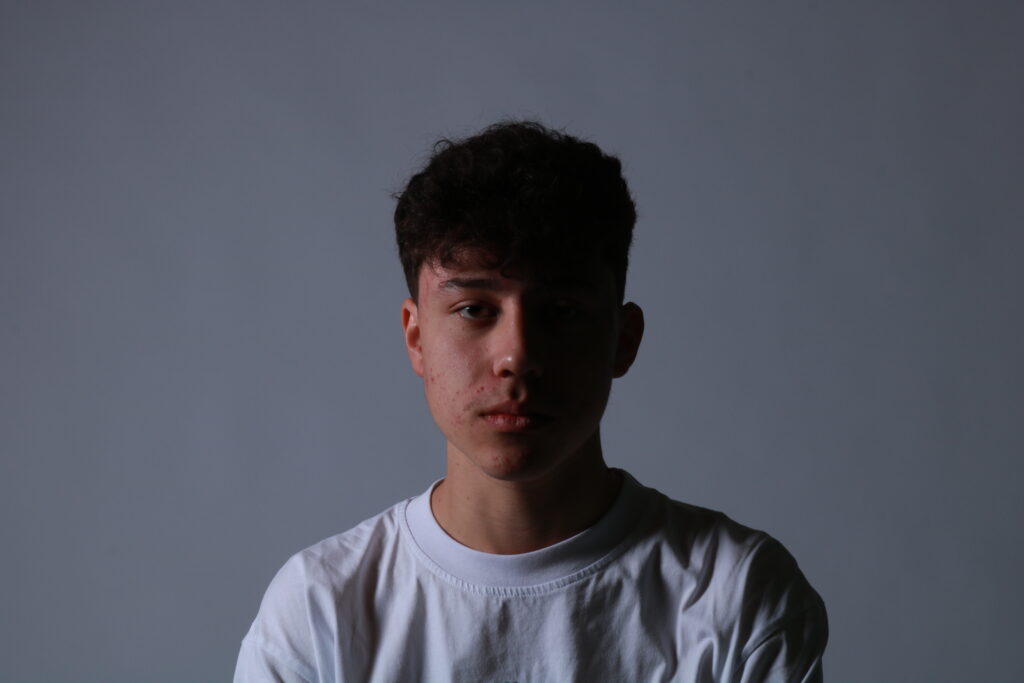
This photo is a good example of Split lighting. This is because half the face is illuminated and the other half is left completely in the dark.
Final Photos
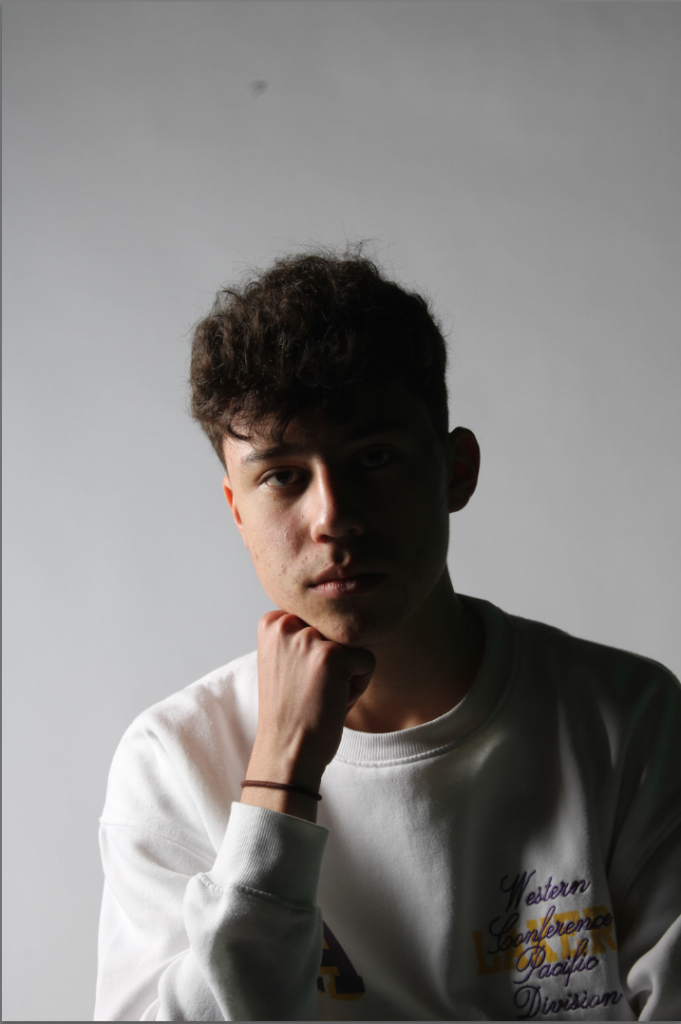
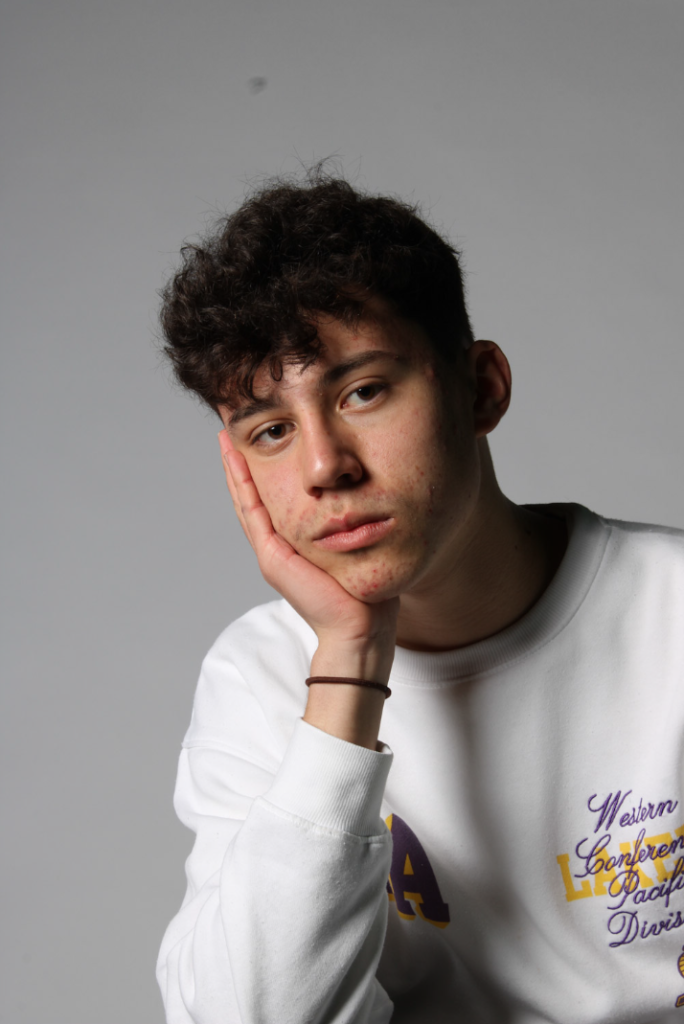
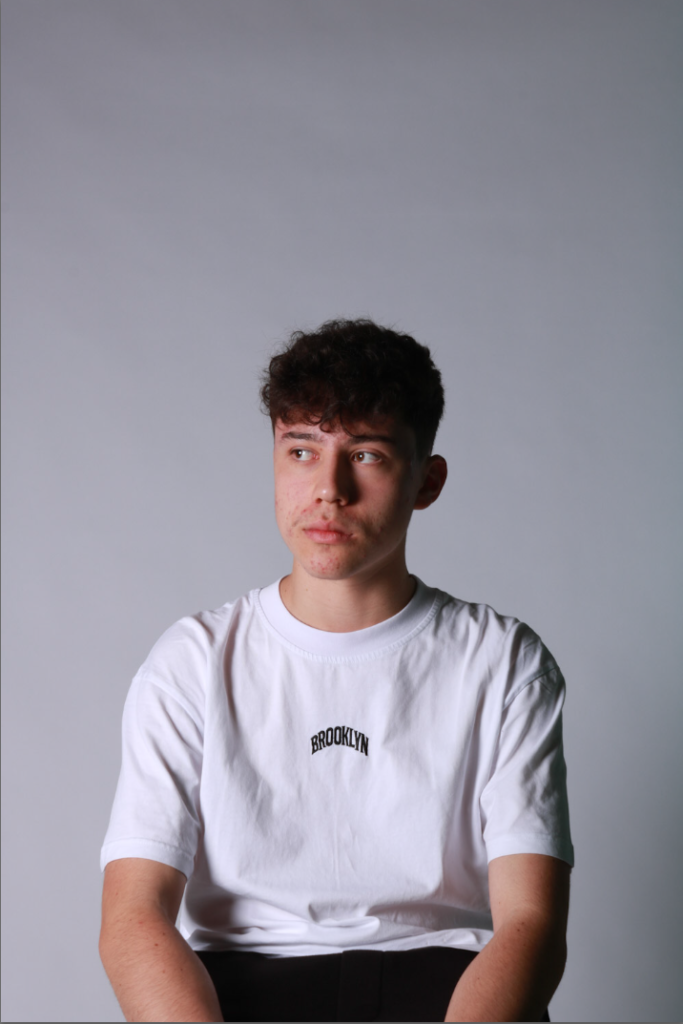
Editing
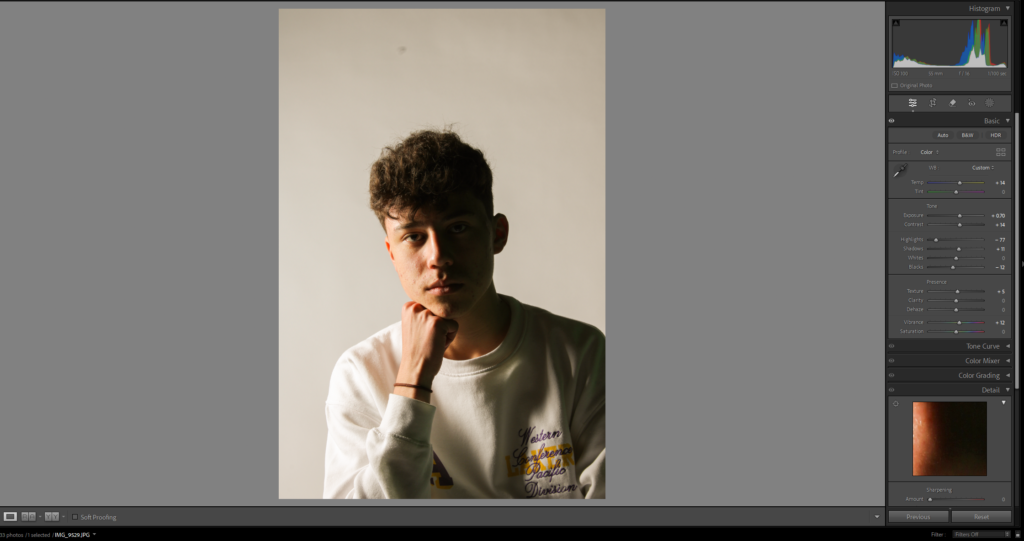
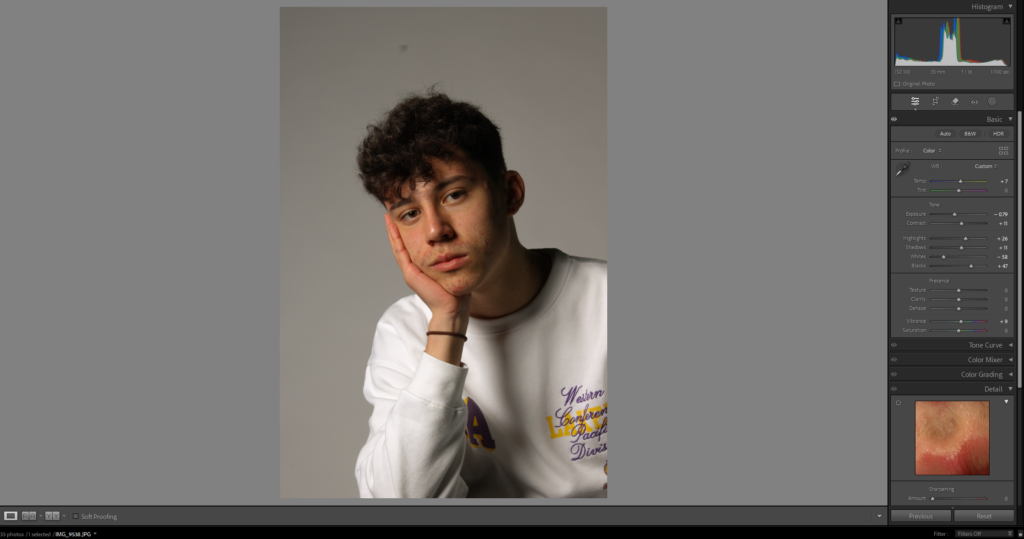
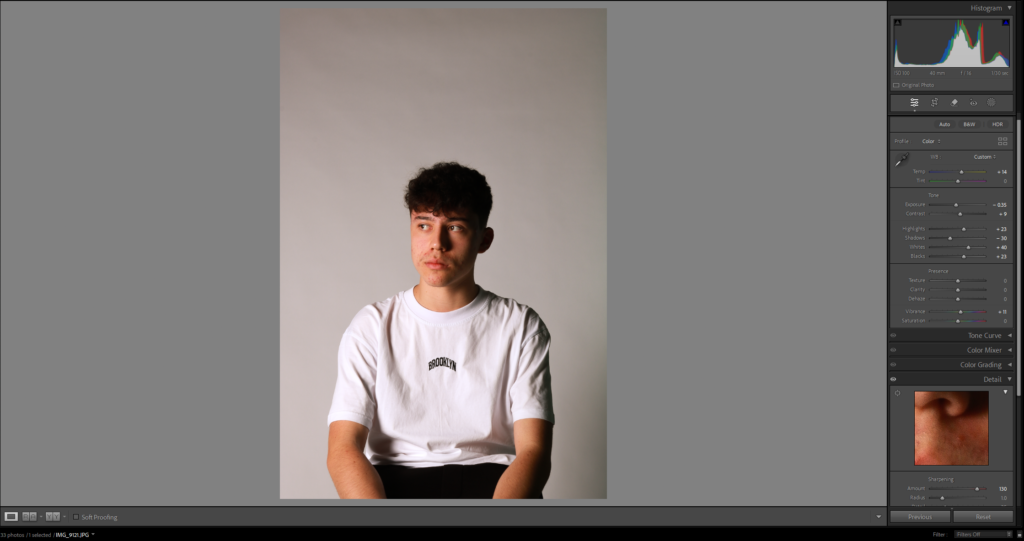
Final Photos
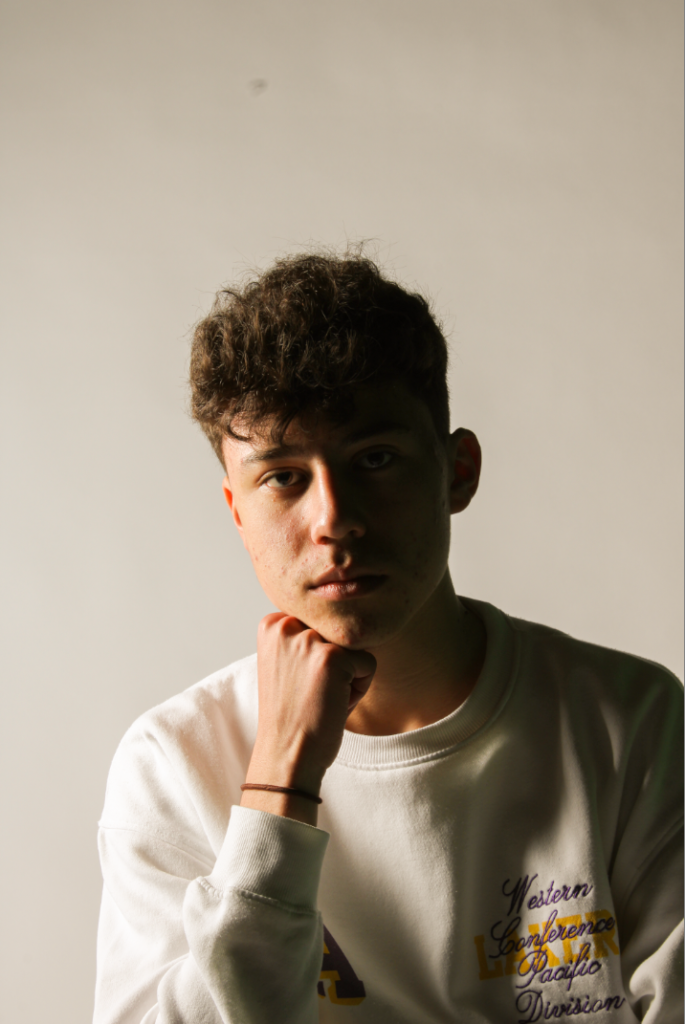
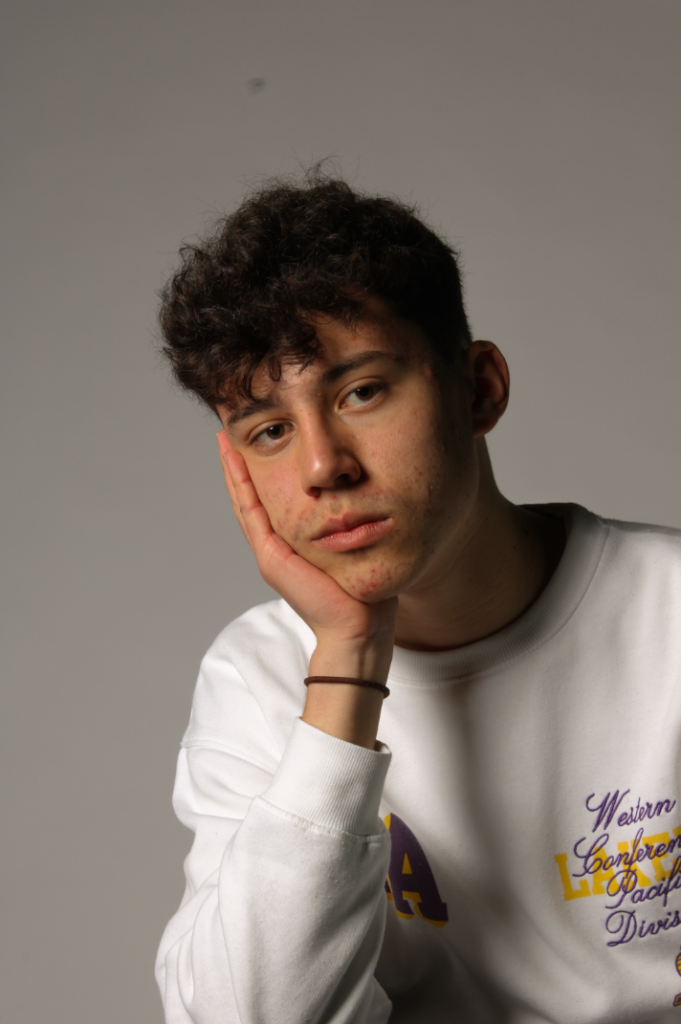
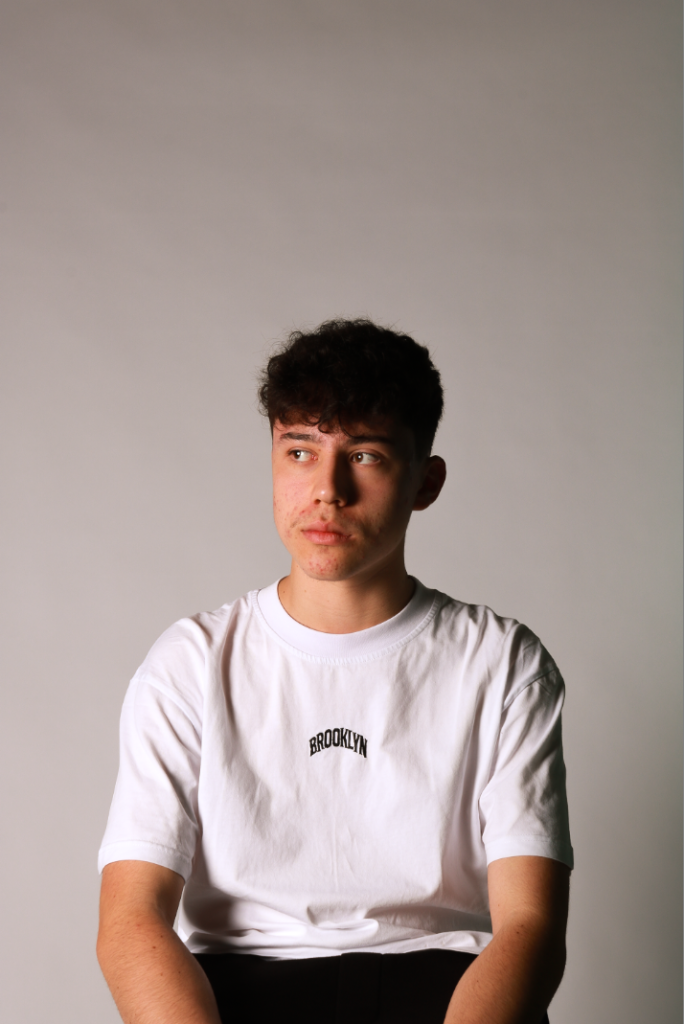
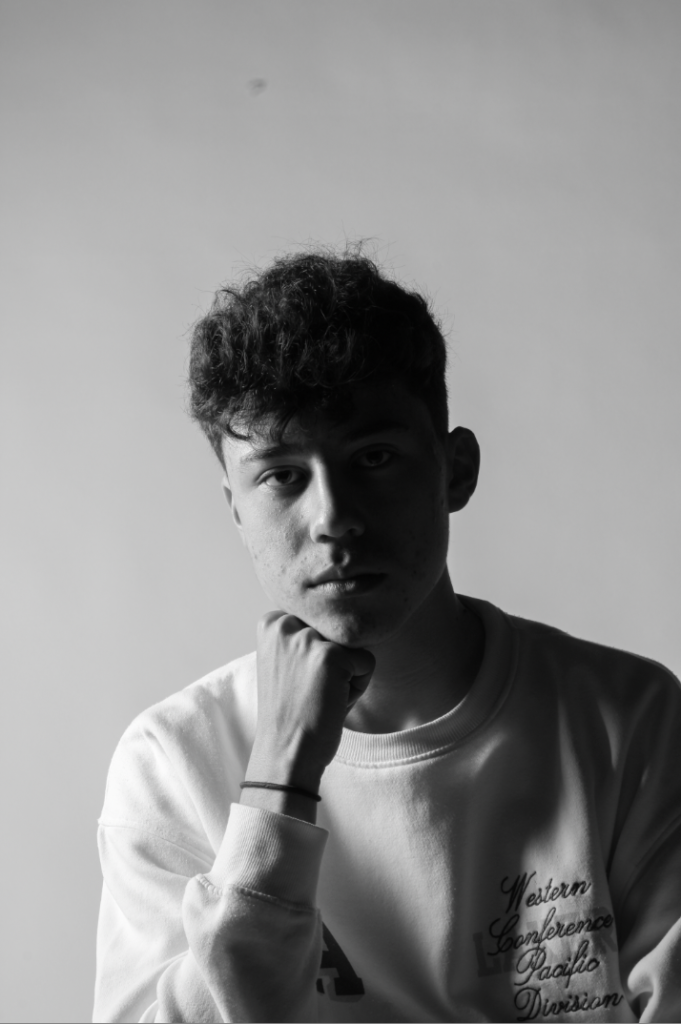
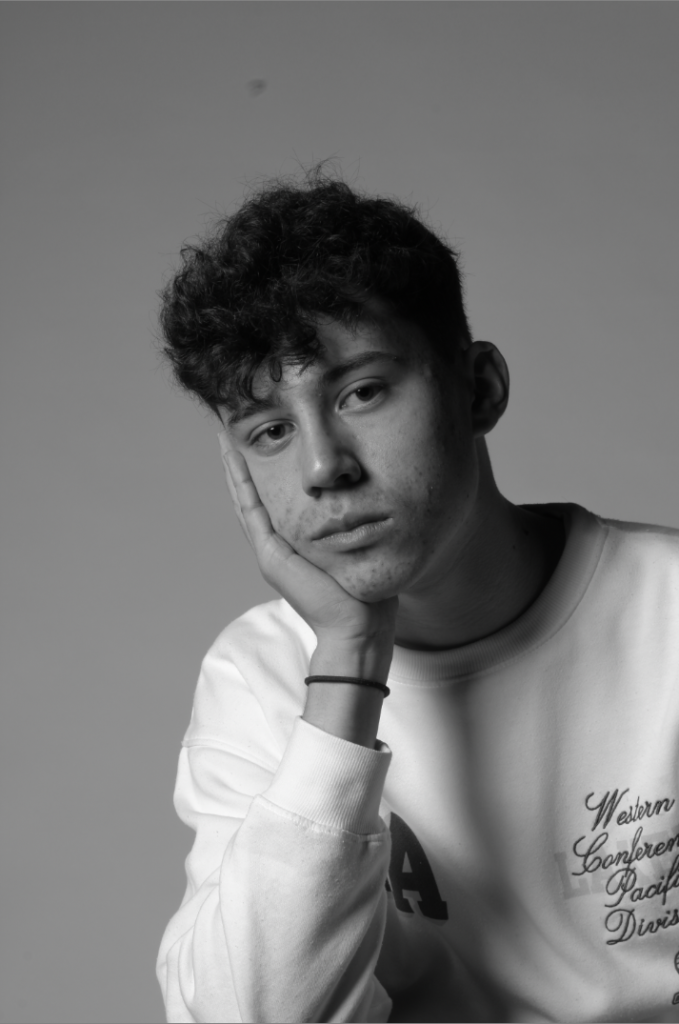
Final Photos Black and White
Cropping
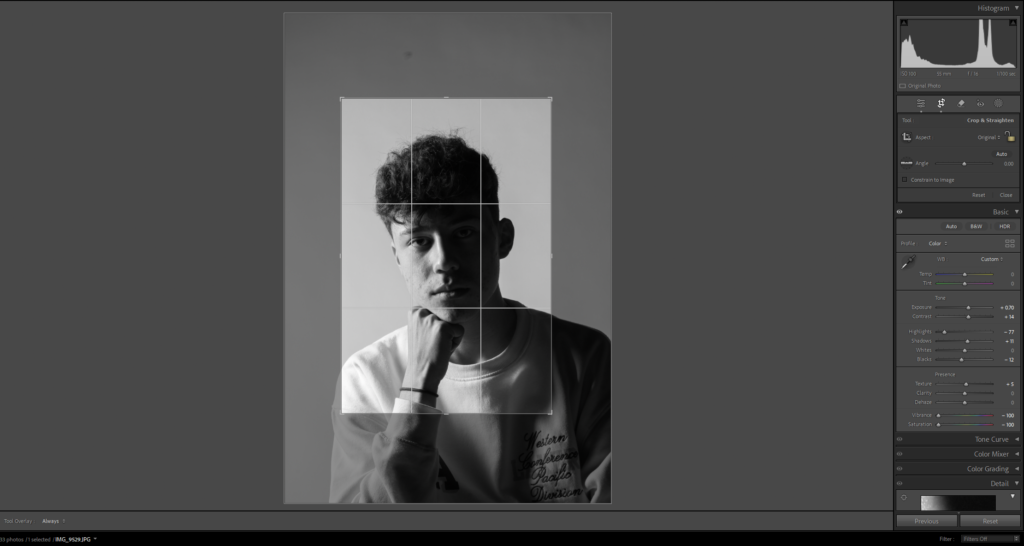
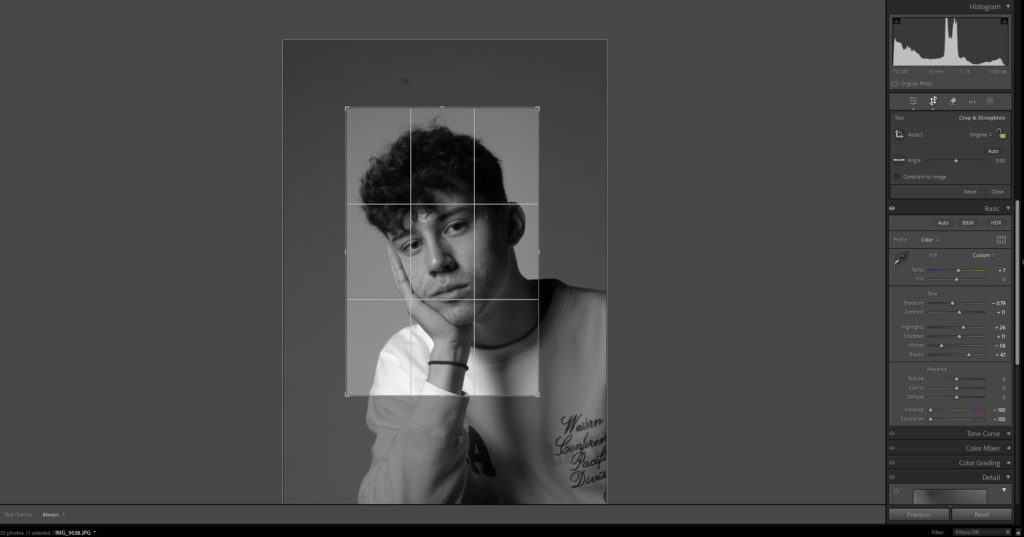
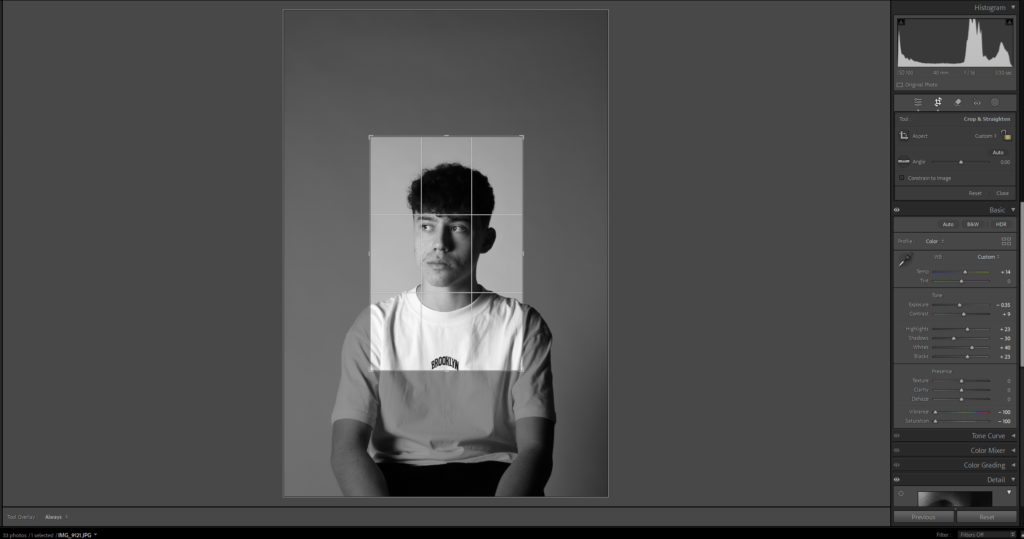
Final Cropped Photos
Evaluation
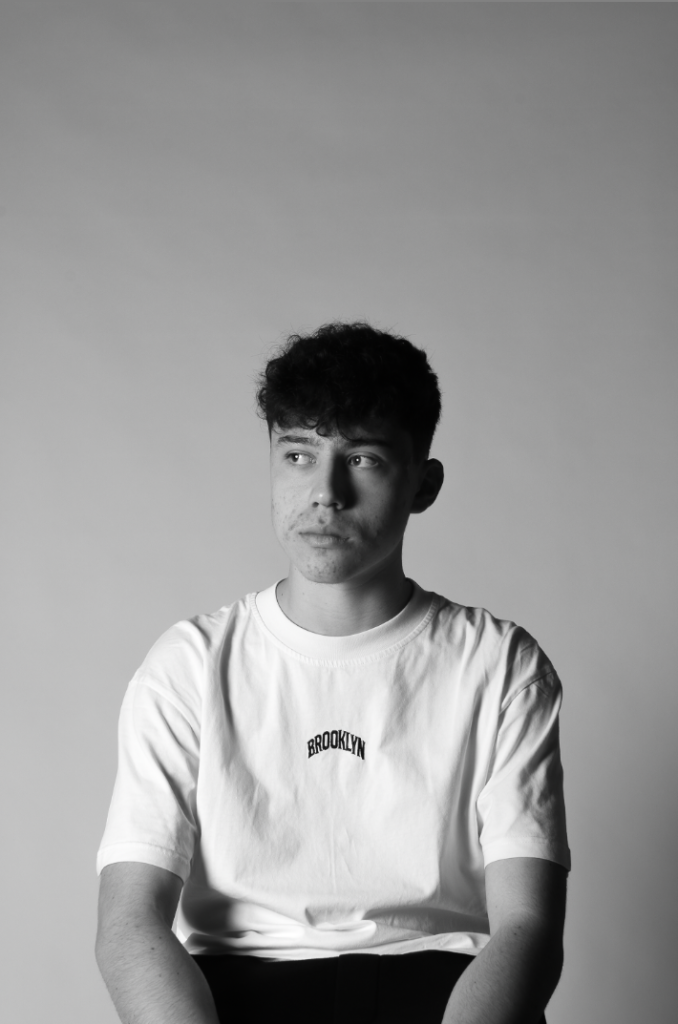
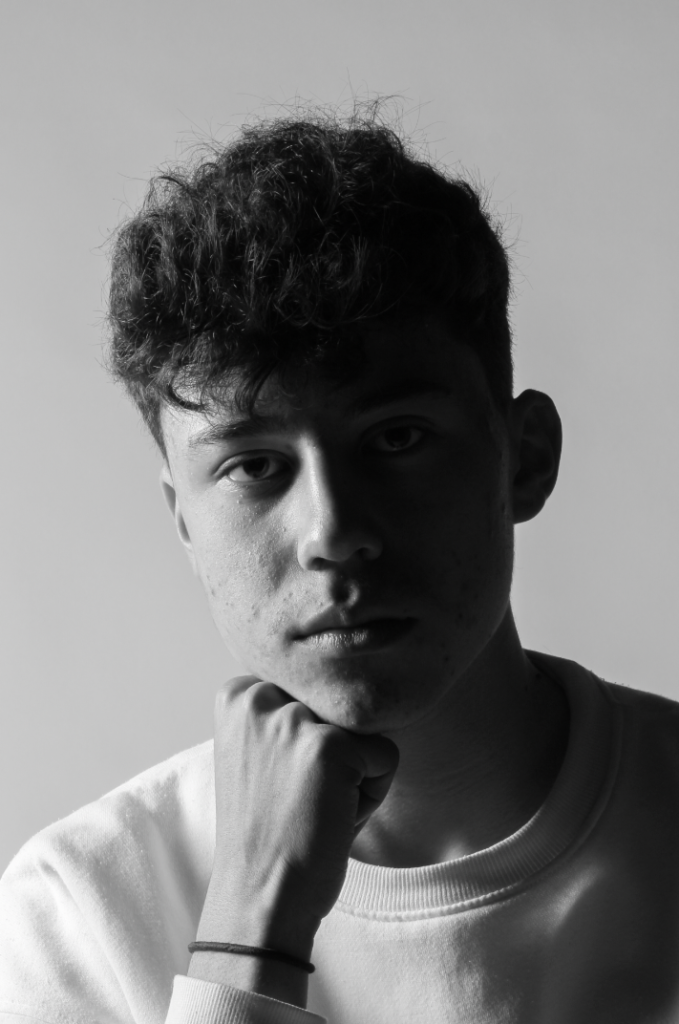
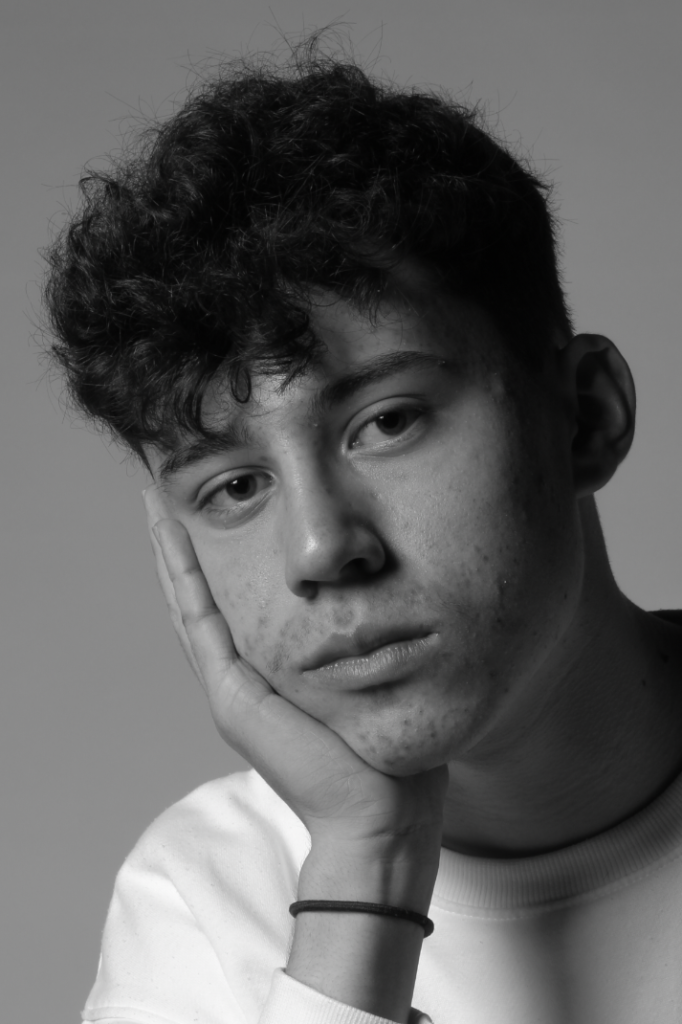
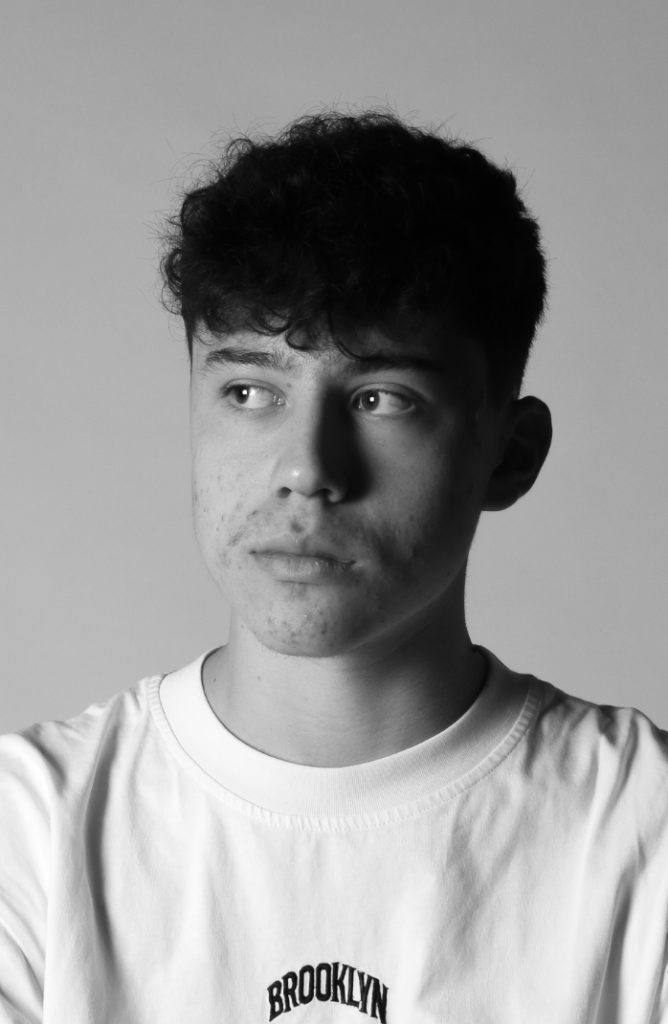
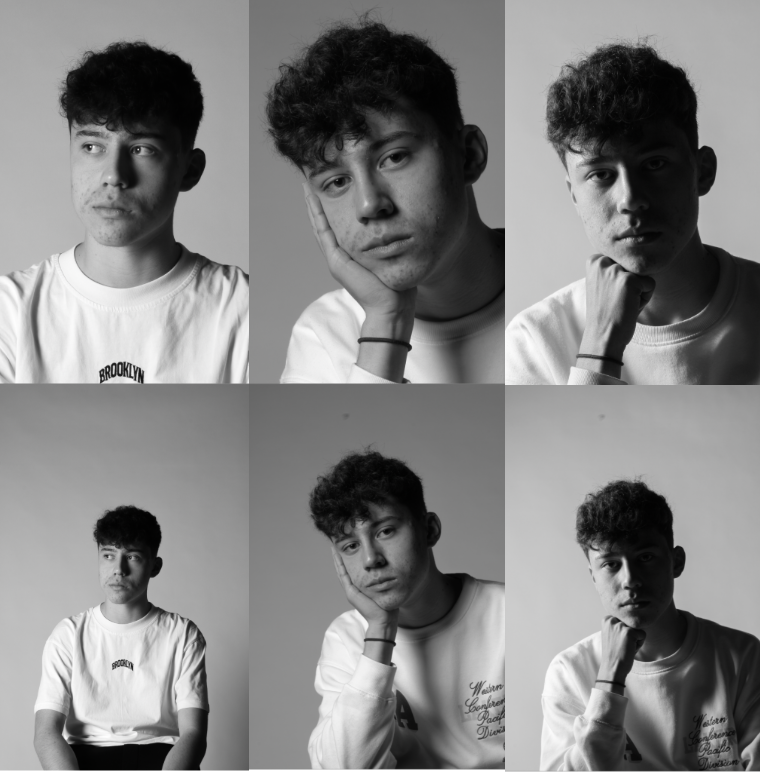
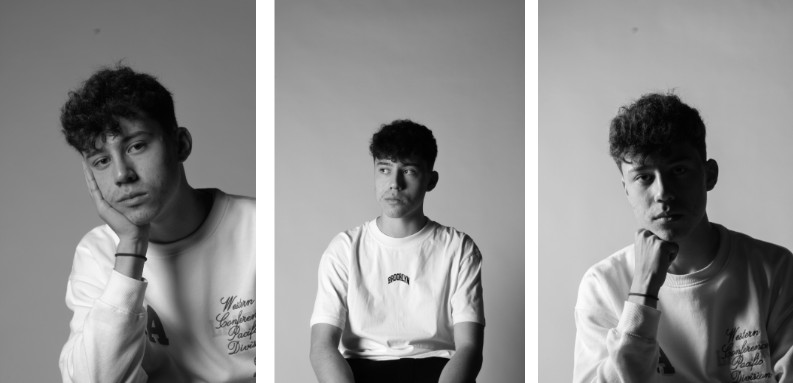
My photos turned out exactly how I intended them to. Further more I managed to effectively experiment with the different types of lighting. My photos follow Kanders photos to some extent but then I took my own turn by including more of the body or by including hands.
Compositions
Final Composition

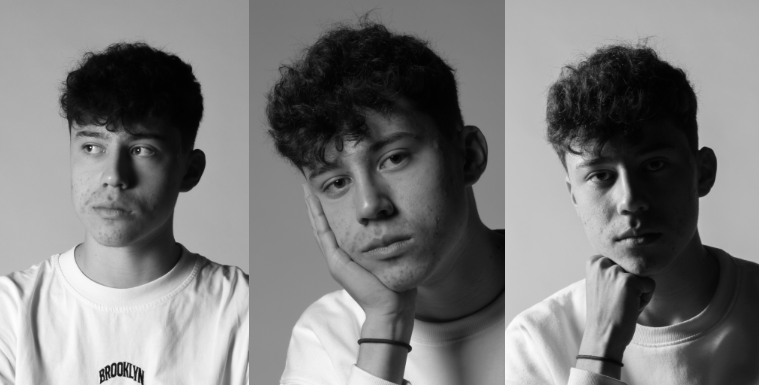
I chose this composition because it incorporates the cropped and un-cropped versions of the photo and its almost like a before and after style photo.
Artsteps
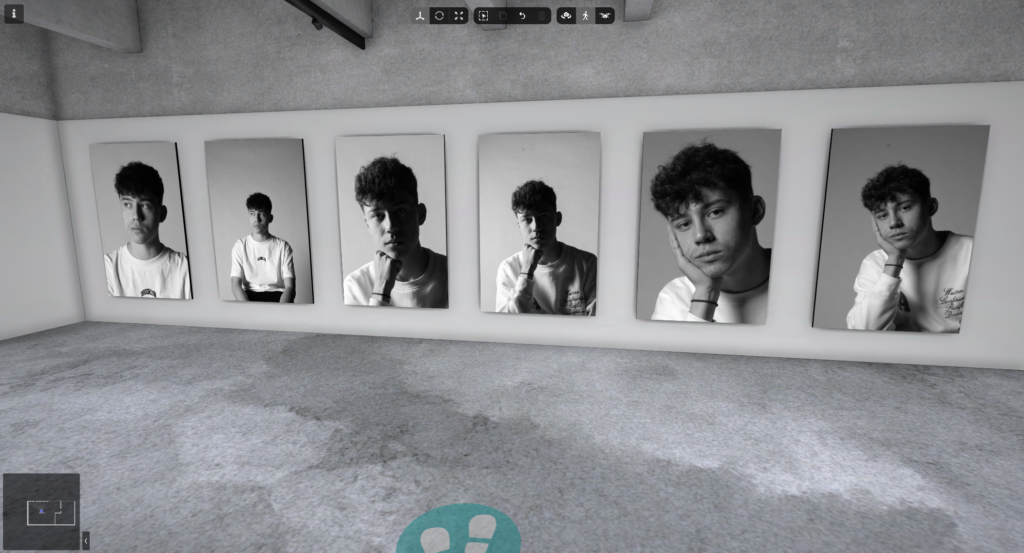

Evidence of consistent and creative progress, with an expected level of knowledge and understanding too. Keep working hard and keep trying different approaches…be curious and push your ideas further each time !