what is studio lighting and why do we use it?
Studio lighting in photography happens when a photographer uses an artificial light source to either add to the light that’s already there, or to completely light their photograph. Setups can range from using a single flash that you mount onto your camera, to multiple off-camera lights. Studio light is created artificially by flashes, strobes, or other sources, whereas natural light is the light that comes from the sun, moon, or stars.
It gives you complete control over the illumination of your scene, eliminating the unpredictable nature of natural light. The proper lighting setup ensures uniformity, improves visual clarity, and spotlights the subject effectively.
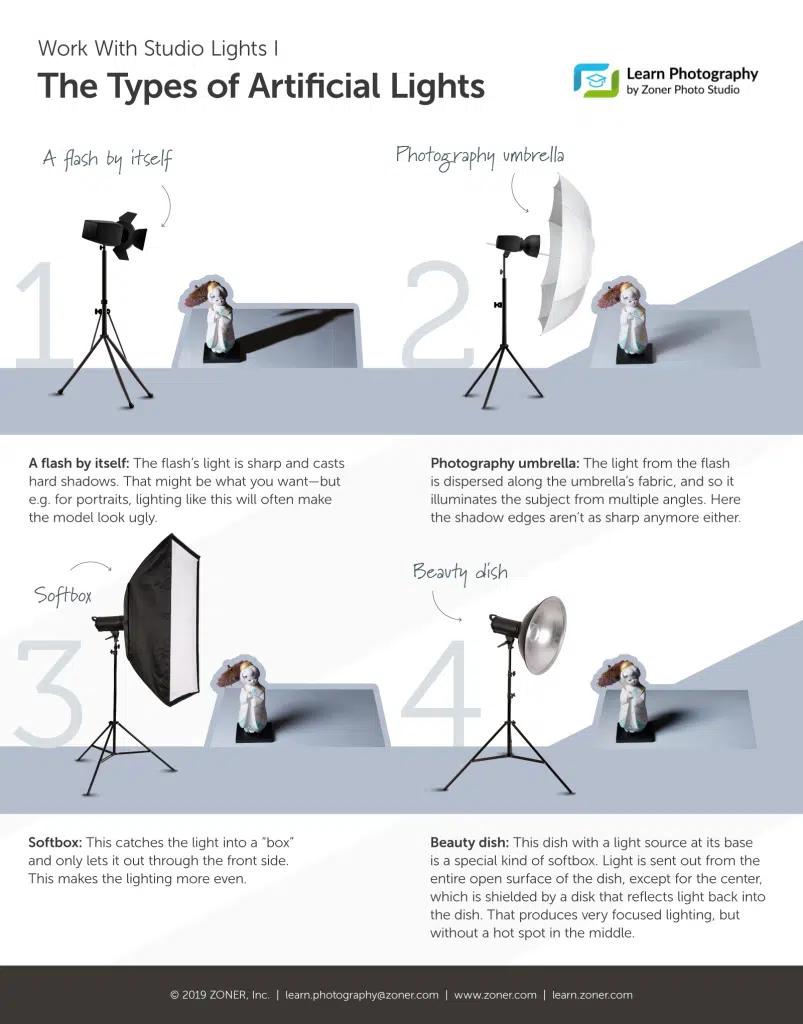
1-2-3 point lighting
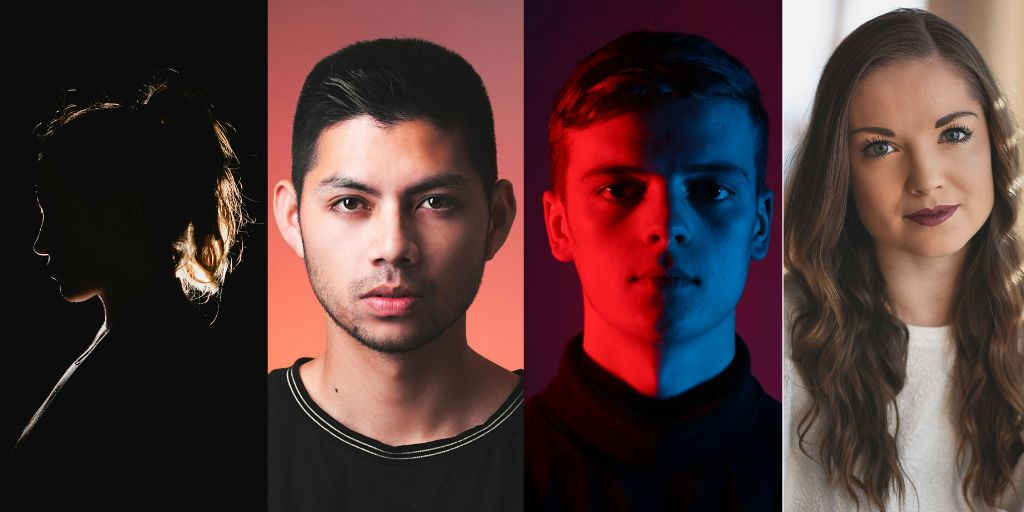
What is butterfly lighting?
Butterfly lighting is a form of studio lighting that is usually used within portraiture photography, as the name suggests the lighting used forms a butterfly shape under the nose of the subject of the image. This is because the light comes from above the camera and you face creates the shadow.
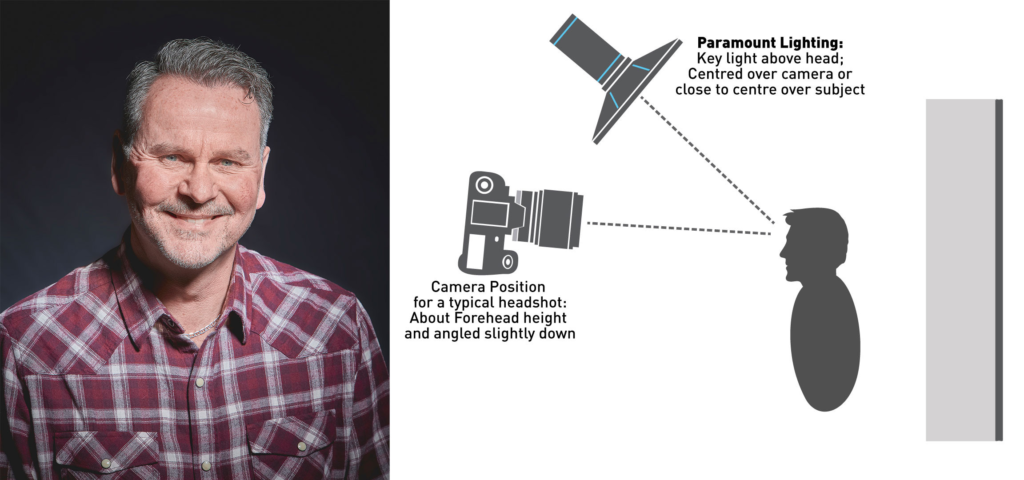
Why should you use it?
Butterfly lighting should be used in photography as it gives an appearance of the subject having a narrow face, on top of this, the camera is centred on the face and they are engaging with the camera, this is beneficial as it creates a different atmosphere than other images than usual, it not only is a great method for making the subject stand out but it also does so in a unique unusual way to what is normal making you images stand out from the rest.
Who created it?
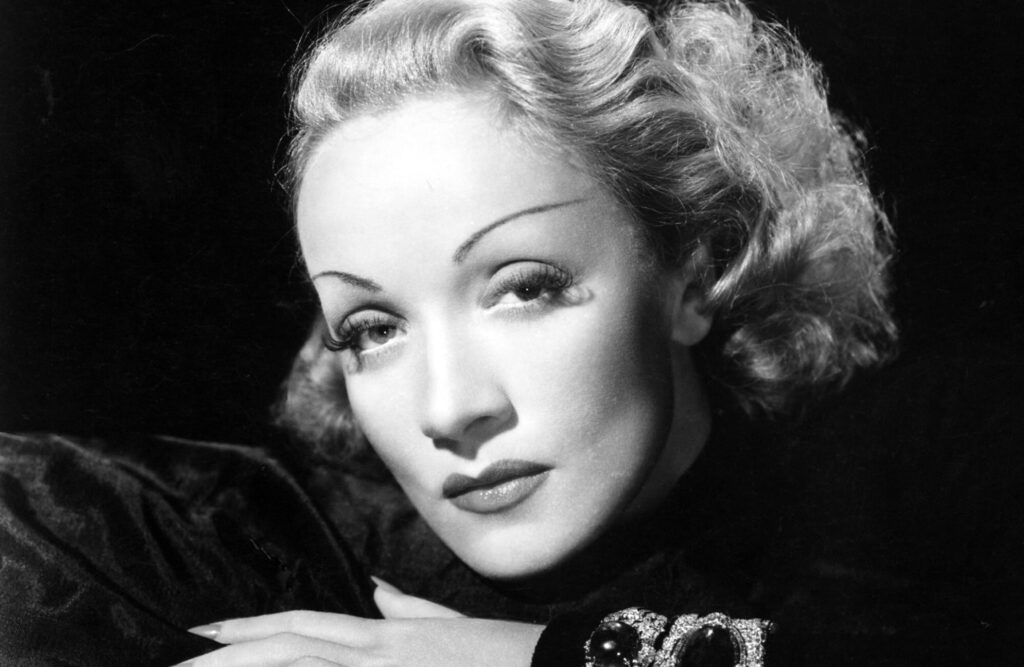
Butterfly lighting was not created by one specific individual but rather developed over time in Hollywood back in the 1930’s, it was mainly used on a person called Marlene Dietrich who was a Hollywood star.
How to create a butterfly lighting setup:
Lighting: Butterfly lighting requires a key light that can be a flash unit or continuous. If continuous, it can be artificial or natural. In other words, you can use strobes, speed lights, LEDs or even the sun.
If continuous, it can be artificial or natural. In other words, you can use strobes, speed lights, LEDs or even the sun.
A butterfly lighting effect refers to the setup and not to the quality of light – it can be soft or hard light depending on the effect you want.
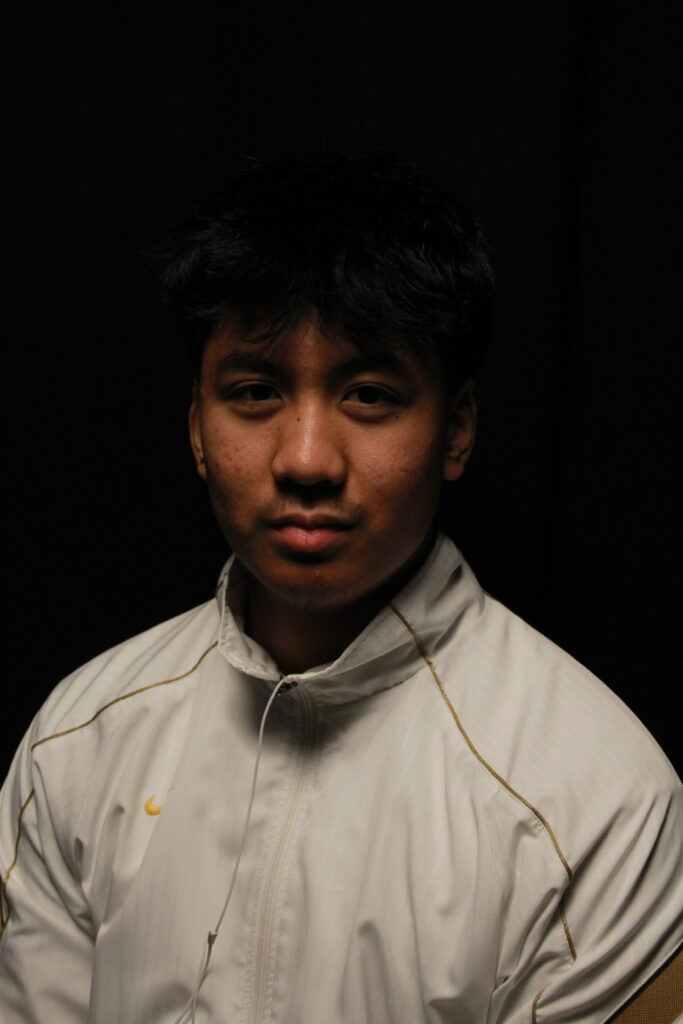
Before editing
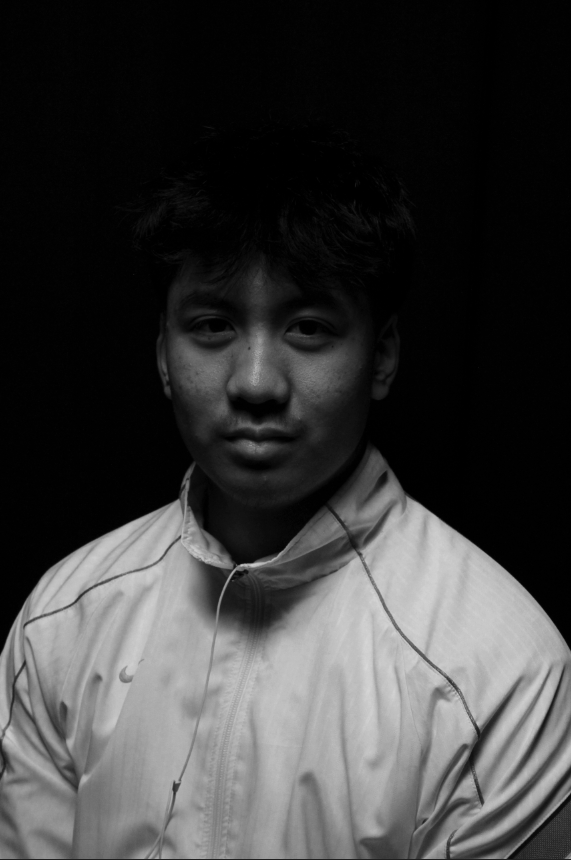
After editing
What is Rembrandt lighting?
Why use Rembrandt Lighting?
By using Rembrandt lighting you instantly create shadows and contrast . it helps add the characteristic ‘triangle of light’ beneath the subject’s eye to help make the photo more dramatic. Rembrandt lighting adds an element of drama and psychological depth to the character of your sitter.
It also helps give an individual ‘look’ to your portrait photography, but also acts as a photographic device to draw the eye.
You canh use Rembrandt lighting to create not just dramatic portrait photography, but also portrait photography that grabs the viewer’s attention and draws their eye to your subject.
setting up rembrandt lighting:
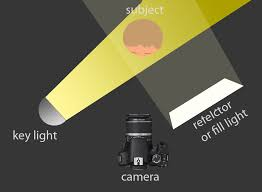
The person taking the photo should be behind the light and the reflector. the person should be in the middle of the light and the reflector looking preferably forward.
Before editing
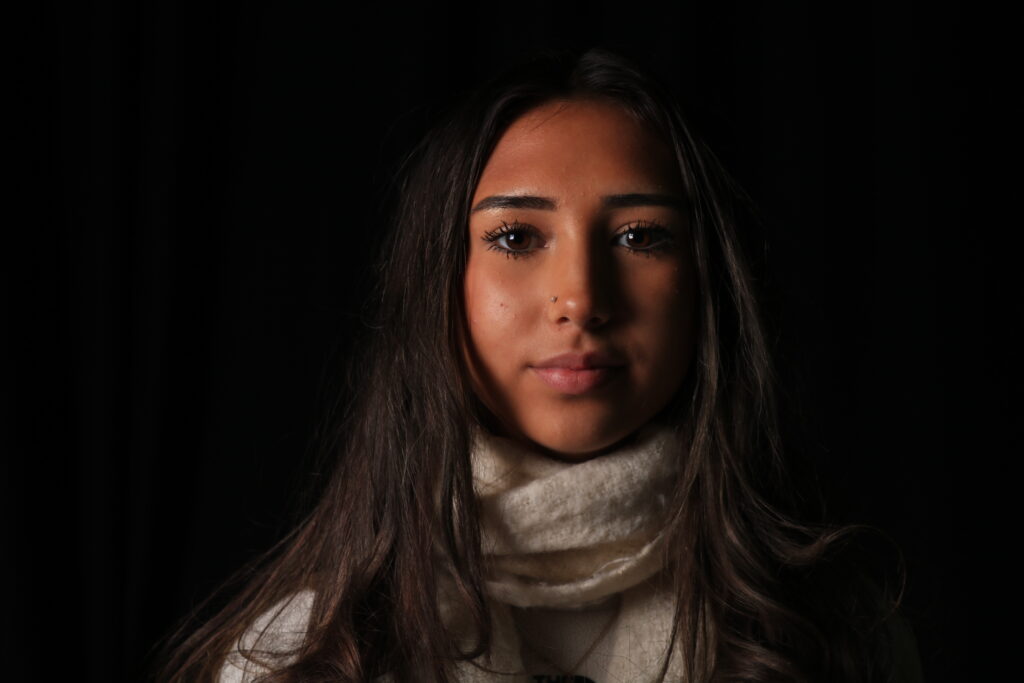
This is an example of Rembrandt lighting with my friend.
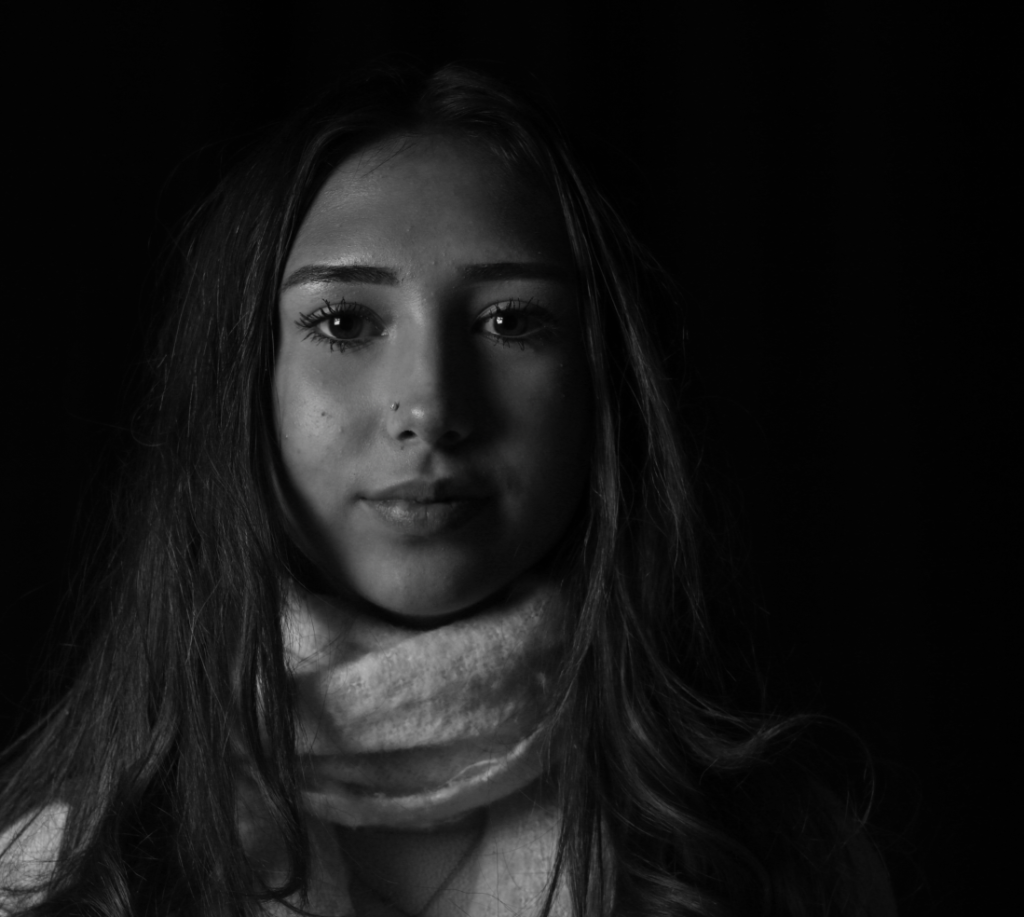
chiaroscuro lighting
Chiaroscuro is a high-contrast lighting technique that utilises a low-key lighting setup to achieve contrast between the subject and a dark.
Chiaroscuro is not only a storytelling technique but a handy way of creating real depth and intrigue in our frames. Just like the Renaissance painters who pioneered the technique, filmmakers are working with a two-dimensional canvas. Chiaroscuro lighting is a great way to create a three-dimensional effect in our films.
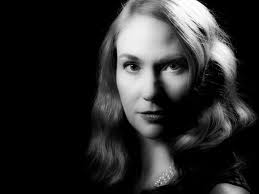
This is an example of chiaroscuro. the light is shown on half of her face and the other half of her face is covered by the shadow. the shadow then blends into the black background.
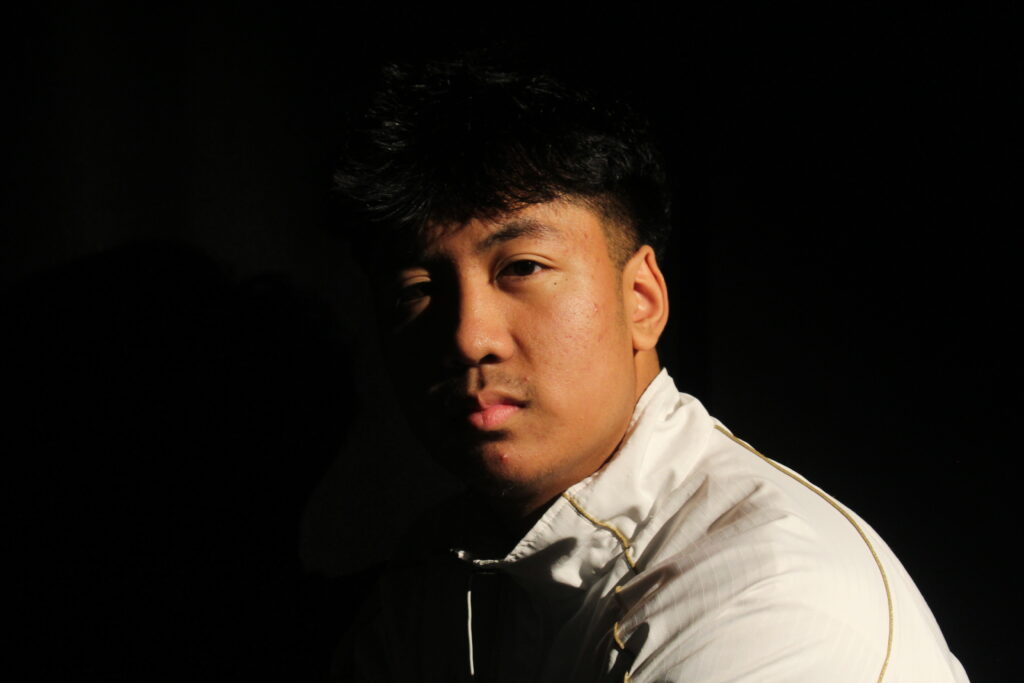
This is before editing, my own example of chiaroscuro lighting that i tried in the studio. we used a light and placed it to the right of him so the right side of his face was lightened.
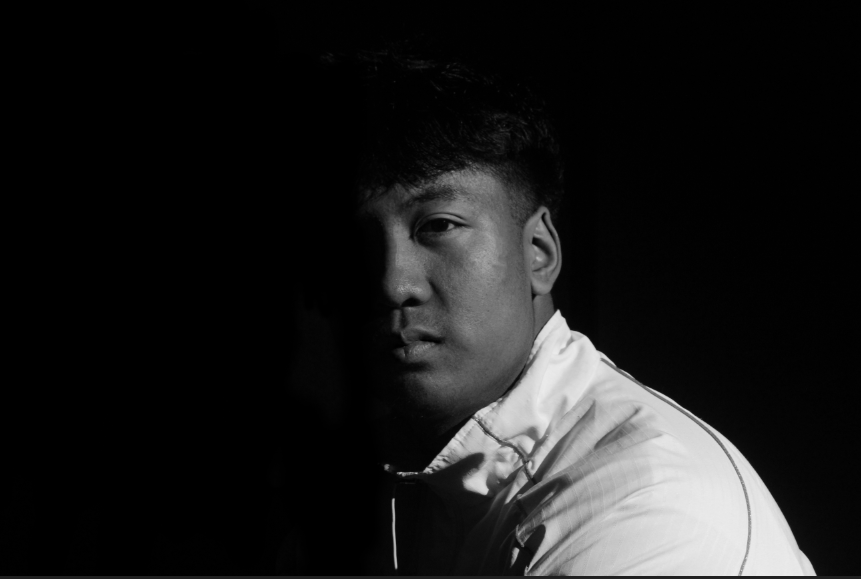
This is after converting my photo into black and white and adjusting the hue/saturation and brightness/contrast.
