What is studio lighting?
Studio lighting refers to how a light source, artificial or natural, lights up the scene, subject and object that is being photographed.
Why do we use studio lighting?
We use studio lighting because its an essential tool for photographers to brighten up their images and videos.
What is the difference between 1-2-3 point lighting?
One point lighting is where only one light is involved when the photo is taken. One point light will give off light equally in every direction, similar to a light bulb as all rays will come from a single point.
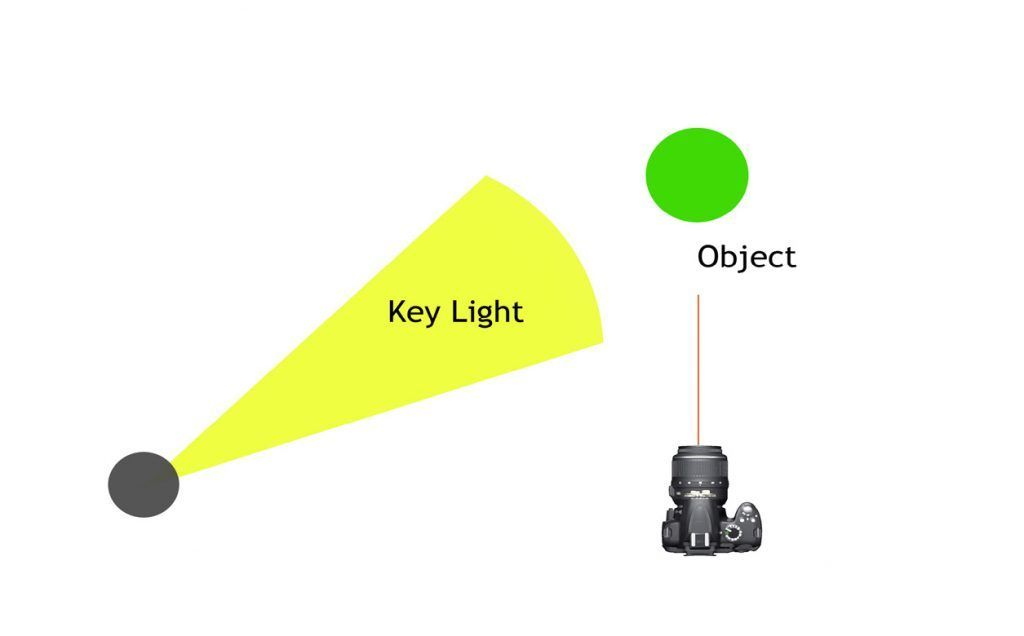
Two point lighting is used is an essential lighting technique used in film and photography that consists the use of two light sources to brighten up a subject. This setup makes depth and dimension, enhancing the visual appeal by adding shadows and highlights that will define shapes.
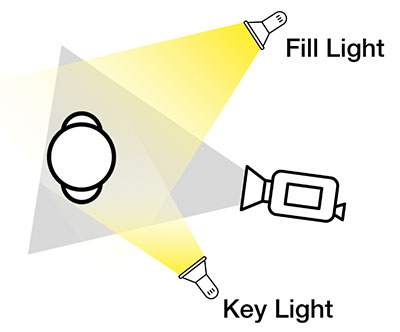
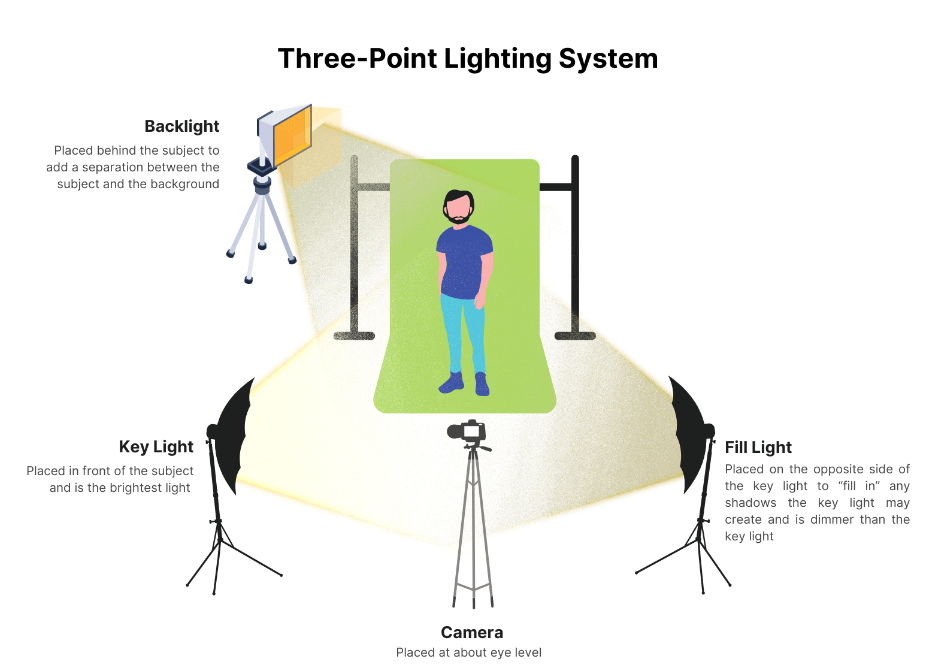
Three-point lighting is a classic method for lighting up a subject in a scene with light sources from three noticeable positions. The three types of lights are key light, fill light, and backlight. Key light is the most intense light source in the three-point lighting setup. Three point lighting gives off a three-dimensional look.
Key Light
What it provides: Generally the key light is the common source of light and its placed at an angle to the subject to create texture, depth, and contrast. It highlights the form and dimension of on-screen subjects and allow cinematographers to manage the atmosphere of a scene.
Positioning: The key light is generally placed at a 45 degree angle to the person, it has to be only above eye level and to one side.
Effect: Using a soft and flattering key light it will make some more distributed shadows, conveying a gentle, pleasant and natural feel. On the other hand, a hard key light generates sharp, acute and well-defined shadows, which can be used to create a more sudden or stylized portrait.
Fill Light
What it provides: The purpose of a fill light is to brighten up the parts of the subject that the main light wont be able to reach.
Positioning: If your main light source is trailing behind your subject, then place the fill light forward of your subject. If your main light source is to the side of your subject, then place your fill light to the side of your subject as well.
Effect: Balancing the overall brightness of a scene, specifically in areas with shadows or low light contrast. Its main function is to soften and weaken the shadows and get rid of the firmness of the key light. This results in a more engaging and balanced visual.
Back light
What it provides: Backlight is light that hits an actor or subject by trailing behind, typically its higher than the subject than its exposing. Backlighting an object or actor from the background creates more depth, texture and shape to any subject.
Positioning: Place the camera in the direction and insight of the subject and position your subject in a way so that the backlight is directly trailing behind the subject.
Effect: This will create a light spill effect, where the light seems to spill from behind the framework of your subject.
Rembrandt Lighting
What is Rembrandt Lighting?
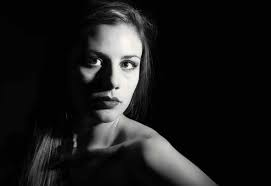
This type of portrait photography is named after Rembrandt Harmenszoon van Rijn, A great Dutch painter. It points out a way of lighting on a face so it is an upside-down light triangle which will occur underneath the eyes of the subject. It can be achieved using one light and a reflector or two lights, which is very popular because it is able to produce images which will appear both natural and fascinating, with minimal of equipment.
Example of Rembrandt Lighting Photo
Why should you use Rembrandt lighting ?
Rembrandt Lighting should be used because it makes the subject or the object the main focus of the image by producing a lit up face and a very dark background, in doing this the eye of the subject or object of the image is the first thing that you will see offering a unique view point of the image. Using this style of inventive writing is something that will make the portrait that you have taken stick out while still being something that you wouldn’t normally expect from what people usually predict.
Who was Rembrandt?
Rembrandt (born July 15, 1606, Leiden, Netherlands—died October 4, 1669, Amsterdam) was a Dutch painter, he was a very intelligent, brilliant and capable artist and was well known for being able to catch people emotions in his portraits, he was also well known because of the use of shadows in his work.
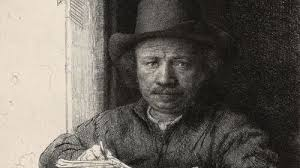
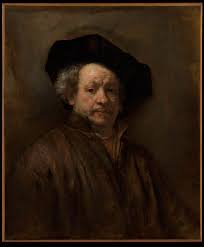
How To Create A Rembrandt Lighting Set Up
Light: Lighting styles are decisive by the positioning of the light source. Rembrandt lighting is created by the single light source coming in at a 40 to 45-degree angle and larger than the subject. Use cans use both lights and continuous lights.
Lens: Use a 35mm or 50mm focal length, if the space is at a premium – or if you’re looking at adding more of the subject than just the head and shoulders. A 50mm works perfectly for portraits and will give a great depth of field if you’re shooting at a shallow aperture. But a 35mm will give you a wider point of view and is great to fit more of the body in of your subject or the object.
Camera settings (flash lighting)
Tripod
White balance: daylight (5000K)
ISO: 100
Exposure: Manual 1/125 shutter-speed > f/16 aperture
Focal length: 105mm portrait lens
Camera settings (continuous lighting)
Tripod
Manual exposure mode
White balance
ISO: 400-1600 – depending on how many light sources are used
Exposure: Manual 1/60-1/125 shutter-speed > f/4-f/8 aperture
Focal length: 50mm portrait lens
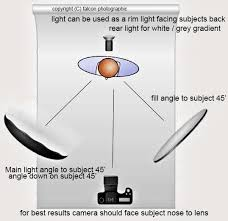
Rembrandt Lighting Mood Board
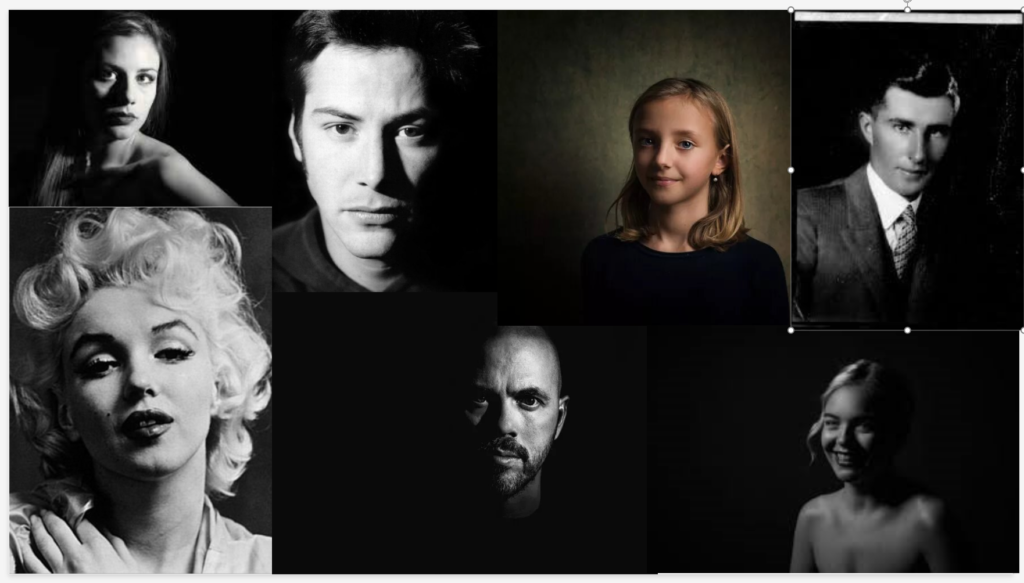
This is my collection of photos I have gathered on Rembrandt Lighting.
Chiaroscuro Lighting
What Is Chiaroscuro Lighting?
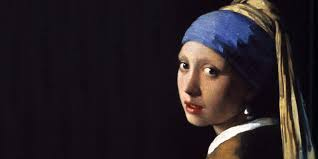
Chiaroscuro Lighting is an Italian lighting technique that stands for Light Dark in English , its a very high contrast lighting technique that needs to use a low key lighting set up, it needs to have a single light source to generate a dark background with its subjects and objects.
Why should you use it?
Chiaroscuro Lighting should be used as it will provides an abstract contrast that will draw attention to the subject or object and to build a dark , shadowy background, doing this can include a more unique look to the images that you take to boost the atmosphere and can will create three dimensional look to the image.
Who Created This Type Of Lighting?
Chiaroscuro lighting was developed by Leonardo Da Vinci, Caravaggio, Vermeer, and Rembrandt. It is a trademark quality in the works of their Renaissance period and art movement but is well known today for its role foe being key in the film noir sub-genre of movies through low-key photography.
How To Create A Chiaroscuro Lighting Set Up
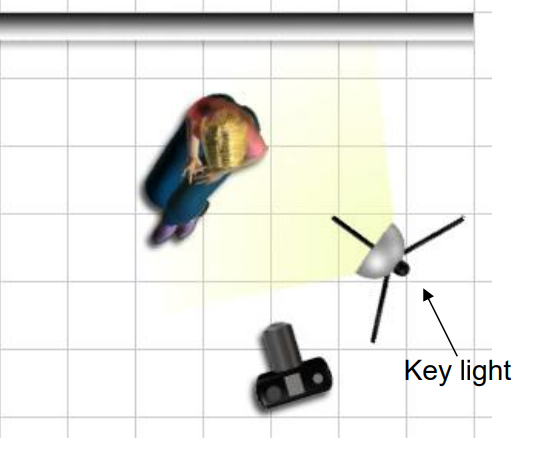
To create Chiaroscuro in photography you need to:
Chiaroscuro in photography: Chiaroscuro using one key light and to use a variety using a reflector that reflects light from the key light back onto the sitter.
flash “bouncing”, fill-in flash, TTL / Speedlight flash, remote / infra-red flash (studio lighting), fast + slow synch flash and light painting c/w slow shutter speeds
Chiaroscuro Lighting Mood Board
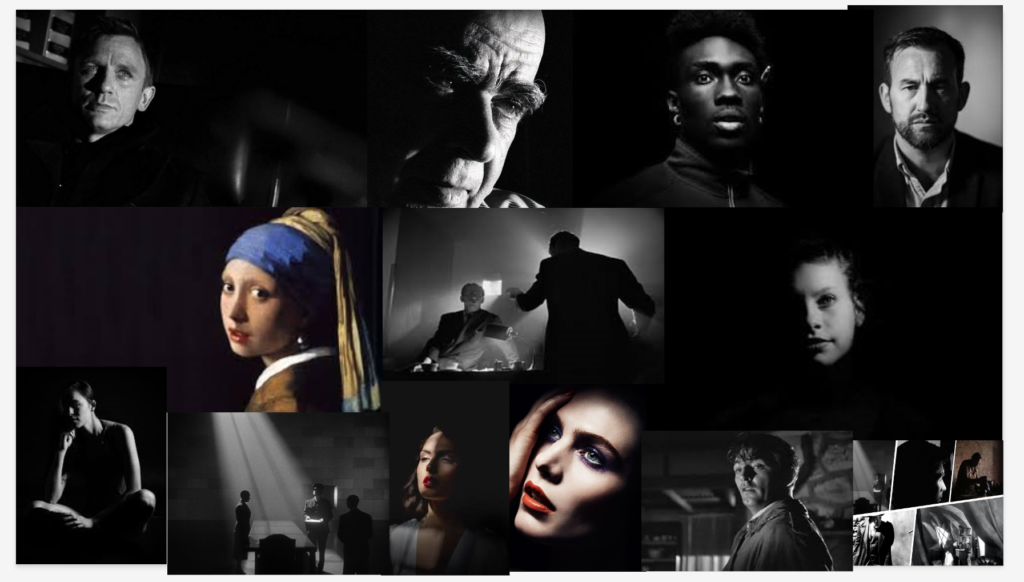
This is my collection of photos I have gathered on Chiaroscuro Lighting.
Butterfly Lighting
What Is Butterfly Lighting?
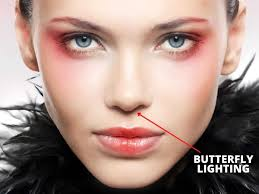
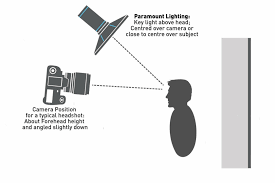
Butterfly lighting is an element of studio lighting that is usually used within portraiture photography, as the name suggests the lighting used forms a butterfly shape underneath the nose of the subject of the image. This is because the light comes from above the camera and you face will create a shadow.
Why Should You Use Butterfly Lighting?
You should use butterfly lighting because it will create a narrow face. It also produces a soft, flattering illumination that will minimize imperfections on the subject’s face. This type of lighting is a unique type of lighting due to creating a different atmospheres in images we usually see.
Who Created Butterfly Lighting?
Butterfly lighting was not created by one specific person but it was rather developed over time in Hollywood back in the 1930’s, it was mainly used on a person called Marlene Dietrich who was massive Hollywood star around that time.
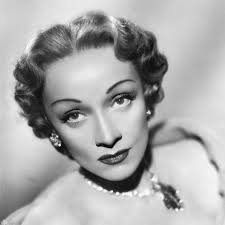
Butterfly Lighting Set Up
Lighting: Butterfly lighting will need a key light that can be a flash or continuous. If continuous, it can be artificial or natural. In other words, you can use strobes, speed lights, LEDs or even the sun.
A butterfly lighting effect refers to the setup and not to the quality of light – it can be soft or hard light depending on what you want your photo looking like.
Butterfly Lighting Mood Board
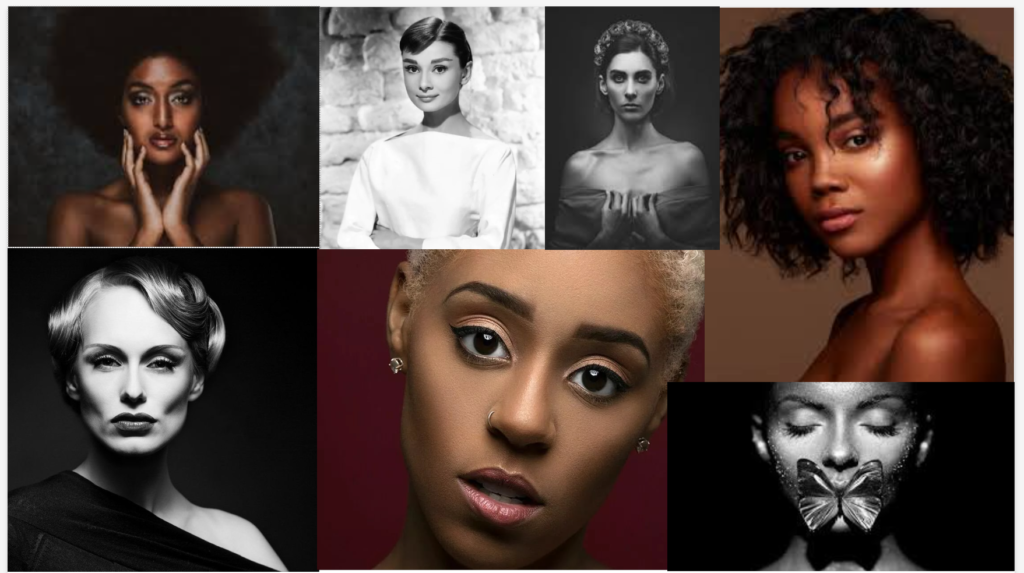
These are pictures I have gathered to make a Butterfly Lighting Mood Board.
