shutter speed

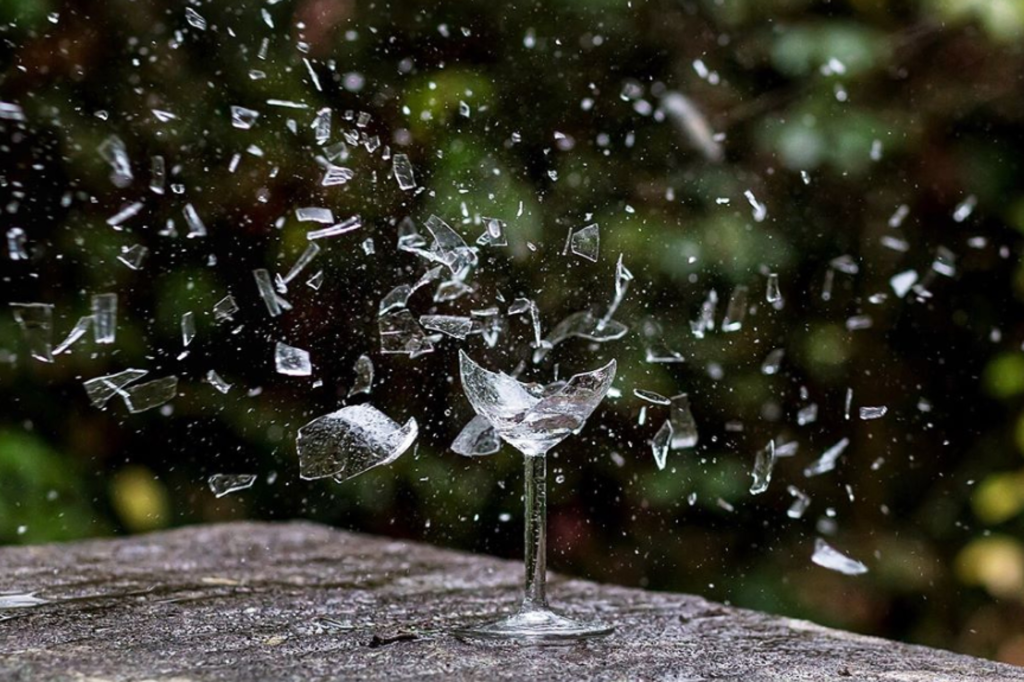
Fast shutter speed freezes the motion in your image. Fast shutter speed is 1/125 sec or faster. 1/1000 sec is super fast shutter speed. Fast shutter speed lets less light into your camera and will effect exposure making your images darker.

This is an example of a fast shutter speed, the photo is very precise and you can see a lot more detail than you would be able to see with a slow shutter speed.

This is example of medium shutter speed, some parts of the photo are blurred, but some are more focused

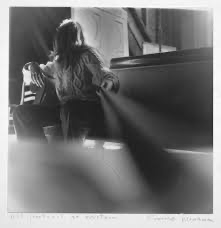
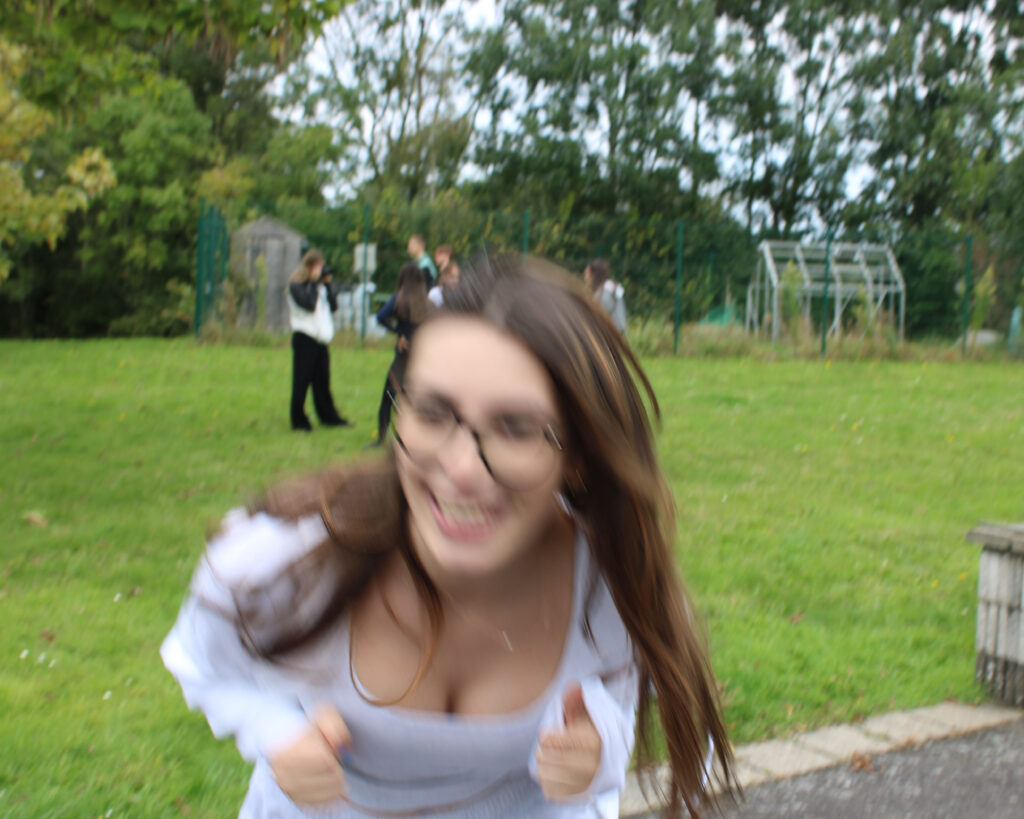
A slow shutter speed can help you illuminate a darker scene, as it allows more light through the lens. the slower your shutter speed, the more motion blur your camera will capture whilst shooting a fast moving object.

This photo was taken with a slow shutter speed, in the night with long exposure/slow shutter speed. the photographer would have had to have a steady camera

Eadweard Muybridge

Eadweard Muybridge is best known for his photographic studies of motion of humans and animals, although he was also a pioneer in landscape photography. To capture the first action shots of a galloping horse, he used multiple cameras in different positions. Their shutters were triggered by electricity, enabling a shutter speed of one thousandth of a second. 

This is one of Eadweard Muybridges photos with a high shutter speed, showing a horse galloping. The camera has photographed the moment where all four of the horses legs are not touching the floor.

My own work.

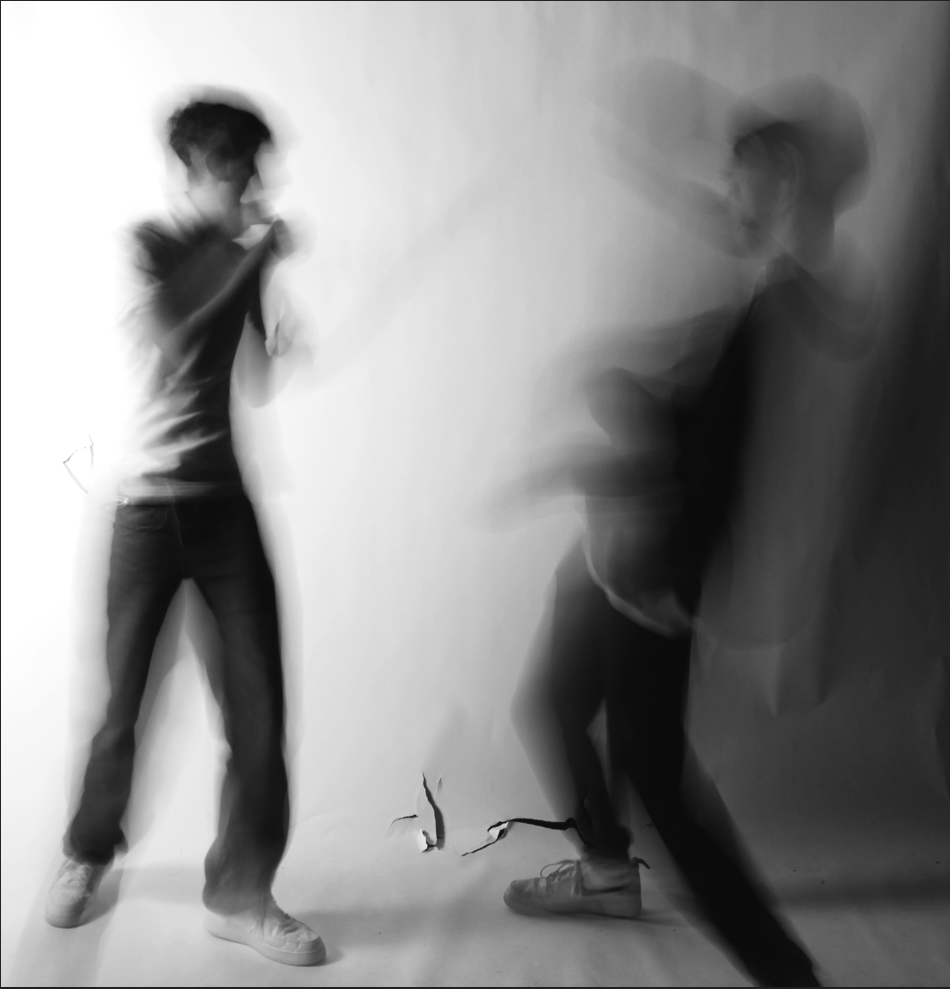
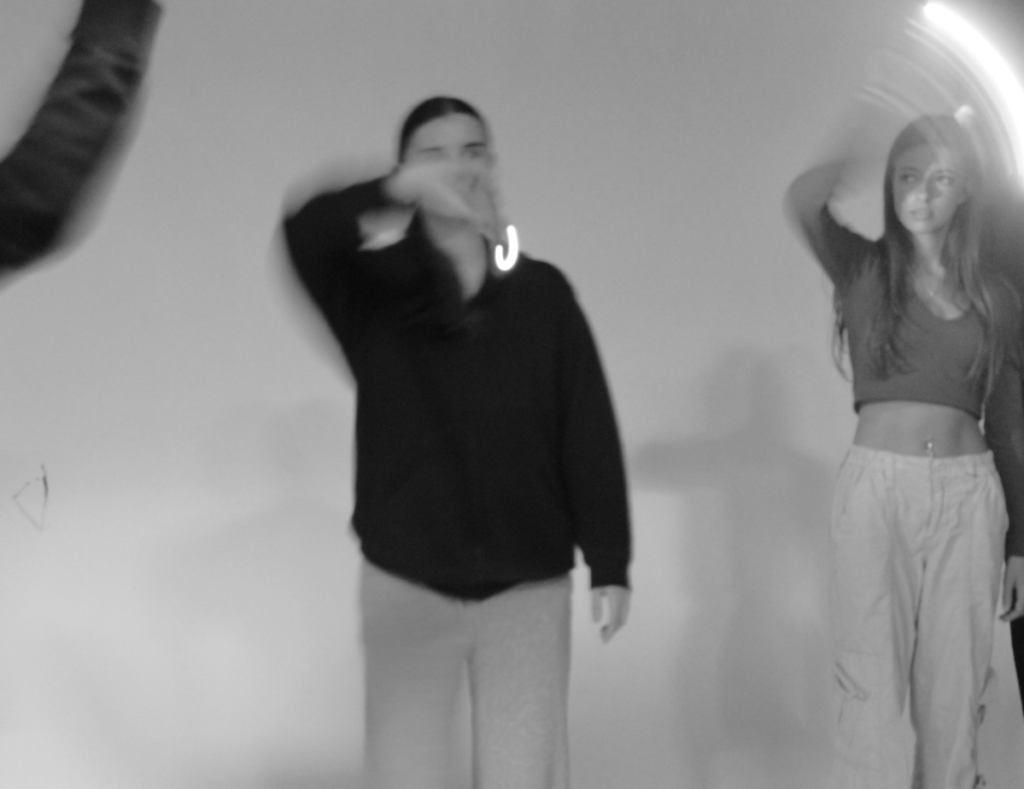
In this photo we used a slow shutter speed in a dark room to capture the lights blurring to make those shapes.

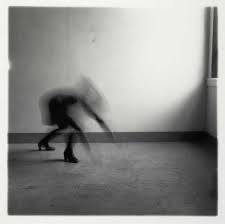
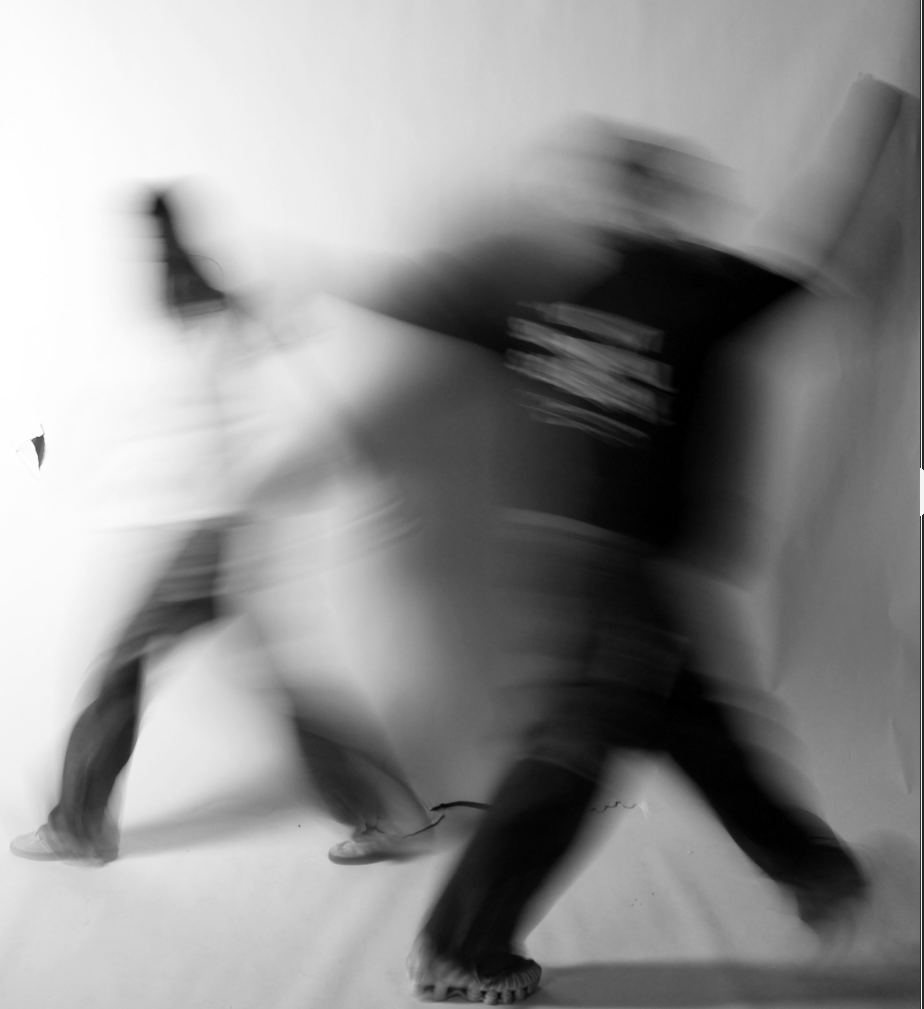
This is another example of using slow shutter speed, me and my friend span round in circles to create this photo that looks like were not in one position

Fruit Texture Photoshoot

Artist Research – Mark Duffy

Mark Duffy is a commercial photographer who brings over a decade of graphic design experience to his photography work.

Some of his work involves close up macro photography of fruit, using effective compositions to highlight different textures on different fruits.

In this image, Duffy has zoomed in significantly onto the strawberry to create a composition which focuses solely on texture, highlighting the light and dark parts as well as the lines and differences in each part of the texture.

My Photoshoot

For my photoshoot on texture, I decided to photograph a wide variety of fruit and experiment with their different textures to create a range of unique, interesting images. By taking straight-on, zoomed in images similarly to Mark Duffy I aimed to highlight texture using specific compositions as well as creating clear differences in tones between different fruits.

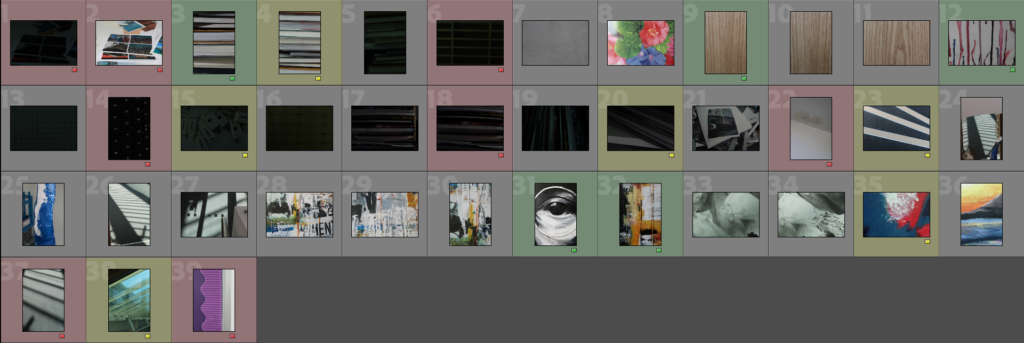
My fruit texture photoshoot imported into Lightroom, where I did my selection process – bad photos (out of focus, under/overexposed) are flagged as X, decent photos are marked 2-3 stars and are in yellow and great photos are green and marked as 4 stars. I will pick 3 of these green photos to edit and present as my final images.

Overall, some photos were underexposed whilst I was trying to adjust the settings manually to cope with the room’s artificial lighting but for the majority of the photos I feel I successfully captured effective images focusing and highlighting the unique textures of each individual fruit. I also used straight on shots to focus solely on the textures presented in each image, making use of formal elements such as lines and space to make them stand out further.

Some of my better photos:

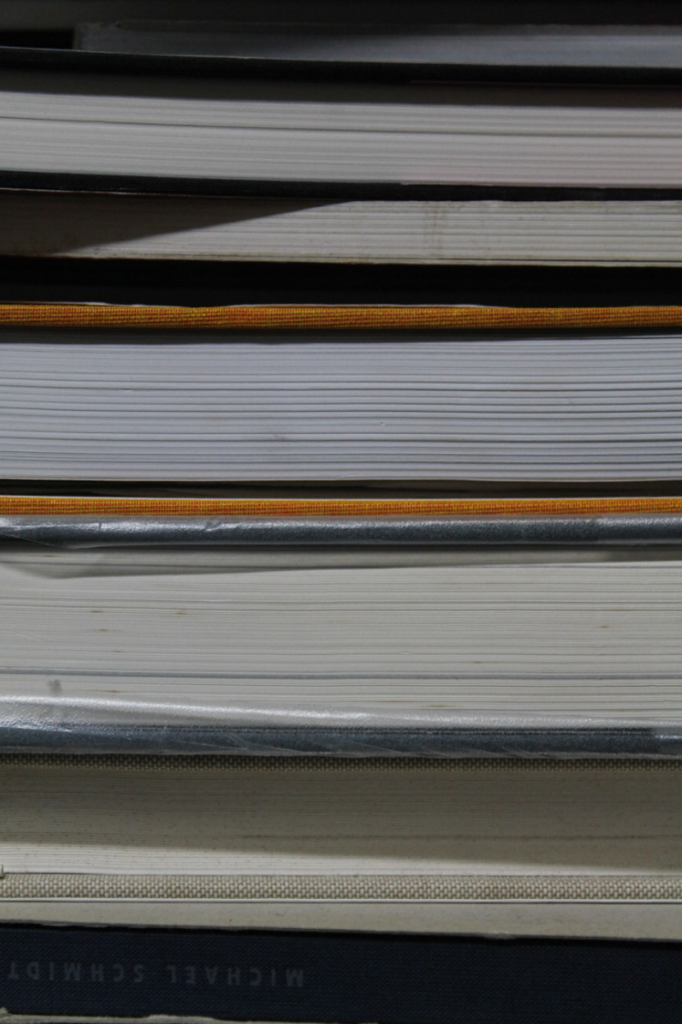
The raw photos shown above I believe have captured texture very effectively, occasionally using a soft focus to highlight certain textures as well as most textures being in the foreground combined with a low aperture to make the textures stand out even further as the image’s main focal point.

Image Editing/Experimentation:

First editing phase:

I first decided to experiment with dark gradient overlays and a 1×1 composition to try and create a clear contrast between dark and light tones, which I found effective since the lighter reds emphasise the texture of the pear as well as contrasting the dark-toned negative space in each corner.
I decided to take a similar approach with this image, but I decided to keep the composition the same since I like the effect the out of focus pineapple leaves have on highlighting the texture of the pineapple itself. The yellow gradient overlay I wasn’t too satisfied with since it creates too many dark tones, weakening the strength of my formal elements since the contrast between light and darks is less noticeable.
I first decided to crop this image to remove the bananas to make the sole focus of the image the textures of the apple, which I find effective since the middle being out of focus as well as the soft lines around the apple clearly direct attention and focus onto the texture. Furthermore, it also develops an emphasis on lighting since the colour scheme I chose for this gradient overlay makes the light shining onto the left apple more noticeable, which overall further strengthens the use of formal elements in this image.

Second editing phase:

For my second editing of this image, I decided to try crop it so the majority of the negative space is cut out leaving just the texture with few bits of dark toned negative space in the corners, which I find effective. I also made it black and white to experiment with how this would affect the presentation of texture, and I think the lack of colours creates more focus on the texture of the pear itself which was my intention behind this image in the first place.
I thought the composition of this image as it was originally was effective due to its minimal negative space with a sole focus on texture, so I made some simple changes such as turning up the brightness and turning it black and white which I believe worked effectively since like my previous edit above I like how the lack of colour affects presentation of texture positively and clearly demonstrates that the main focus of these images is texture.
I decided to experiment with making this image black and white like the others and found it was very successful for the same reasons, so I think for my final edits I will make all three pictures black and white and present them all in a grid to show consistency. Furthermore, for composition, I decided to crop it to focus more on the left half of the image to see how the texture of the apple would contrast with the banana – I think this wasn’t really effective since I think for my final presentation it would be better if each image focused on a different fruit, so I think for my final edit I will crop it to focus solely on the apple’s texture.

Final fruit photos:

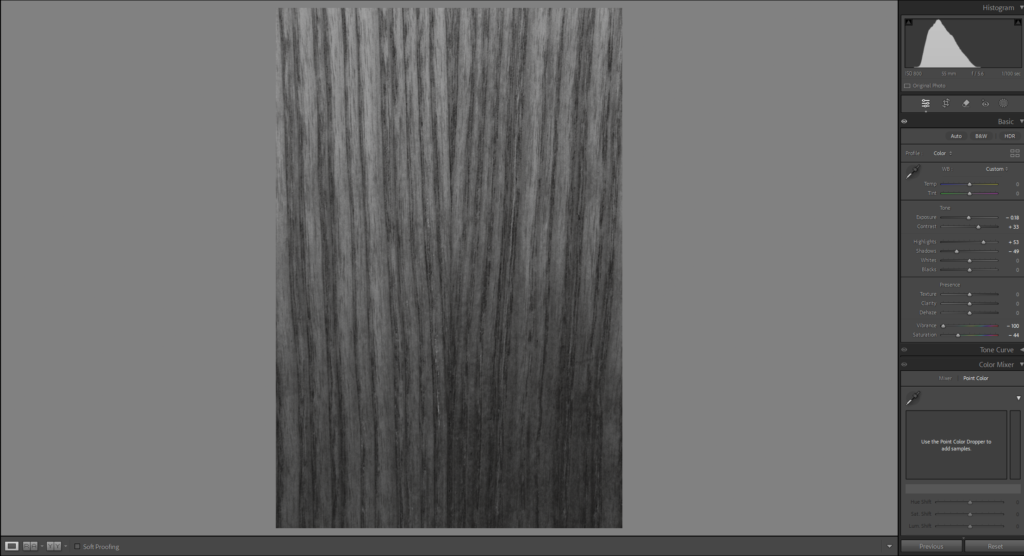
Above are my final 3 photos, presented in a triptych. I decided to crop each one similarly to the point where it removes most unnecessary negative space to focus solely on texture, as well as making them all black and white to remove colours in order to further develop the focus on texture since this was my main intention behind the photoshoot. Finally, after editing each image in Photoshop, I used Lightroom’s develop mode to manually increase presence of texture which I found extremely effective since now all my photos have a strong resemblance to Mark Duffy’s work with their minimal negative space and strong focus on textures.

Evaluation and Comparison:

Above is one of my final images compared to an image from my inspiration, Mark Duffy. I think I managed to successfully take inspiration from his work and implement it into my own photos, seen clearly by both images being straight-on shots of fruit highlighting texture – however, mine has some negative space around the subject (in contrast to Duffy) and is also in black and white which I did since I think the removal of colours cuts down on distractions to focus solely on texture. Both photos also demonstrate clear use of formal elements, with both having subtle lines to highlight the textures as well as a clear range of light and dark tones to create intrigue in the photo.

Adobe Lightroom

This is where my photos are saved in the video data drive

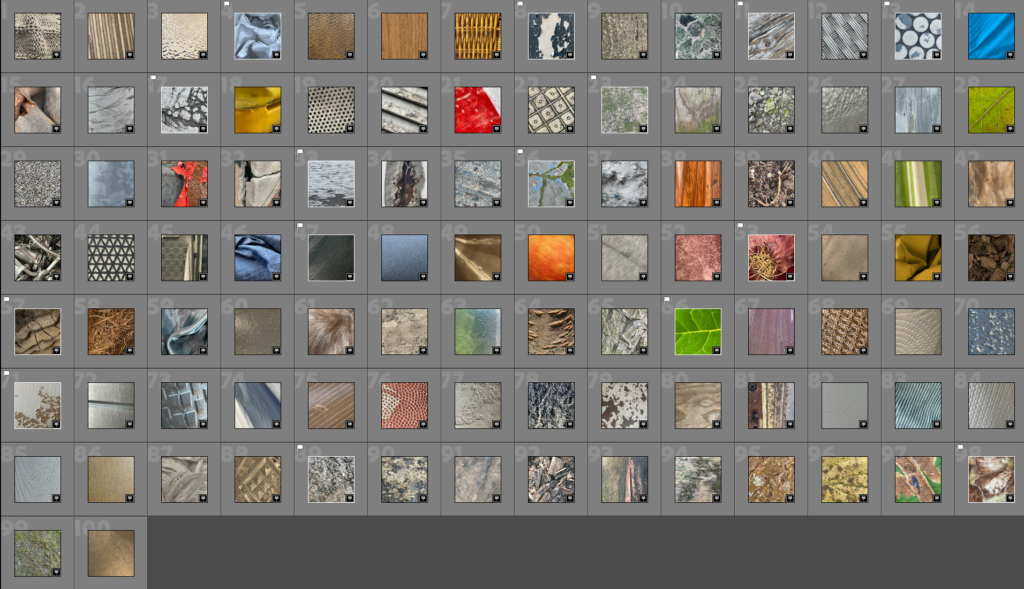
This is my contact sheet. After importing my images onto Lightroom from my documents, I now have a display of all of my images. I have flagged the photos that I prefer so its easier to find my best work.

This is my final flagged images.

I then made a folder called ‘shutter speed’ to hold all of my photos.

After finding a picture I want to edit, on the left side there is a ‘Presets’ option which allows me to automatically edit my pictures with settings that are all ready made.

On the right side of the screen it shows me the histogram which tells me the ISO, shutter speed, and focal length.

Below the histogram, there is all he filters that help edit your photos such as colour, shadowing, exposure, highlights and more.

This is one of my photos that I have edited. the picture on the left is before editing and the picture on the right is after editing. I used lots of the different editing techniques on Lightroom to be able to change the colour of the photo whilst also making it more blurry.

fixing the shadows

Camera Obscura

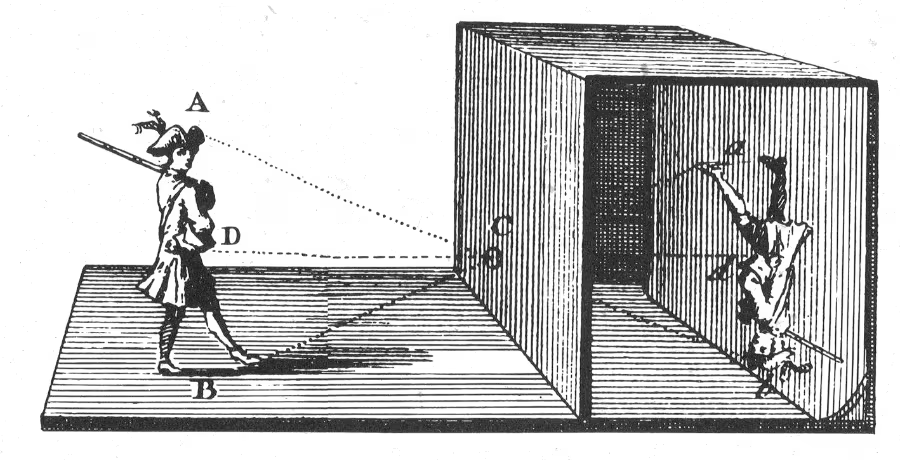
The camera obscura is about 200 years old. The name comes from the Latin words for ‘dark’ (obscura) and ‘room’ (camera). With a camera obscura, you can perfectly capture the world around you by projecting what’s on the outside down into a darkened space on the inside you don’t even need a power source. it’s not magic it is just some really useful science. ​

it is a rather theatrical-looking curtain that surrounds the darkened chamber, there’s a large lens mounted in a wooden panel. That lens focuses the light from the scene outside down onto a mirror which is held at a 45-degree angle behind it on the inside. The mirror reflects the rays of light onto a piece of paper or canvas laid out flat on the base inside the wooden box. To see the image, you need to cover yourself with a piece of black cloth to stop any other surrounding light from getting into the box. You’d then trace the outlines of the scene you can see projected onto the paper inside. And because this camera obscura uses a lens, which creates a relatively large aperture, you get a sharp, colourful image on the paper like a mini video feed of the outside world. ​

Because the light is bouncing off the mirror, you see the image the right way up. But the lens causes the image to flip (or invert) so it’s also the wrong way round. That meant artists using a camera obscura would have to trace the final image in reverse. There is plenty of evidence that masters like Canaletto and Rembrandt used the camera obscura, but other artists may have been more secretive. People still debate whether the Dutch painter Johannes Vermeer used a camera obscura to capture the incredible detail in his exquisite paintings of domestic scenes. Although there’s no written evidence to prove it art historians think that he probably did.

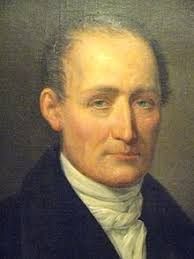
Nicephore Niepce​

Joseph Nicéphore Niépce was a French inventor and one of the earliest pioneers of photography. Niépce developed heliography, a technique he used to create the world’s oldest surviving products of a photographic process.

In 1826, Niépce used his heliography process to capture the first photograph, but his pioneering work was soon to be overshadowed by the invention of the daguerreotype.​

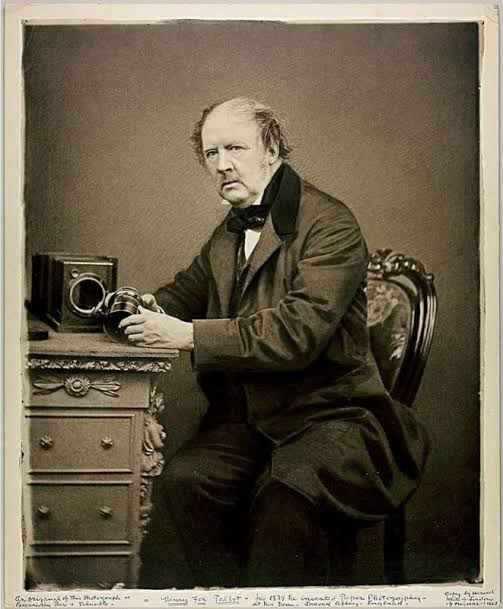
Henry Fox Talbot

William Henry Fox Talbot was an English scientist, inventor, and photography pioneer who invented the salted paper and calotype processes, precursors to photographic processes of the later 19th and 20th centuries.

William Henry Fox Talbot was credited as the British inventor of photography. In 1834 he discovered how to make and fix images through the action of light and chemistry on paper. These ‘negatives’ could be used to make multiple prints and this process revolutionised image making.

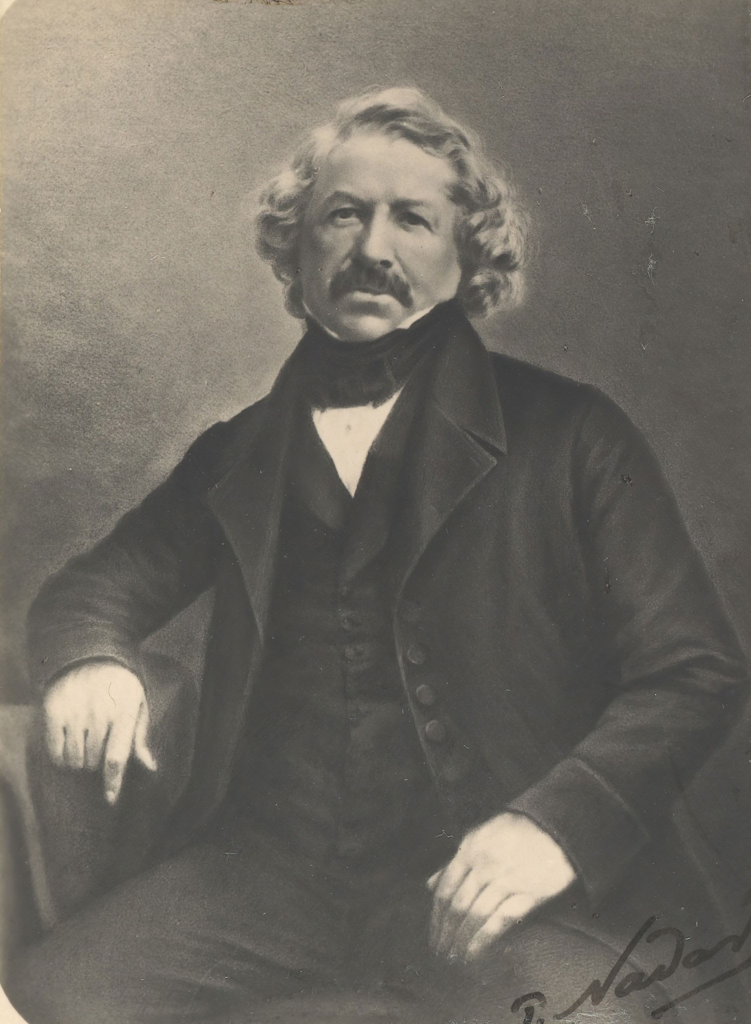
​Louis Daguerre – The Daguerreotype

Louis-Jacques-Mandé Daguerre was a French artist and photographer, recognized for his invention of the daguerreotype process of photography. He became known as one of the fathers of photography.

The daguerreotype is a direct-positive process, creating a highly detailed image on a sheet of copper plated with a thin coat of silver without the use of a negative. The process required great care. The silver-plated copper plate had first to be cleaned and polished until the surface looked like a mirror.

Richard Maddox
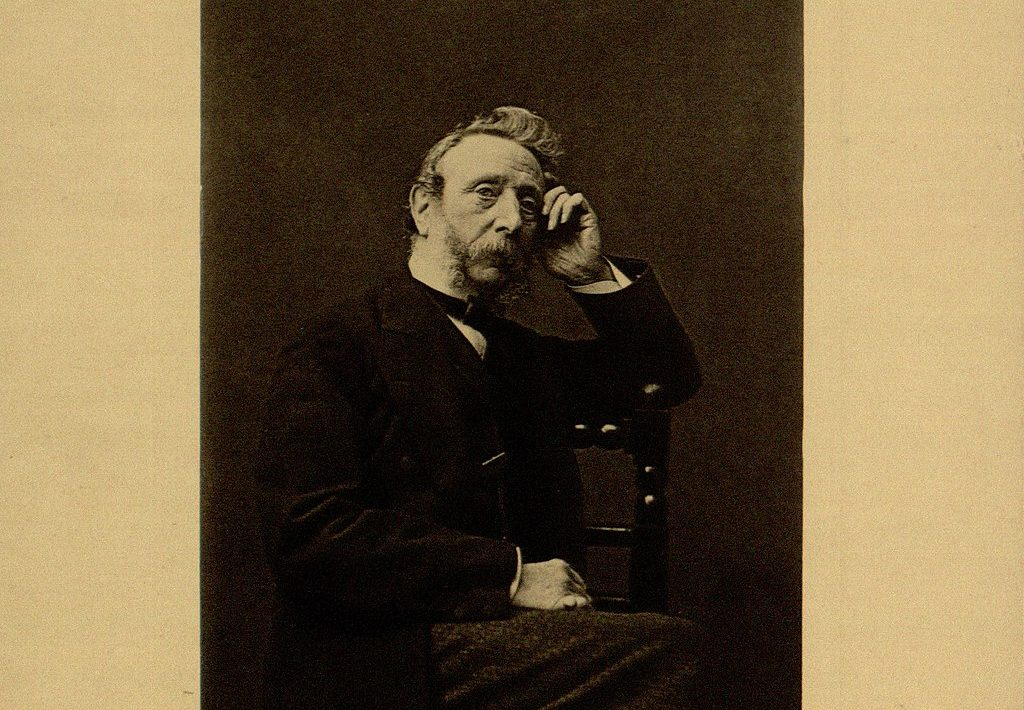
Richard Leach Maddox was an English photographer and physician. Because of him, photography was given an early impetus to become a disseminator of medical knowledge. His interest in the camera, combined with his poor health and his medical training, enabled him to invent the gelatin bromide negative that is the backbone of today’s photographic film.

George Eastman
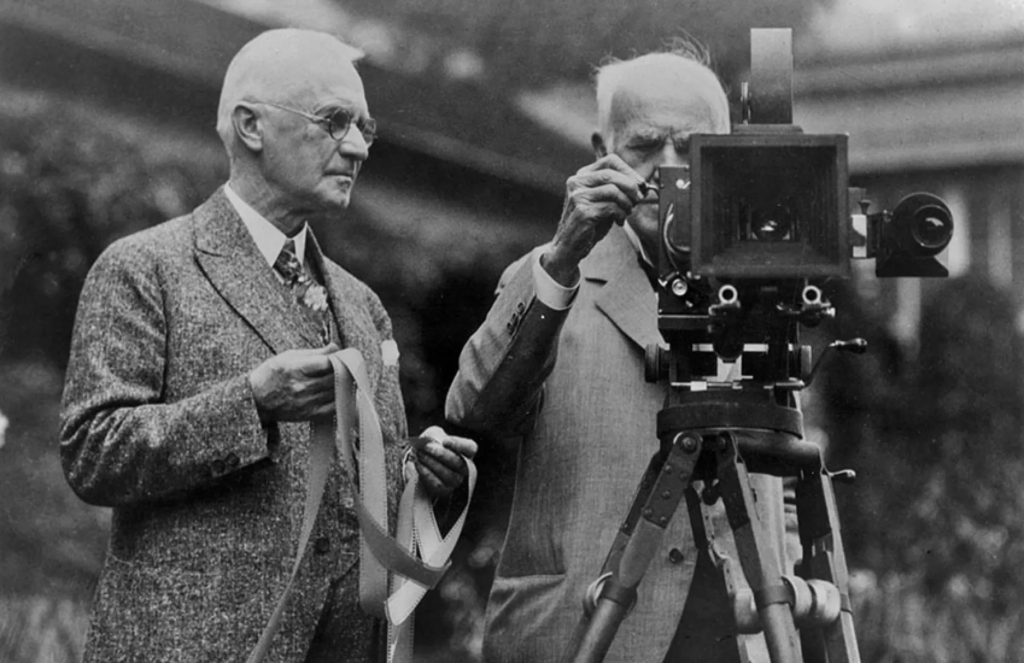
George Eastman was an American entrepreneur who founded the Eastman Kodak Company and helped to bring the photographic use of roll film into the mainstream. He changed the world through his entrepreneurial spirit, bold leadership, and extraordinary vision.

Kodak Brownie
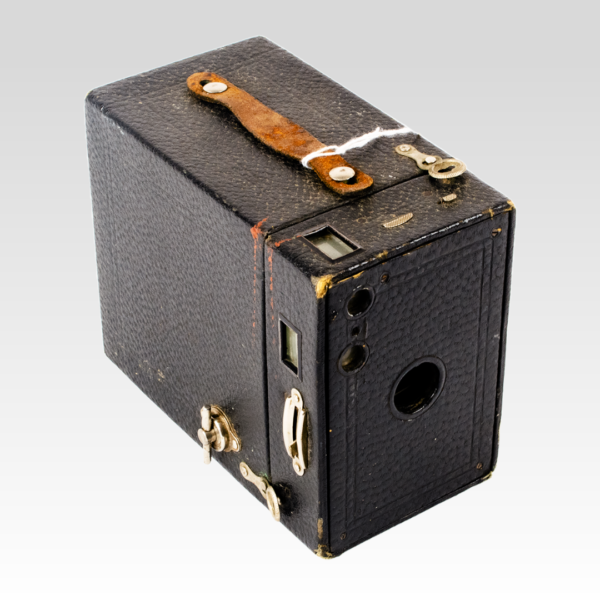
The Brownie was a series of camera models made by Eastman Kodak and first released in 1900.

It introduced the snapshot to the masses by addressing the cost factor which had meant that amateur photography remained beyond the means of many people; the Pocket Kodak, for example, would cost most families in Britain nearly a whole month’s wages.

The Brownie was a basic cardboard box camera with a simple convex-concave lens that took 2+14-inch square pictures on No. 117 roll film. It was conceived and marketed for sales of Kodak roll films. Because of its simple controls and initial price of US$1 (equivalent to $37 in 2023) along with the low price of Kodak roll film and processing, the Brownie camera surpassed its marketing goal

Digital Photography
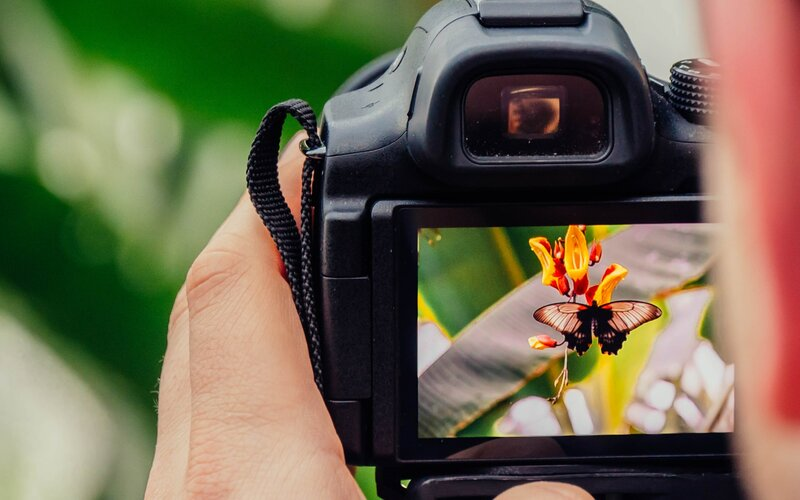
Digital photography is a process that uses an electronic device called a digital camera to capture an image. Instead of film, it uses an electronic digital sensor to translate light into electrical signals. In the camera, the signals are stored as tiny bits of data in bitmaps, tiny bits of data that form the image.

Origin of Photography

Camera Obscura

The camera obscura is around 200 years old and its name comes from the Latin words ‘Dark Room’.

What is it and how does it work?

It is a darkened box with a convex lens for projecting the image of an external object on to a screen inside.

A large curtain surrounds the darkened chamber and there is a large lens mounted in a wooden panel. the lens then focuses the light from outside down onto a mirror which is held at a 45 degree angle behind it on the inside. The mirror then reflects the rays of light onto a piece of paper that is laid out flat on the base inside a wooden box. to be able to see the image you would have to cover yourself with a black cloth to stop any light from getting in.

Why does this make it hard to dictate the origins of photography?

The camera Obscura existed before 1839, in 1839 the commercial process came out as Louis Daguerre developed the daguerreotype. This makes it problematic as people will wonder which one came first.

Nicephore Niepce

Henry Fox Talbot

Henry Fox Talbot was credited as the British inventor of photography. In 1834 he discovered how to make and fix images through the action of light and chemistry on paper. These ‘negatives’ could be used to make multiple prints and this process revolutionised image making. Photogenic drawings were basically contact prints on light-sensitive paper, which unfortunately produced dark and spotty images. In 1840 he modified and improved this process and called it the calotype. The mousetraps are sturdy little wooden boxes with a brass tube housing a lens at one end, and a sliding wooden panel at the other. Into the wooden panel at the back Talbot would stick a piece of normal writing paper that he had made chemically sensitive to light.

Daguerreotype

The daguerreotype was the first commercially successful photographic process (1839-1860) in the history of photography. Named after the inventor, Louis Jacques Mandé Daguerre, each daguerreotype is a unique image on a silvered copper plate. The daguerreotype wasn’t as successful as Talbot’s system because the daguerreotype had serious limitations. The mirror-like surface of the image could only be viewed from a narrow angle. Further, the process produced a one-of-a-kind image that did not permit printing duplicates.

Richard Maddox

Richard Leach Maddox, a British physician and photographer, invented the gelatin silver dry glass plate negative in 1871. The dry plate process quickly replaced the wet plate collodion process that required the mixing of dangerous chemicals and immediate exposure of the wet plate.

Muybridge’s famous Motion Studies

Muybridge worked closely with Senator Leland Stanford on experiments to record horses in motion, trying first to answer the question of whether or not all four feet are off the ground during the trot. In 1873 he successfully captured that event in Sacramento, using Leland Stanford’s horse Occident as his subject. Muybridge is known for his pioneering chronophotography of animal locomotion between 1878 and 1886, which used multiple cameras to capture the different positions in a stride; and for his zoopraxiscope, a device for projecting painted motion pictures from glass discs that predated the flexible perforated film strip used in cinematography. From 1883 to 1886, he entered a very productive period at the University of Pennsylvania in Philadelphia, producing over 100,000 images of animals and humans in motion, occasionally capturing what the human eye could not distinguish as separate moments in time.

George Eastman

In the 1880s, Eastman developed a convenient method of preparing ready-to-use plates. Improvements led to flexible, roll film as well as photo processing and printing done by mail order. Millions of people worldwide captured memories using cameras and film, leaving all the chemistry to Kodak. In 1881, with the financial backing of Rochester businessman Henry Strong, Eastman formed the Eastman Dry Plate Company (reincorporated as the Eastman Dry Plate and Film Company in 1884 and as Eastman Kodak Company in 1892).

ISO

What Is ISO?

ISO is a number that represents how sensitive your camera sensor is to light. ​Also controls the amount of light your camera lets in, and therefore how dark or light your photos will be. ISO stands for International Organization for Standardization.

How Does It Affect Your Camera?

Controls the amount of light your camera will let in, and therefore your photos will be light or dark.

What does a low/high ISO mean?

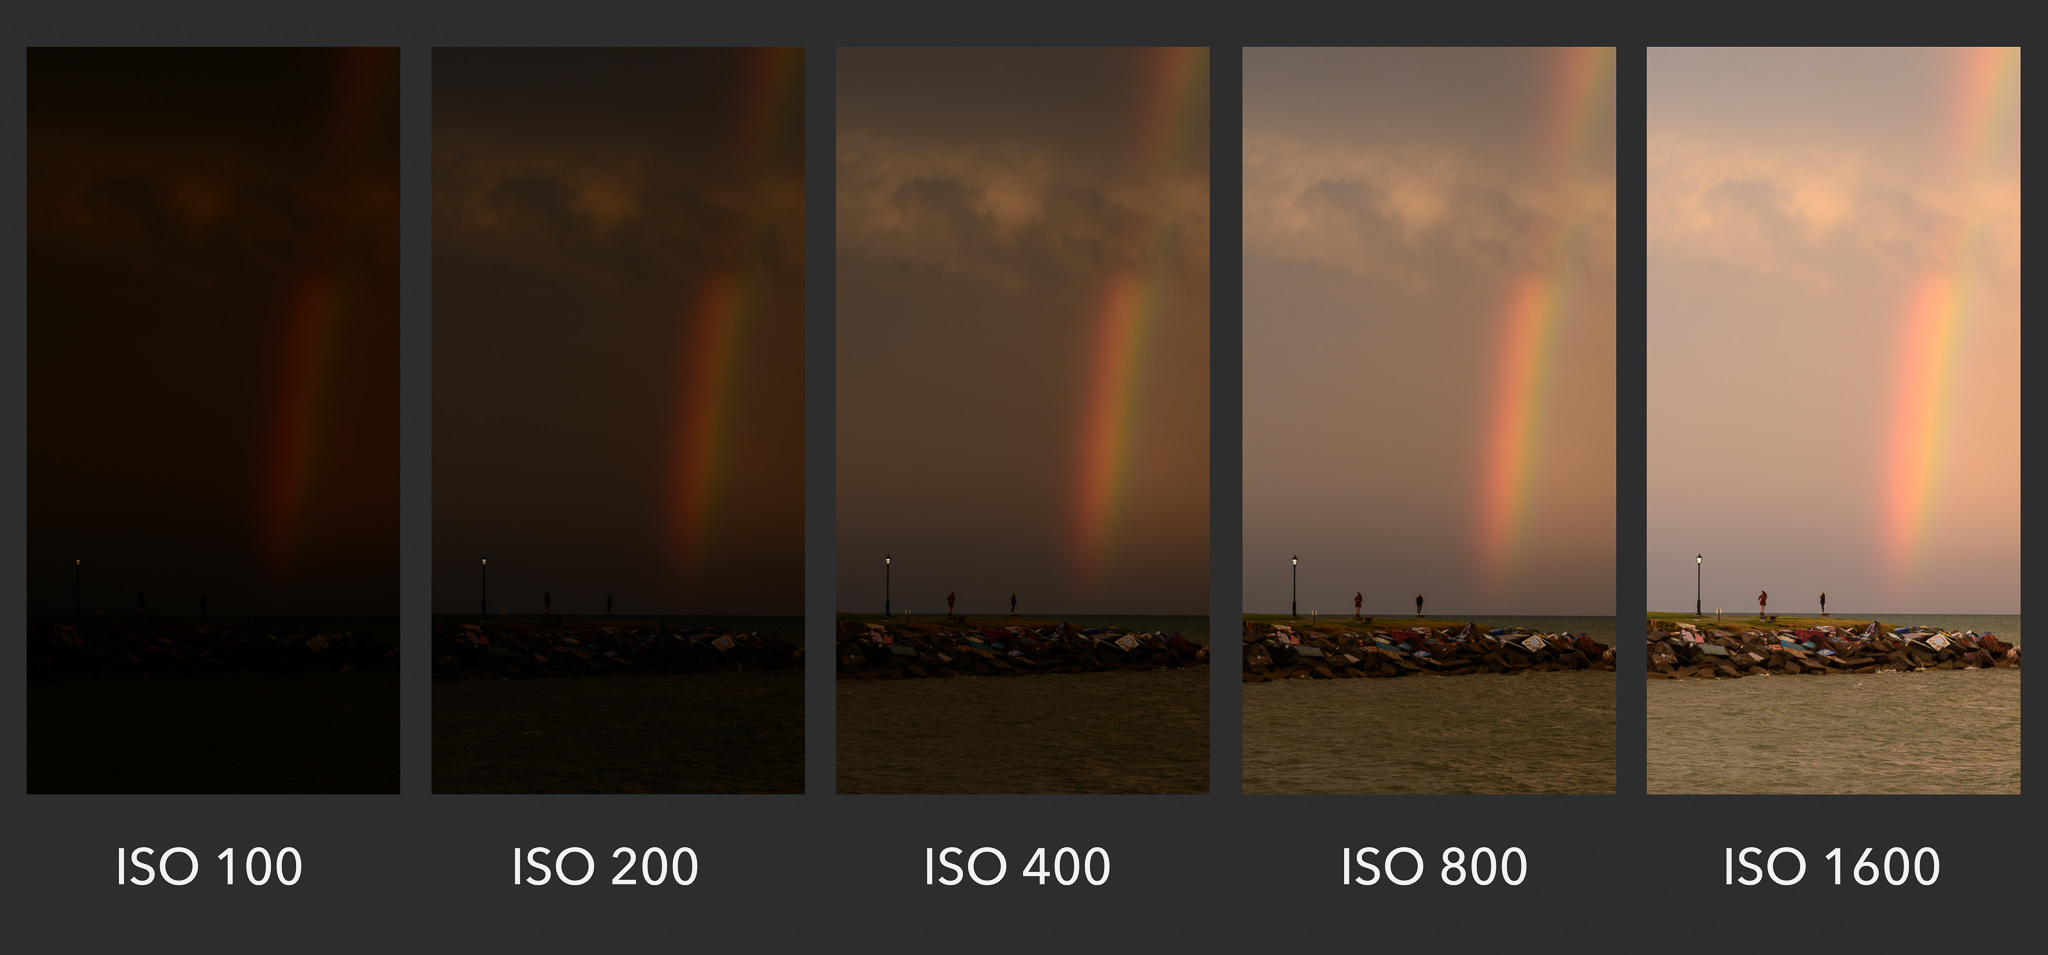
A lower ISO value means less sensitivity to light, and the more light you will need to take the photo. While a higher ISO means more sensitivity, and the less light you need to take a picture.​It’s one of the element in the photography’s exposure triangle — along with aperture and shutter speed — and plays an important role in the quality of your photos.

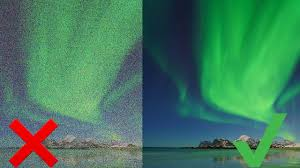
If you use a High ISO  it can  degraded image quality and cause your photos to be grainy or “noisy.”​

High VS Low ISO

It’s good to be on a low ISO to avoid noise and a degrading quality in the image.
ISO chart

Low Light Situations

In low light situations, it is often crucial to raise the ISO in order to get a clear picture. The huge problem with raising the ISO, though, is that it introduces ‘noise’ into the image , which can make it appear grainy.​

If you are taking a picture in excellent light conditions, you will want to keep the ISO low in order to dodge introducing noise into the image.
How to Adjust ISO On A Camera

To adjust ISO on the camera you will need to press the ISO button and will you need to use the swivel at the top to rotate it so it will go into a lower ISO or a higher ISO.

Edward Weston

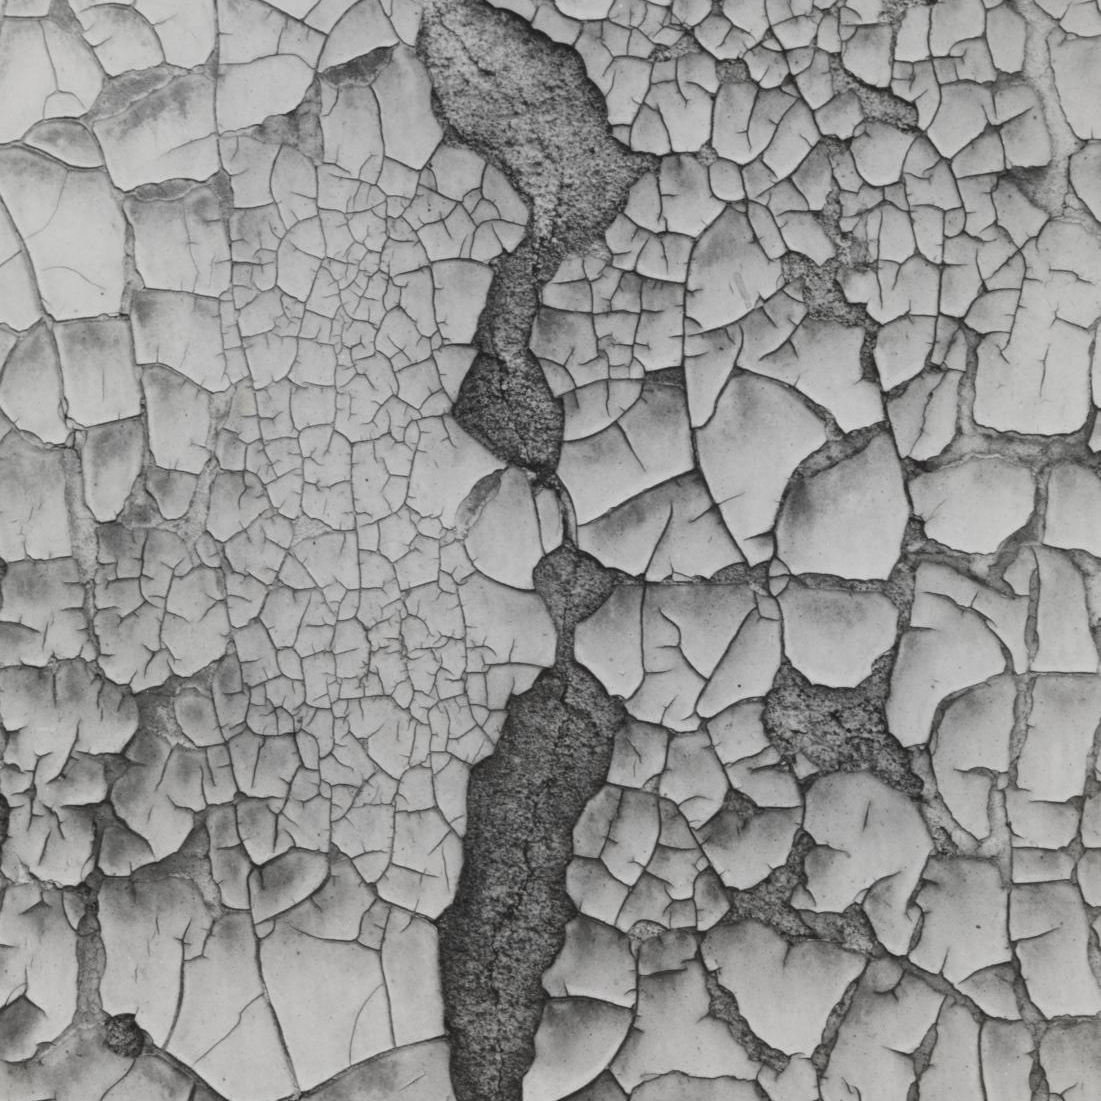
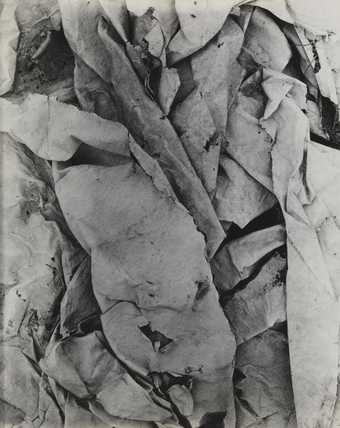
Edward Henry Weston was an American photographer. He has been called “one of the most inventive and dominant American photographers” and “one of the masters of 20th century photography.” Weston was inventive due to the types of photos he would take. Weston was born in March 24th 1886 and died  January 1, 1958. He was 71 years old.

Cabbage Leaf 1931 which is pictured below.

My work of High ISO VS low ISO

High ISO Photos

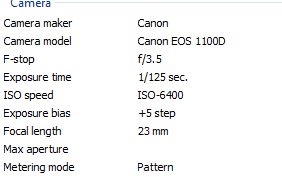
Above is the information of the photo that has been taken at a high ISO. The ISO was set to 6400, it was set to this so I could achieve a grainy and degrading effect to show the difference between a High ISO an A Low ISO.

Another High ISO Photo

Above is the information of the photo that was taken at a High ISO. The ISO was set too 6400 it was set to this so I could achieve a noisy and grainy effect, like it is above.

Low ISO Photos

Above is the information of a photo taken at a Low ISO. The ISO was set to 200 it was set like this to achieve a clear picture that you can see properly without lots of noise produced.

Another Low ISO Photo

Above is the information about the photo that was taken at a Low ISO. The ISO was set too 200 to achieve a crystal clear image that is easy to see rather than being made with a degrading quality.

Aperture and focus control

The aperture helps the photographer decide what they want to be in focus. It also links with the depth of field. For example the wider the aperture the smaller the depth of field. This means that the foreground is in focus and the background is blurry.

The F stop is what is used to measure the aperture

The image below has an aperture of 22. This means that the lens gets smaller and everything becomes in focus.


This image has an Aperture of 5 so the plane is in focus and the pencils in front and the toys behind. The lens expands in comparison to 22. This means there is a Medium level of: depth of view.

Texture

Guy Bourdin

My Texture Photoshoot

Best and Edited Photos

Photo Manipulation

Final Presentation

ISO

What is ISO?

ISO determines how much light your camera allows in, which affects whether your pictures turn out dark or bright, furthermore ISO determines how sensitive your camera is to light.

How Do I Make My Photos Look Awesome (part III) — GreenCastle Photography

When might you want a high ISO?

High ISO settings are really useful in low-light conditions, especially when you need a quick shutter speed or a small lens opening to get the shot you want. For instance, if you’re doing street photography at night without a tripod, cranking up the ISO lets you take clear and bright pictures even while moving quickly.

My own ISO example

ISO: 100
ISO: 6400

Cropping in to the image with ISO: 6400, you can see just how grainy the image is.

Texture

Guy Bourdin

Guy Bourdin (December 2, 1928 – March 29, 1991) was a French artist and fashion photographer famous for his striking and bold images. Starting in 1955, he primarily collaborated with Vogue, along with other magazines like Harper’s Bazaar. He also created advertising campaigns for brands such as Chanel, Charles Jourdan, Pentax, and Bloomingdale’s.

Examples of his work

GUY BOURDIN (1928-1991) , Chapeau-Choc, 1954 | Christie's

Guy Bourdin effectively uses his ISO so that there is no grain or noise in his photos and because of that there is no focus taken away from the texture of his style of photos.

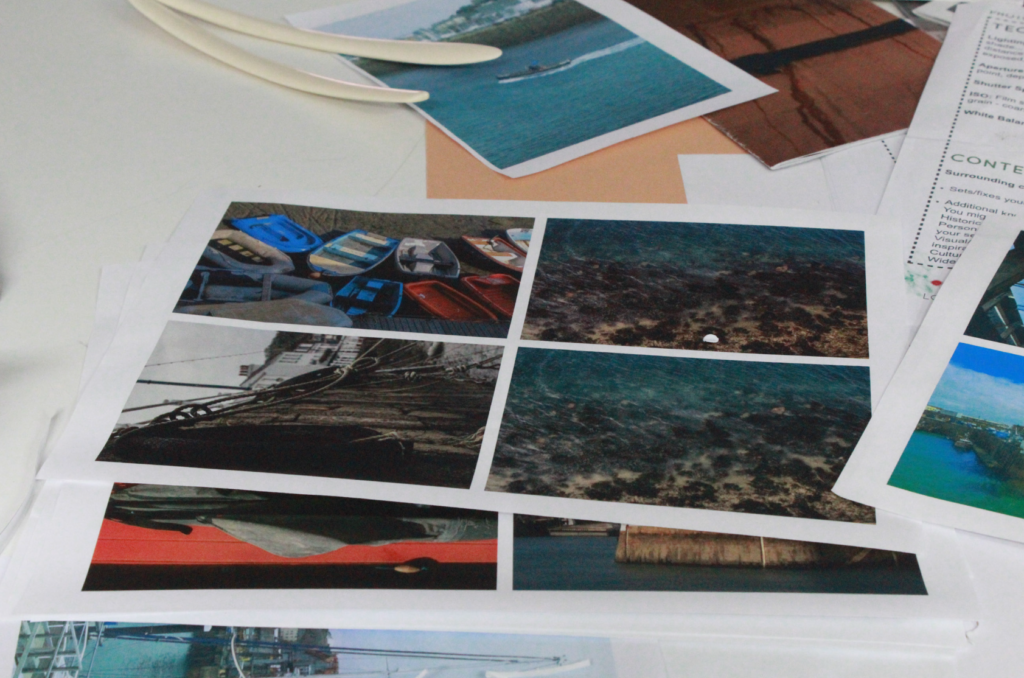
My texture photos

Selection process

My best photos

Editing

Final photos

Overall thoughts and evaluation

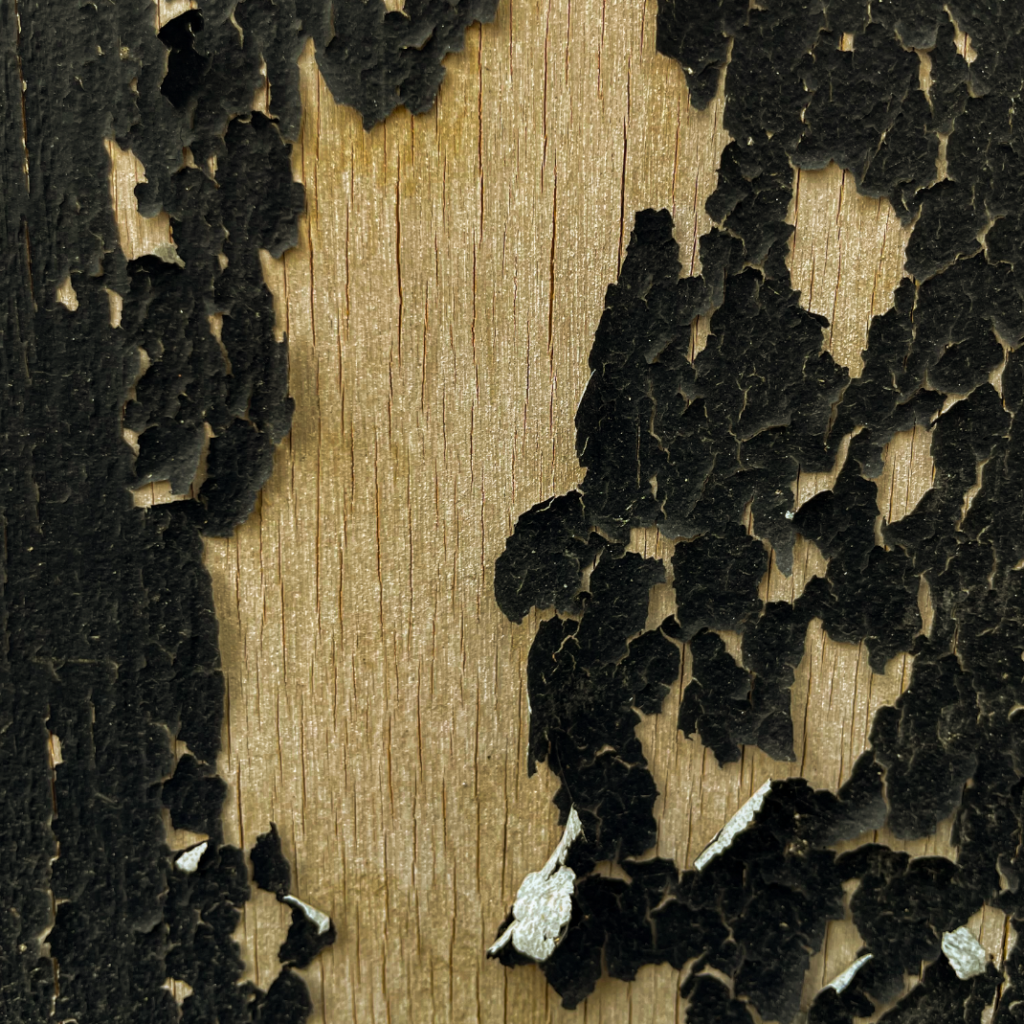
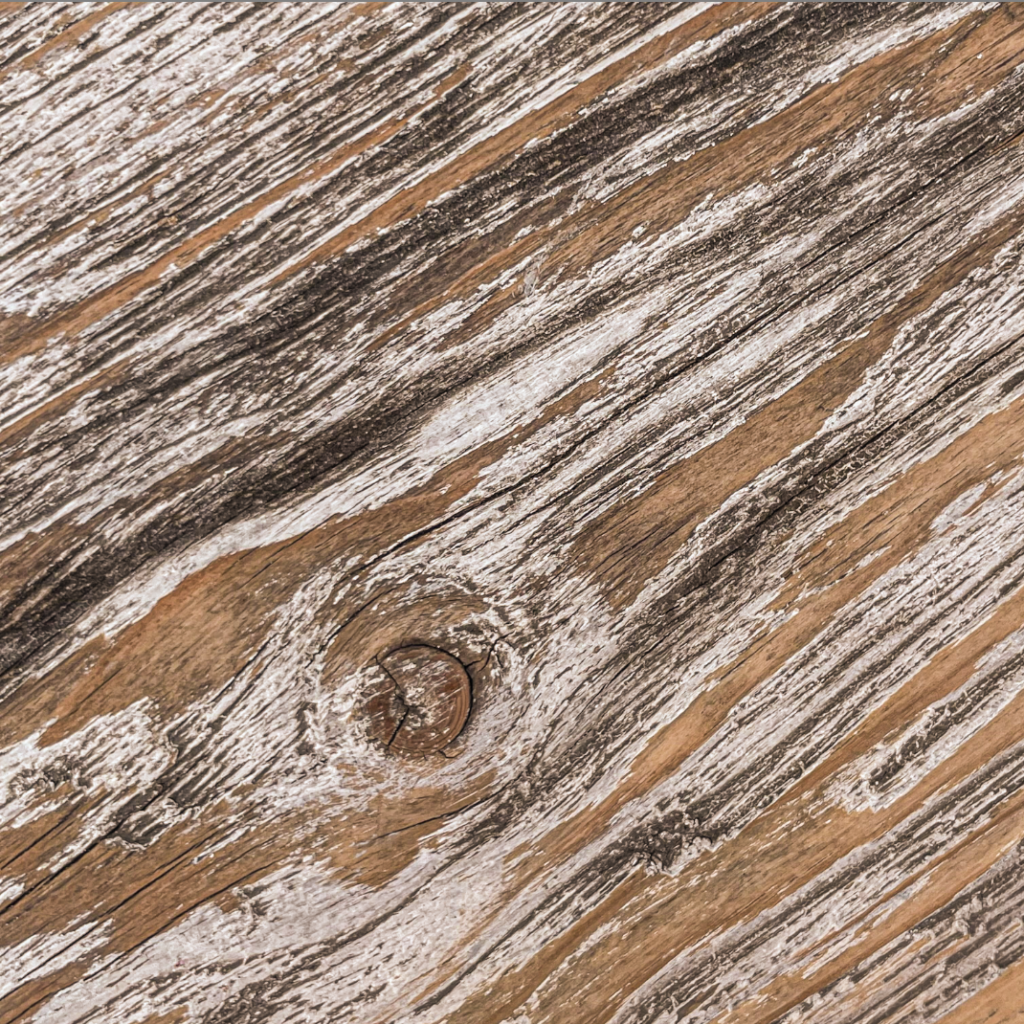
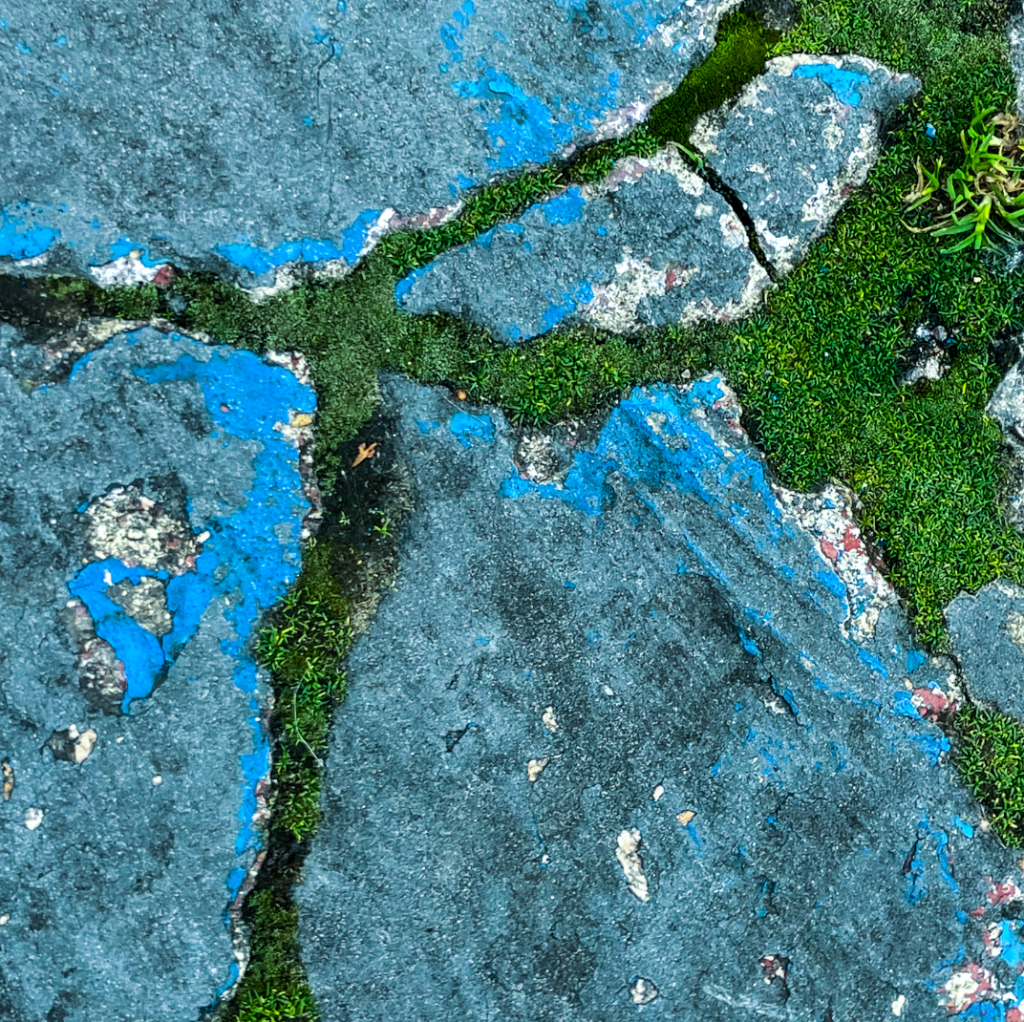
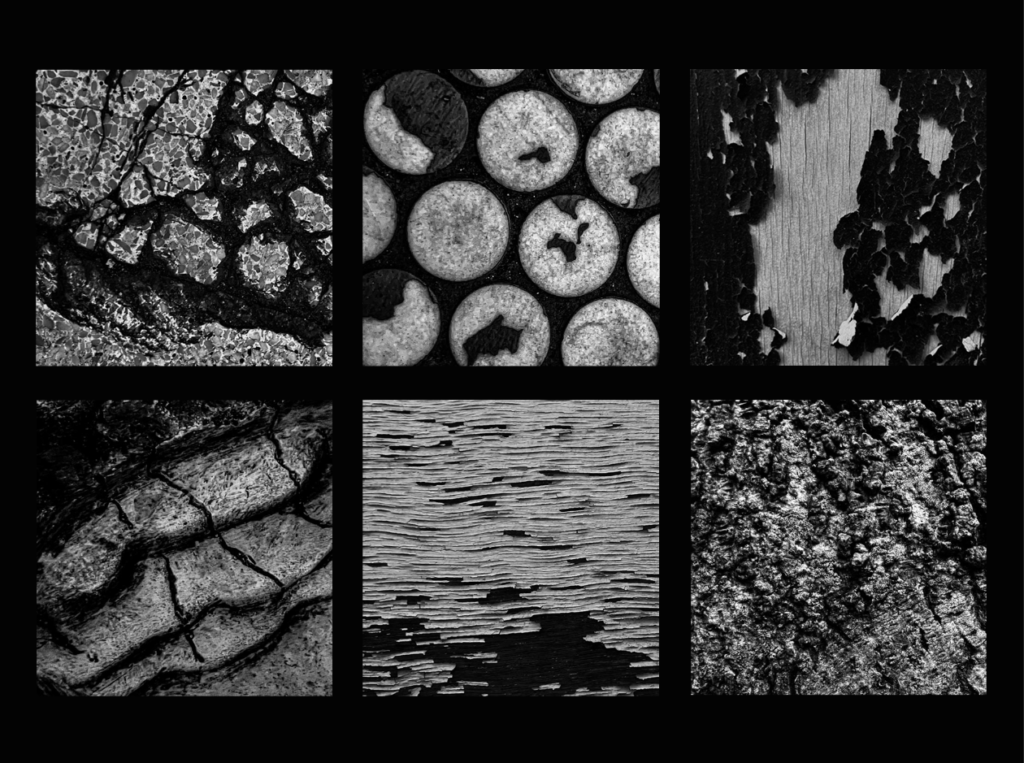
In my opinion I think that my final images are really effective and I also think they wok well together. I like the deep colours of the landscape photo but, on the other end of the scale, I think the plain black and white wood grain photo is super striking.

What is ISO?

ISO is a number that represents how sensitive your camera sensor is to light. The higher the ISO number, the higher your camera’s sensitivity, and the less light you need to take a picture. The trade-off is that higher ISOs can lead to degraded image quality and cause your photos to be grainy or “noisy.”

A lower ISO value indicates reduced sensitivity to light, meaning you’ll need more light to capture a photo. Conversely, a higher ISO increases sensitivity, allowing you to take pictures with less light. ISO is a crucial component of photography’s exposure triangle, which also includes aperture and shutter speed, and significantly impacts the quality of your images.

Using a high ISO comes with a trade-off: while it allows for better performance in low-light conditions, it can also result in degraded image quality, making your photos appear grainy or “noisy.” On the other hand, a lower ISO means reduced sensitivity to light, requiring more light to capture a clear image.

In low-light situations, increasing the ISO is often necessary to achieve a clear picture. However, the downside of raising the ISO is that it can introduce ‘noise’ into the image, resulting in a grainy appearance. We’ll explore this issue further below.

If you are taking a picture in ideal light conditions, you will want to keep the ISO low in order to avoid introducing noise into the image.
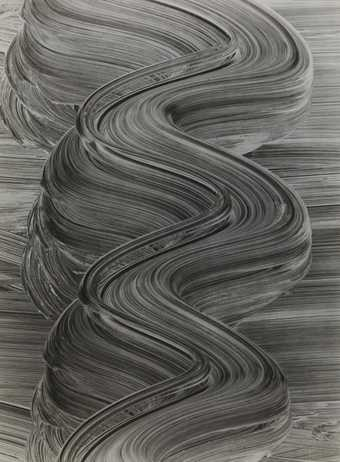
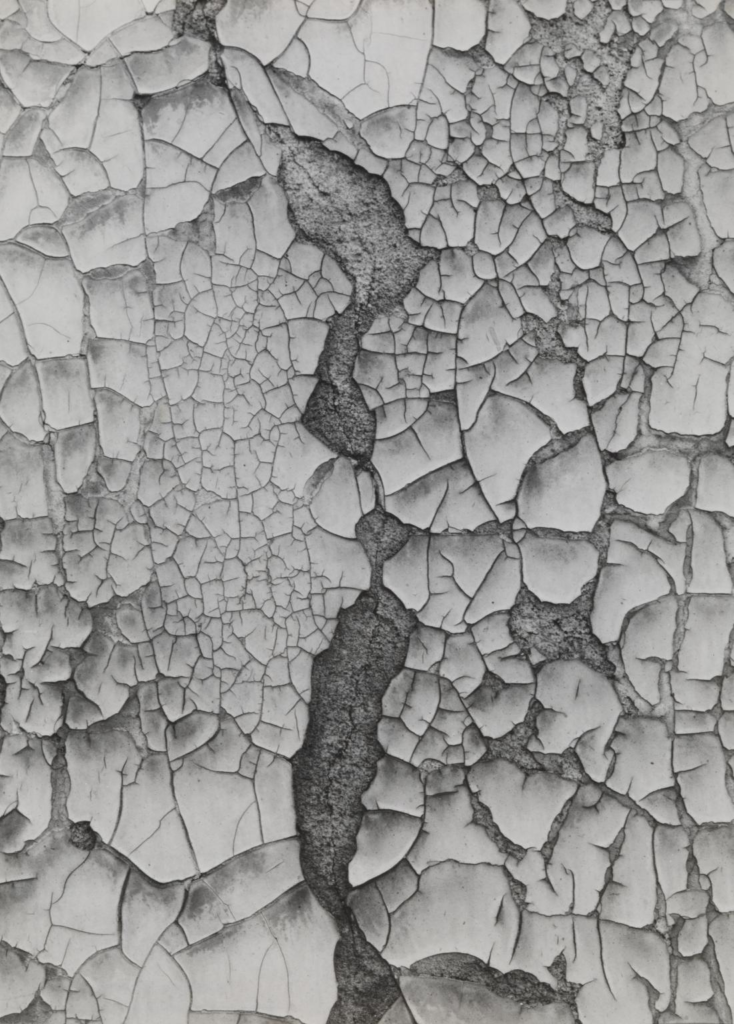
Francis Bruguière

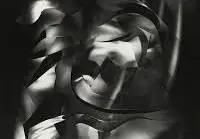
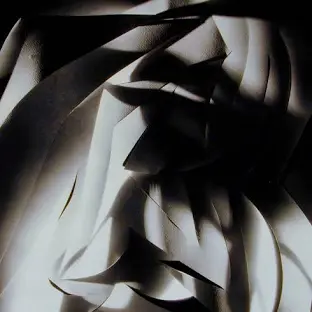
Francis Bruguière was an influential American photographer known for his pioneering work in the field of abstract photography. Active primarily in the early to mid-20th century, he was associated with the modernist movement and sought to explore the relationship between light, form, and space.
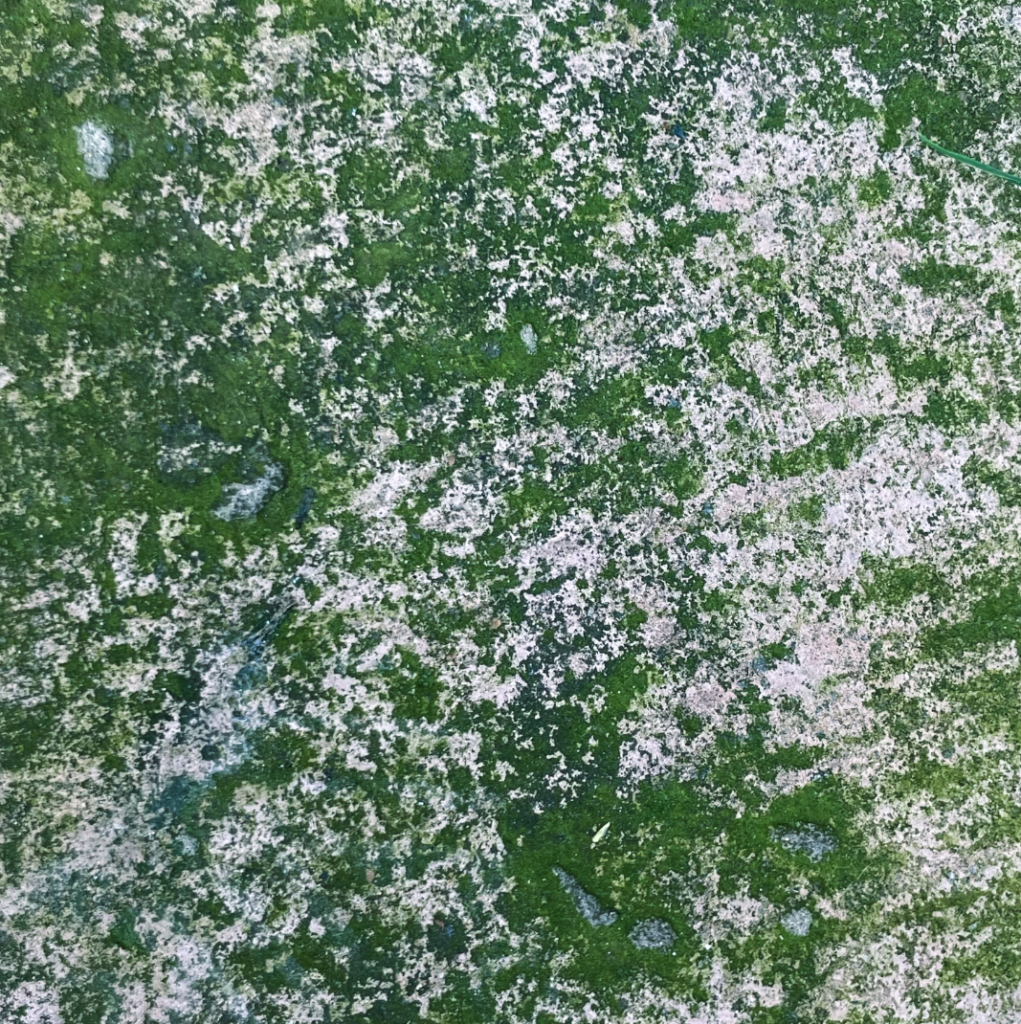
Bruguière’s work often emphasized texture and abstraction, utilizing techniques such as multiple exposures and experimentation with light to create dynamic compositions. His photographs often resemble paintings, blurring the lines between traditional photography and fine art. He was particularly interested in how light interacts with surfaces, which allowed him to create images that evoke a sense of depth and movement.
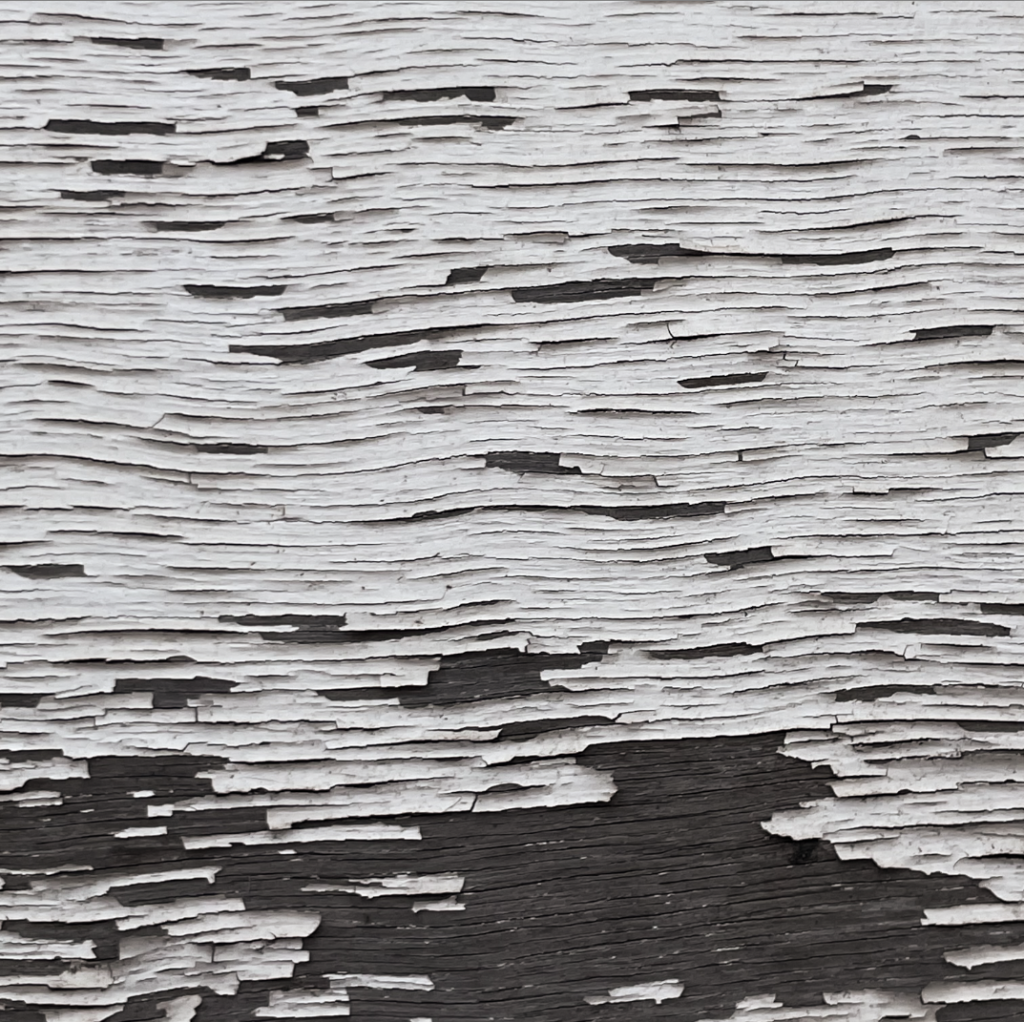
One of his significant contributions was his role in promoting photography as a serious art form. Bruguière was involved with various art organizations and exhibitions, advocating for the recognition of photography within the broader art community.

His later work included explorations of the natural world, where he captured the essence of landscapes and organic forms through an abstract lens. Bruguier’s innovative techniques and artistic vision continue to inspire photographers and artists interested in the interplay of texture, light, and abstraction in their work.

My Attempt At ISO based photography


When I first started shooting, I set my ISO pretty low, around 100 or 200. The images were coming out dark, which was frustrating at first. But I knew that a low ISO meant less sensitivity to light and that the shots would be clean and crisp, free from that annoying graininess. In bright conditions, that’s perfect. But since I was working with less light, I realized that I’d have to make some adjustments.

As the shoot went on and the lighting conditions changed, I started bumping up the ISO. I went to 400, then 800, and the images started looking brighter. It was great at first because I was getting the exposure I wanted without having to slow down my shutter speed or widen the aperture too much. But after a while, when I cranked the ISO even higher—like 1600 or beyond—I started noticing the grain creeping in.

The images were getting overexposed, and there was this noticeable noise in the darker areas, especially in the shadows. The trade-off for more light sensitivity was that grainy texture, which started affecting the overall quality of the shots. By the end of the shoot, I could see how pushing the ISO too high was making things overexposed and grainy, especially in areas where the light was already strong.

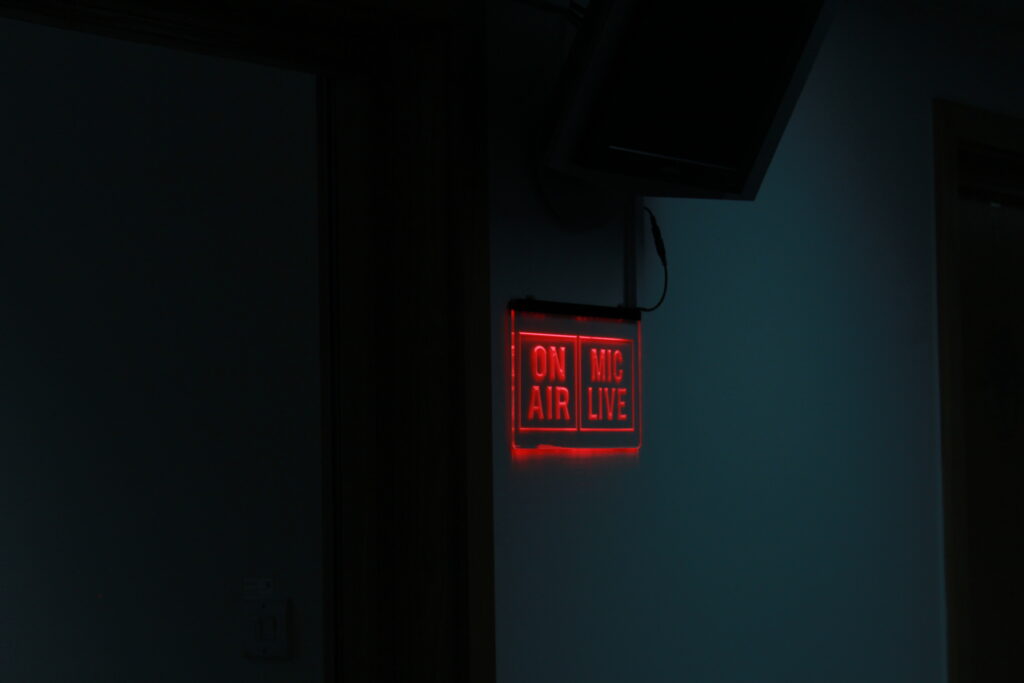
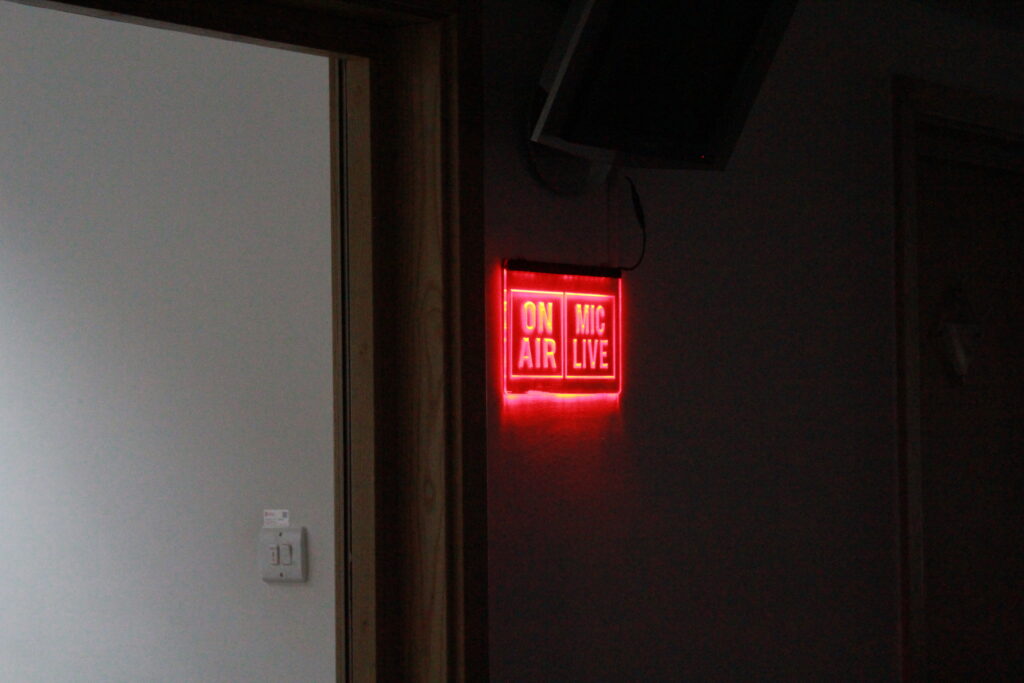
Very visible grain and distortion, 3200 iso.

In this shot, I was working with really low light—just that red “ON AIR” and “MIC LIVE” sign lighting up the room. To get a properly exposed image, I bumped my ISO up to 3200. It helped me bring out the details in the dark, but I could definitely see the trade-off. The high ISO made the shot grainy, especially in the shadows and the areas around the sign.

The red neon lights came out sharp and bright, but as I looked at the darker parts of the image, I could see that typical grainy texture creeping in, which is a direct result of the high ISO. I knew that lowering the ISO would reduce the noise, but then the whole image would be way too dark without compensating with slower shutter speeds or more lighting.

So, while ISO 3200 did what I needed in terms of getting the exposure right in this low light, it brought along that grainy look that’s hard to avoid at such high settings.


How to go around solving grain?

To fix the graininess in this shot, I could start by lowering the ISO—maybe around 800 or so. That would instantly reduce the noise, but then I’d have to adjust some other settings to keep the exposure right. One way is to slow down the shutter speed, but I’d need to make sure the camera stays completely still, maybe using a tripod, to avoid motion blur.