Aperture and Depth of Field

The aperture controls the amount of light hitting the sensor. It is measured in f-stop and typically ranges from f/1.8 to f/22 (f/1.8 being a very large aperture and f/22 being a very small aperture – imagine a large hole like a bottle top for f/1.8 versus a pinprick for f/22). The depth of field is much higher when more light is let in, so f/1.8 has the shallowest depth of field and therefore more background/foreground blur (depending on focus point). The opposite being a great depth of field at f/16 – f/22 has generally everything in focus. Depth of field and aperture link in directly with each other – aperture is the number you control based on the scene and the effect you want – and the depth of field is what is produced based on that number (also the level of exposure in the image.)

Above is the canon camera simulator this is a low aperture photo I have taken – to use the large aperture which lets lots of light in I had to use a higher shutter speed – (1/250 or higher is typically good for action photography) and a lower ISO. This large aperture creates a narrow depth of field and only the plane and a few marbles are in sharp focus – in my opinion this creates a higher quality effect.

This has a medium aperture which means the image still has a narrow depth of field but the image is not as blurred.

This is a very high aperture photo which means it has a very large depth of field and the whole image is in focus.

(FOCAL LENGTH AND FOCUSING)

Focal length is the length is the distance between the pole of the mirror and the focal point of the mirror. A higher focal length leads to a ‘flatter’ image. 50mm focal length is ideal for portraiture photography because it replicates the human eye and is therefore the most flattering – but a lower photo length leads to a wider image. The focussing ring allows you to change what is in focus in the image. You adjust it until either the whole image is blurred (Uta Barth) or the section you want in focus is sharp. There is also autofocus which is another setting where the camera focus’ on what it in the centre when you half press the shutter button.

PHOTOGRAPHERS WHO USE INTERESTING APERTURE AND MANUAL FOCUS

Uta Barth is a photographer that has a very unique style and generally takes photos of out of focus scenes. It is very abstract. She clearly uses the focus ring to force the camera out of focus which creates a cool effect. She is a contemporary German-American photographer who explores optical illusions, visual perception and non-place. She emerged in the late 1980s and brought light to the viewers visual attention within the photography frame. She takes photos of surreal landscapes and roads, in a deliberately blurred, dreamy way. Her works are exhibited internationally for their unique style and aesthetic look.

Ralph Eugene Meatyard is a photographer that has a similar style of work to Uta Barth but this set of images called “Zen Twigs” he made sure to keep one twig in focus in the foreground. This creates a sense that the branch is the most important thing in the image and creates a cool effect.

Saul Leiter was a photographer who was formerly an artist and then discovered photography. He uses lots of unusual framing devices in his images like windows and signs to draw our eyes to a large section of blur and draw our eyes to a splash of colour.

MY PHOTOSHOOT

This photo is a cool use of aperture, and I used the lowest possible one on my camera – f/2.8. The background has a very substantial amount of blur and it demonstrates how a shallow depth of field can make an image much higher quality.
f/2.8. This photo uses a different effect using aperture – it still has a shallow depth of field but there is an object in the foreground that is blurred.
f/5.6. This photo has a higher aperture so it allows the majority of the image to be in focus with a much wider depth of field.

Overall, aperture is a very important part of making a photo look good – and knowing how to use it is key to the photographic process.

What is ISO?

ISO (International Organization for Standardization) is the number that represents how sensitive your camera sensor is to light.

By having a lower ISO value it makes your cameras sensor less sensitive to light which is perfect for locations with lots of light. By having a High ISO value it makes your cameras sensor more sensitive to light which is ideal for locations with minimal amount of light. However using a High ISO value can affect the image quality of your photo making it appear noisy and grainy.

High ISO is sometimes needed because if the conditions of your photos are dark and doesn’t feature a lot of light then a higher ISO can help brighten the image but also degrading it in the process. Below is an example of an image taken from a Low ISO value at the start to a High ISO value at the end.

As you can see the first image taken at a Low ISO value is much sharper and the details of the photo can be seen, on the second image we can notice that the photo is starting to degrade and the noise and grain can start to be seen and the detail of the image is becoming lost, on the last image we can notice that there is much more grain and noise on the photo and the details on the image cannot really be viewed anymore.

My Photos of Different ISOS

ISO 100
ISO 200
ISO 400
ISO 800
ISO 1600
ISO 3200
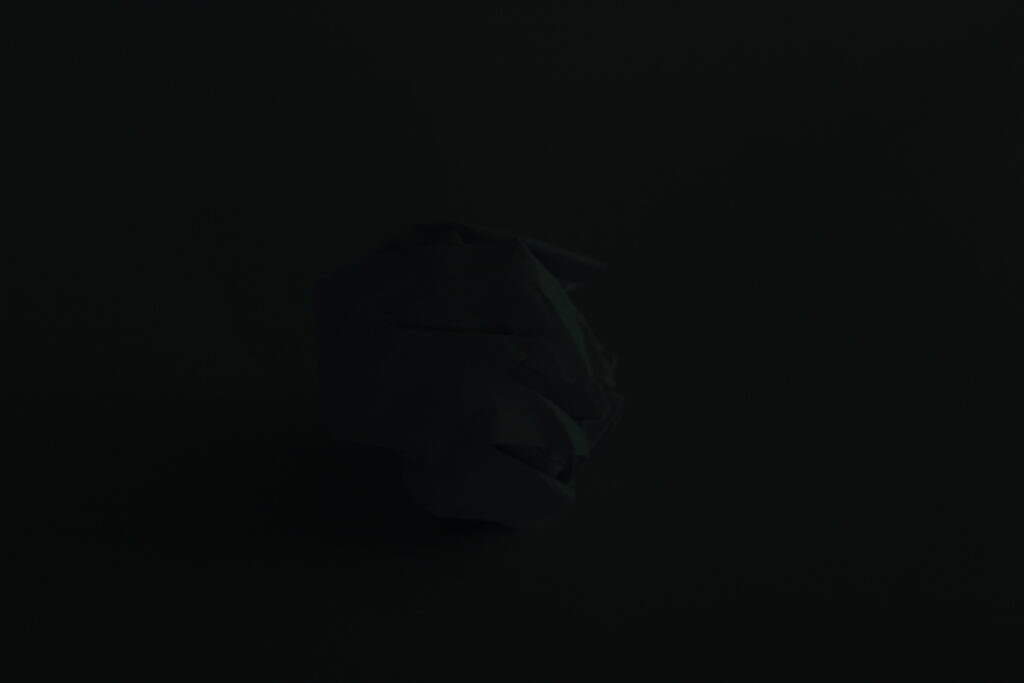
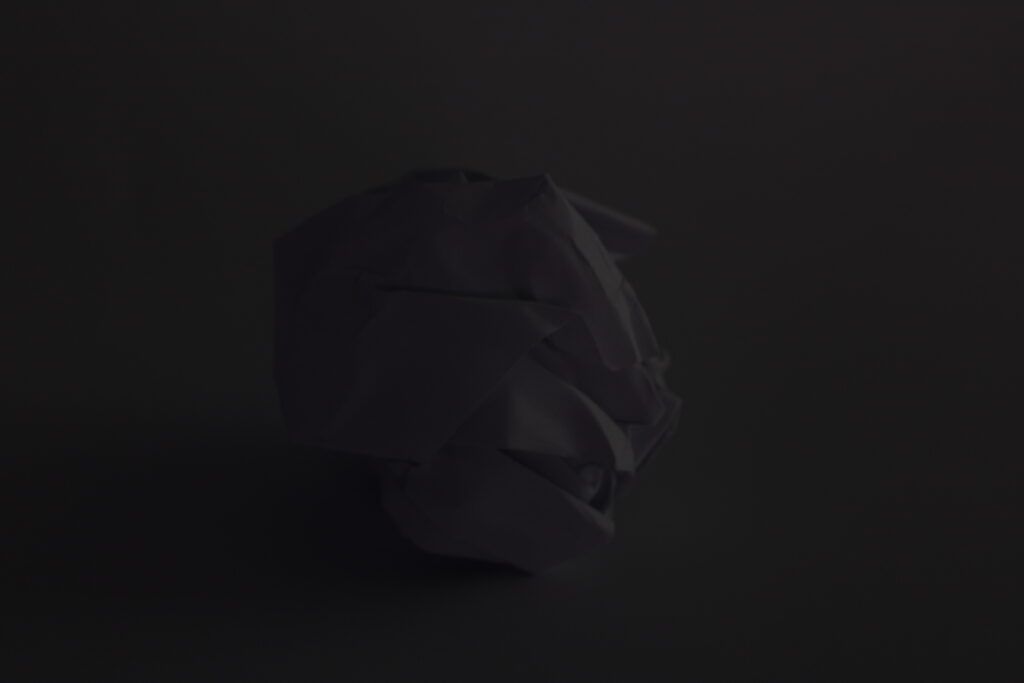
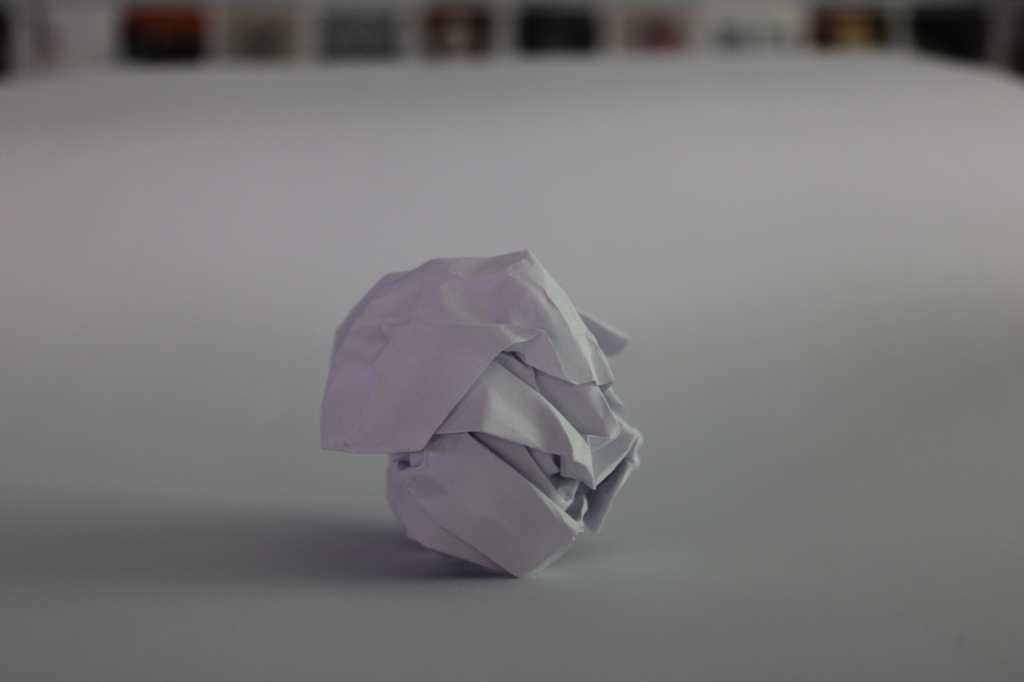
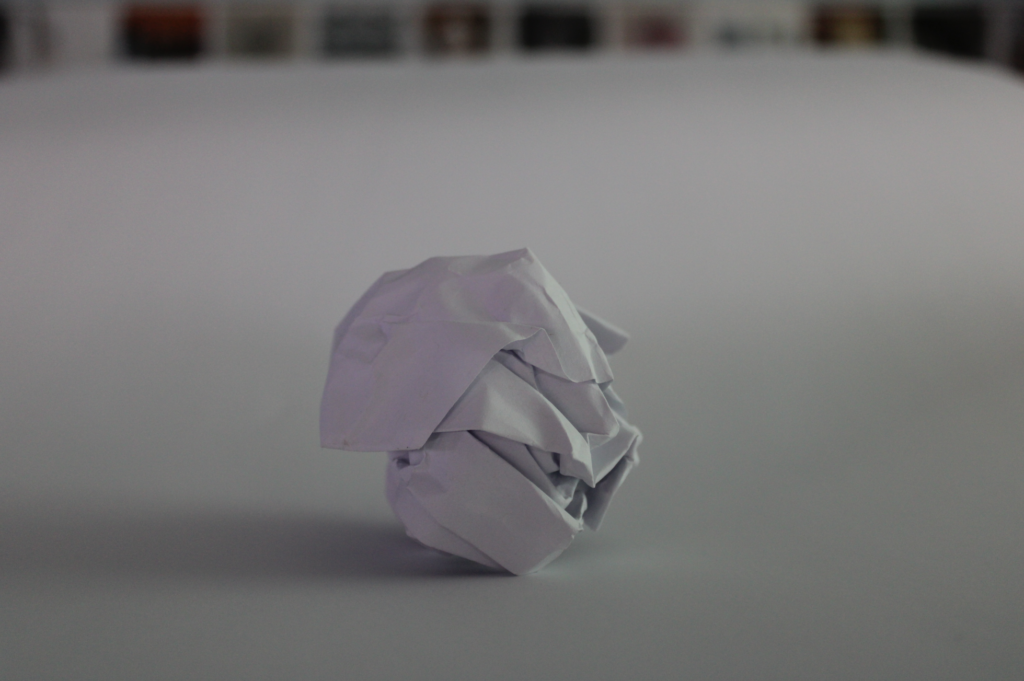
We can see with this image (taken at ISO 100) that the low ISO has made the image quite dark so it makes the paper balls in the image hard to see and identify well. We can also see that with the low ISO the image is quite sharp and does not contain any intense grain.
We can see with this image (taken at ISO 800) that the high ISO has brought in more light into the image making our paper balls more visible and easy to identify. However due to the high ISO the images quality is starting to be affected as we can see that the noise and grain is becoming visible around the image.
We can see with this image (taken at ISO 6400) that the higher ISO has made the image lose its sharpness and details. Grain and noise can be visibly seen everywhere on the image and the paper balls colour and texture looks faded and smudged compared to the ISO 100 image.

Adobe Lightroom

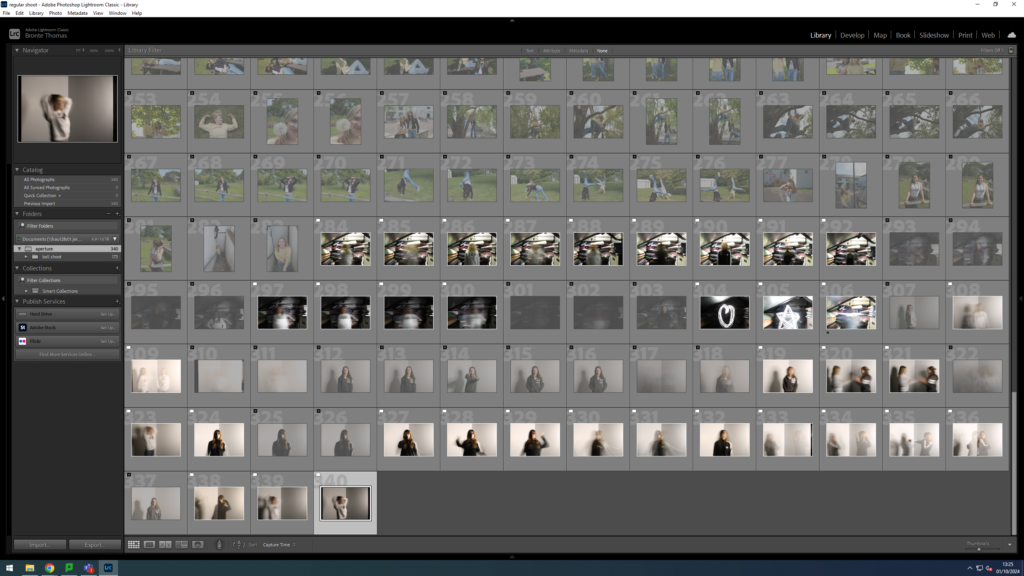
Adobe Lightroom is a very useful program that is used to edit pictures efficiently in large quantities. For example lets say you take pictures of a large event, Adobe Lightroom will allow you to import them into the library and sort them into a collection where you can edit your photos freely without changing the original image.

You can import your images that’s in a folder by pressing the + sign next to the folder category. You can also create a collection by pressing the + sign next to the collection category.

To move your images into your Collection is as simple as dragging them from your Lightroom folder into the collection you made.

With Adobe Lightroom it allows you to approve of images you would like to use and discard of images you may not want to use, it also allows you to give your images a star rating so you can choose which one of your approved photos is your favourite. You are also able to filter your images so you can see the images that are star rated or the images that are approved or disapproved.

To Approve or disapprove your images you select your image with your mouse and click P to approve it and X to disapprove it, to star rate it you can select your image and 5 dots should appear and its as simple as click on the highest dot number to give the highest star rating. At the top row of your images to the right hand side should be the filter option where you can filter your images to your liking.

Develop Tab

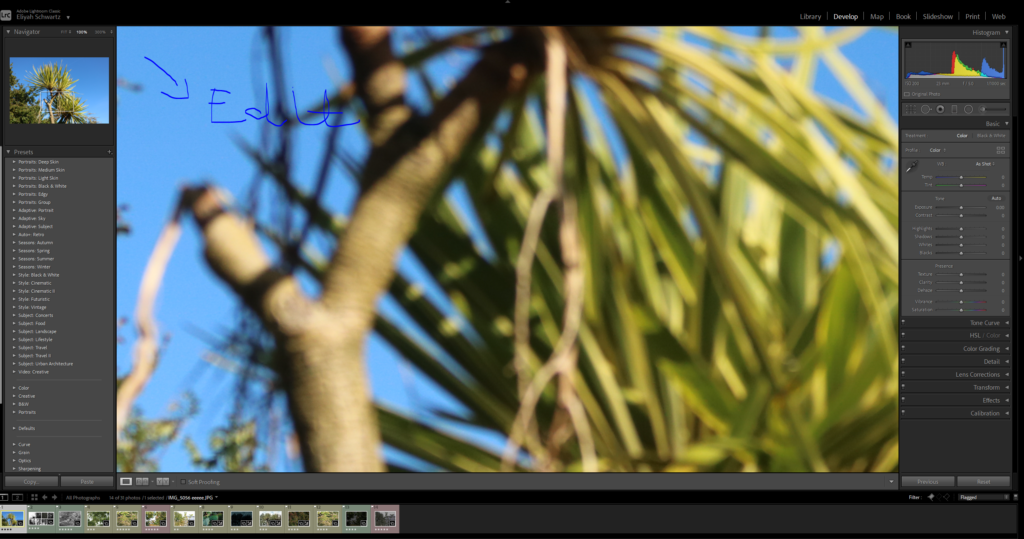
The Develop Tab will allow you to edit your images to your choosing. On the left side you should be able to see a subcategory named Presets. Presets allows you to choose settings that has already been done and configured to apply to photos, this can be useful if you want to edit your photos quick or want to find a preset that would suit your photo.

To apply a preset simply click on the preset row your most interested in and hover your mouse over the different options. By hovering your mouse over them it will show you the preview of how your photo will look if you applied the preset. To fully apply the preset its as simple as clicking on the preset itself and its applied.

With the develop tab you are also able to view your photos information in depth. This is called the histogram and its useful for determining why the image may be blurry or why its not really lit up and etc. The histogram is usually located on the top right side.

As you can see from my image you are able to see details like my Shutter speed, Focal length and ISO Number. You can also modify your photo by hovering your mouse over the graph and dragging certain points of them to the left or right.

Under the histogram we are able to see this column. This columns allows us to make certain modifications to our images. The modifications are Cropping, Spot removal, Red Eye Correction, Graduated filter, Radial filter and Adjustment brush. These options are useful as they can help refine your image.

Below the histogram we are able to see these columns. These columns are options and sliders to modify and fine tune your image to your liking. You have the basic things like Exposure, Contrast, Temperature of the image and more. But you also have more options like Tone Curve, Lens Corrections, Detail, Colour grading and more options to really edit your picture to exactly how you want it.

Contact Sheets

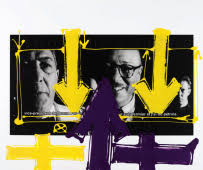
Contact sheets are photos that are usually arranged in a grid which allows photographers to see previews of the images to determine which images are favoured and liked more. William Klein was a photographer who used contact sheets and was able to make an interesting piece. William Klein would use his contact sheets and draw over them, with the pictures he didn’t want to use he would draw a X across the image while the pictures he wanted to use he would highlight it around the corners eventually creating an interesting piece like this photo below.

Adobe Lightroom

Adobe Lightroom is to import and export photos, create, edit, and share photos across all devices. This allows people to quickly and easily edit their photographs with tools to alter contrast, balance colour, and change brightness on mobile devices immediately after taking the picture.
I imported 31 photos into Lightroom. I then made a subfolder or collection as its called in the app of all my best and favourite photos. I had 14 favourite photos, which I then rated out of 5 stars, this app was really useful to help arrange my photos into groups and get them all sorted so they are not cluttered everywhere.
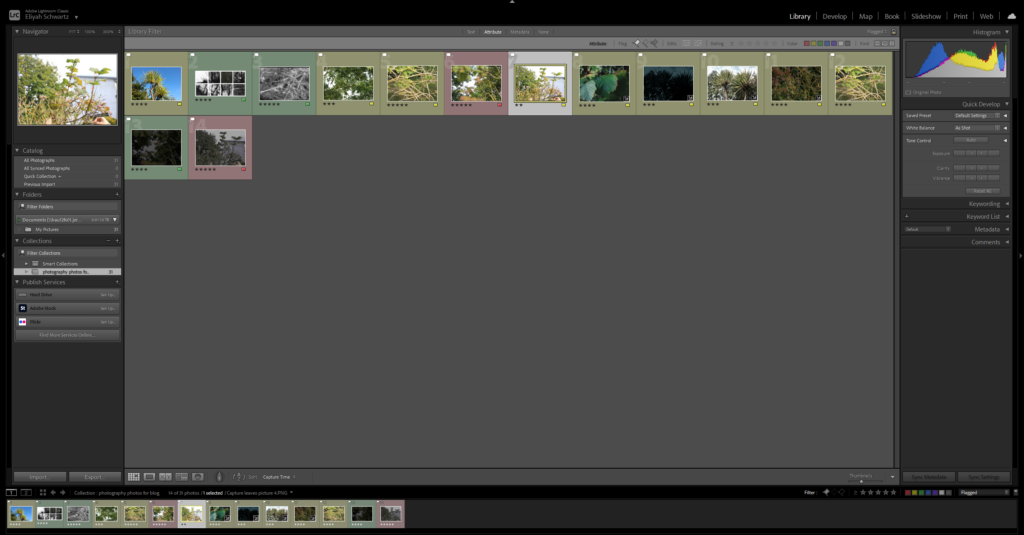
This is collections. This shows how many collections there are. Below there is a plus button to get access to your collections and photos. It also tell you how many photos are stored. To do this, I clicked the plus sign next to collections to create a new collection, titled it photos for photography and put it then imported it into a collection.
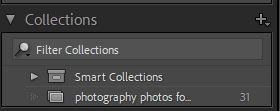
By doing this, I can sort my huge gallery of photographs into smaller groups. E.G, instead of having all my photographs in one area it would make it difficult to differentiate and classify them I can split them into particular collections (e.g. photographs for photography and aperture etc.)

Where It Is Stored On The Computer
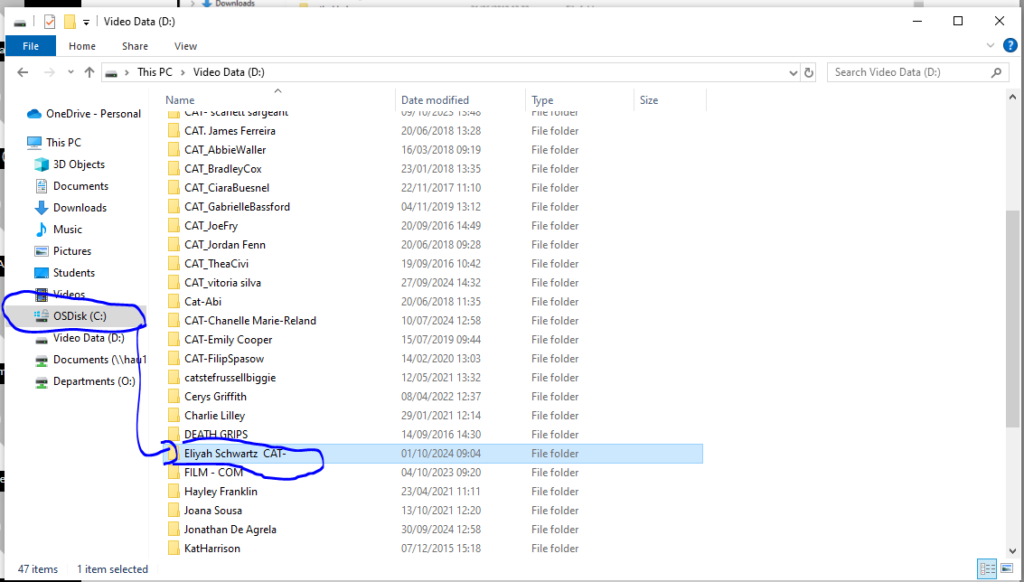
Functions

I then had the choice to select and rate my images in distinctive ways – one thing you can do is flag your images as good or bad using either the P key (for excellent ) or the X key (for poor), allowing you to then filter out which images you want to see using the flagged filter which you can eliminate, the images you marked as poor from view. You can also rate your pictures from 1-5 stars and then filter them by these star ratings. 1 is poor and 5 is excellent.

An array of images flagged as excellent, with the ones flagged as poor filtered out. Star ratings are also shown under each image.

Develop Mode

After learning how to import images, create collections and rate/filter images in library mode I then learnt how to use develop mode. This mode is used when you need to do large amounts of editing on one single image at a time (similar to Photoshop), unlike library mode which can be used to make small quick adjustments to many images at the same time .

Develop mode has many pre-sets which can be used to make quick edits of your images, or you can make lots of improvements manually to really convert the image into one you really like. I spent a while using the manual developing features, and then formed an edited version of my image which I am happy with.

What Are Contact Sheets?

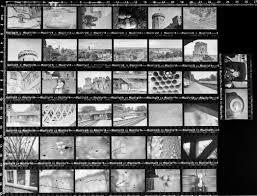
Contact Sheet

A contact sheet is a type of photographic paper that displays a collection of small images. These images are taken from a reel of film that the photographer has put into several strips. The photographer then puts these negatives on the sheet to see all the images side by side, making it easier to match them together.
William Klein
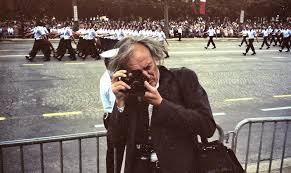
William Klein (April 19, 1926 – September 10, 2022) was a photographer and filmmaker who was born in the United States of America. He later became a French citizen. He was known for his unique and ironic style in both photography and filmmaking, often using unconventional techniques in photojournalism and fashion photography. Klein was recognized as the 25th most influential photographer by Professional Photographer magazine in their list of the top 100 photographers.

William Klein’s Contact Sheet
ISO

ISO controls the amount of light your camera lets in, and therefore how dark or light your photos will be.

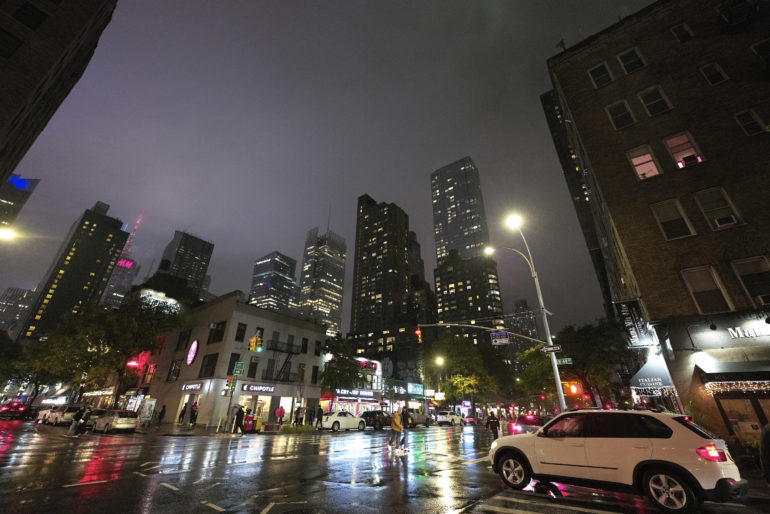
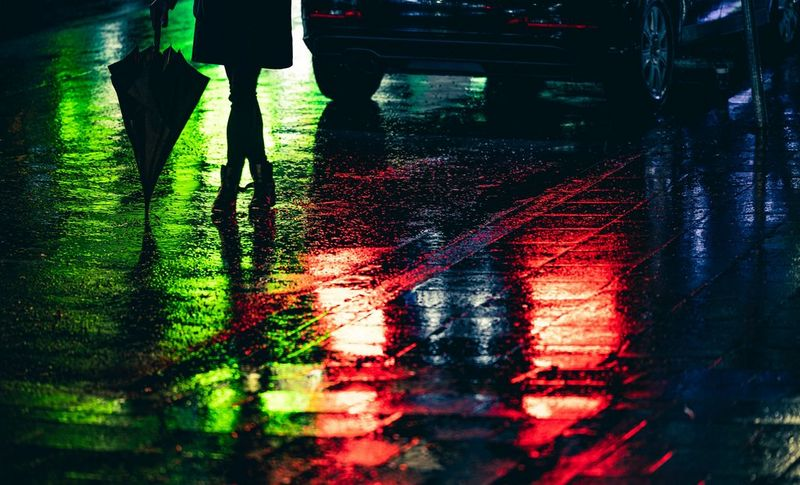
Low values, such as ISO 100, are best for a sunny outdoor shoot. For shooting at night — or indoors with dim lighting — use an ISO of 1600 or higher.

The lower the ISO number, the more light is needed to properly expose the image

 higher ISOs can lead to degraded image quality and cause your photos to be grainy or “noisy.”

visual noise is when the photo is grainy and is effected by bad lighting conditions

This is an example of a high vs low iso

IOS = 100

IOS = 6400

IOS = 100

IOS = 6400

These are all examples of photos i’ve taken with different ISOs. we went around the school finding different textured things

ISO

ISO is a number that represents how sensitive your camera sensor is to light. The higher the ISO number, the higher your camera’s sensitivity, and the less light you need to take a picture. The trade-off is that higher ISOs can lead to degraded image quality and cause your photos to be grainy or “noisy.”

Boost Your Photography: ISO Basics

When might you use High ISO?

High ISO is generally well suited to low-light situations, especially when a fast shutter speed or a narrow lens aperture is essential to achieving a creative goal. For example, using a higher ISO setting for hand-held street photography at night allows one to use fast shutter speeds to create bright, sharp images.

My Own Photo using high ISO

This is an example of me using high ISO in a dark room setting.

As you can clearly see this picture has become very grainy. I used an ISO of 6400

ISO

What is ISO and How does it affect your camera?

ISO controls the amount of light your camera lets in, and therefore how dark or light your photos will be. Here are some top tips to help calculate correct exposure: Low values, such as ISO 100, are best for a sunny outdoor shoot. For shooting at night — or indoors with dim lighting — use an ISO of 1600 or higher.

Higher and Lower ISO

Higher ISO numbers increase sensitivity, making images brighter, but also introduce noise or grain. Lower ISO settings result in darker, cleaner images with less grain.

Higher

High ISO is generally well suited to low-light situations, especially when a fast shutter speed or a narrow lens aperture is essential to achieving a creative goal. For example, using a higher ISO setting for hand-held street photography at night allows one to use fast shutter speeds to create bright, sharp images.

Lower

When you are taking pictures in good lighting conditions, you should use low ISO to avoid noise in the image. This will give you the best quality picture. That’s because a high ISO can lead to noise in your photos, which can be especially visible in dark or low-light situations.

My photos using High ISO

I used a high ISO for this photo you can clearly see this as in the photo below I zoomed in and the photo is grainy

What is ISO in Photography?

What does ISO alter on the Camera?

ISO controls the amount of light your camera lets in, and therefore how dark or light your photos will be. Here are some top tips to help calculate correct exposure: Low values, such as ISO 100, are best for a sunny outdoor shoot. For shooting at night — or indoors with dim lighting — use an ISO of 1600 or higher.

Testing different ISOs

ISO – 100

ISO – 200

ISO – 400

ISO – 800

ISO – 1600

ISO – 3200

ISO – 6400

How does a high ISO impact your Photos?

ISO is a number that represents how sensitive your camera sensor is to light. The higher the ISO number, the higher your camera’s sensitivity, and the less light you need to take a picture. The trade-off is that higher ISOs can lead to degraded image quality and cause your photos to be grainy or “noisy.”

This Link above goes into more detail and provides examples of ISO^

When might you want to use a high ISO?

High ISO is generally well suited to low-light situations, especially when a fast shutter speed or a narrow lens aperture is essential to achieving a creative goal. For example, using a higher ISO setting for hand-held street photography at night allows one to use fast shutter speeds to create bright, sharp images.

Brett Weston

Brett Weston seemed destined from birth to become one of the greatest American photographic artists. Born in Los Angeles in 1911, the second son of photographer Edward Weston, he had perhaps the closest artistic relationship with his famous father of all four of the Weston sons.

Intrigued by the many kinds and shapes of kelp he found on the beaches near Carmel, in 1930 Weston began taking close-ups of vegetables and fruits. He made a variety of photographs of cabbage, kale, onions, bananas, and finally, his most iconic image, peppers.

ISO

what does ISO alter on the camera?

ISO is a number that represents how sensitive your camera sensor is to light.

The higher the ISO number, the higher your camera’s sensitivity, and the less light you need to take a picture.

photo from offline ^

how does a high ISO impact on your photos?

The higher the ISO number, the higher your camera’s sensitivity

higher ISOs can lead to degraded image quality and cause your photos to be grainy or “noisy.”

what’s it meant by visual noise?

everything that is annoying to the eye, from jarring colours to spaces overloaded with home décor objects.

photo from offline ^

low light situations

photo from offline ^

in lowlight situations, its often necessary to raise the IISO, so it is able to get a clear photo. however from increasing the ISO, through is that it introduces noise to a image, which makes it appear grainy.

however if you take a photo in ideal light, you can keep the ISO low in order to avoid introducing noise into the images.

2
3
  1. ISO 800 ↩︎
  2. ISO 3200 ↩︎
  3. ISO 12800 ↩︎

ISO

What is ISO? How does it affect your camera?

ISO controls the amount of light your camera lets in, so it tells you how light or dark your photos will be. Low values, such as ISO 100, are best for a sunny outdoor shoot. For shooting at night or indoors with dim lighting use an ISO of 1600 or higher. As you increase your ISO number, your photos will grow progressively brighter. For that reason, ISO can help you capture images in darker environments, or be more flexible about your aperture and shutter speed settings.

High/ Low ISO

The lower the ISO number, the more light is needed to properly expose the image. The higher the ISO number, the less light is needed. ISO 200 requires much more light than ISO 6400.

What effect can a High/ Low ISO have on your camera?

The higher the ISO number, the higher your camera’s sensitivity, and the less light you need to take a picture. The trade-off is that higher ISOs can lead to degraded image quality and cause your photos to be grainy or “noisy.” At the lowest (base) ISO setting, your images will have the least amount of noise and the highest dynamic range, giving you the most flexibility in post-processing.

What is meant by visual noise?

Noise in photography can be defined as a random variation in the image signal. Noise can be caused by a number of factors, including poor lighting conditions, high ISO settings, long exposure times, and heat.

When might you want to use a high ISO?

High ISO is generally well suited to low-light situations, especially when a fast shutter speed or a narrow lens aperture is essential to achieving a creative goal. Sometimes a little noise can actually even add character to your images.

My photos

The photos on the right were taken at an ISO of 6400 and shutter speed of 1/20 of a second. This makes the photo look brighter and less textured whereas the photos on the left were taken at an ISO of 100 at 1/20 of a second which gives the photos more dimension if in a lighter room.