Edward Weston
Edward Weston is a pivotal figure in 20th-century photography, renowned for his ability to transform ordinary objects into visually arresting compositions through careful attention to texture, form, and light.
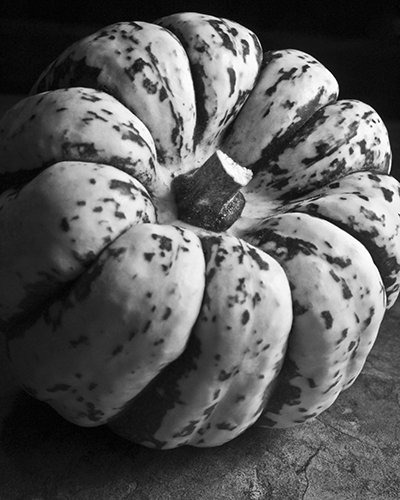
Weston is most famous for his still-life studies of natural objects, such as seashells, vegetables, and landscapes. He worked primarily in black and white, using large-format cameras to capture extraordinary levels of detail. What set him apart was his commitment to presenting subjects with clarity and precision, which allowed viewers to see familiar objects in entirely new ways. This is where texture becomes key in his work.
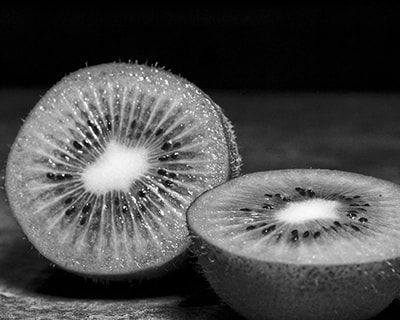
The Role of Texture: Weston used texture to convey the essence of his subjects. In his photographs of peppers, for example, he highlights their smooth, undulating surfaces. These images feel tactile, making viewers want to reach out and touch them. By emphasizing surface detail, Weston transformed the mundane into the sublime, revealing complexity in seemingly simple forms.
Texture as a Visual Language: Texture in Weston’s work acts almost like a language , conveying more than just what the object is, but how it feels, its weight, and its materiality. This was particularly effective in his portraits and nudes, where the texture of skin becomes a focal point, bringing out the softness and imperfections that make each subject unique.
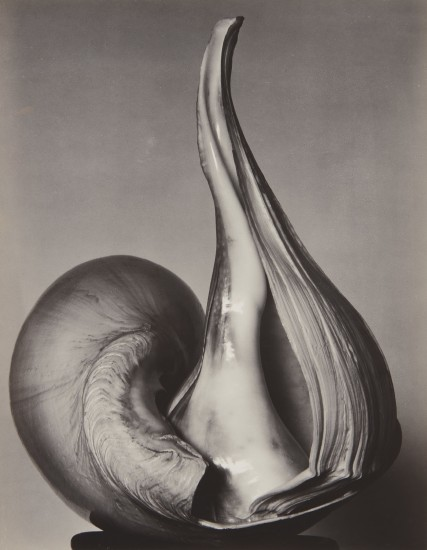
Lighting and Depth: Weston’s mastery of light allowed him to accentuate texture. Whether photographing sand dunes or the rough bark of a tree, his controlled use of light created a strong sense of depth. Shadows played a crucial role in defining textures, giving the objects dimension and life.
lighting plays a crucial role in how texture is perceived in photography. Different lighting setups can either enhance or diminish the visibility and impact of textures in your subjects. Here’s a breakdown of various lighting techniques and how they affect texture:
1. Natural Light
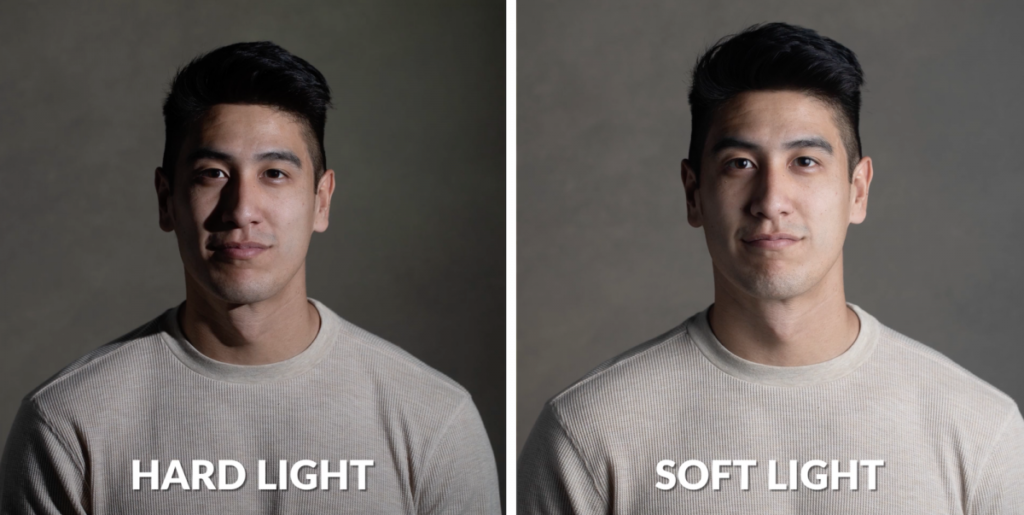
Soft Diffused Light: On overcast days or in shaded areas, the light is soft and diffused. This type of lighting reduces harsh shadows and can make textures appear smoother. This is ideal for capturing the subtle textures of skin or delicate fabrics, as it minimizes the risk of unflattering shadows.
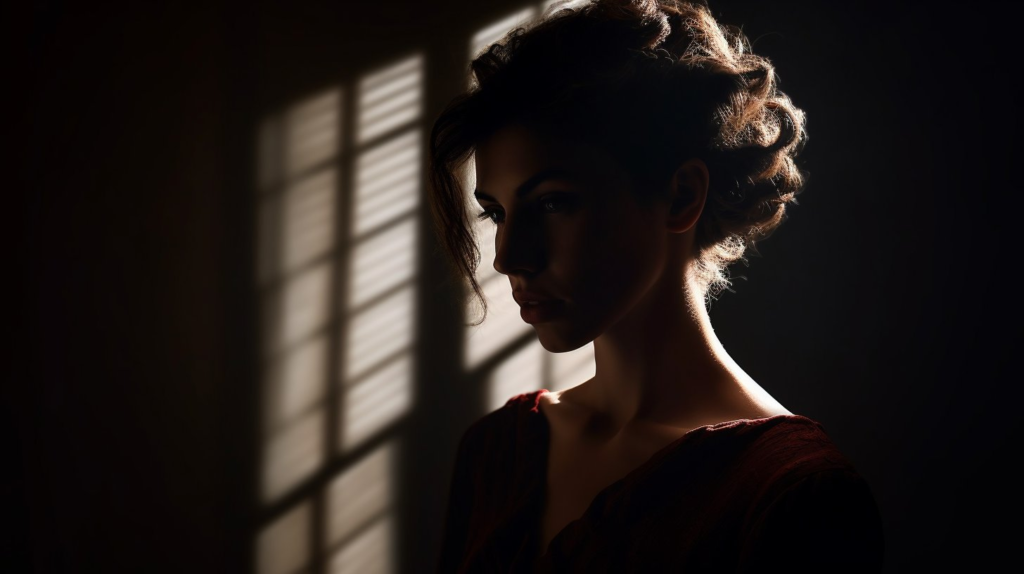
Direct Harsh Light: Direct sunlight creates strong contrasts, accentuating textures and details. This is effective for subjects with rough surfaces (like bark or stone), as it brings out the details. However, it can also create unflattering shadows on smoother textures, so it’s best used with care.
2. Side Lighting
Texture Enhancement: Side lighting, where the light source comes from the side of the subject, creates shadows that define and accentuate textures. This technique is often used in portrait photography to enhance facial features and in still life to bring out the texture of objects.
Example: When photographing a crumpled piece of fabric, side lighting can cast shadows in the folds, highlighting the texture effectively.

3. Backlighting
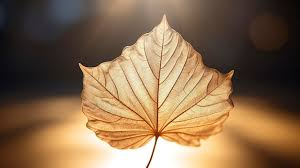
Silhouette and Edge Definition: Backlighting occurs when the light source is behind the subject. This can create silhouettes and emphasize the edges of textured subjects, but it might obscure finer details unless the subject is translucent (like a leaf).
Example: A backlit leaf can show intricate veins and textures if the light shines through it, but a backlit rock may lose its details.

4. Top Lighting
Flat Texture Effect: When light comes from above, it can flatten the texture, making it less pronounced. This is often useful for creating even illumination in food photography, where you want to show the overall look of a dish rather than its texture

5. Low Angle Lighting
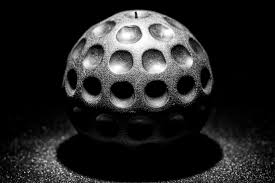
Dramatic Texture: Low-angle lighting can create long shadows and enhance textures dramatically. This is especially effective for landscapes or architectural shots, where the texture of the ground or building surfaces is emphasized.

Example: Photographing a rough stone path at sunset with low-angle light can create long shadows, enhancing the texture of the stones.
6. Coloured Light
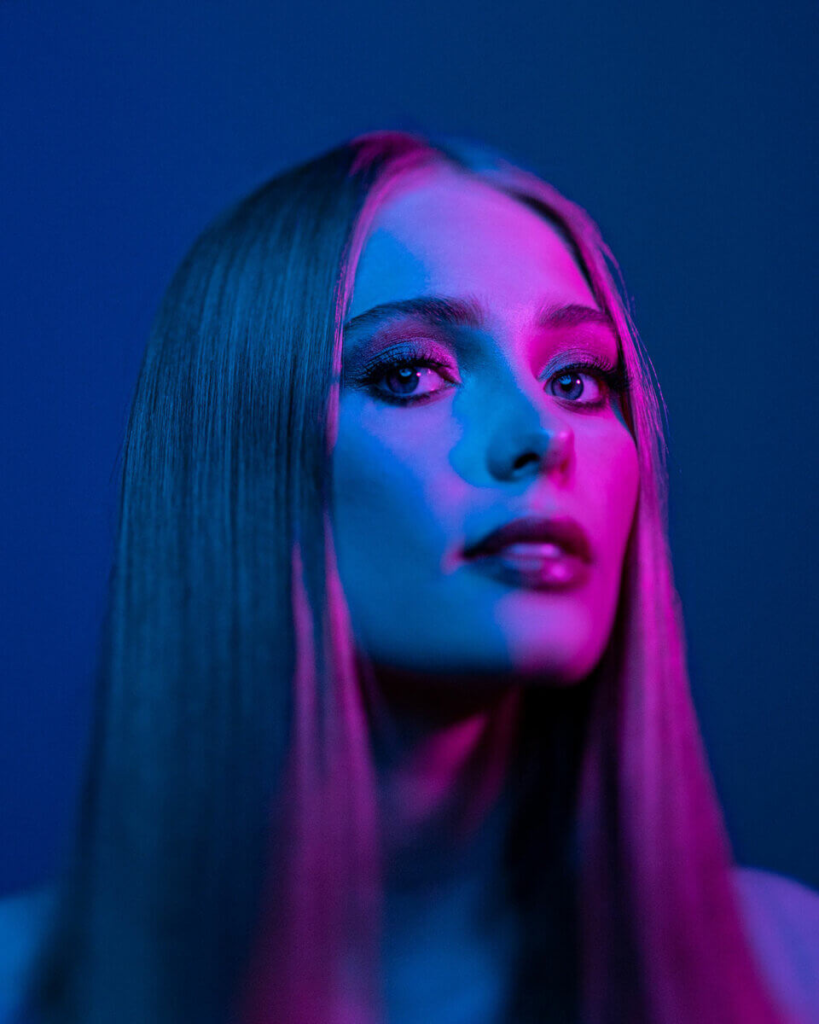
Mood and Texture Perception: Using coloured gels or filters can affect how textures are perceived. Warmer tones might make textures feel softer or cosier, while cooler tones can give a sharper, more clinical feel. Experimenting with coloured light can help you convey different moods through texture.
Photoshoot + PnX process to slim down options
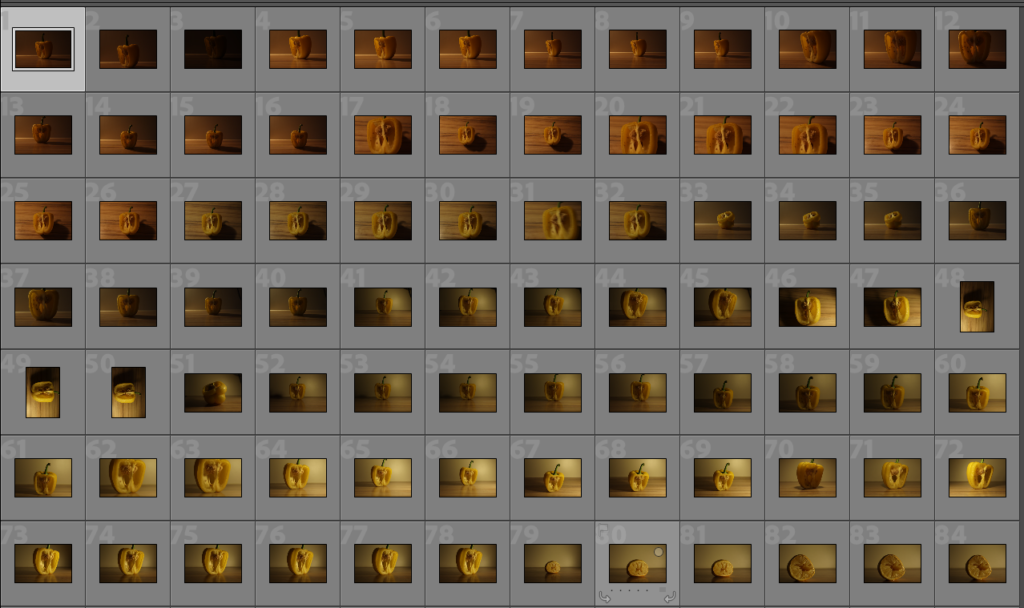
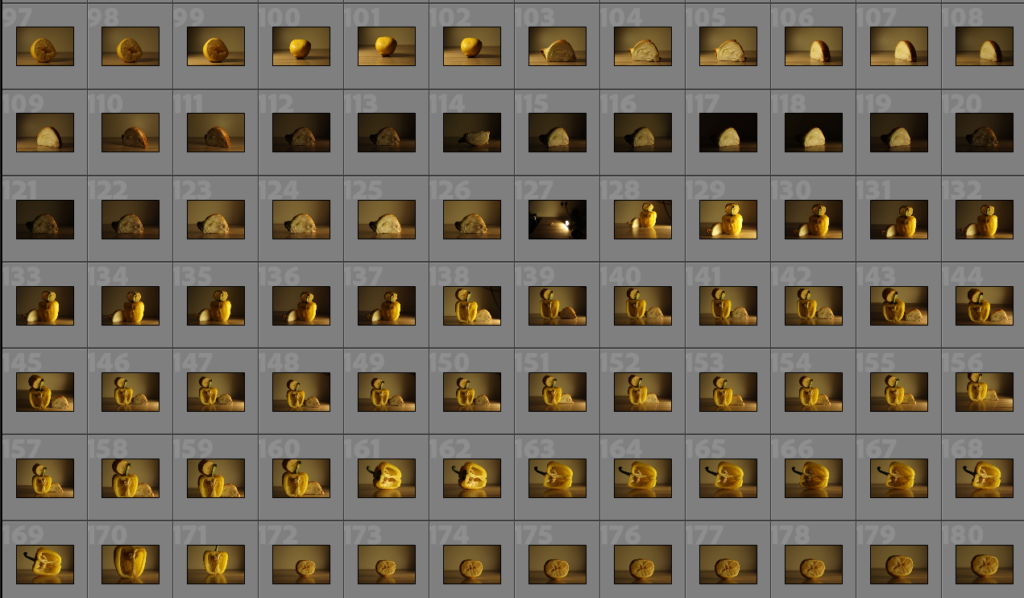
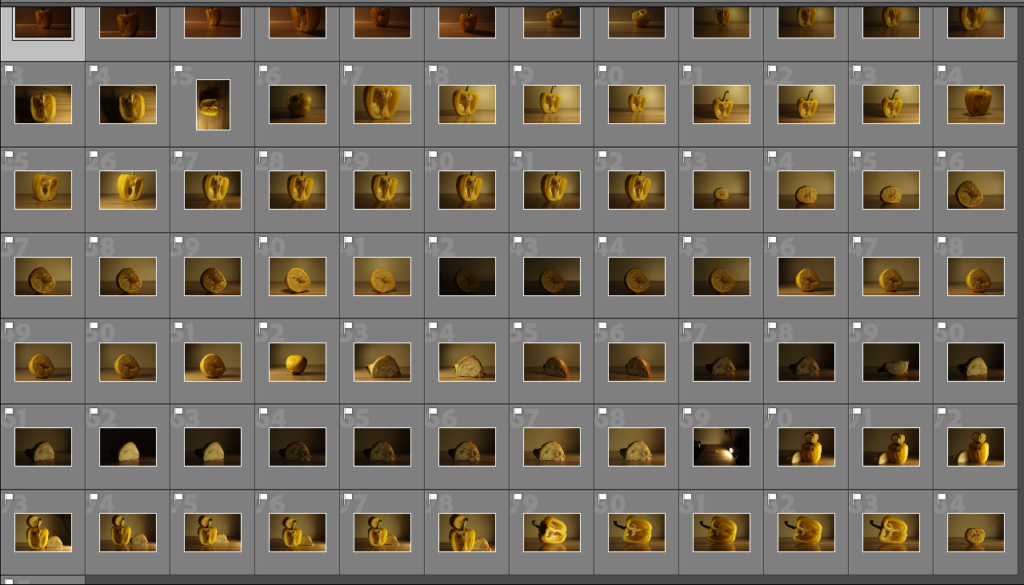
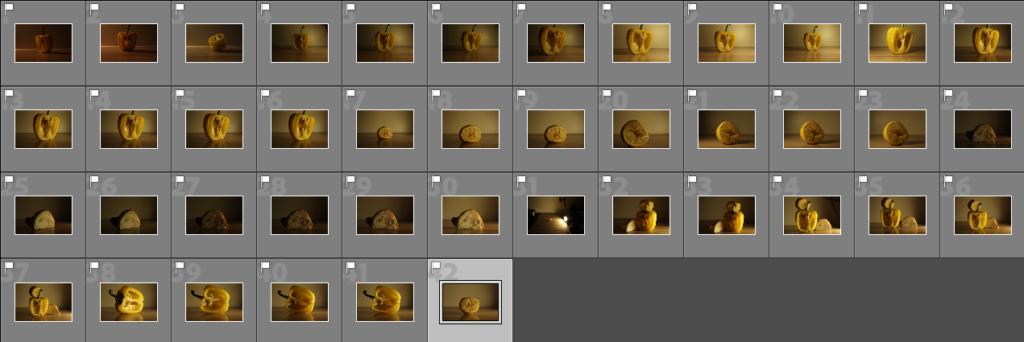
Finalised Selection of Photographs
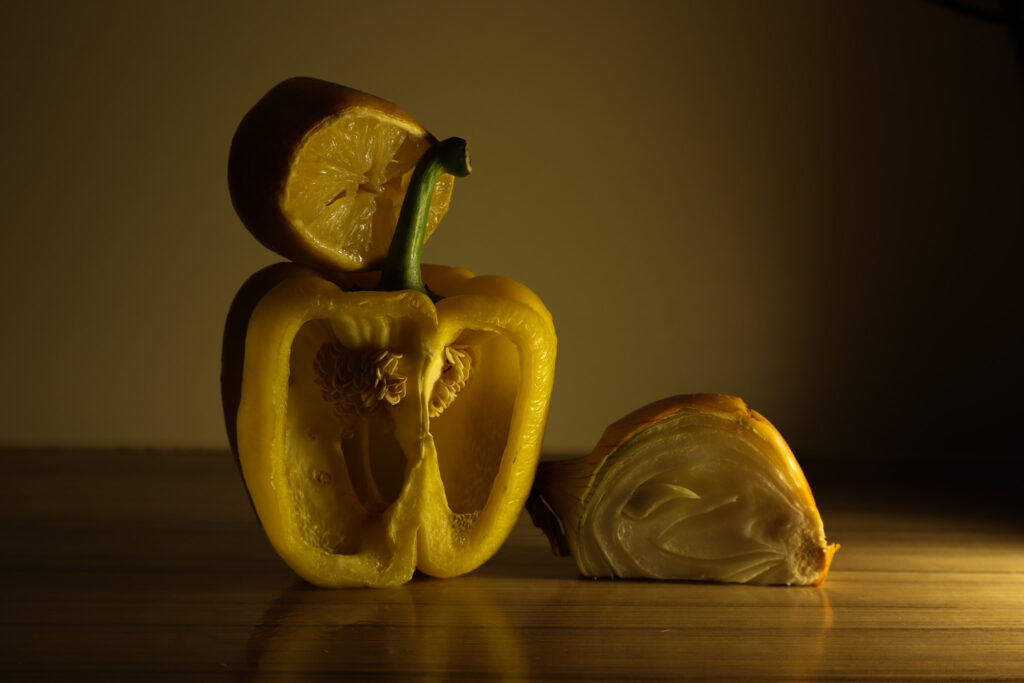
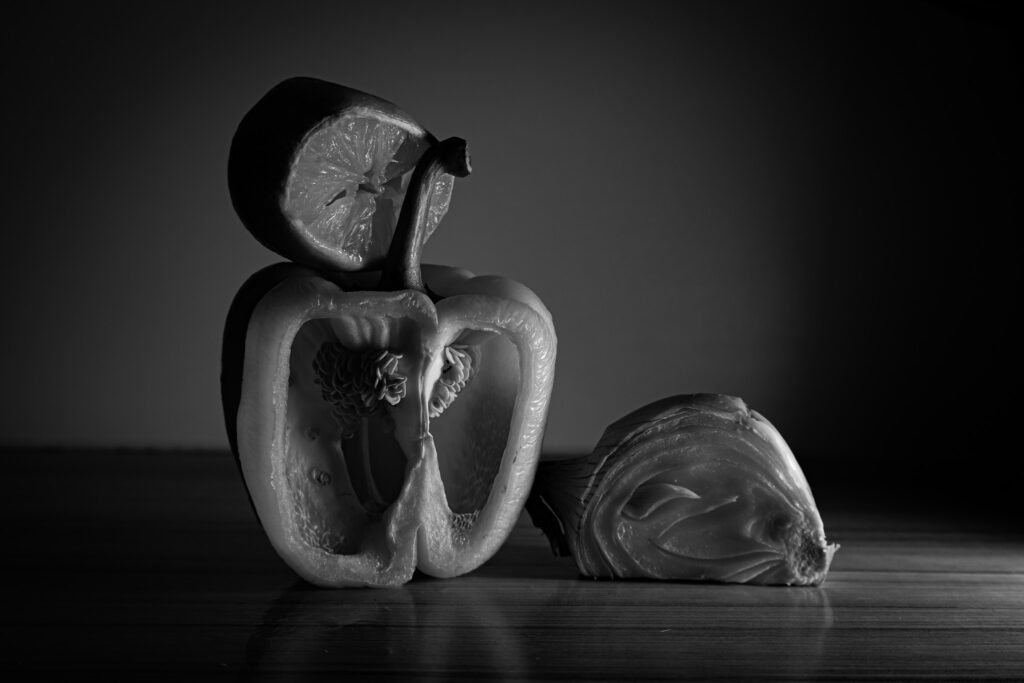
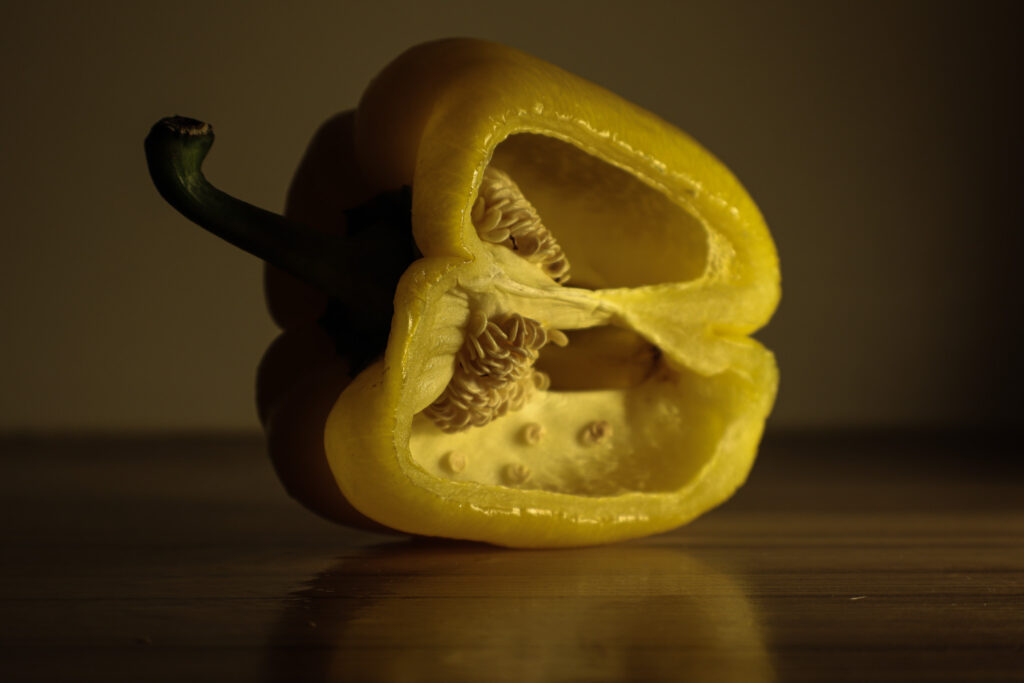
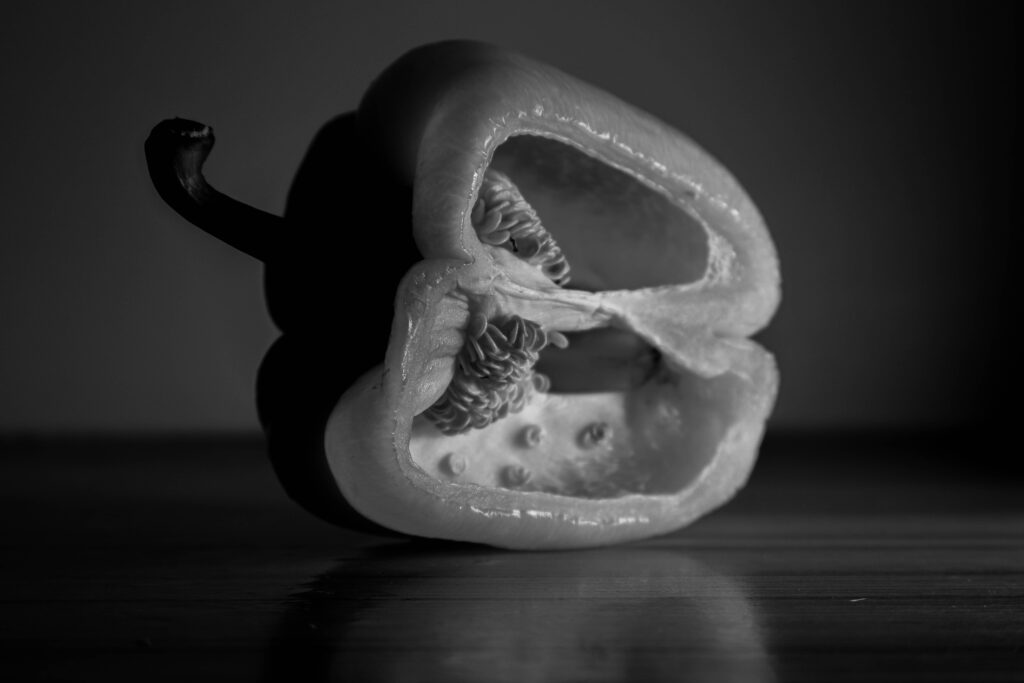
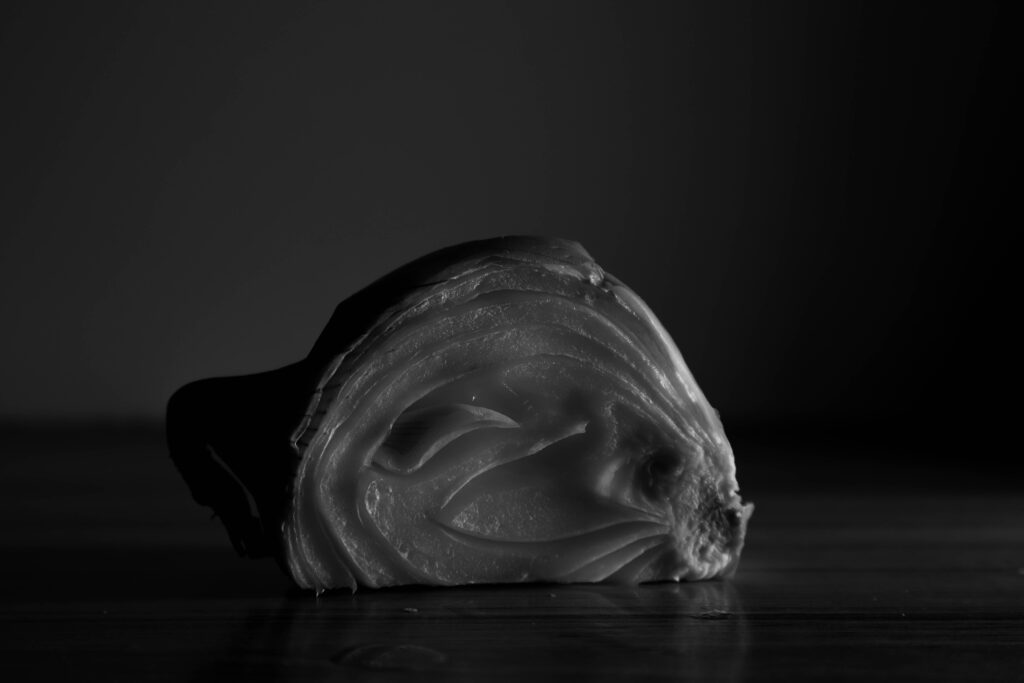
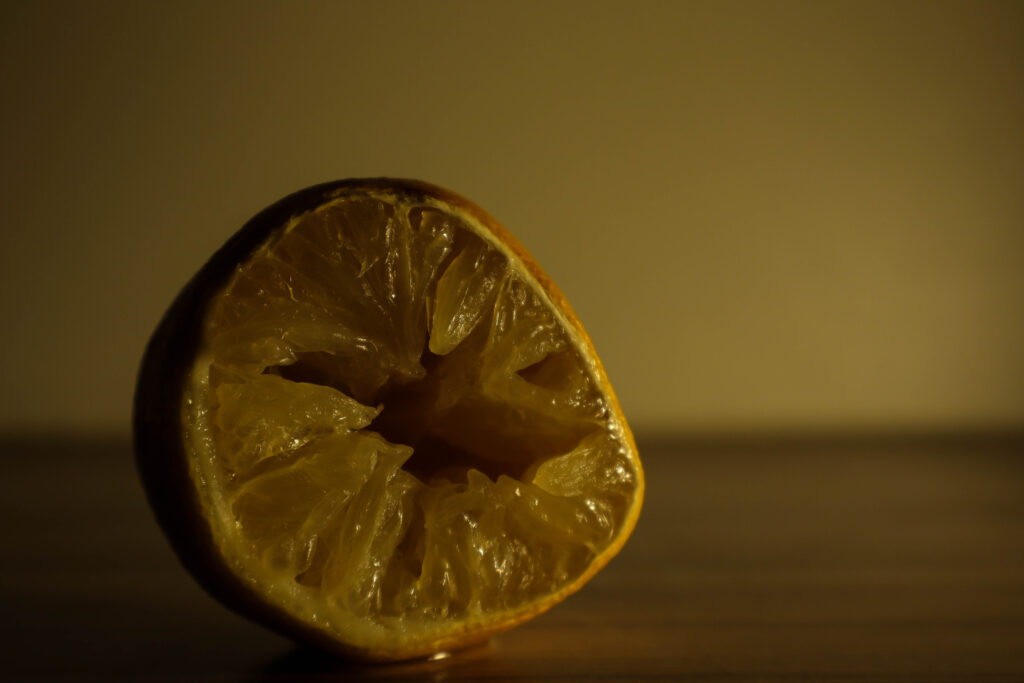
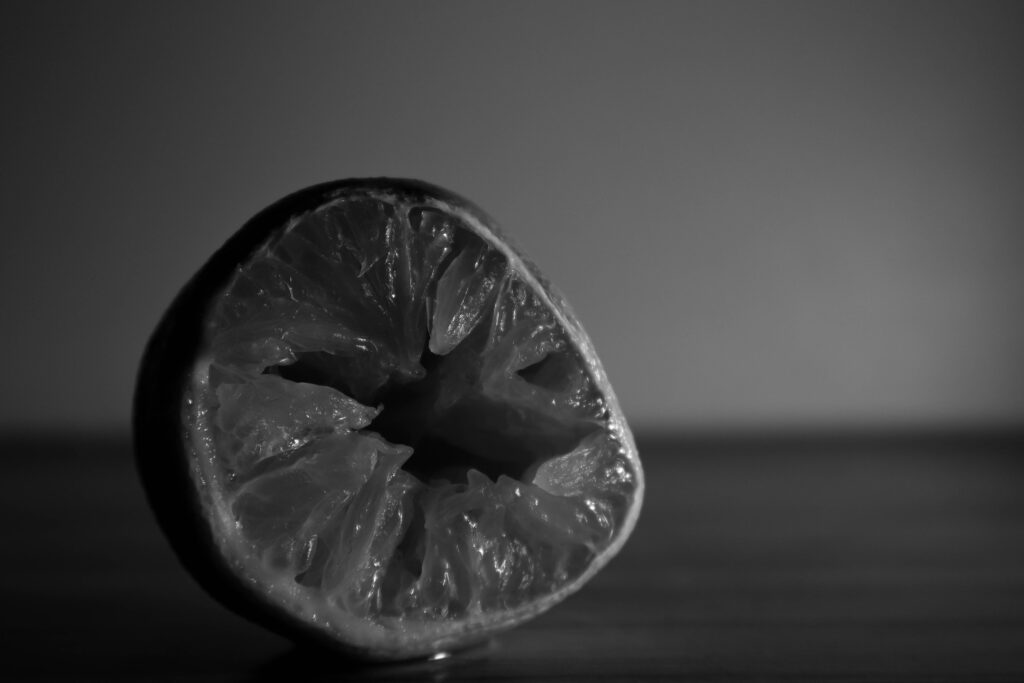
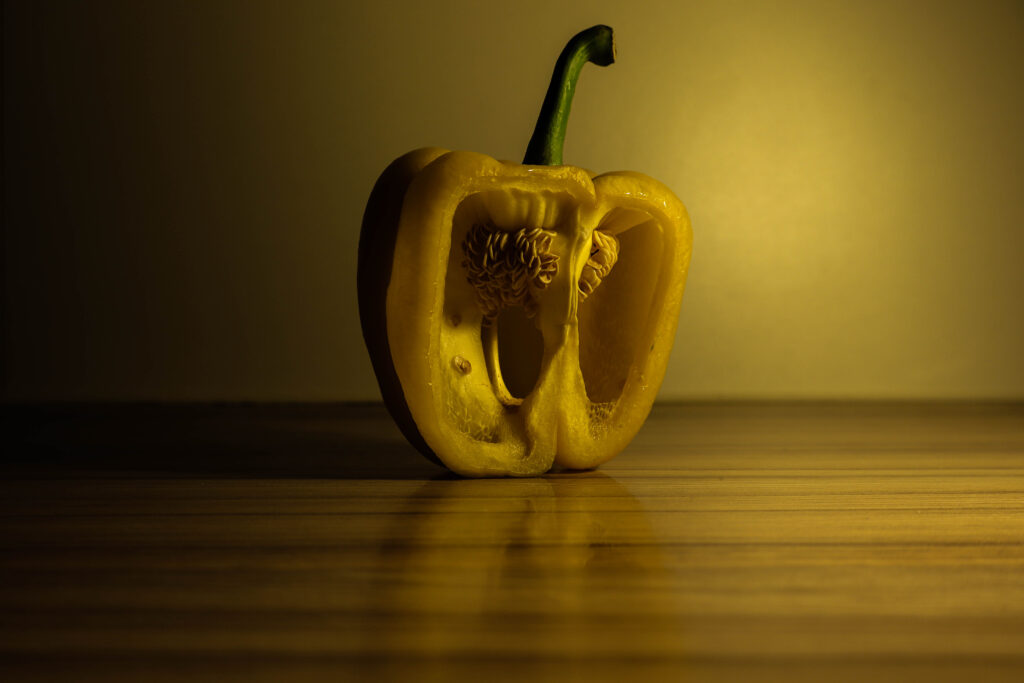
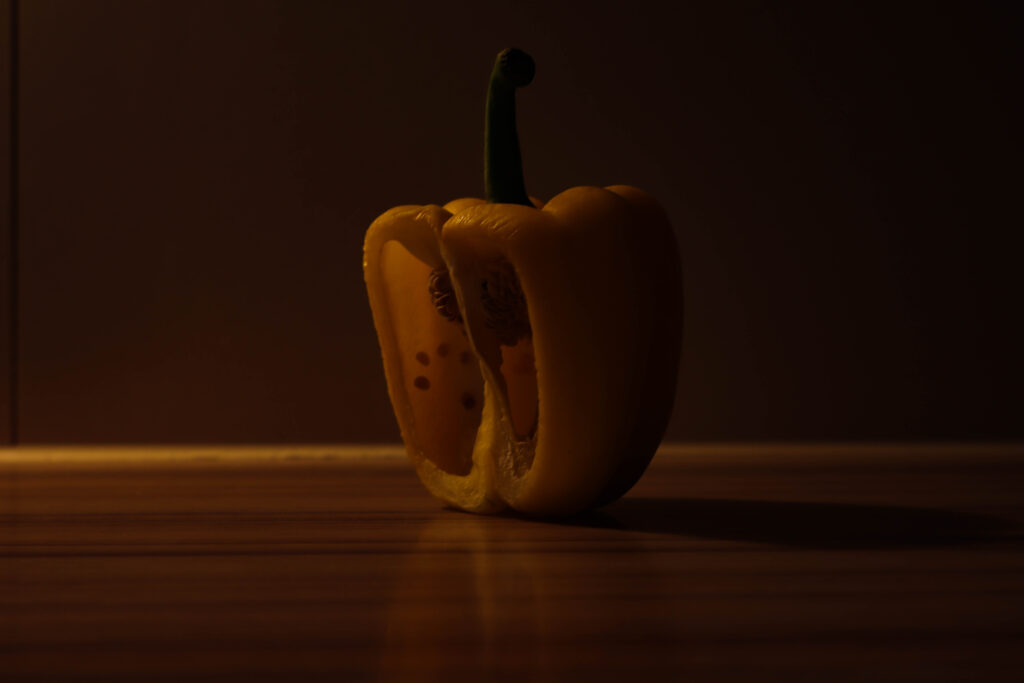
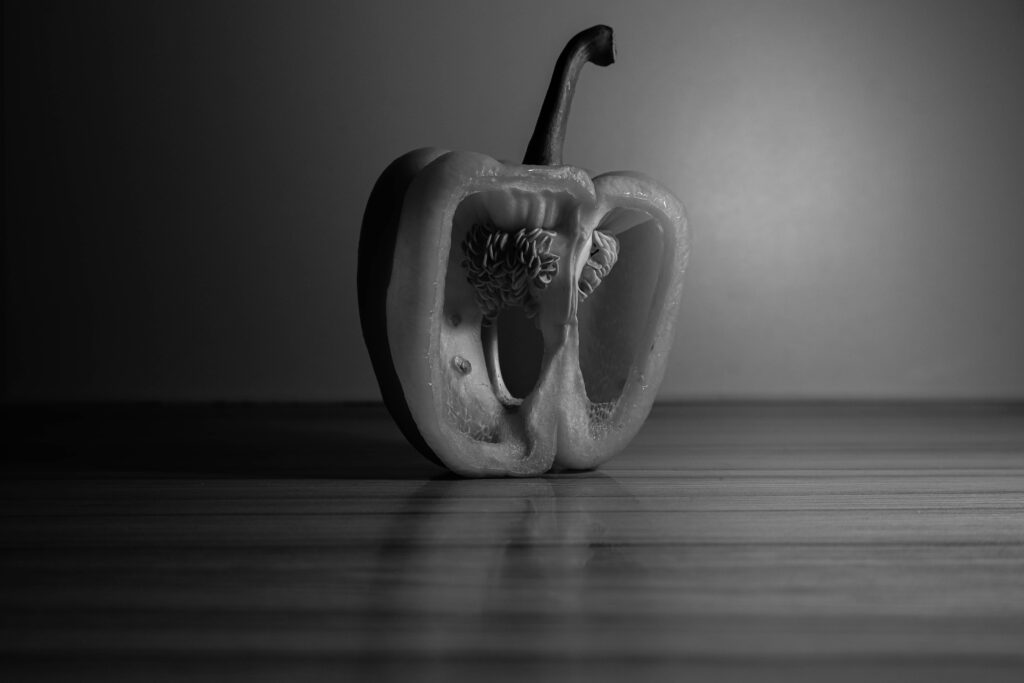
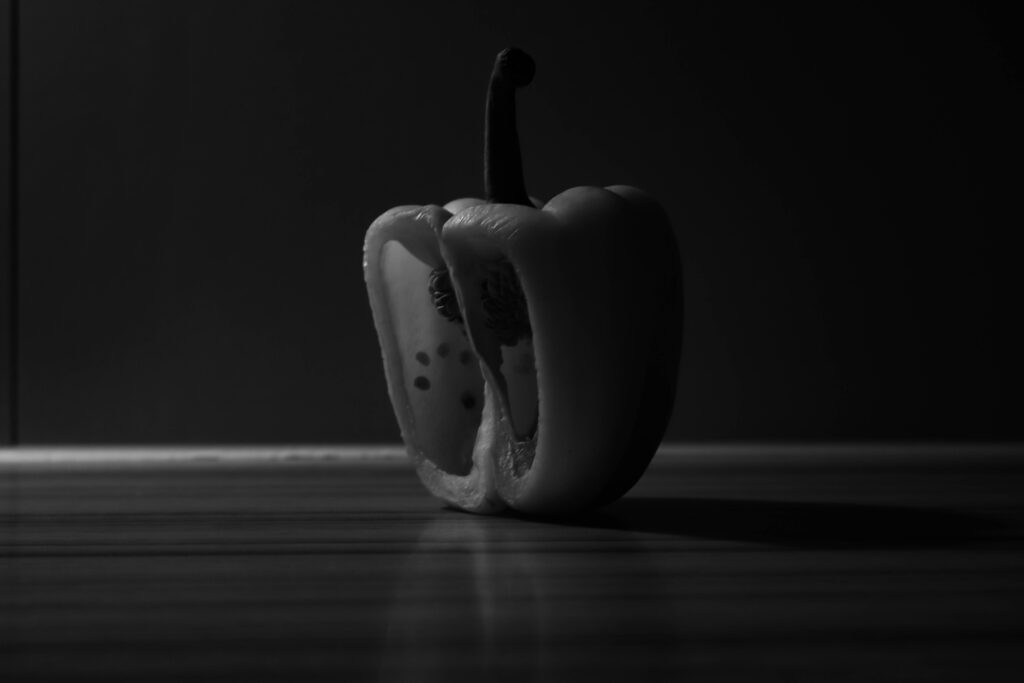
Shoot summary
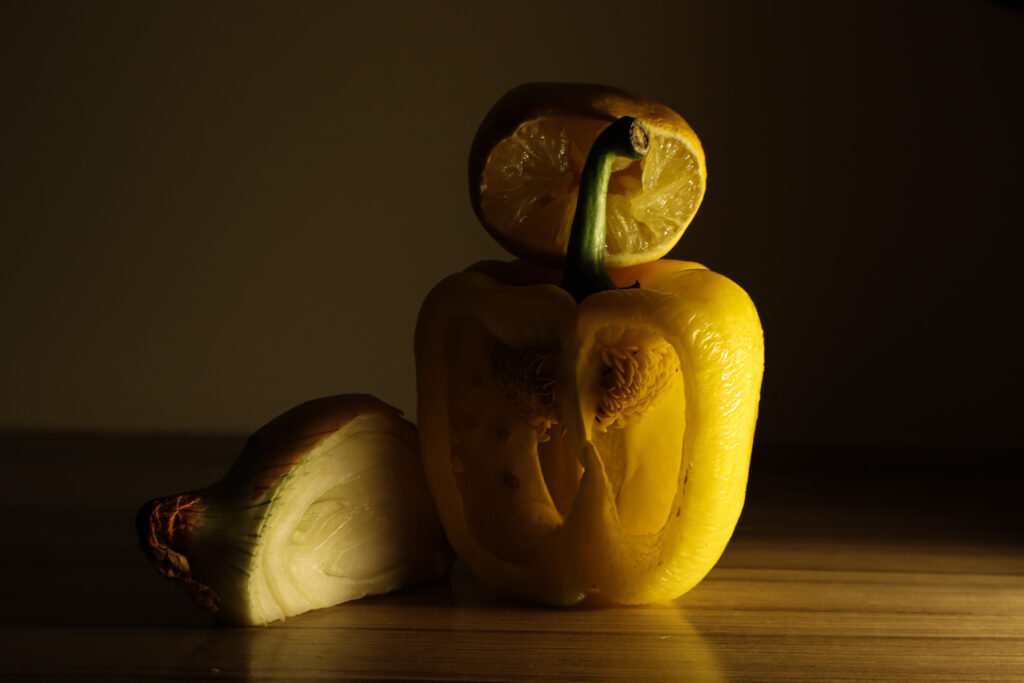
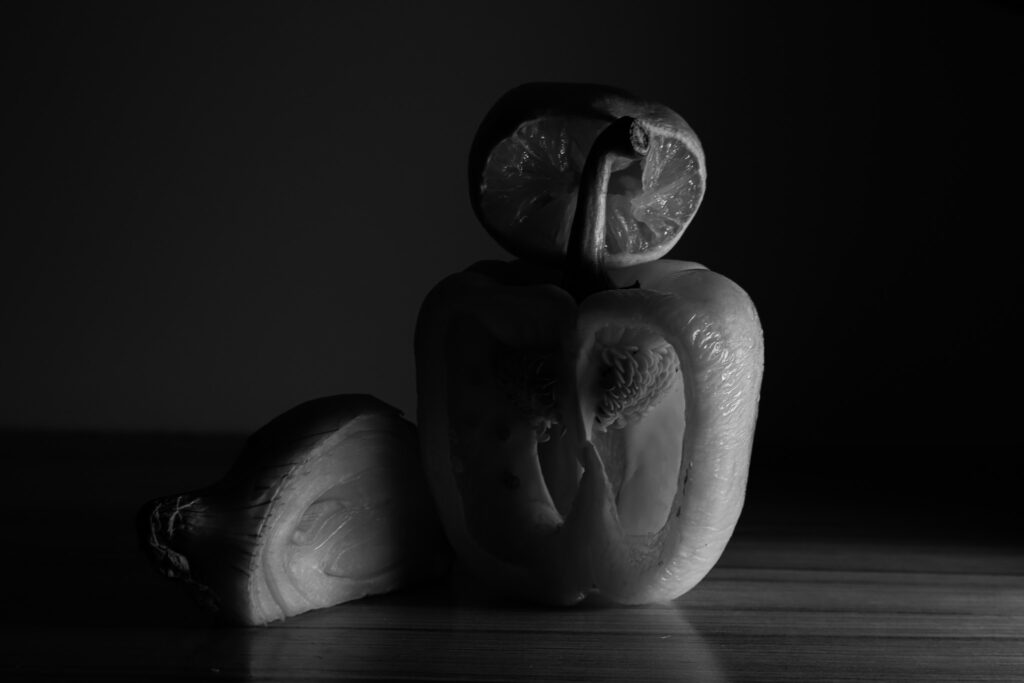
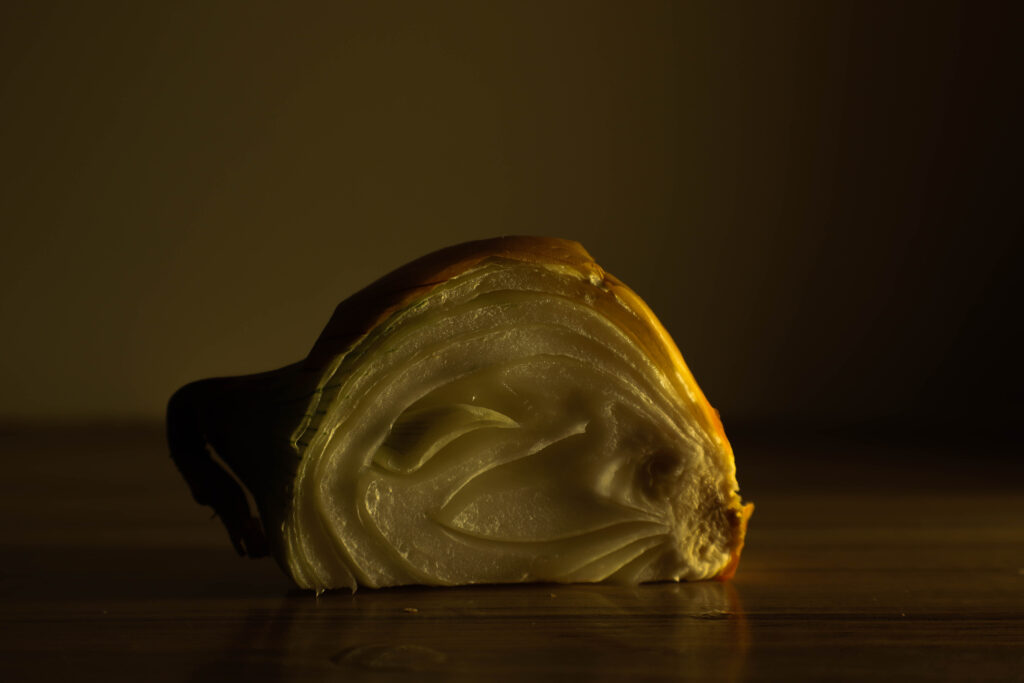
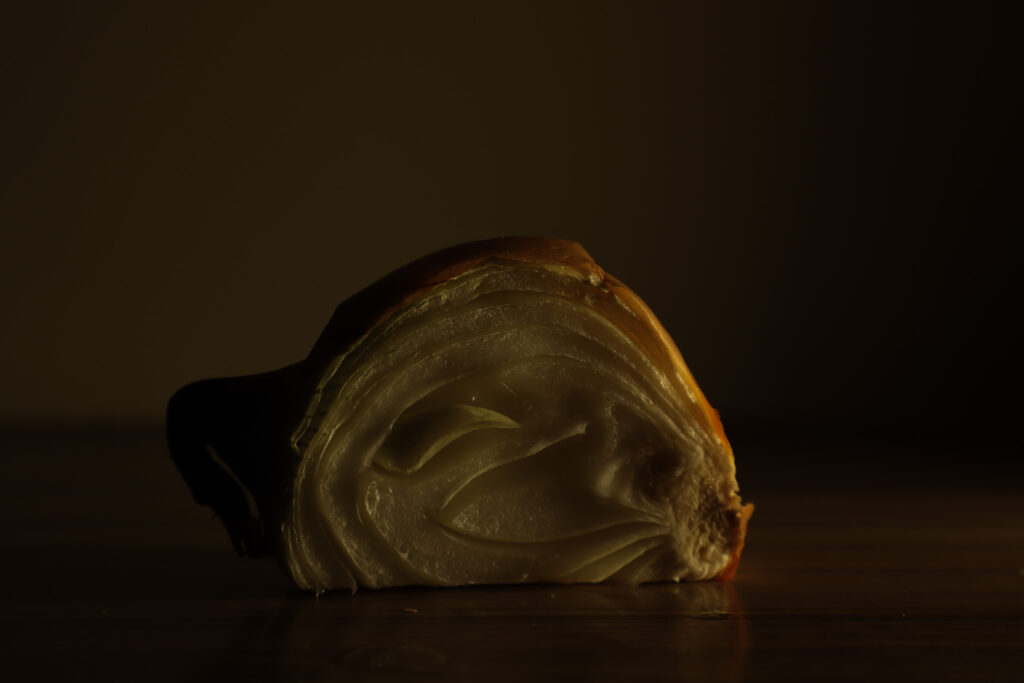
In this series of images, my goal was to capture the intricate textures of the yellow pepper, onion, and lemon. To achieve this, I left them sliced open for a day or so, allowing their skins to dry and develop more pronounced wrinkles and edges. This added an organic, tactile feel to the subjects, which is a nod to Edward Weston’s approach of emphasizing texture in his work. By letting the surfaces age slightly, I could highlight the roughness and imperfections, which contrast beautifully with their smoother interior sections.
I used hard side lighting across the series to accentuate the edges and ridges of the fruits and vegetables. The strong light source really made the textures pop, casting shadows that enhance the contours and fine details of the dried surfaces. It was essential to bring out those natural lines and depth, giving the objects a more three-dimensional quality.
To add a sense of freshness and visual interest, I coated the vegetables, fruit, and the wooden surface with water. This created a dynamic reflection and added to the textures, balancing the dryness of the skins with a sense of moisture and life. The water coating helped elevate the visual impact by introducing contrast between the dry textures and the glossy reflections, giving the series a fresh yet natural feel.
Editing
Just like Edward Weston, I chose to convert my images to black and white, which further emphasizes the textures I wanted to capture. By removing the distraction of colour, it lets the viewer focus more on the contrast between the light and shadows. The monochrome palette heightened the details of the dried skin, the wrinkled surfaces, and the organic forms of the pepper, onion, and lemon. The lack of colour allowed the intricate textures to become the main focus, highlighting every ridge, crease, and line. This decision, inspired by Weston’s approach, helped enhance the sense of form and texture, making the photograph feel more dramatic and rough.
I also decided to turn down the exposure on the original image due to the artificial lighting of my lamp, the lighting is very strong and bright , and i wanted to add a more natural feel and diffuse the light slightly.

JAC 3 NOV excellent range of blog posts – with scope for further development
Well done and keep working hard!