James Welling began taking pictures in 1976 using a 4×5 view camera. In 1978, he moved to New York and started a sequence of abstract photographs like: Aluminium Foil, Drapes and Gelatine Photography. He has become known for a relentlessly evolving body of images that considers both the history and technical specificities of photography.


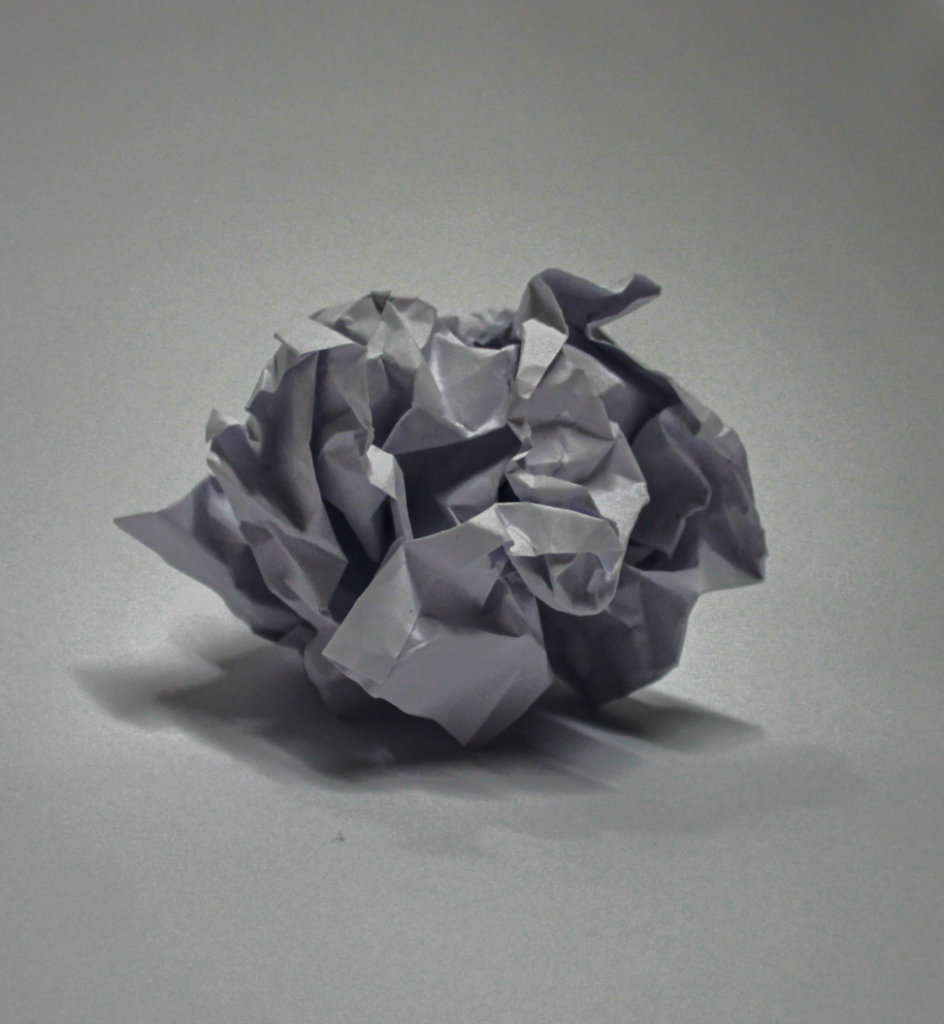
I decided to focus my photoshoot and take the black an white tone aspect to my photos as the light shows a strong contrast between the two colours. I also chose to take the pictures in natural and artificial light to see the difference it makes to the shot. Furthermore, I took pictures in front of a black and white background to see how the paper ball would contrast with a different background.
My Contact Sheet:

Original Photos:


Edited Photos:


Technical:
I started this photoshoot by working out how the light would have the specific effect I wanted on the paper ball. I used a mix of artificial and natural light to see how big the difference would be. I used a range of different ISO’s to see what it would look like how big the contrast would be and how the shadows would lay out.
Visual:
I preferred using a black background instead of a white one as it showed no shadows behind the paper ball. I chose to do the paper ball to show the texture of it scrunched up and how every fold has a different look to them. The use of the black background and the 3D ball makes an illusion as the paper looks like is floating when in reality its just the effect of the lighting.
Contextual:
When choosing the paper ball envisioned the artists (James Welling) work and the paper ball which is the cover of the ‘Core Skills + The Formal Elements’. I liked the cover because it shows a range of different tones like: black grey and white. This inspired me to create my own to see how it would compare against it. I chose this photo as my favourite one:

Artist Research
Paul Jackson is a specialist in origami and the folded arts. He was one of the pioneers of folding/origami as Fine Art lots oh his work has been put in galleries and museums. He has also curated several ground-breaking exhibitions of origami, undertaken many commercial commissions for print, screen-based media, festivals and more, and has been a consultant for companies such as Siemens, Nike, Tetra-Pak and Tata.


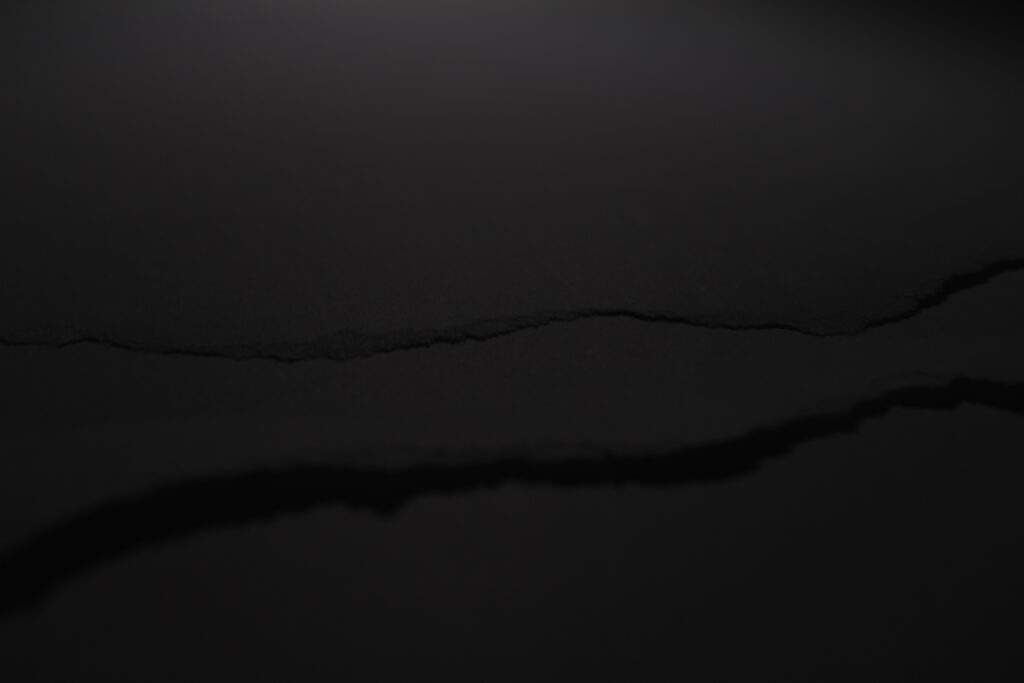
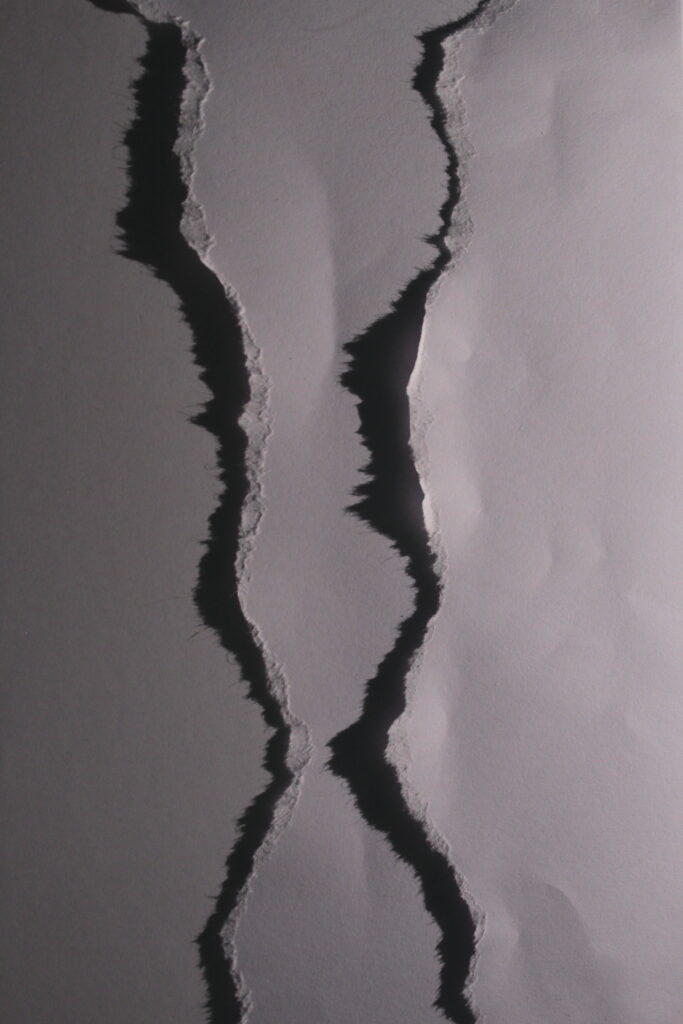
I took the inspiration from the origami and decided to make a white paper crane. I did this because I would be able to play around with the colour of it in Adobe Lightroom. I also chose to create a landscape with torn paper. This is because the torn area gives the photo good texture and I worked with different lighting to see how that would effect the shadows.
My Contact Sheet:


Original Photos:


Edited Photos:


Technical:
I started by taking photos in the photography class using the artificial light. I tried using the flash however, with the white background the paper crane got washed out. I also used an F-stop of 4.5-5.2 to see how it would differ from each image.
Visual:
I used a red light to give the paper crane a colourful effect, this is because the light would be able to emphasise the shadows on the paper crane. The light was sometimes put closer and further away to see how opaque the colour would be, like the third and fourth image. I used shape when taking pictures of the paper to make it seem like mountains or sand which was my main idea for this photoshoot. Adding on, the form of the paper crane allowed for shadows to appear in other areas because of its 3D shape.
Contextual:
When taking these images my inspiration was Paul Jackson an origami artist and photographer. The mountain and sand pictures followed a different artist however they weren’t as detailed as those specific images. Jackson used colourful animals whilst I decided to do colourful background and animal to make my work different from his. The picture I chose reminded me of is photography the most:


Good work with lots of detailed understanding evidenced too.
As a target you could consider adding more features of the VISUAL ELEMENTS eg line (curved v straight)
Soon you will be choosing your strongest images for final presentation and then evaluating your entire process
Use these subheadings to help you…
What
How
When
Where
Why
Well done and keep up the hard work!