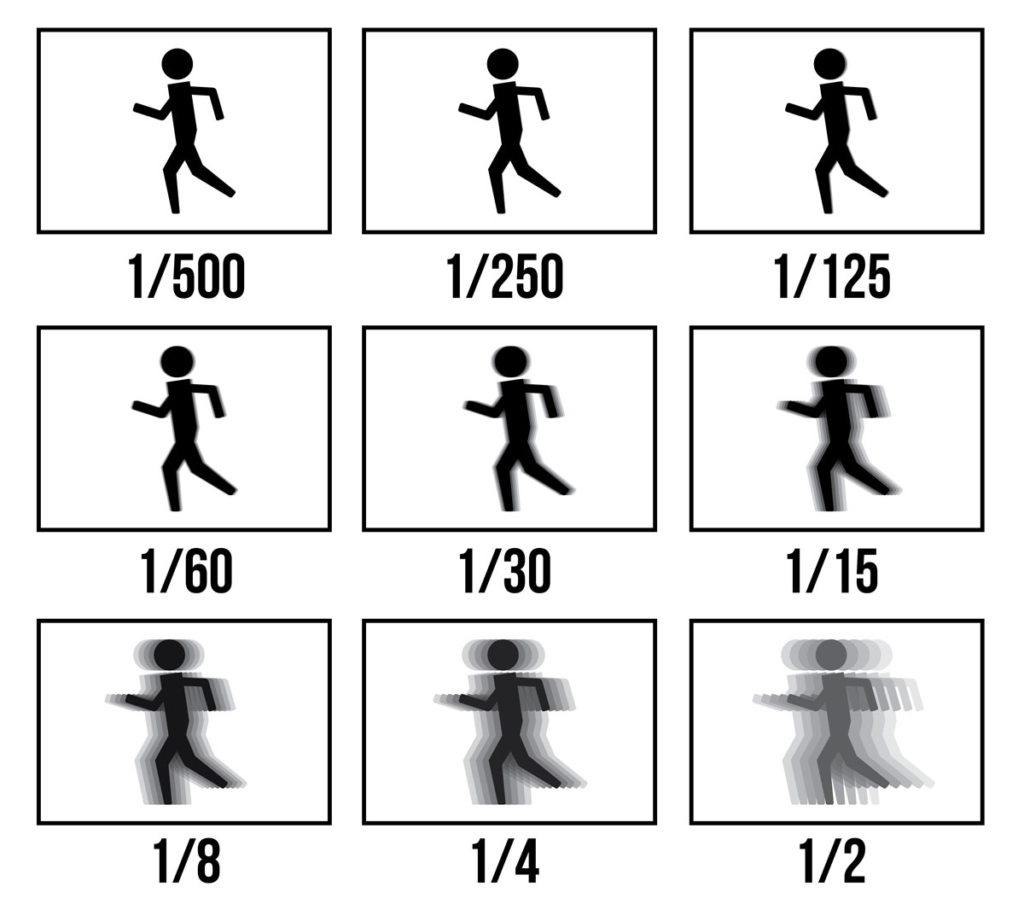
Shutter speed refers to how long the shutter is open for which exposes the sensor to light for more or less time depending of the shutter speed. 1/250 or higher is ideal for shooting action shots when you want the motion to be captured still. The lens can also be opened for seconds at a time – on a standard camera up to 30 seconds. This is ideal for very low light situations where you have a tripod at hand. In the diagram below it is demonstrated how the different shutter speed affects how movement looks in cameras. Sometimes you will want to capture very fast motion as a blur in order to show the speed – to do this you will have to use a lower shutter speed and try to keep the camera still so that only the motion is blurred.
Examples of high shutter speed
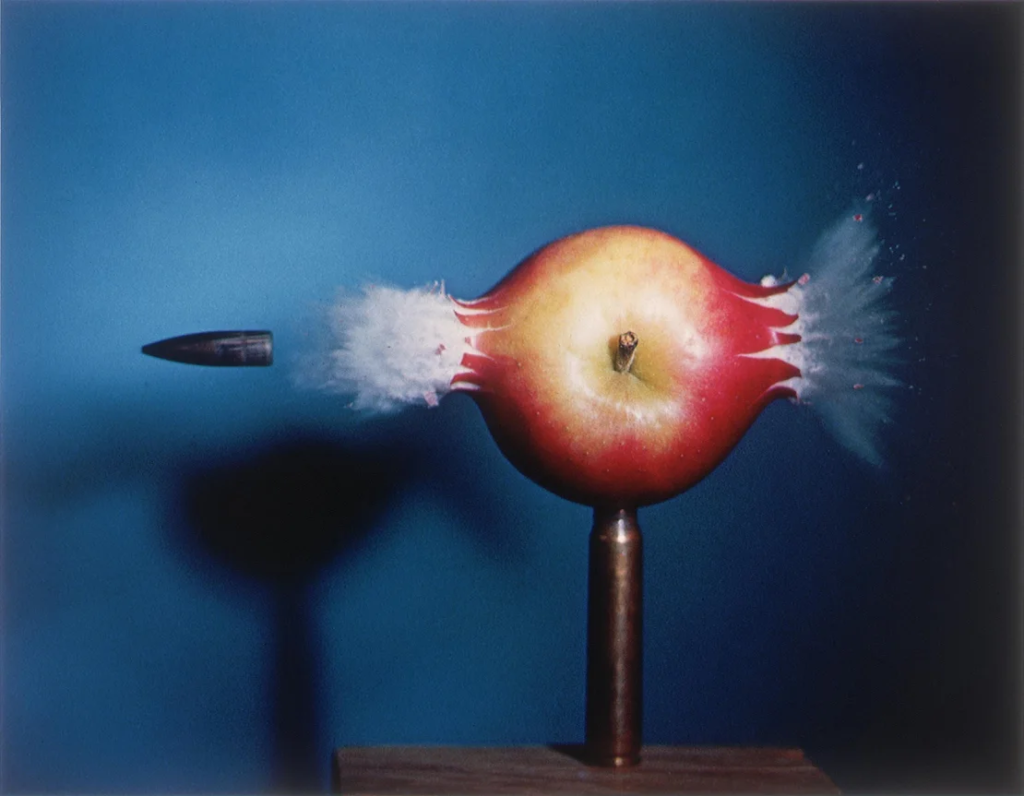
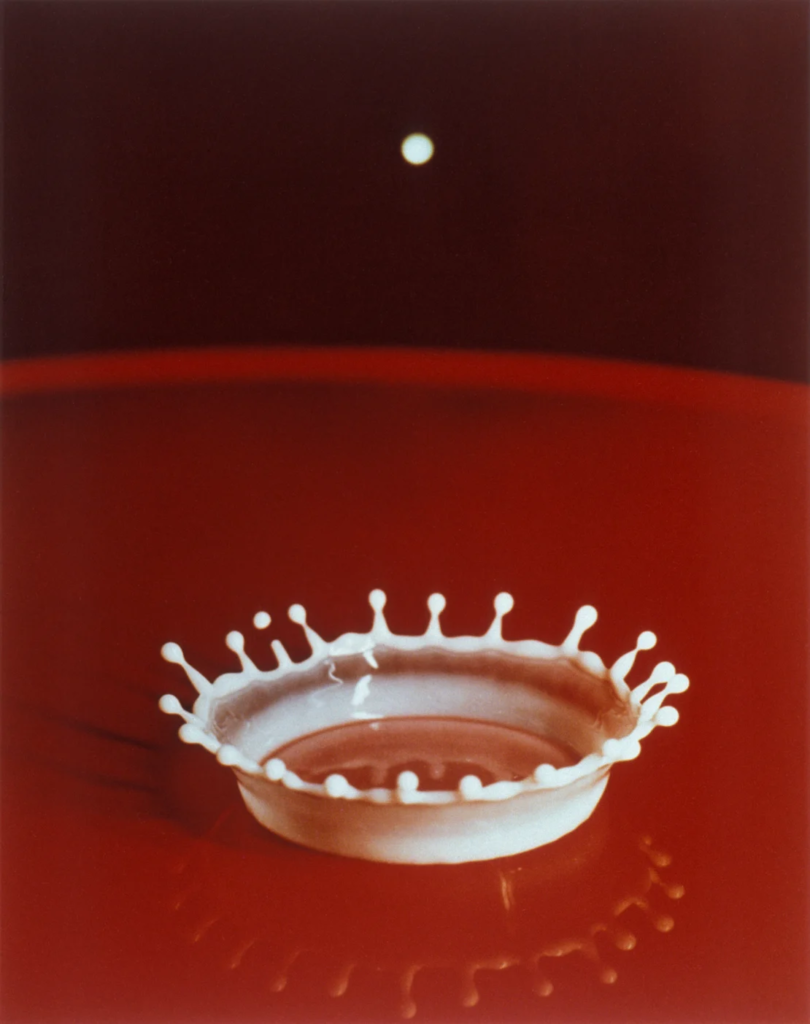
These photos are brilliant examples of a very high shutter speed = the way I can tell the shutterspeed is high (probably 1/1000 or higher is because part of the world that is normally moving is now completely stull – a snapshot of reality.
Examples of low shutter speed
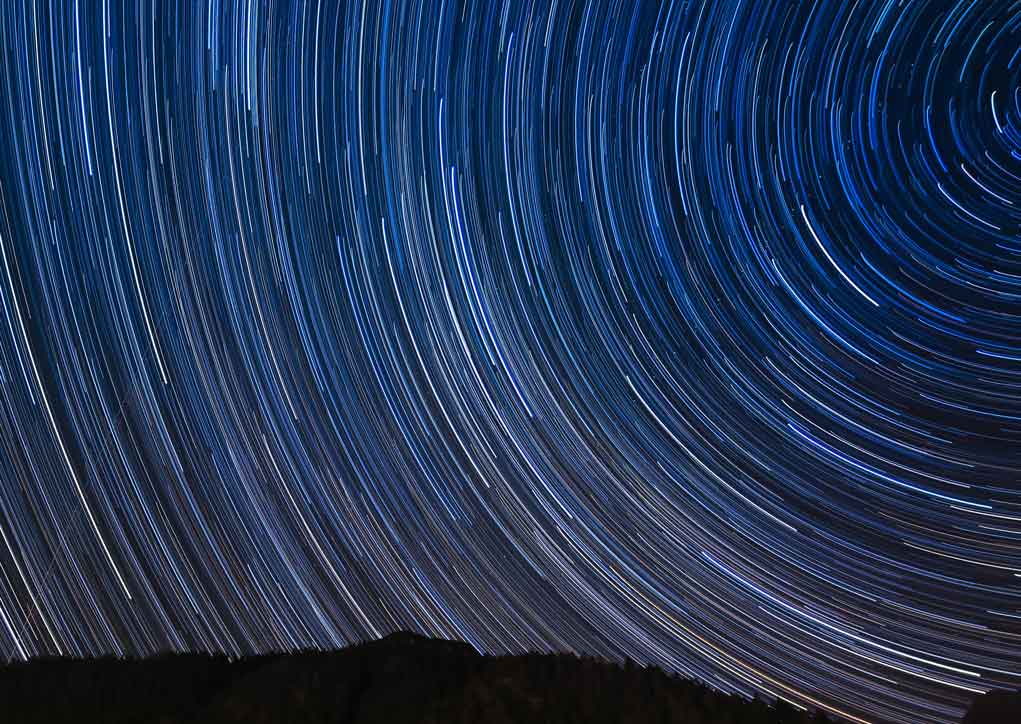
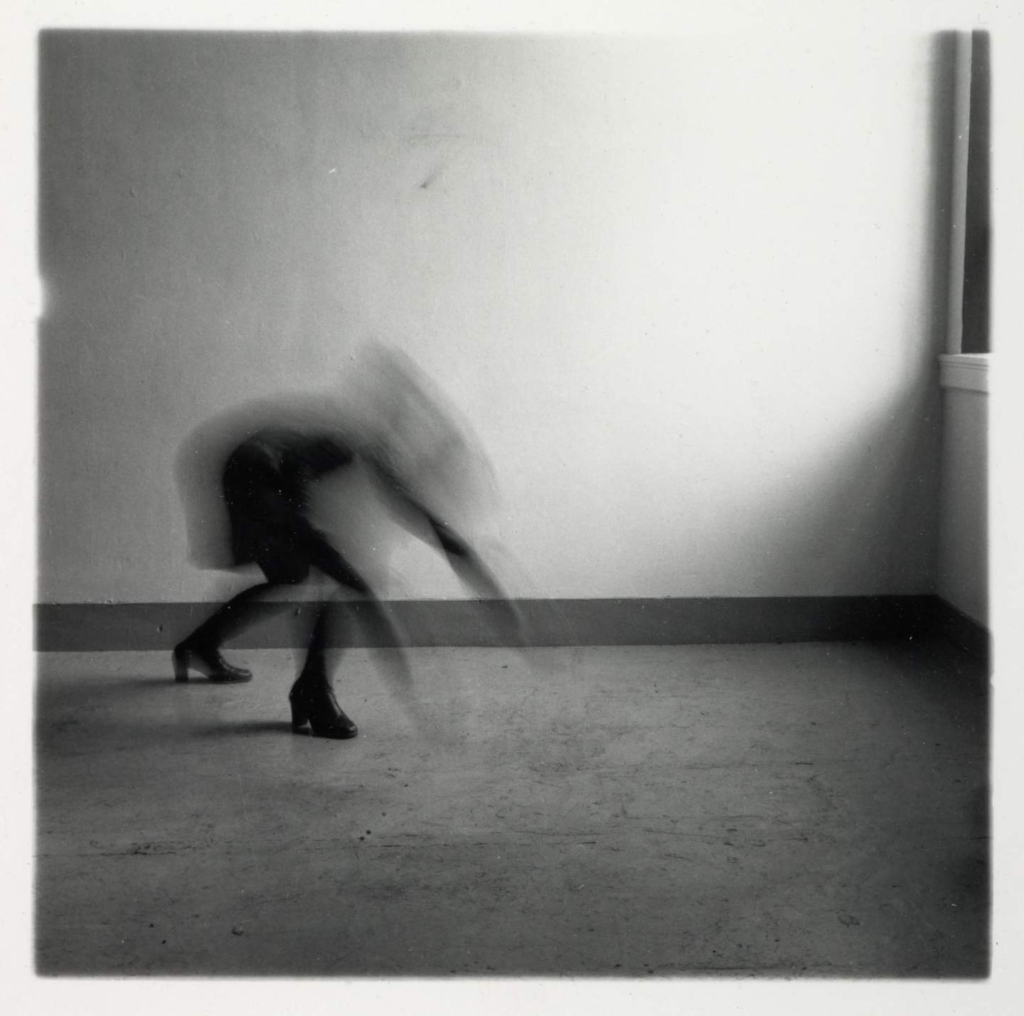
On the left is a beautiful example of a very low shutterspeed – they likel had to use a tripod to keep the camera still for an extended period of time – overnight for example. Keeping the camera open and using the B setting allows you to keep the shutter open for as long as you want – exposing the sensor to light for a very long period of time – causing these star trails. On the right is another example of a low shutter speed – the camera was probably open for a quarter of a second (1/4) while the person stood up. This created a blurred motion effect.
A photographer who uses shutter speed to her artistic advantage
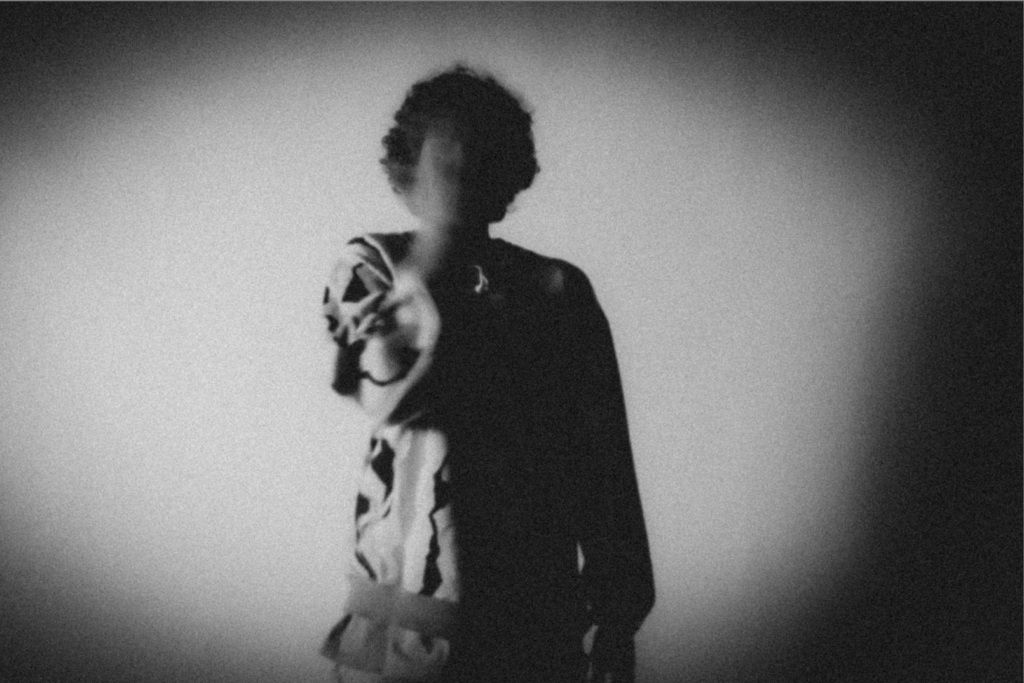
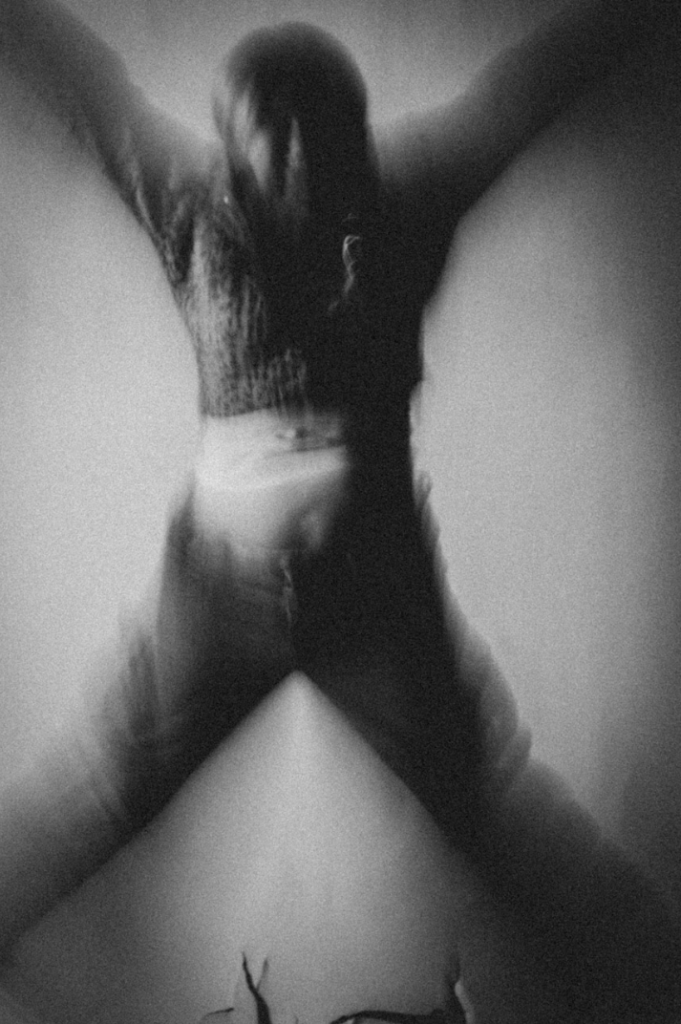
Francesca Woodman uses shutter speed to create nostalgic, ghostly self portraits, often using strange positions and a large amount of motion blur, in weird, dirty looking rooms. Her photos have an eerie, sad message, and her photos sadly seem to tell of her fading away before she eventually ended her own life at 23

My Attempt #1
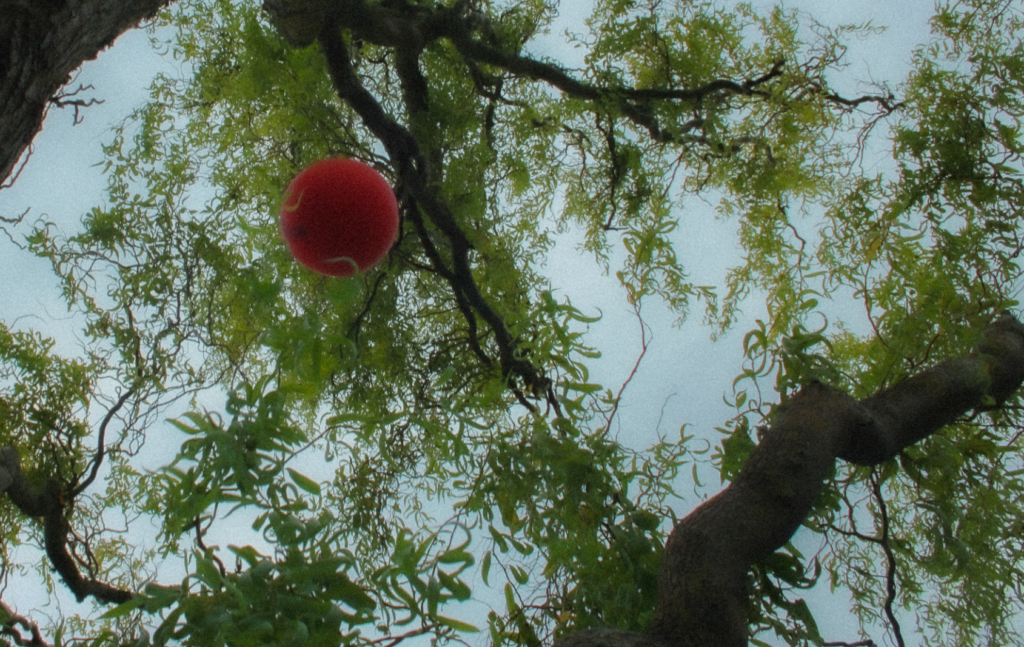
To achieve this effect of the ball floating in the middle of the tree,, I used a fairly high shutter speed – 1/500 this means the sensor was only exposed to light for one five hundredth of a second – freezing the ball. I edited it in post in LrC and cropped the ball so it is on the top left rule of thirds cross point – I also turned down the highlights and added grain and haziness to create a film effect
My Attempt #2
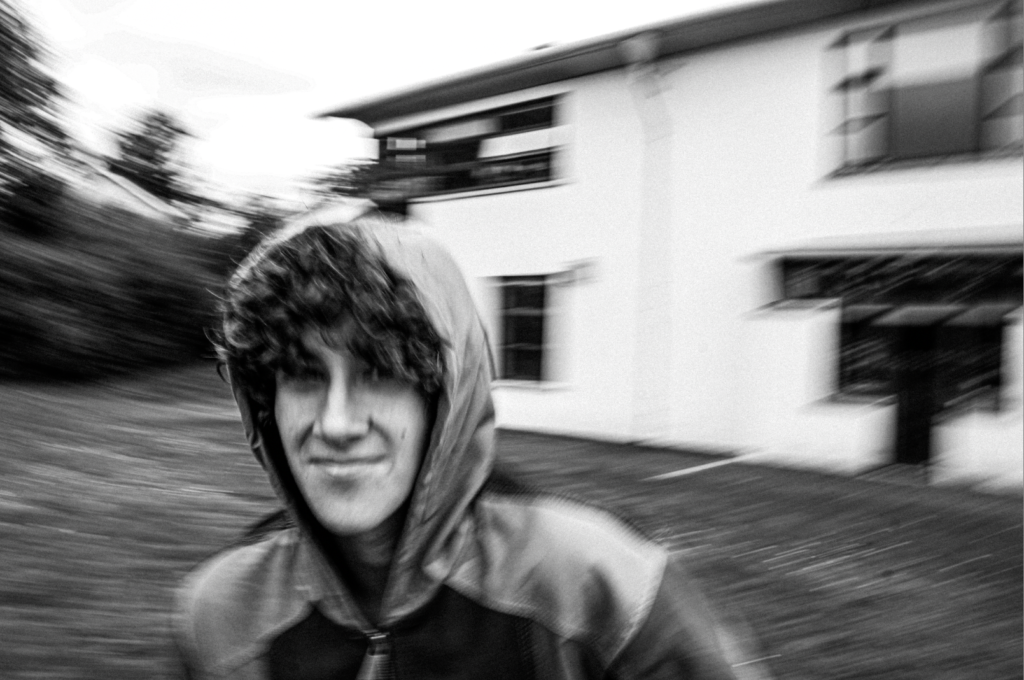
To achieve this effect the camera was moving at the same rate as the subject, so the subject is the only thing in focus while the background has motion blur. In lightroom classic I changed it to black and white, and changed the contrast up a lot, also adding grain. This all together gave the photo a very candid effect.
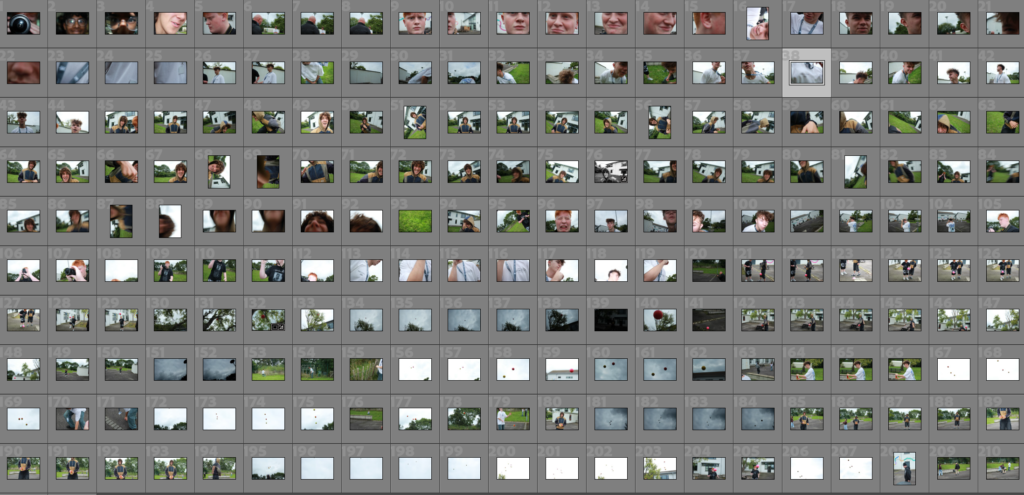
This is the contact sheet of all the photos we took. Most of the photos of people dodging the camera turned out really unflattering, and the sky wasn’t blue enough for the ball photos to look at all visually pleasing. But out of all of them I got a few I like which are above.
Photoshoot 2 – Studio

During the process of learning Lightroom classic I learnt how to flag images as picks and rejects using SHIFT + P/X to select my favourite images from the bunch. Below are the photos that I flagged as picks.

