Adobe Lightroom is a very useful program that is used to edit pictures efficiently in large quantities. For example lets say you take pictures of a large event, Adobe Lightroom will allow you to import them into the library and sort them into a collection where you can edit your photos freely without changing the original image.
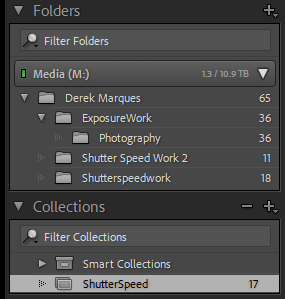
You can import your images that’s in a folder by pressing the + sign next to the folder category. You can also create a collection by pressing the + sign next to the collection category.
To move your images into your Collection is as simple as dragging them from your Lightroom folder into the collection you made.
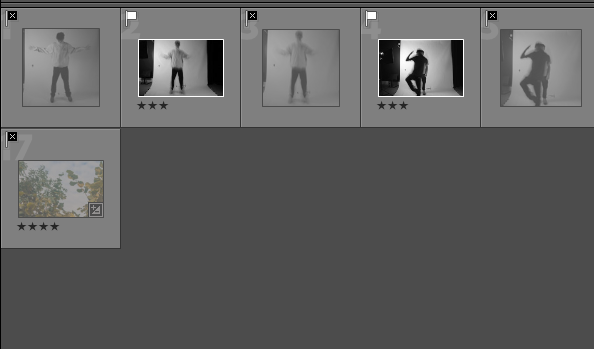
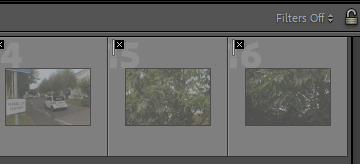
With Adobe Lightroom it allows you to approve of images you would like to use and discard of images you may not want to use, it also allows you to give your images a star rating so you can choose which one of your approved photos is your favourite. You are also able to filter your images so you can see the images that are star rated or the images that are approved or disapproved.
Develop Tab
The Develop Tab will allow you to edit your images to your choosing. On the left side you should be able to see a subcategory named Presets. Presets allows you to choose settings that has already been done and configured to apply to photos, this can be useful if you want to edit your photos quick or want to find a preset that would suit your photo.

To apply a preset simply click on the preset row your most interested in and hover your mouse over the different options. By hovering your mouse over them it will show you the preview of how your photo will look if you applied the preset. To fully apply the preset its as simple as clicking on the preset itself and its applied.
With the develop tab you are also able to view your photos information in depth. This is called the histogram and its useful for determining why the image may be blurry or why its not really lit up and etc. The histogram is usually located on the top right side.
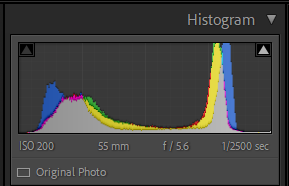
As you can see from my image you are able to see details like my Shutter speed, Focal length and ISO Number. You can also modify your photo by hovering your mouse over the graph and dragging certain points of them to the left or right.

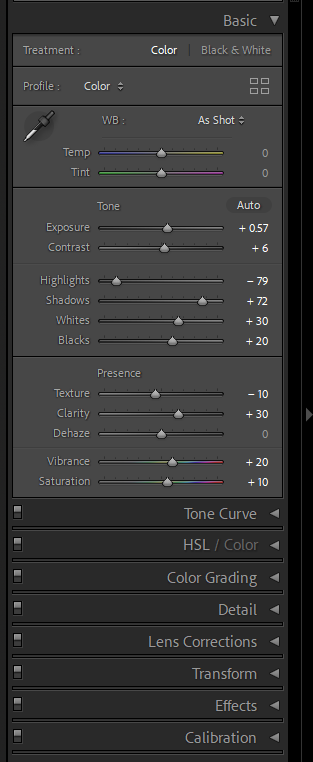
Below the histogram we are able to see these columns. These columns are options and sliders to modify and fine tune your image to your liking. You have the basic things like Exposure, Contrast, Temperature of the image and more. But you also have more options like Tone Curve, Lens Corrections, Detail, Colour grading and more options to really edit your picture to exactly how you want it.
Contact Sheets
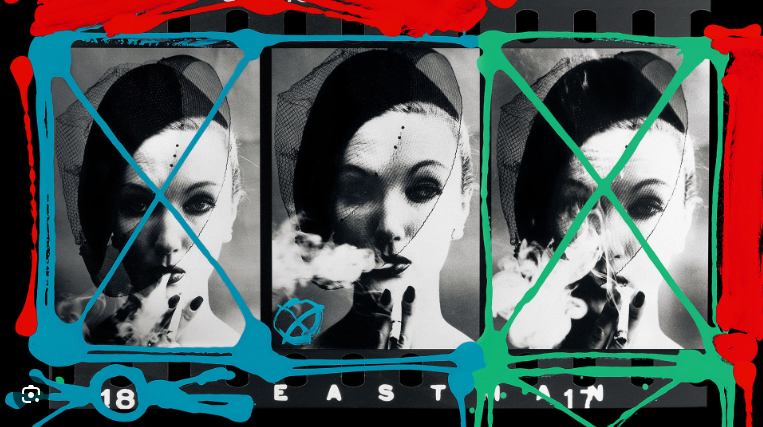
Contact sheets are photos that are usually arranged in a grid which allows photographers to see previews of the images to determine which images are favoured and liked more. William Klein was a photographer who used contact sheets and was able to make an interesting piece. William Klein would use his contact sheets and draw over them, with the pictures he didn’t want to use he would draw a X across the image while the pictures he wanted to use he would highlight it around the corners eventually creating an interesting piece like this photo below.
