Intro: What are the formal elements in photography?
There are several design elements, known as ‘formal elements’, that all photographers should be aware of when thinking about their image compositions. This is what separates good pictures and bad pictures that have been taken of the same subject.
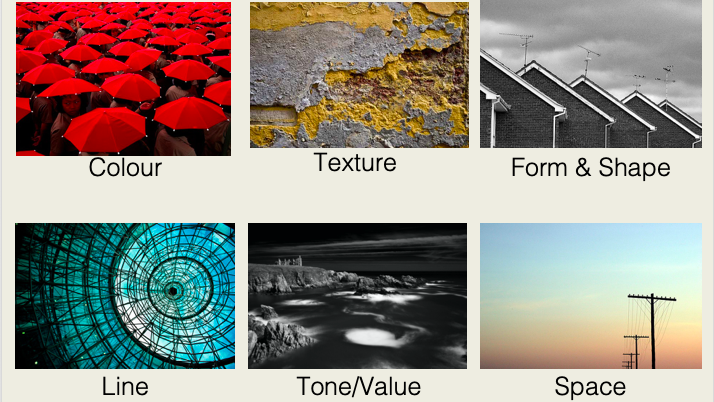
Some of the formal elements include (there are others and you don’t have to be limited to this list )
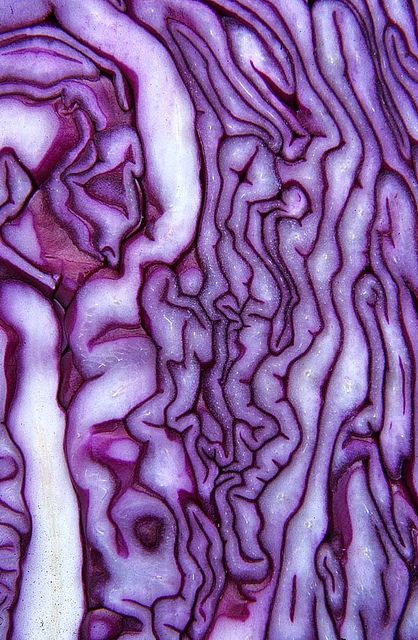
Line – Are there objects in the photograph that act as lines? Are they straight, curvy, thin, thick? Do the lines create direction in the photograph? Do they outline? Do the lines show movement or energy?
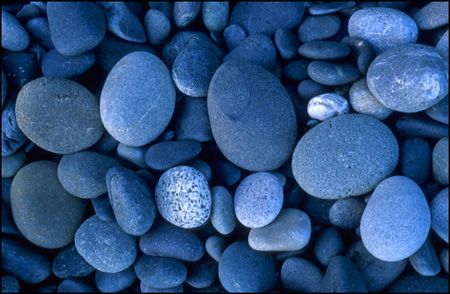
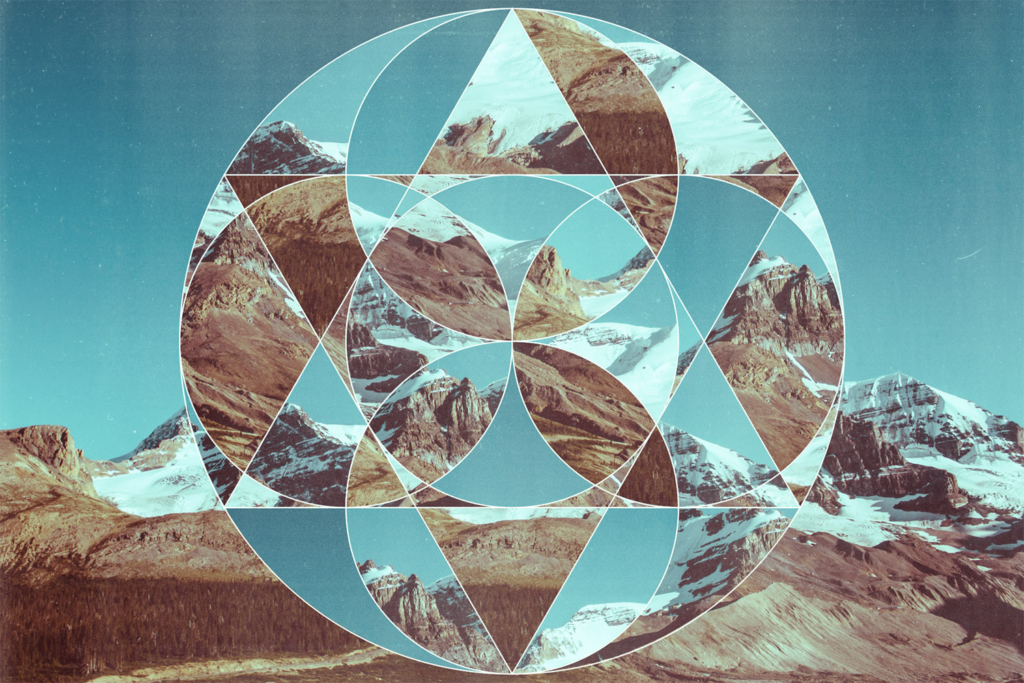
Shape – Do you see geometric (straight edged) or organic (curvy) shapes?
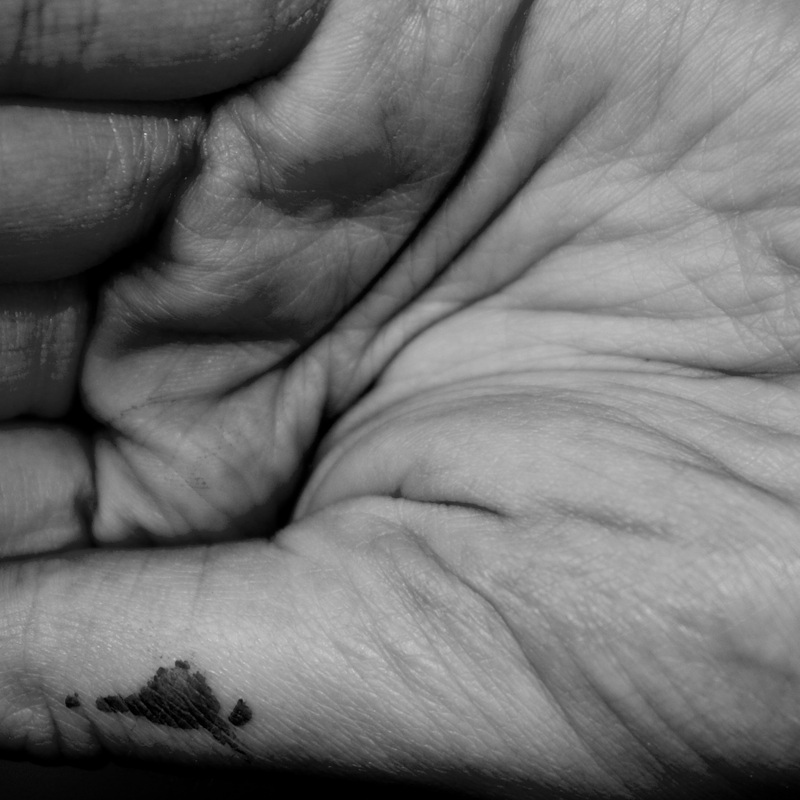
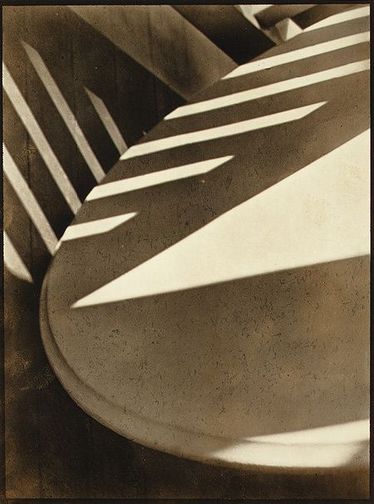
Tone –Is there a range of tones from dark to light? Where is the darkest value? Where is the lightest?
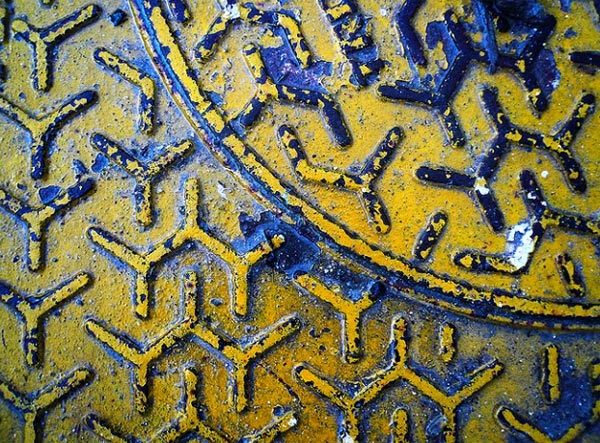
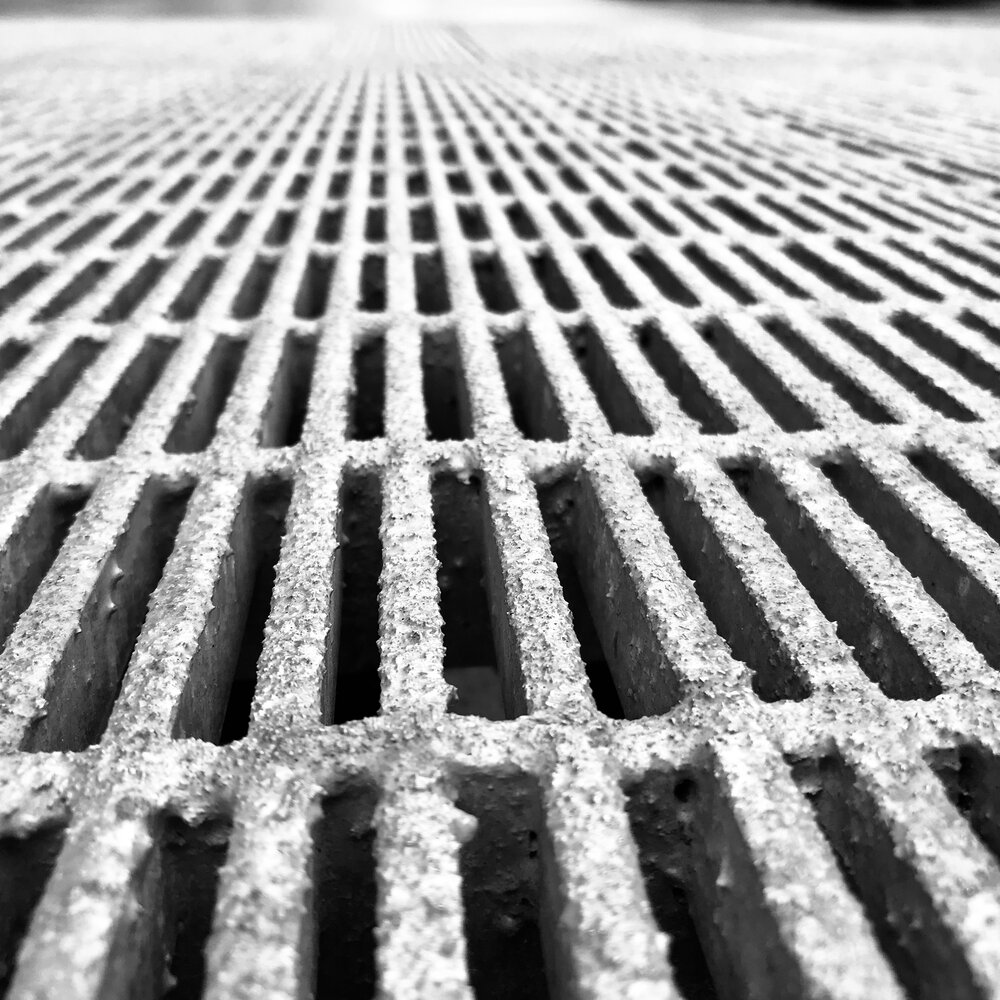
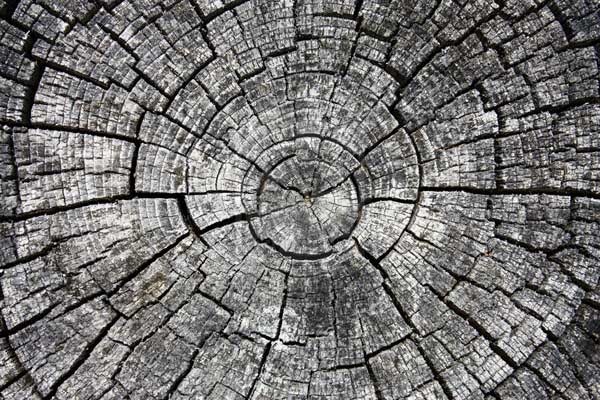
Repetition / pattern: Are there any objects, shapes or lines which repeat and create a pattern?
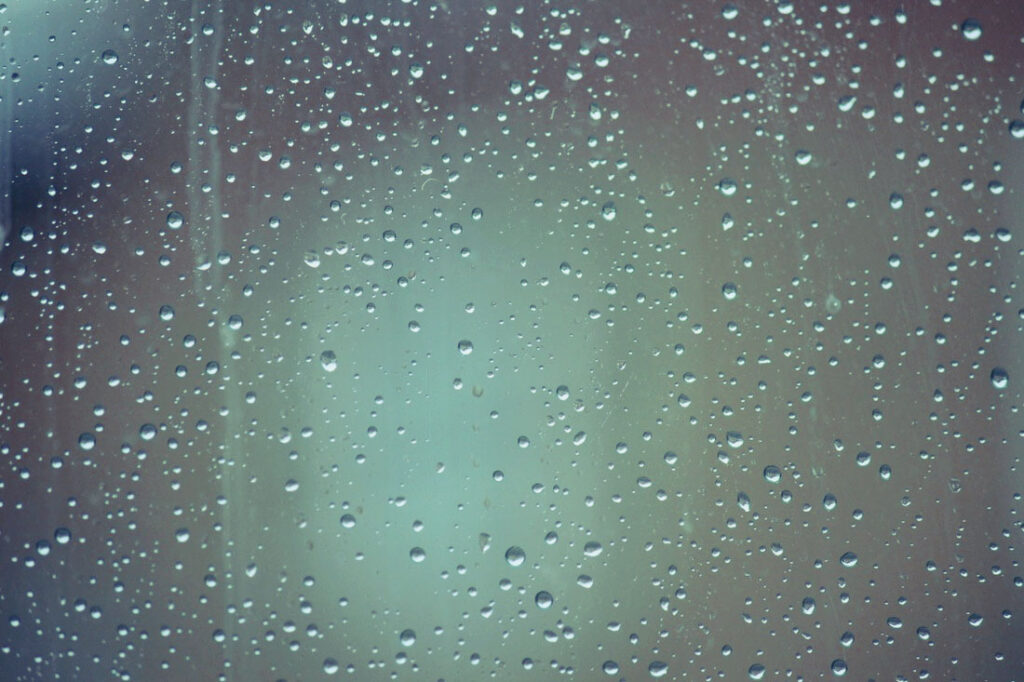
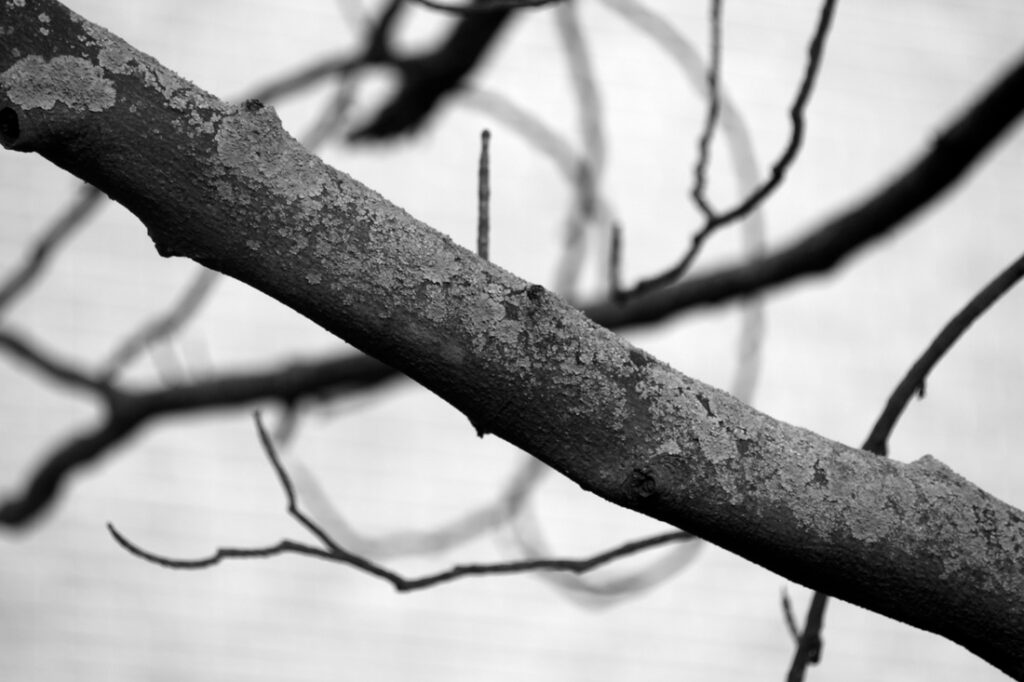
Texture -If you could touch the surface of the photograph how would it feel? How do the objects in the picture look like they would feel?
Space – Is there depth to the photograph or does it seem shallow? What creates this appearance? Are there important negative (empty) spaces in addition to positive (solid) spaces? Is there depth created by spatial illusions i.e. perspective?
Your task:
Use a PowerPoint (or similar) to record your summer task. You should include….
Research a photographer who will inspire your work….. (see photographers to choose from below)
Photography: Take photographs that link to each of the formal elements above. (You will likely end up with more than one formal element in each photo). There are some tips on what you could photograph at the bottom of this PowerPoint.
Edit: Edit the images (on your phone, or using your preferred editing software)…. crop and enhance the colour / change to black and white to show you have considered how to achieve the best result. Example photos can be seen below.
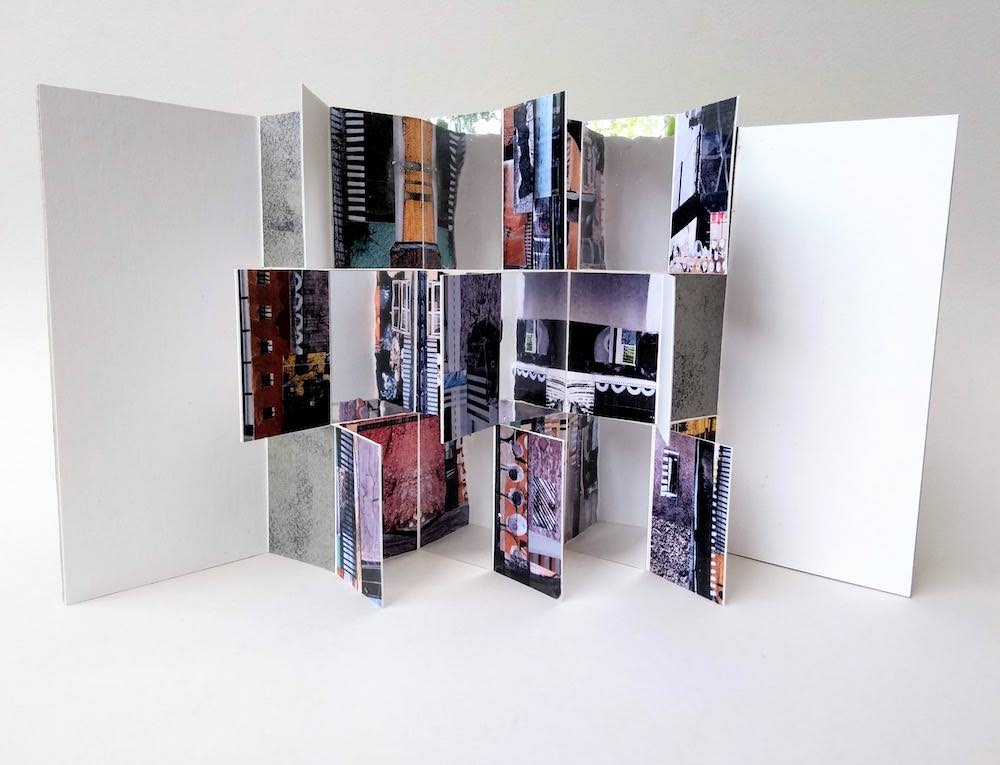
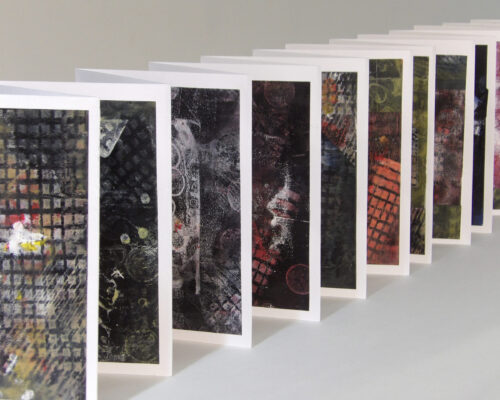
Present: You can then select how you which to present the images. You should present your final images on your ppt but you may also want to print them out and present them manually. For example, you may wish to present each one in a grid. If you are able to, you may even wish to print the images out and present them in a concertina book.
Deadline: Please complete your summer task before you start Hautlieu in September. It can be saved to a USB or email it to yourself so you can log in from school and download the attachment (if emailing to yourself, use a personal email as your school email may not yet be set up).
1. Research: – Choose one photographer to analyse:
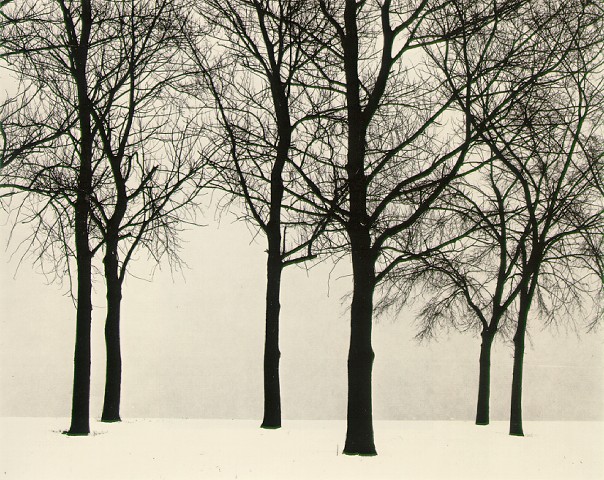
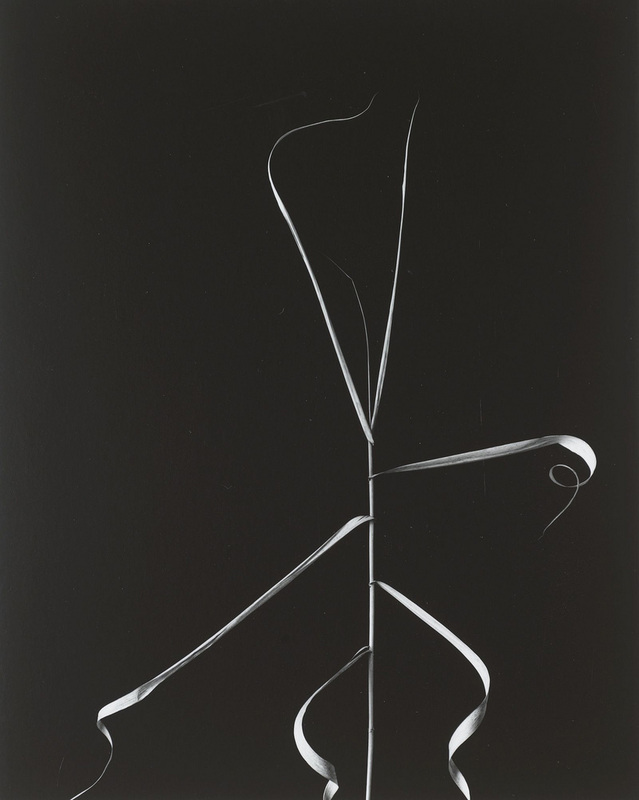
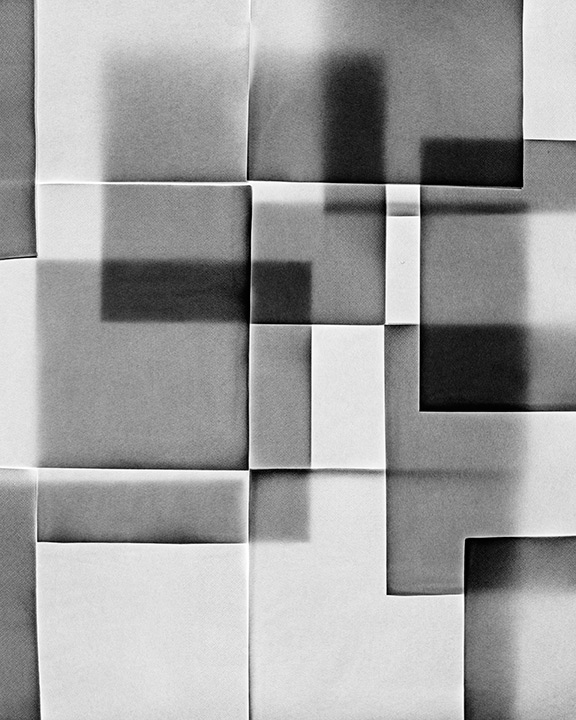
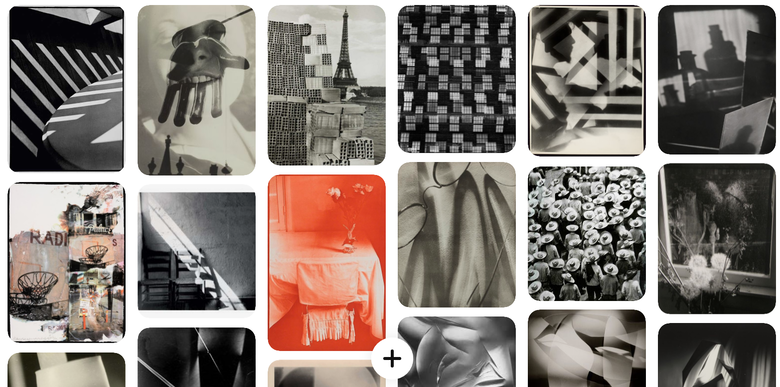
Harry Callahan is able to capture patterns, textures and repetition through his photography. His images have just enough information. He knows just where to place the edges, to leave out unnecessary details, so that we are able to focus on the main idea. He has a fantastic sense of design.
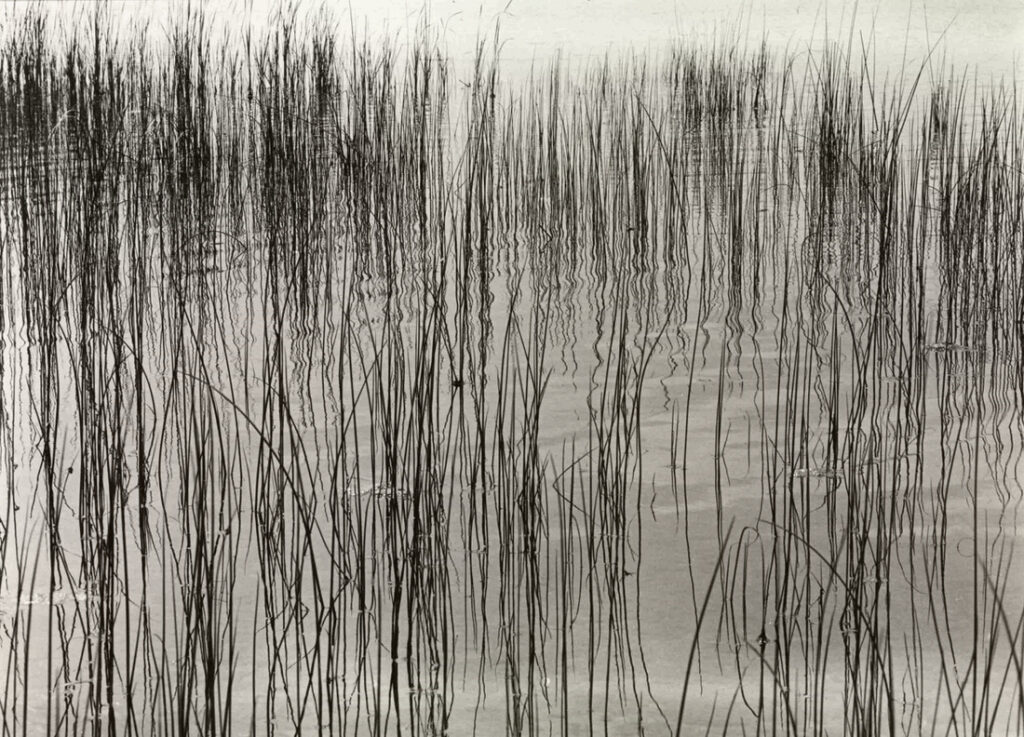
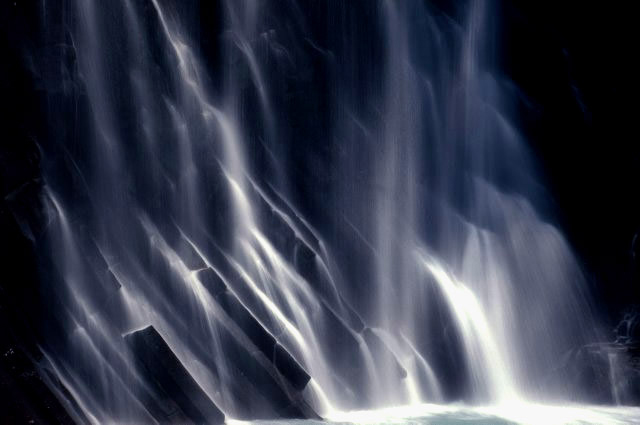
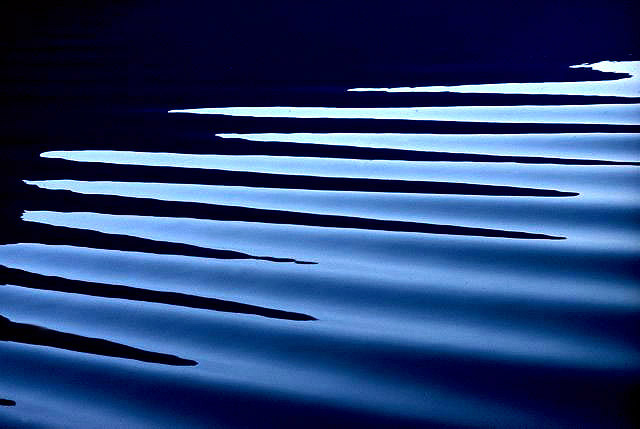
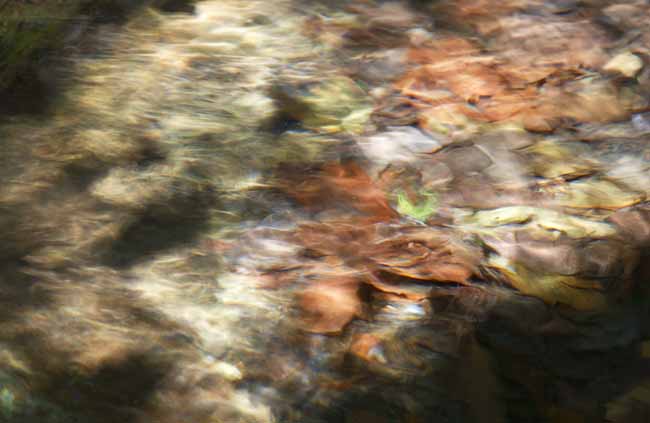
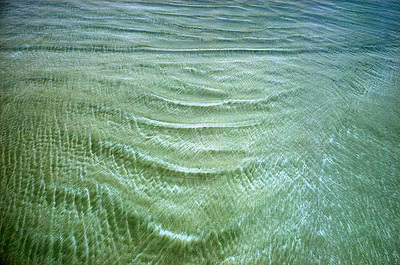
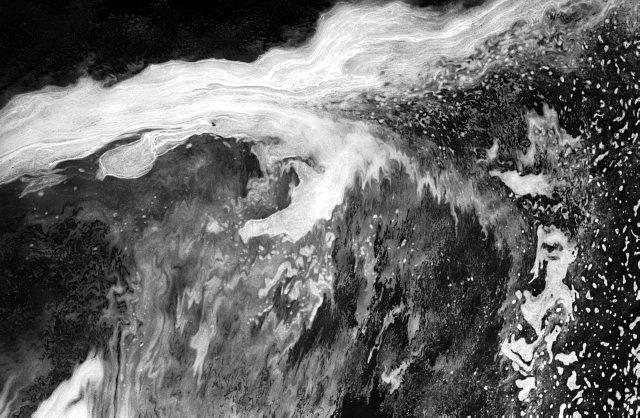
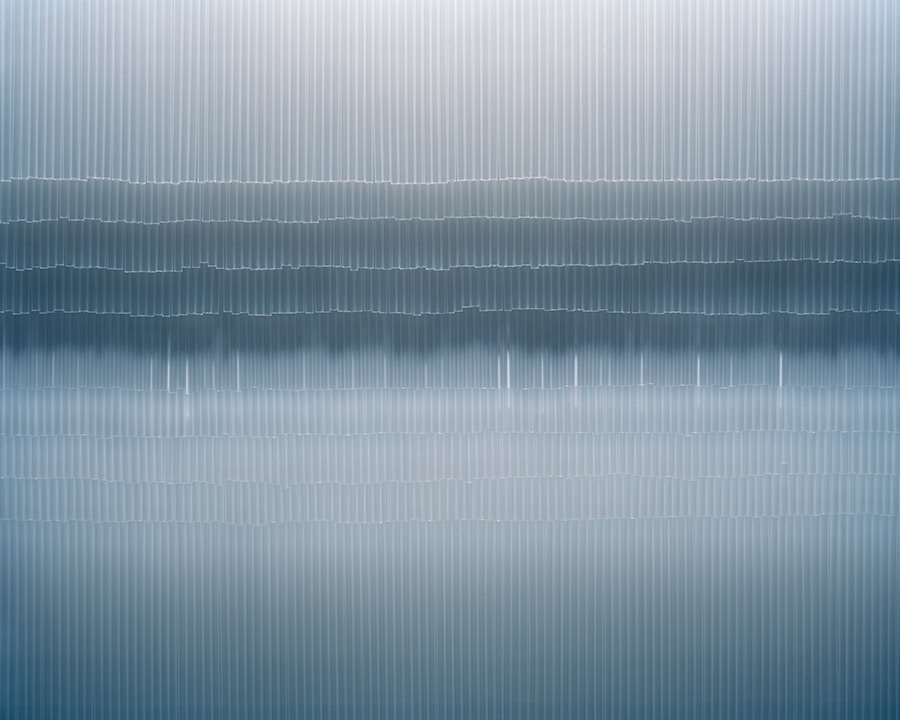
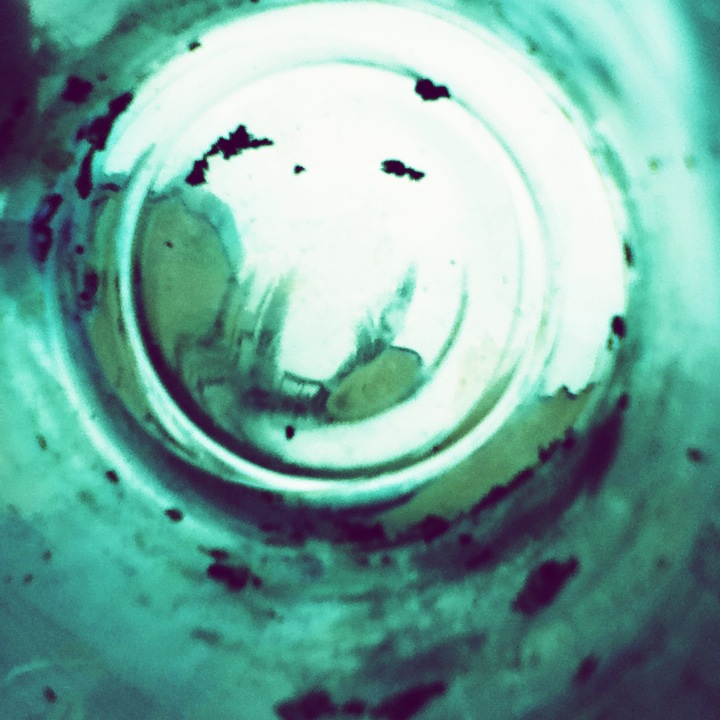
Haas pioneered colour photography and is also famous for his images of movement using long shutter speeds. He photographed water throughout his career, fascinated by its ability to reflect light and its dynamic movement. He crops the subject to increase the sense of abstraction.
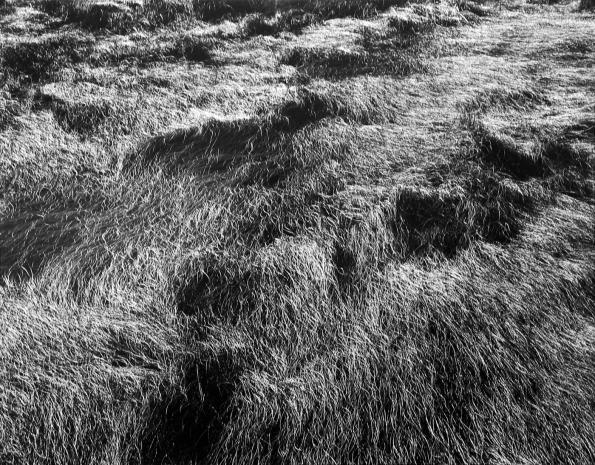
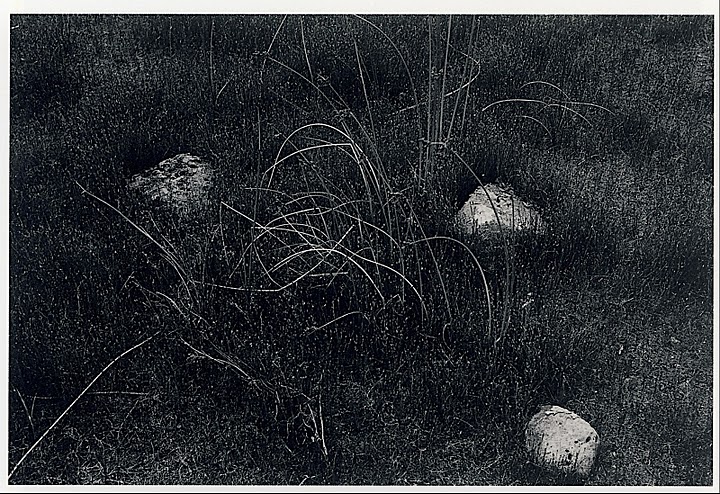
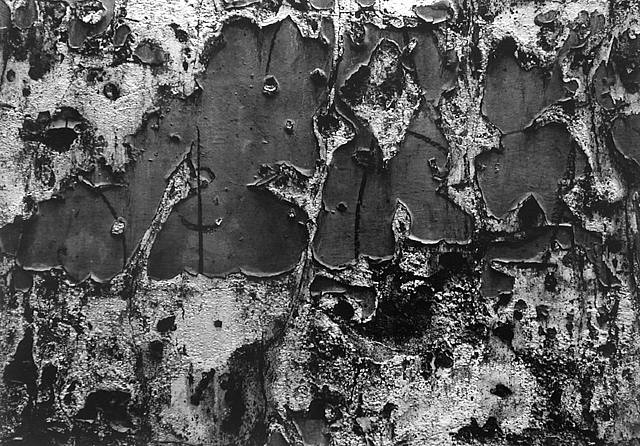
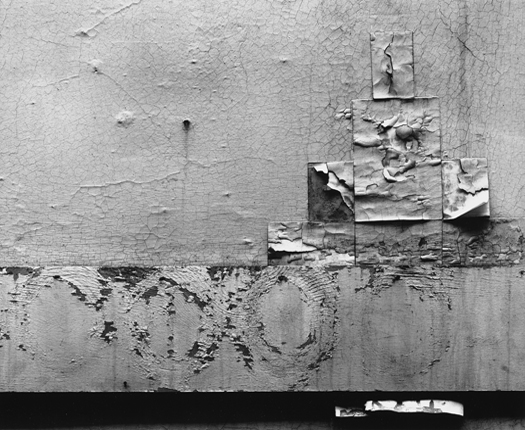
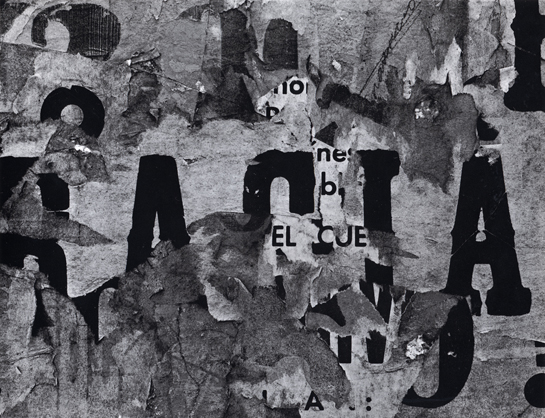
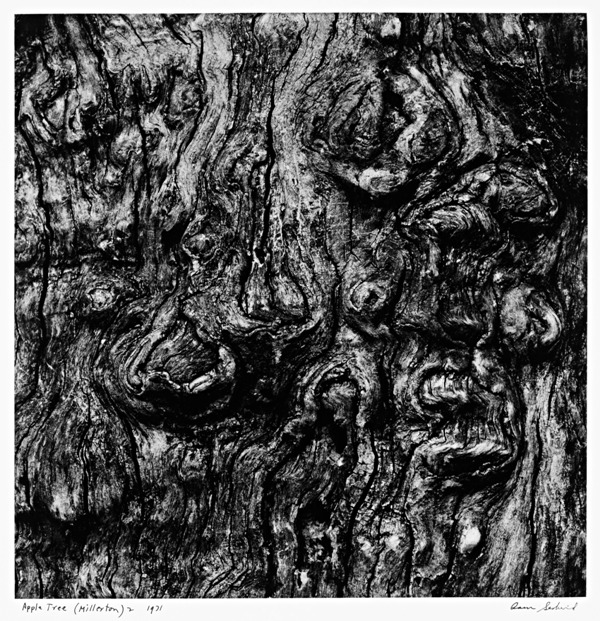
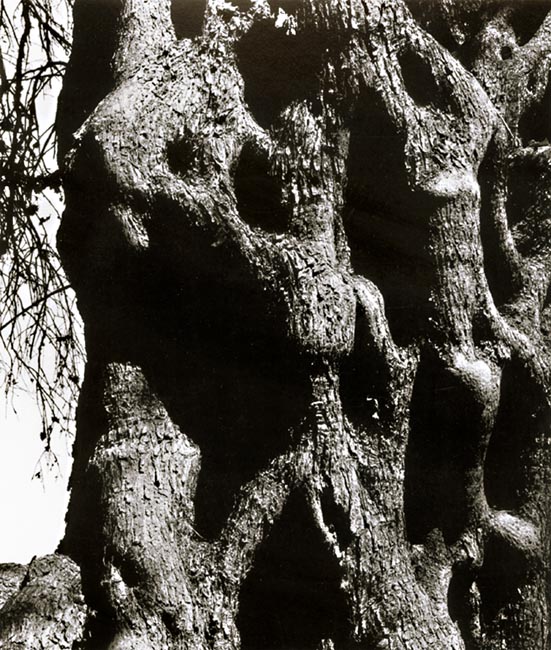
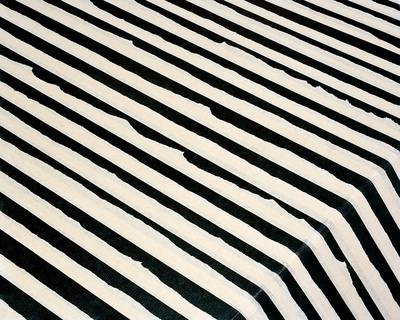
Siskind was interested in surfaces and textures, both from the natural world but also the urban environment. He gets in close to his subjects and fills the frame with detail. There is always a strong sense of design and all over interest for the viewer.
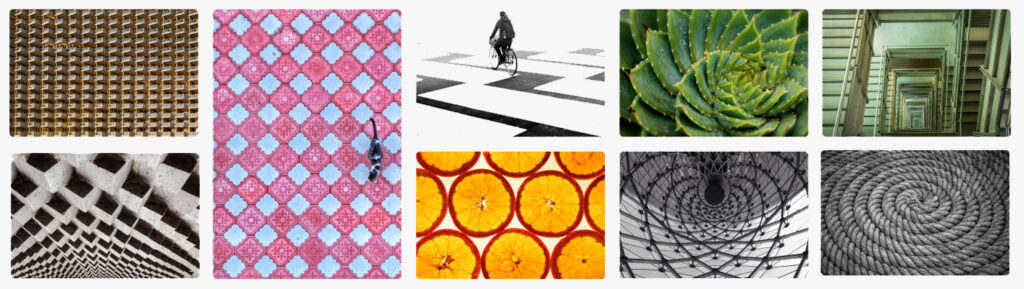
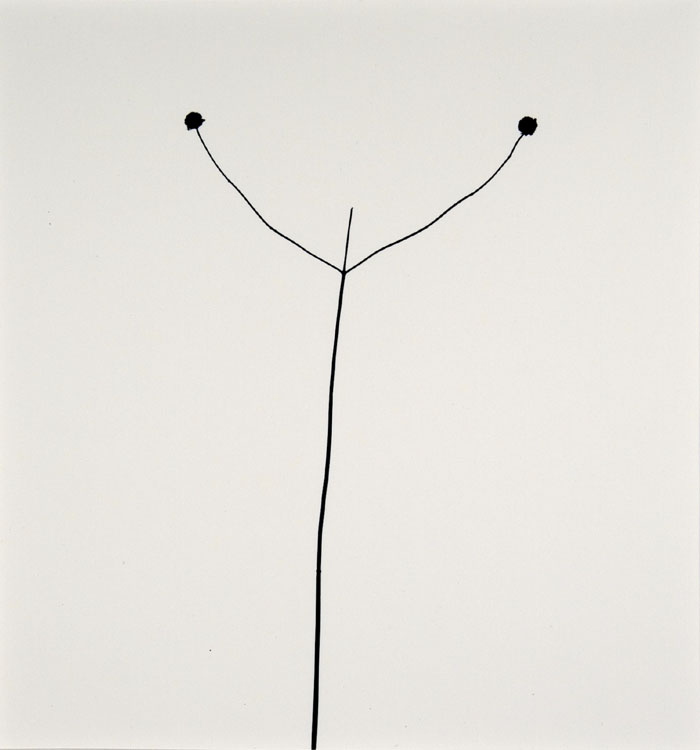
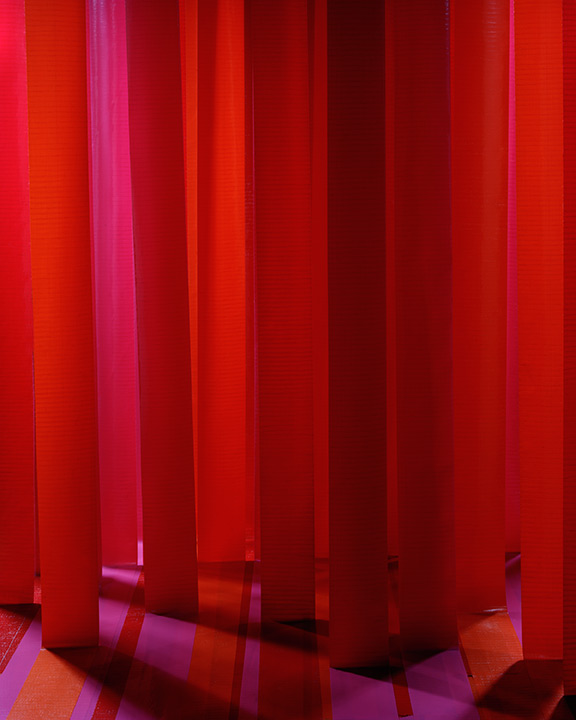
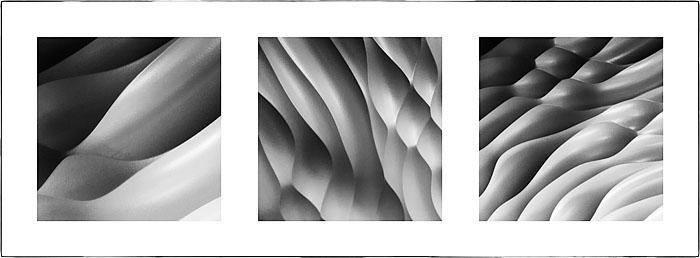
These images explore the idea of repetition, rhythm, line, shape, texture and pattern. They are all created with everyday objects which are transformed through careful arrangement and photography. The edge to edge compositions help concentrate our eyes on the formal properties of the objects. Contrast is important. Sometimes we need to consult the title before we’re sure about exactly what we are looking at.
2. Take your Photos linking to the formal elements.
Below are just a few examples of things you can photography for each formal element… but the options are endless!
Line –
Leading lines / roads / train tracks / perspective
Railings
Stairways
Scaffolding
Boat Masts
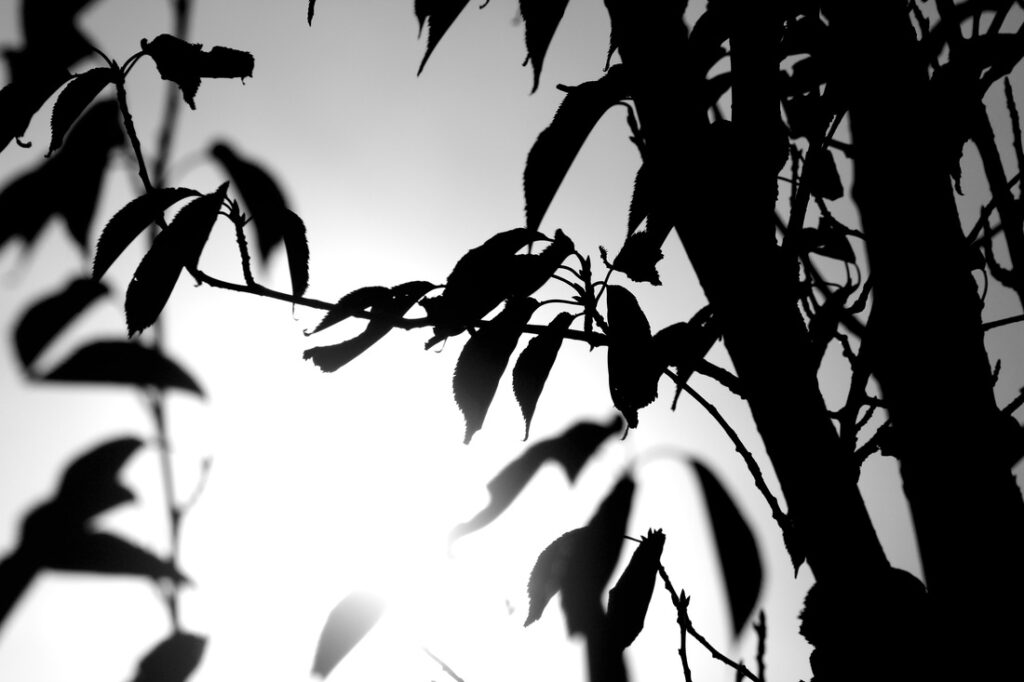
Tone:
Shadows / highlights
Silhouettes
Street photos with strong / low sunlight
Any photo that has both strong highlights and shadows will usually show a strong depth of tone. Editing in black and which and increasing contrast can also enhance this effect.
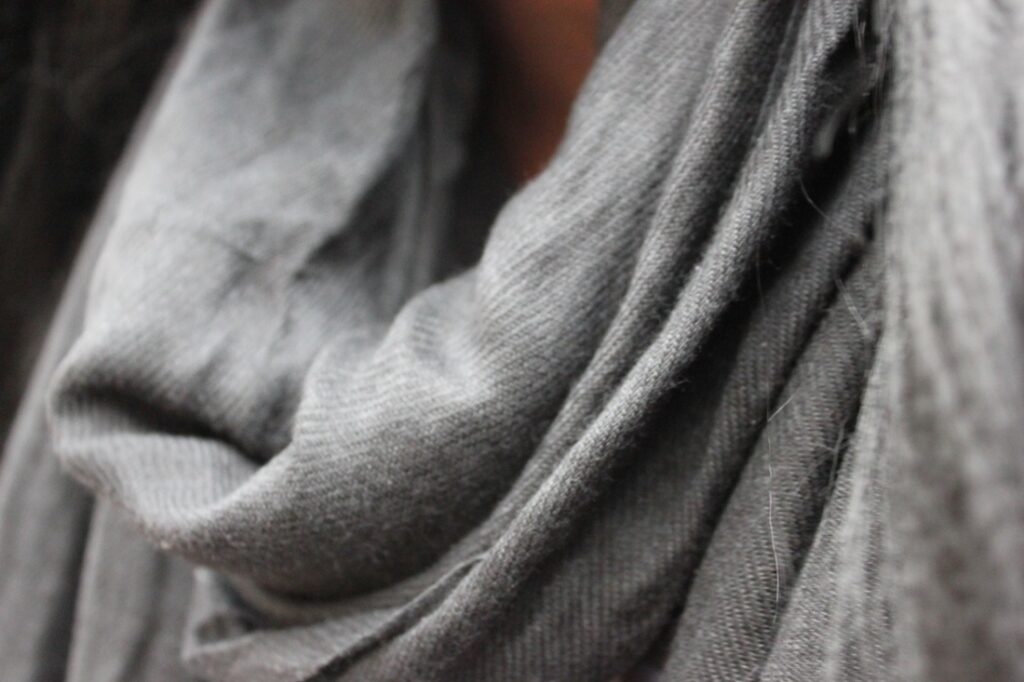
Texture:
Fabric
Rope
Sand
Gravel
Silk
Rust
Errosion
Shape – (pretty much anything)
Pebbles (organic)
Ripples in water (organic)
Petals and leaves (organic)
Architecture / constructions (usually geometric)
Man made objects – building bricks – kids toys (usually geometric)