Environmental Portraits

Photoshoot:

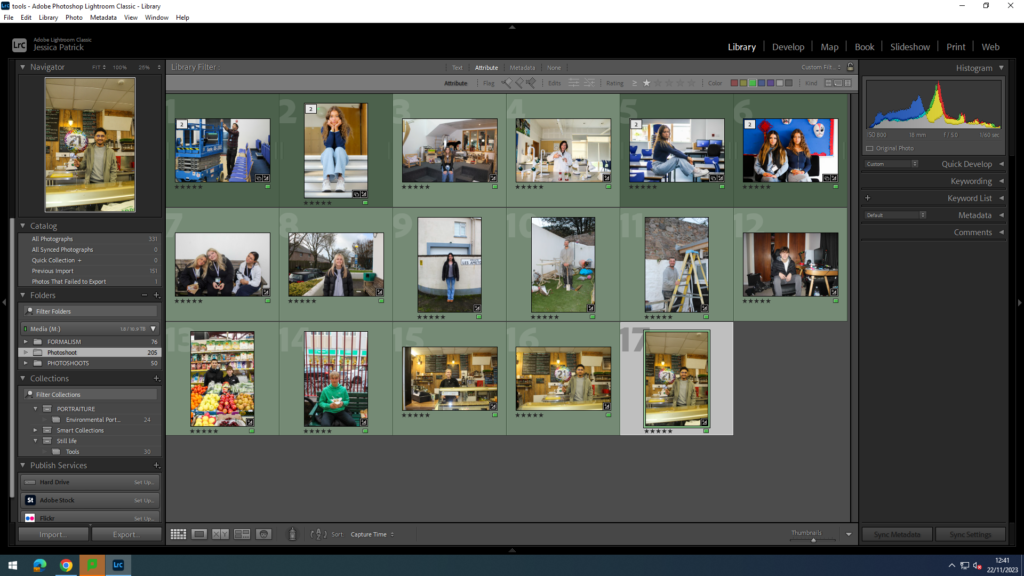
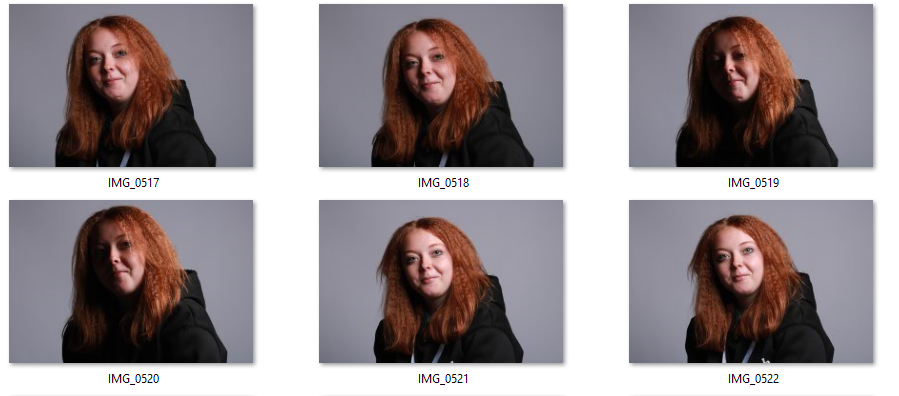
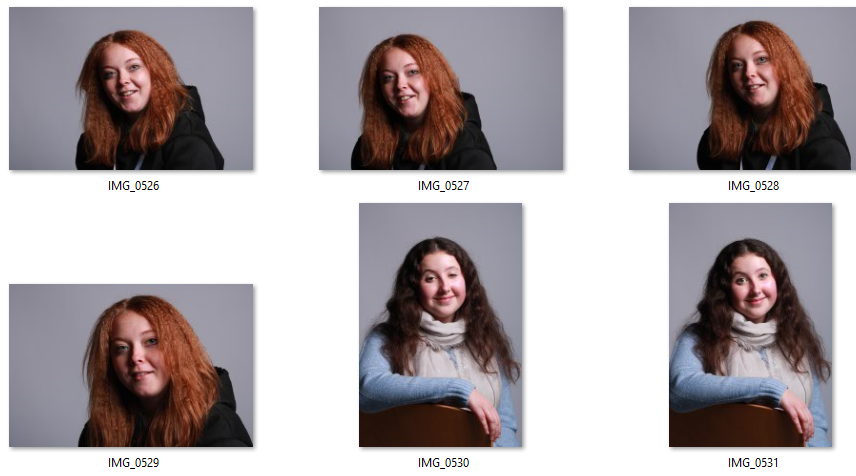
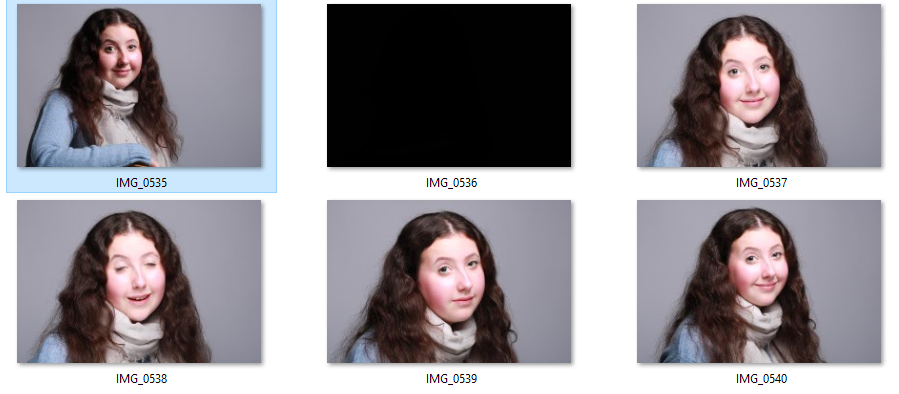
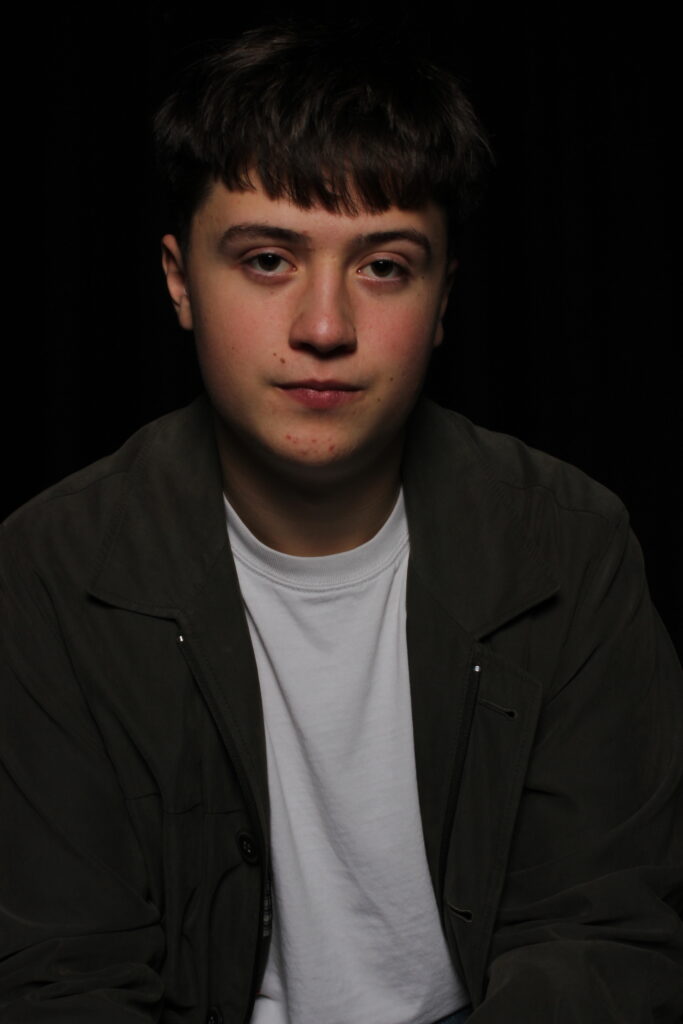
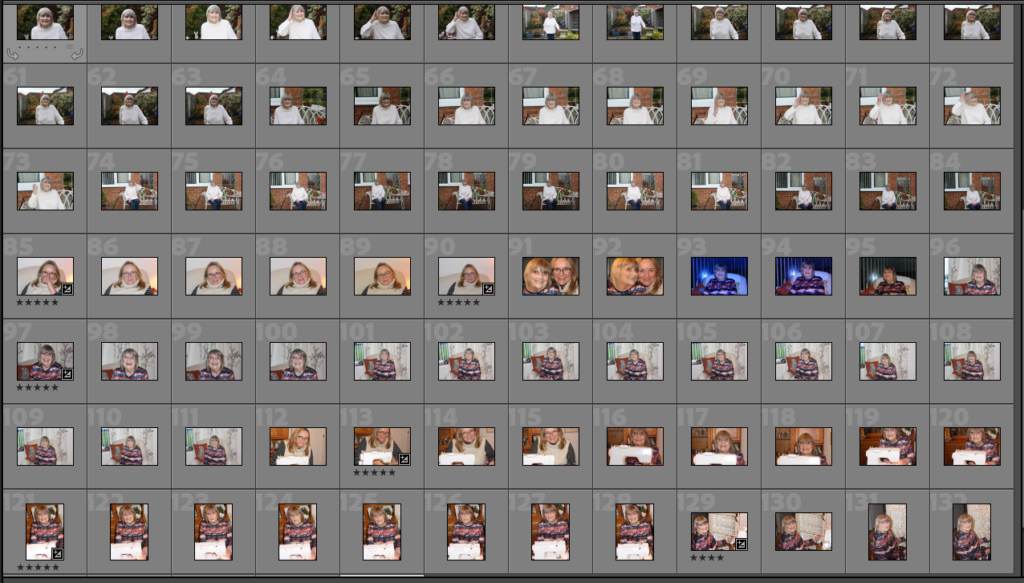
These are all the photos I have chosen to edit, because they are my best photographs of environmental portraits. These are my best photos, because they have the most interesting environments and have the best composition. These are also my clearest and least blurry photographs, as the camera was focussed when taking them.

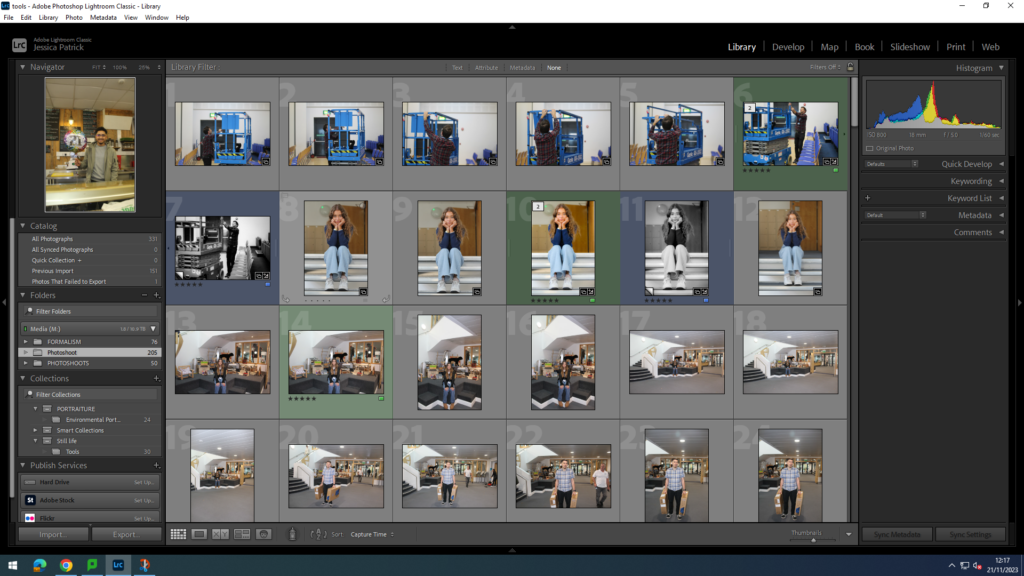
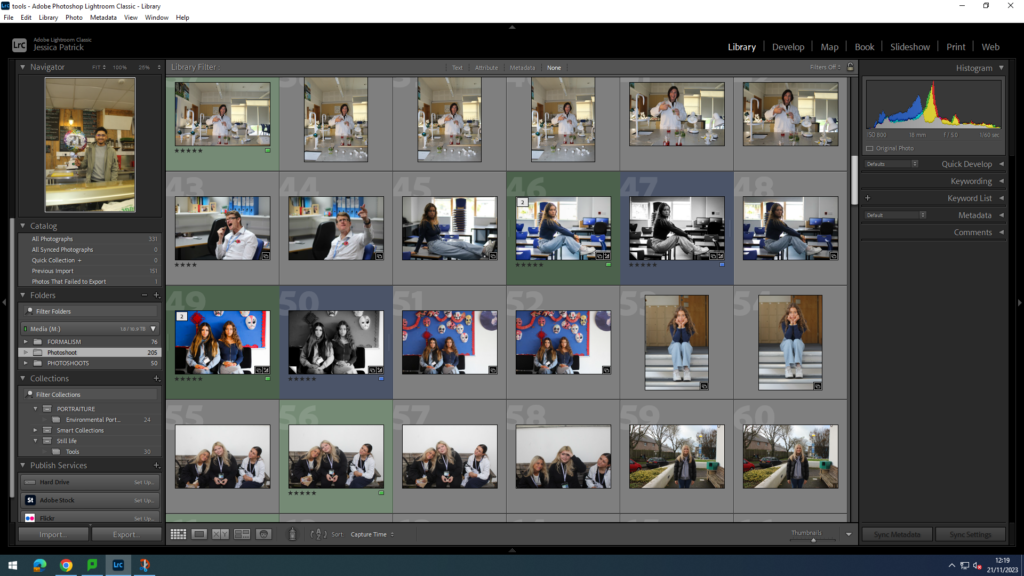
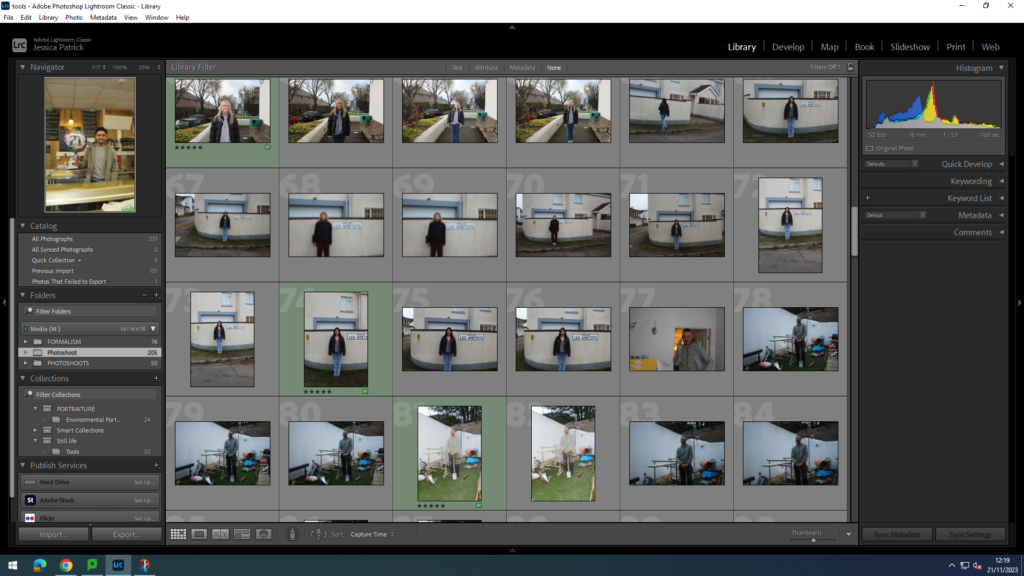
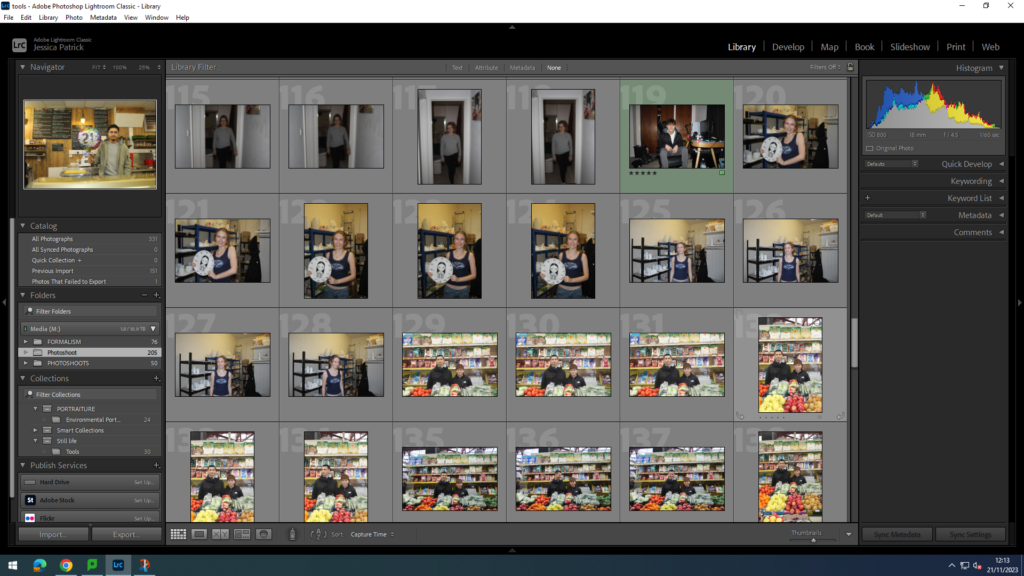
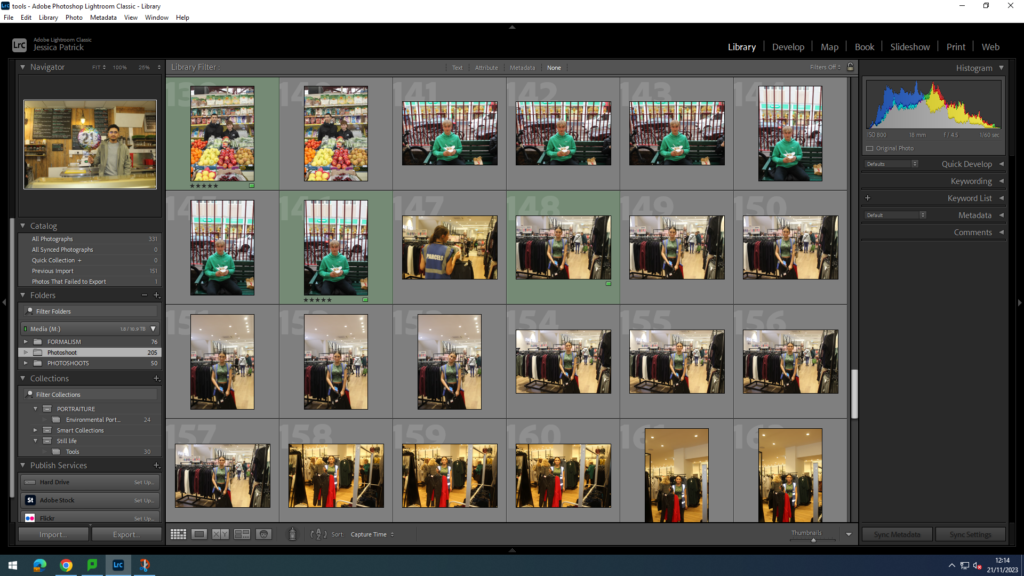
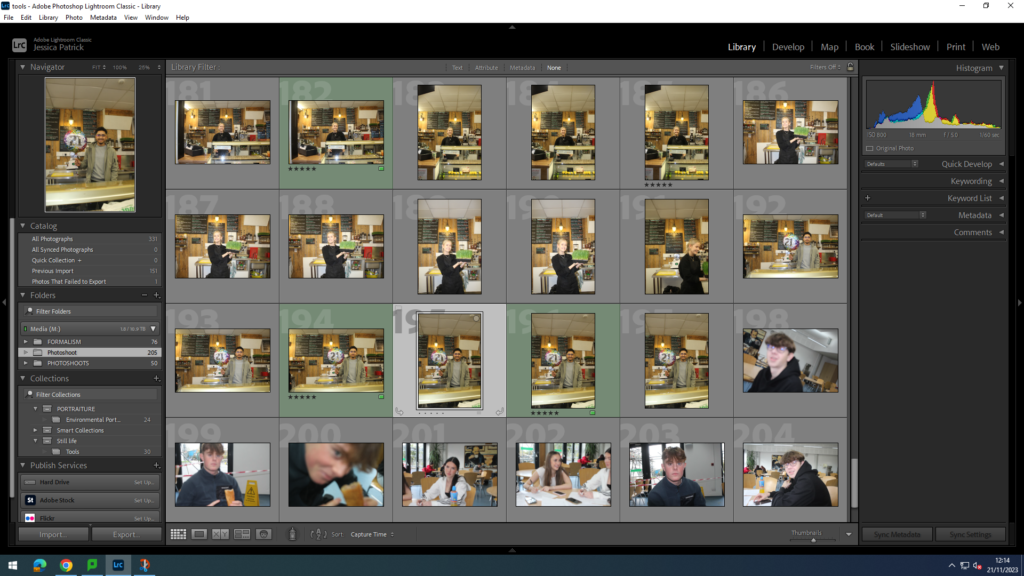
These are all the photographs I have taken for environmental portraits and the photos highlighted green are my best photos, which have been edited.

Edits

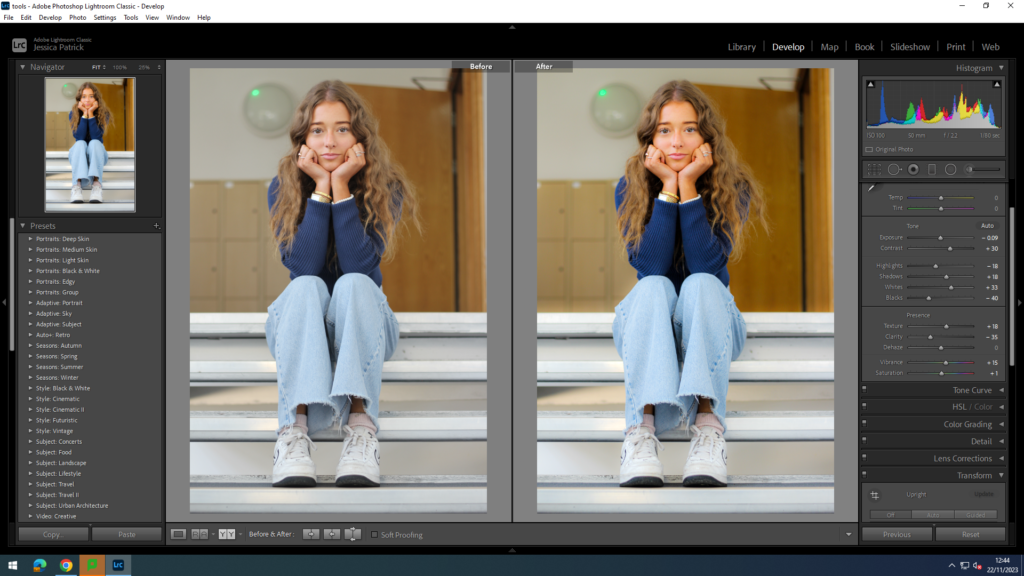
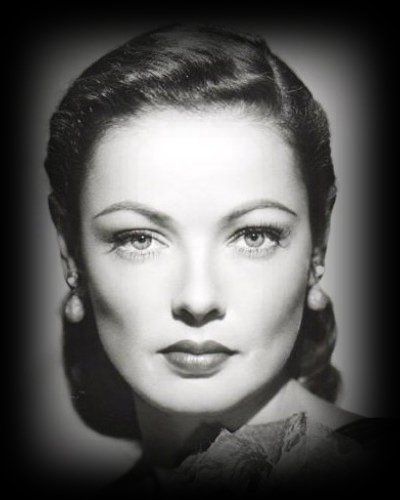
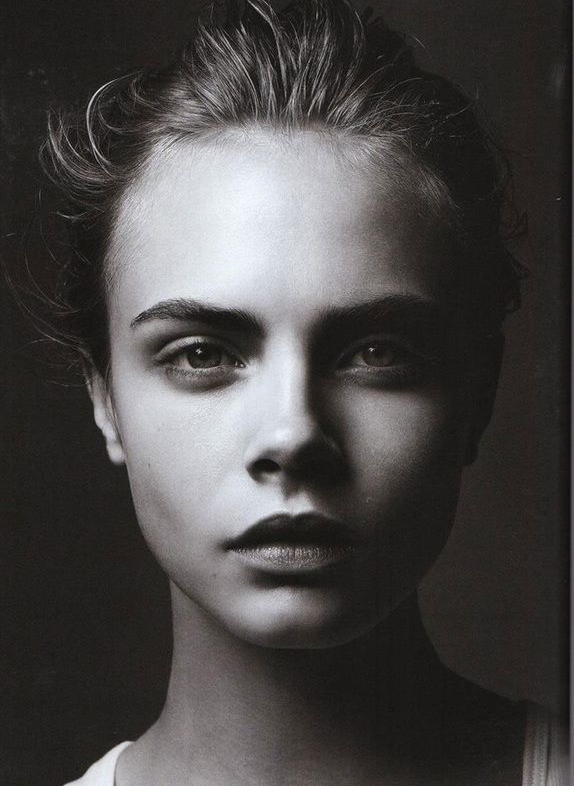
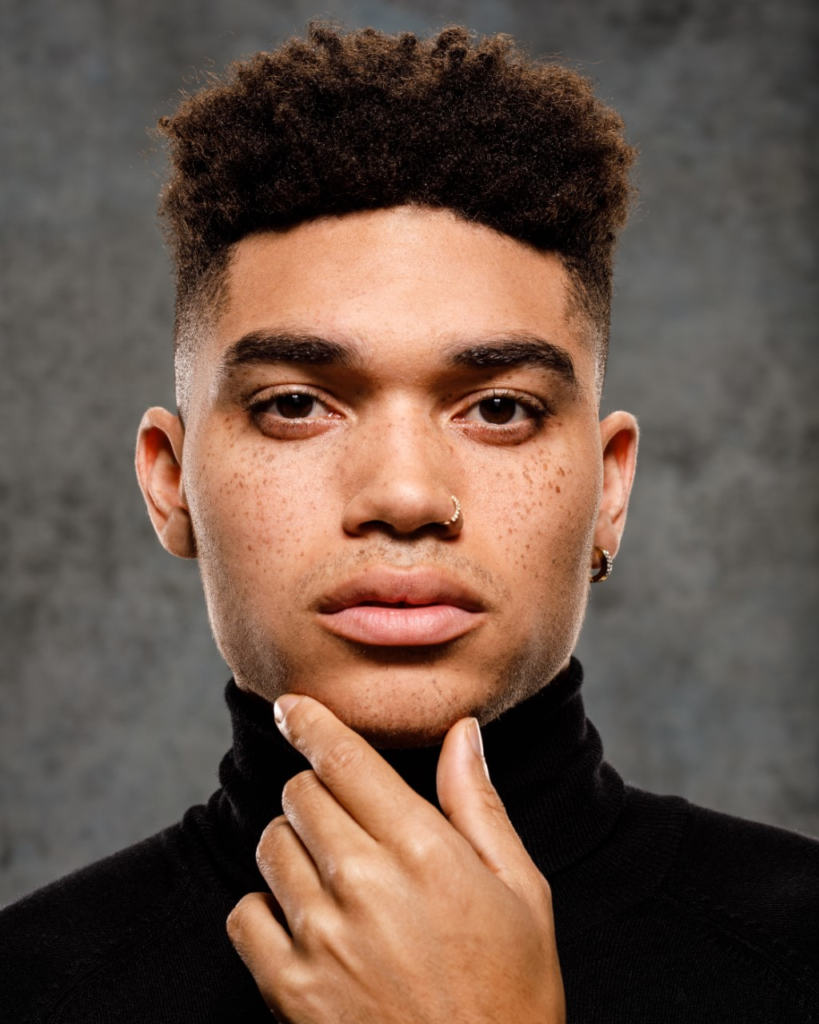
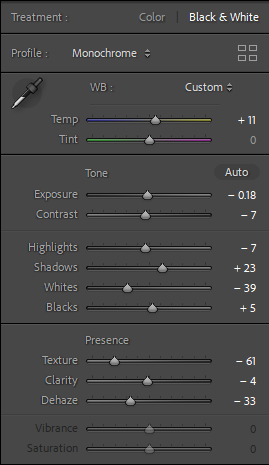
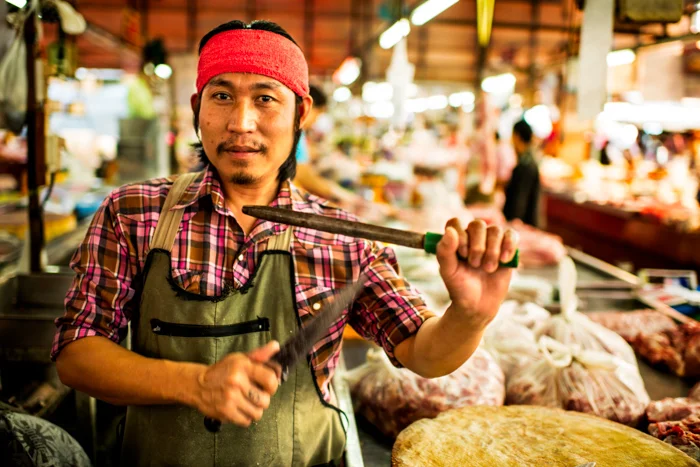
I edited this photo to make it more vibrant and to make the individual stand out more and be the main viewpoint of the photograph, by blurring the background. I edited this photo by increasing the contrast, shadows, whites and vibrancy, while decreasing the exposure, highlights, blacks, clarity and dehaze.

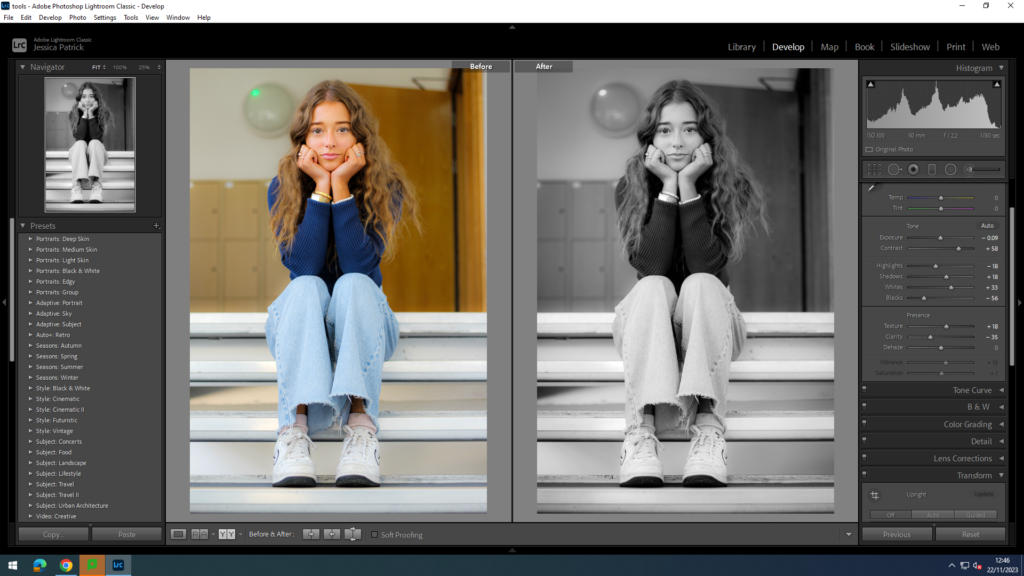
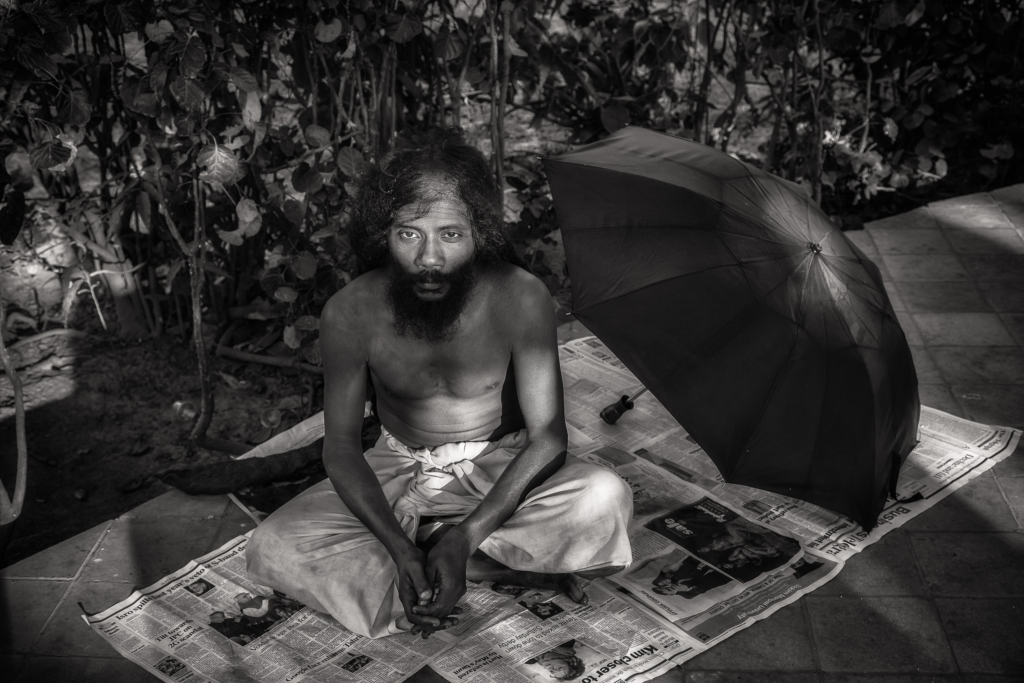
I also created a black and white version of this photograph, so it had more contrast and black and white tones.

I chose to edit this photo, because it has the best composition and the individual is using her hands to pose, which adds an element of her character into the photograph.

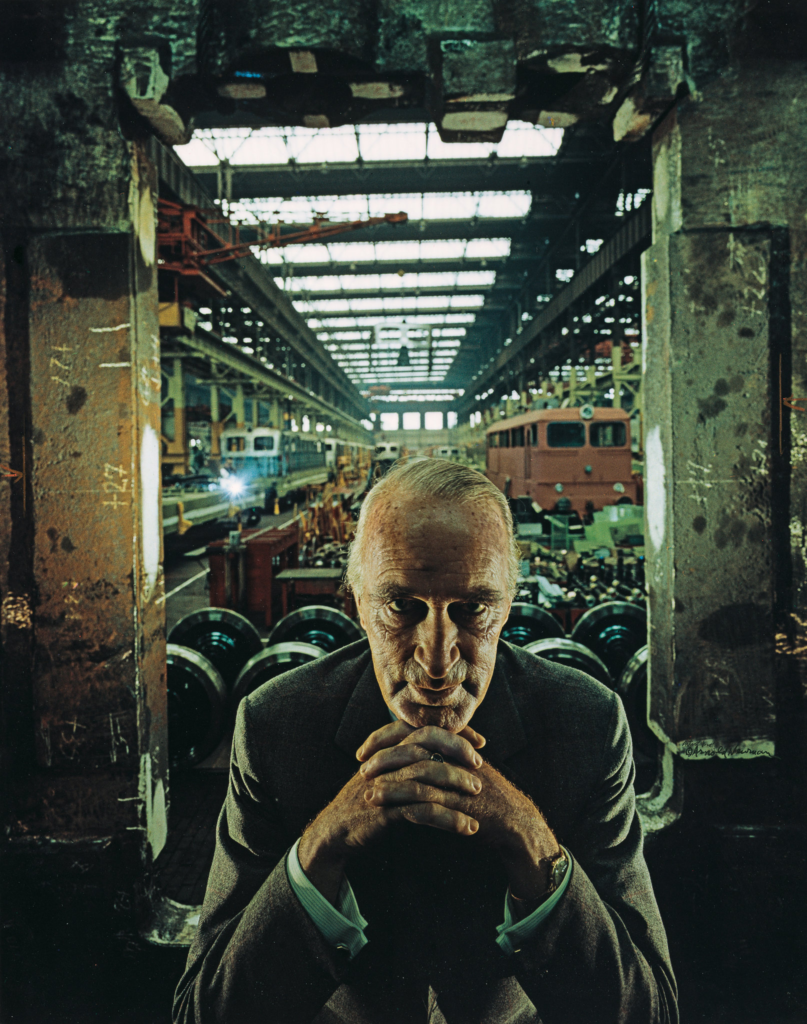
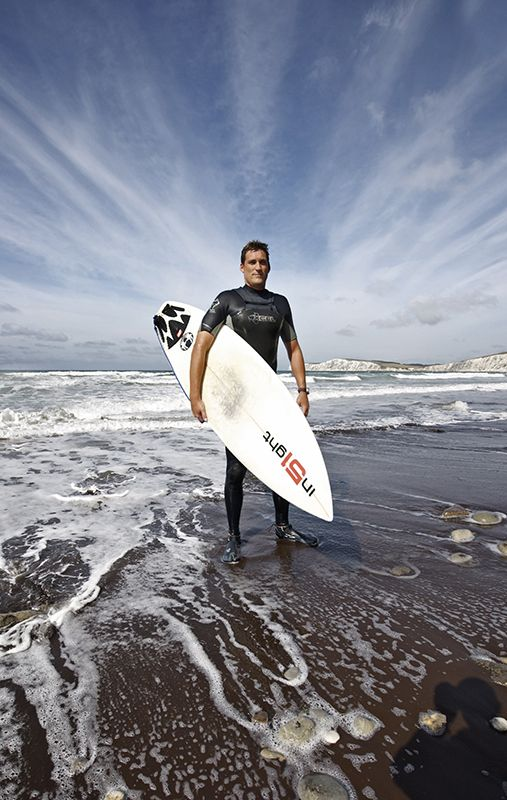
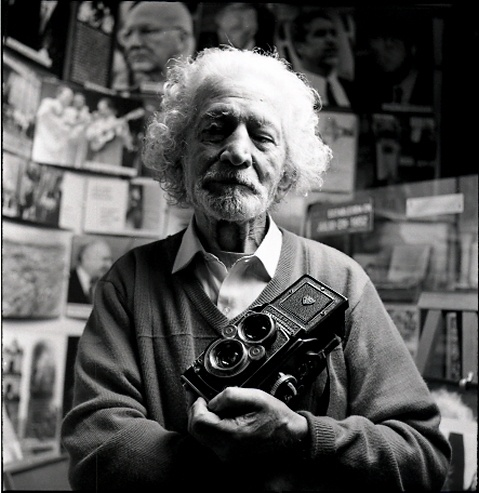
I edited this photo to make it more vibrant, so it attracts the viewers eye and makes the environment for this environmental portrait more interesting. I did this by increasing the contrast, shadows, texture, clarity and vibrancy, while also decreasing the blacks and the dehaze.

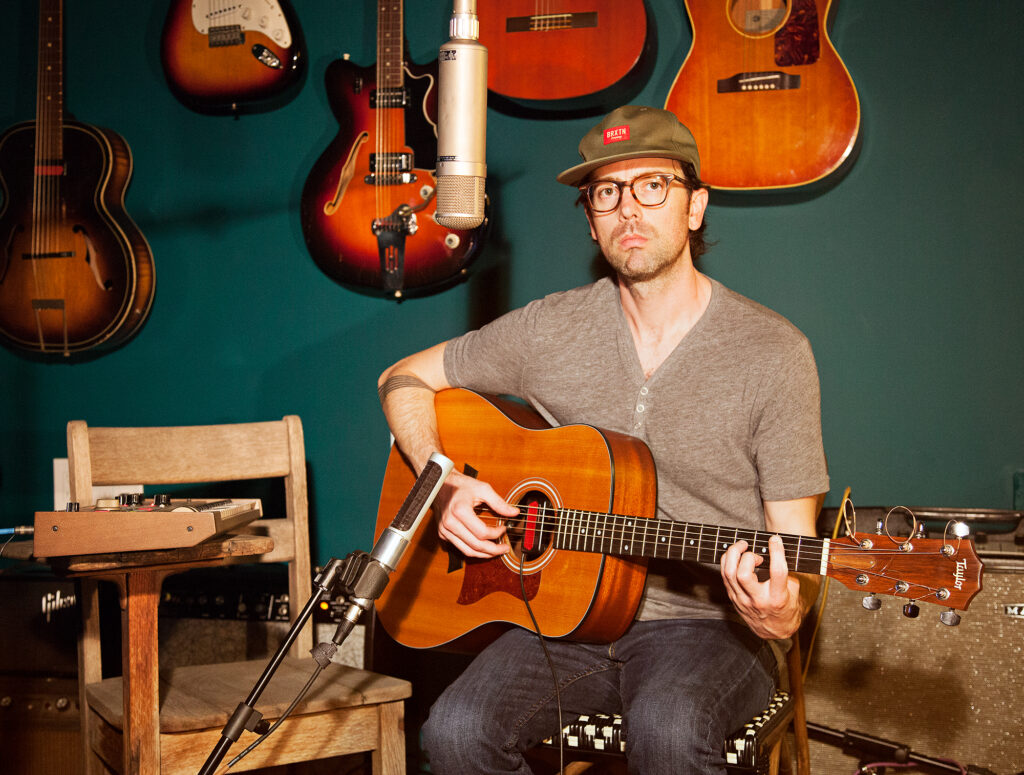
I chose this photograph, because it has an interesting environment, which we can learn a lot about the individual through.

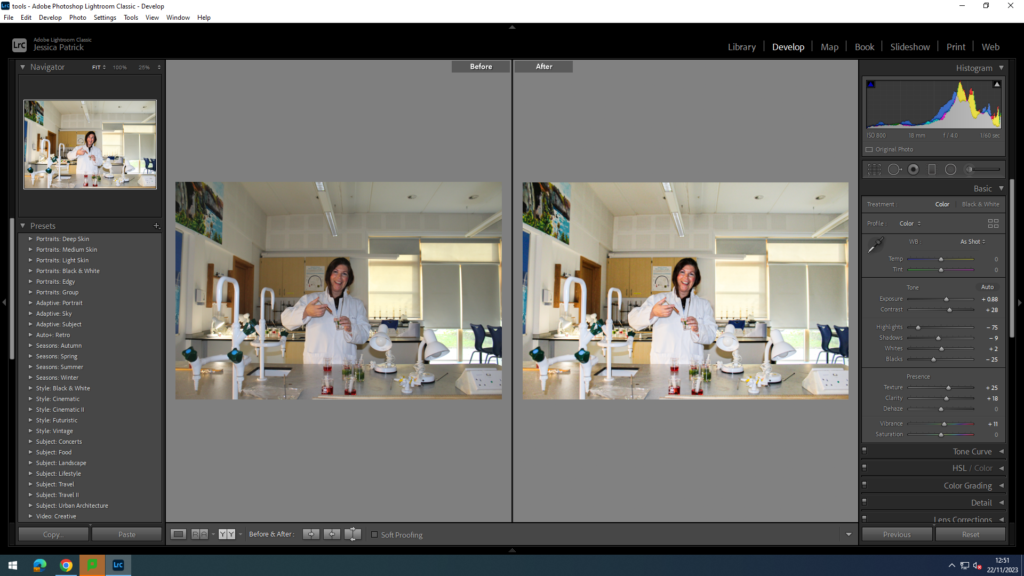
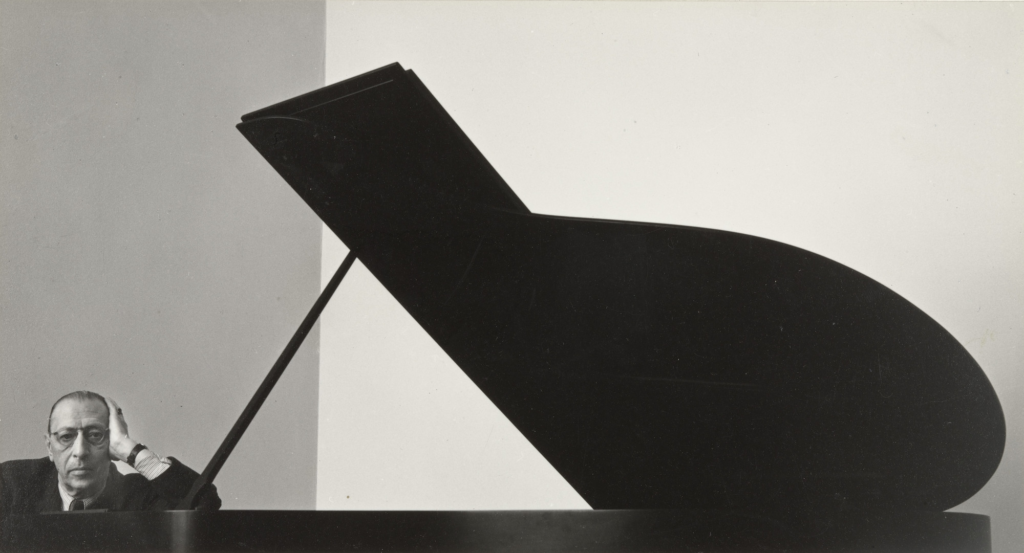
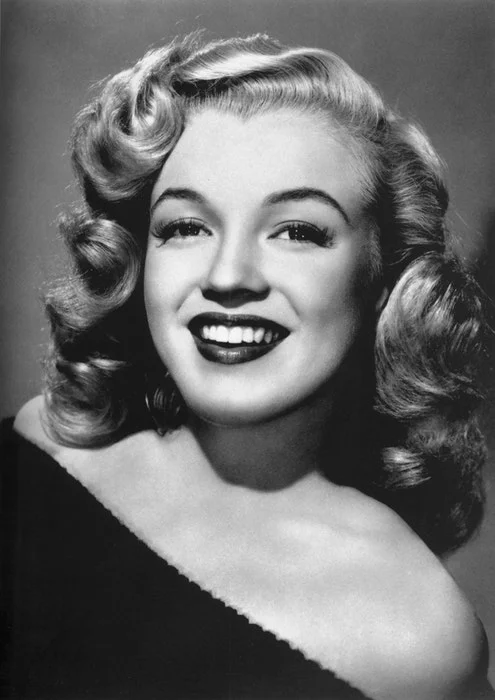
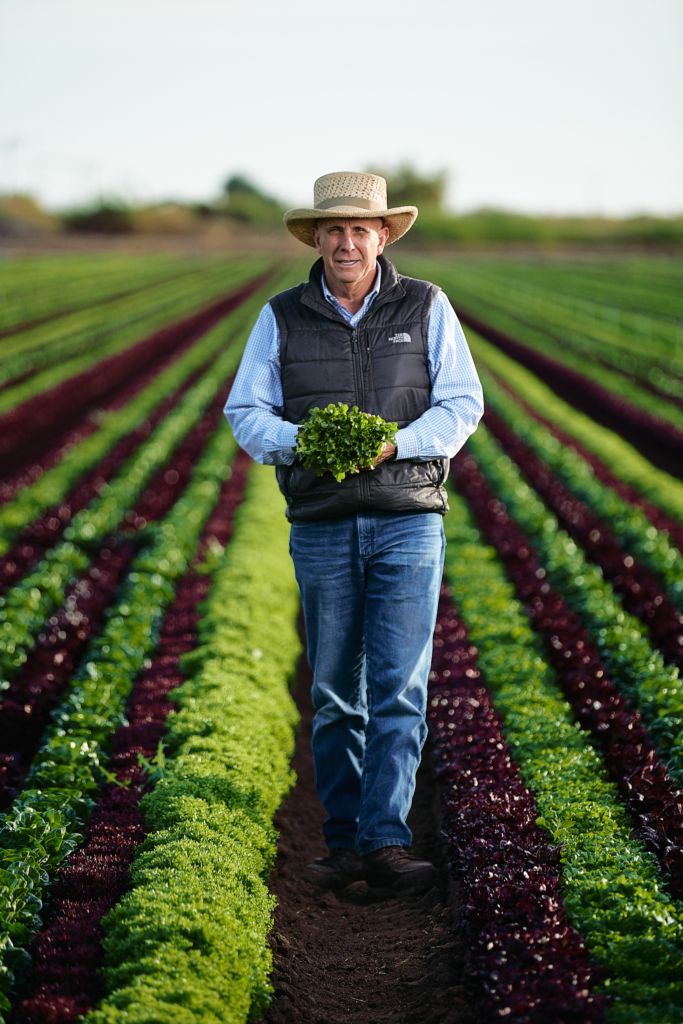
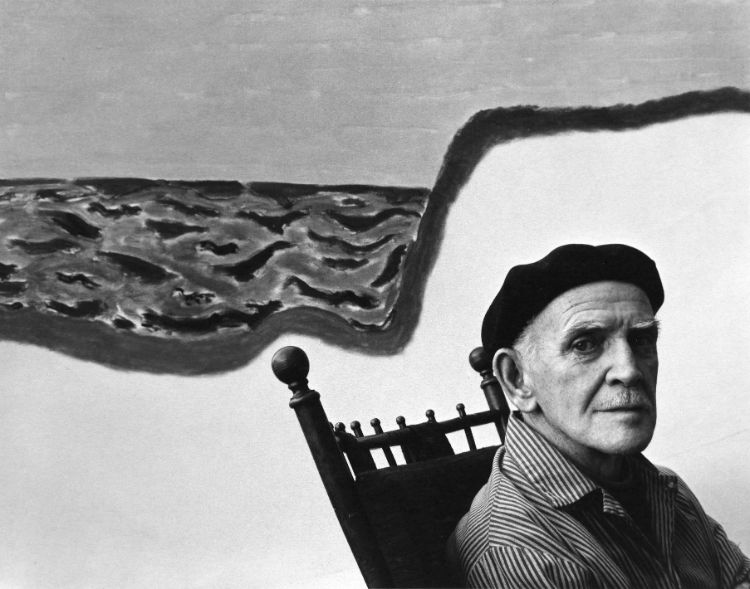
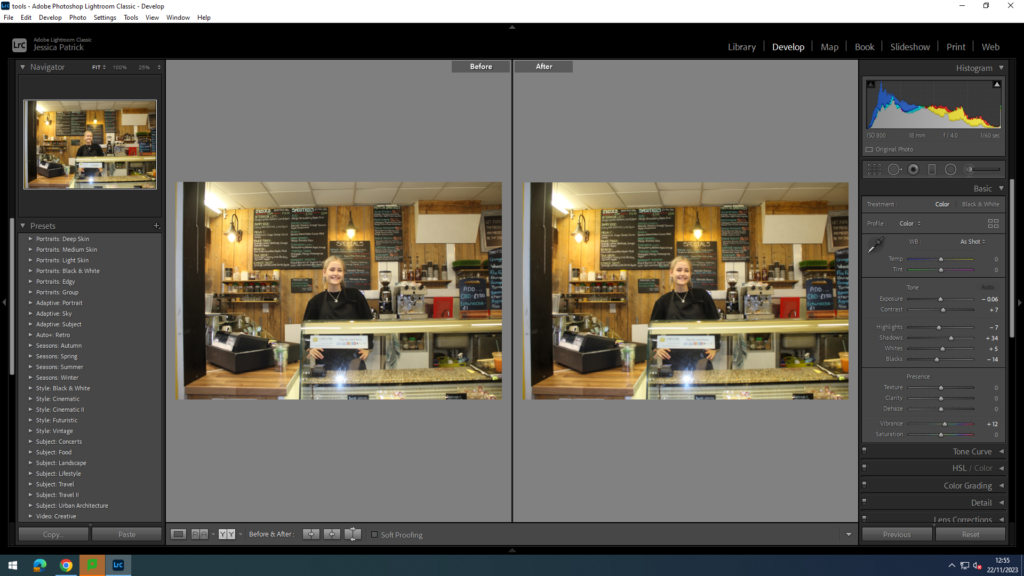
I edited this photograph, to make it brighter and more vibrant, by increasing the contrast, texture, clarity and vibrancy, while decreasing the highlights, shadows, whites and blacks.

I chose to edit this photo, because it has an interesting environment, which we can learn a lot about the individual through. We can also perceive from her pose and smile that this is her natural environment as she feels comfortable in it and is also happy in this environment.

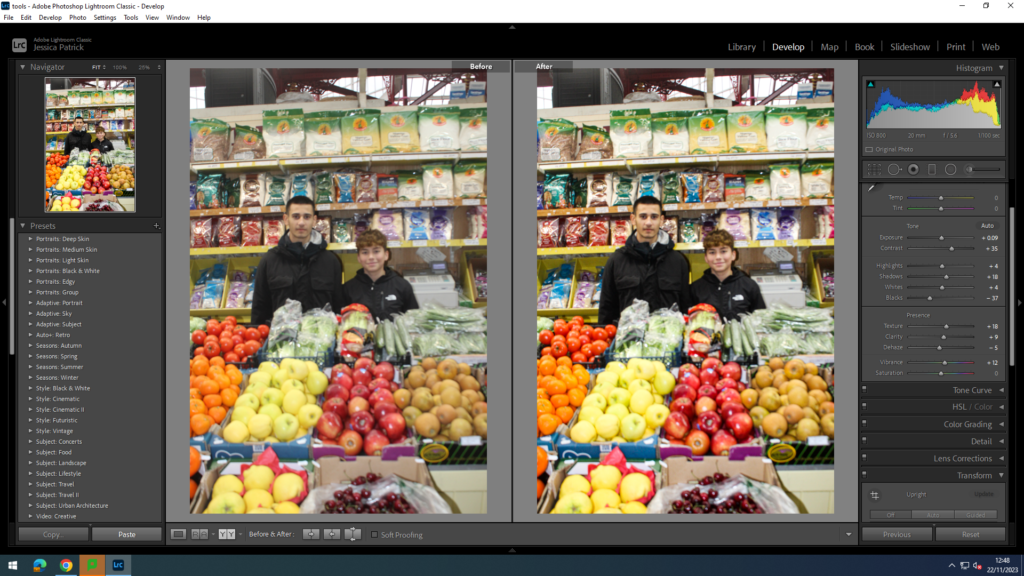
I edited this photo to make it brighter and more vibrant, by increasing the exposure, contrast, highlights, texture and vibrancy, while decreasing the shadows, whites, blacks and clarity.

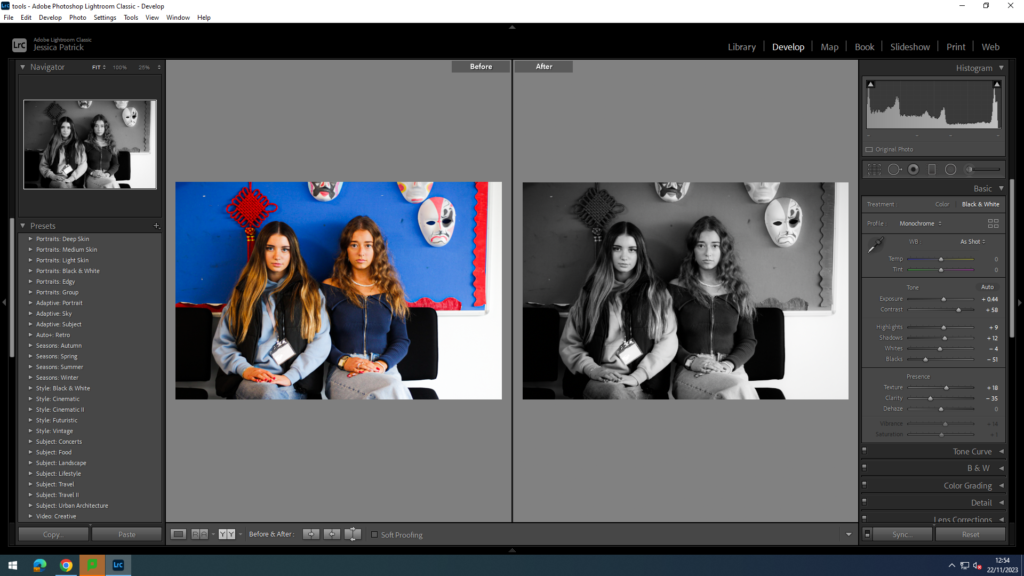
I also edited a black and white version of this, so that the two individuals would be the main viewpoint and focus of this photograph.

I chose to edit this photo, because I was experimenting with having more than one person in my environmental portraits. I also chose this photo, because the two individual used their hands to pose, with them on their laps, which presents to the viewer about their personality.

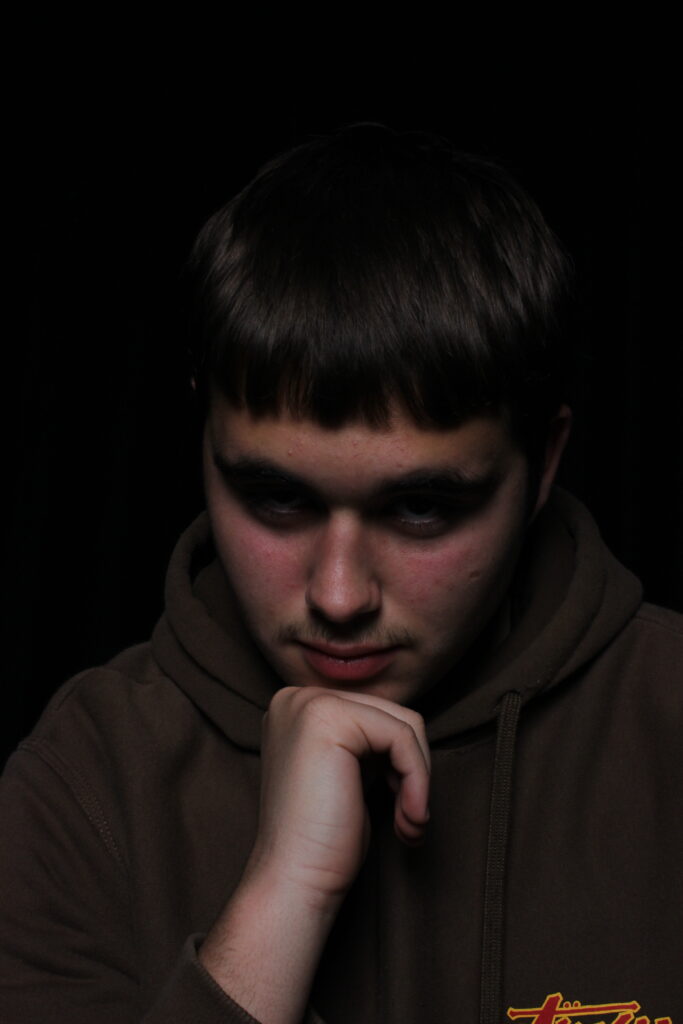
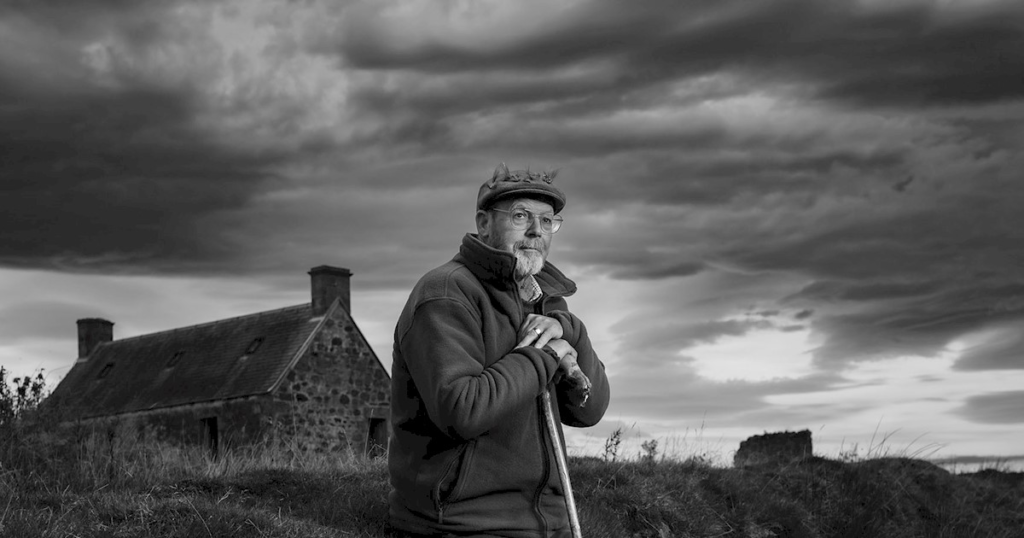
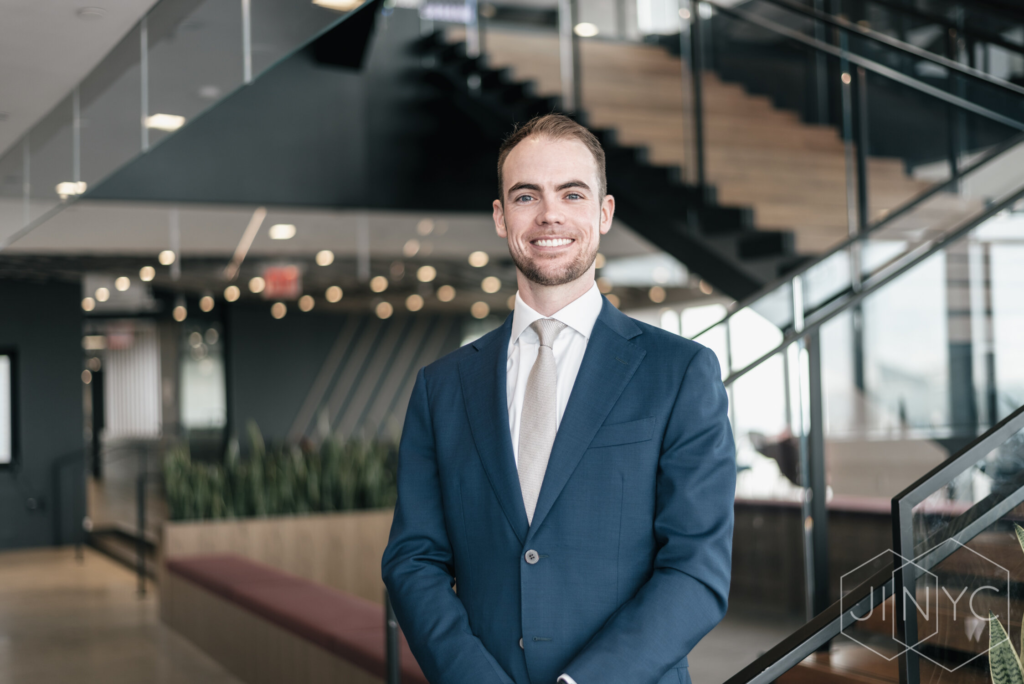
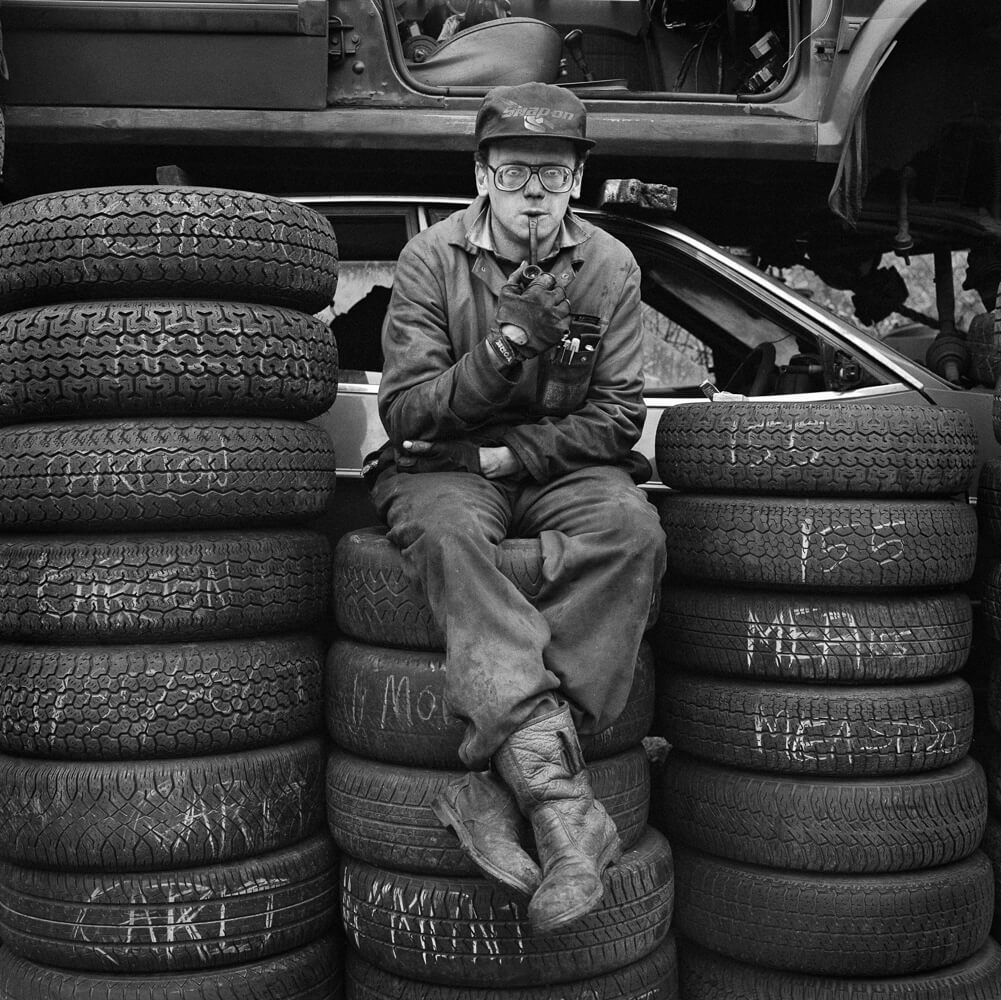
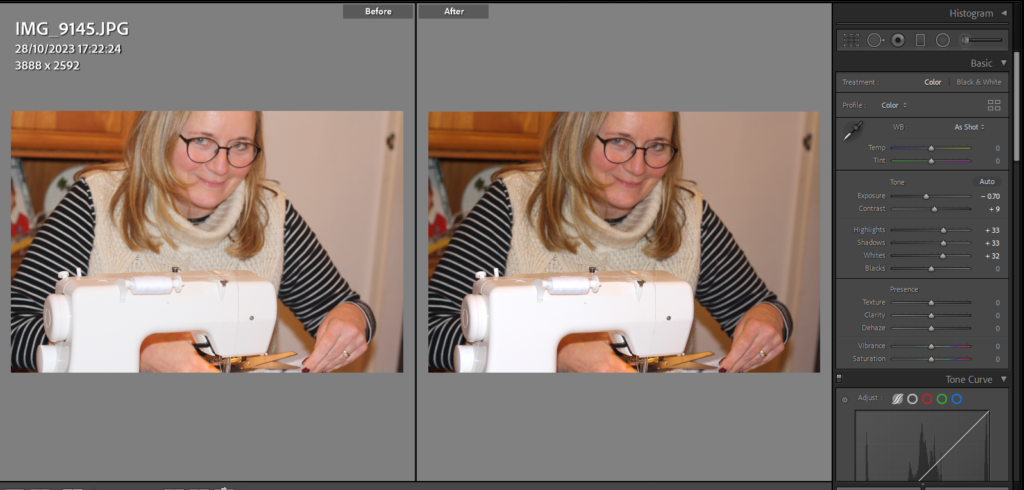
I edited this photo to give it a more warm lighting, so the photograph was more clear and in focus. I did this by increasing the contrast, shadows, whites and vibrancy, while also decreasing the exposure, highlights and blacks.

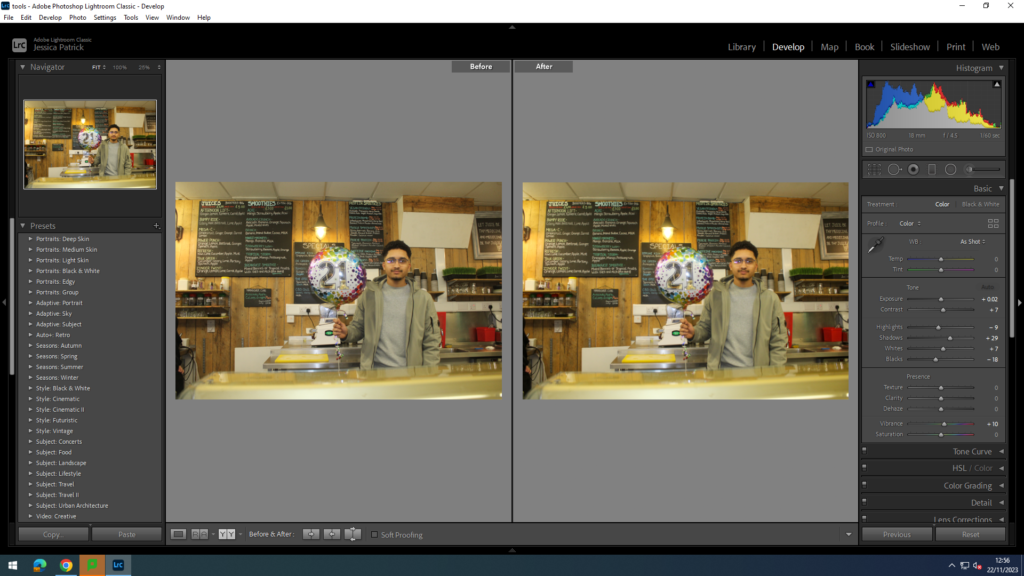
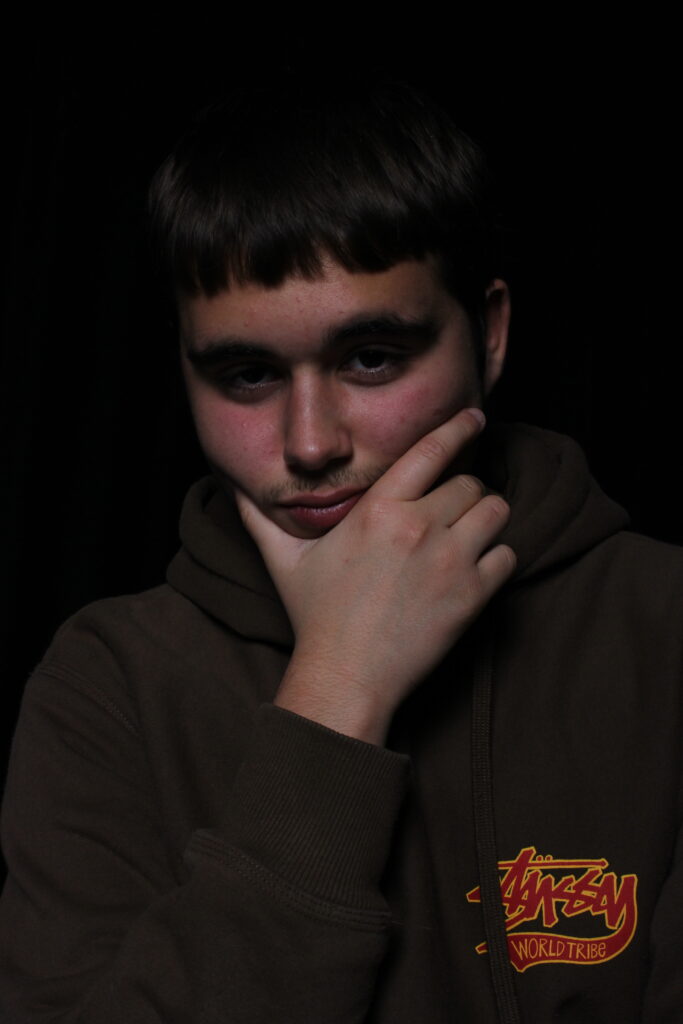
I edited this photo to also give it warmer lighting, so the photo and the individual were more clear. I did this by increasing the exposure, contrast, shadows, whites and vibrancy, while decreasing the highlights and blacks.

I chose both of these last two photographs to edit, because they had good composition and had an interesting environment. I also chose this last photo, because of the use of the prop, which shows that this individual is in this environment that much, that he even comes here on his birthday.

Conclusion

In conclusion, I think this photoshoot went well, as I experimented with taking environmental portraits of one person, or with more than one person. I also experimented with different poses using the individuals hands and I experimented with props. I also experimented with editing black and white pictures.

Butterfly lighting

BUTTERFLY LIGHTING

Butterfly lighting is another technique of lighting in portraiture. It gains its name from the dark shadows surrounding the cheekbones on the face alongside the butterfly-shaped shadow underneath the nose.  You may also hear it called ‘paramount lighting’ or ‘glamour lighting’ as this can be seen to be used within cinema or fashion magazines for example. This type of lighting is extremely flattering to the face, from the shadows underneath the cheekbones making the apples of the cheeks highlight and stand out more, which explains why it is used in these instances.

Used especially to photograph Hollywood classics, this technique can make the eyes look larger and the subject look slimmer.

The butterfly lighting was first used by Josef von Sternberg in the 1930s. He was a Hollywood director who is most known for his work with Marlene Dietrich. Sternberg used butterfly lighting to create a sense of mystery and allure around Dietrich’s character. This kick started butterfly lighting’s use in portraiture.

THE SET UP

Butterfly lighting requires a key light that can be a flash unit or continuous. If continuous, it can be artificial or natural. In other words, you can use strobes, speed lights, LEDs or even the sun so it is a very flexible form of lighting. As long as the light is coming from behind the photographer, above the subjects head then it will produce these results. The subject must be towards the light to capture this effect.

This technique can produce hard or soft light depending on how you want your results. To create soft light, you can use modifiers such as a beauty dish. This distributes the light evenly across the face and smooths the skin alongside any imperfections. Alternatives to this is a soft box or an umbrella. However, if you wish to create hard light you can either leave the light source as it is or even use grid spots to direct it to create different effects to make it even more creative.

Once you have decided what you are aiming for, you can use reflectors in order to bounce the light back up and soften the shadows under the chin/nose so they aren’t extremely harsh. By placing the reflector of your choice under the subjects face, you can identify whether the shadows are still too strong and move it closer, or further away if they are too weak and experiment with it.

The colour of the reflector will achieve different effects as it can change the tone of the subject’s face. For example, a white one will create a neutral tone whilst the gold one will give a warming overcast.

Rembrandt lighting

There are three main types of lighting: Rembrandt, Butterfly and Chiaruscuro. They each include different forms of direction, intensity and temperature of lighting which alters the size and shape onto the subject. Also, different toned reflectors can be used to change the temperature or direction of the light.

REMBRANDT LIGHTING

Rembrandt lighting is typically used in portrait photography and gained it’s name from Rembrandt Harmenszoon van Rijn, the great Dutch painter.

It consists of using one light and one reflector (or two lights), instantly creating shadows and contrast. This specific technique creates a triangular shape under the subjects eye which increases the emphasis of drama to the viewer. This draws them in because the eyes are the main focal point in portraiture and something that can take on many forms and show emotion.

This makes a more appealing image as it has a creative side to it – it isn’t just general light on the face and exposes the features of the face more.

The set up used.

Creating a Rembrandt lighting set up:

The lighting depends on its position to the subject. In this case, it must be 40 to 45-degree angle and higher than the subject. Flashlights and continuous lights are the correct ones to use.

Depending on how much of your subject you are aiming to shoot, you should use a 35mm or 50mm if you’re looking at including more of the subject than just the head and shoulders. However, 50mm will give a nice depth of field.

Arnold Newman

Arnold Newman was born March 3, 1918 in New York City. He studied art under a scholarship at the University of Miami, from 1936 to 1938. He died in New York City on June 6, 2006. Newman was generally acknowledged as the pioneer of the environmental portrait, he is also known for his still life and abstract photography, and he is considered as one of the most influential photographers of the 20th Century.

Newman began his career in photography in 1938 working at chain portrait studios in Philadelphia, and immediately began working in abstract and documentary photography on his own. Newman is often credited with being the first photographer to use so-called environmental portraiture, in which the photographer places the subject in a carefully controlled setting to capture the essence of the individual’s life and work.

Newman is often known well by being the photographer who articulated and who consistently employed the genre of environmental portraiture; a well known example being his portrait of Igor.

Arnold Newman, Igor Stravinsky 1946

Newman normally captured his subjects in their most familiar surroundings with representative visual elements showing their professions and personalities. Newman’s best-known images were in black and white, although he often photographed in colour. His 1946 black and white portrait of Igor Stravinsky seated at a grand piano became his signature image. It shows the reality of what Igor Stravinsky does. The image is simple but shows depth and feeling towards his interests. The most important parts to this image is him, and his piano. His facial expression is serious, which could suggest how seriously he takes playing the piano. The way the piano is much bigger than him, and the fact the lid of the piano looks like a music note, may suggest how much music plays a big part in his life. Black and white represents death and life.

This picture is also in black and white. The image is focused on his face with a blurred background making his facial expressions stand out. The use of shadows could represent hidden meaning. The contrast from shadow to light show the dark and light side of human life.

Studio Lighting: Butterfly Lighting – George Blake

What is Butterfly lighting?

Butterfly lighting is a form of lighting technique used mainly in a studio where artificial light can be used to create the effect. The lighting technique got its name from the butterfly-shaped shadow that appears under the nose when the light comes from above the camera.

Like Rembrandt, Butterfly lighting found its origins mainly in Hollywood. Additionally referred to as ‘Paramount lighting’ or ‘glamour lighting’, its earlier and still current use was on model stars, its purpose was to highlight the models beauty in detail. such as Audrey Hepburn modelling here, under this lighting technique:

Why use Butterfly lighting?

By having the light positioned above the camera onto the subject, this highlights the cheekbones which then creates shadows underneath the nose and neck, this makes the subject look thinner. Overall it good for taking flattering portraits and create a beautiful symmetry.

(The shadows on this model creates an eye-catching symmetry)

How to create Butterfly lighting:

Light

To create the Butterfly lighting effect, either natural or artificial light can be used, as well as either hard or soft light. If soft light is being used, modifiers such as a beauty dish is useful to help distribute the light evenly on the skin. In order to create an effective butterfly lighting effect, the subject must be facing the light.

(Examples of Soft light VS Hard light)

Lens

A 55mm is a good lens for a close up of the subjects facial features, For this lighting technique, its purpose is for a subjects face so this lens is best applied to this.

optional add-ons:

Additional experimentations can be made with the use of reflectors to soften shadows either on the chin or the face.

Examples of own work:

Objects – First Edits

I have tried to mimic the Walker Evans style by matching the monochrome theme and soft textures of the Polaroid SX-70 that he used by reducing the dehaze and texture.

I also wanted to lightly emphasise the shadow so I have increased the blacks over the whites.

Additionally, I have attempted to centre the subjects on a vertical axis to match Walker Evans positioning as well.

Walker Evans usually centres his subject as a line or a grid which I think I could have developed on.

Our ISO, shutter speed and aperture were too high for our lighting setup which resulted in some images being dim, grainy and way too under exposed.

We used a studio table top setup with 1 point continuous lighting.

In this image I have used the wider side of the object to create parallel lines that give the image some shape.

Standing the subject on its side gave the photo some depth because of the shadow cast by the single static light.

By crossing the cutlery it created an interesting shape.

Environmental Portraits

Environmental portraits are photographs used to capture a subject in their everyday workplace or home. It highlights the subjects surroundings and life style in a very direct way.

Environmental portraits can give the subject an ambiguous private identity but will give a simple notion towards the subjects work identity.

Mood Board

Arnold Newman

Arnold Newman makes use of shadows to create a 50/50 split of light and dark.

Some of his work is quite flat and bleak and the only dimension is the shadows on the people in the photograph.

In this image Arnold Newman creates an idea surrounding Agnes de Milles’ choreographing and dancing career by blurring people in the background which gives motion to the image.

Additionally, a lot of his environmental portraits use lines to add dimension and shapes to the photograph.

Just another Hautlieu Creative site