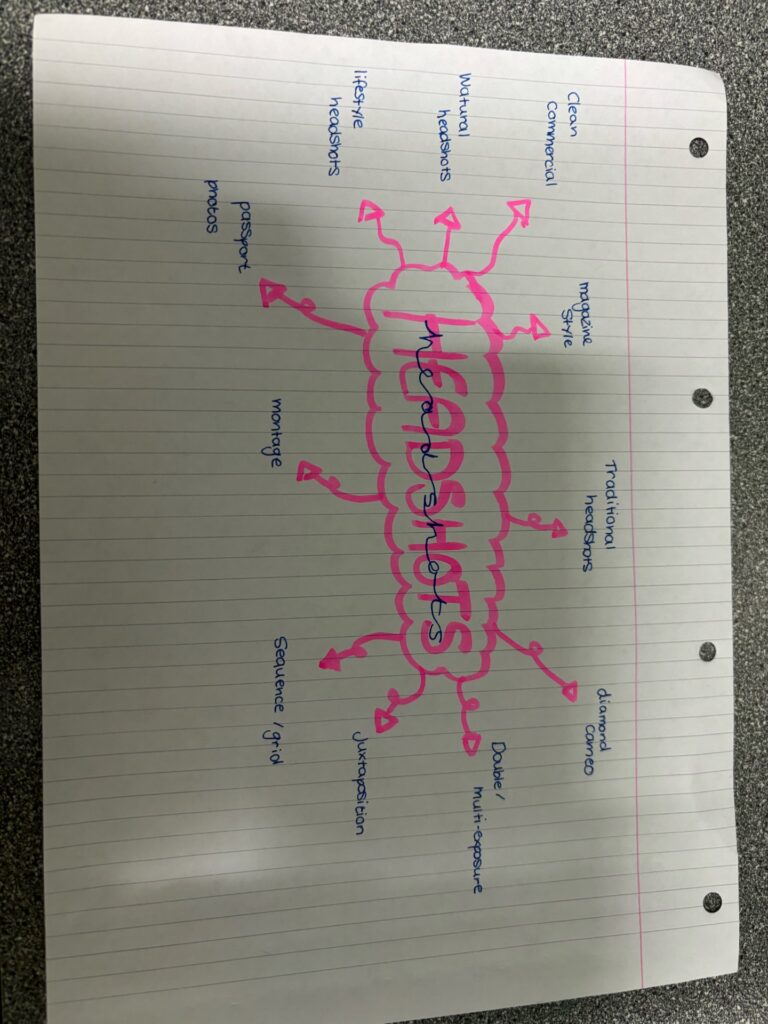
HEADSHOTS MIND MAP

in 1826/7, Nièpce succeeded in making the earliest surviving camera photograph. It represented a view from a window at Le Gras (his hometown in Burgundy, France), captured on a pewter plate coated in bitumen diluted in lavender oil. The exposure time was probably several days.
Photography was invented by Frenchman Nicéphore Niépce in 1822. Niépce developed a technique called heliography, which he used to create the world’s oldest surviving photograph, View from the Window at Le Gras (1827). Heliography was conceived in response to camera obscura theories dating back to ancient history.
What is photography and its origin?
The word “photography” literally means “drawing with light”.
When did photography first begin?
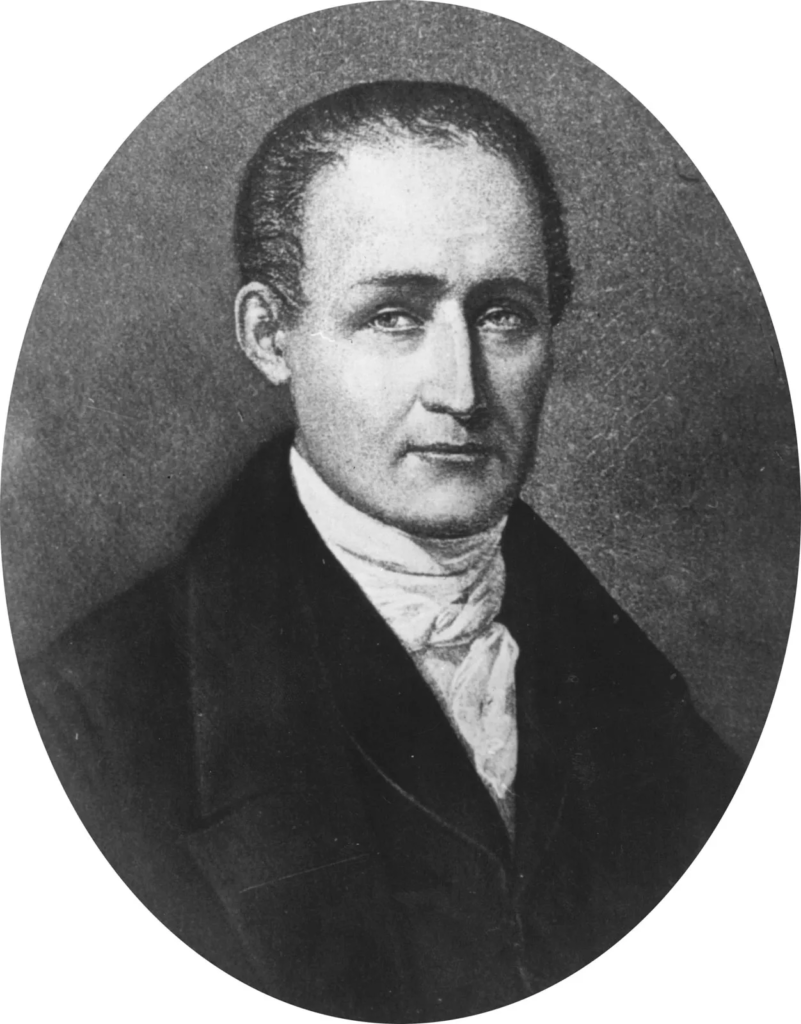
Photography was invented in 1822 when the first photograph was taken by Joseph Nicéphore Niépce (pronounced “nyeps”). Unfortunately, the first examples of Niépce’s work have been lost to history, but he still holds the title for the oldest surviving photograph, taken in 1826.
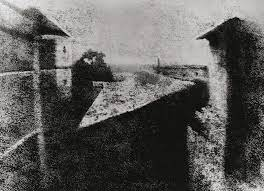
This is the first photo ever taken.
What is photography and its origin?
Photography was invented by Frenchman Nicéphore Niépce in 1822. The word “Photography” comes from the Greek, meaning to draw with light.
In 1826, Niépce succeeded in taking the first true camera photograph. He used a sheet of pewter coated with bitumen, which required an exposure time of at least 8 hours! The subject of this photograph hit close to home for Niépce; the view from his workroom in Saint-Loup-de-Varennes, France.
Niépce developed a technique called heliography, which he used to create the world’s oldest surviving photograph.
The origin of photography is significant because it created various aspects of human life. It showcases technological advancements, enables documentation and historical preservation, fosters artistic expression, facilitates communication and journalism, and has personal and social impact. Photography has transformed how we create, remember, communicate, and understand the world.
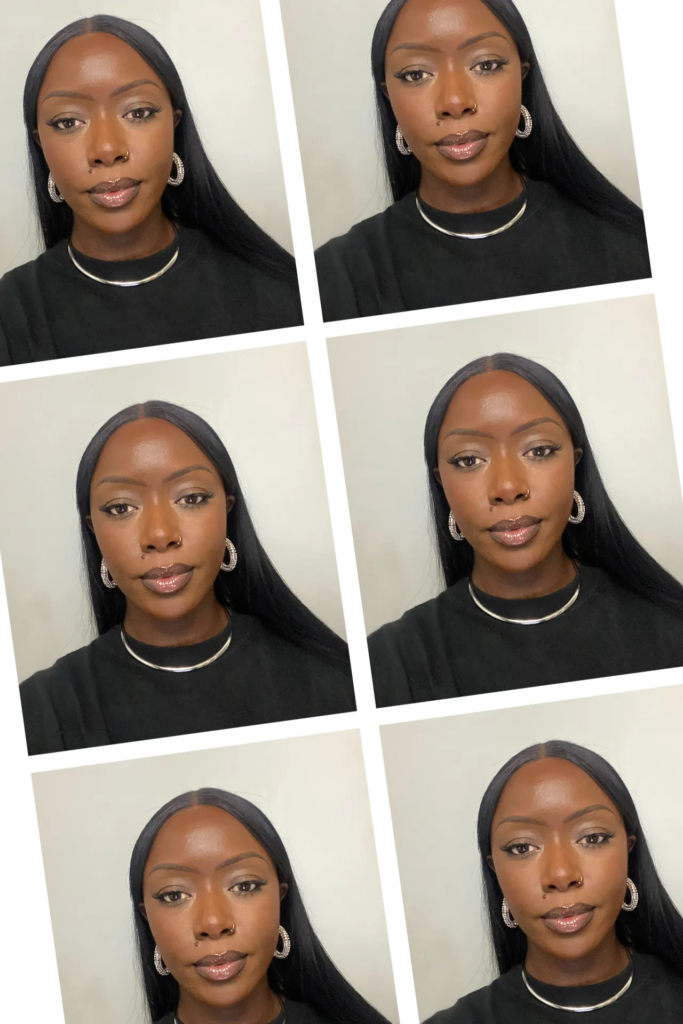
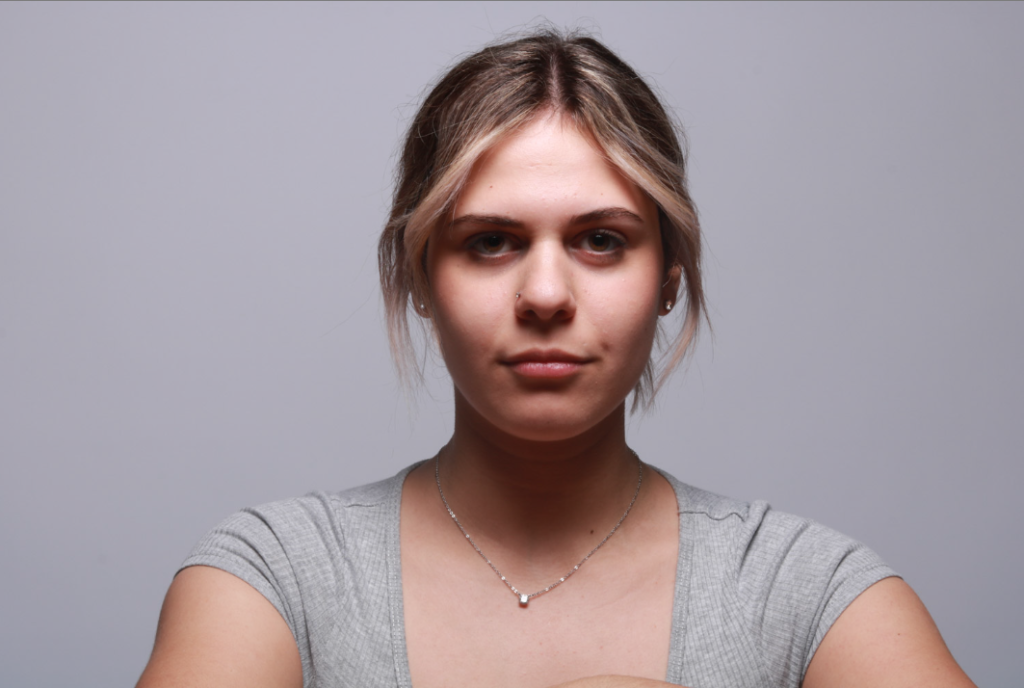
Photoshoot One:
My first plan is too take passport like photos, photos with no shadows, a plain face (no facial expressions, mouth closed), a very formal image which includes shoulders and clearly shows facial features.
Photoshoot Two:
Diamond Cameo, this will require taking yet again more plan boring images of the model, but I will need a left and right side profile, and many images of the model looking in different directions, in order to create my diamond cameo I will have too use photoshop.
Photoshoot Three:
For my third photoshoot idea I want to create multi-exposure photos, this will obviously have too be done in photoshop, but in order to create the photo i might want too take a photo of the model looking up and then one of the model looking down, this will make it easier to edit the image later on.
Headshot – A photograph of someone’s face, head and shoulders.
Developed from portraits, they find there origins, traditionally from passport photos, résumés for actors musicians etc.
This style of portrait helps to clearly define the subjects facial features as well as provide a clear basis for people to make assumptions on someone’s character, possibly based of appearance (like how they dress).
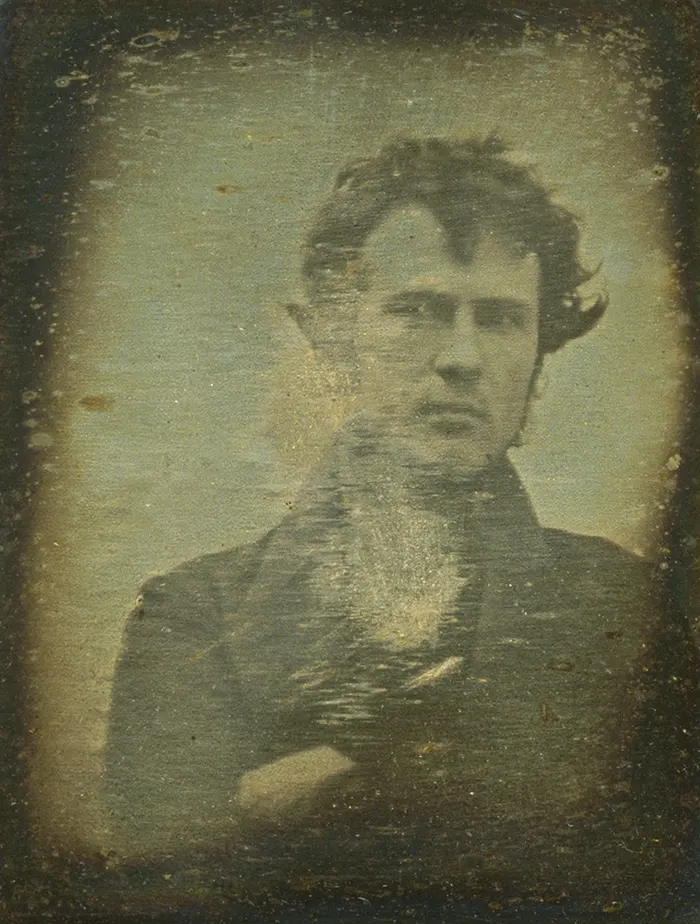
The classical origins, find themselves dating back to 1839, where photographer, Robert Cornelius was one of the first to experiment with the ideas of headshot portraits.
In 1854, André-Adolphe-Eugène Disdéri produced a more cost effective way of producing these headshots by cutting up full-sized plates into 4 separate small portraits. These photos soon became known as Carte-de-visite, translating to visiting cards.
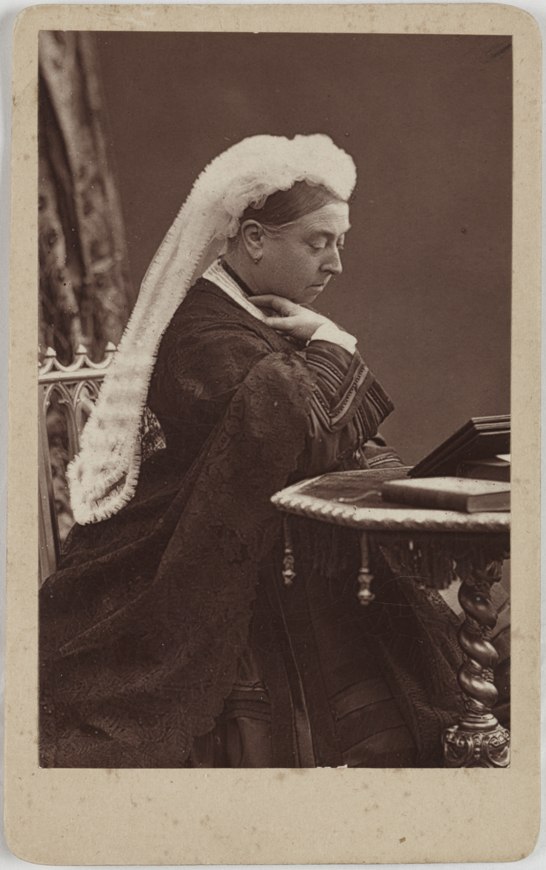
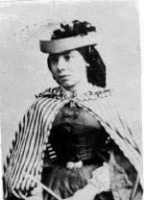
These grew in popularity across both Europe and the US, where families of wealthy class got them to exercise their wealth. With some people such as queen Victoria getting one to flex her status.
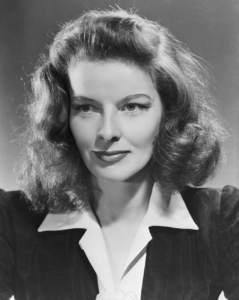
In the 20th century, they soon developed into a secondary purpose of being used as promotional material.
(promotional photo of Katherine Hepburn in the 1940s)
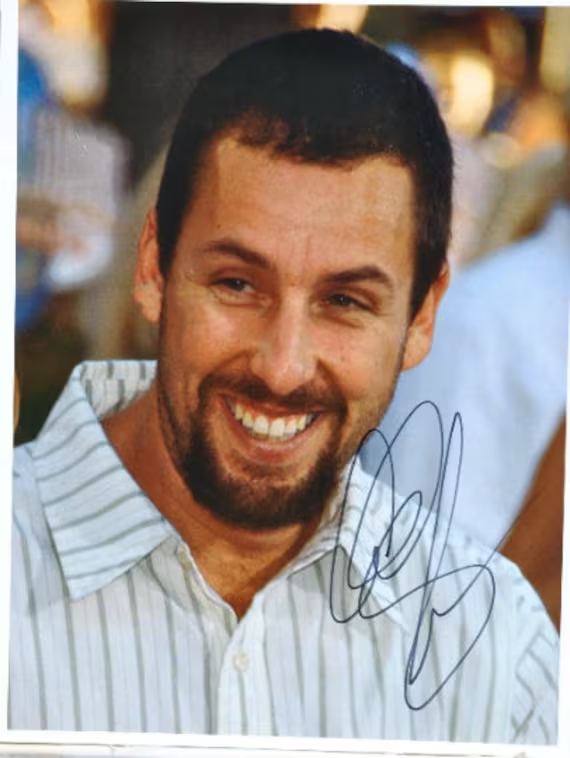
The modern headshot is now used as an art form, used for exploring different ways of portraying the face. Some elements of the classical headshots can be found in Professional headshots, used for marketing purposes, someone’s influential status and image, such as a celebrity can be sold for their likeness.
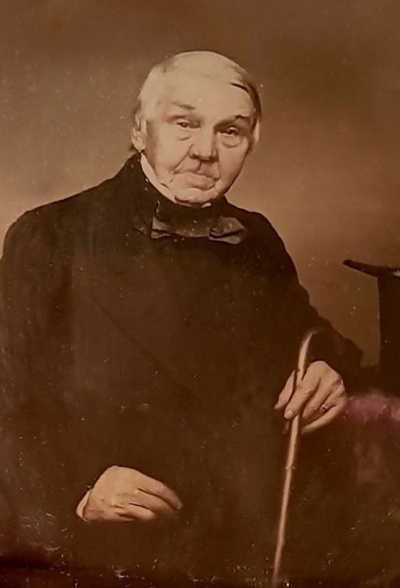
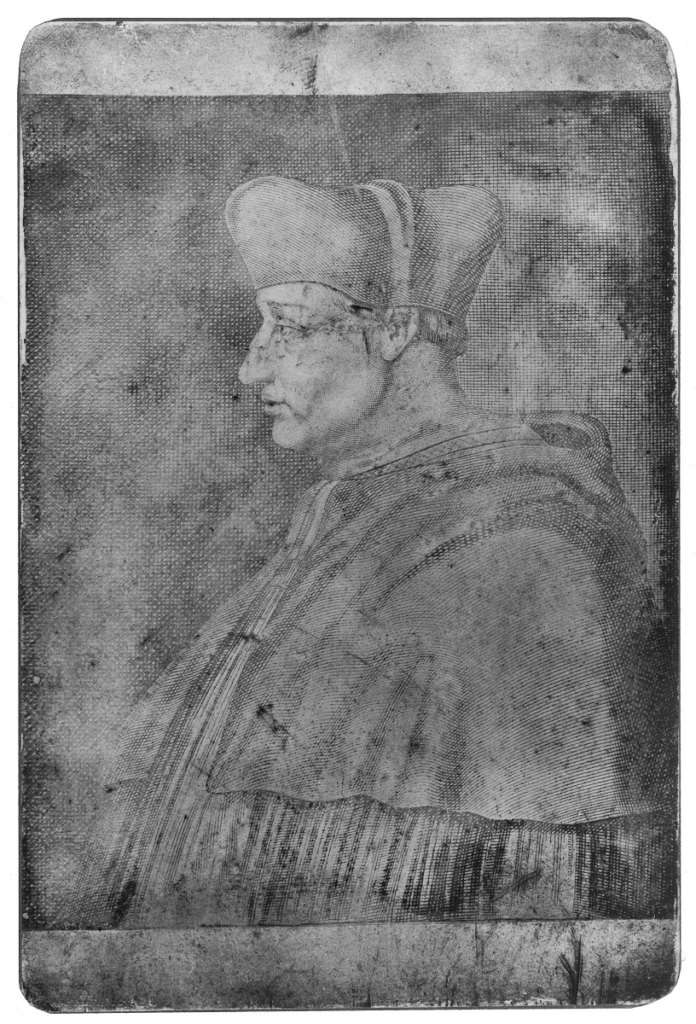
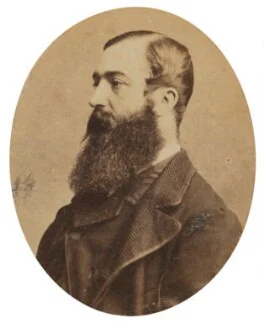
Henry Mullins started working 230 Regent Street in London in the 1840s and moved to Jersey in July 1848, setting up a studio known as the Royal Saloon at 7 Royal Square. His speciality was Cartes de visite and the photographic archive of La Société contains a massive collection of these. After his death his collection of over 20,000 pictures was acquired in 1883 by Clarence Philip Ouless and formed part of his collection which was given to La Société in 2006. he had a collection of over 9,000 portraits of Jersey residents.
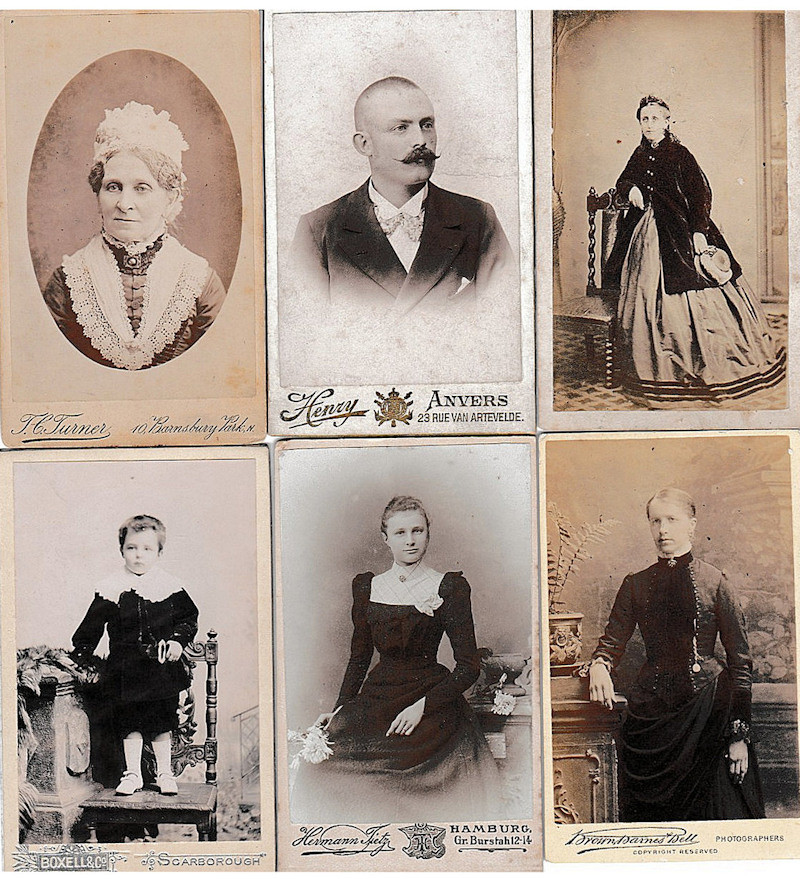
These images are only a small portion of the large amount of images he took, these images would then be placed into an album, presented as Carte De Visite:
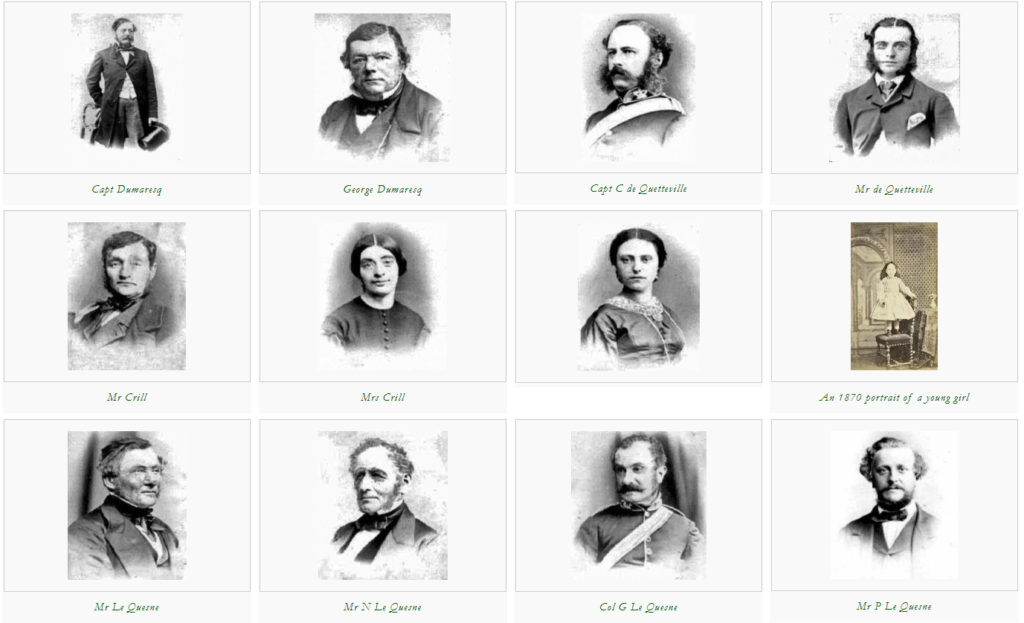
Carte De Visite:
Henry Mullins specialised in Cartes de visite, it is presented widely in the photographic archive of La Société and the online archive contains 9600 images. The Carte De Visite is described as the first commercial photographic print produced using egg whites to bind the photographic chemicals to the paper and this is would be very rare to see now. This consisted of a small thin photograph mounted onto a thicker piece of card, however Mullins placed his work into an album.
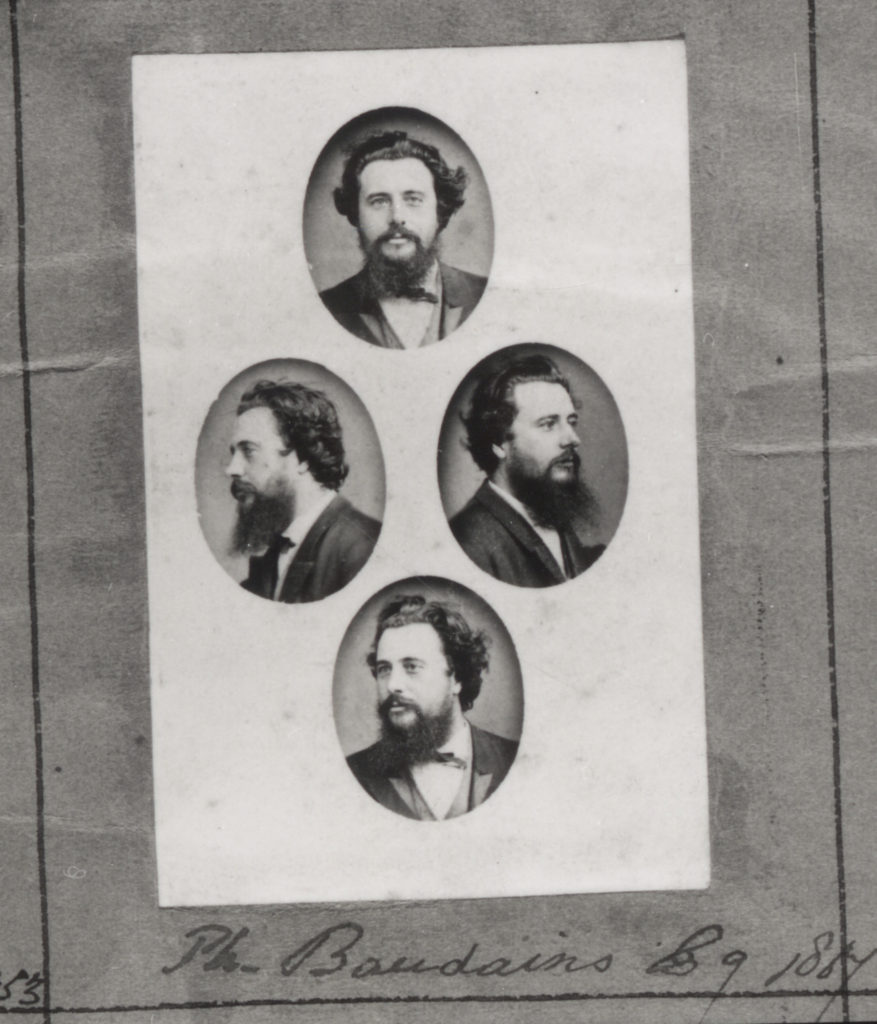
Diamond Cameo:
This layout of final images is called a Diamond cameo because of diamond-like shape made by the placement of oval images. I personally like this layout form because it makes it interesting by showing all the angles of his face.
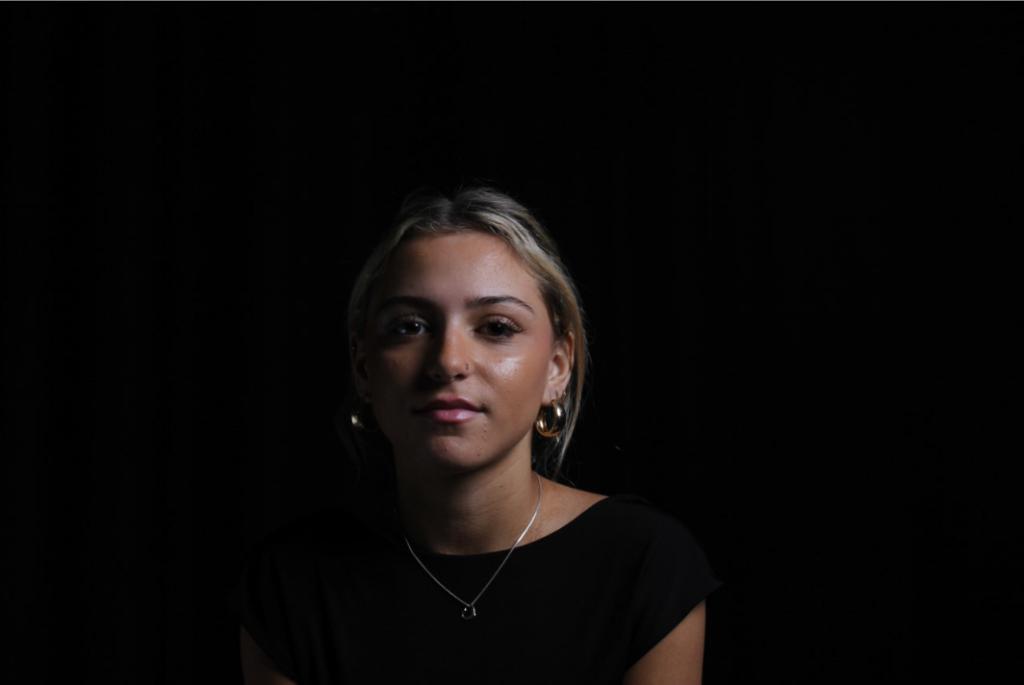
Chiaroscuro
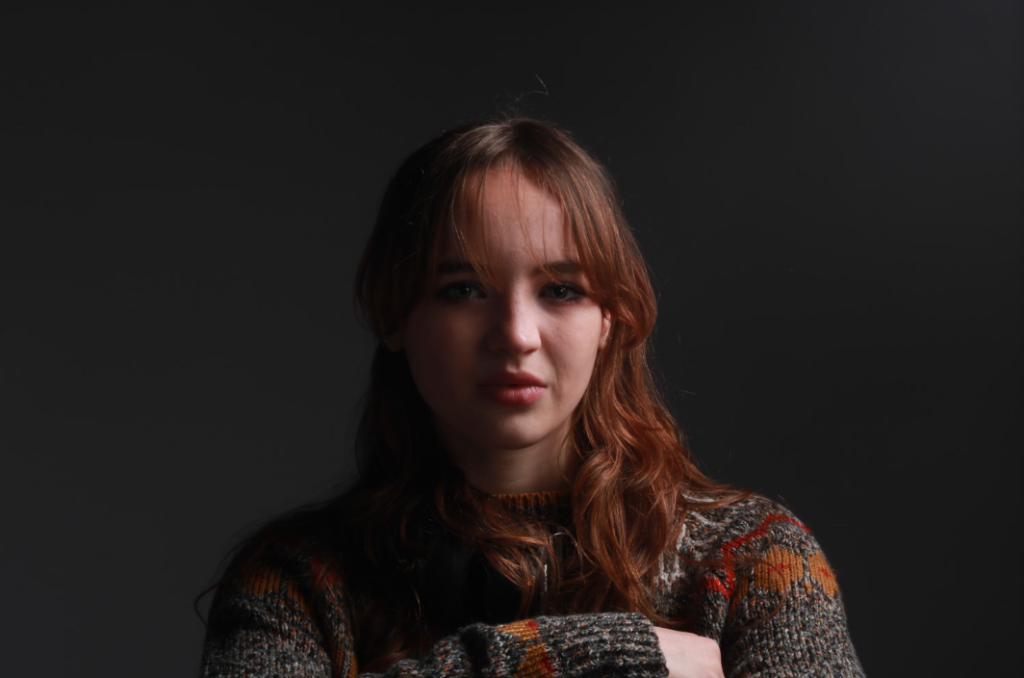
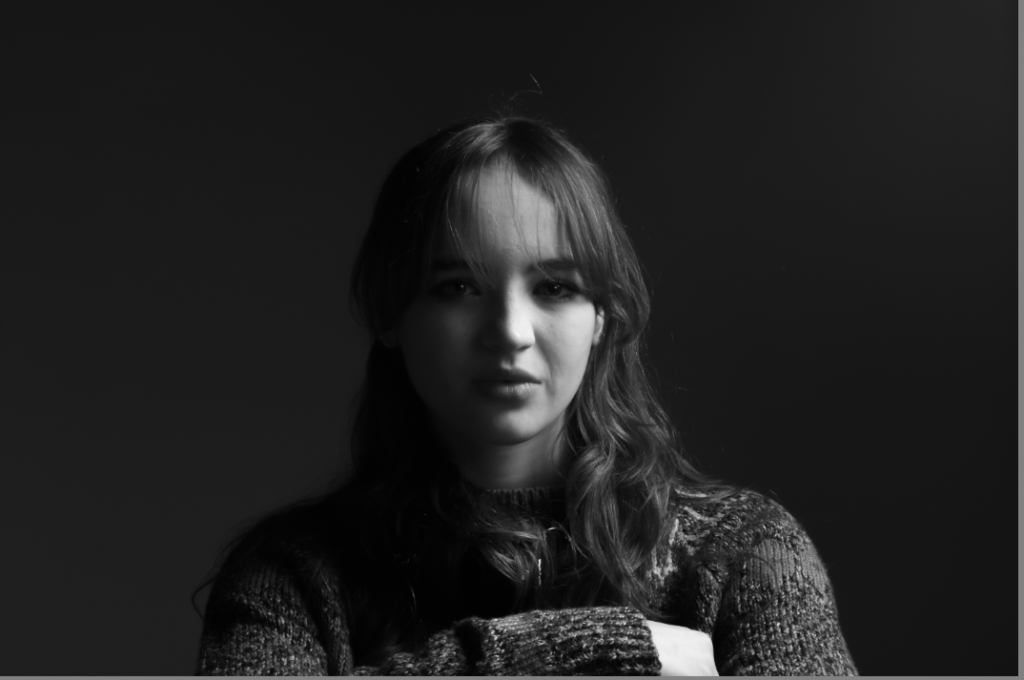
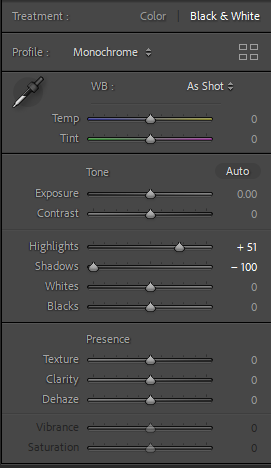
Analysis: I took this picture and edited it with black and white to accompany the black backdrop. It creates a more dramatic but sombre effect.
Rembrandt
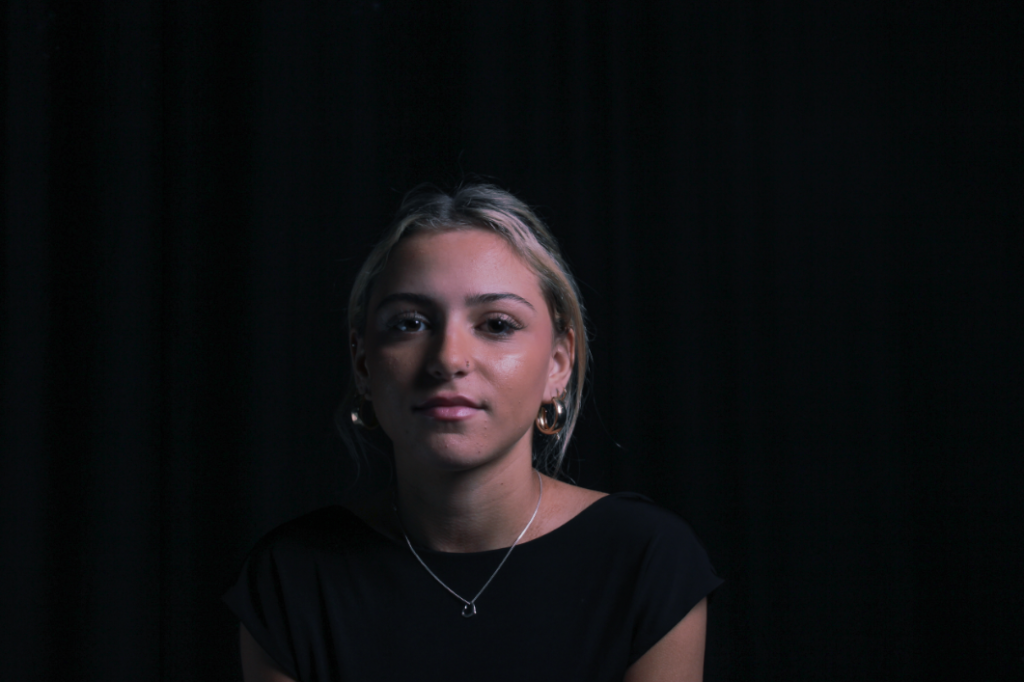
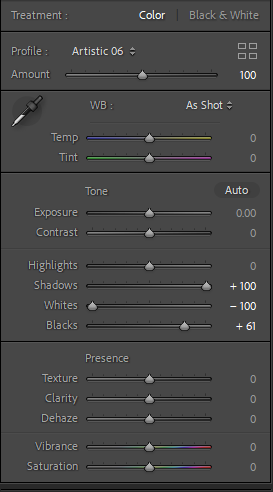
Analysis: For this picture, I filtered it with artistic 06. I liked the colour it created around the face, and still keeping the black background.
Butterfly
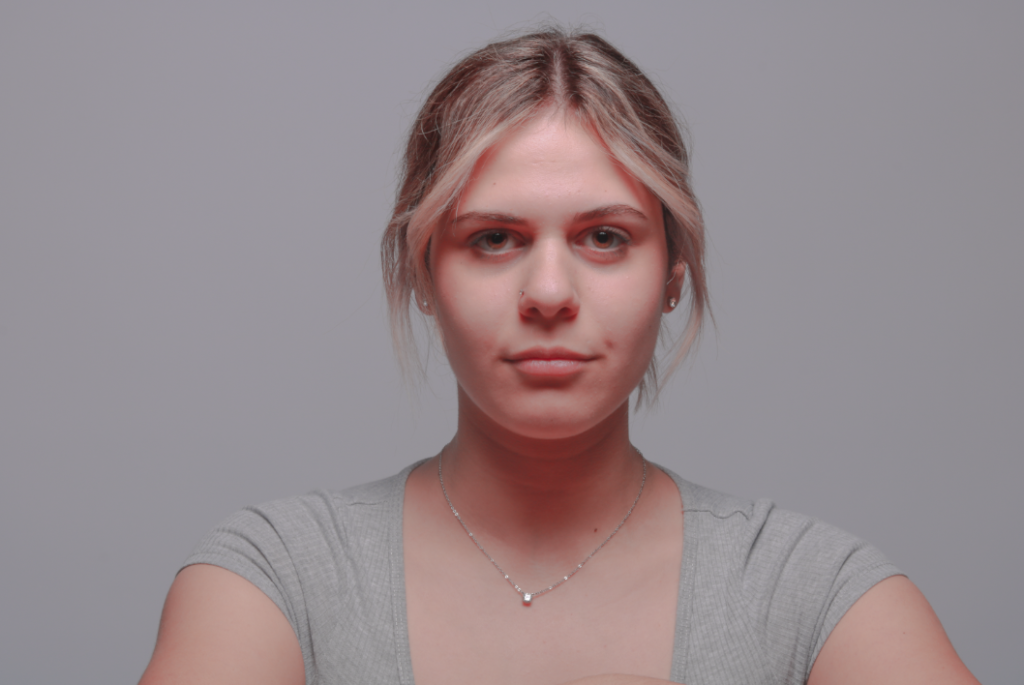
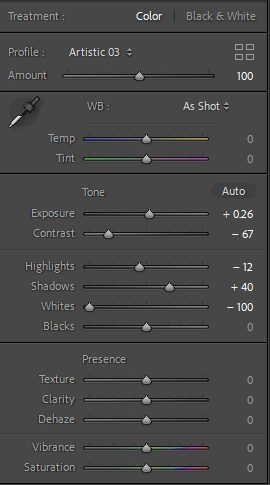
Analysis: Finally, with this picture I used the filter artistic 03. I liked the way it lightened up the face, but still kept the shadows in the necessary places.
Henry Mullins, the renowned headshot photographer, was born on June 12, 1975, in Los Angeles, California. From an early age, he exhibited a passion for creativity and art, particularly in the field of photography. As a teenager, he would spend countless hours exploring his neighbourhood with his trusty camera, capturing the essence of the people and places he encountered.
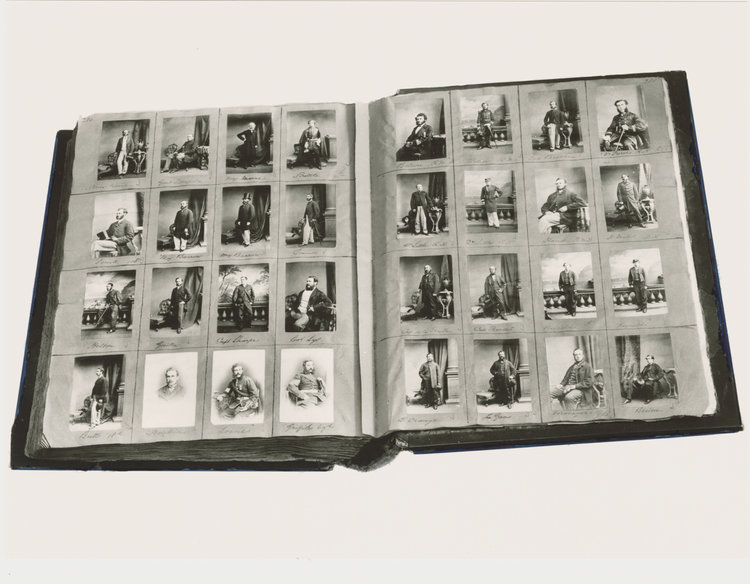
He was one of the most prolific photographers represented in the Societe Jersiase Photo-Archive, producing over 9,000 portraits of islanders from 1852 to 1873 at a time when the population was around 55.000. The record we have of his work comes through his albums, in which he placed his clients in a social hierarchy. The arrangement of Mullins’ portraits of ‘who’s who’ in 19th century Jersey are highly politicised.
His portrait were printed on a Carte de Visite as a small albumen print, (the first commercial photographic print produced using egg whites to bind the photographic chemicals to the paper) which was a thin paper photograph mounted on a thicker paper card. The size of a Carte de Visite is 54.0 × 89 mm normally mounted on a card sized 64 × 100 mm.
In Mullin’s case he mounted his Cartes de Visite into an album. Because of the small size and relatively affordable reproducibility, Cartes de Visite were commonly traded among friends and visitors in the 1860s. Albums for the collection and display of cards became a common fixture in Victorian parlours. The immense popularity of these card photographs led to the publication and collection of photographs of prominent persons.
More of Mullins’ work:
Throughout his career, Mullins collaborated with numerous acclaimed actors, directors, and production teams. Not only did he provide stunning headshots, but he also worked on set, capturing behind-the-scenes moments and promotional images for various films and television productions.
In addition to his commercial success, Mullins dedicated his time to giving back to the community. He conducted workshops and mentoring programs for aspiring photographers, serving as an inspiration for the next generation of talent. Mullins believed in nurturing young minds and encouraging them to unlock their artistic potential
Henry Mullins’ passion, dedication, and artistic eye revolutionized the world of headshot photography. His ability to showcase the true essence of his subjects made him a trusted collaborator for actors, models, and performers worldwide. Today, his legacy lives on through the countless aspiring photographers inspired by his work and the impact he made on the industry as a whole.
Final Project Evaluation
This project was something quite new for me but I thoroughly enjoyed trying new styles and learning new techniques I can continue to use in the future. It started quite tricky getting all the elements to work as one, the first photoshoot created some interesting results while trying different lighting techniques. As I progressed in the project I started to be able to manipulate and change how I was asking the model to pose or knowing how the lighting needed to be adjusted. My favourite technique out of the three I used was by far Rembrandt, while it was tricky to achieve the triangle at times, it created unique results that were flattering on the models, I also felt it best fitted my style of photography, such as the models tended to be rather solemn and the Rembrandt lighting highlighted their facial features well creating interesting shots. When it came to editing the best shots of each lighting technique I used Lightroom, experimenting using different tools like the adjustment brush to further enhance my photos, particularly the dark parts of the Chiaroscuro lighting shots. I would love to try more complex and interesting portrait shoots in the future, possibly using more lights or even more post production editing.
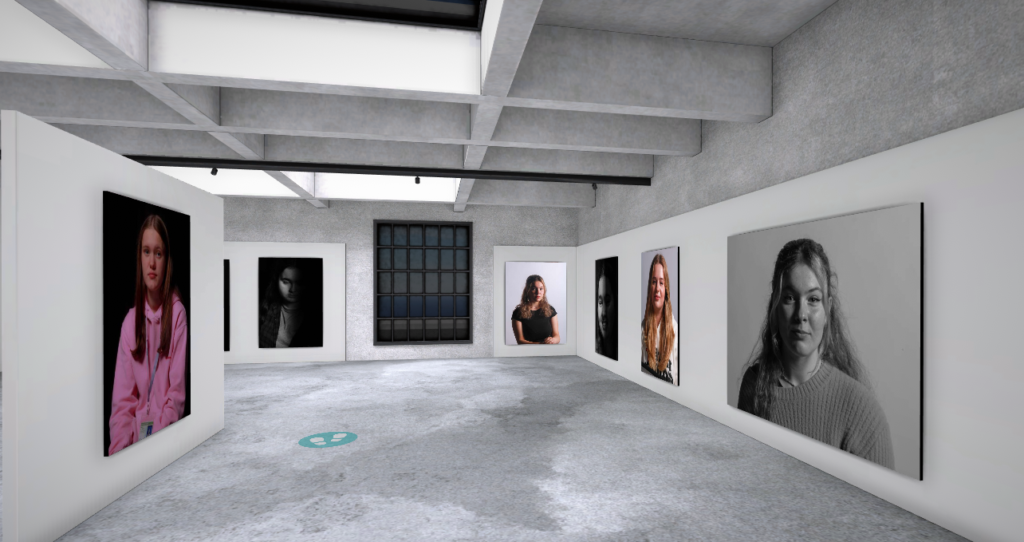
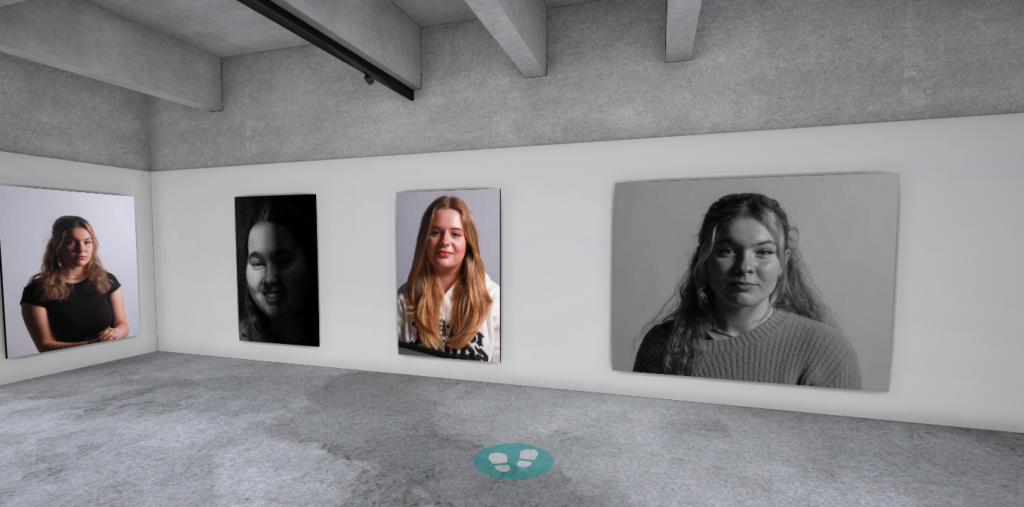
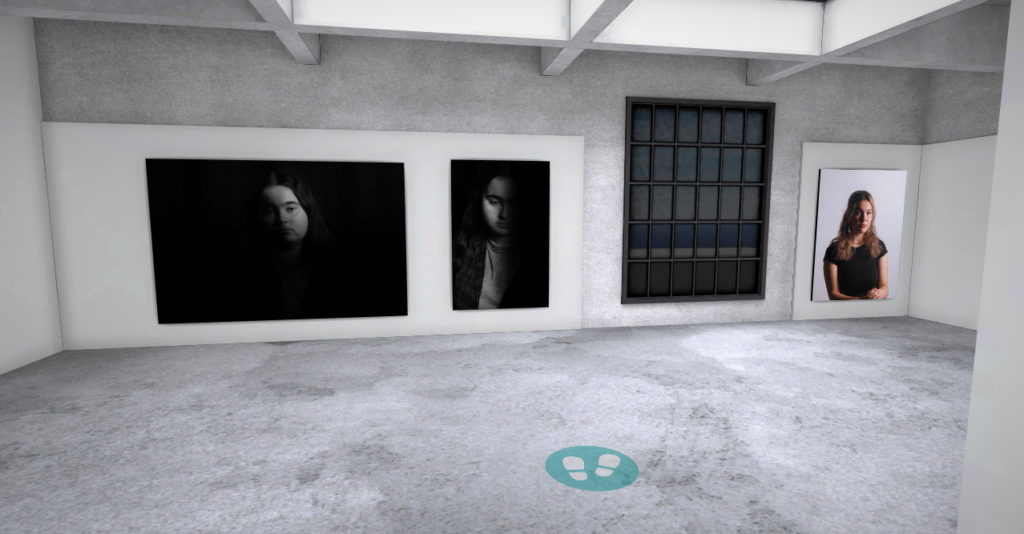
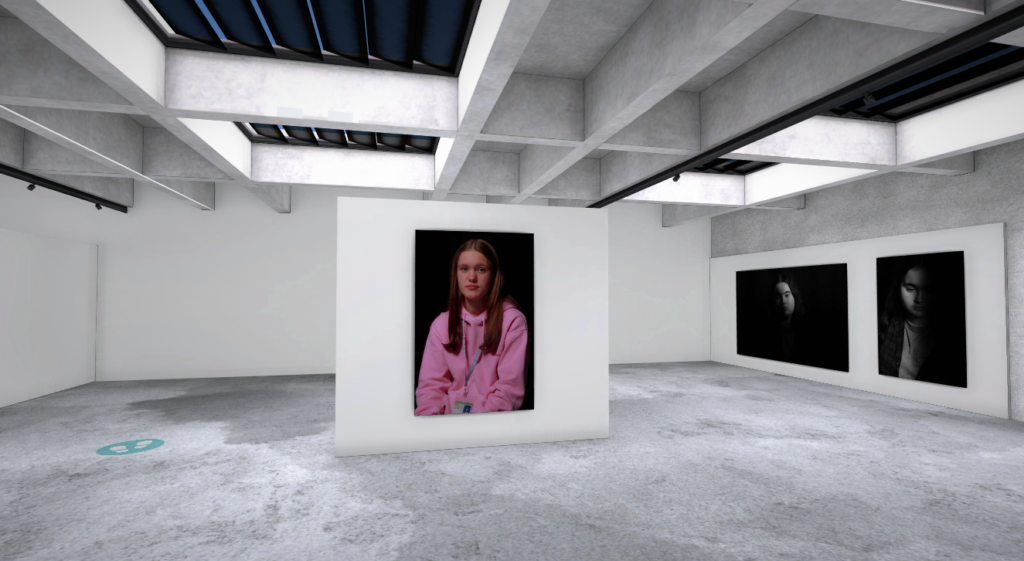
Gallery Evaluation
Below is my virtual gallery for this project, I picked some of my favourite shots from each lighting style and presented them in a virtual gallery. I chose an industrial style gallery as I think it contrasts the photos well, as ether the background is black contrasting the white walls or the model is wearing a contrasting colour like black or pink. This helps the photos really stand out in the gallery. I also didn’t choose to group the photos by technique instead using the walls and change of direction in the gallery to get people to look around the gallery. I feel if I had grouped the photos by technique the viewer would have gotten bored an stopped noticing the smaller details the technique highlights in the shot.