(Definitions Obtained From Google)
Lighting :
What is the technical definition of lighting?
Lighting or illumination is the deliberate use of light to achieve practical or aesthetic effects. Lighting includes the use of both artificial light sources like lamps and light fixtures, as well as natural illumination by capturing daylight.
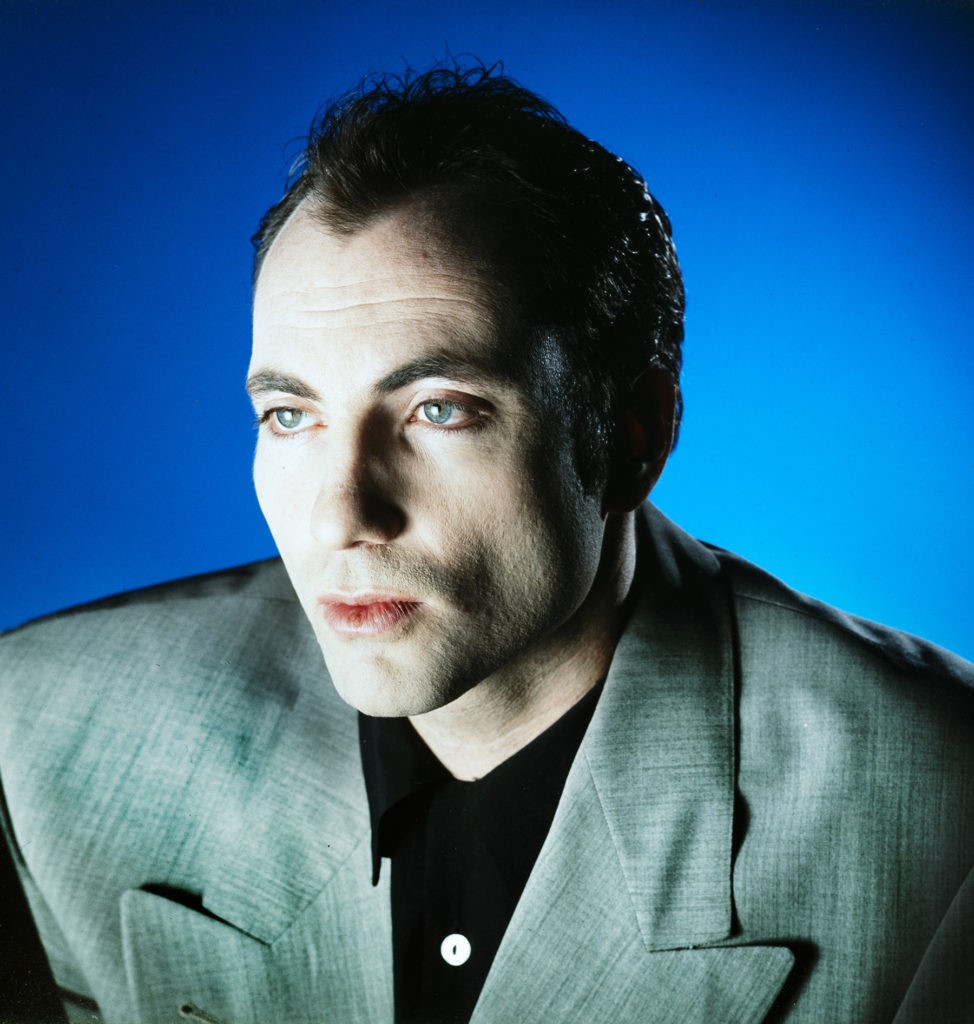
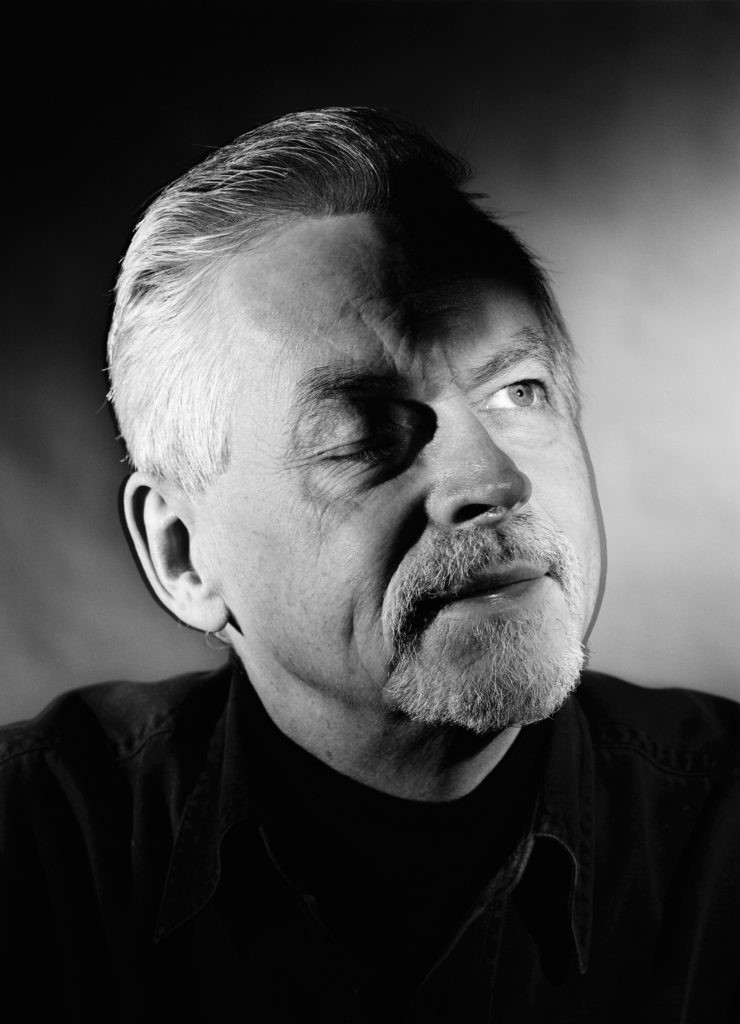
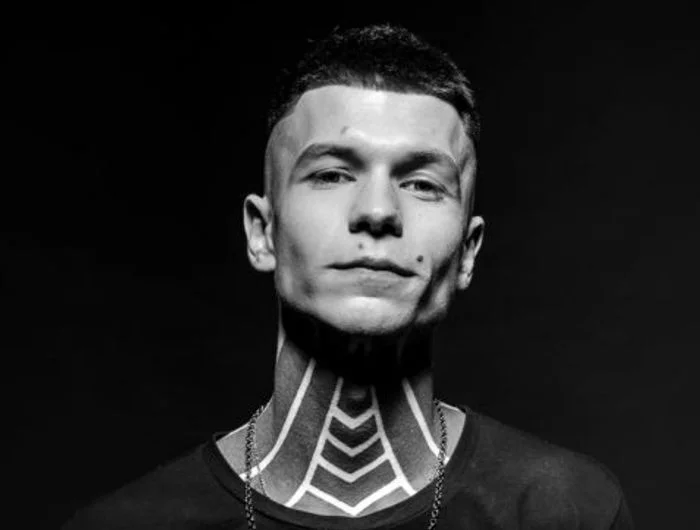
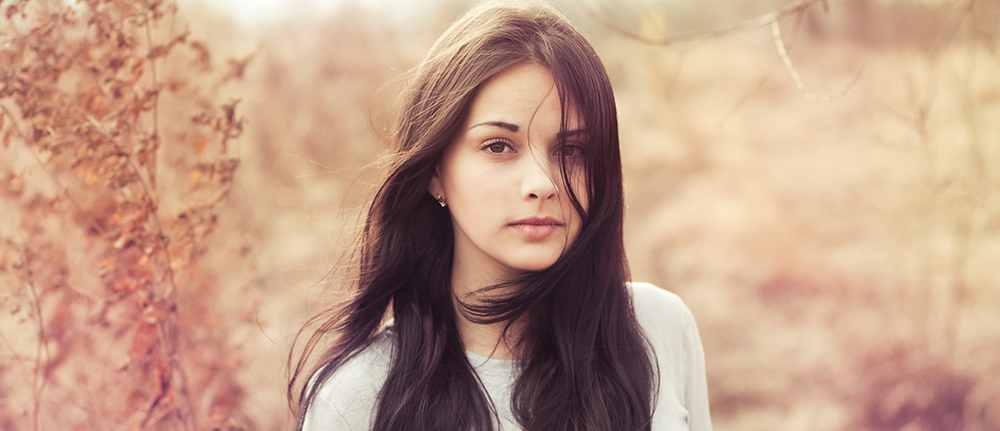
soft lighting :
Soft lighting is a type of light with few hard shadows that’s bright yet balanced. In soft lighting, the transition between the light and the shadows is more of a gradient and much smoother. When your subject is bathed in soft light, there will be little to no shadows on their face.
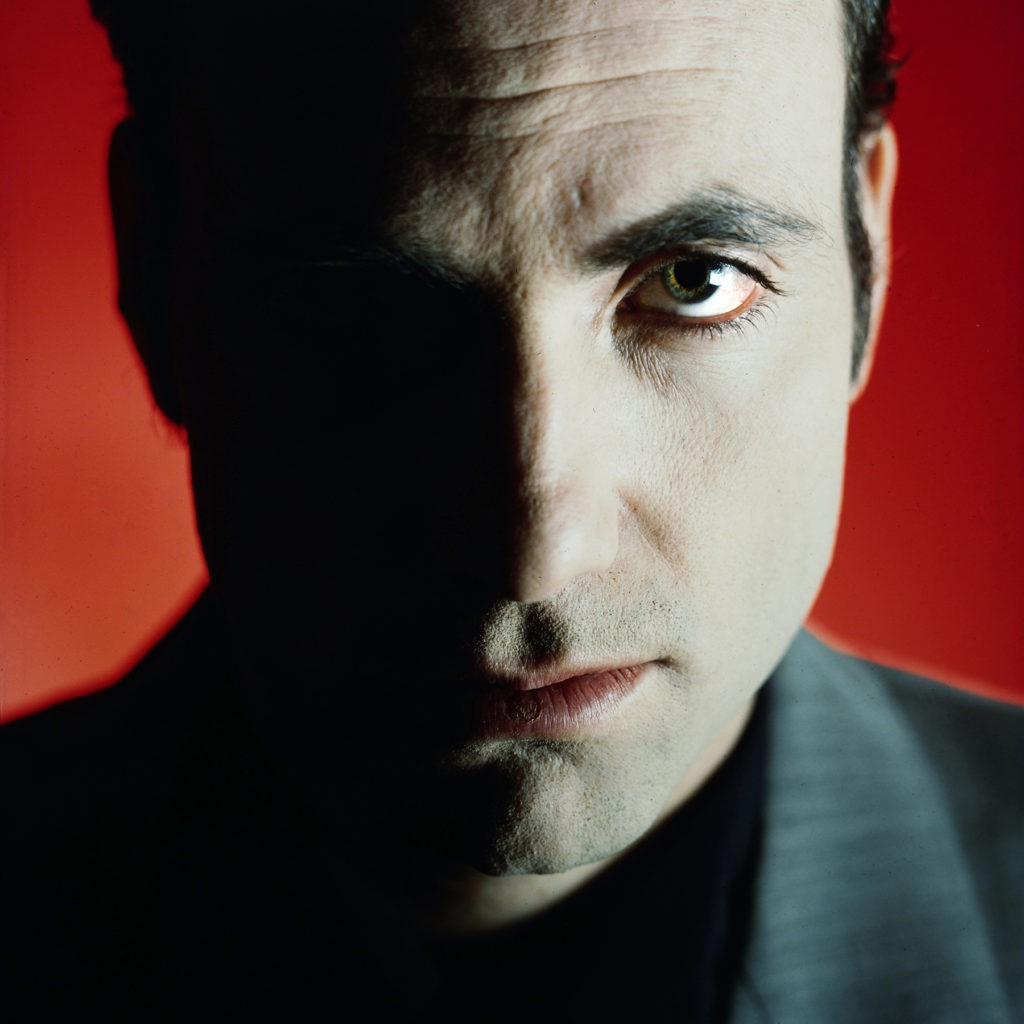
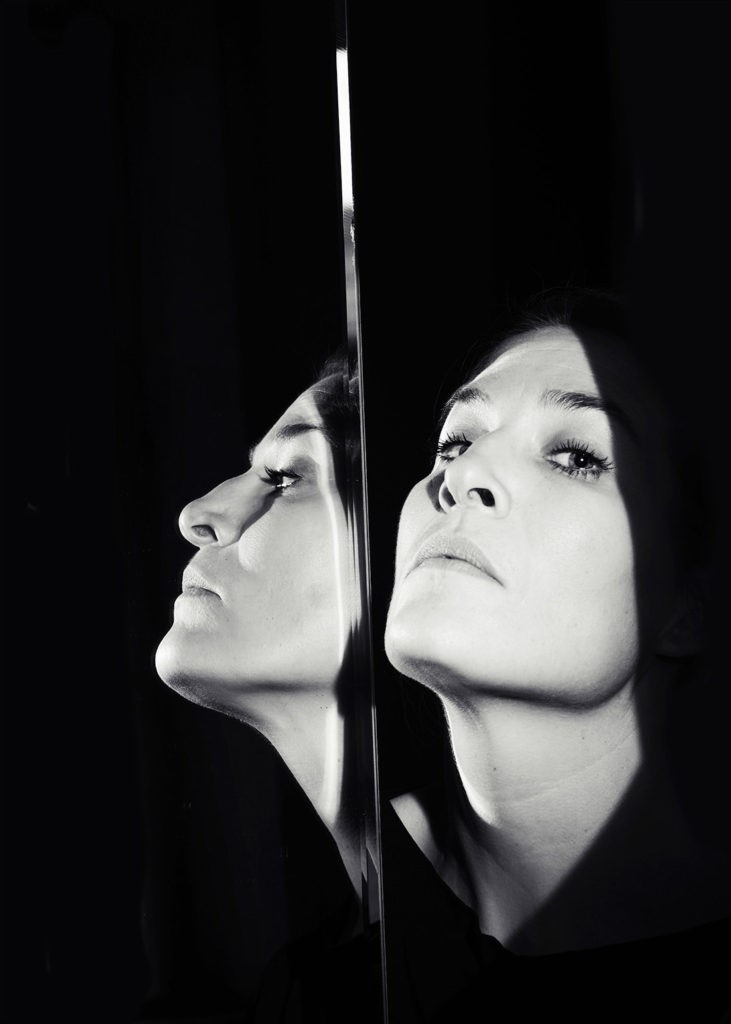
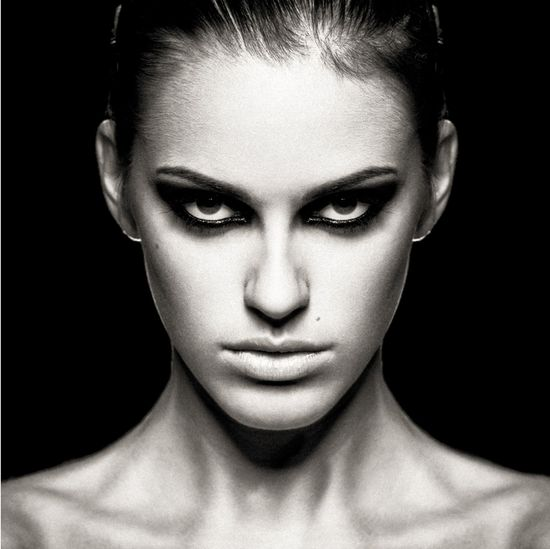
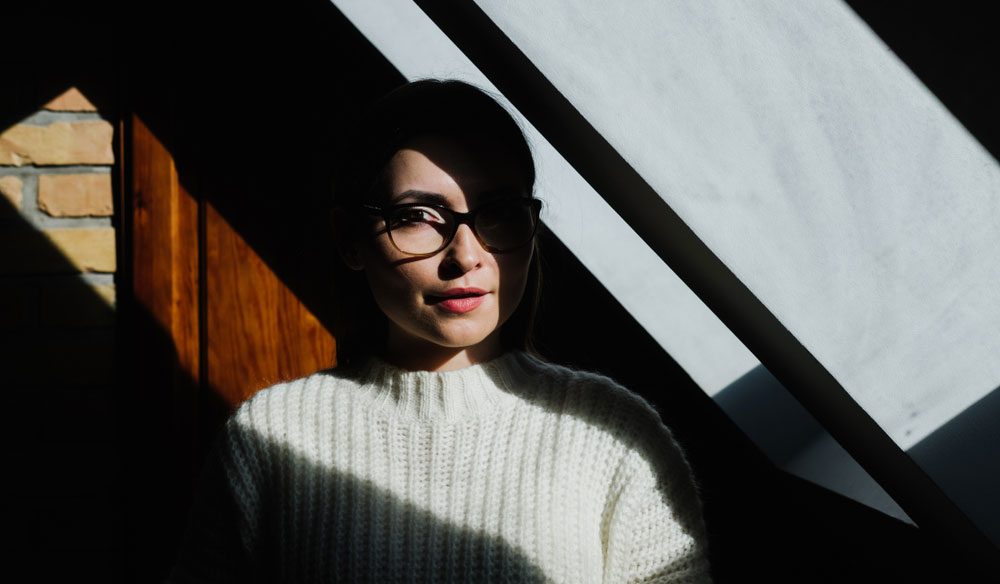
hard lighting:
What Is Hard Light? Hard light is a focused, often bright light that casts harsh shadows and draws attention to a specific part of a photo. In hard lighting, the transition between the light and the shadows is very harsh and defined.
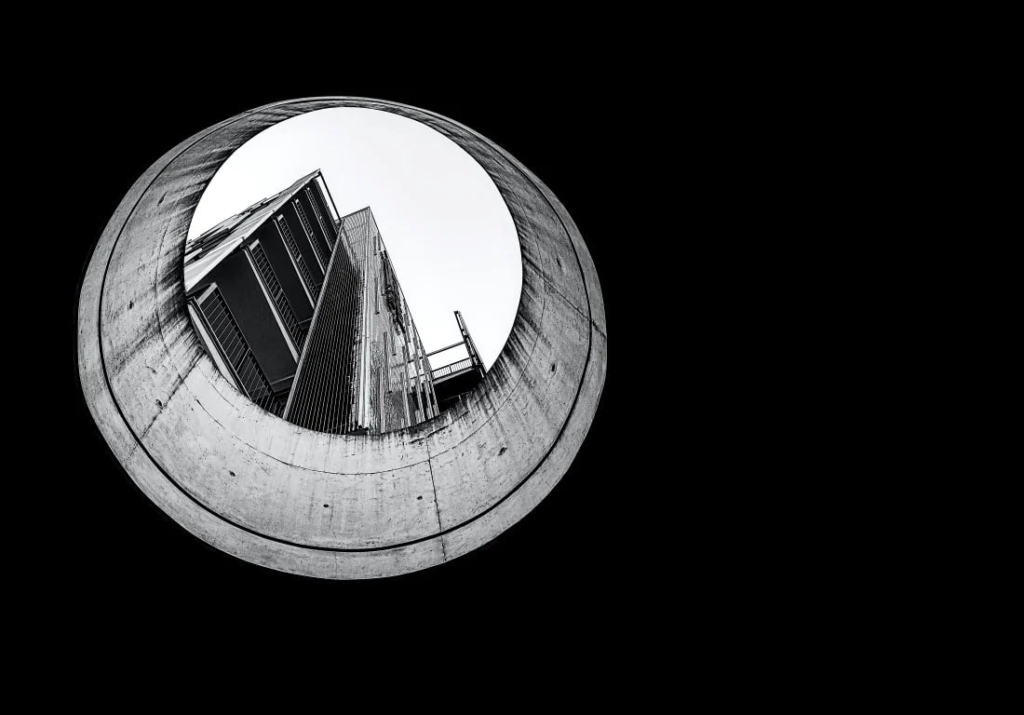
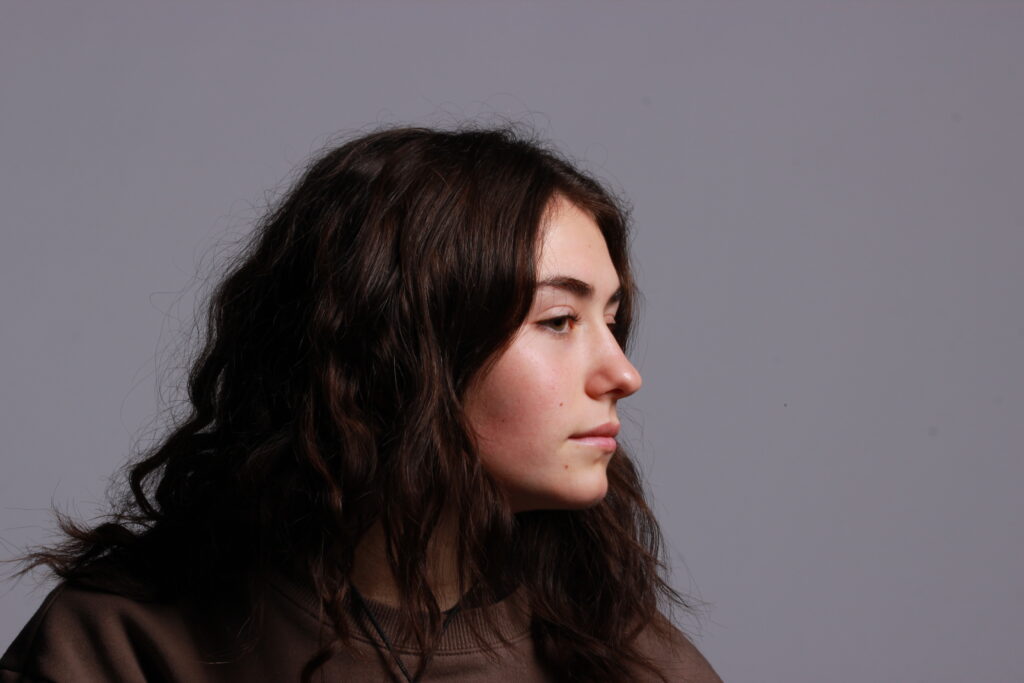
framing :
Framing in photography refers to the process of composing a picture. It involves choosing what you’ll include in the frame and what you’ll leave out. The goal is to create a pleasing composition that directs the viewer’s attention to the subject matter.
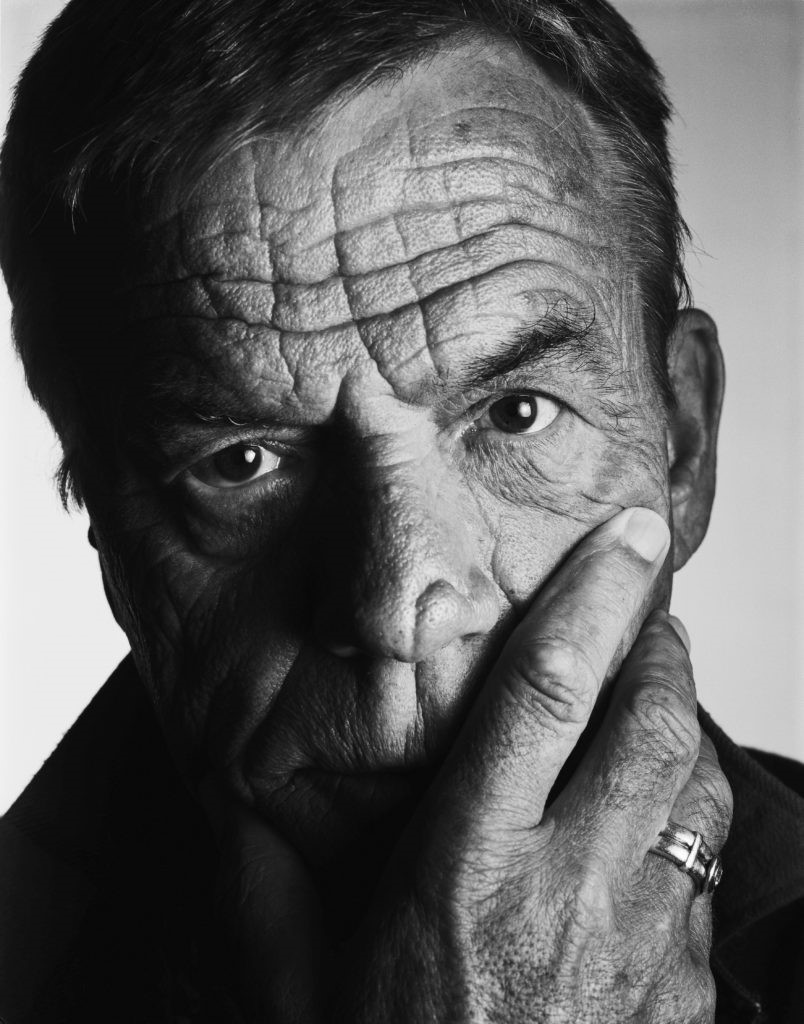
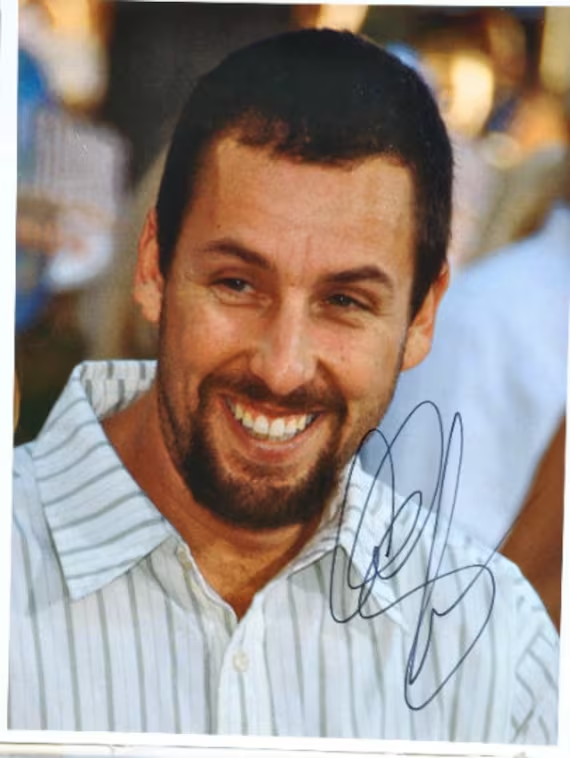
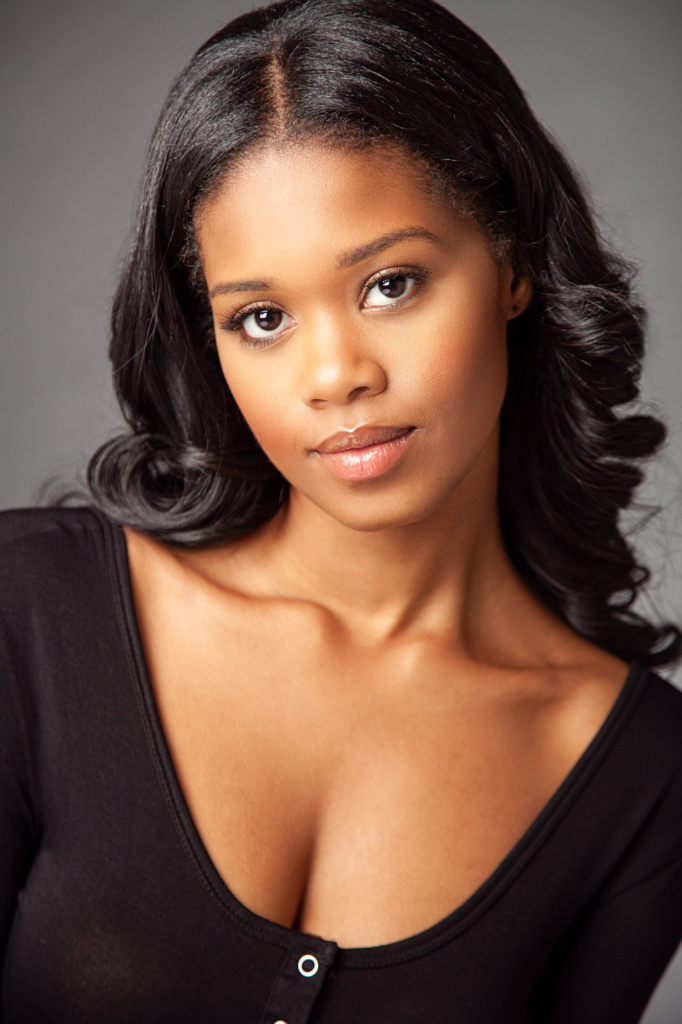
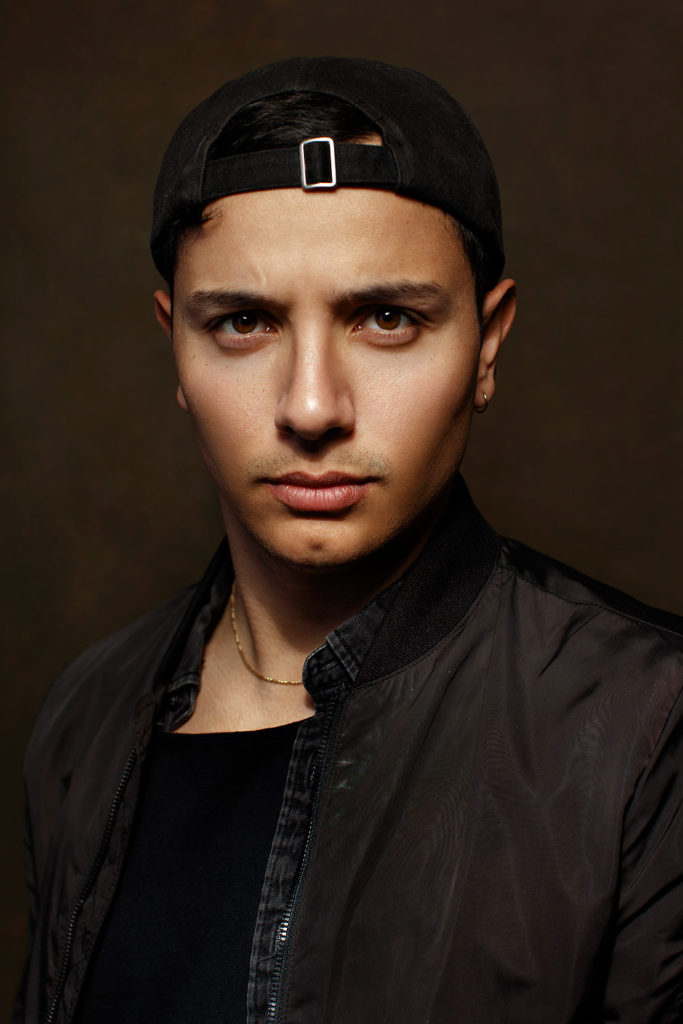
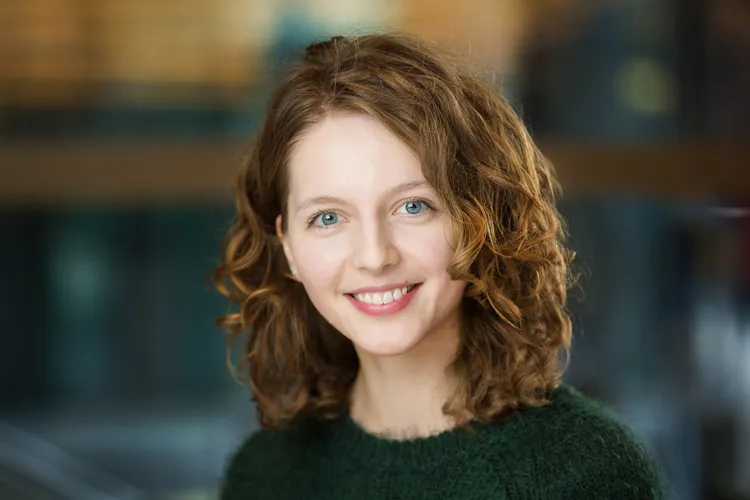
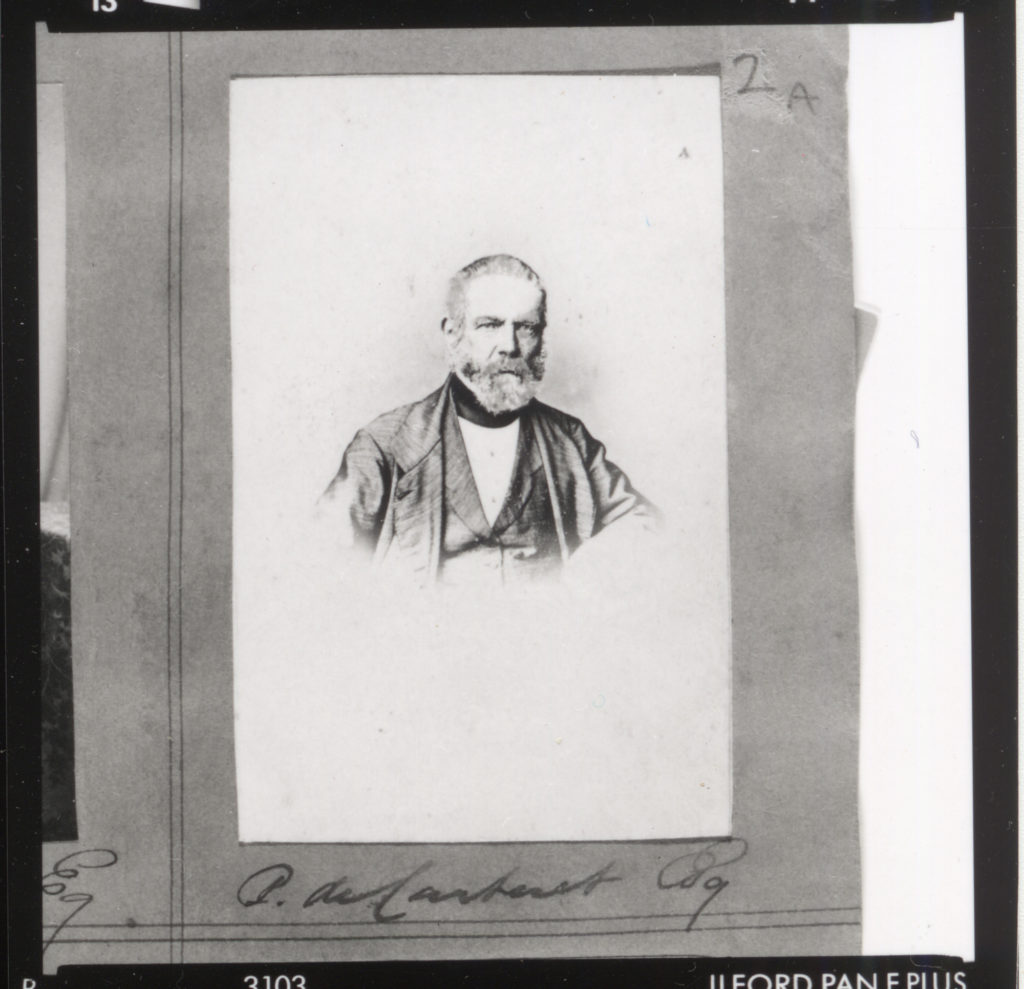
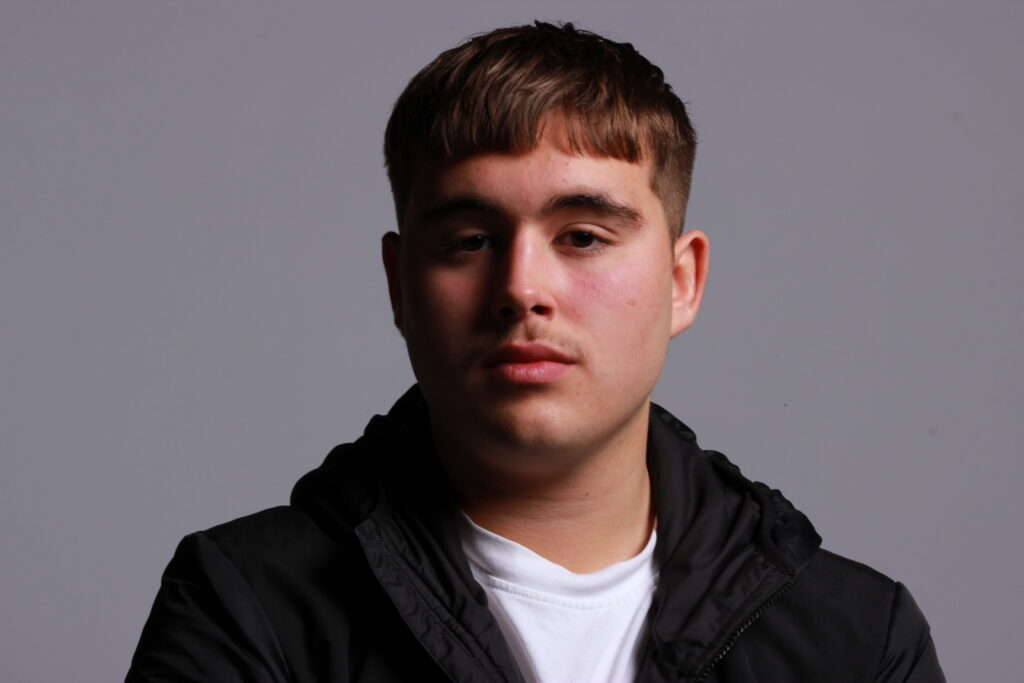
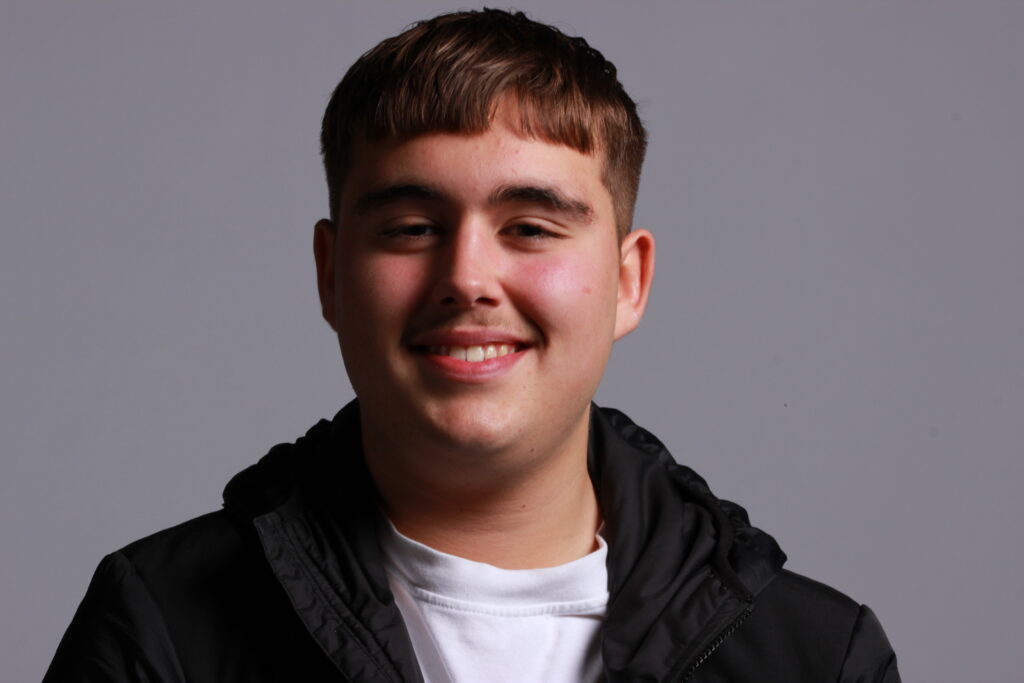
headshots :
A headshot is a tightly cropped photo of the face, from the shoulders up. The subject is camera aware — typically looking right in the lens. Years ago, headshots were reserved for actors and models. For talent, these images are in some ways more important than a resume.
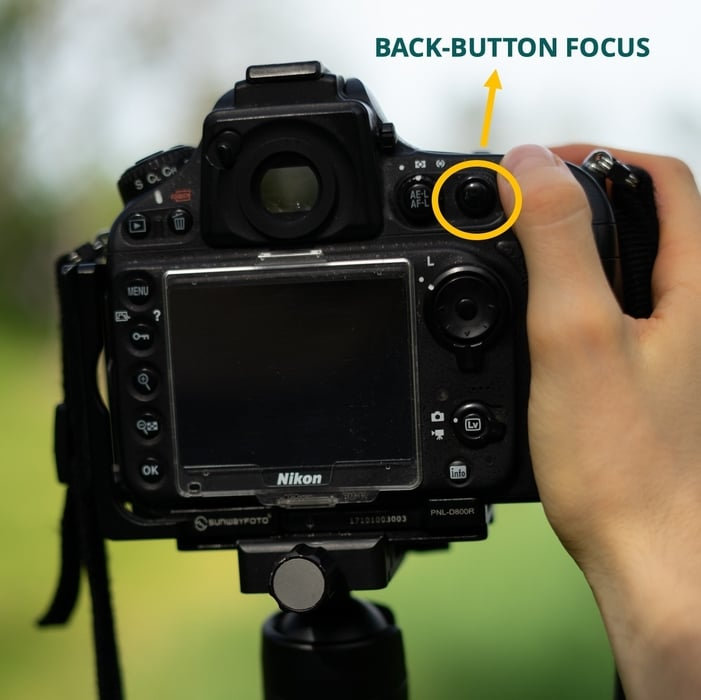
focusing:
In photography, focus is the sharpest area of the image. It is the area where the lens works to highlight an object, a person, or a situation. Focus is one of the pillars of photography, along with ISO, aperture, and shutter speed. You can either use automatic or manual focus.
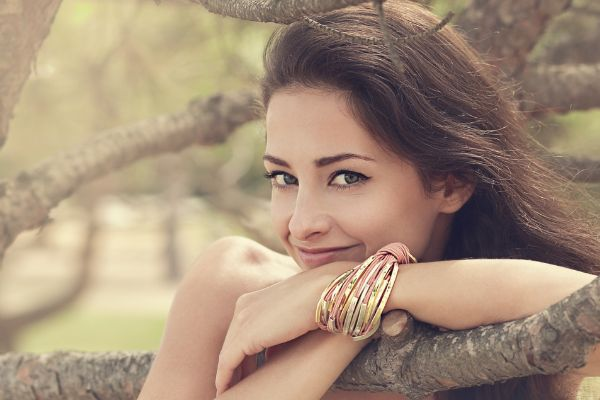
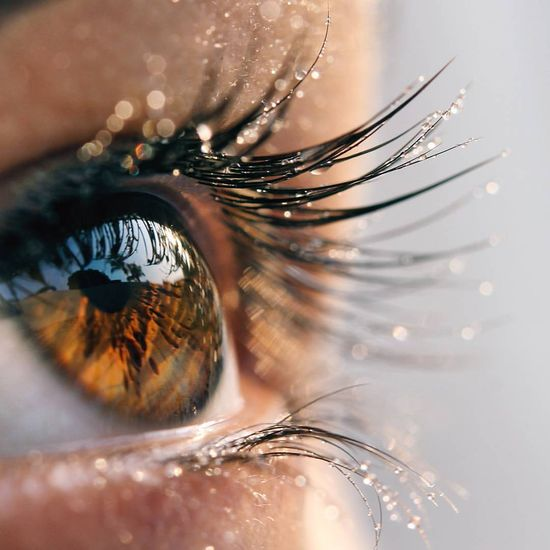
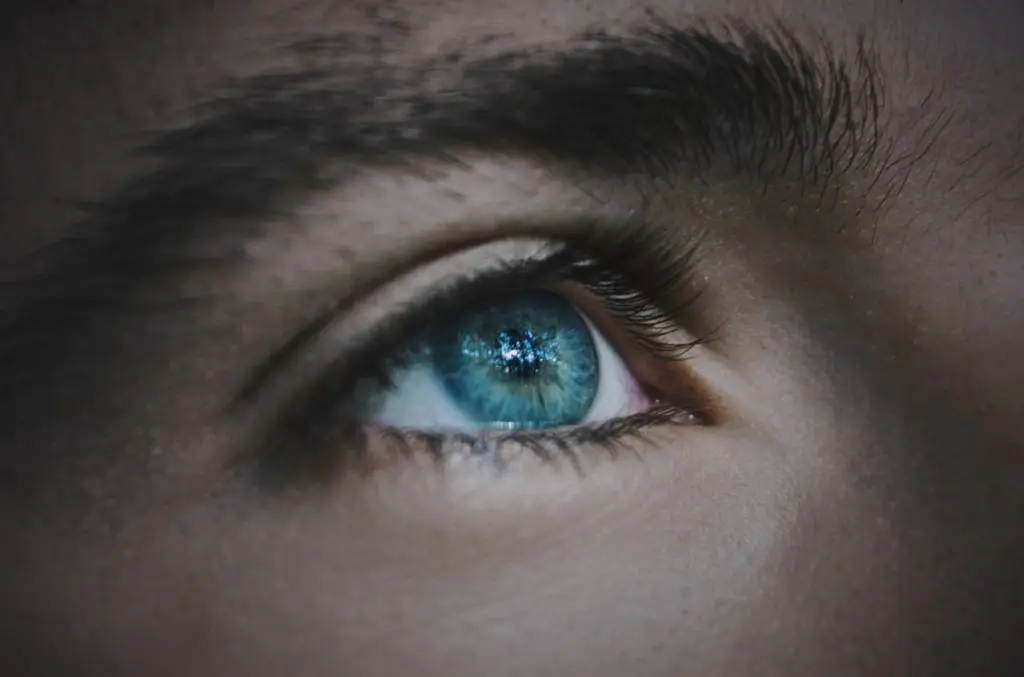
focus on eyes:
In photography, focus is the sharpest area of the image. It is the area where the lens works to highlight an object, a person, or a situation. Focus is one of the pillars of photography, along with ISO, aperture, and shutter speed. You can either use automatic or manual focus.
Using AF (Autofocus) place the square, or set of squares on one eye of your subject. If the subject’s other eye is not on the same horizontal plane as the AF square, it will be out of focus. So, move your subject, or tilt your camera (if you can without ruining composition) so that the eyes are on the same plane.
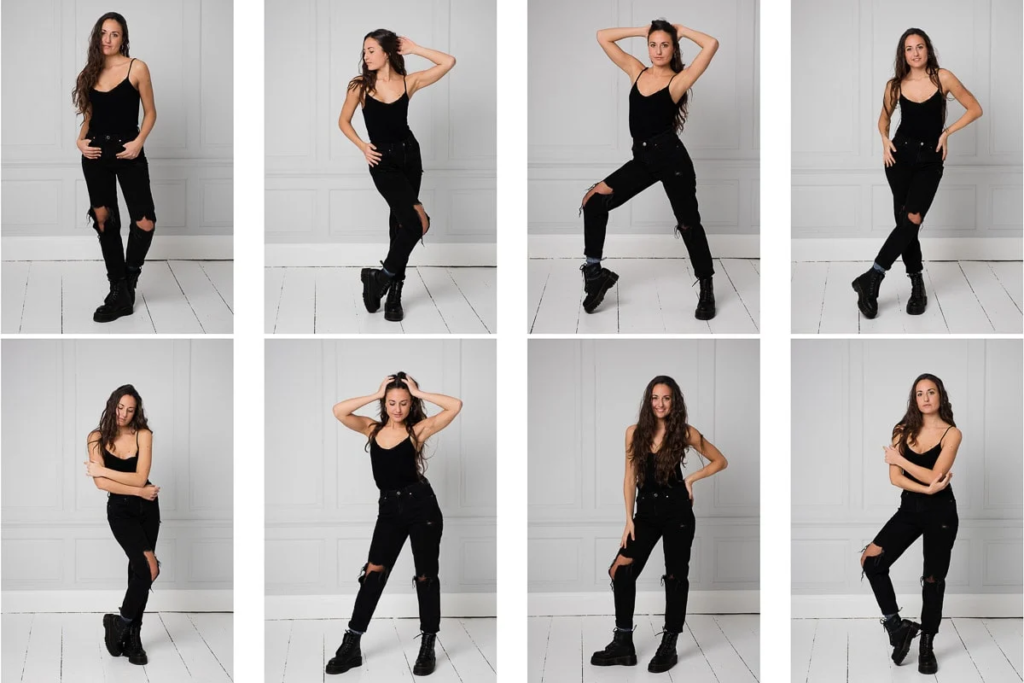
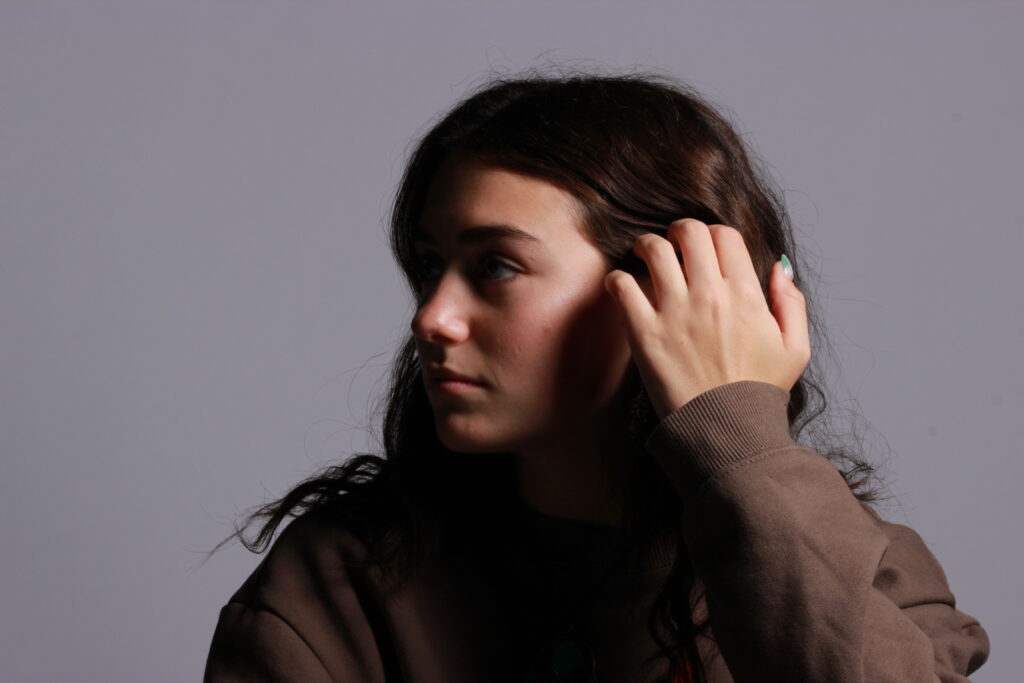
pose :
If you pose for a photograph or painting, you stay in a particular position so that someone can photograph you or paint you. Before going into their meeting the six foreign ministers posed for photographs. [ VERB + for] Synonyms: position yourself, sit, model, strike a pose More Synonyms of pose.
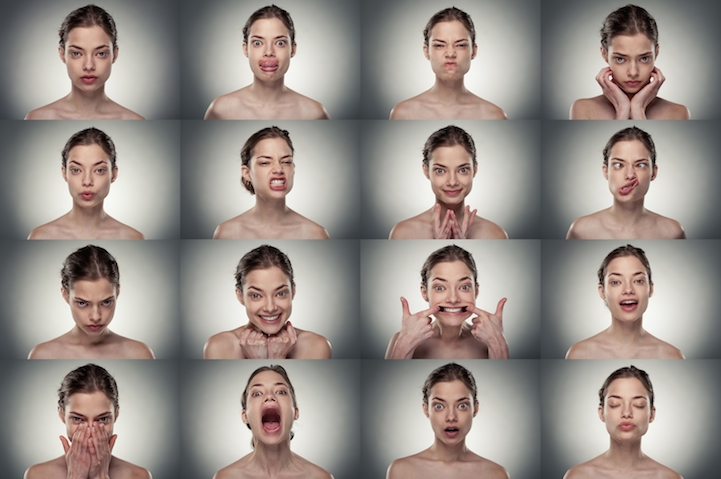
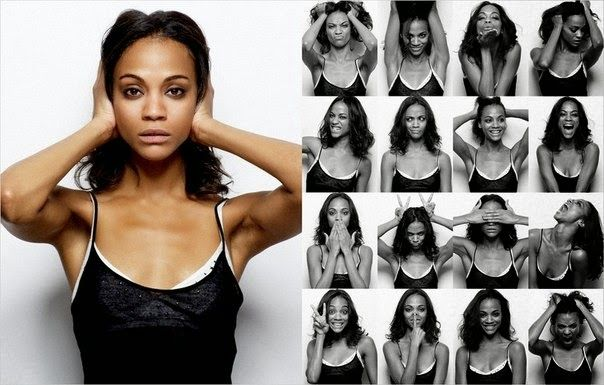
expression :
Expression, according to an online dictionary, is the action of making known one’s thoughts or feelings. In impressionist photography you create an image to communicate to others, using visual language, how you feel about a specific idea or a subject.
Flash Lighting–
In photography, flash lighting or strobe lighting refers to either built-in flash units or devices that are external from the photographer’s camera that when used emit a strong artificial light for a designated period to light up a background.
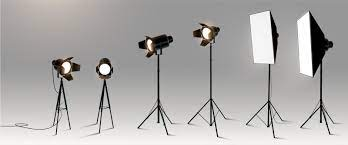
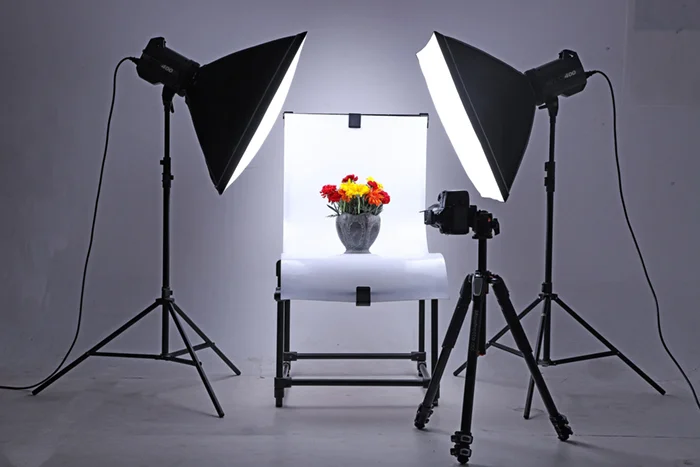
Continuous Lighting–
What is continuous lighting?
Continuous lighting, such as LED panels, fluorescent tubes, or tungsten bulbs, is any source of light that stays on constantly. It has some advantages over flash lighting, like allowing you to see the effect of the light on your subject and background before you take the shot and being easier to use with video.
What is the difference between flash and continuous lighting?
Flash offers more power and depth of field and is generally preferred by professional photography. Continuous can serve for both video and photo but they are generally less powerful but they give you more options when used with smartphones.
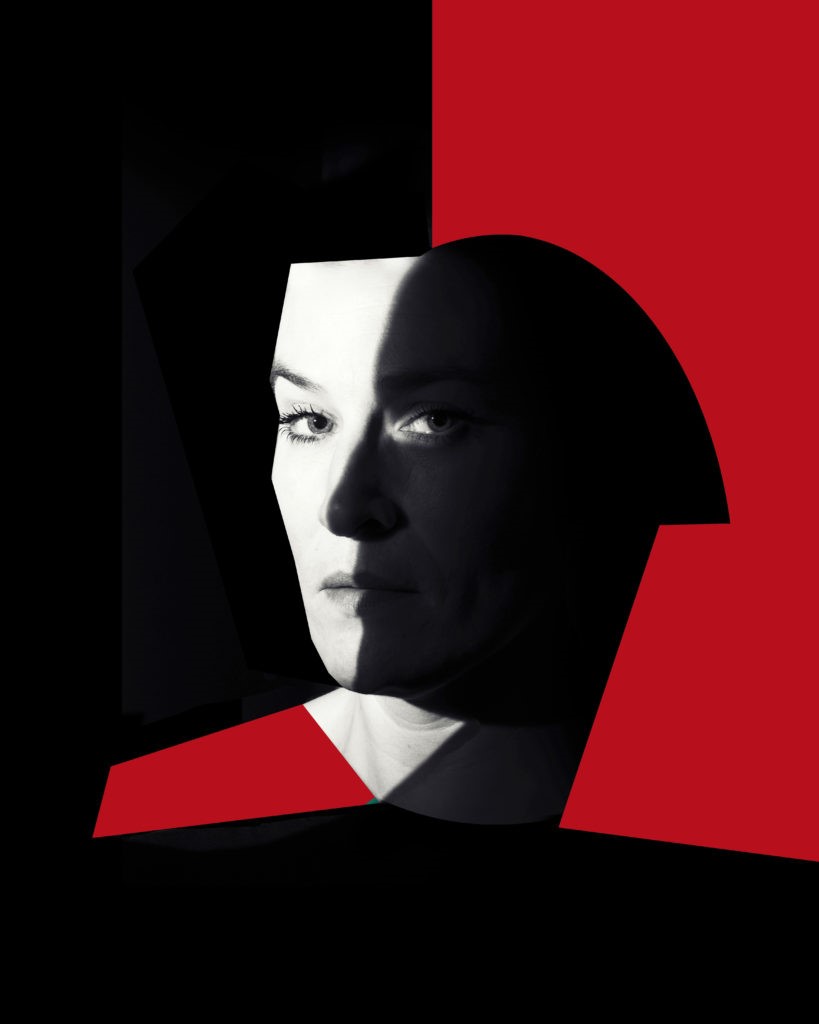
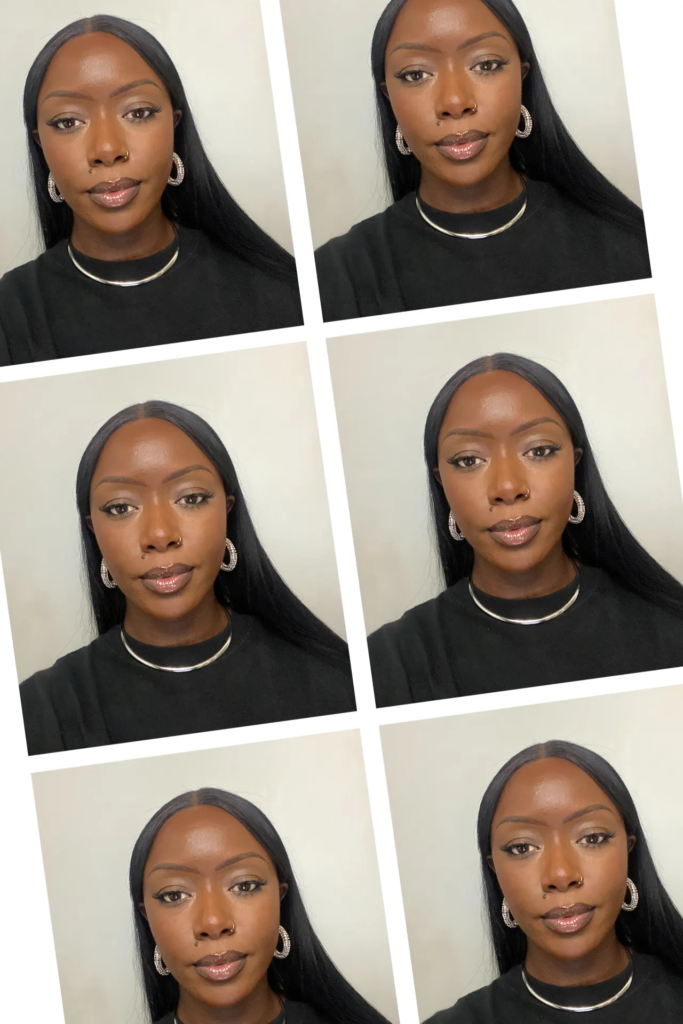
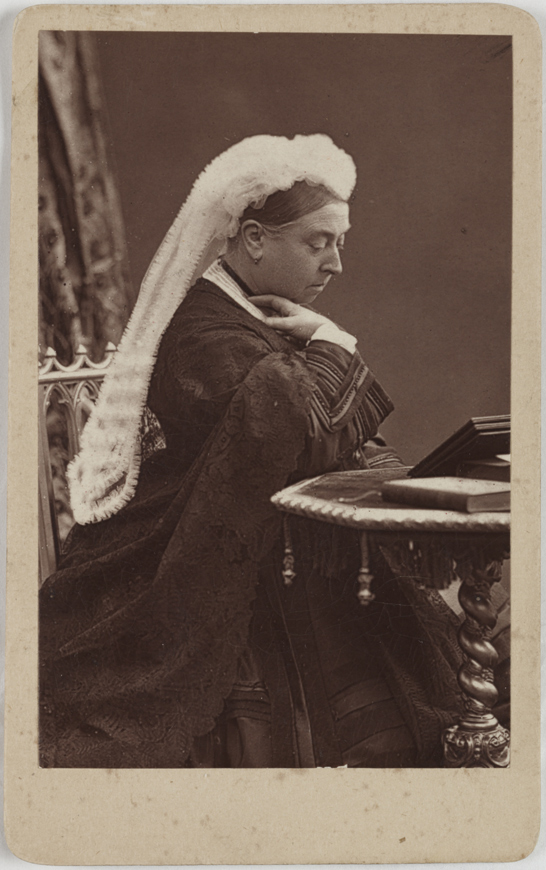
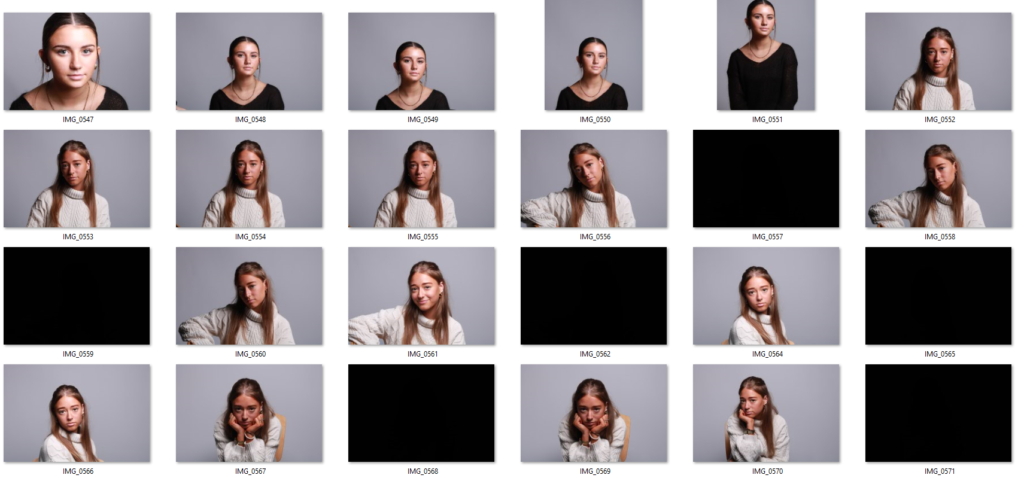
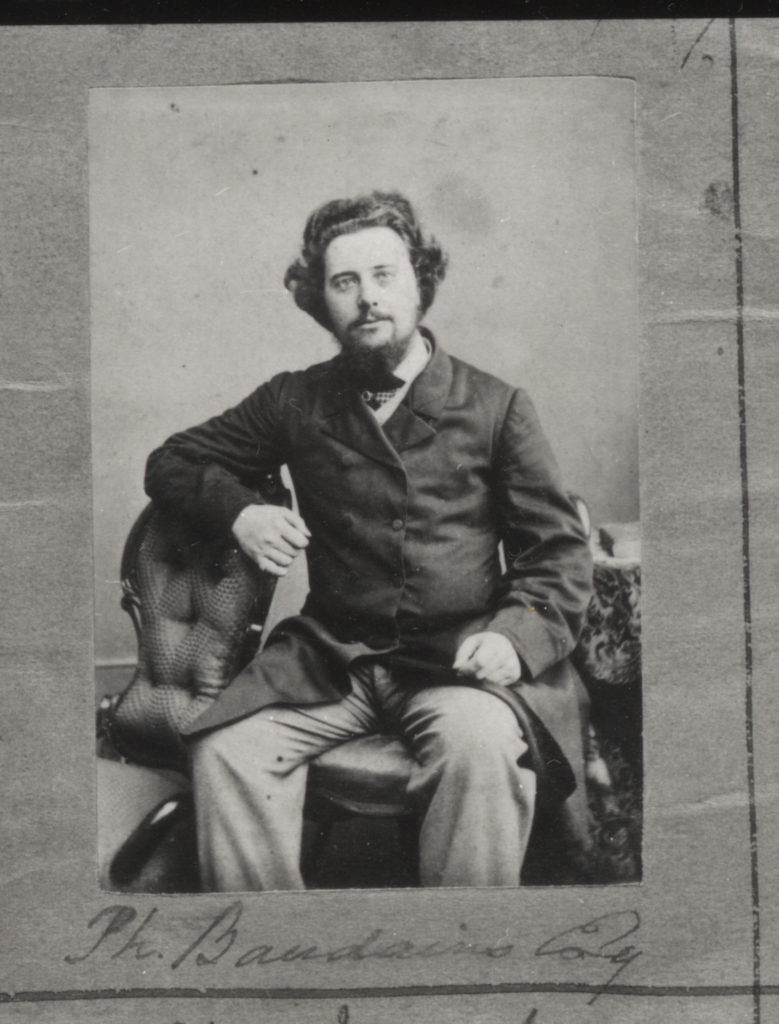
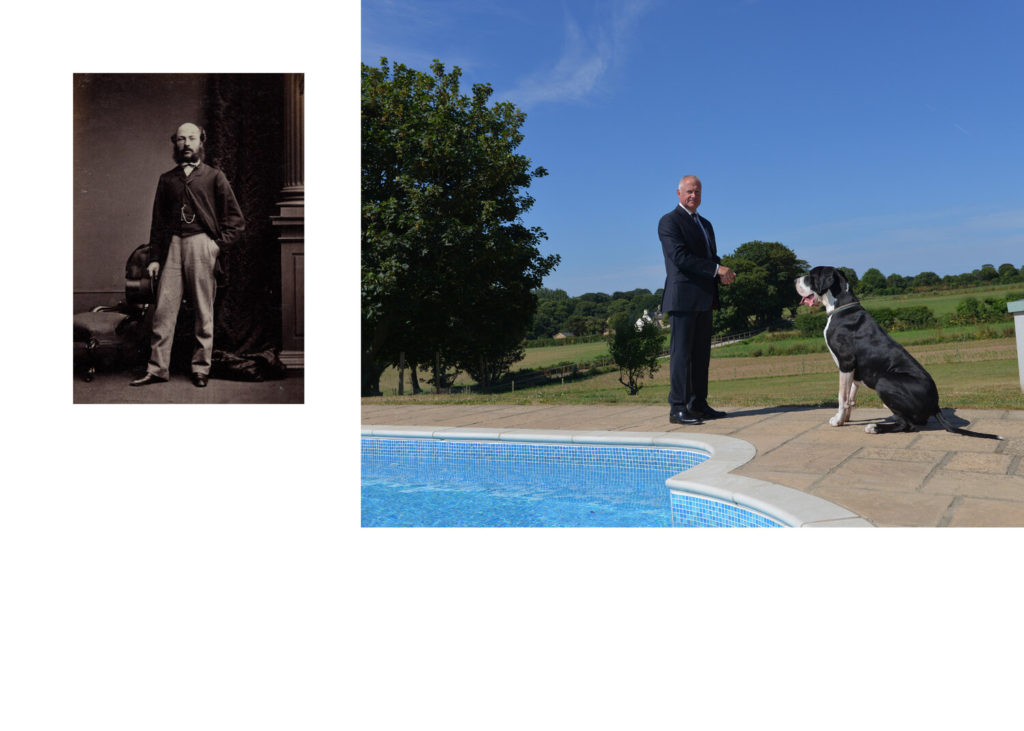
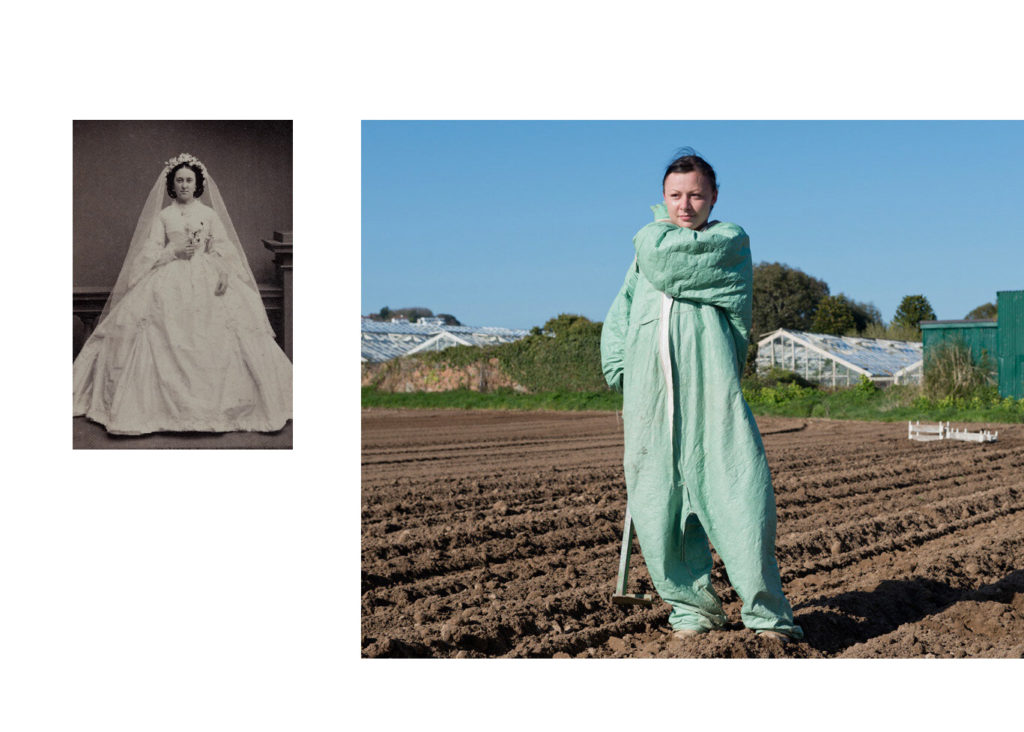
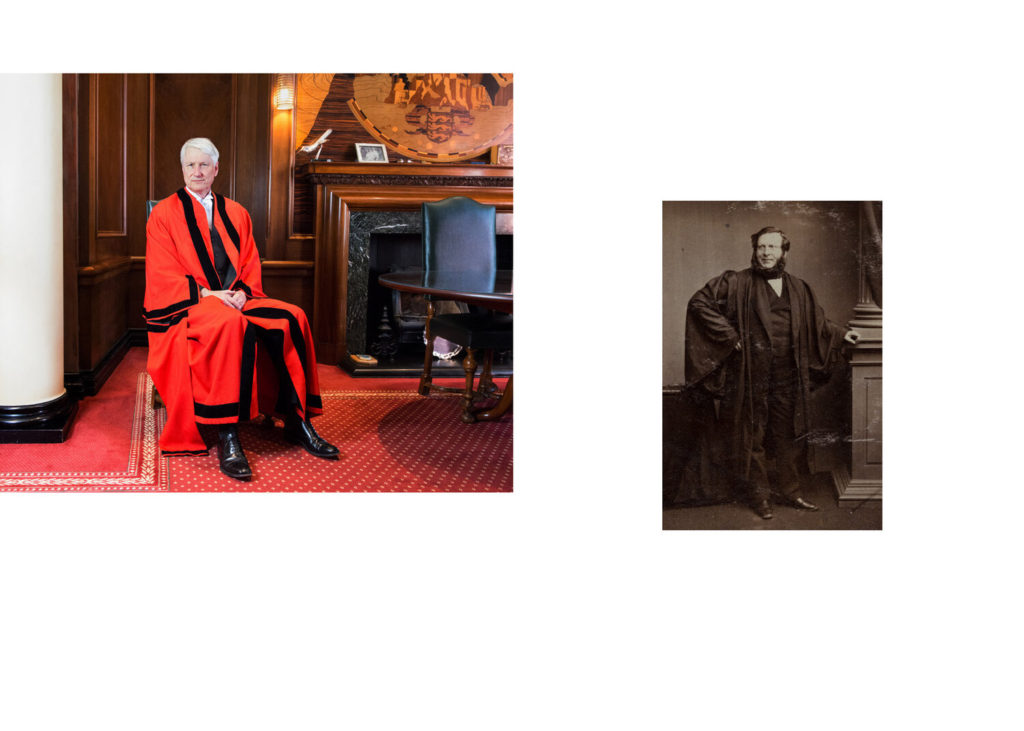
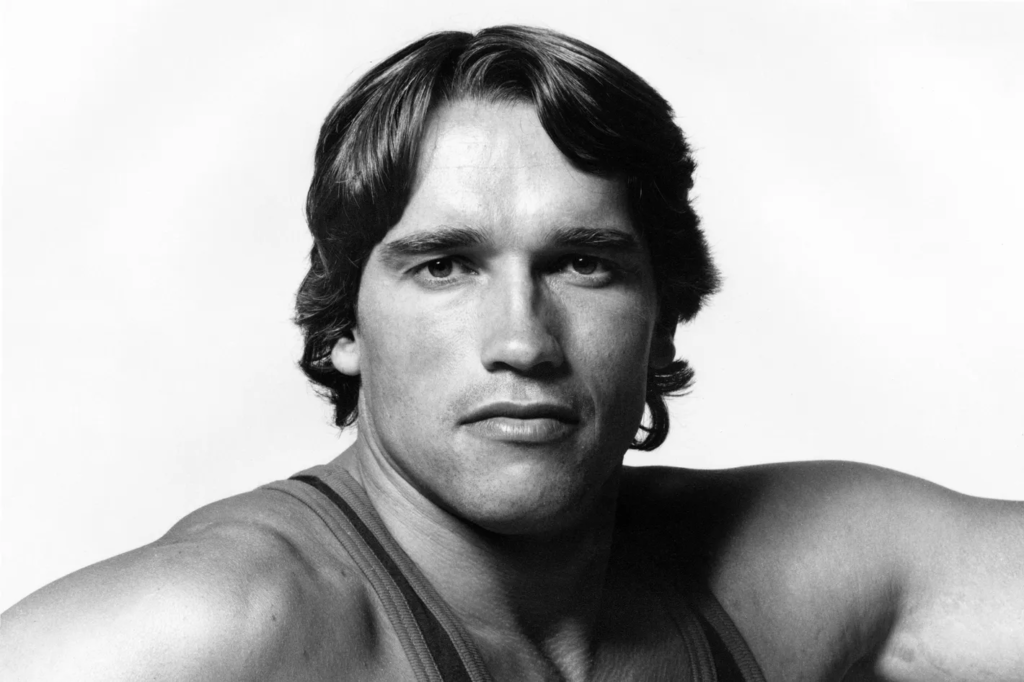
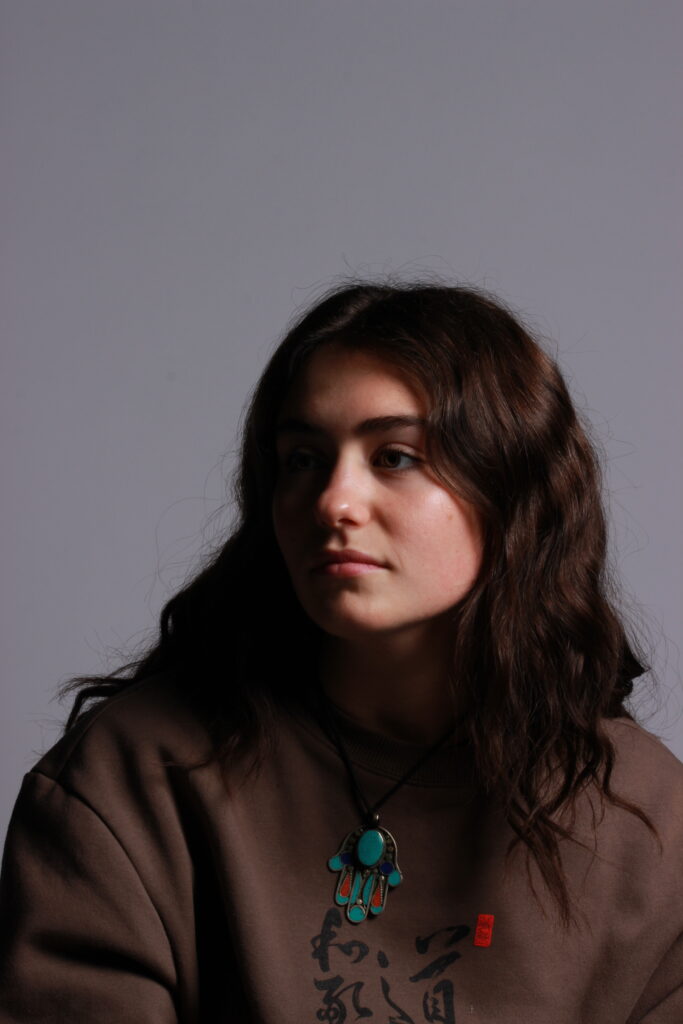
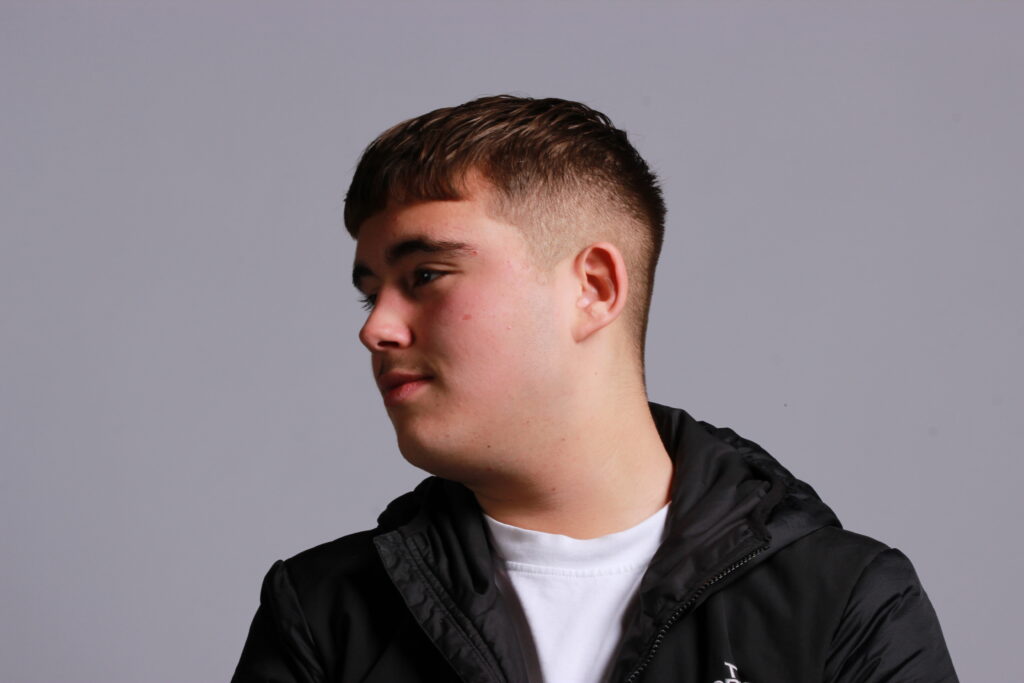
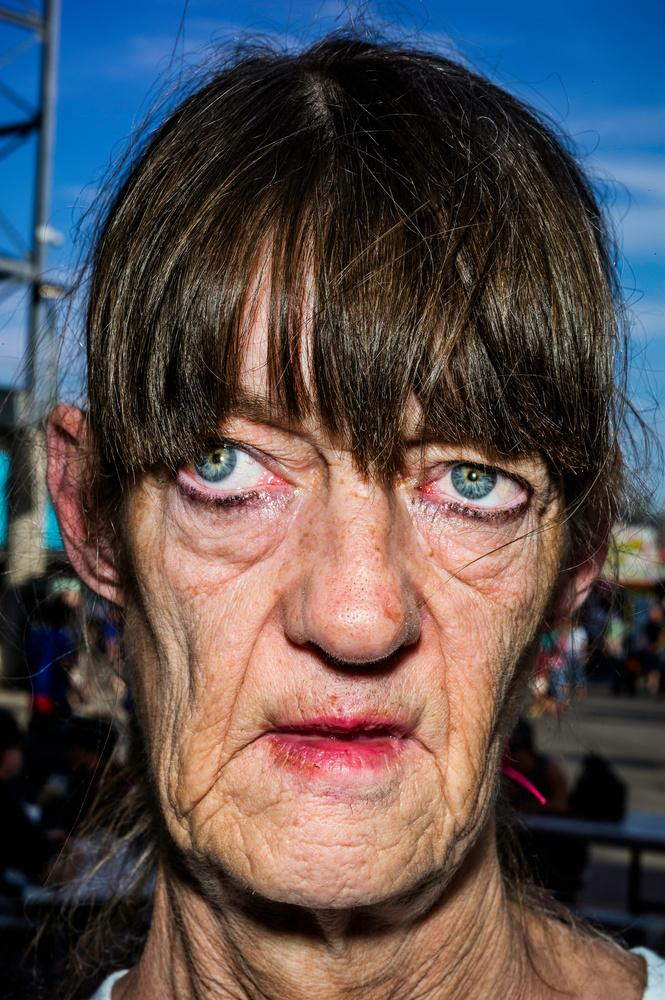
The deadpan aesthetic
Deadpan portraits are typically shot in a straightforward, uncontrived manner. The photographer does not use any special angles, lighting, or props to create an emotional or dramatic effect. Instead, the subject is simply captured as they are, in their natural environment.
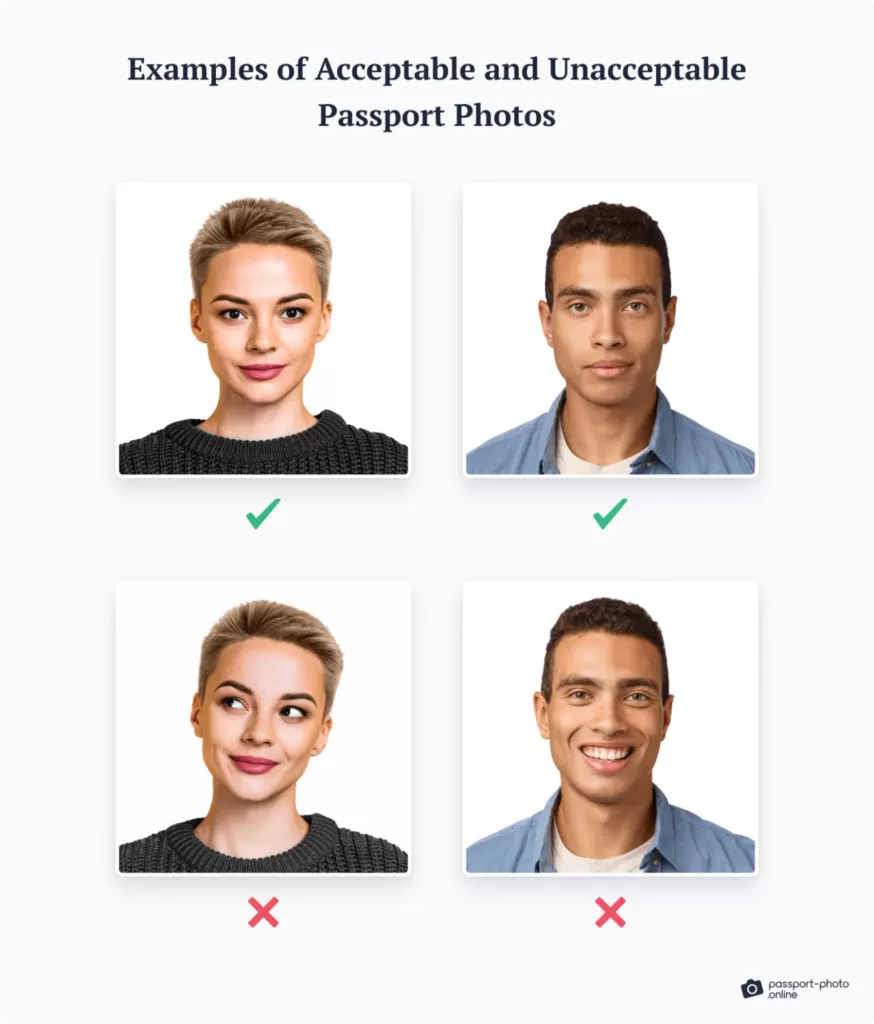
Passport Photos
Passport photograph means a two inch by two inch (2”x2”) photograph of the applicant/licensee taken recently prior to the date of application or renewal of license.
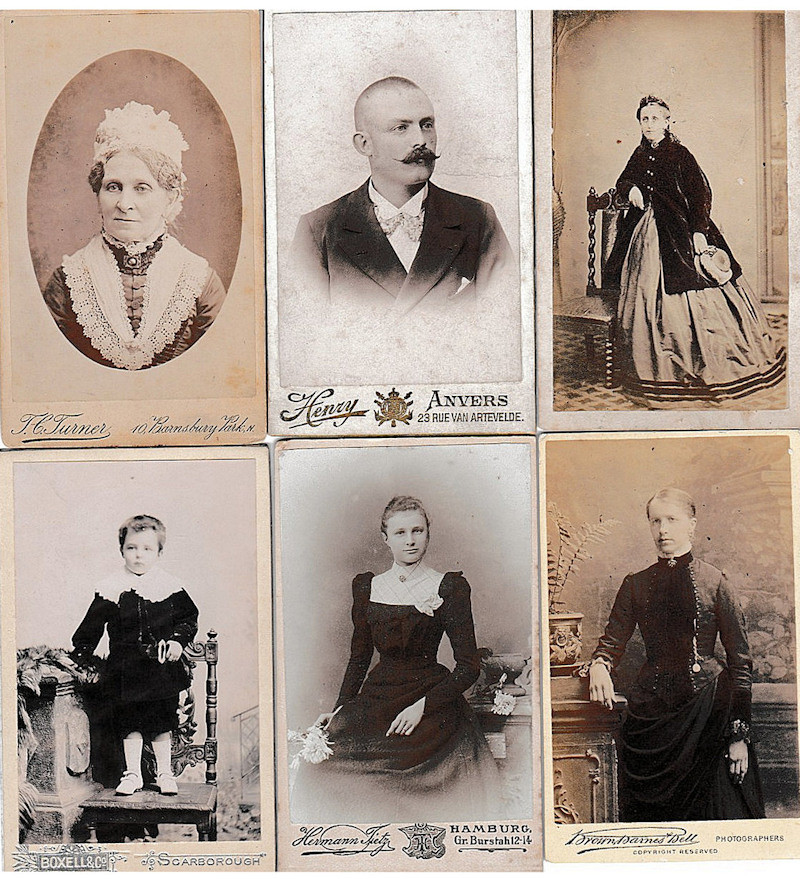
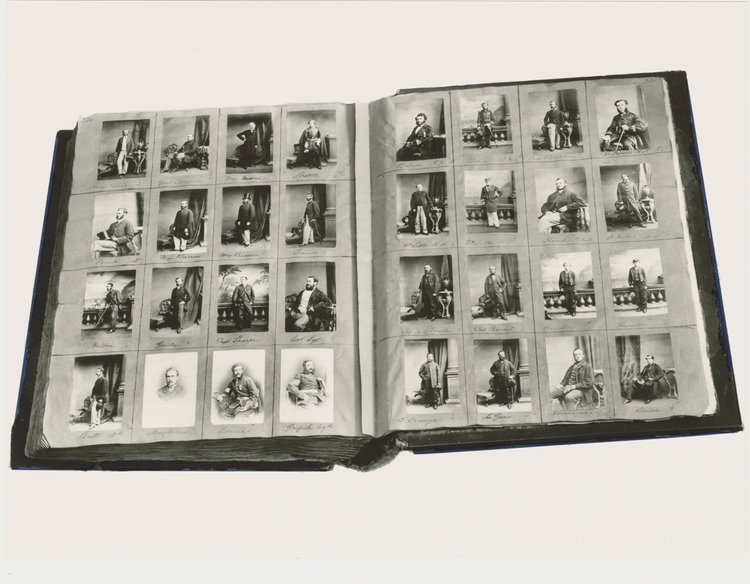
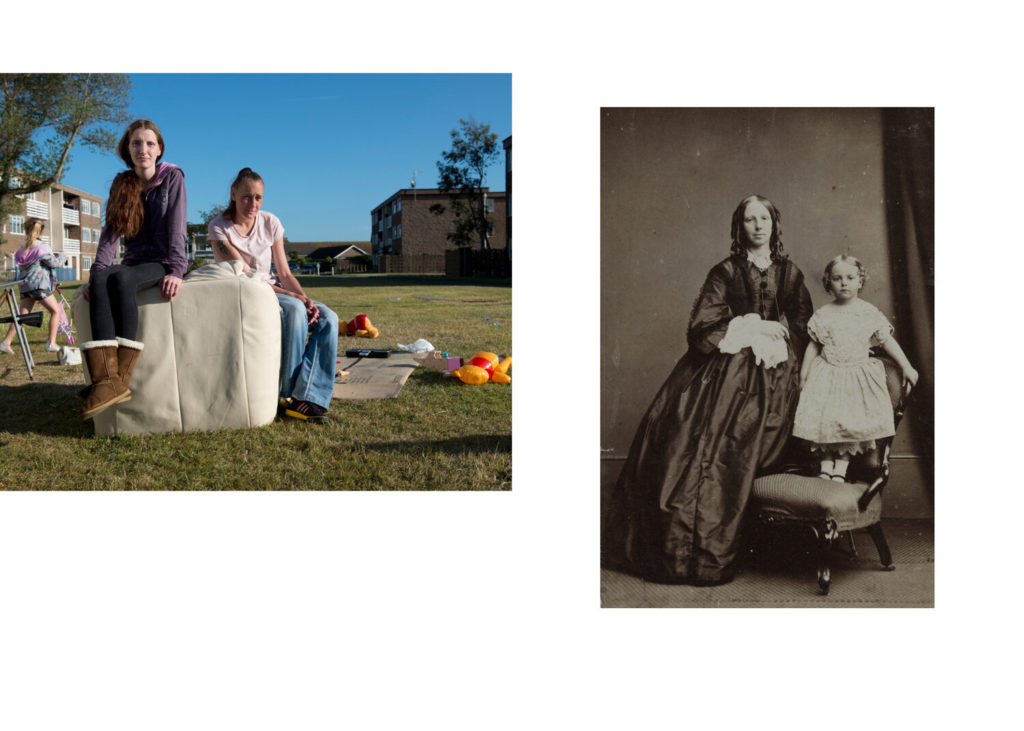
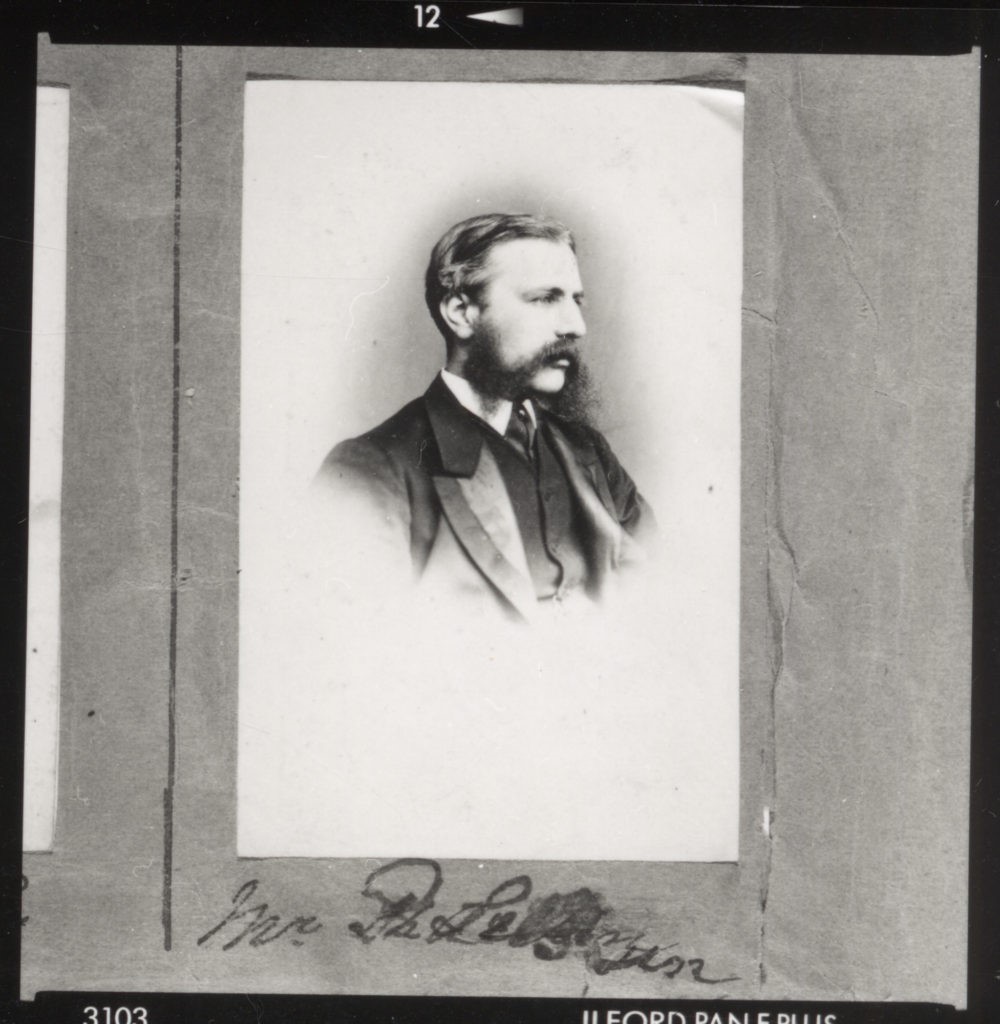
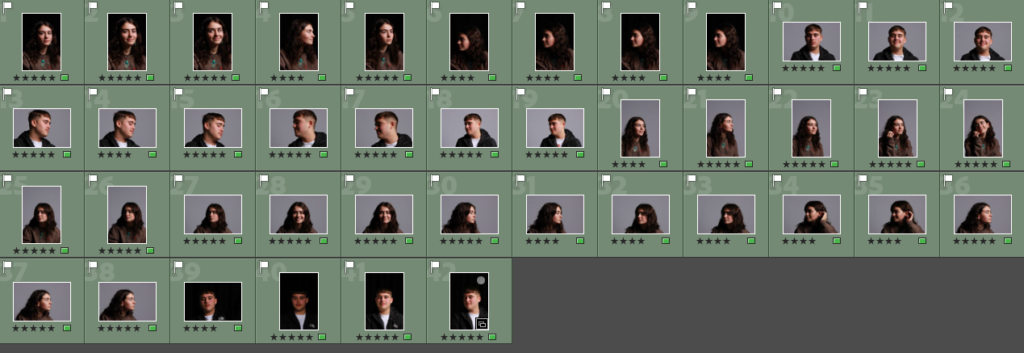
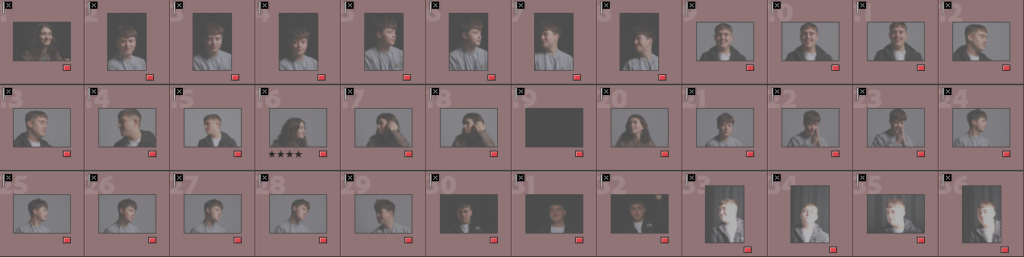
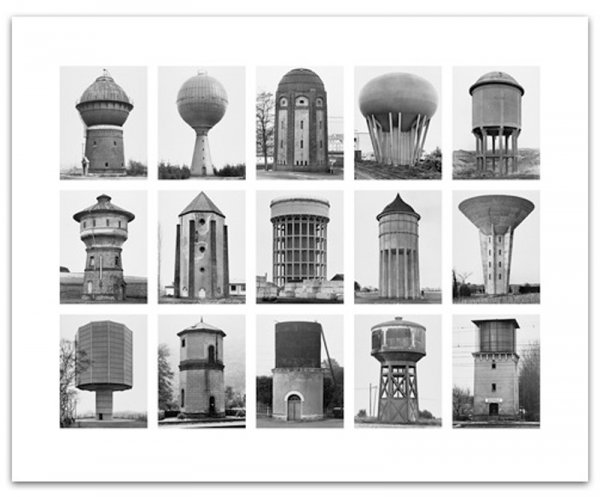
Typologies
Study of or study based on types. especially : classification (as of personality, human physique, or bacterial strains) based on the comparative study of types.
Up close
very close; in close range to.
Background
the part of a picture, scene, or design that forms a setting for the main figures or objects, or appears furthest from the viewer.
Face
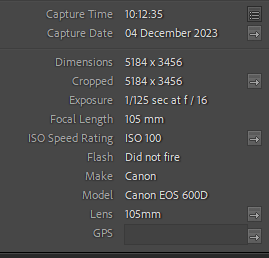
Camera settings (flash lighting)
Tripod: optional
Use transmitter on hotshoe
White balance: daylight (5000K)
ISO: 100
Exposure: Manual 1/125 shutter-speed > f/16 aperture
– check settings before shooting
Focal lenght: 105mm portrait lens
Camera settings (continuous lighting)
Tripod: recommended to avoid camera shake
Manual exposure mode
White balance: tungsten light (3200K)
ISO: 400-1600 – depending on how many light sources
Exposure: Manual 1/60-1/125 shutter-speed > f/4-f/8 aperture
– check settings before shooting
Focal lenght: 50mm portrait lens