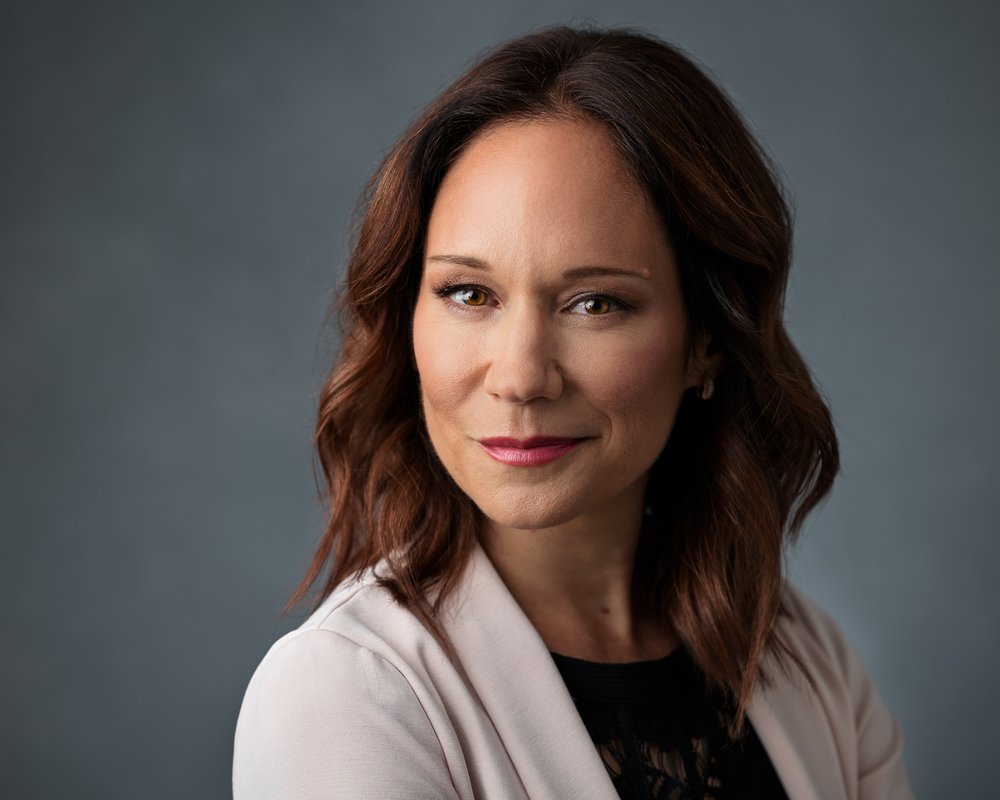
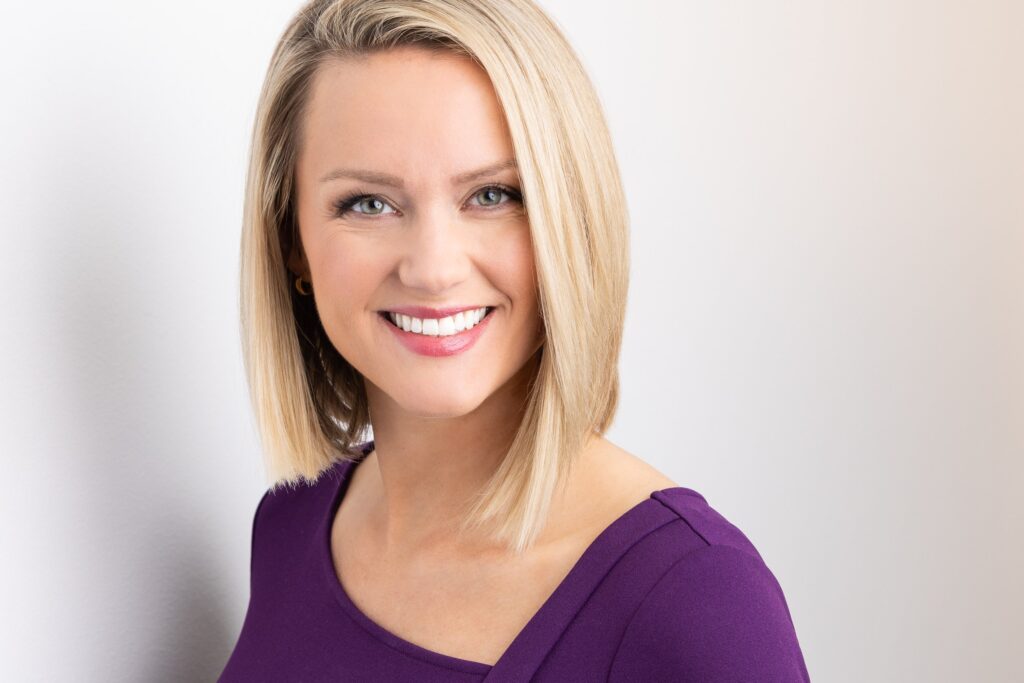
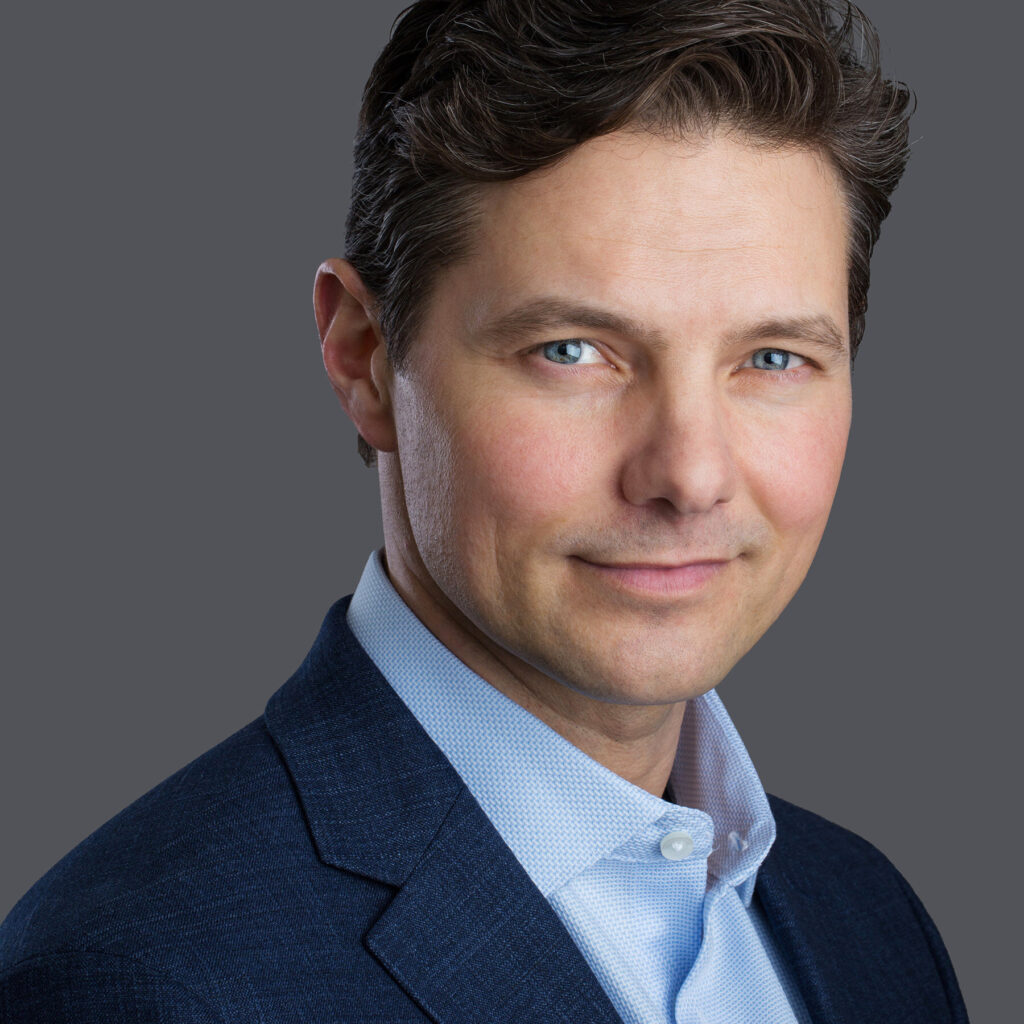
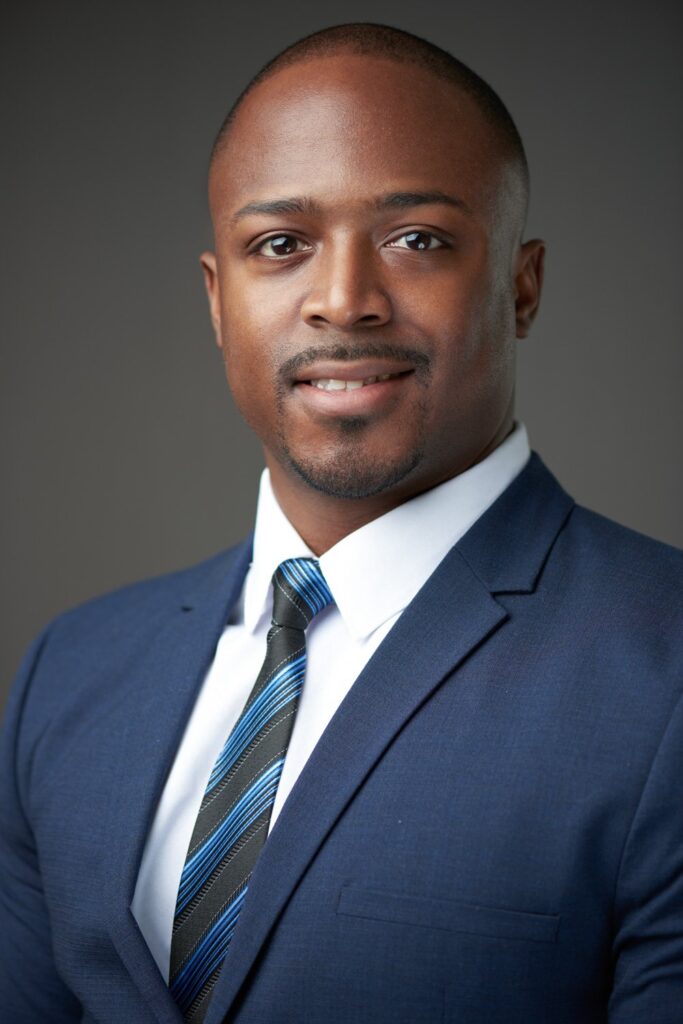
Professional headshots are a type of portrait photography typically used for websites, press releases, publications, and social-media profiles. The term “headshot” just means that the portrait photo is cropped somewhere in the middle torso – so that the focus is on your face.
Some common rules in order to produce successful headshots are:
- Don’t bend your head too far forward or back – you want to be relaxed and natural-looking.
- Don’t sit in an awkward position – you want to look comfortable and confident.
- Don’t look down at the ground – keep your chin up and make eye contact with the photographer.
- Don’t use outdated corporate headshots.
- Eyes must be open and clearly visible, with no flash reflections and no ‘red eye’
- Facial expression must be neutral (neither frowning nor smiling), with the mouth closed
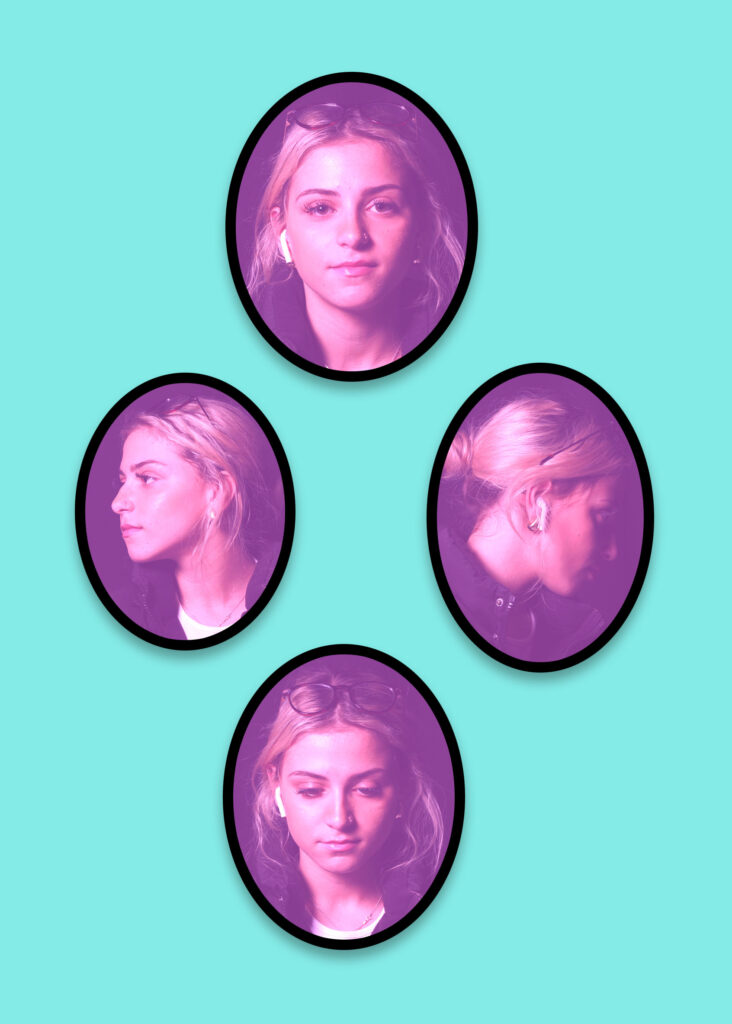
- Photos must show both edges of the face clearly
- Photos must show a full front view of face and shoulders, squared to the camera
- The face and shoulder image must be centred in the photo; the subject must not be looking over one shoulder (portrait style), or tilting their head to one side or backwards or forwards
- There must be no hair across the eyes
- Hats or head coverings are not permitted except when worn for religious reasons and only if the full facial features are clearly visible
- Photos with shadows on the face are unacceptable
- Photos must reflect/represent natural skin tone
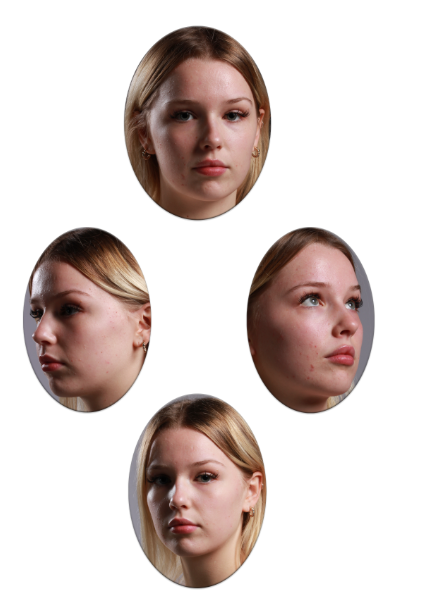
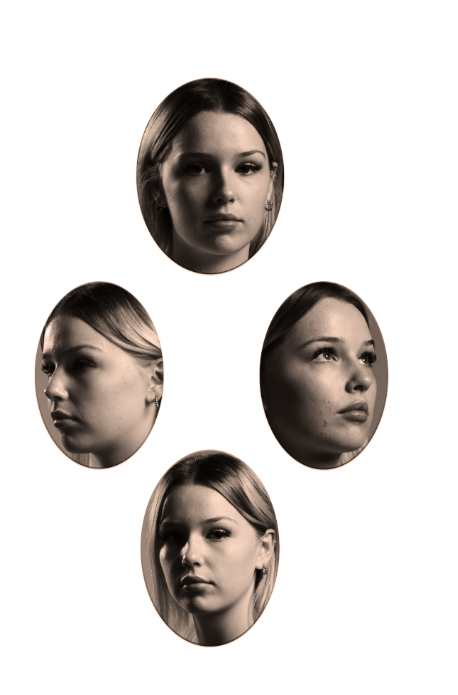
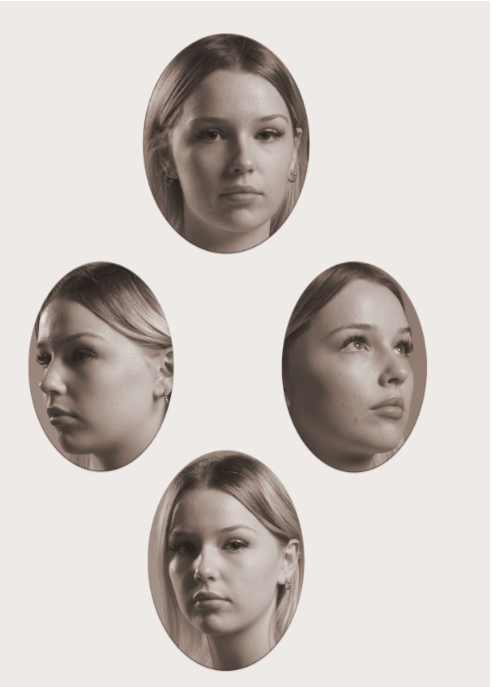
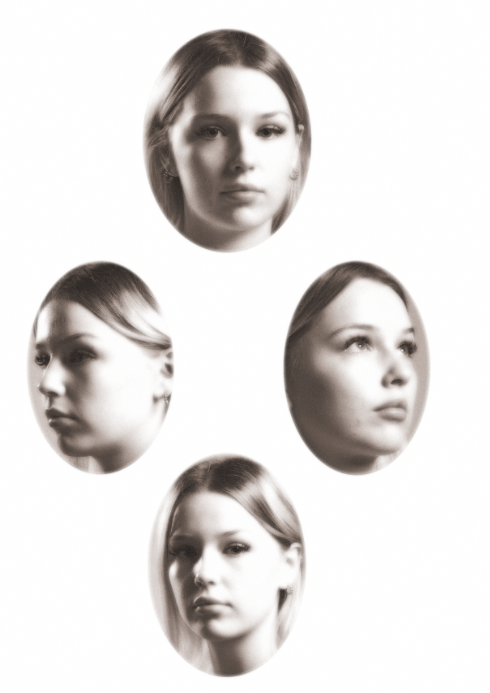
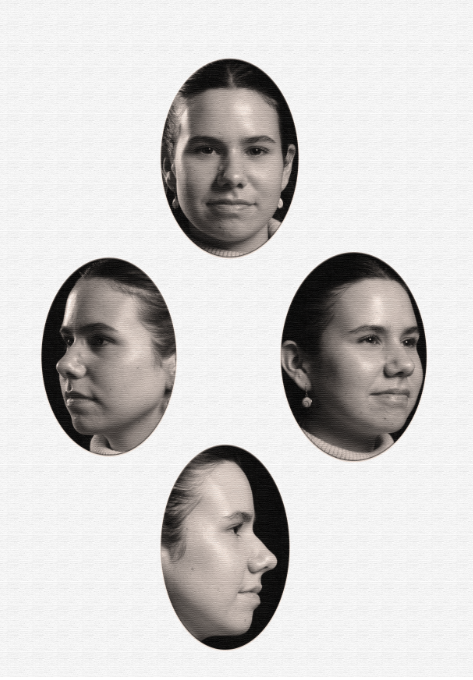
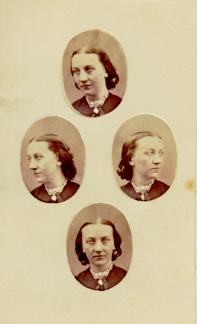
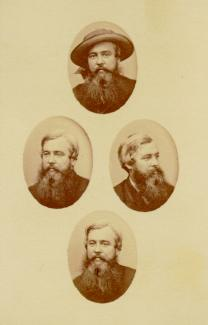
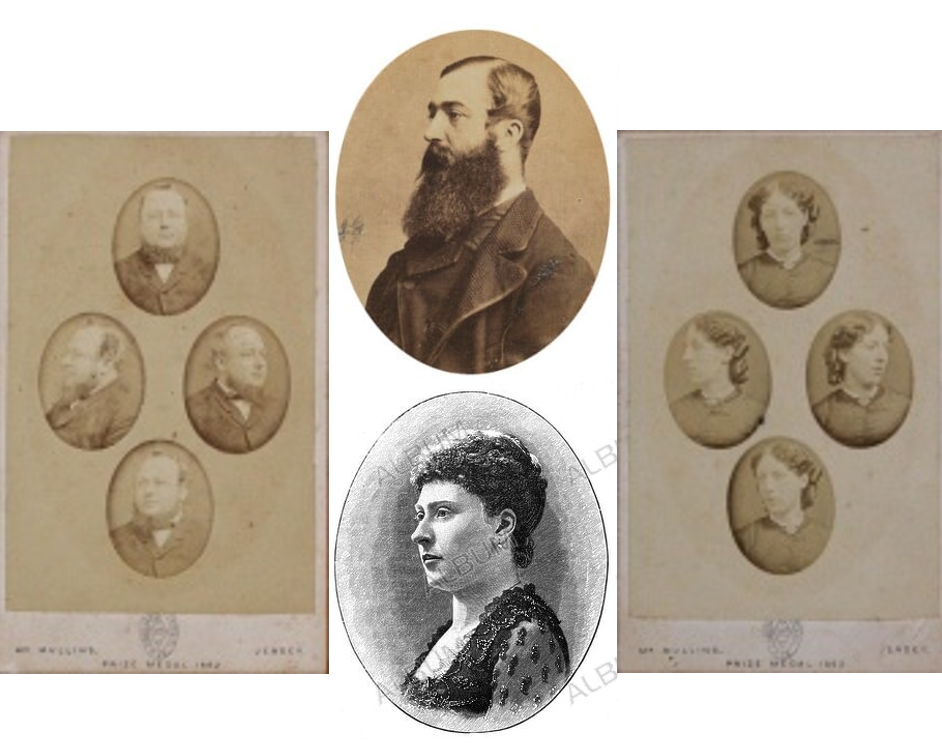
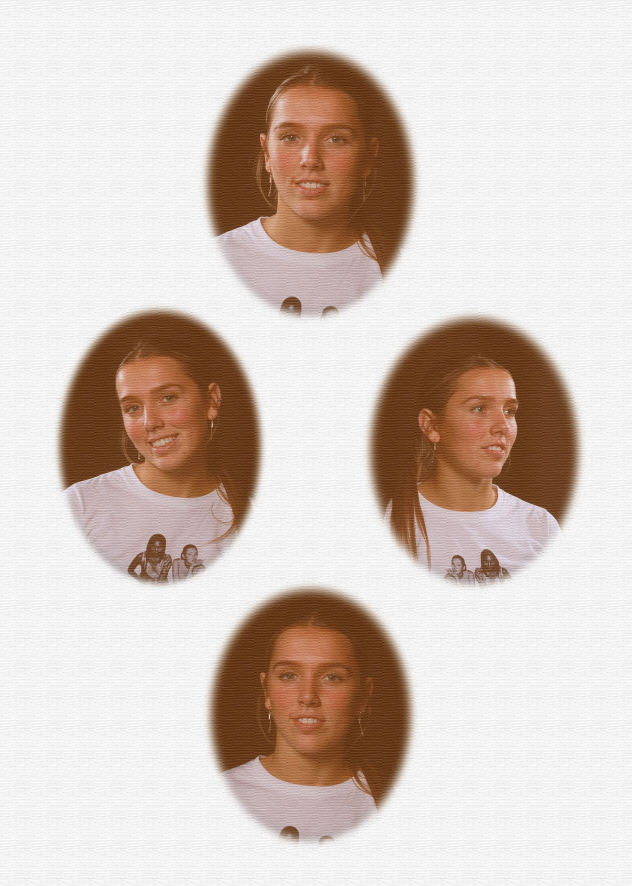
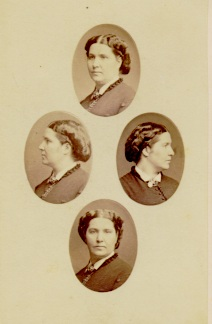
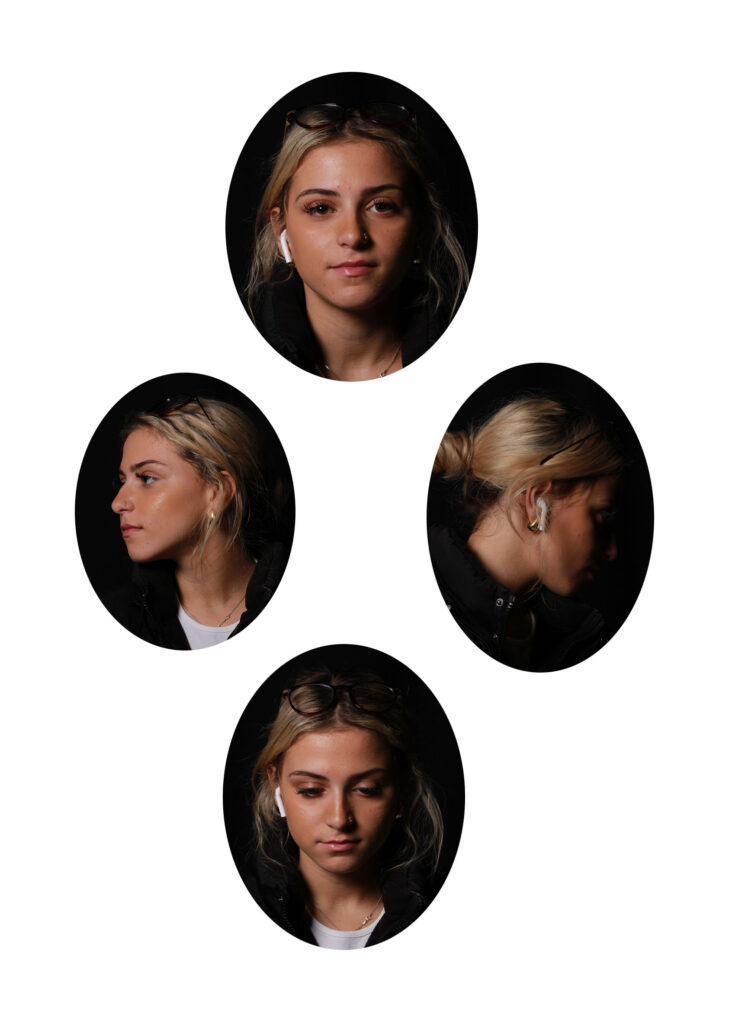
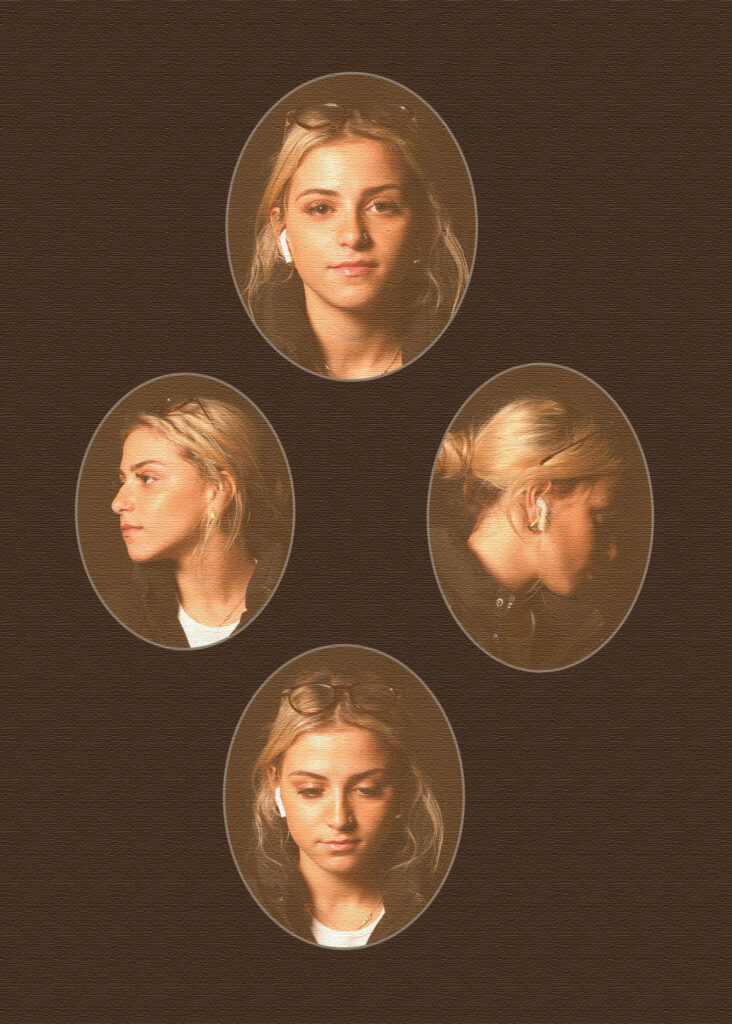
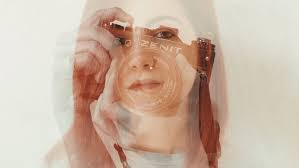
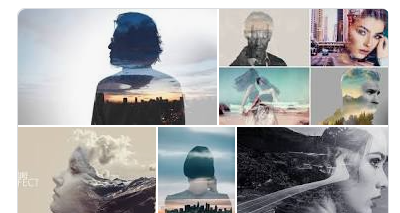
Headshots Mood Board:


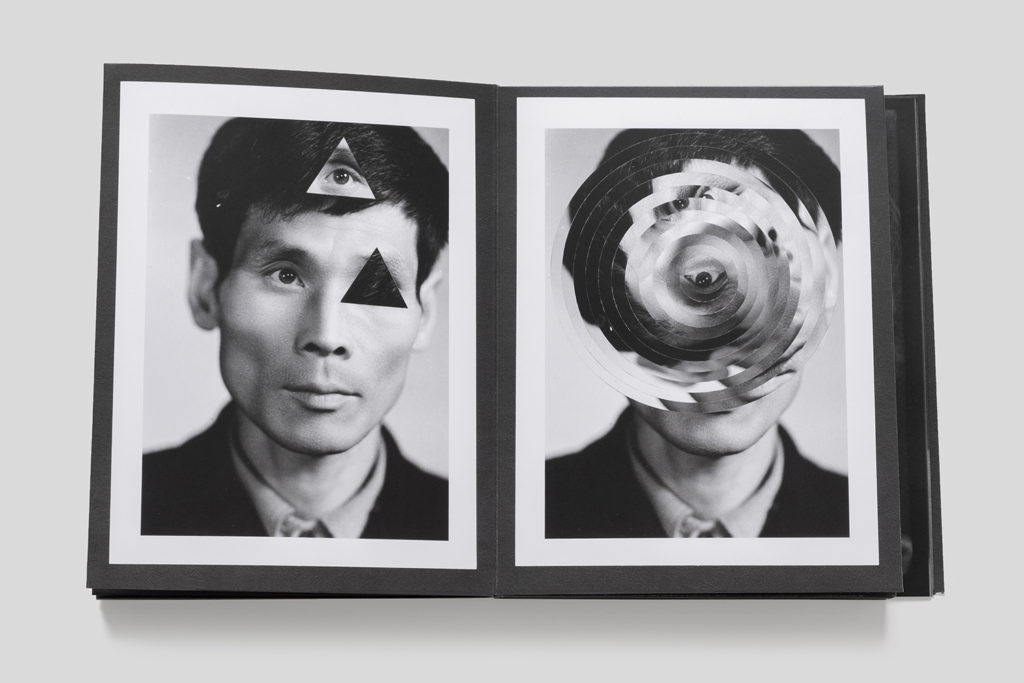
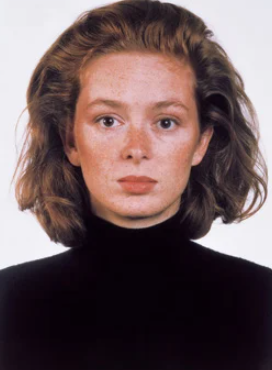
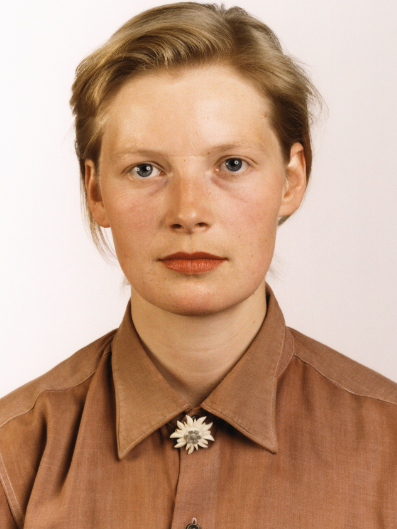
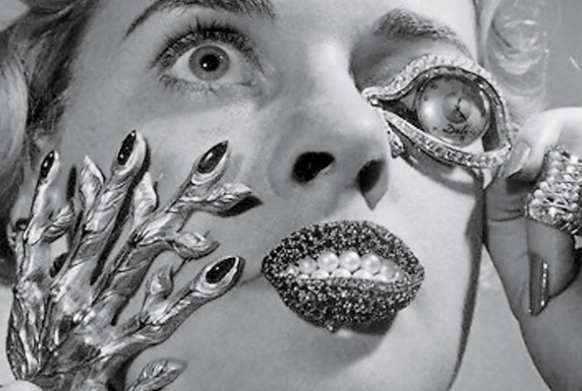
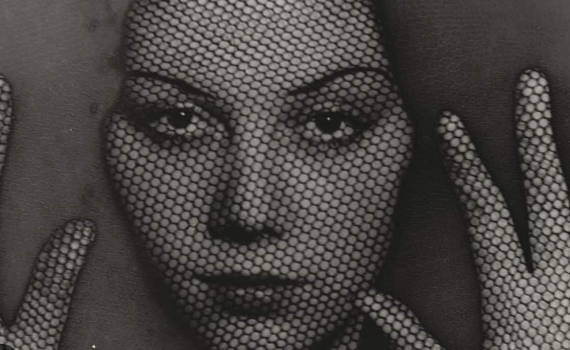
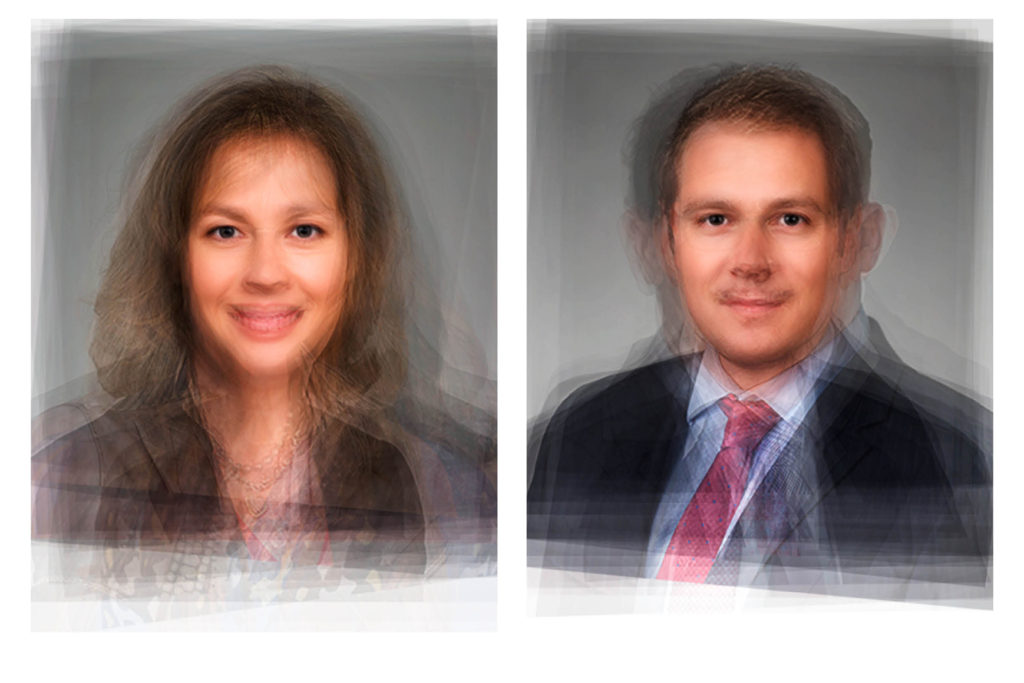
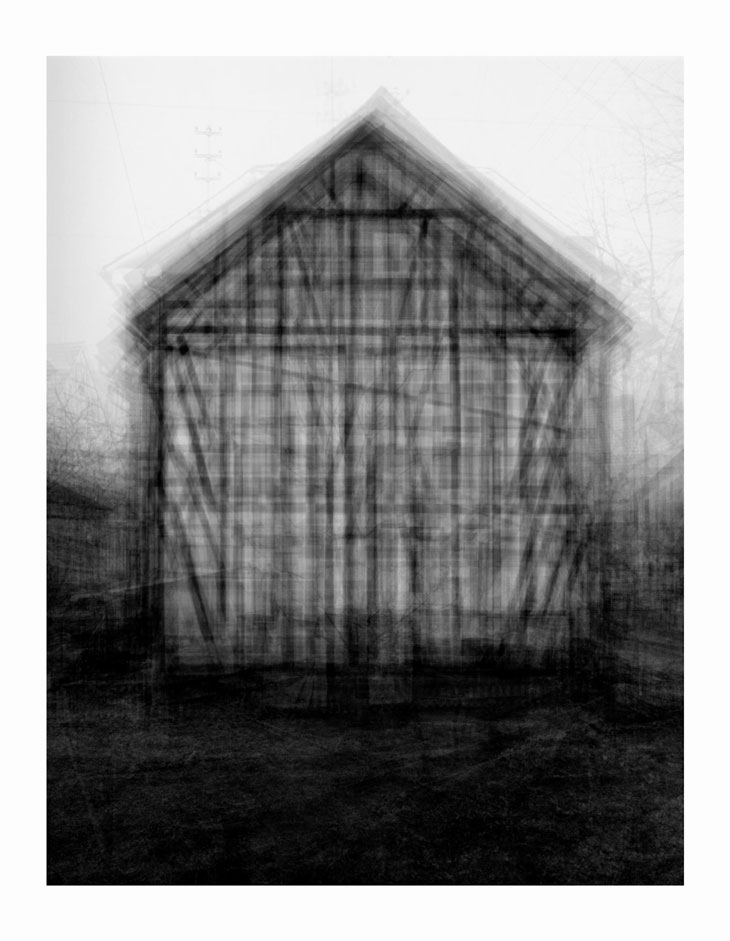
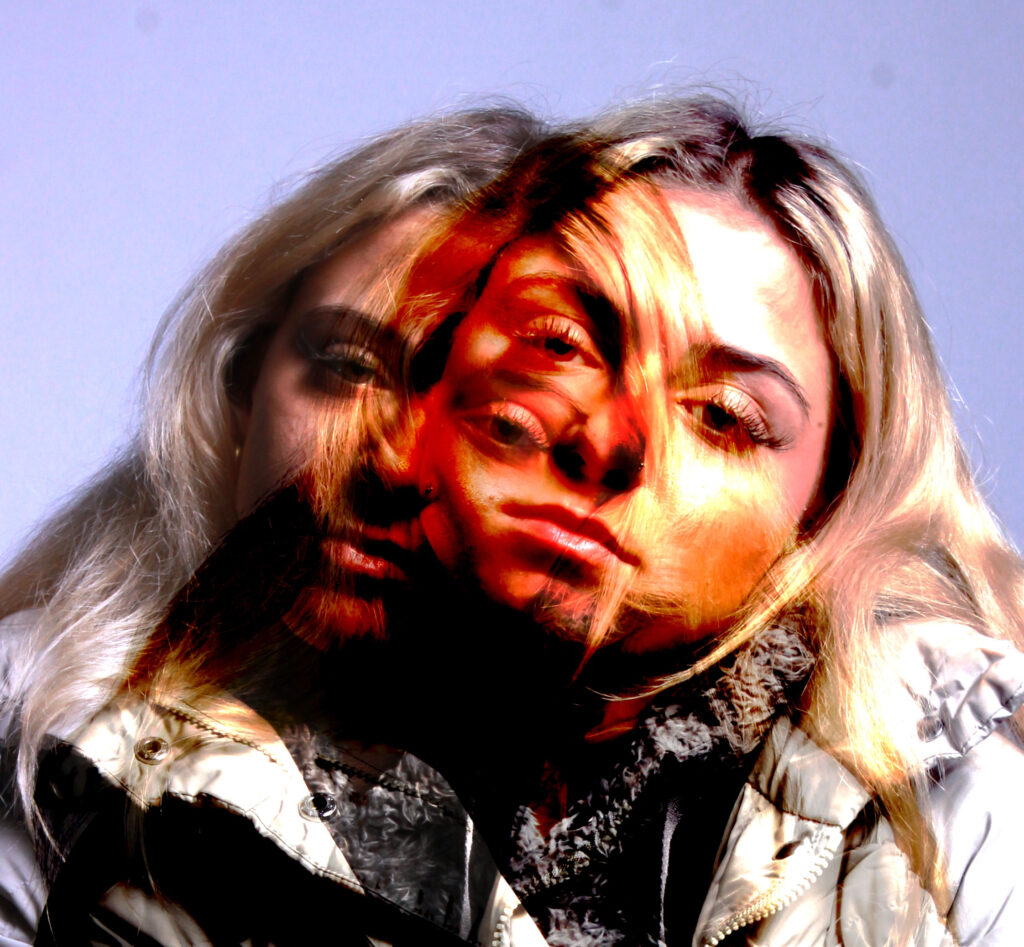
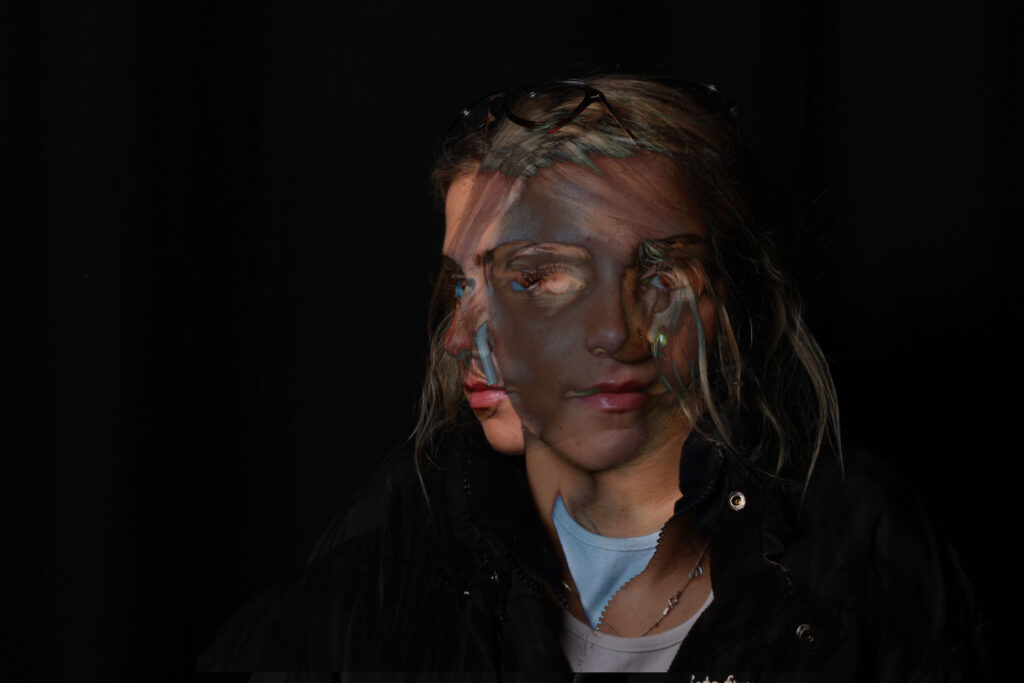
Thomas Ruff- Artist Research:
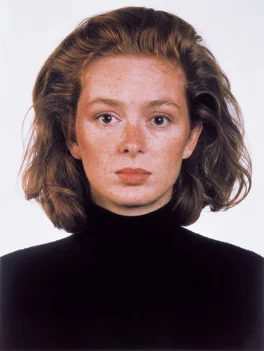
Thomas Ruff was a German photographer born on February 10th 1958, who lives and works in Düsseldorf, Germany. He has been described as “a master of edited and reimagined images”. Ruff shares a studio on Düsseldorf’s Hansaallee, with fellow German photographers Laurenz Berges, Andreas Gursky and Axel Hütte. Thomas Ruff’s photography suggests the possibilities of his chosen medium, as he might use digital manipulation for one subject and antiquated darkroom techniques for another. Ruff works in series, creating defined bodies of work whose subjects include empty domestic interiors, appropriated interplanetary images captured by NASA, abstractions of modernist architecture and three–dimensional computer–generated Pop imagery.
Ruff is a unique photographer because he explores the boundaries of photography and challenges traditional ideas of representation. He experiments with different techniques such as digitally manipulating them or using large-scale formats in order to create visually striking photographs. His work often prompts viewers to question the nature of photography and our perception of reality.
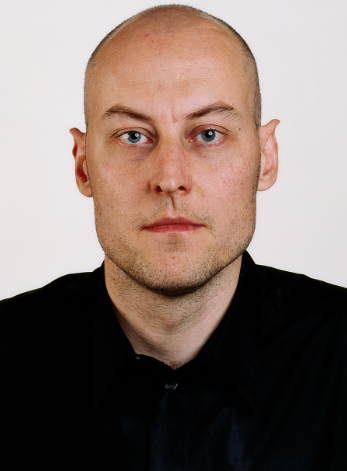
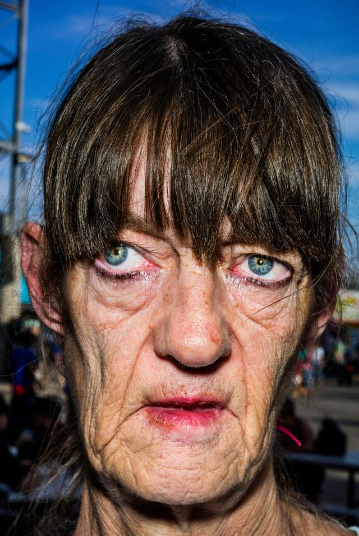
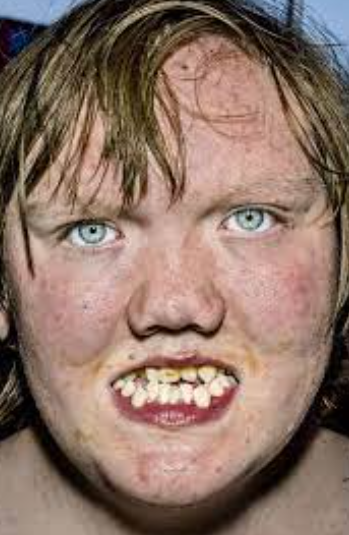
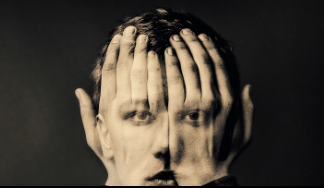
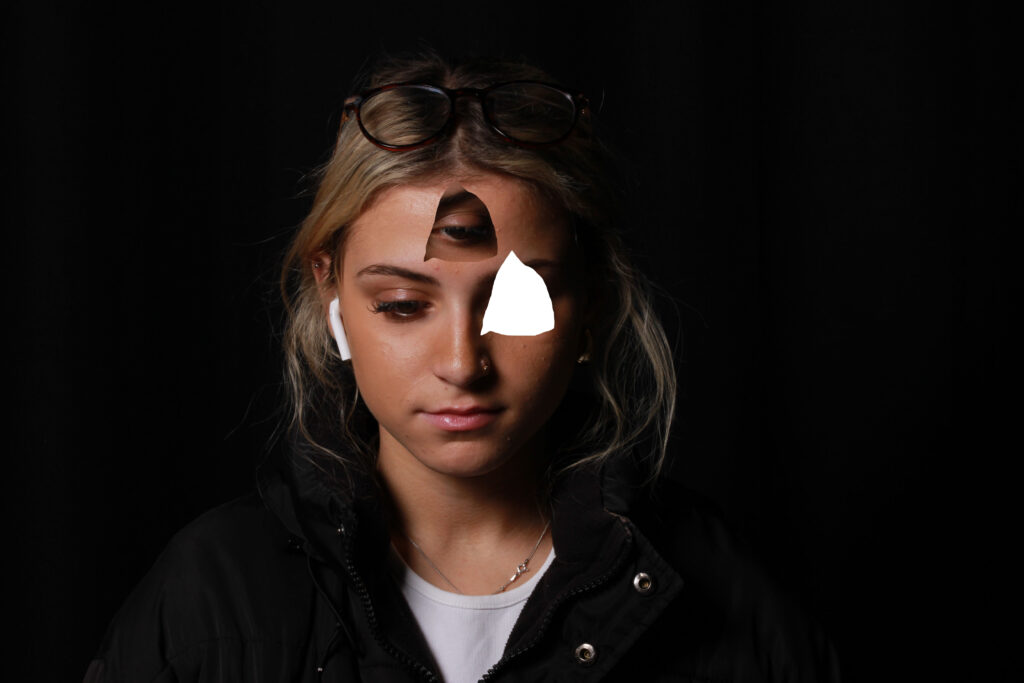
Bruce Gilden:
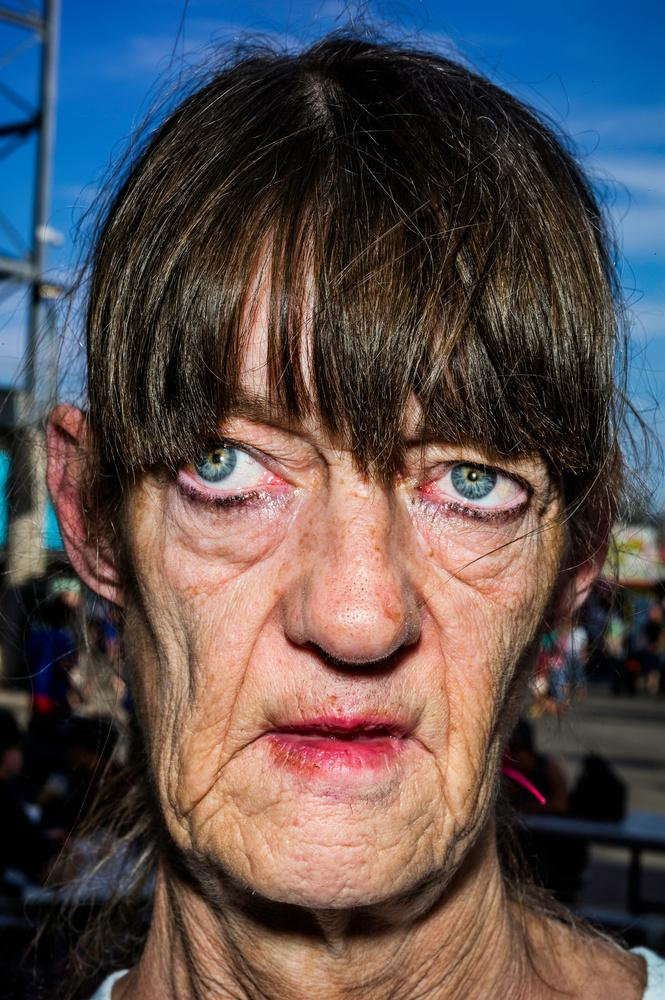
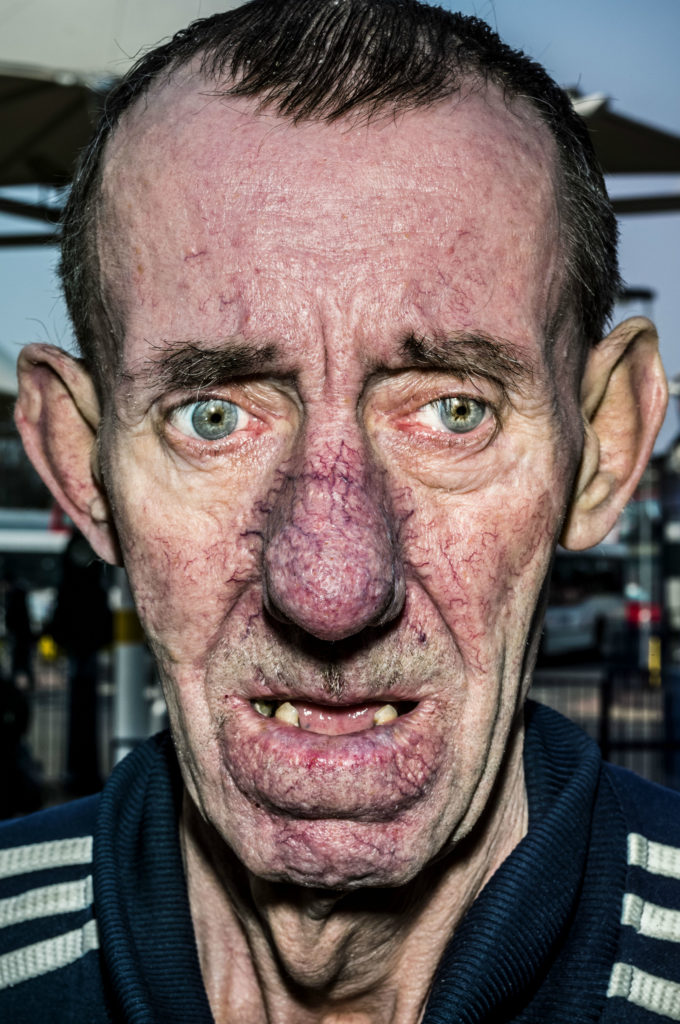
Bruce Gilden is an American street photographer. He is best known for his candid close-up photographs of people on the streets of New York City, using a flashgun. He has had various books of his work published, has received the European Publishers Award for Photography and is a Guggenheim Fellow.
Bruce Gilden is one of the most iconic street photographers known for his confrontational and graphic images of a close-up subject. His work is around this due to being fascinated by the life on the streets and the complicated and captivating motion it involves in his childhood. His work has a high degree of intimacy and directness which have become signature in his work called FACE. Typically, people used are not the average person and have blemishes or look uncomfortable/awkward. Many people may say he is the most aggressive street photographer due to the rawness and realness of his images.
I like Gilden’s work because it has a sense of realism throughout. It is effective because he has a unique style that captures raw and candid moments. He often gets close up to his subjects, which I think creates powerful and intense images. His photos also have a a gritty and unfiltered quality which easily grabs attention and evokes strong emotions.