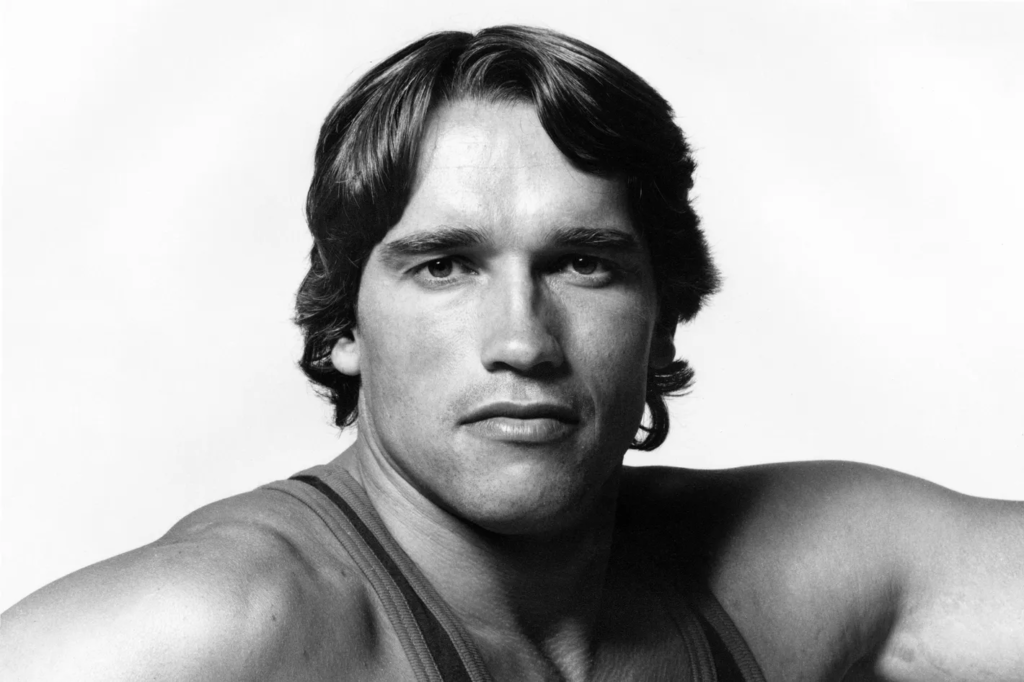
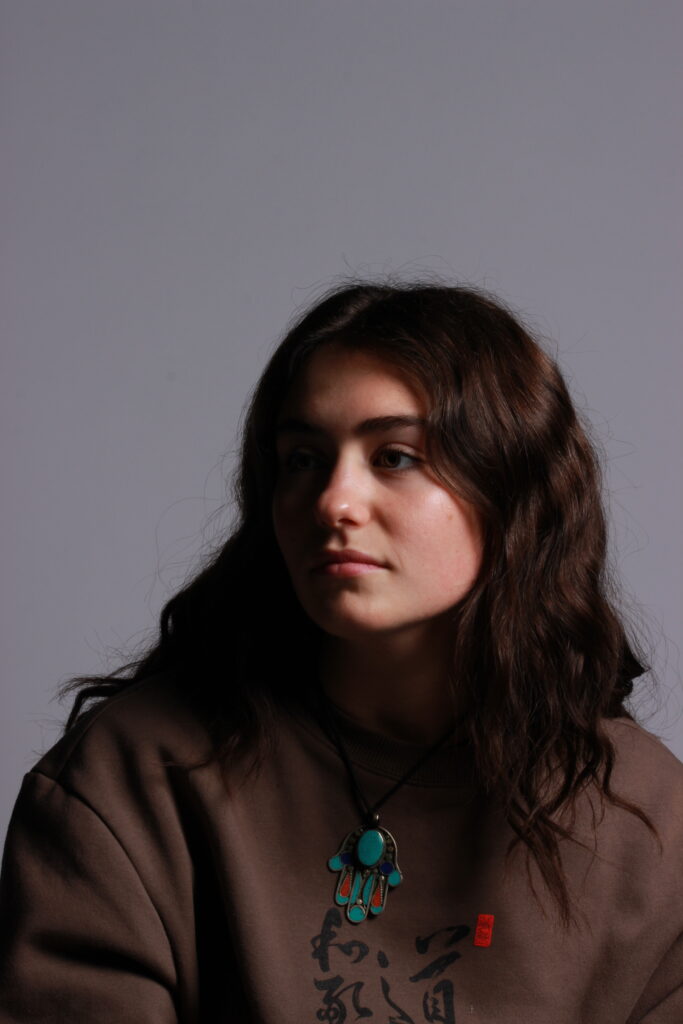
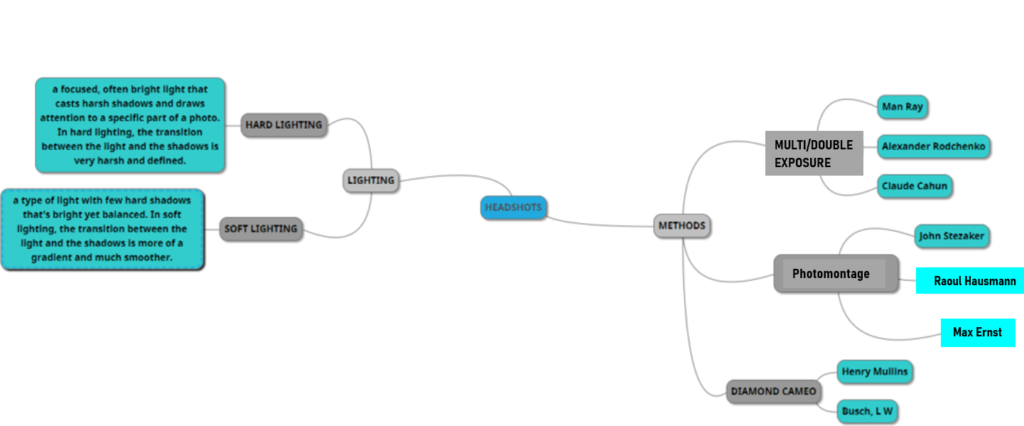
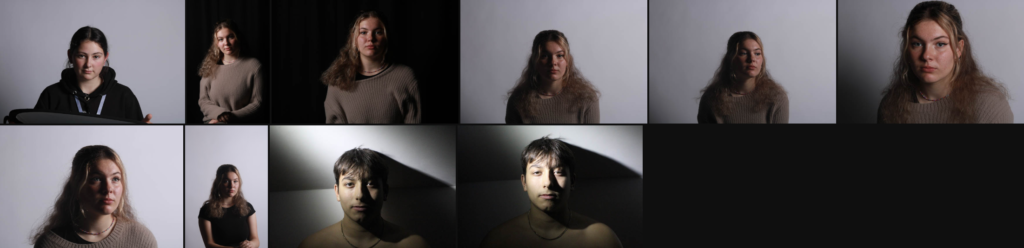
Introduction- The term “headshot” or “head shot” just means that the portrait photo is cropped somewhere in the middle torso – so that the focus is on your face. A headshot is a form of digital photography that focuses solely on a person’s face. The subject’s face should be the main focus, and the framing should be done in a way that draws attention to the eyes and facial expressions.
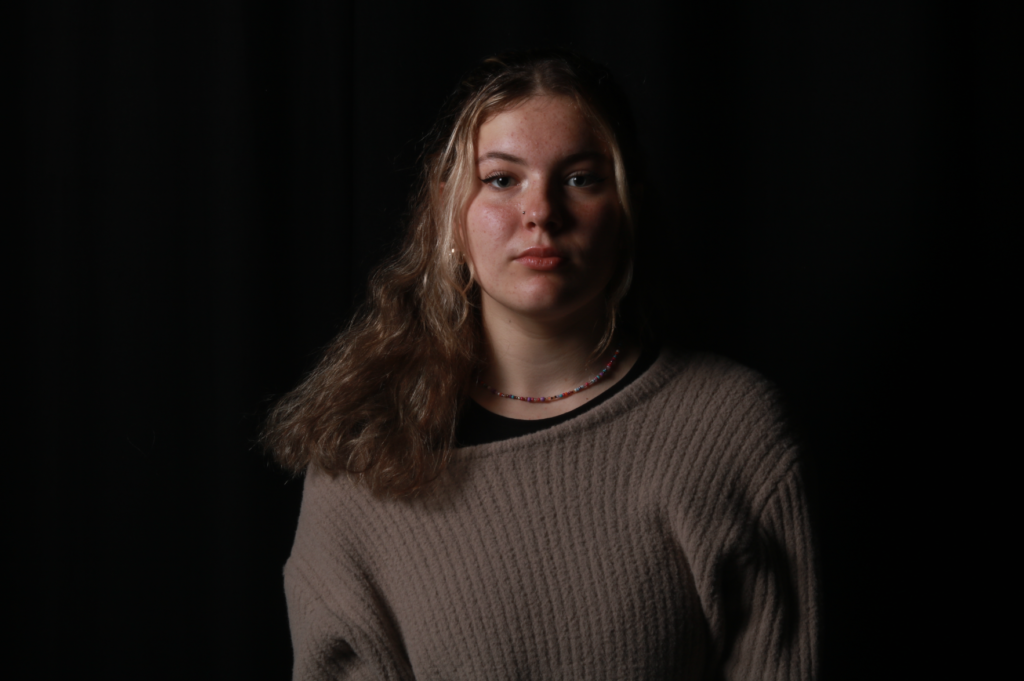
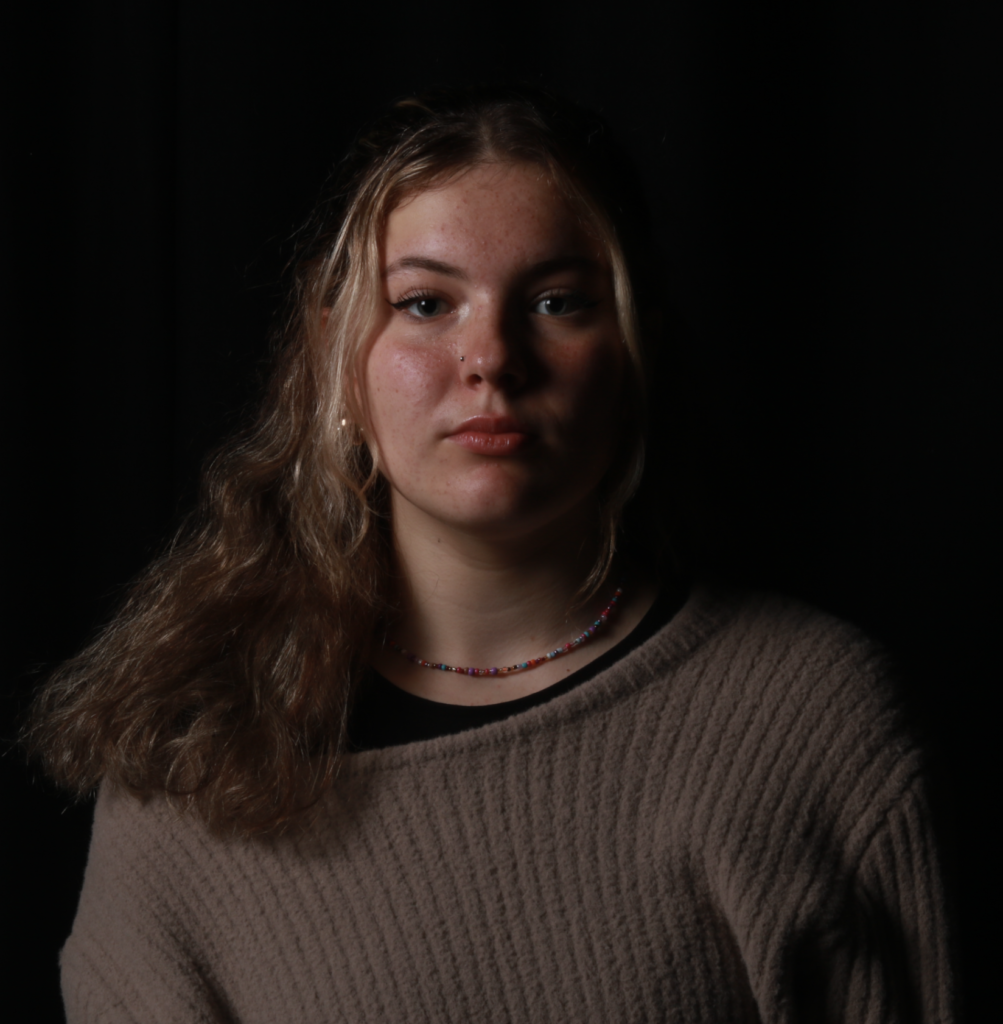
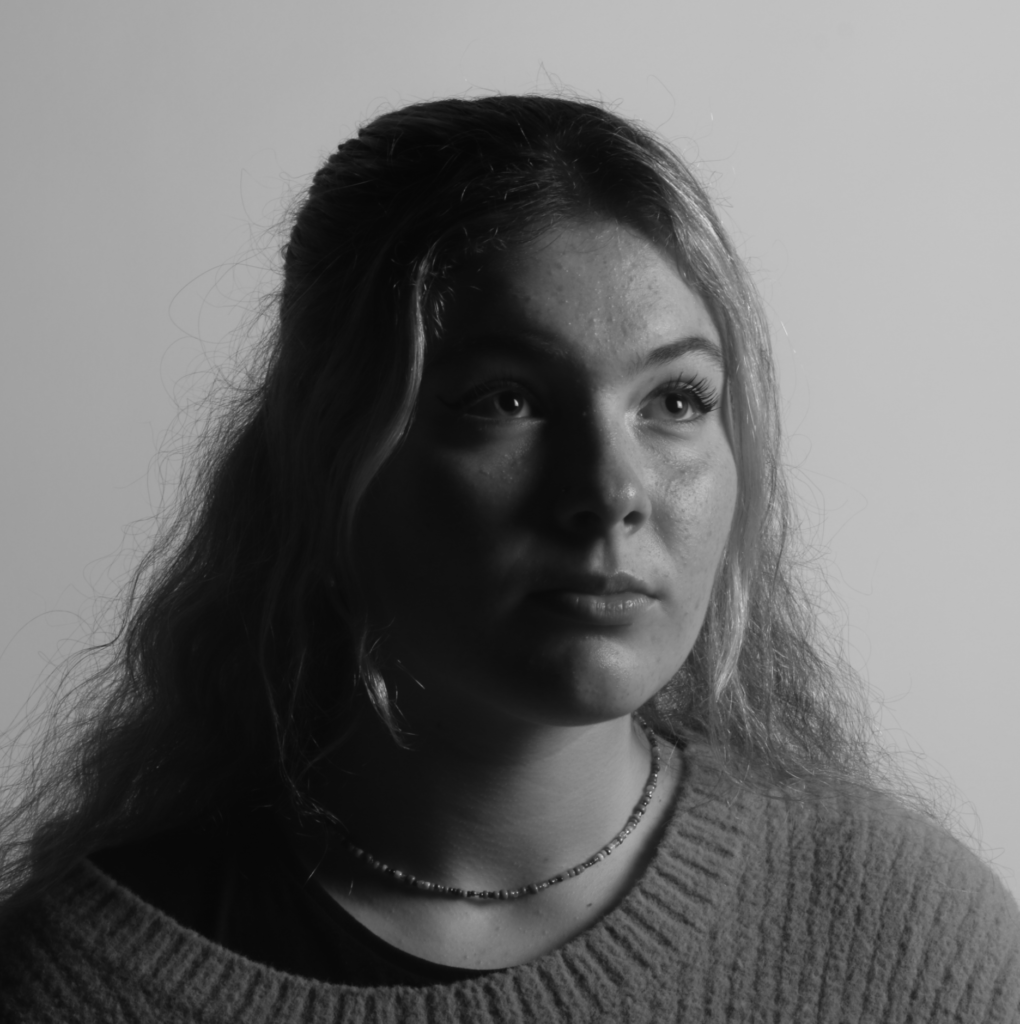
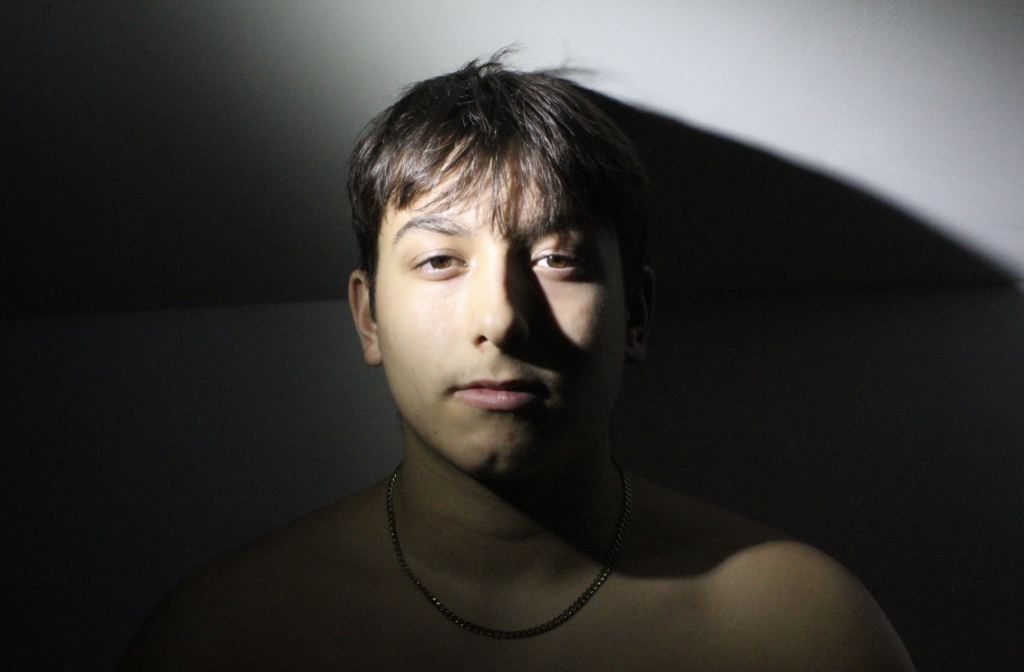
Flash Lighting
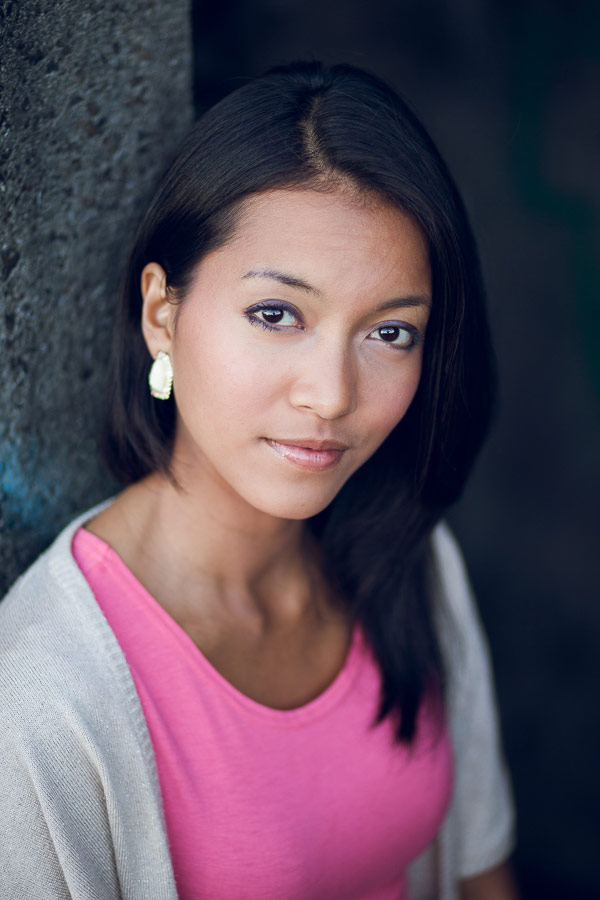
In photography, flash lighting refers to either built-in flash units or devices that are external from the photographer’s camera that when used emit a strong artificial light for a designated period to light up a background or subject.
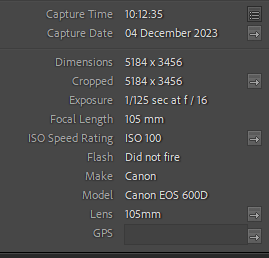
Shutter speed 1/200, ISO 200, flash power 1/4-1/32. You may have to adjust your flash setting up and down depending on the ambient light in the room. Once you are getting close to a correct exposure, leave it alone and only adjust your aperture.
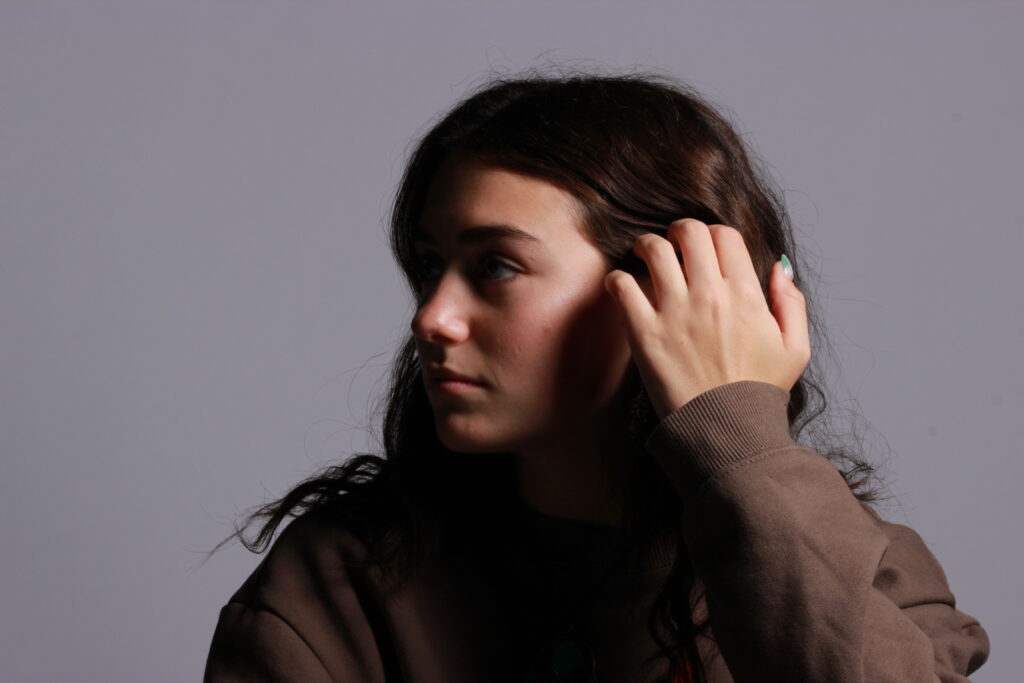
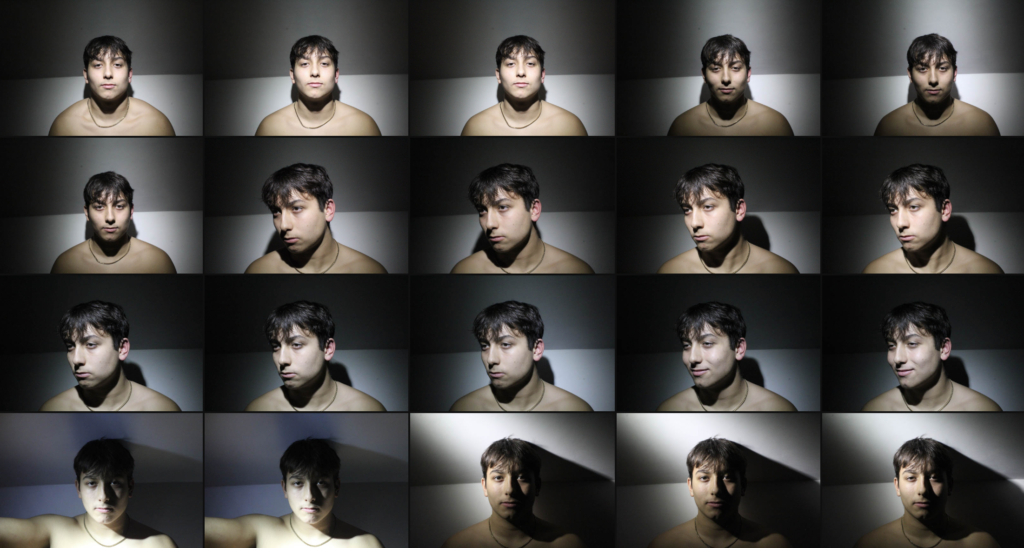
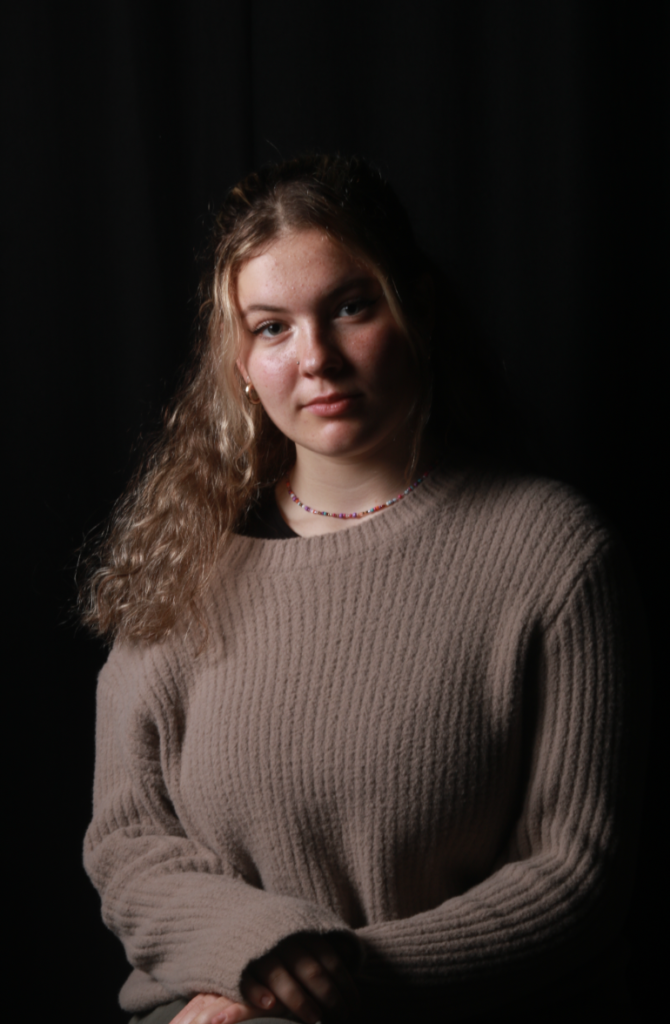
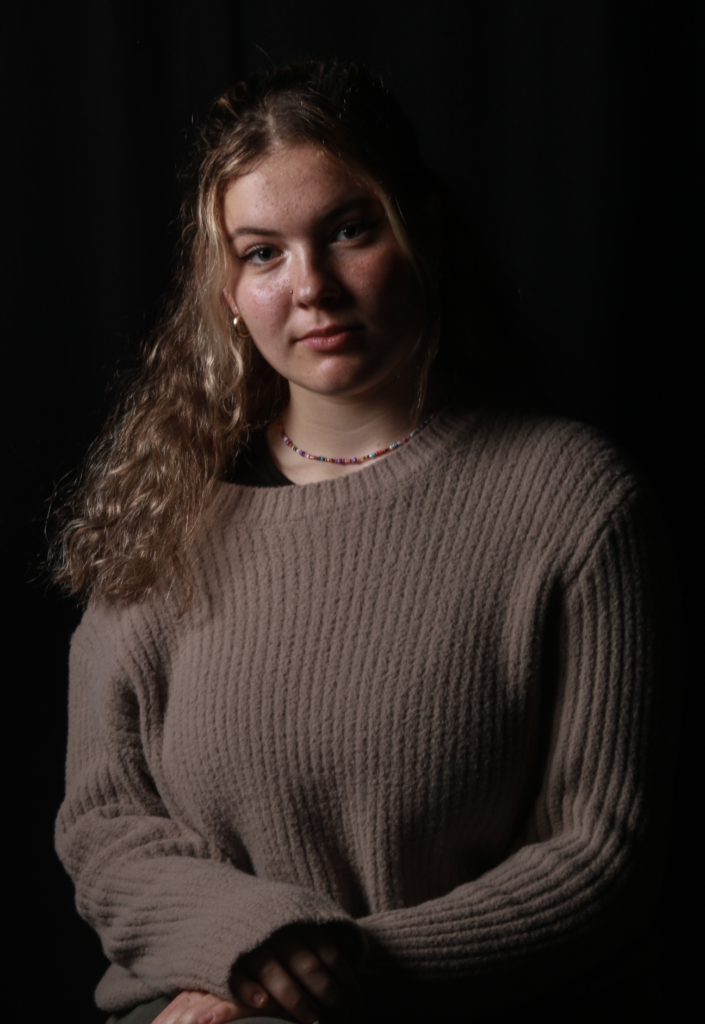
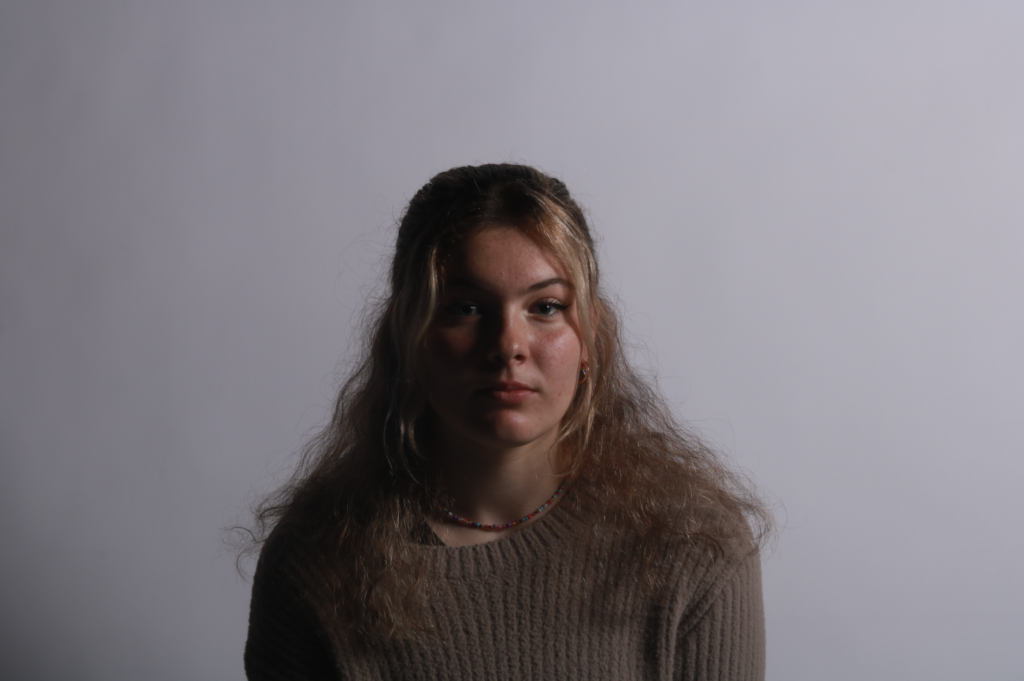
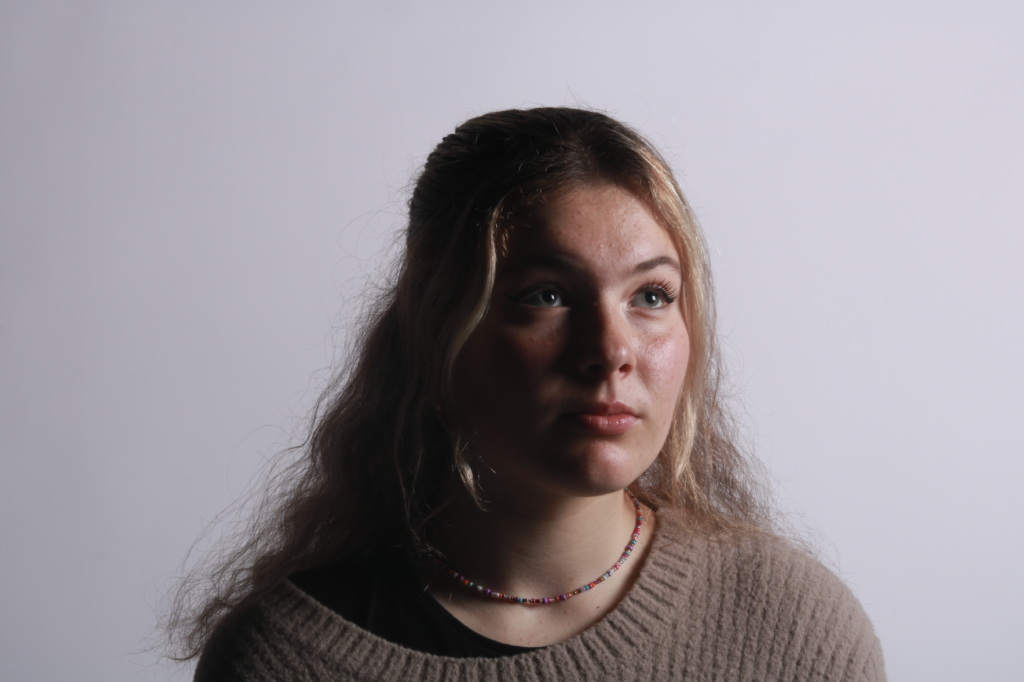
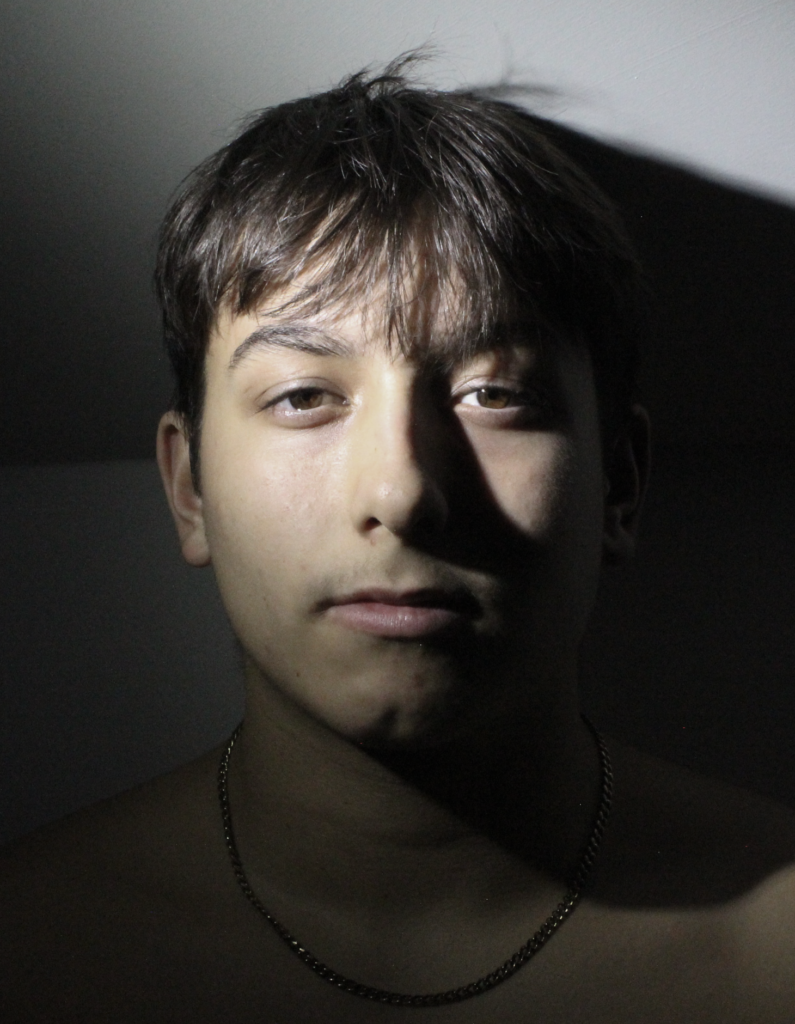
Continuous Lighting
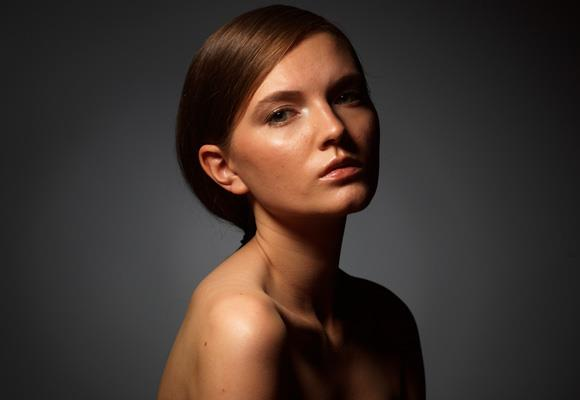
Continuous lighting, such as LED panels, fluorescent tubes, or tungsten bulbs, is any source of light that stays on constantly. It has some advantages over flash lighting, like allowing you to see the effect of the light on your subject and background before you take the shot.
ISO: 400-1600 – depending on how many light sources Exposure: Manual 1/60-1/125 shutter-speed > f/4-f/8 aperture
Check settings before shooting.
What is the difference between flash and continuous lighting?
Flash offers more power and depth of field and is generally preferred by professional photography. Continuous can serve for both video and photo but they are generally less powerful but they give you more options when used with smartphones.
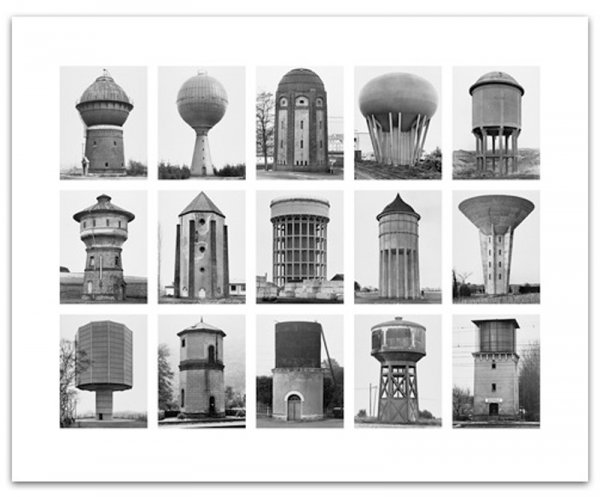
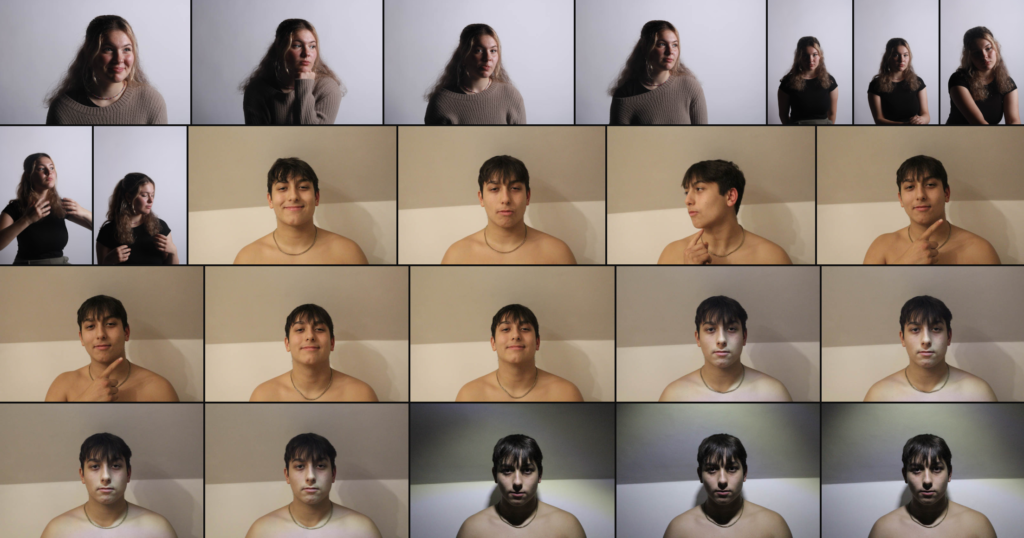
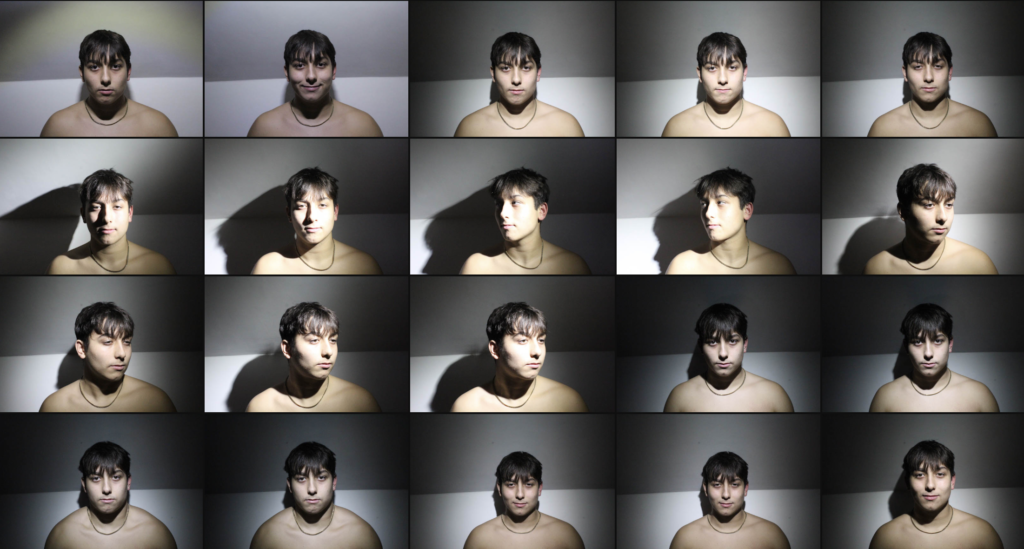
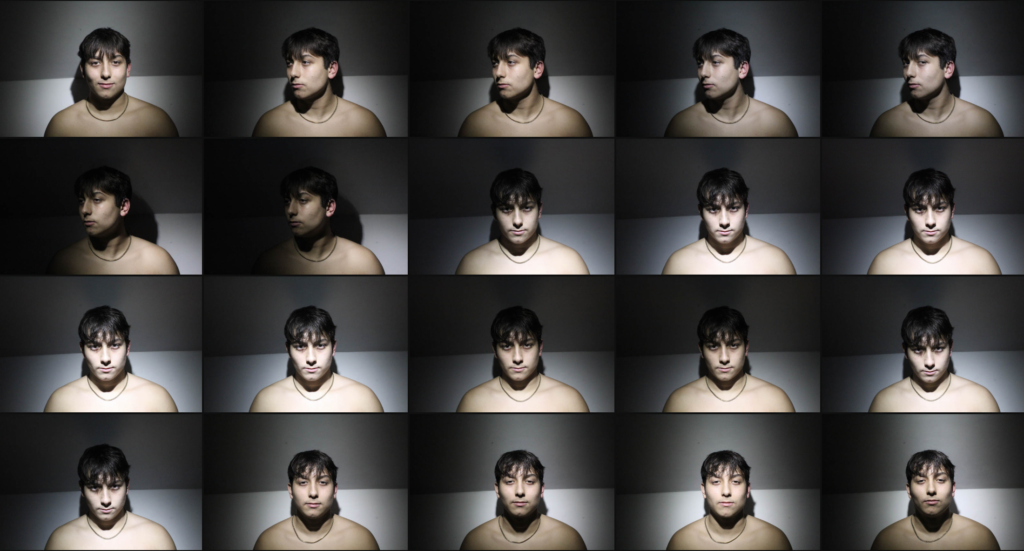
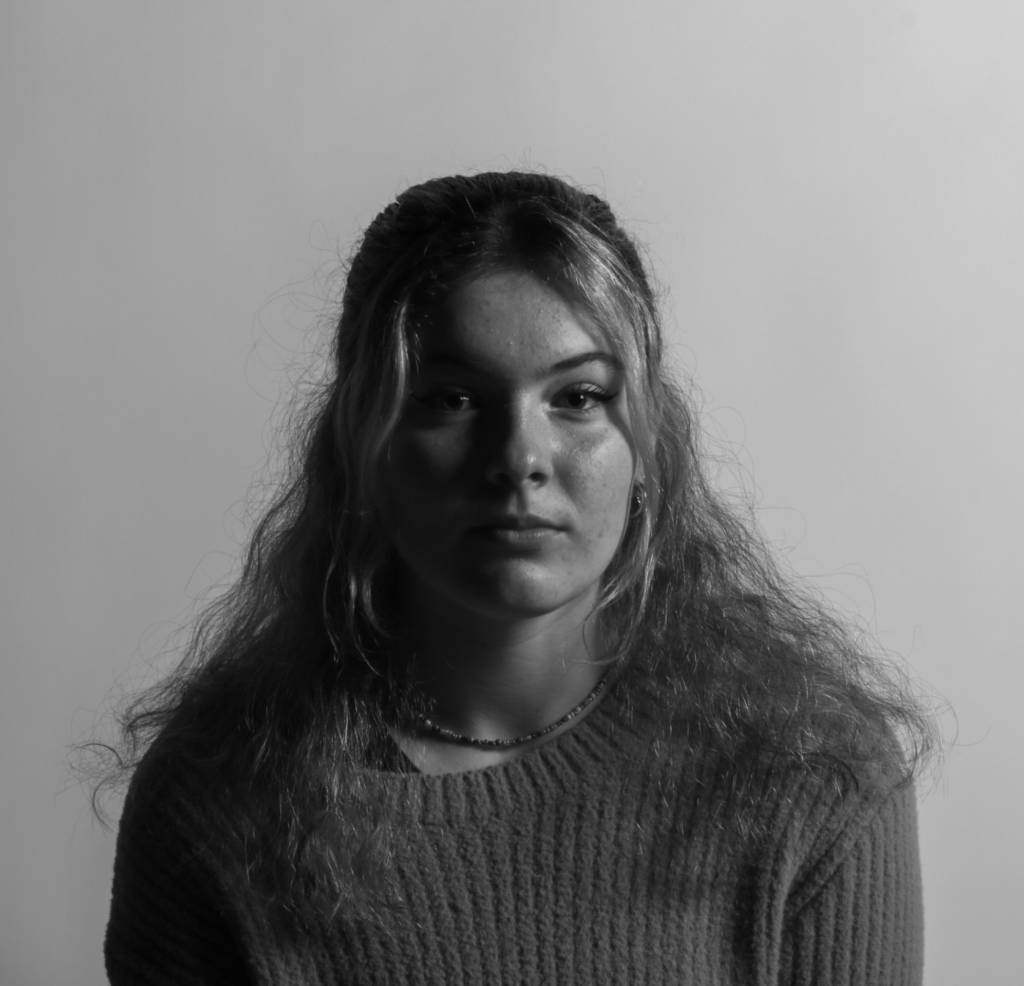
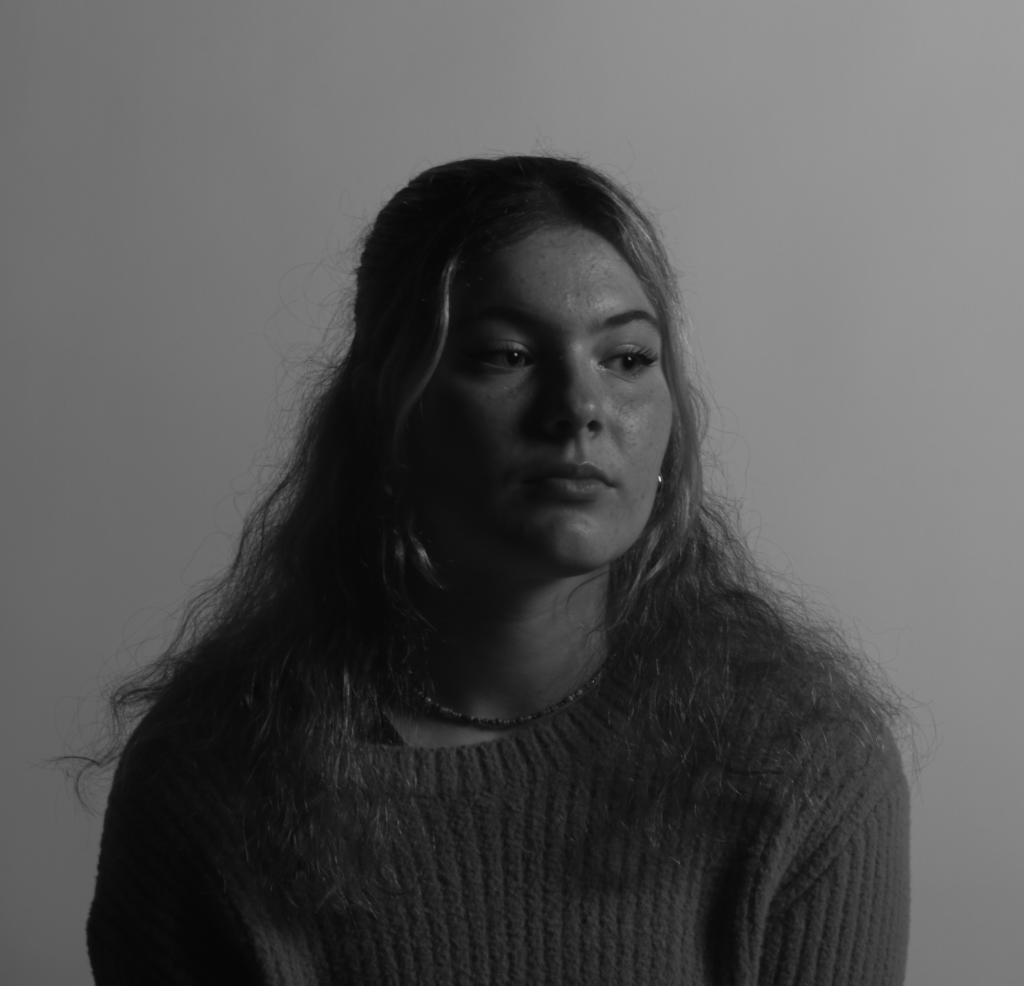
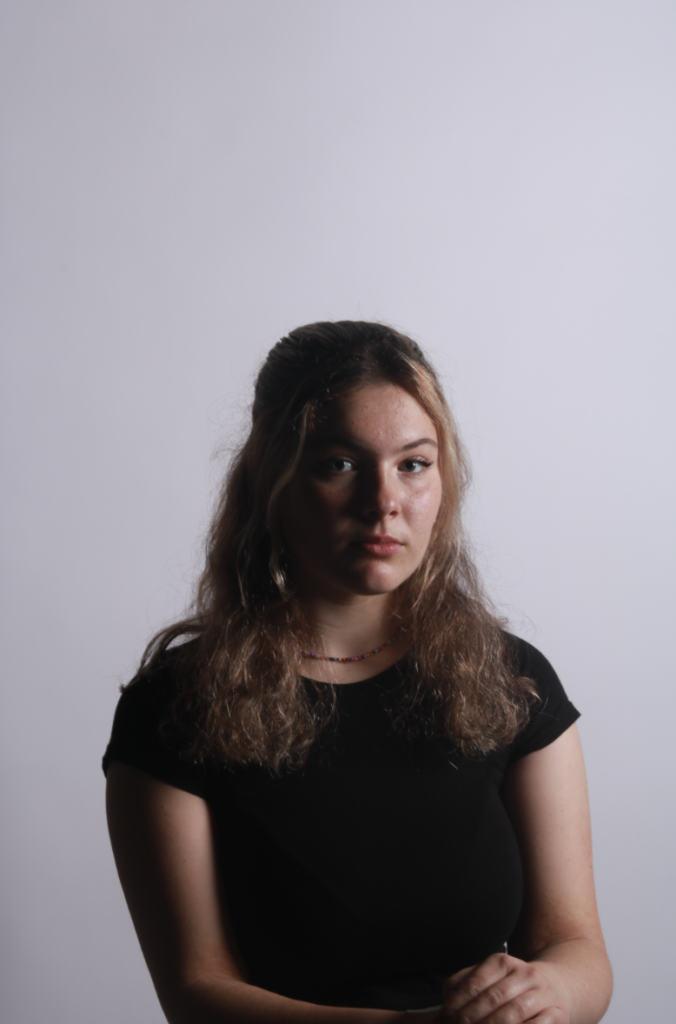
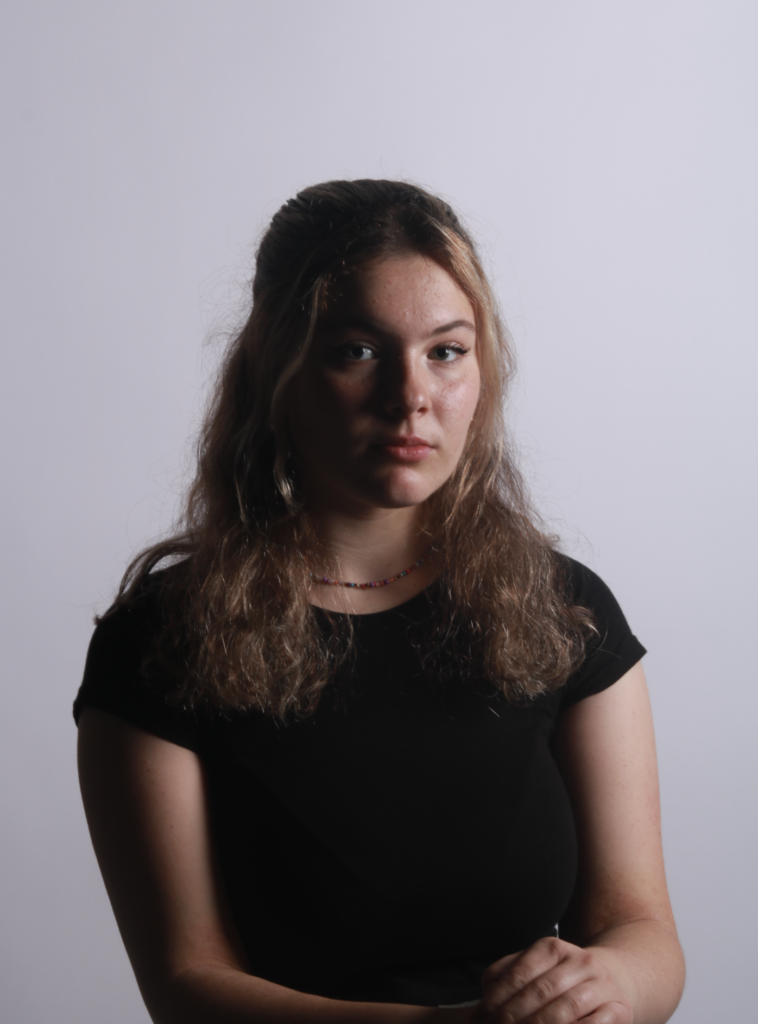
The deadpan aesthetic
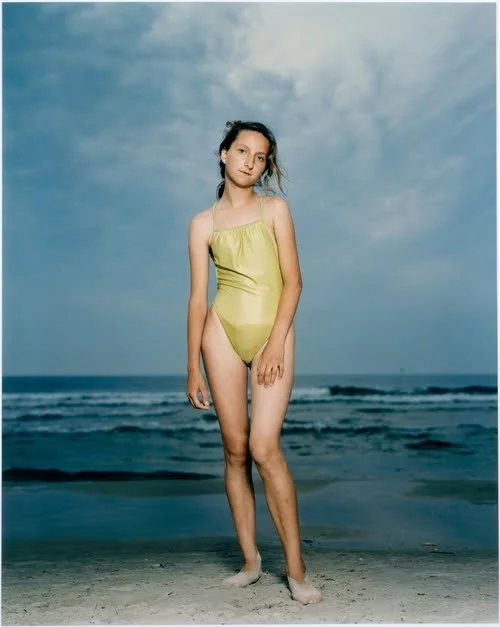
The deadpan aesthetics is considered a technically perfect photograph which depicts a landscape, still life or a person by a direct centred composition. The photographs usually have a single central theme (a mining tower, face, mound of clay, etc.), the background is usually unimportant (which does not apply for more sociologically oriented concepts), ignored or is neutral and sterile.
Deadpan photography is a cool, detached, and unemotional presentation and, when used in a series, usually follows a pre-defined set of compositional and lighting rules.
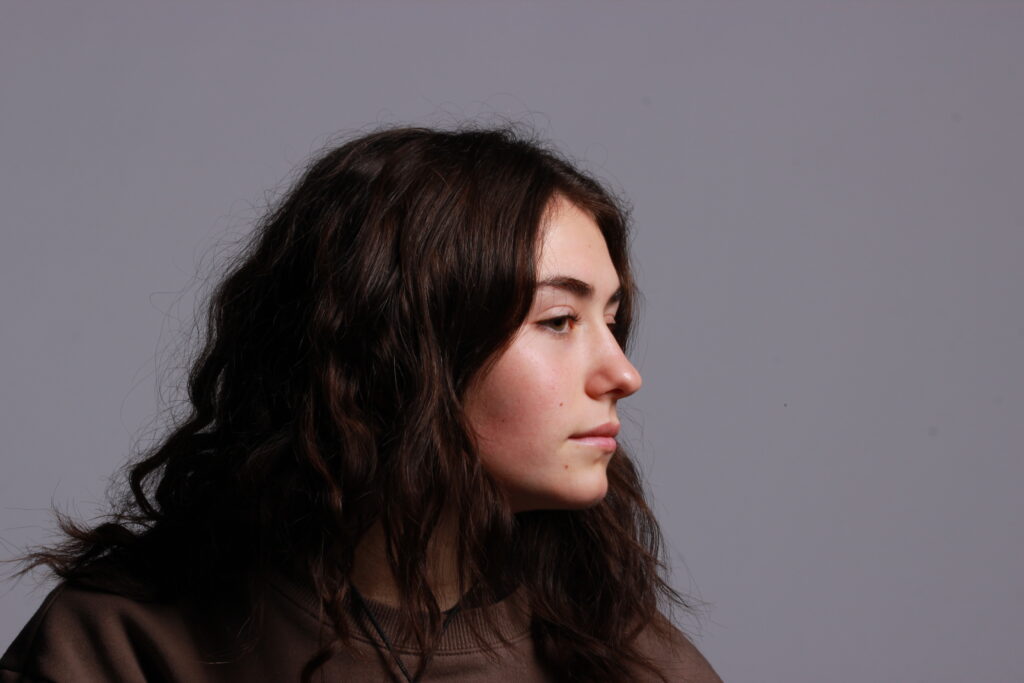
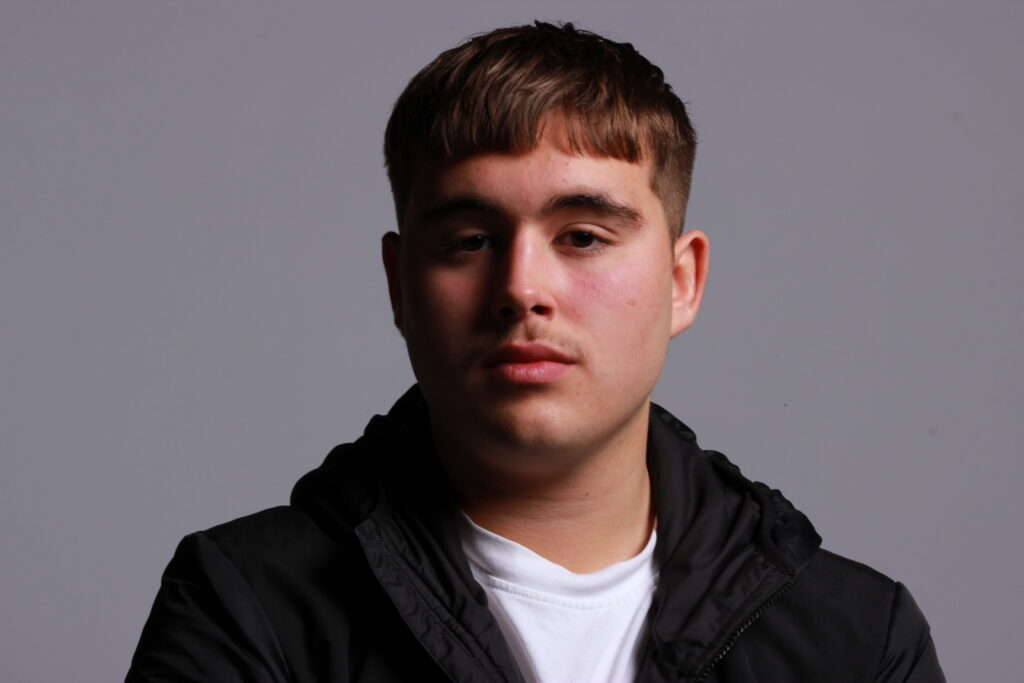
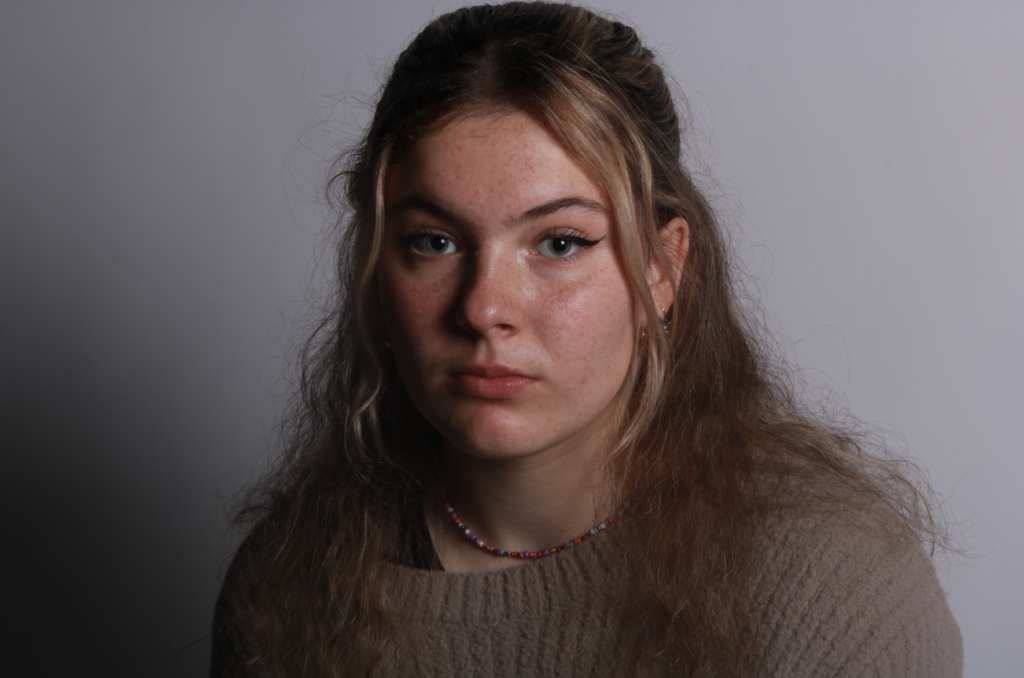
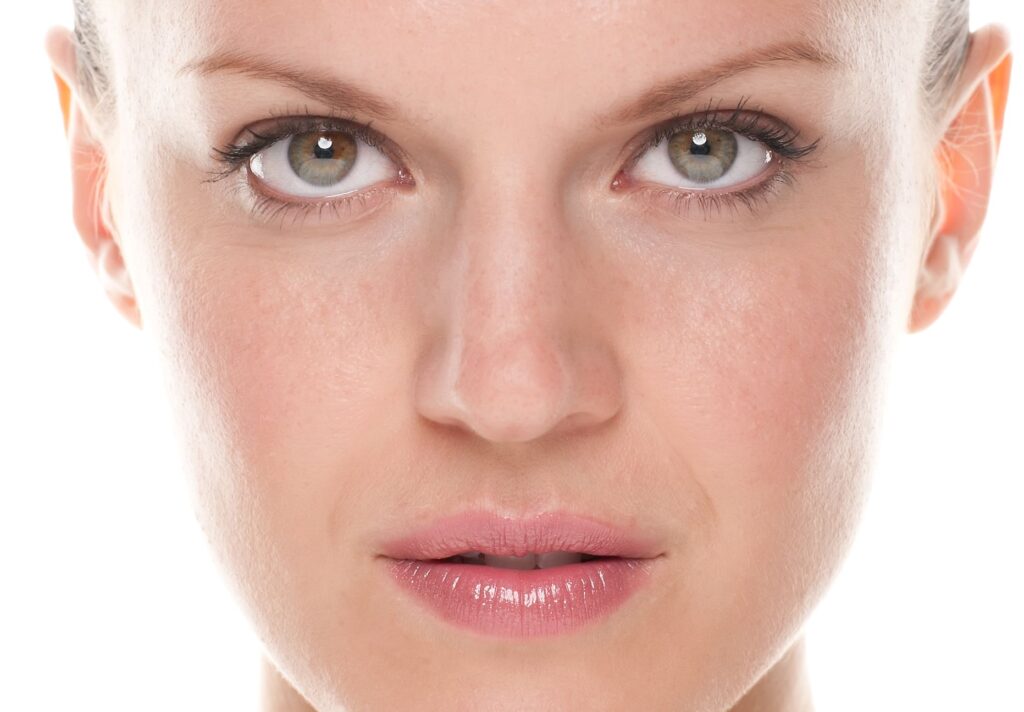
Passport Photos
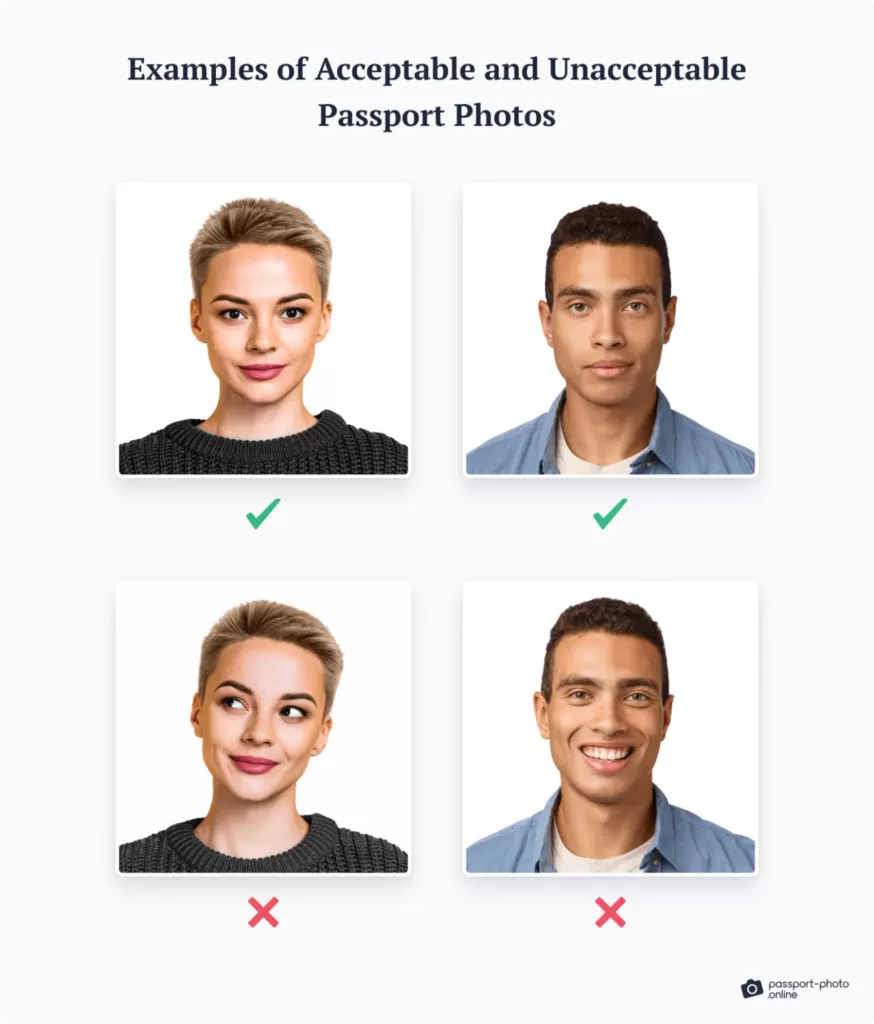
There are very strict instruction as to taking your passport/id pictures. These are:
- eyes must be open and clearly visible, with no flash reflections and no ‘red eye’
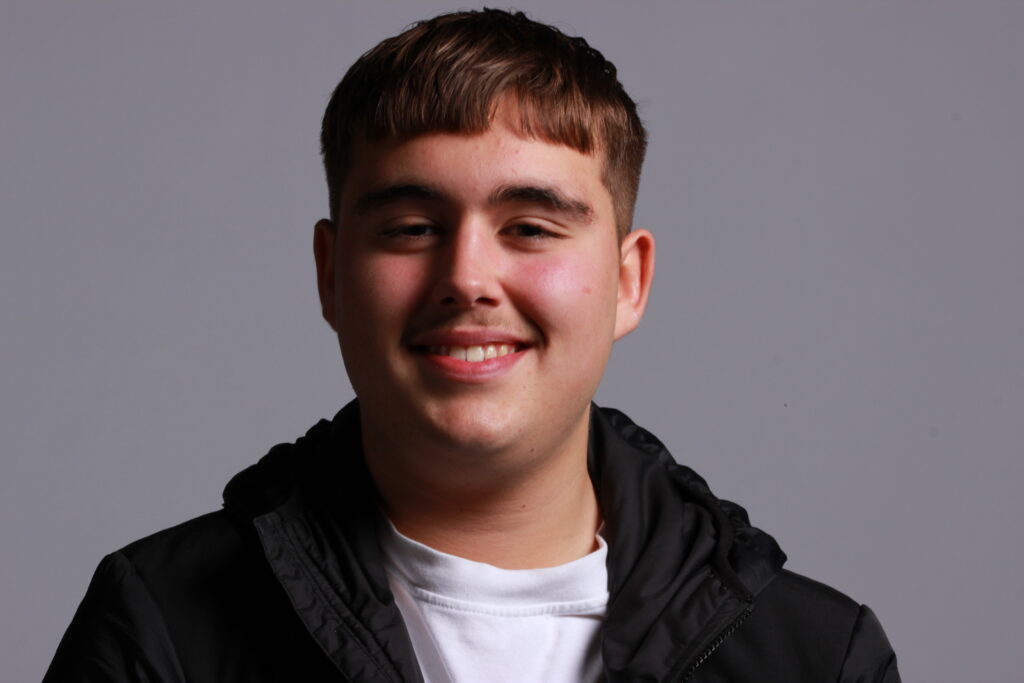
- facial expression must be neutral (neither frowning nor smiling), with the mouth closed
- photos must show both edges of the face clearly
- photos must show a full front view of face and shoulders, squared to the camera
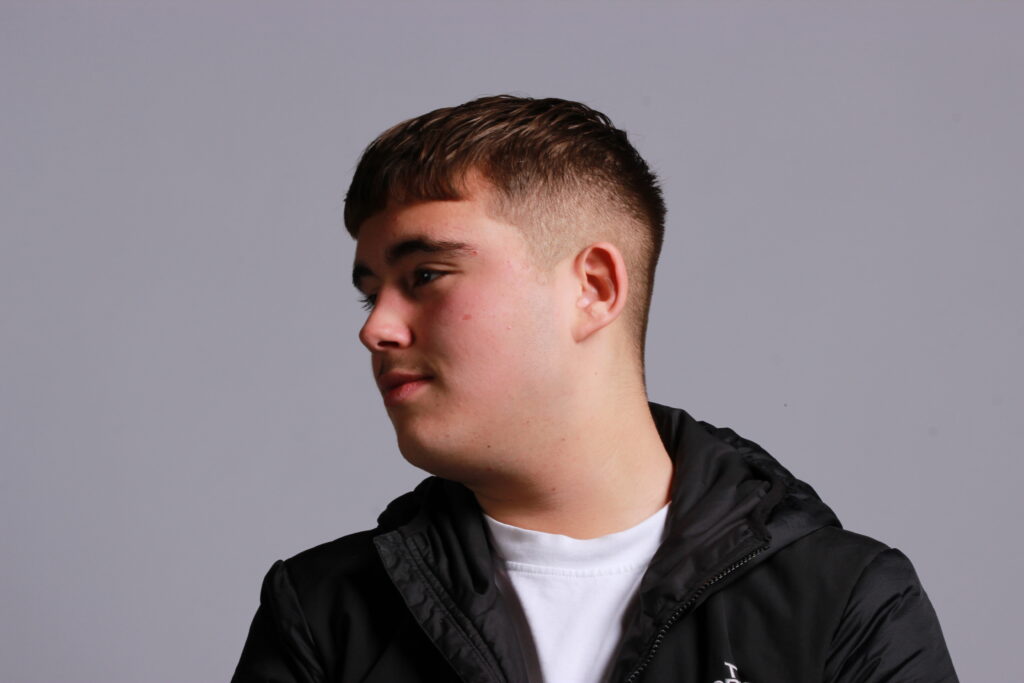
- the face and shoulder image must be centred in the photo; the subject must not be looking over one shoulder (portrait style), or tilting their head to one side or backwards or forwards
- there must be no hair across the eyes
- hats or head coverings are not permitted except when worn for religious reasons and only if the full facial features are clearly visible
- photos with shadows on the face are unacceptable
- photos must reflect/represent natural skin tone
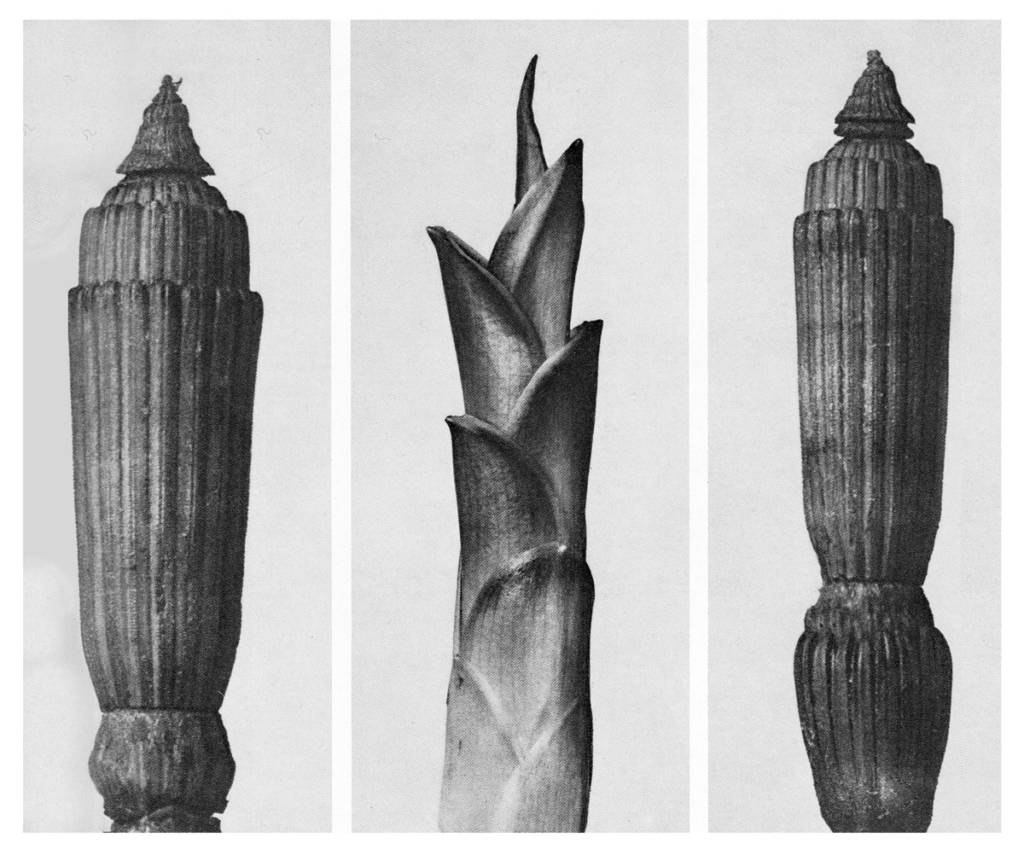
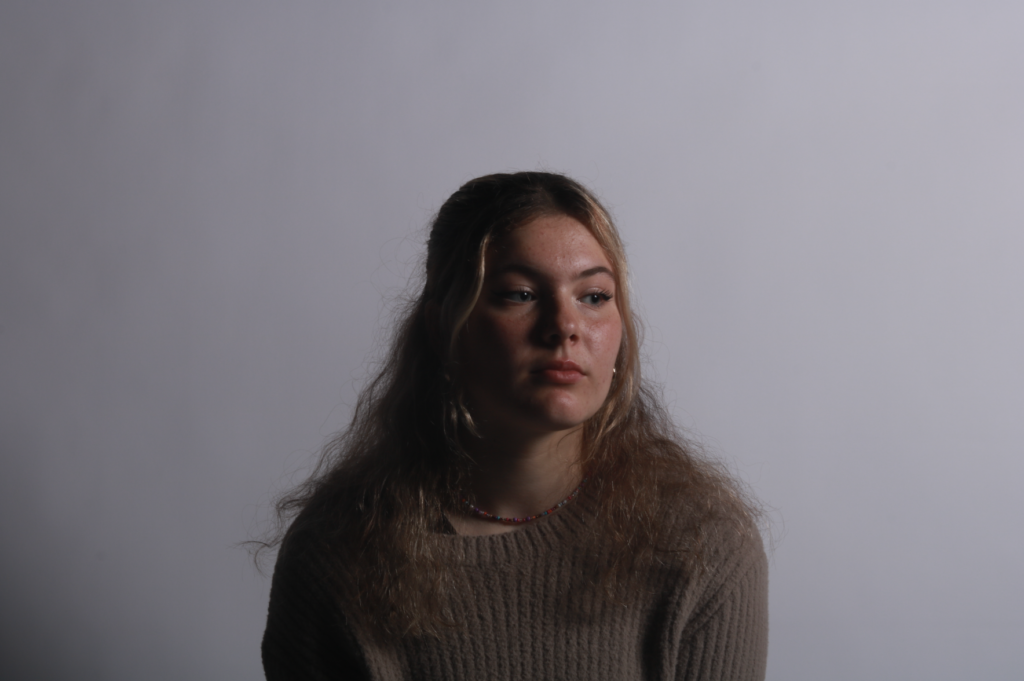
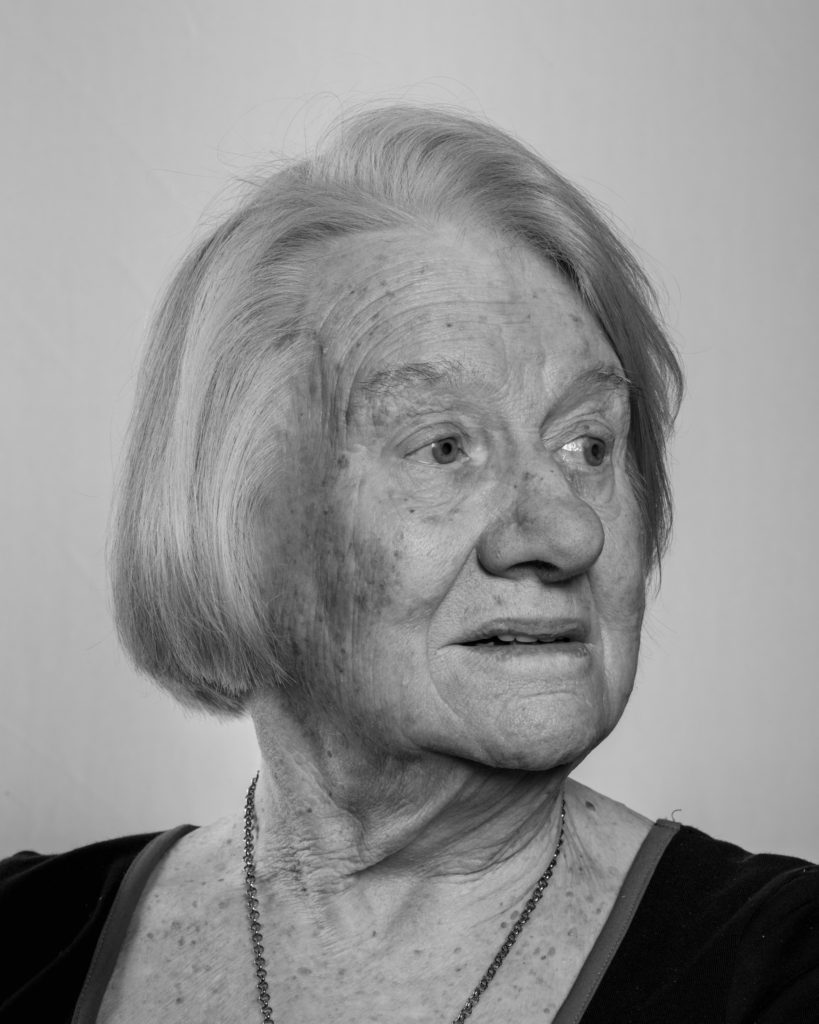
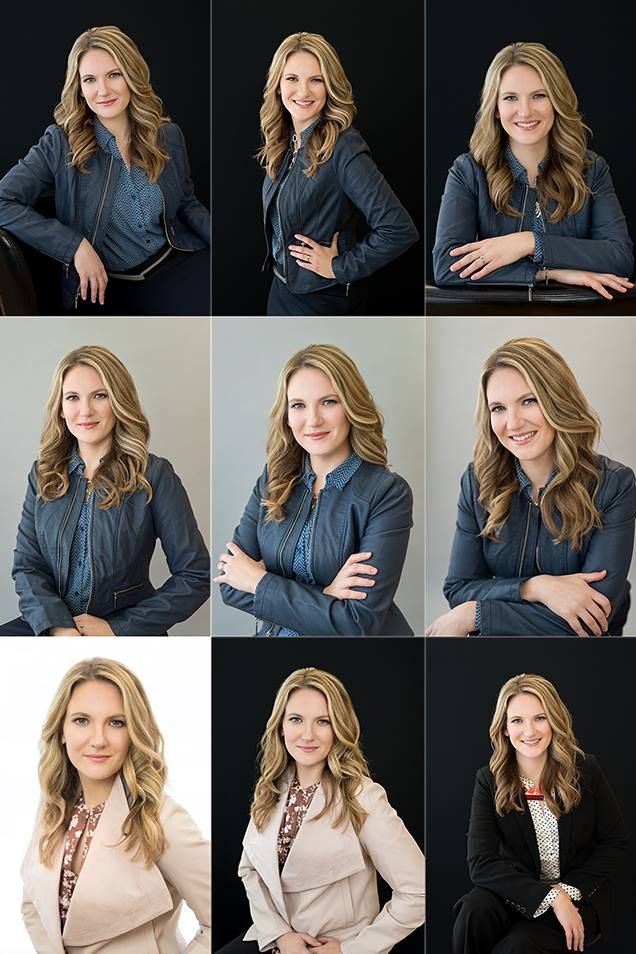
Typologies
The study of or study based on types. Its a system used for putting things into groups according to how they are similar. An example of a typology would be classification such as by age and health: young-healthy, young-sick, old-healthy, old-sick. Typological theorizing is the development of theories about configurations of variables that constitute theoretical types.
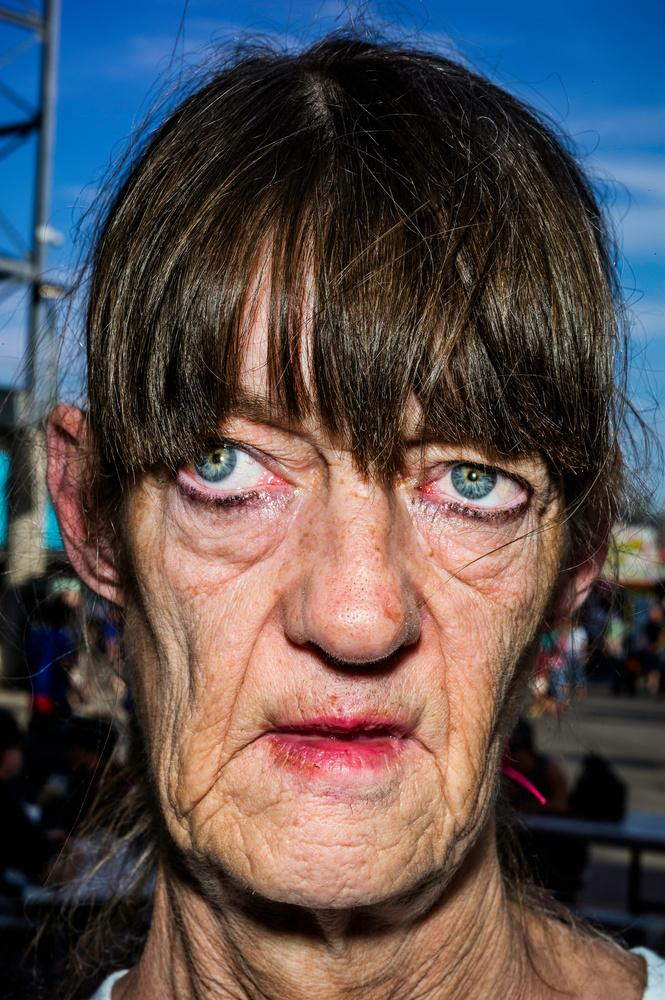
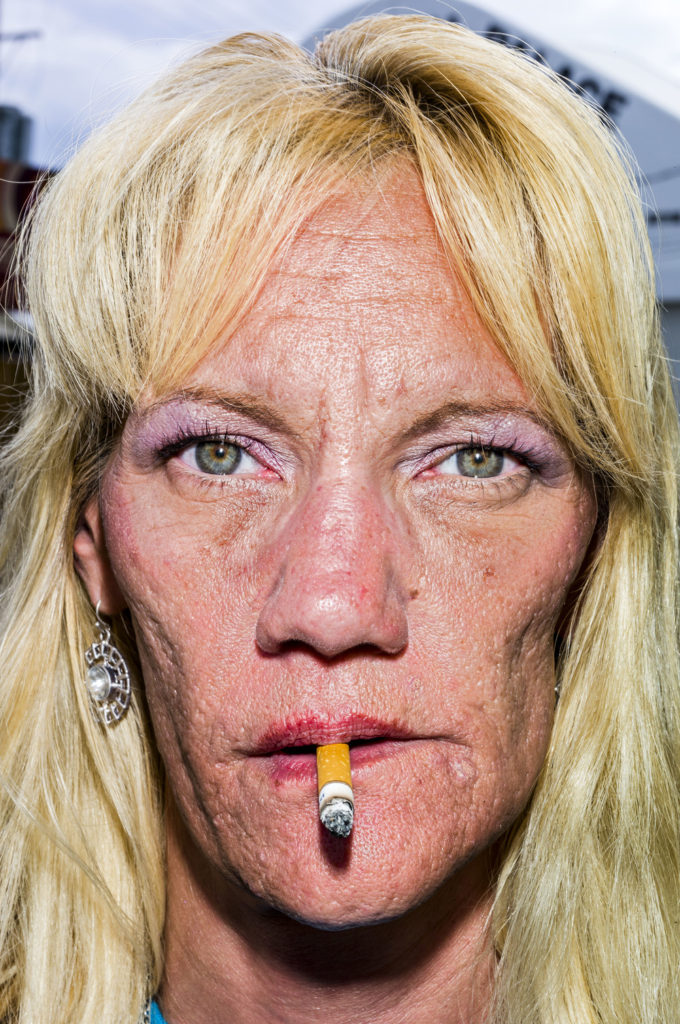
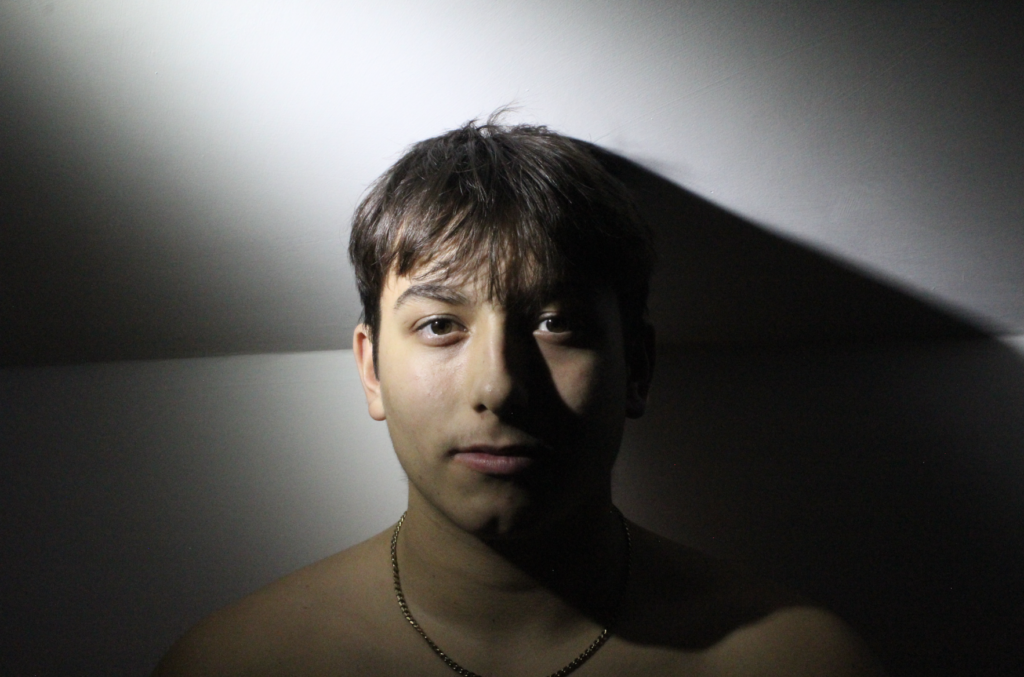
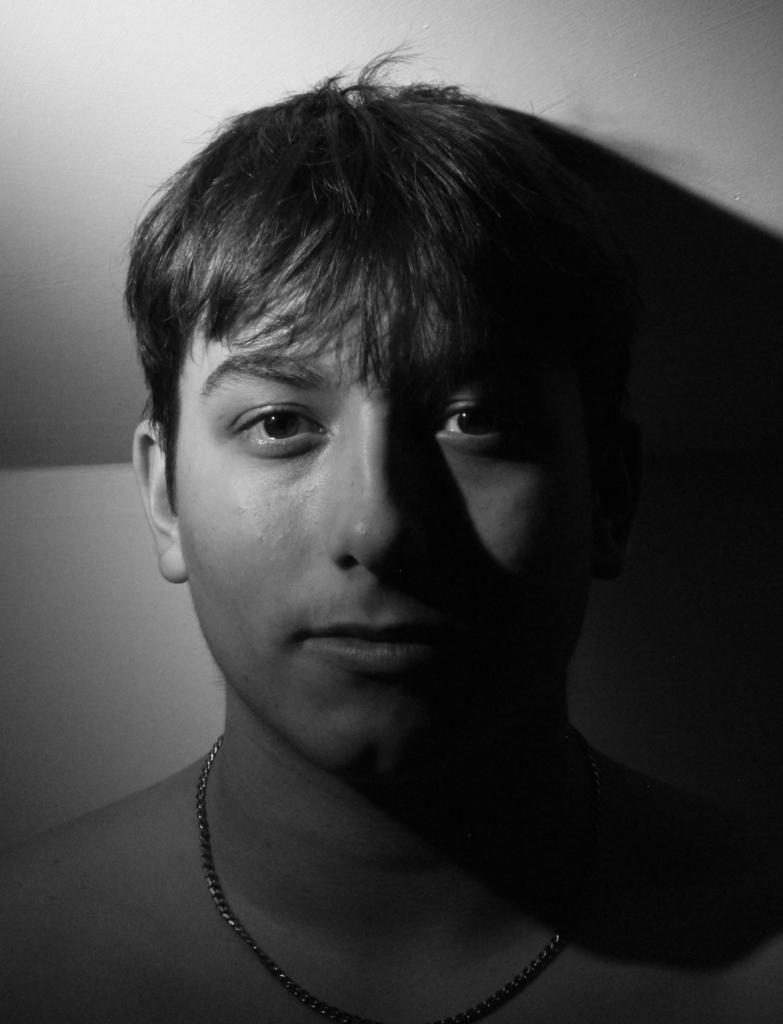
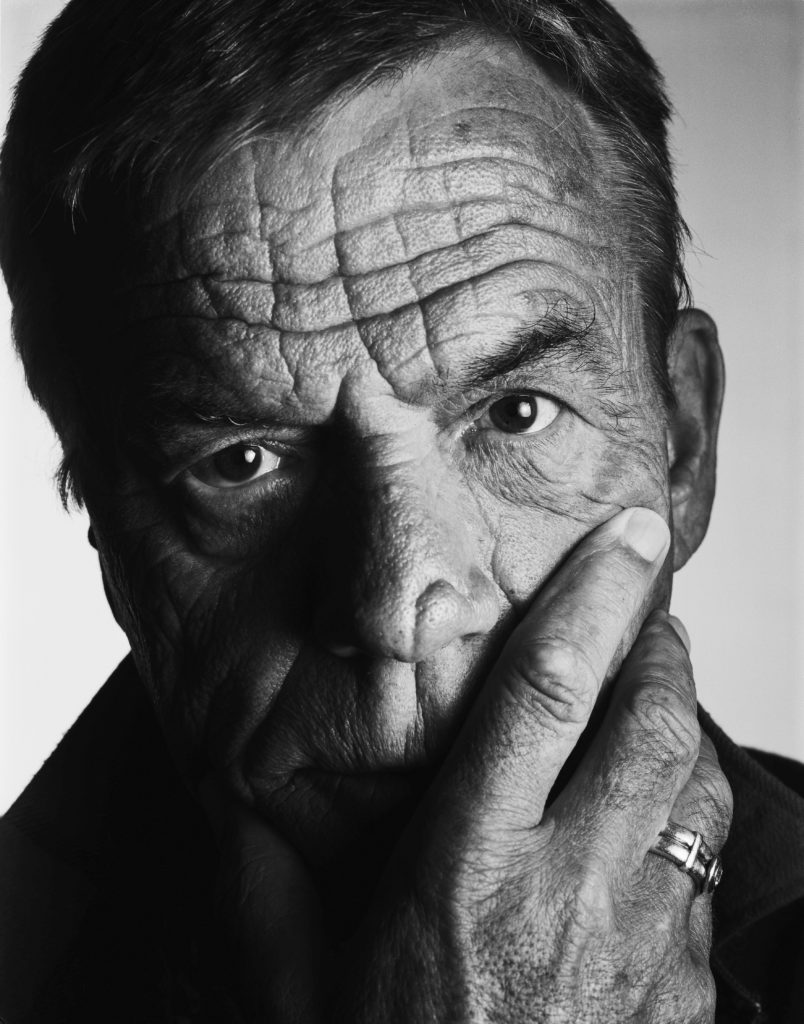
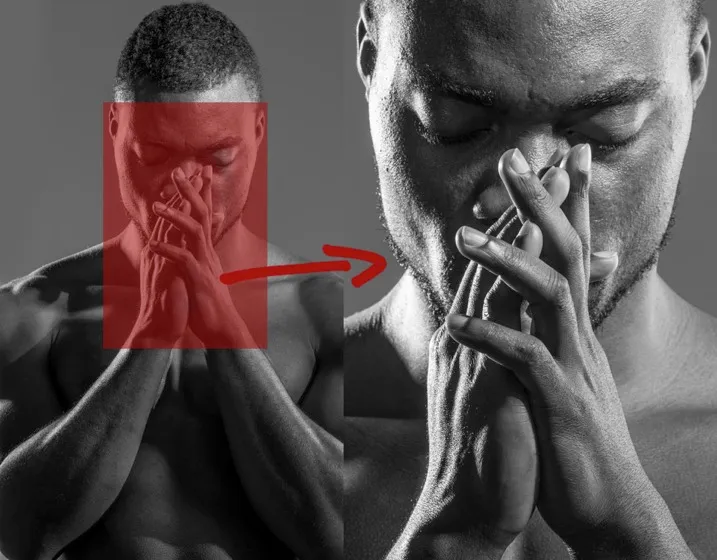
Upclose
The close-up shot is the best way to show detail.
Bruce Gilden’s compositions are renowned for their dramatic use of light and shadow, reminiscent of Alex Webb, another master of color and complex light. Unlike Webb, however, Gilden often employs a flash, highlighting the minute details of his subjects and further enhancing the rawness of his photos.