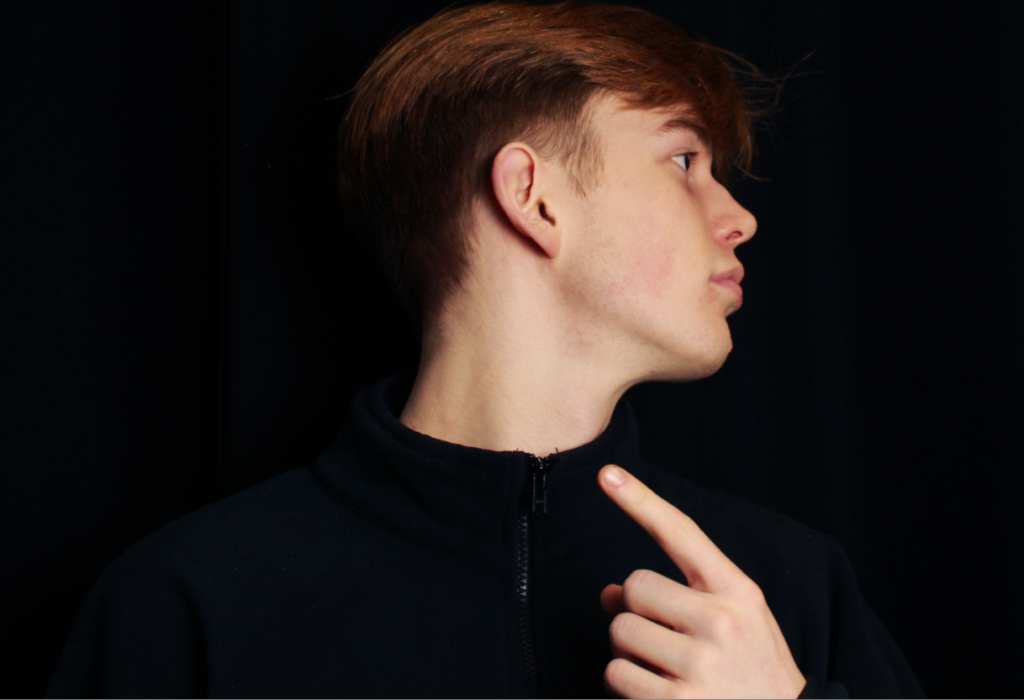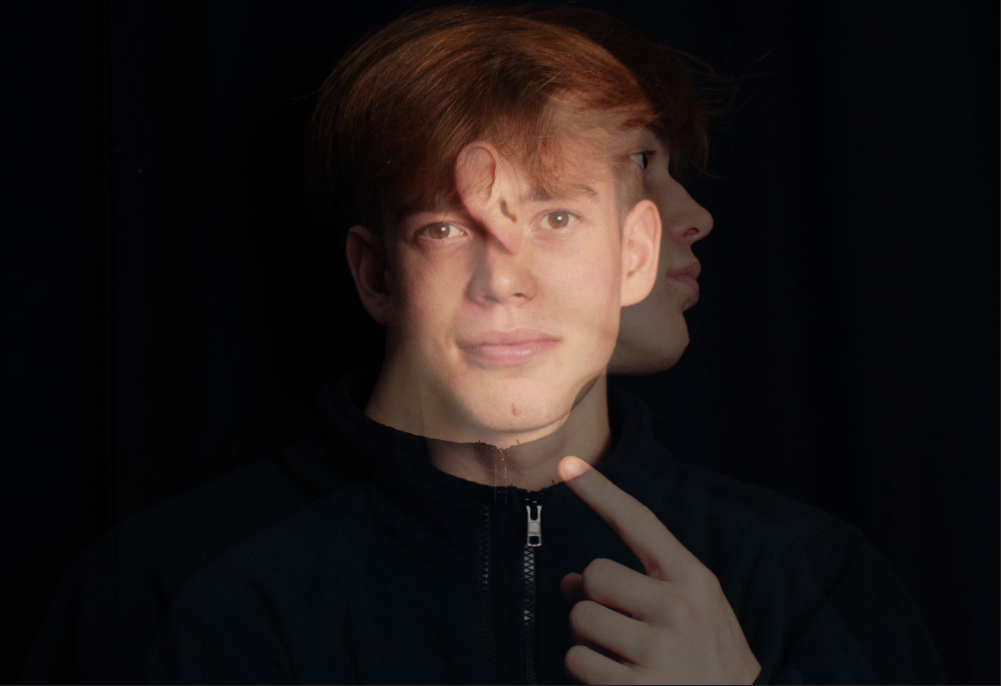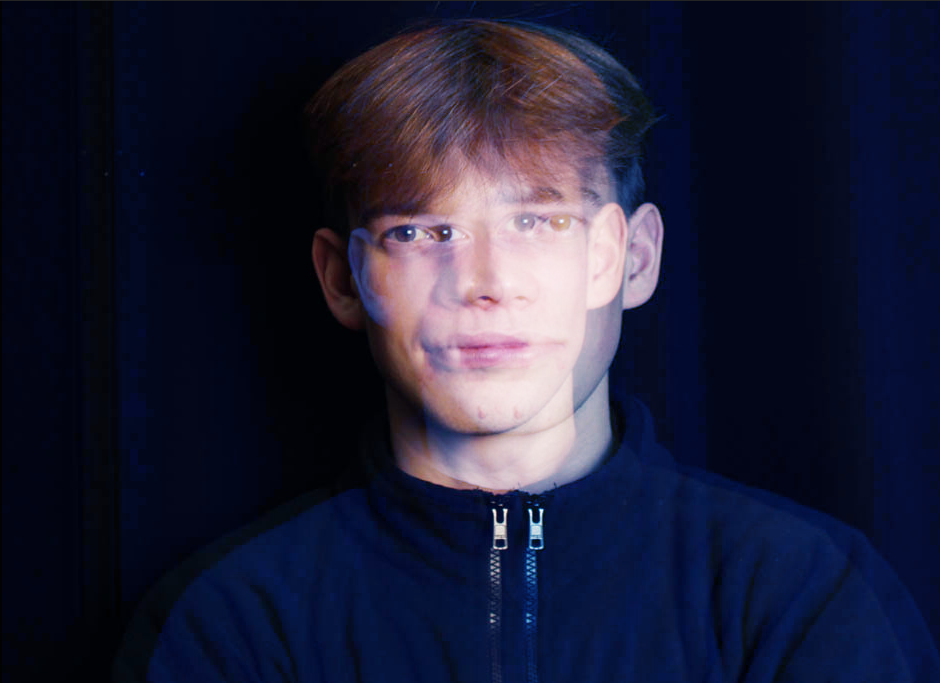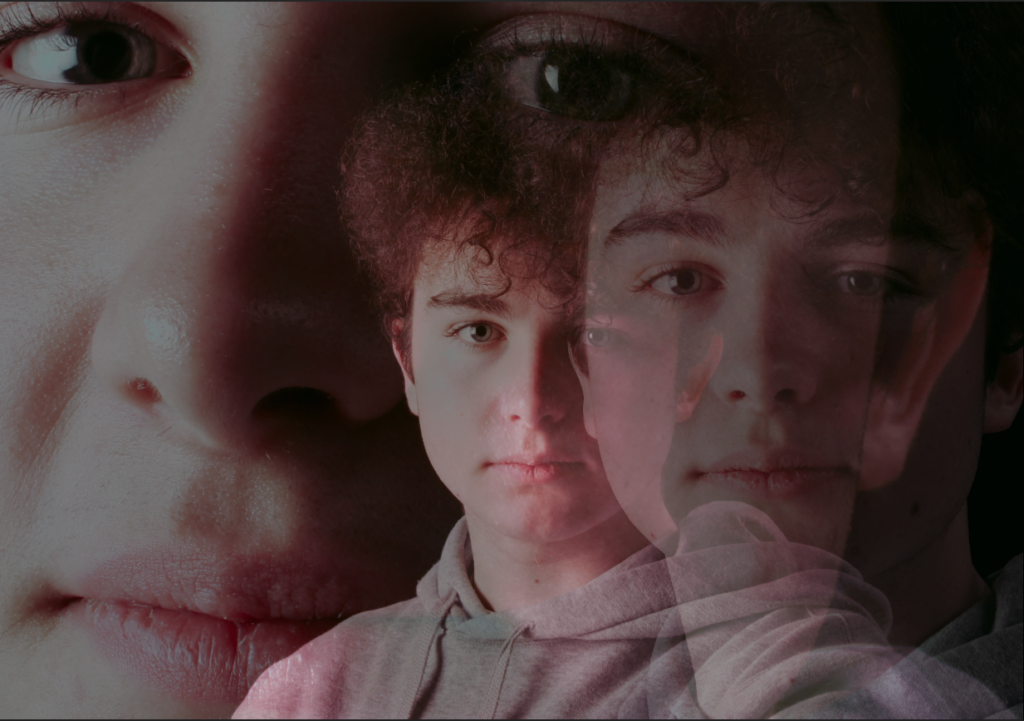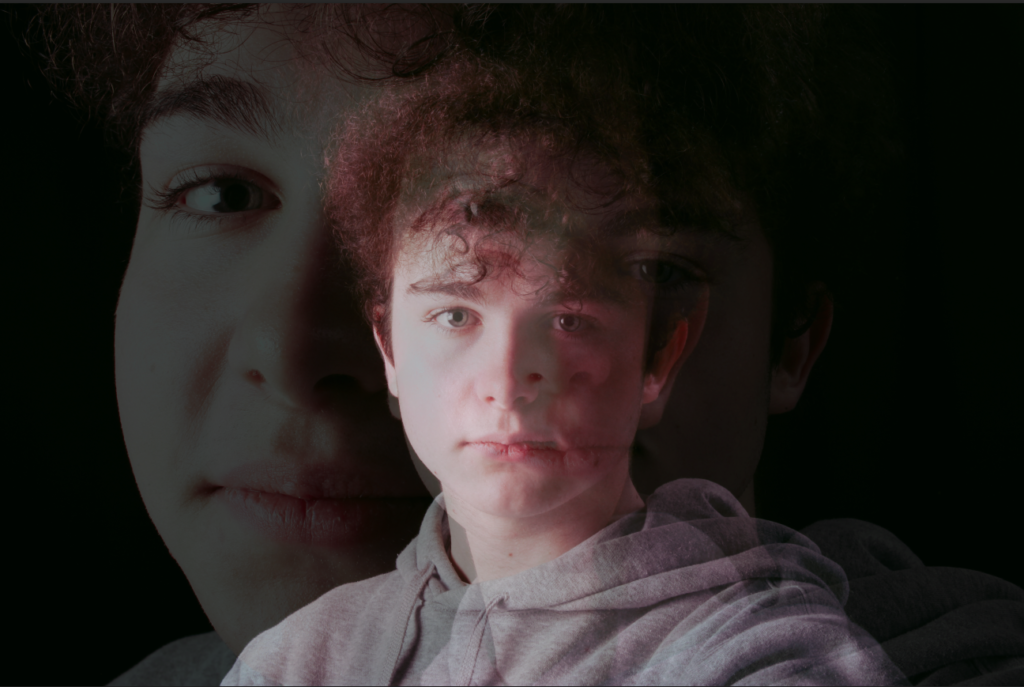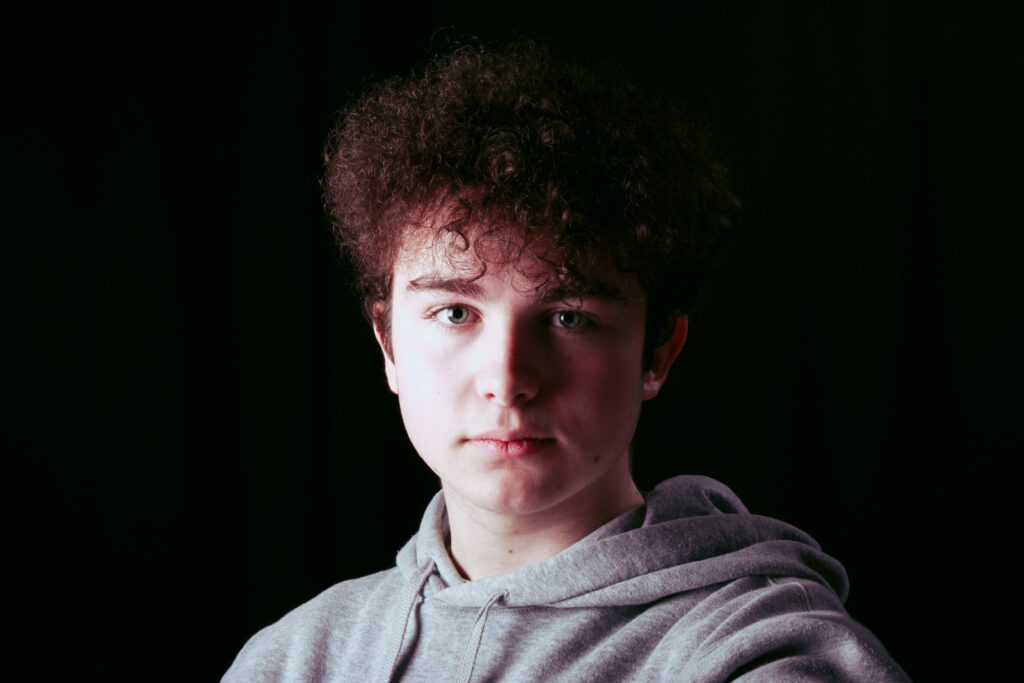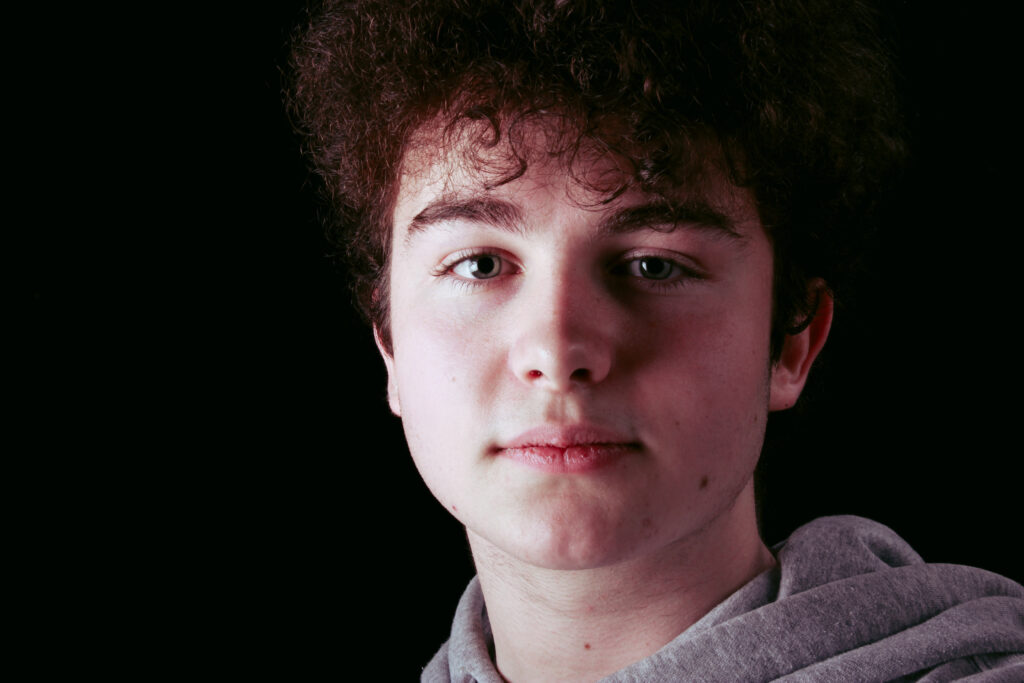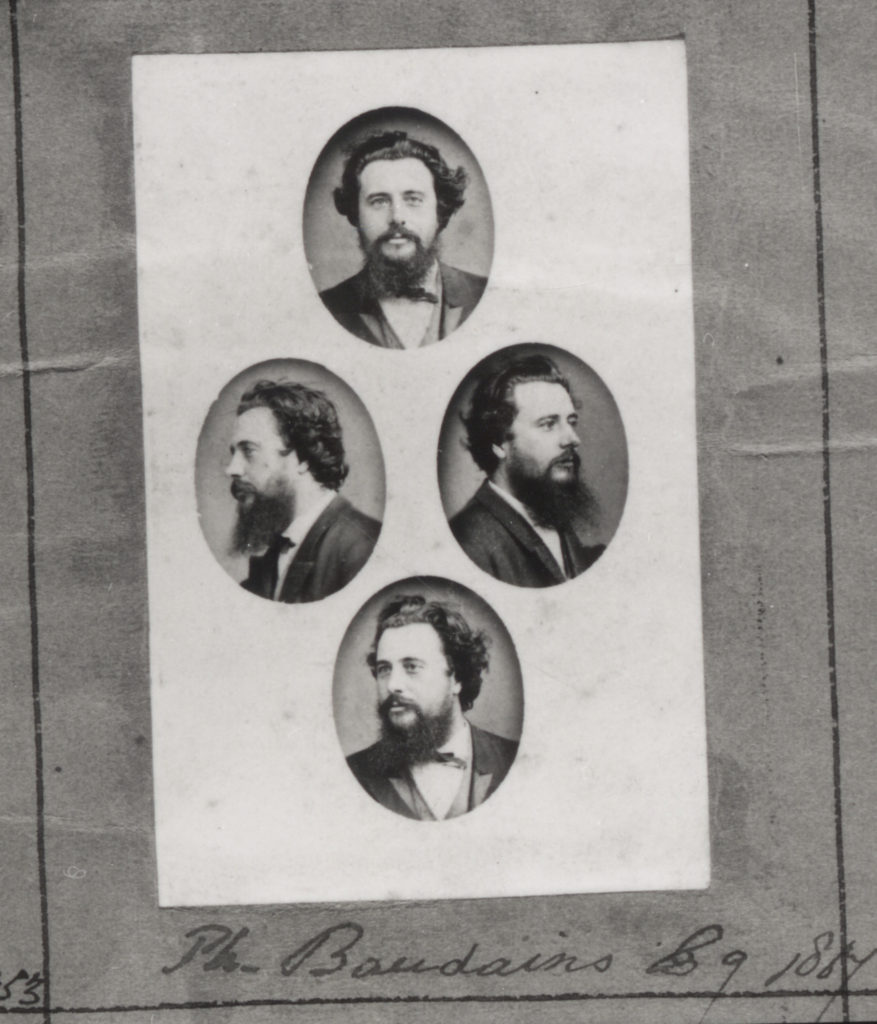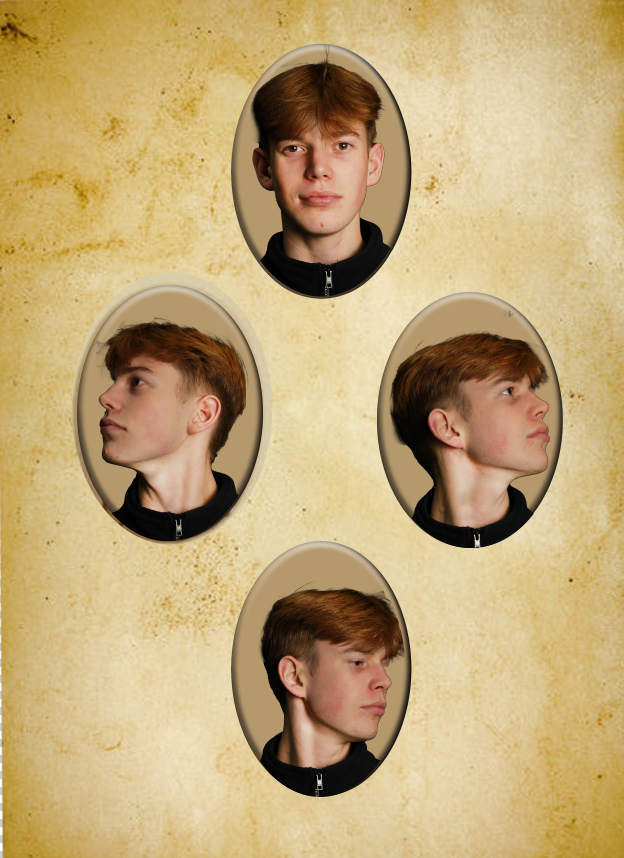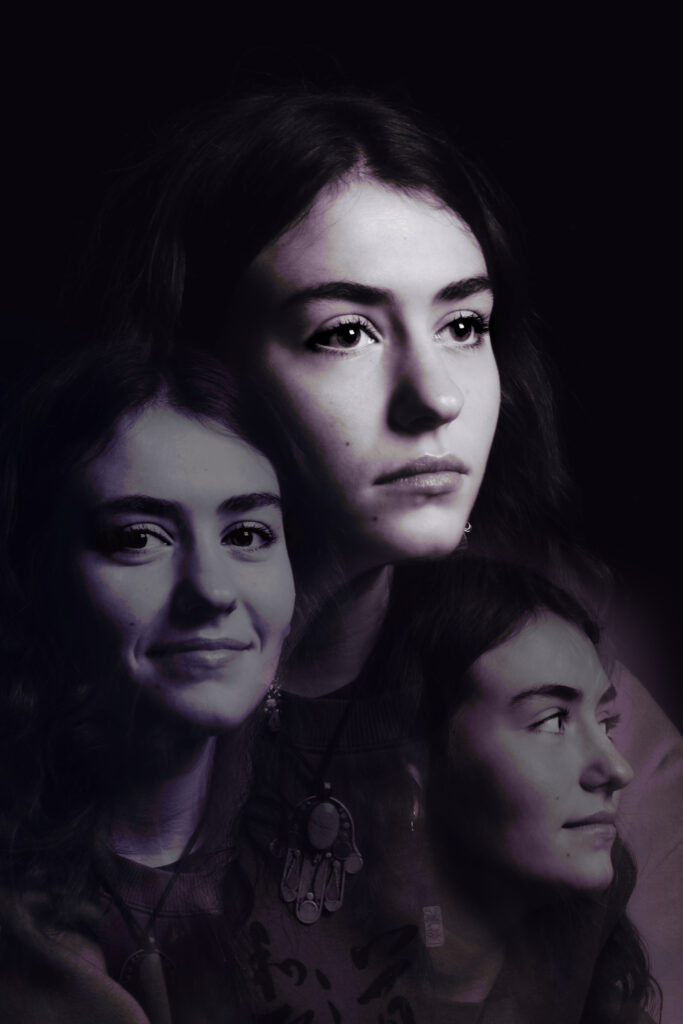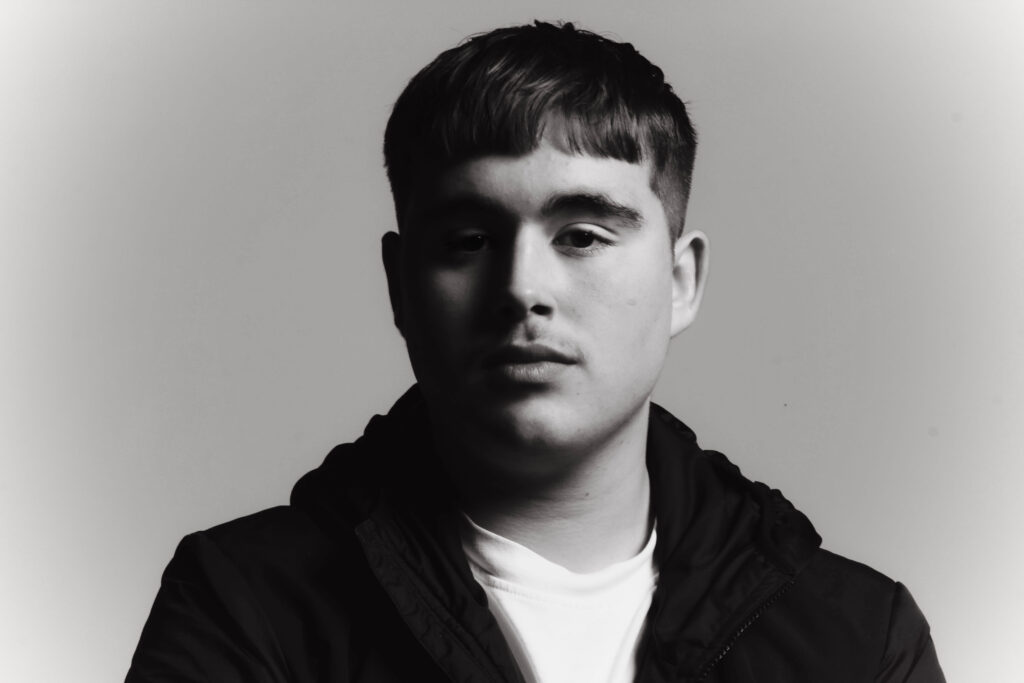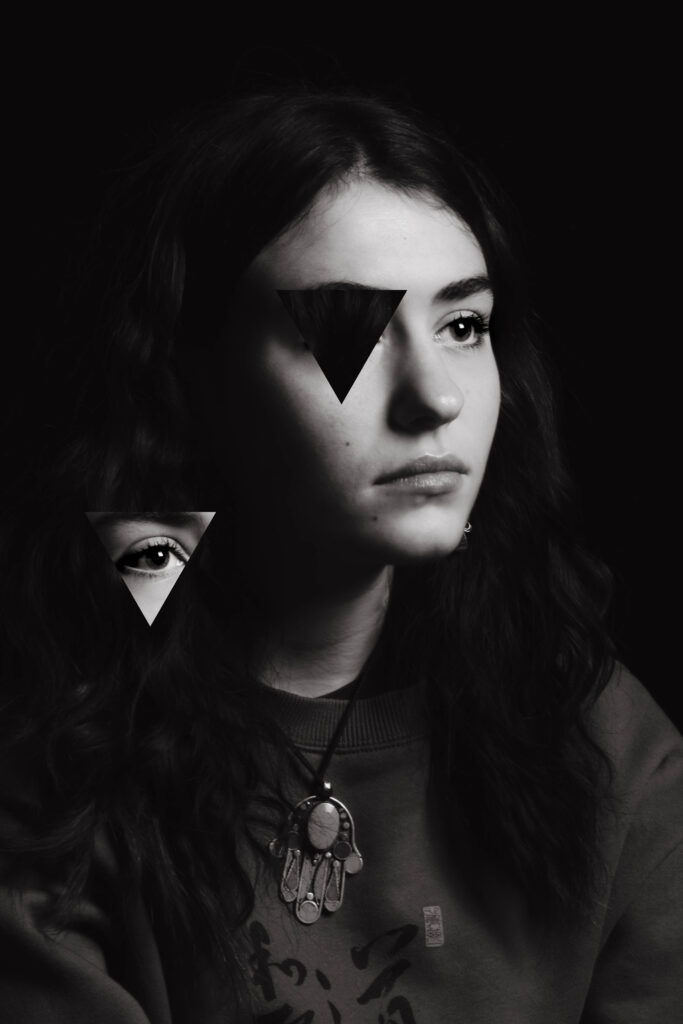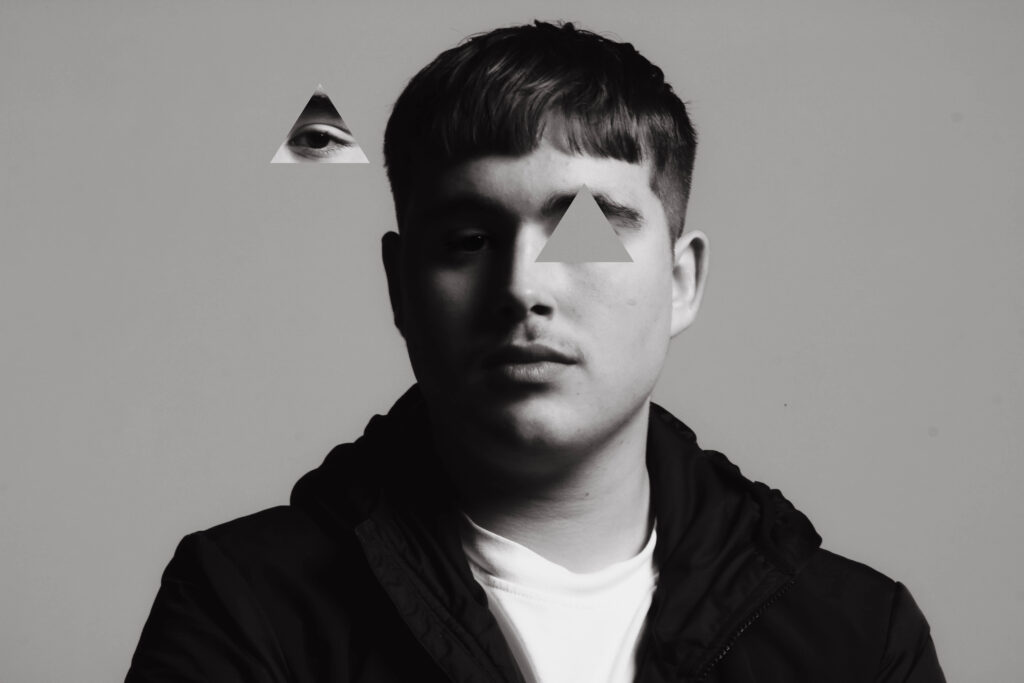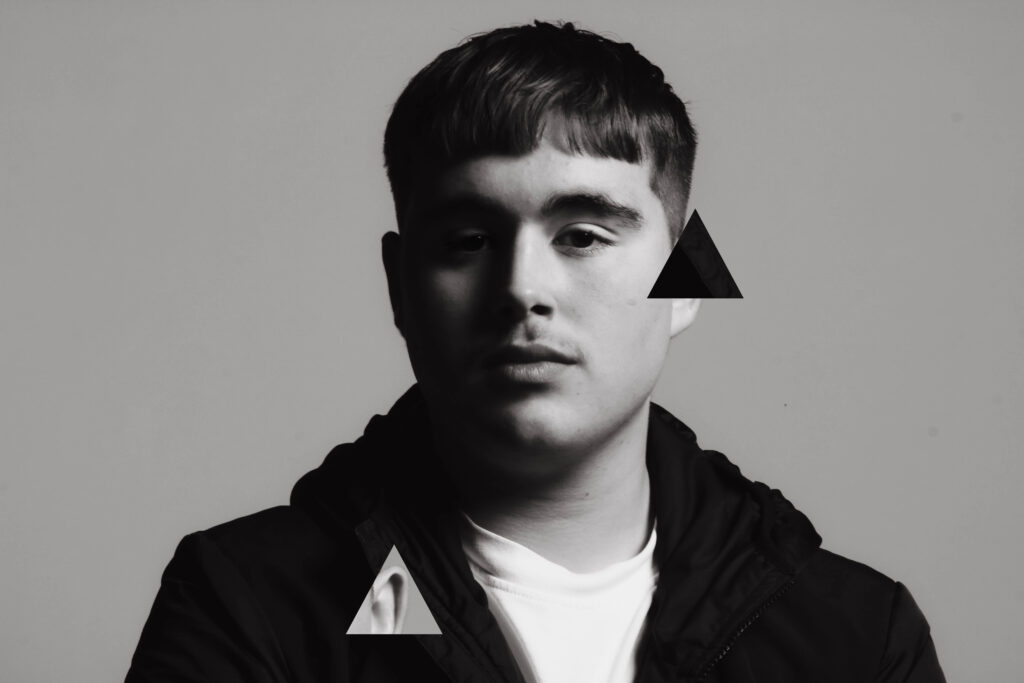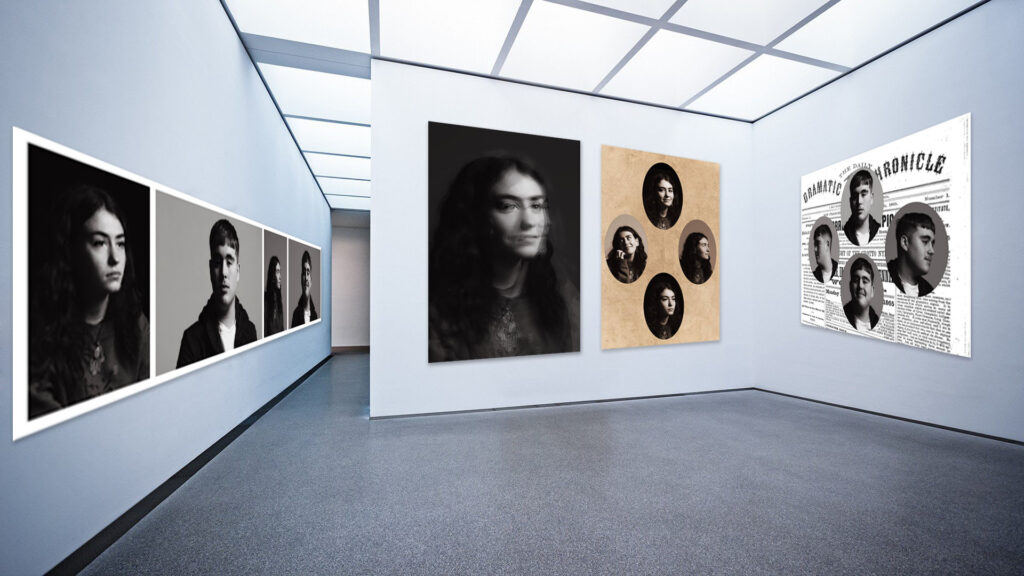
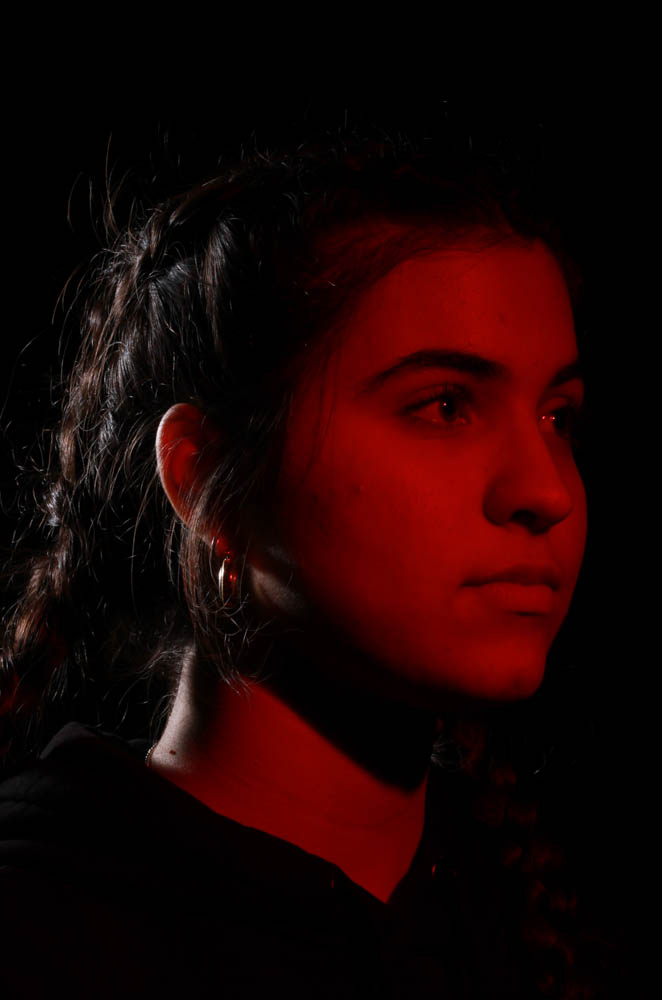
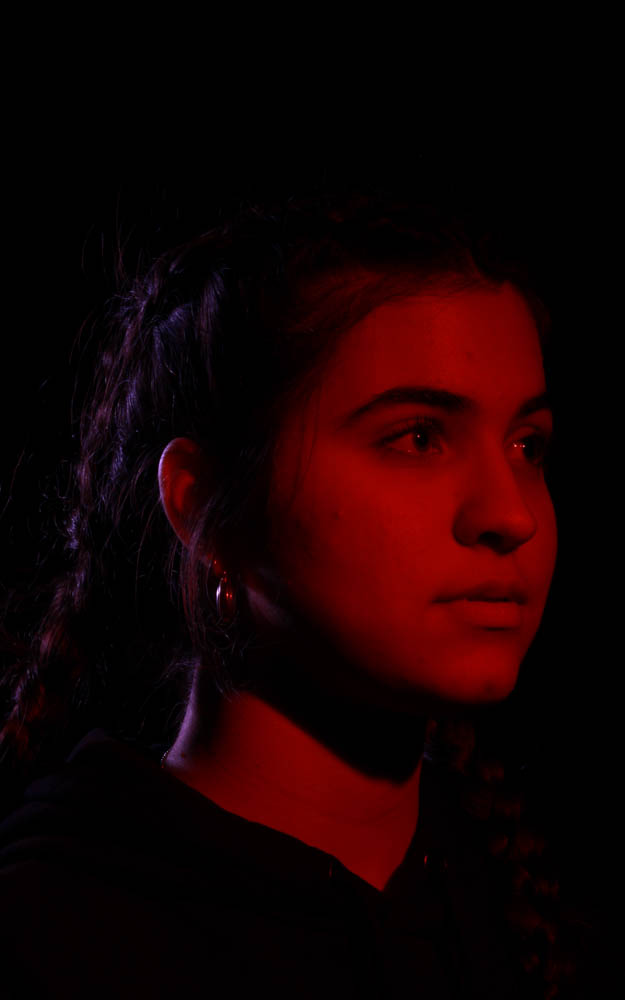
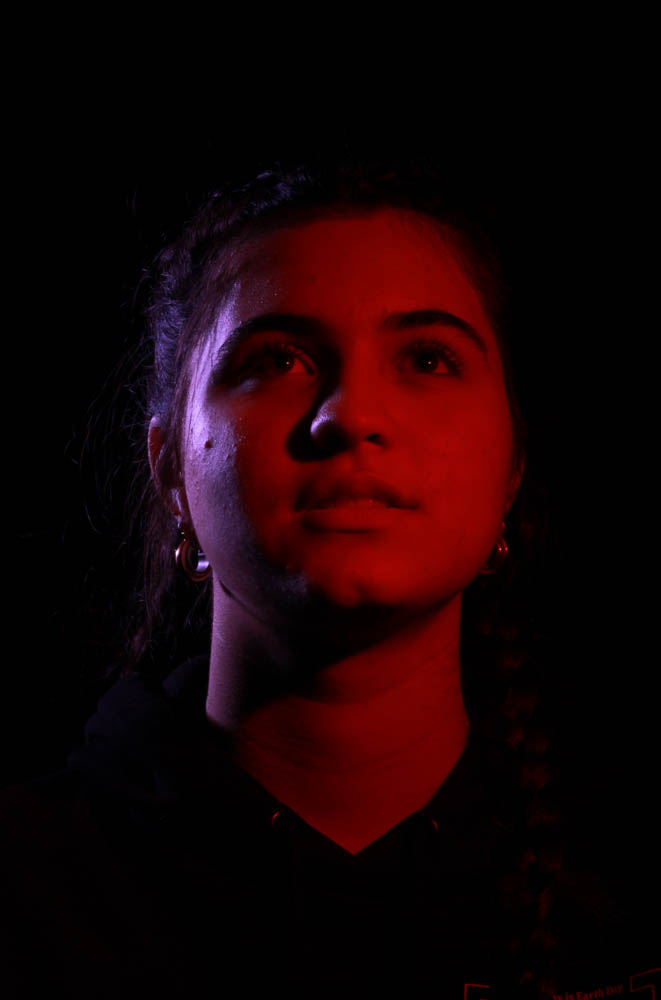
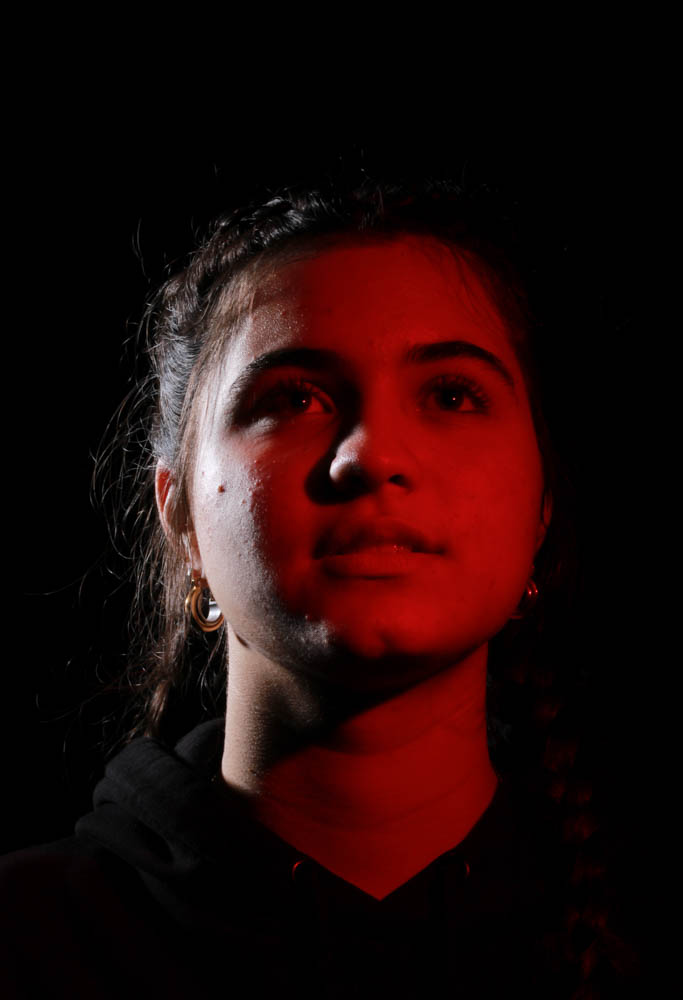
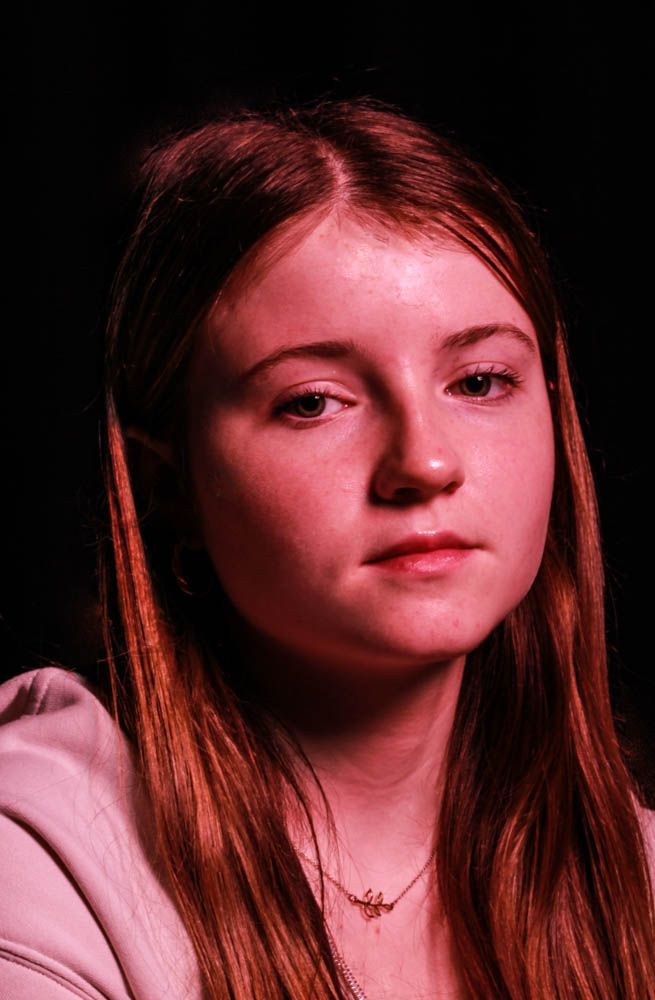
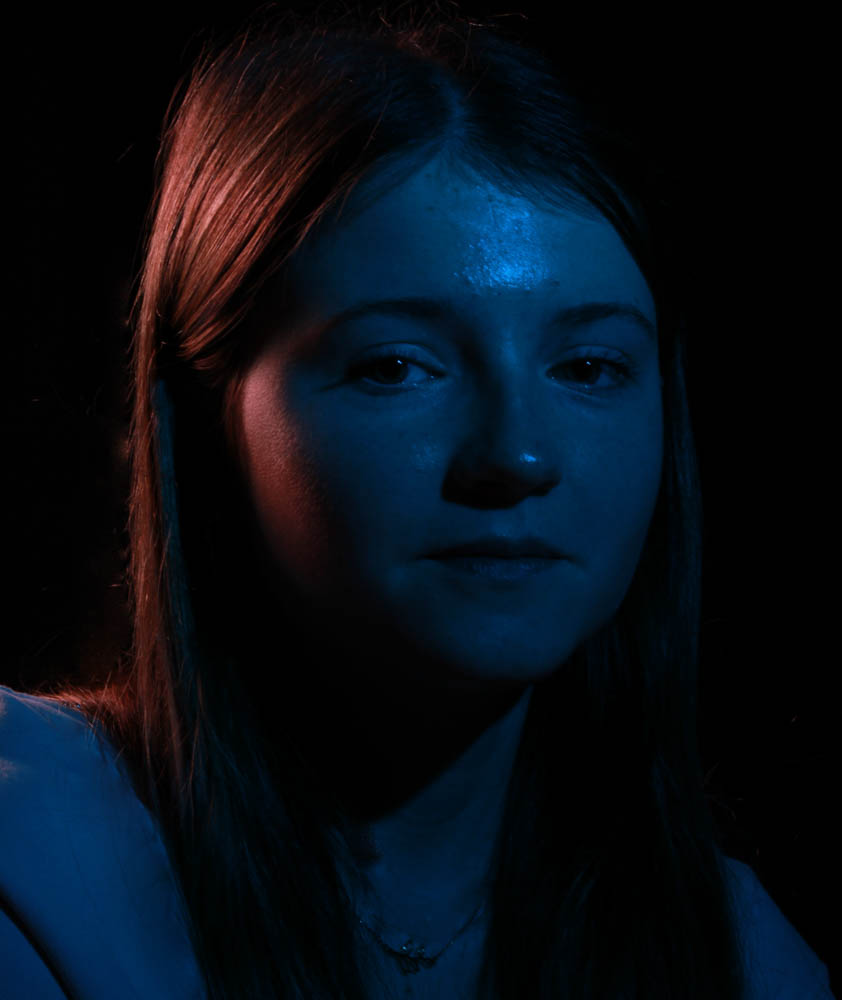
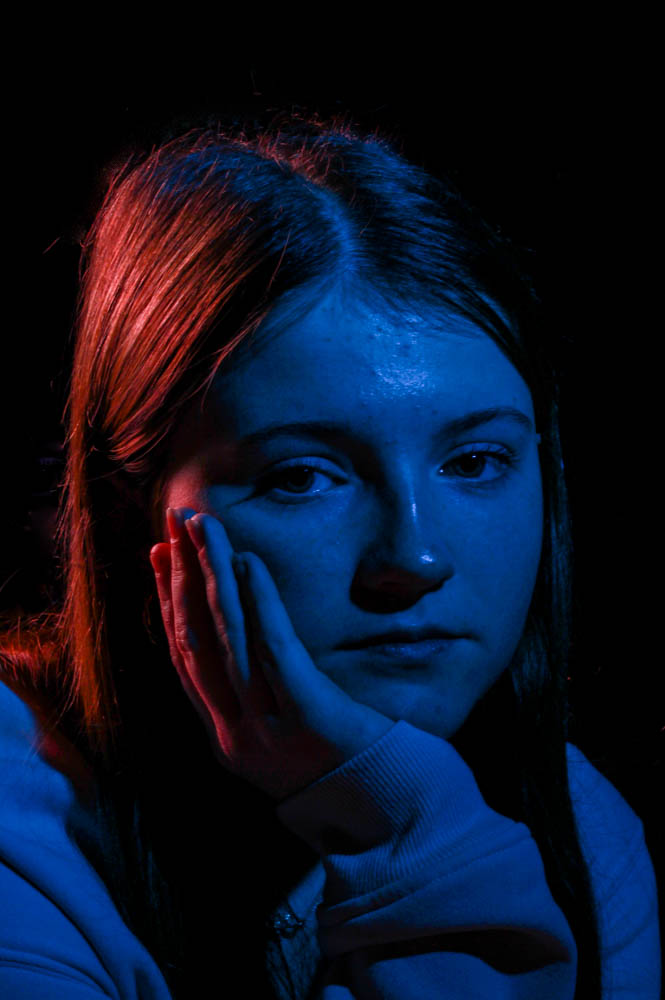
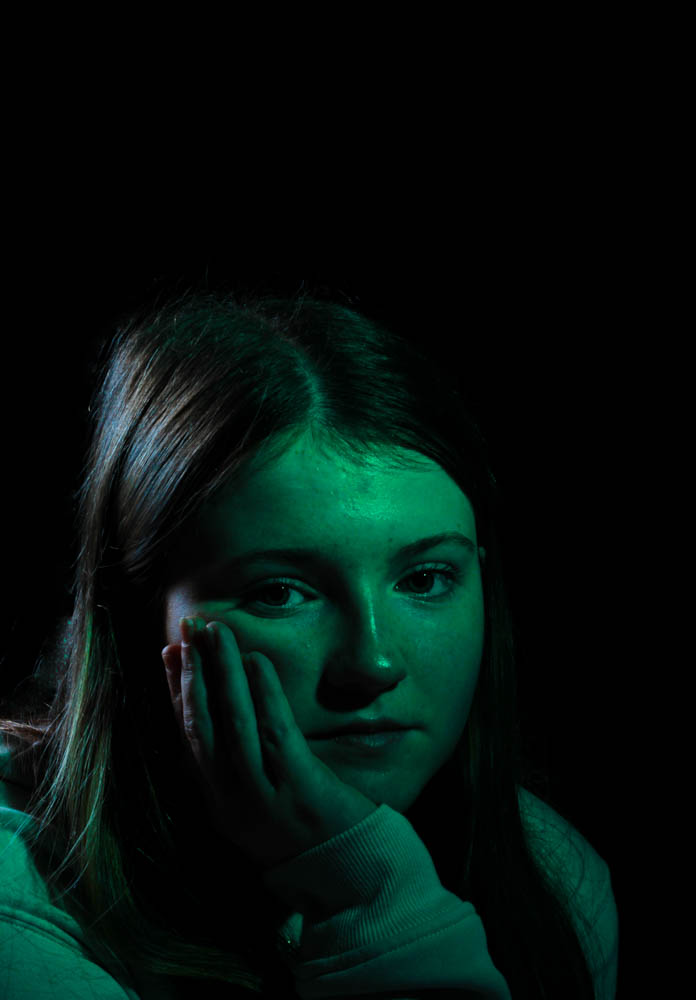
Rembrandt Lighting

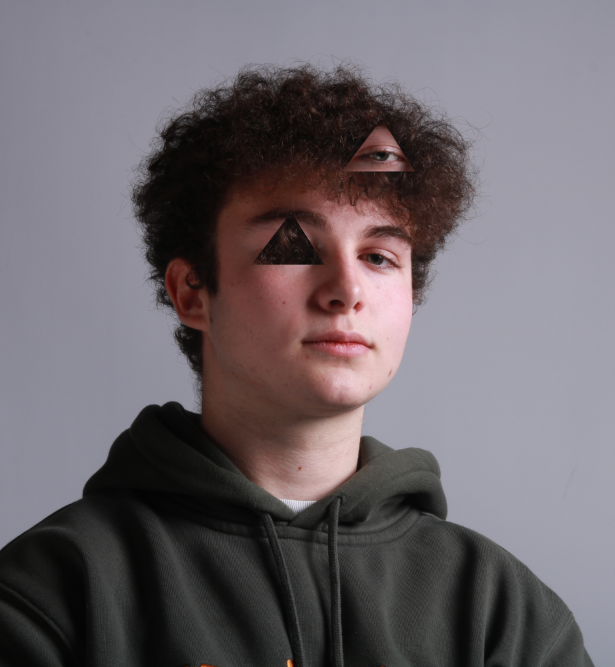
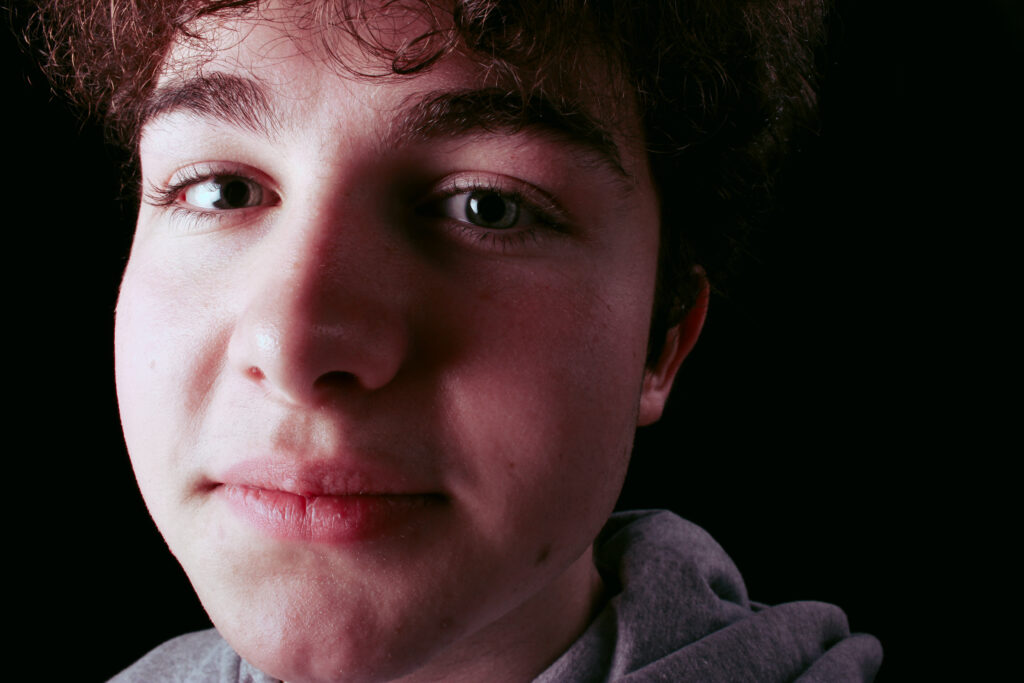
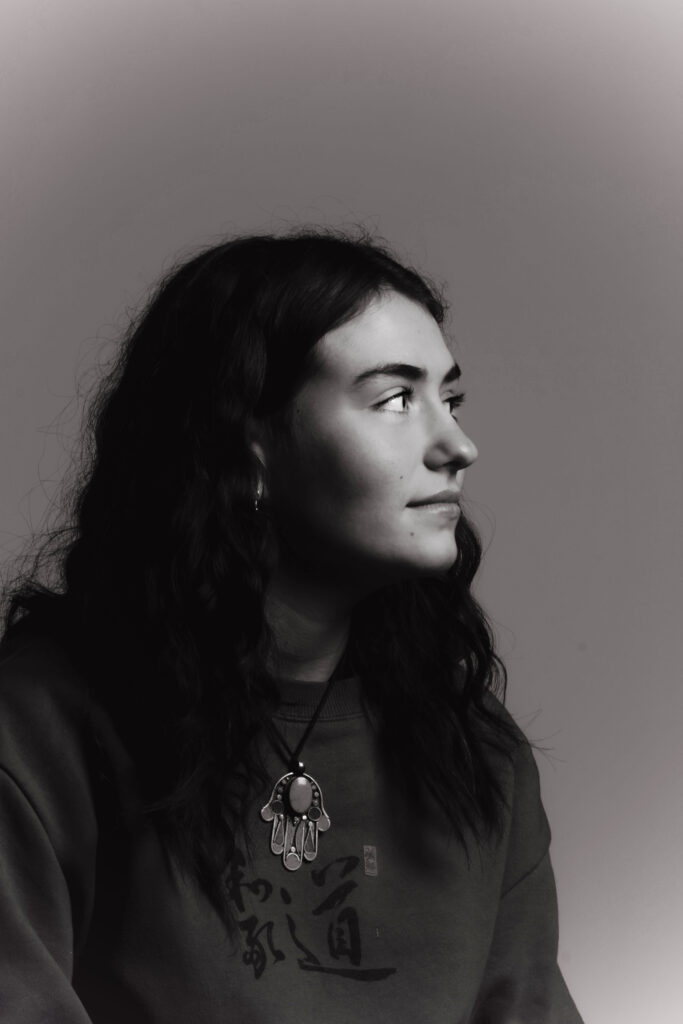
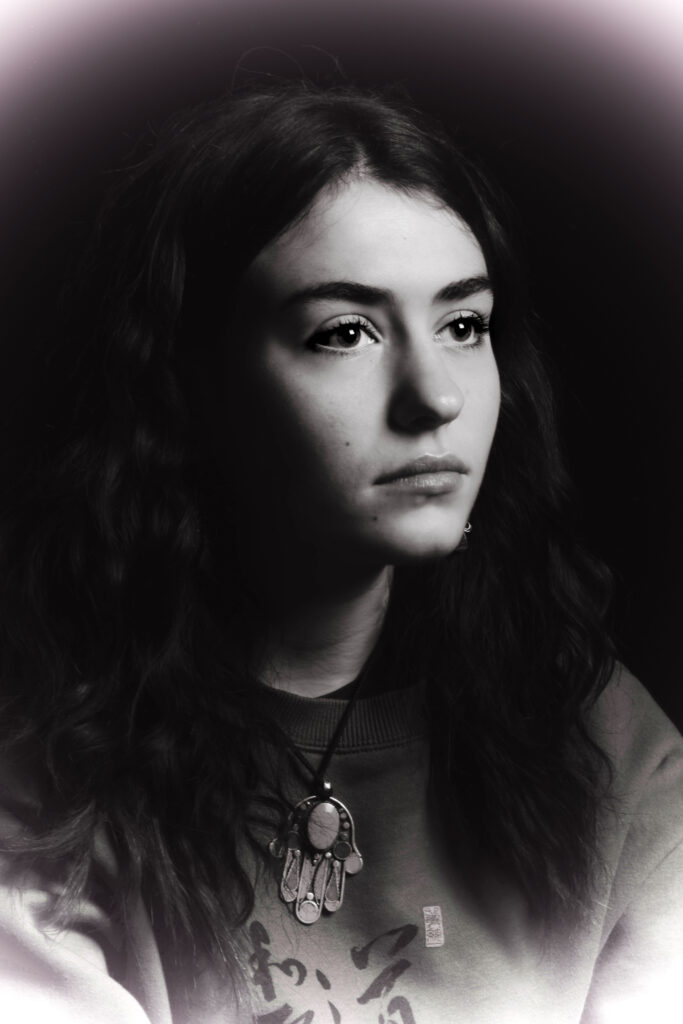
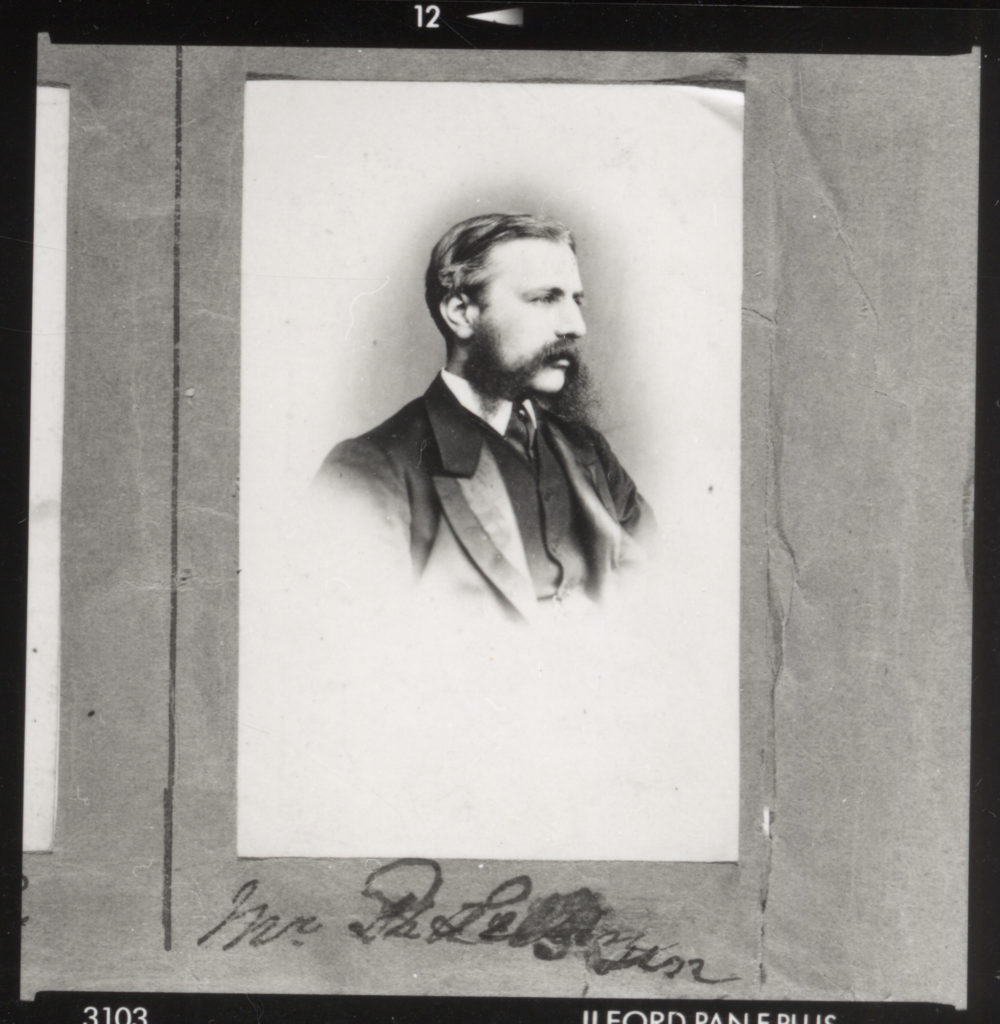
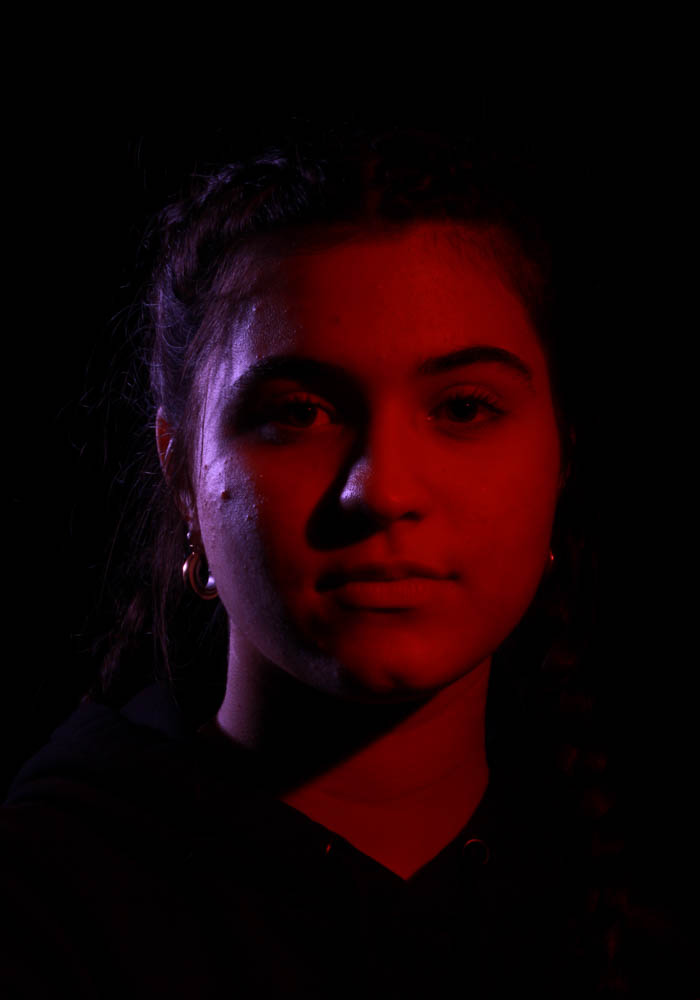
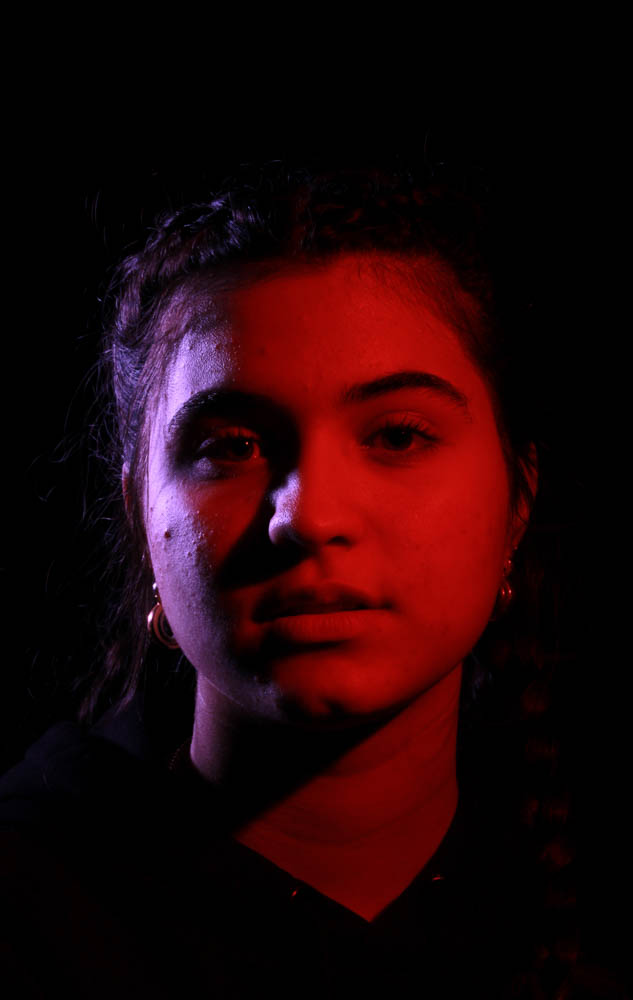
Definition – Rembrandt lighting is a standard lighting technique that is used in studio portrait photography and cinematograph. This lighting technique is identified by the triangle that is formed under one eye, (this is known as the Rembrandt Patch).

Some examples of when this lighting is being used:

This lighting is used to create a mysterious or moody portrait, it is mostly used for portraits of subjects that have a more round or full face because it creates a slimming affect, however it can be used on anyone.

By using this type of lighting you instantly create shadows and contrast. The triangle of light, that forms under the eye, also adds more emphasis and helps draw attention.

It originates from when a renowned movie director, Cecil B. Demille coined it in Hollywood in the 20th century.

Setup

The light – You can create this type of lighting by using a single light source and placing it on a 45 degree from your subject and keeping it around 5ft away. The light should also be around 2ft higher than eye level and slightly angled downwards, the lighting needs to hit the side of the subject’s face that is the farthest from the camera.

The lens – When using the camera you should use a 35mm lens if you’d like a wider point of view which will fit more of the subject’s body in the image, and if you’d like to take a portrait and have a nice depth of field you should use a 50mm lens.

Own response to this type of lighting

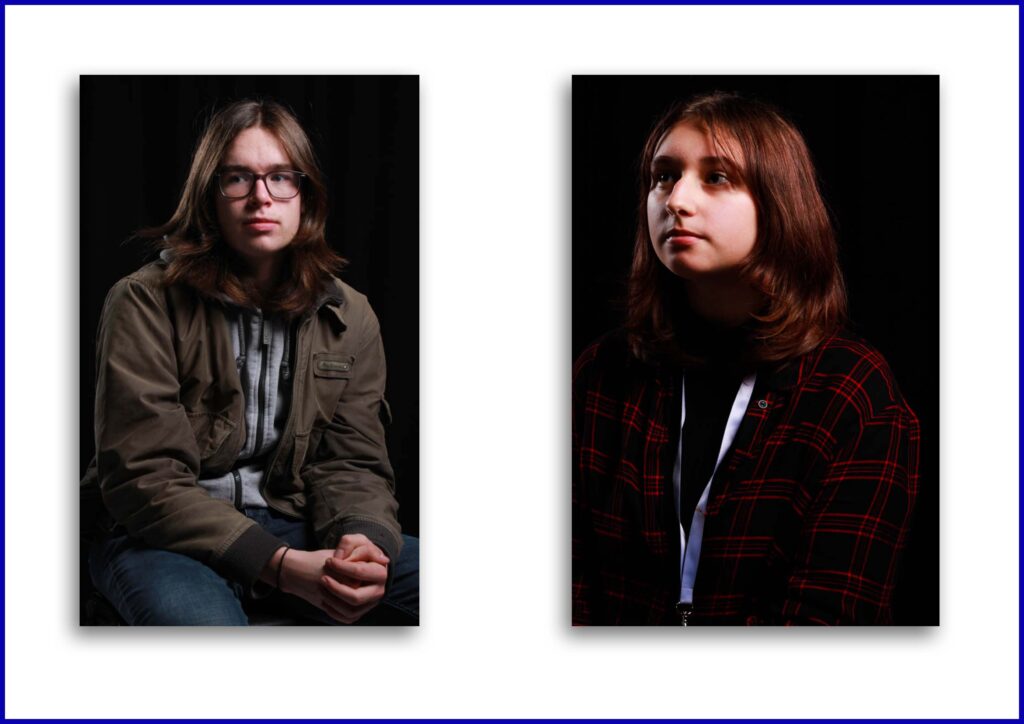
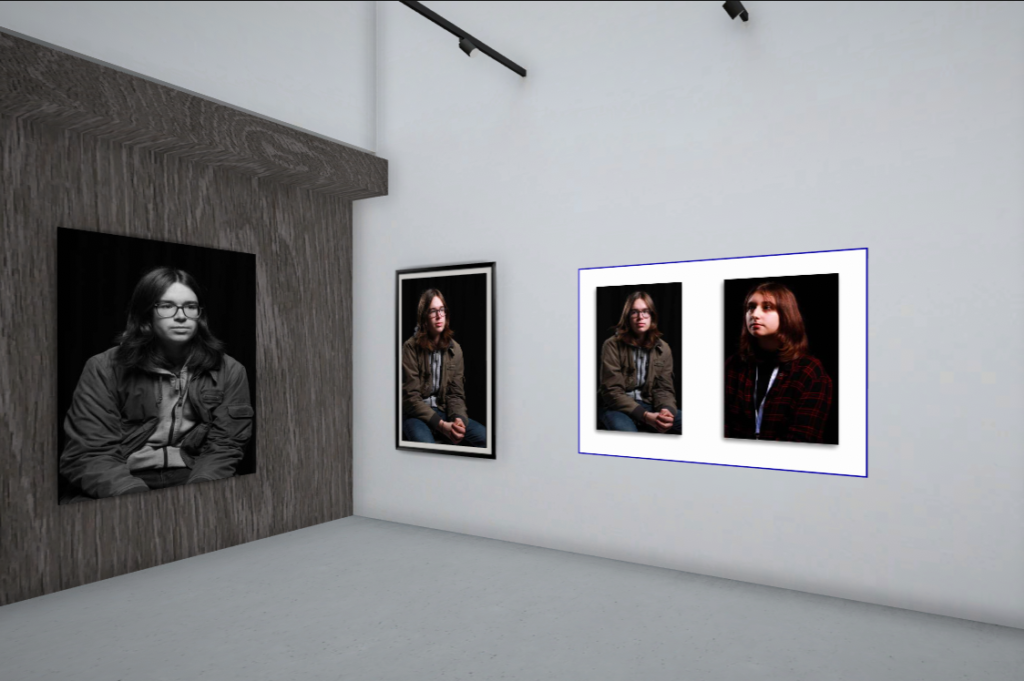
Setup – I have placed the chair/subject and lighting at an angle to create the rembrandt lighting. I then took photos facing my subject straight on.

Butterfly Lighting

What is Butterfly lighting?

Butterfly lighting is a popular lighting technique use in portrait photograph. It involves positing the main light source directly in front of the subject and slightly above their eye level. this creates a small, butterfly- shaped shadow under their nose. Butterfly lighting is known for its flattering and soft illumination. as it helps to minimize shadows and highlight the subjects features. its commonly used in beauty and fashion photography to create a glamorous and elegant look.

Why use butterfly lighting?

Butterfly lighting is often used because it creates a flattering and soft illumination. The positioning of the light source helps to minimize shadows, resulting in a glamourous and elegant look. Its commonly used in beauty and fashion photography to enhance he subjects appearance and create a visually appealing image.

From this photo you can see the clear shadow under the nose that gives butterfly lighting its name.

This is the butterfly lighting set up;

Examples of Butterfly lighting photos;

Examples I took in the studio;

Rembrandt lighting

what is Rembrandt lighting?

Rembrandt lighting came about in the 20th century and was created by film director Cecil B. DeMille, he did this to created much more realistic effects instead of just having your average studio lighting that was pretty generic. this type of lighting became much more common in films and promotional photographs to make them more interesting and eye catching. In conclusion, this sort of lighting is supposed to make a triangle under the eyes with shadows on the subject in the photo.

why use Rembrandt lighting?

when using Rembrandt lighting you can create an eye catching photo as it can create an image that looks natural but could also look dramatic.

Rembrandt can be used with either hard or soft lighting depending on how the photographer wants to portray the subject in the photo.

hard light

soft light

as shown in these two photos there is always a triangle of shadow being created when using the Rembrandt technique.

how to create Rembrandt lighting:

light- for the lighting you are going to need one source about 45 degrees away from them (about five feet) that’s also higher than them to create the technique.

lens- A 35mm to 55mm is the best range when taking a Rembrandt photo as these provide a nice wider point of view capturing more of the subject or it can be more zoomed capturing more detail of the subject (good depth).

Photos i have created:

Photoshoot environmental portraits

I took these photos of my teachers working. This shows them in their natural place of work, doing what they enjoy. I photographed these teachers because I feel as if I can trust them and know a bit about them therefore it would make sense to photograph them.

However I also took some of my own photos of my friend, at her work and happy a home enjoying herself.

These photos show a sense of charter and how hard they have worked to be where hey want to be.

 The photo will provide more of a story about the person than a formal portrait would. A portrait of a person in their natural environment adds depth to both them and the location.

Here are some of the photos after Lightroom…

This image has an empty alt attribute; its file name is image-1051-1024x431.png

To conclude..

For photographers, the responsibility is profound. Photographers not only capture the beauty and tragedy of our world, but also contribute significantly to shaping its future .

Rembrandt Lighting

Rembrandt lighting is a technique that was taken from a famous painter in the 1600s, Rembrandt Harmenszoon van Rijn. It’s a popular technique because it creates images that look both dramatic yet natural. This technique is a way of lighting the face so that a small upside-down triangle of light appears just under the models eye, on the less illuminated side of their face. It is a simple, effective photography lighting setup that’s flattering to a wide variety of faces, and is easy to master quickly. It’s possible to achieve this using just your camera and a single light source, which is why its so popular. Rembrandt lighting is a technique utilizing one light and one reflector or two separate lights

The technique is very popular because it is capable of producing images which appear both natural and compelling with a minimum of equipment. Rembrandt lighting is characterized by an illuminated triangle (also called “Rembrandt patch”

The Rembrandt lighting technique is mostly known for dimension and depth it adds to portraiture. By using it you instantly create shadows and contrast in your photos. It also adds an element of drama, which is effective in photography because it draws the viewer’s attention immediately.

Here are some examples of Rembrandt lighting

My own photoshoots-

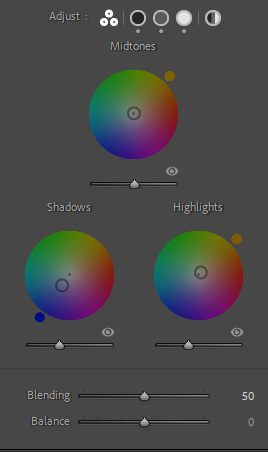
As shown, I firstly increased the temperature to give it a warmer look to make it look less dull and bland to make it more professional, I then decreased the exposure to deepen the upside down triangle leading to it to relate to the Rembrandt lighting. However increased the contrast so the shadow had more depth. I increased the white and highlights so the image had the correct amount of light leading it to be not too dark but with the correct depth of dark shadows to emphasize the triangle. Lastly, decreased the texture so the image looked smoother and more professional, and finally decreased the shadows to emphasize the shadows and Rembrandt’s shadows are emphasized.

I then put it in black and white so it connected to Rembrandts lighting theme as majority of famous and known photographs are in black and white and also really emphasize the triangle as in colour that is generally more eye catching than the triangle therefore meaning in black and white the triangle is a large factor to only focus on.

Lighting set up-

Light – lighting styles are determined by the position of your light source. Rembrandt lighting is created by the single light source being at a 40 – 45 degree angle and higher than the subject. Both flashlights and continuous lights can be used for this technique.

Lens – a 35mm or 50mm lens will work the best for this technique if your space is at a premium. Or, if you’ re looking at including more of the subject than just the head and shoulders. A 50mm works very nicely for portraits, and will give a nice depth of field if you’re shooting with a shallow aperture. However, a 35mm will give you a wider perspective, meaning you can include more of the background in a photo. However, this is usually not needed in portraits as we want to focus on the subject.

Environmental Portraits-edited images

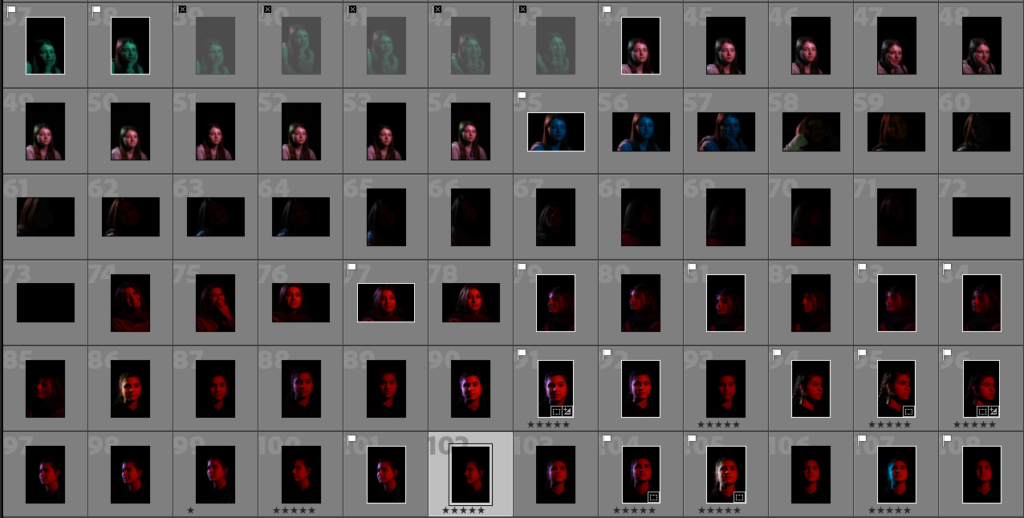
Selected images

Green=good photos.

Yellow=okay photos.

I then edited my top 5 photos.

Edited photos

Before

After

Analysis- This is my favourite environmental portrait picture. The lighting compliments the whole picture. I like how she has a subtle glow to her face, but not too much that it makes the picture too white. I also like how the horse is right next to her face as it really represents the environmental portrait task.

Before

After

Analysis- For this picture I lightened it up and smoothed it out. I like the the picture has a soft touch. I also like how the lighting is quite low as it sets a sombre mood.

Before

After

Analysis- This photo shows my brother discussing measurements in the kitchen. I have turned the temp down to make the reflection of the lights less bright. I then put the tint up a fraction to warm the photo up a bit. I also put the exposure up to brighten it up. I moved the contrast down to calm the colours down so it wasn’t so bright.

Before

After

Analysis- I didn’t do much to this photo, but i dragged the whites to the very left to add more detail in to the image. I also moved the blacks all the way to the right to brighten up the darker parts of the photo.

Before

After

Analysis- I put the highlights down and the shadows up to make a nice blend and contrast of the colours on her face.

On the side of each edited image, it shows how i have edited them.

Exploring lighting

In photography lighting is one of the most important aspects for a good photo. However there are many different types of lighting and lighting techniques which people use depending on the photo and environment. For example studio lighting is a main type of lighting which photographers use, another is natural lighting provided by natural things for example the sun.

There is also hard light and soft light:

As you can see the hard light has much harsher and darker lines in comparison to the soft light.

Lighting in photography can also be used to create powerful shadows and silhouettes as shown above.

Lighting Basics, Butterfly Lighting, Chiaroscuro lighting and Rembrandt lighting

Basics:

Lighting can be used in many different ways to achieve many unique photos. Studio lighting in particular is great for portraits. It is often used in many different ways, from flash to a technique called practical lighting which is where the light source is visible in the frame but appears natural light a lamp in a set of a living room. Within portraiture there are many different techniques used to achieve the perfect shot.

  • Intensity of the light
  • Direction of the light
  • Temperature of the Light (Warm or cold + white balance)
  • use of ” the golden hour”
  • Using reflectors (silver/gold)

Here are some photography lighting basics to help you understand how to effectively use light in your images:

  1. Natural vs. Artificial Light: Natural light comes from the sun and varies in intensity and color throughout the day. Artificial light includes studio lights, flash, and other sources that can be controlled and manipulated.
  2. Key Light: This is the main light source in a scene, providing the primary illumination. It shapes the subject and creates highlights and shadows.
  3. Fill Light: This softer light is used to fill in shadows created by the key light, ensuring a balanced exposure without harsh contrasts.
  4. Back Light: Positioned behind the subject, this light creates separation from the background and adds depth, often resulting in a rim light effect.
  5. Light Direction: The angle at which light hits the subject can dramatically affect the mood and texture. Front lighting reduces shadows, while side lighting adds dimension, and back lighting creates silhouettes.
  6. Quality of Light: Light can be hard (direct, creating sharp shadows) or soft (diffused, creating gentle transitions). Soft light is often preferred for portraits as it flatters the subject.
  7. Color Temperature: Different light sources have varying color temperatures, measured in Kelvin. Warm light (lower Kelvin) appears yellow/orange, while cool light (higher Kelvin) appears blue. Understanding this helps achieve the desired mood.
  8. Modifiers: Tools like reflectors, diffusers, and softboxes can modify the quality and direction of light, allowing for greater control over the lighting in your images.
  9. Exposure Triangle: Understanding how aperture, shutter speed, and ISO work together helps you properly expose images in different lighting conditions.
  10. Lighting Patterns: Familiarize yourself with common lighting patterns (like Rembrandt, butterfly, and loop lighting) to create specific effects and enhance your portraits.

By mastering these basics, you can effectively manipulate light to enhance your photography and achieve the desired artistic outcomes.

Butterfly Lighting

A type of portrait lighting technique, used primarily in a studio setting. Its name comes from the butterfly-shaped shadow that forms under the nose because the light comes from above the camera. You may also hear it called ‘paramount lighting’ or ‘glamour lighting’.

Butterfly lighting, also known as “paramount lighting,” is a popular portrait lighting technique characterized by the creation of a butterfly-shaped shadow under the subject’s nose. This effect is achieved by placing the key light directly in front of and above the subject, typically at a 45-degree angle. The resulting shadows enhance the cheekbones and create a flattering, sculpted look, making it particularly effective for beauty and glamour photography. Butterfly lighting works well with a soft light source, as it minimizes harsh shadows and produces a smooth, even illumination on the face. This technique is often used to convey a sense of elegance and sophistication, making it a favorite among portrait photographers.

What is it used for?

Butterfly lighting is used for portraits, because it is a lighting that flatters almost everyone, as it can highlight cheekbones and create shadows under them, as well as under the neck, which makes the model look thinner. This makes it the most commonly used lighting setups. This lighting has also been used for famous stars, from classic Hollywood and that’s why it’s also called Paramount lighting.

People use butterfly lighting for several reasons:

  1. Flattering Appearance: The technique accentuates cheekbones and creates a sculpted look, often resulting in a more aesthetically pleasing portrait.
  2. Soft Shadows: When using a soft light source, butterfly lighting minimizes harsh shadows, providing a smooth and even illumination that flatters the subject’s features.
  3. Elegant Aesthetic: This lighting style conveys a sense of sophistication and glamour, making it ideal for beauty, fashion, and high-end portrait photography.
  4. Highlighting Details: By illuminating the face from above, butterfly lighting highlights facial features such as the eyes and lips, enhancing the overall impact of the image.
  5. Versatility: It can be effectively used in various contexts, from studio portraits to outdoor shoots, allowing photographers to achieve a polished look in diverse settings.

Overall, butterfly lighting is favored for its ability to enhance beauty and create striking, professional-quality images.

How to create it:

Butterfly lighting requires a key light that can be a flash unit or continuous. If continuous, it can be artificial or natural. In other words, you can use strobes, speed lights, LEDs or even the sun. A butterfly lighting effect refers to the setup and not to the quality of light – it can be soft or hard light depending on the effect you want. If you want to create a soft light, you’ll need to use modifiers. A beauty dish is perfect for glamour photography as it distributes the light evenly and smooths the skin. You can also use a soft box or an umbrella. Instead, if you want to have hard light, you can leave the light source as it is. Alternatively, you can use grid spots to direct it and create different effects.

To use butterfly lighting effectively, follow these steps:

  1. Position Your Light Source: Place the key light directly in front of and above the subject, typically at a 45-degree angle. This positioning is crucial for creating the signature butterfly shadow under the nose.
  2. Choose the Right Light: Use a soft light source, such as a softbox or umbrella, to minimize harsh shadows and create a flattering glow on the subject’s face.
  3. Adjust the Distance: Experiment with the distance of the light from the subject. Bringing the light closer can create a more dramatic effect, while moving it further away will soften the light.
  4. Control the Fill Light: If necessary, use a fill light positioned at the opposite angle to reduce shadows without overpowering the key light. This helps maintain balance in the illumination.
  5. Check the Shadows: Ensure the shadows created under the nose are even and not too harsh. You can adjust the height and angle of the key light as needed.
  6. Consider Background and Environment: Pay attention to the background and how it interacts with the lighting. A clean, uncluttered background can enhance the subject’s prominence.
  7. Use Reflectors: If desired, add a reflector below the subject to bounce light back onto their face, further softening shadows and enhancing illumination.
  8. Experiment with Angles: While maintaining the primary setup, feel free to adjust the angle slightly to find the most flattering position for your subject.

By following these steps, you can effectively utilize butterfly lighting to create beautiful, professional-quality portraits.

Experimenting:

Once you have the key light set up, it’s time to fill the shadows. You can use a reflector to bounce the light back up and soften the shadow under the chin and the one from under the nose. To do so, position the reflector under the subject’s face. Start at waist level and see how it looks. If the shadows are still strong, move it closer to the face and so on. Experiment with different positions to achieve different effects. You can also change the colour of the reflector. A white one will give you a neutral tone, while a golden one gives a warming overcast. Once you’re happy with your butterfly lighting, direct the model to have a striking fashion pose or whatever the desired pose or expression you’re looking for. Just keep in mind that the subject’s face needs to be towards the light in order to have the butterfly shadow under the nose.

Examples:

Chiaroscuro lighting

‘Chiaroscuro’ is an Italian term for lightdark as this lighting technique creates a bold contrast between light and dark. This can also be defined as a high-contrast lighting technique that utilises a low-key lighting setup to achieve contrast between the subject and a dark background. 

Chiaroscuro is an artistic technique that uses strong contrasts between light and shadow to create a sense of volume and three-dimensionality in an image. The term, derived from the Italian words “chiaro” (light) and “scuro” (dark), emphasizes the interplay of light and dark tones to enhance the dramatic effect and depth of a composition.

In painting and photography, chiaroscuro can be used to direct the viewer’s attention to specific areas of the artwork, convey mood and emotion, and add a sense of realism. This technique has been employed by many renowned artists, including Caravaggio and Rembrandt, who used it to create striking visual narratives. In photography, chiaroscuro can be achieved through careful manipulation of lighting, often involving a single light source to create deep shadows and bold highlights, enhancing the subject’s form and texture.

What is it used for?

This form actually originated in paintings during the 15th century in Italy and Holland (Flanders), yet this was truly developed a century later in Mannerism and Baroque art. Today, it is prominently used in film-making due to the striking and dramatic images this technique produces. This form of lighting adds a sense of mystery to the characteristics of the subject, making their features become framed and draw attention to the viewers eye in places they would not normally see. Caravaggio and Rembrandt used this in their paintings where dark subjects would be dramatically shined on by a shaft of light:

How to create it:

In photography, these are produced by using one key light and a variation using a reflector that reflects light from the key light back onto the sitter. The reflectors colour can be changed to produce a different tone onto the subject.

Experimenting:

Using flash, there are a range of possibilities as, depending on how you want the images produced, you can create images in low or high lighting scenarios through:

  • flash “bouncing
  • fill-in flash
  • TTL / speedlight flash
  • remote / infra-red flash (studio lighting)
  • fast + slow synch flash
  • light painting c/w slow shutter speeds

For example, flash “bouncing” softens the effects and creates a larger fill area. This must be done on white walls or ceilings as the flash is directed either to the side or above the subject.

Examples:

Rembrandt lighting

Rembrandt lighting is a technique named after the Dutch painter Rembrandt. Its the cauterized by a small triangle of light on the subject cheeks opposite the light source, creating a dramatic and shadowy effect. Its often used in portrait photography to add depth and dimension to the subjects face.

What is it used for?

Many Photographers use Rembrandt lighting because it creates a dramatic and artistic effect in portraits. it involves positioning the main light, source at a 45-degree angle to the subject. creating a triangle-shaped highlight on the cheek opposite the light source. This technique adds depth and dimension to the subjects faces, accentuating their features and creating a sense of mood and atmosphere in the photograph.

How to create it:

It consists of using one light and one reflector (or two lights), instantly creating shadows and contrast. This specific technique creates a triangular shape under the subjects eye which increases the emphasis of drama to the viewer. This draws them in because the eyes are the main focal point in portraiture and something that can take on many forms and show emotion. This makes a more appealing image as it has a creative side to it – it isn’t just general light on the face and exposes the features of the face more.

Experimenting:

The lighting depends on its position to the subject. In this case, it must be 40 to 45-degree angle and higher than the subject. Flashlights and continuous lights are the correct ones to use.

Depending on how much of your subject you are aiming to shoot, you should use a 35mm or 50mm if you’re looking at including more of the subject than just the head and shoulders. However, 50mm will give a nice depth of field.

Examples:

studio lighting

studio lighting consists of 2 main types, continuous and flash, with other types like natural lighting . We can uses these 2 different lights to create different lighting techniques like the a butterfly for example.

The technical side of lighting

Continuous lighting (or tungsten light) produces a constant amount of light which is often a warmer temperature, meaning you need to adjust your white balance accordingly.

Flashlight lights have umbrellas, or a soft box can be attached to diffuse the light (not to say continuous lights cant have this). They create a flash of light which is very bright and used to make hard lighting.

Other objects can be used like a reflector to direct light in multiple directions often leading to more soft lighting. To create an interesting studio portrait you need to different directions of light, temperature, key lighting (e.g. 3 point lighting), use of reflectors and diffusers, camera settings (ISO, camera lenses, shutter speed and aperture), backdrop and infinity curves, and of course an interesting subject. So what different techniques are there?

Hard light refers to light that offers very sharp transitions from light to shadow. Soft light is the complete opposite of hard light: It offers gradual transitions between light and shadow.
High Key (left) is shadowless, over exposed, soft lighting, and low contrast. Where as Low key (right) is the complete opposite of that.

Rembrandt lighting

This technique (named after a Dutch painter, Rembrandt Harmenszoon van Rijn) is where the lighting creates a upside down triangle under the eye. Rembrandt lighting is a technique utilizing one light and one reflector or two separate lights. It’s a popular technique because it creates images that look both dramatic, full of drama, yet staying natural. Its also used as a way to draw the views eyes towards the eyes of the subject in the photo (usually the main focal point of a portrait image). This is because it will create emphasis of that part of the face, drawing the view in. Other ways of moving where the viewer is looking is by using negative space, leading lines and depth of field.

Rembrandt self-portrait using paint, with a noticeable triangle under the right eye

As you can see, kewano weafs and all the other photos have very hard lighting, creating a large amount of contrast within the face. This allows the triangle to appear, drawing the attention towards the eyes. Eyes can be used to show many different emotions so its important to have it as a main focal point.

Rembrandt lighting setup ^

Butterfly lighting

butterfly lighting is achieved by moving the main light above the camera, and directly centred with the models face. This creates a shadow under the nose and cheek bone that resembles a butterfly It’s also known as ‘Paramount lighting,’ named for classic Hollywood glamour photography. It creates a thinner looking face by making shadows under the cheek bones and neck.

As you can see, the butterfly effect can create a warm and happy image or a scarier, darker one. This is because the butterfly lighting effects the setup of lighting and not the quality of lights, so you can still have soft or hard lighting and still have butterfly lighting.

The reflector can soften the shadows under the check bone and neck if you don’t want the butterfly lighting to be so noticeable. To create hard lighting you can just remove the modifier (e.g. a soft box).

Chiaruscuro

Chiaruscuro (Italian for light dark) is a dramatic contrast between light and dark in the image. It appeared in the 15th century paintings:

It’s has a dark, contrast look, with dense shadows – though, for the most part, not completely black. The use of shadows in the background gives the painting an impression of depth and three-dimensionality. The subjects, meanwhile, are lit carefully, almost sculpted, by the light and shadow that falls on them.

Chiaroscuro in photography is made using one key light and a variation using a reflector that reflects light from the key light back onto the sitter.

To create a Chiaruscuro effect, use a flash – with triggers and a light stand and set the shutter very high, to remove any ambient light.

This way the only light recorded is created by the flash. If you zoom flash too, it will intensify the light on the subject and leave the background dark. Its best to just use a dark wall as a backdrop.

You don’t even need any artificial lighting to create this effect, as long as the lighting is strong.

Studio Lighting- Rembrandt

Rembrandt Lighting

A patch of triangular light is below one eye of the model on the less lit side of the face. This is a natural looking technique that creates dramatic, interestingly lit photos.

To achieve this style of lighting the best option is to, place one light on one side of the model above head height casting light downwards and at the front of the model so not backlit. You could then use a reflector or a fill light, but more commonly a reflector at half height on the other side of the models face still at the front of the models face. To create a successful image the triangle should be no longer than the nose and no wider than the eye. A simple way of looking at it is to have one lighting source on a 45 degree angle from the front of the subjects face and making sure the light is above them. This is also a great technique as it allows for people to use it even with non professional equipment as it only requires one light and a reflector is useful but not essential.

Rembrandt, self-portrait

It began as a technique used by a Dutch painter, Rembrandt Harmenszoon van Rijn featured throughout a lot of his work however it became better known when a 20th century filmmaker, Cecile B. DeMille borrowed spot lights for the film he was making. The actors face was only half lit creating the triangle. His business partner was afraid the exhibitors would only pay half price due to the actors face only being half lit. DeMille then announced it as ‘Rembrandt’ lighting and his business partner was excited as he thought the exhibitors would pay more for using this technique. Since then the technique has been well used around the world to create dramatic portraits.

Why use Rembrandt lighting?

Rembrandt lighting adds an element of drama and psychological depth to the character of your sitter.

It is a great way to create dramatic shadows and harsh contrast. Drawing the eye to the photo is a huge part of photography and is done in many different ways from leading lines to creative editing however these are not always completely transferable to portrait photos, this lighting technique allows the photo to remain looking natural. When it comes to portrait photography you are normally wanting to draw the eye to the eye of the model, by having a darker side of the face it provides a nice contrast to then having the well lit triangle under the eye draws the eye to the one point of light in the darker side.

Just another Hautlieu Creative site