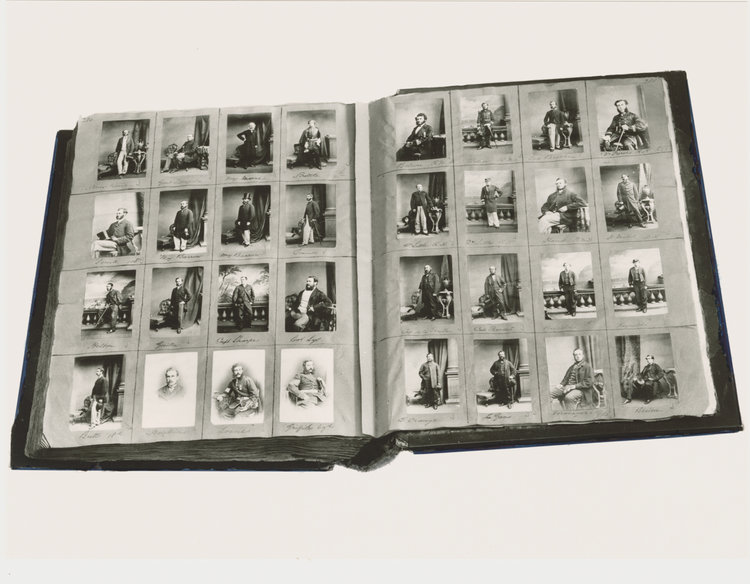
Henry Mullins was a photographer who was founded in the first few years of photography being originated. Photography came about in the year 1839, Henry Mullins started working at 230 Regent Street in London in the 1840s. He then moved to Jersey due to tax reasons in 1848 and carried on his career of photography. He set up his own photography studio known as the Royal Saloon, at 7 Royal Square. in the beginning, he was known to have worked with a Mr Millward but a year on from that he worked alone for the next 26 years in the same studio.
There was short period in the 1860s where Mullins worked in London but there is a large amount of photographs, which are held by the La Société Jersiaise, that suggest there were plenty of people on the island willing to pay a good amount of money to have their photograph taken by Mullins.
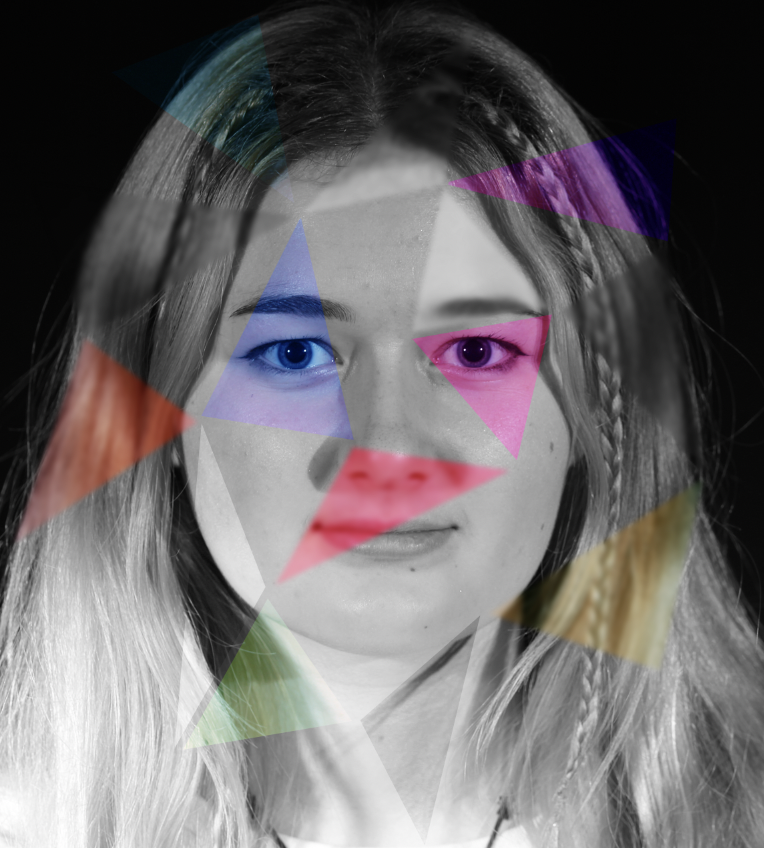
Cartes de visite
Henry Mullins has a speciality called ‘Cartes de visite’ and the photographic archive of La Société has a big collection of these, which are produced in albumen, which was a thin paper photograph mounted on a thicker paper card. The size of a carte de visite is 54.0 × 89 mm normally mounted on a card sized 64 × 100 mm. On the online version of the archive there is 9600 images. this was usually done by a number of 16 photographs taken in one sitting.
Some of Henry Mullins’ photographs
Diamond Cameo
A Diamond Cameo is a process in which four separate portraits of the same subject are printed on a carte-de-visite. the four photos are usually taken from different angles of the subject. These are then printed onto each of the oval shapes of only their headshots and not their body.
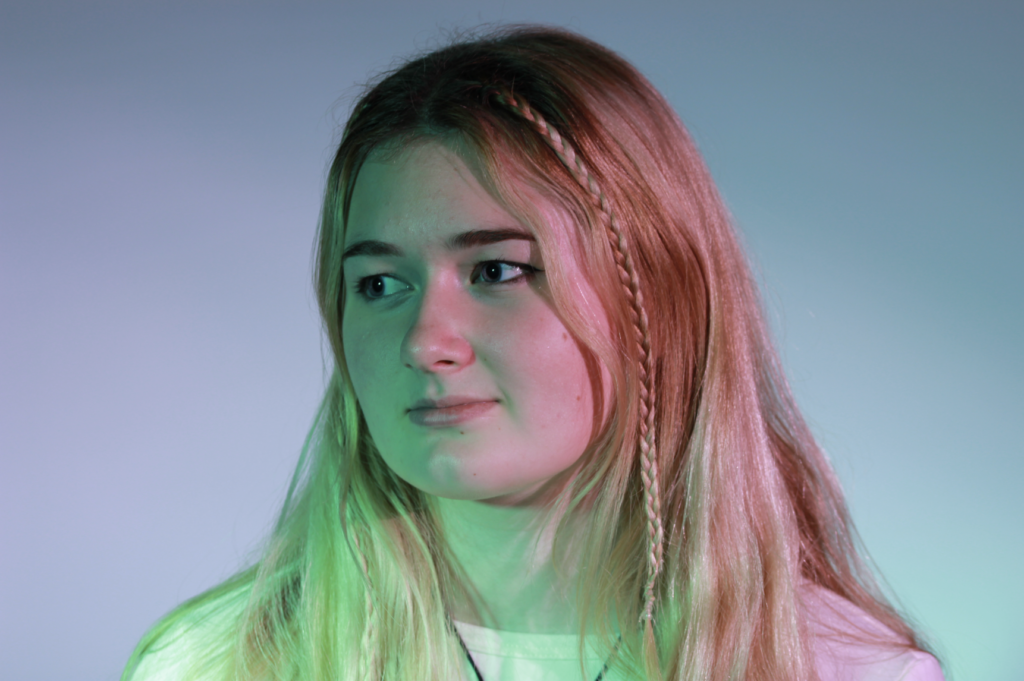
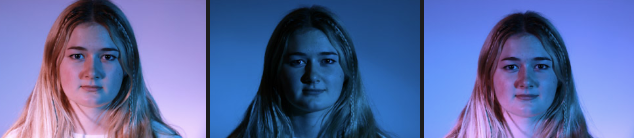
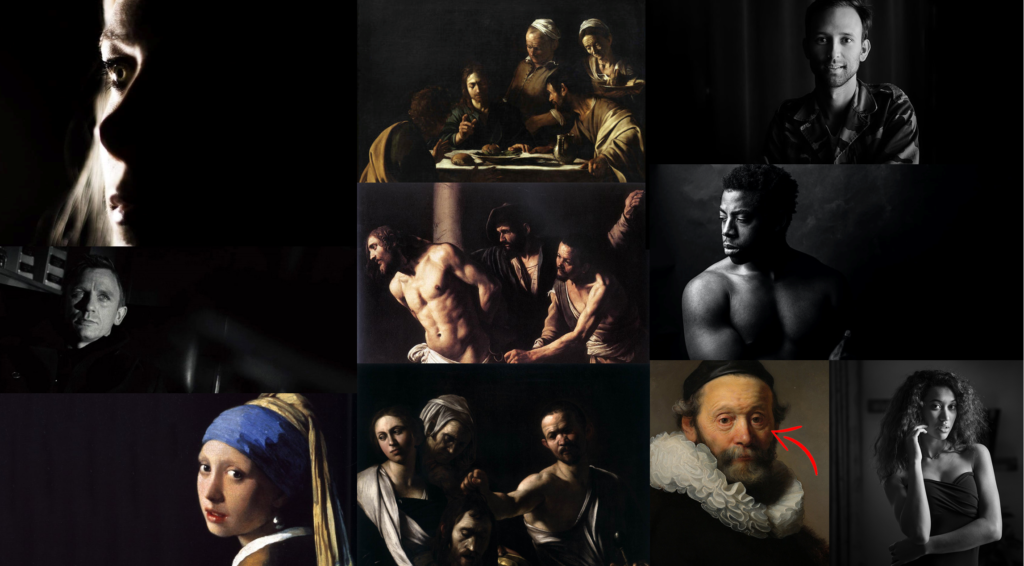
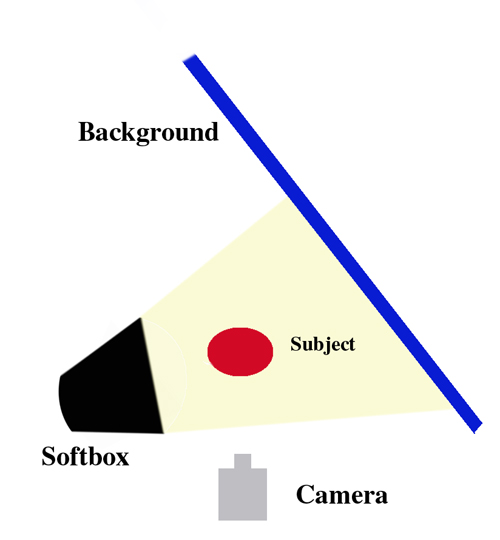
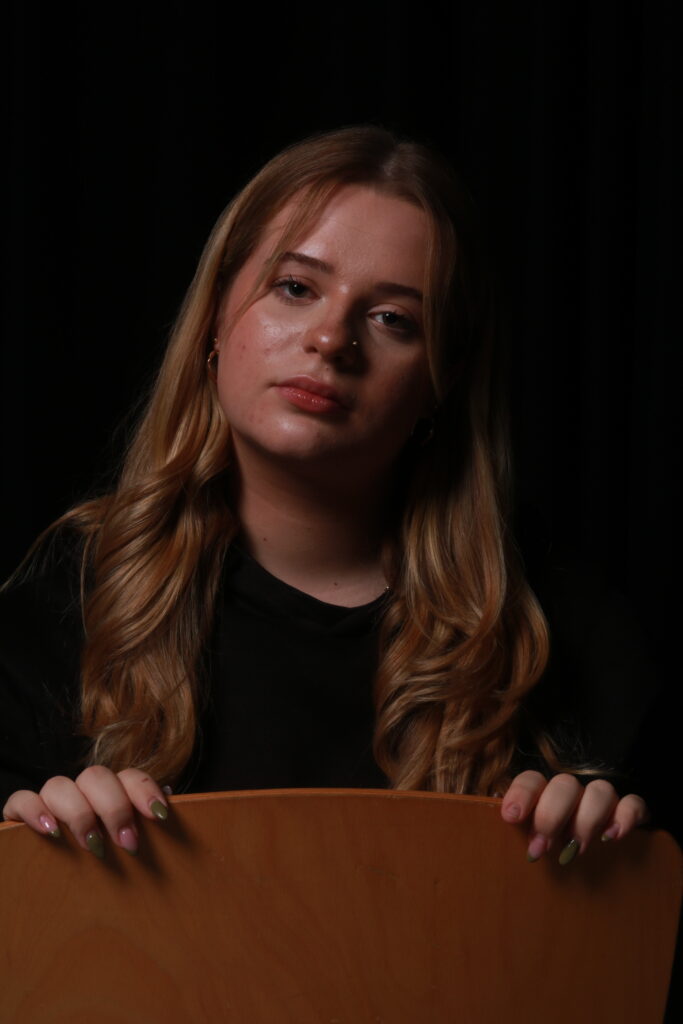
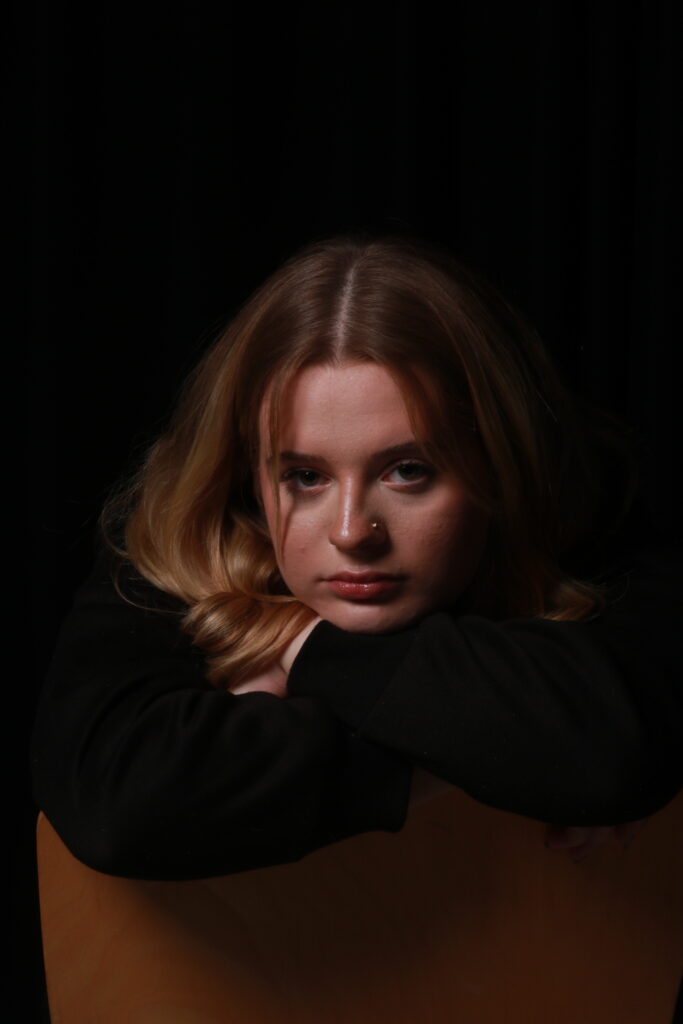
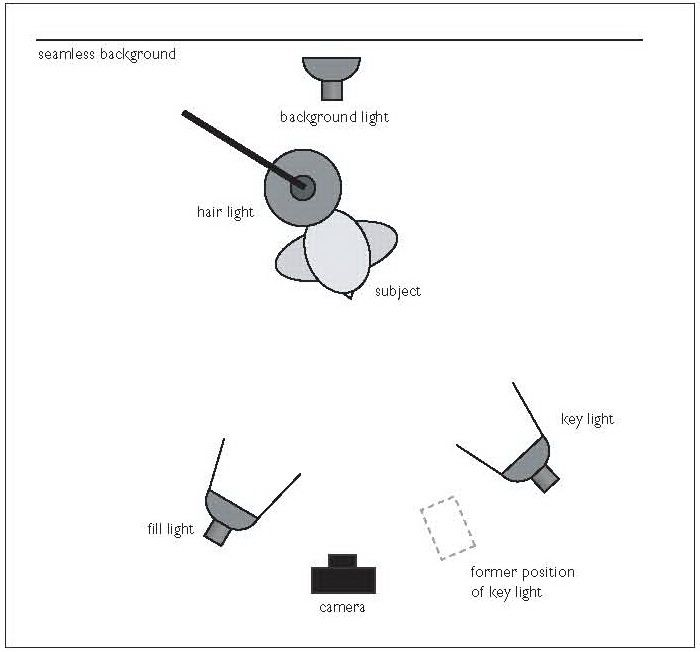
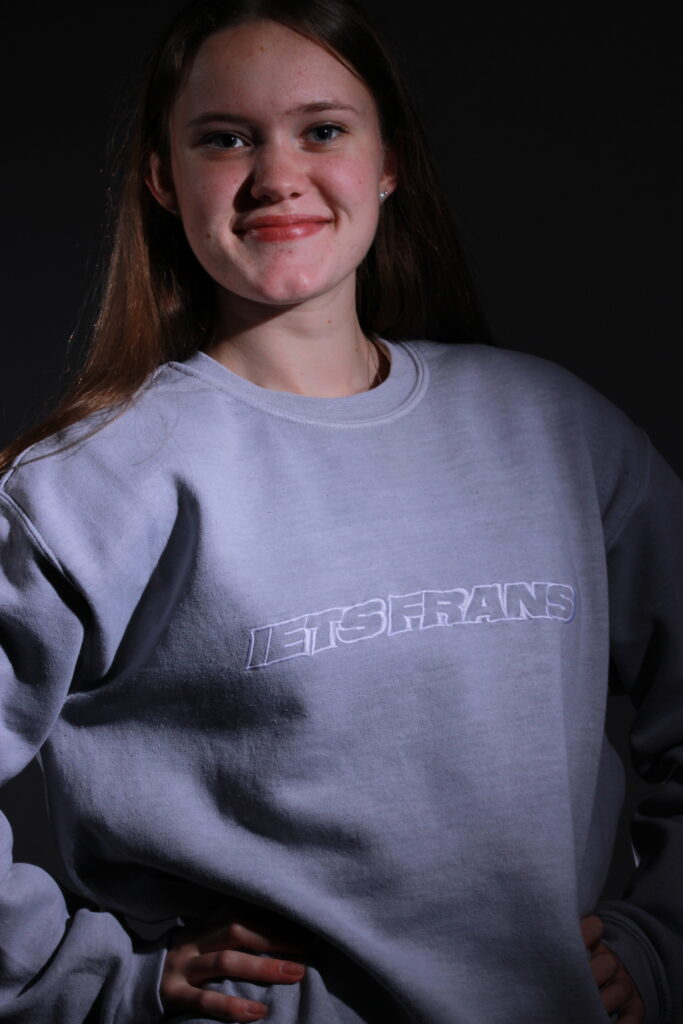
Hard lighting is a type of lighting in photography which is harsh and creates the effects of strong shadows in the image. It usually comes from a single, bright light which is smaller than the subject. When photographing objects, the dark lighting will also help to show the 3D-Appearance and will also further define the textures and details an object might have.
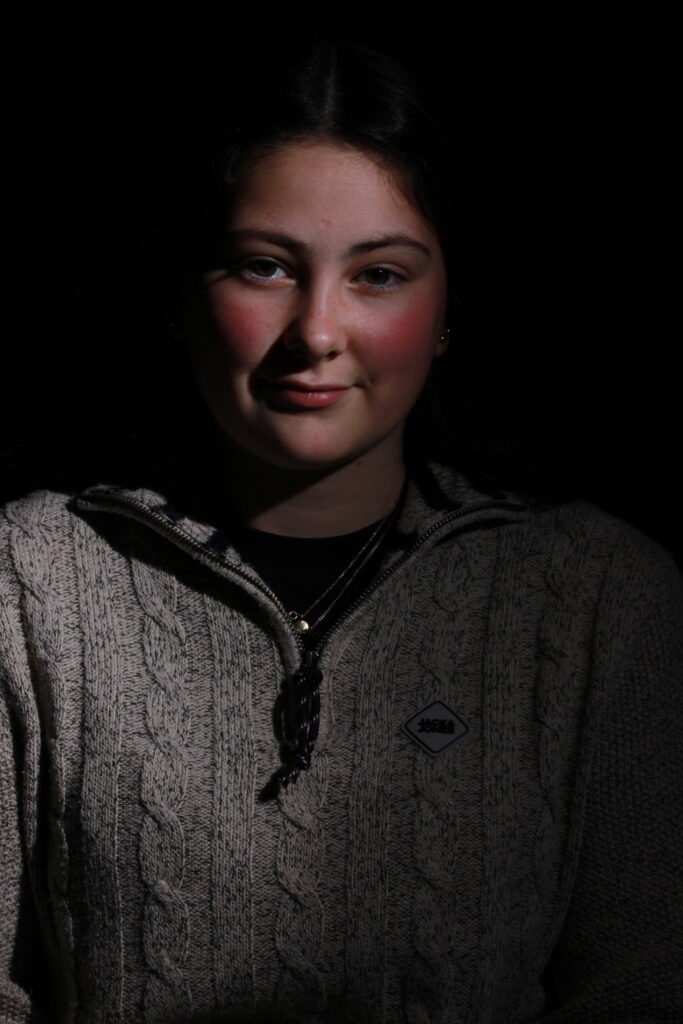
Soft lighting is a type of lighting in photography which is more diffused and creates softer shadows. Hard light has more contrast and is usually brighter than soft light, while soft light is usually more even. Soft light tends to wrap around the subject to create its subtle shadows . The use of soft lighting also increases the size of the photo as as the light rays travel in all directions as they move toward the subject. Soft lighting can also make colours pear richer and more realistic when it comes to the usual photography or cinematography.
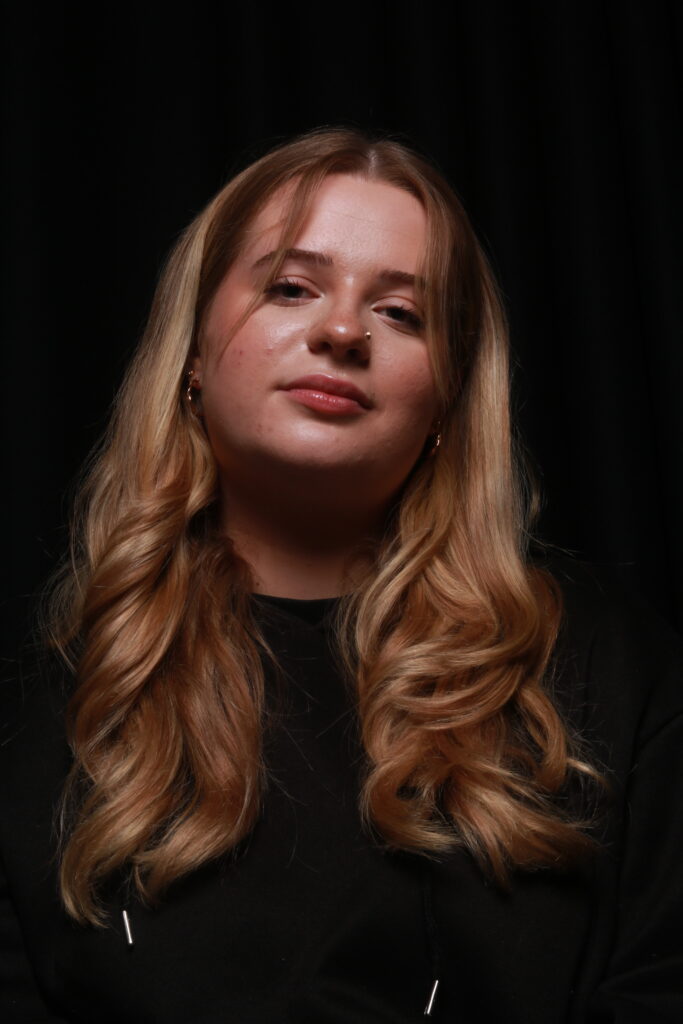
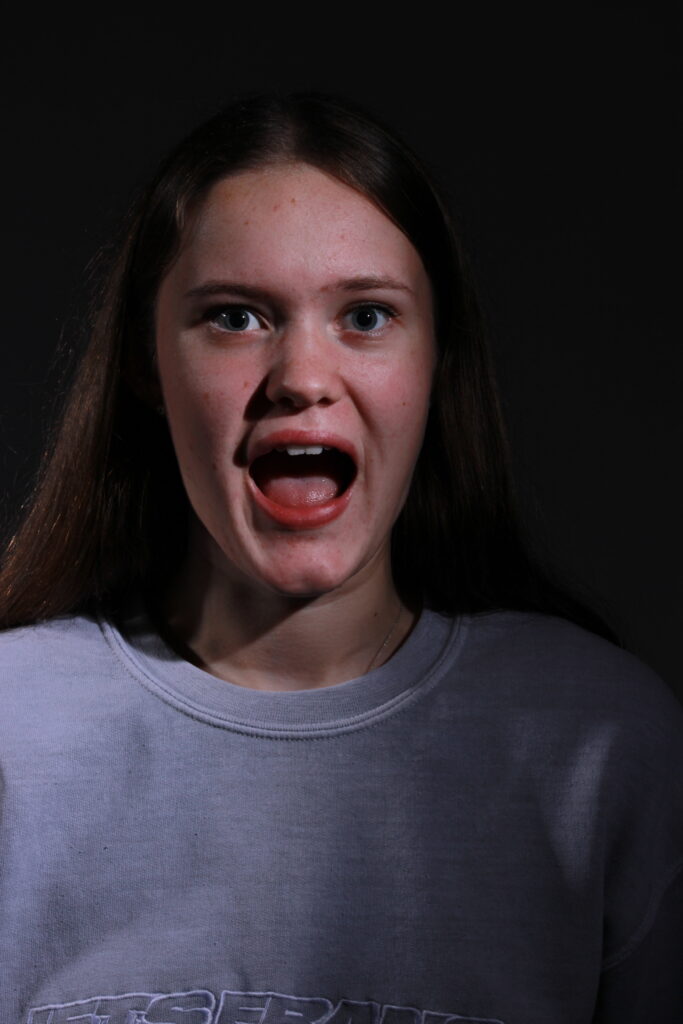
My two favourite photos that demonstrate thus technique
Framing: Headshots
In photography, framing is often used to direct the viewer’s eye towards the subject of an image. for example, the technique of Rule Of Thirds is used to frame the subjects in your photo to make the image more visually captivating. The Rule of Thirds is the process of dividing an image into thirds, using two horizontal and two vertical lines
What can the rule of thirds be used to do?:
Use composition techniques that are in line with what’s naturally pleasing to the eye
Creatively use negative space
Create conversation between the subject and background
in my attempt, my headshot is focussed on the right on the image and the 3 squares on the right are kept completely blank to draw attention only to the aspects in the middle and the right.
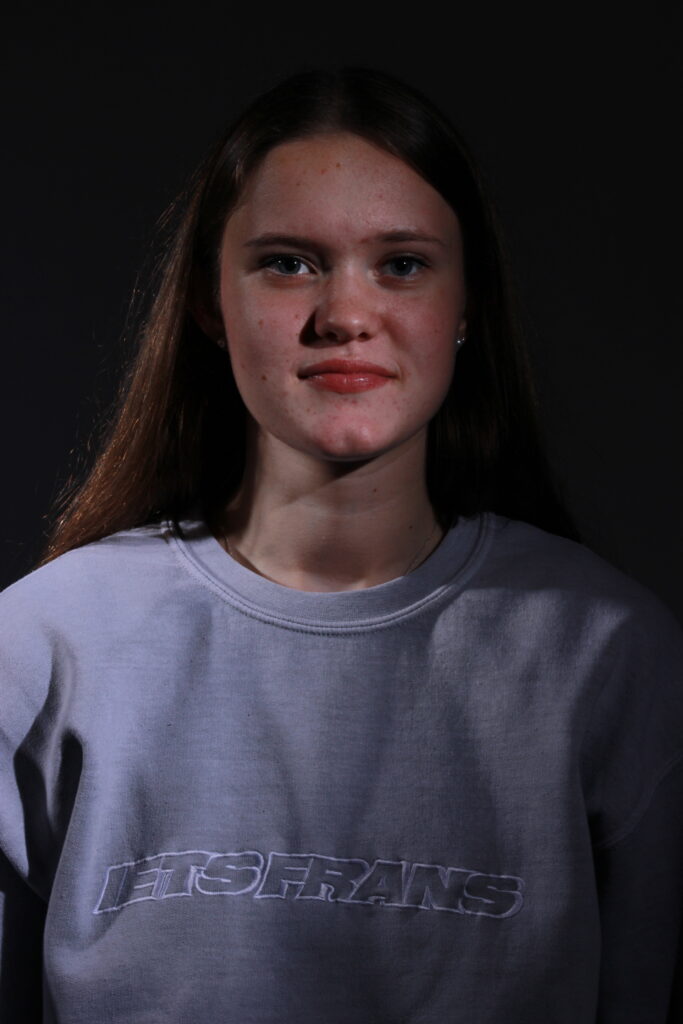
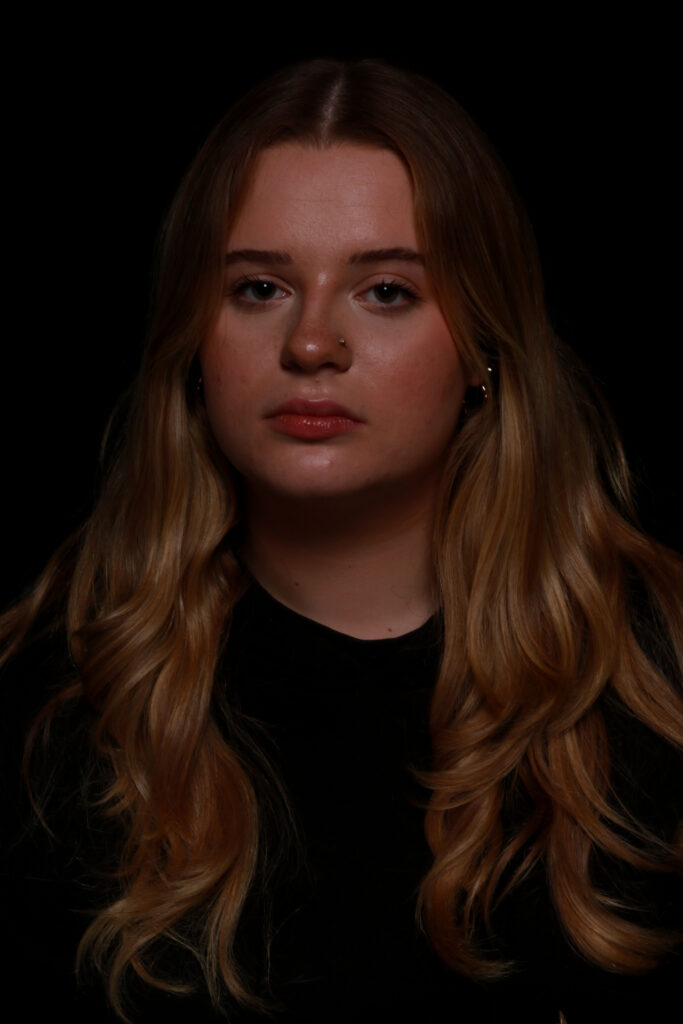
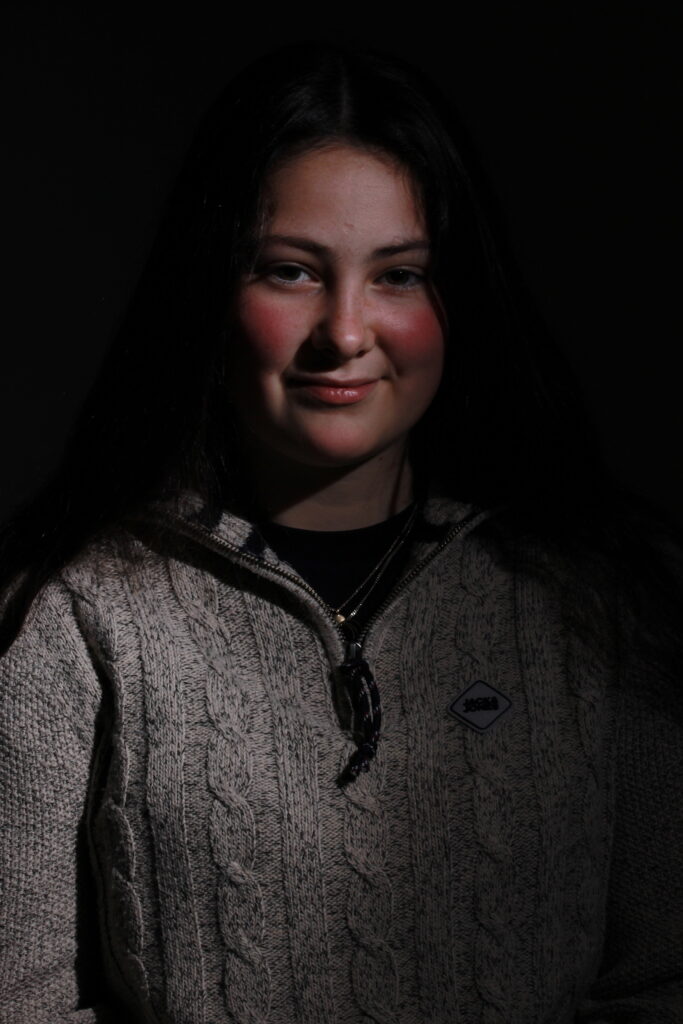
Focusing on the eyes
When focussing on the eyes in photography, photographers tend to do this is many different ways. Such as:
Capturing the image up close
Having the subject pose
Adjusting the aperture
Lighting
The proximity of the photo allows the photographer to get an image up close to the subjects face. This will cause the subject to look directly at the camera with their eyes to create the interstellar stare. This will create a sharp quality within the eyes and most likely make them the main focus of the image.
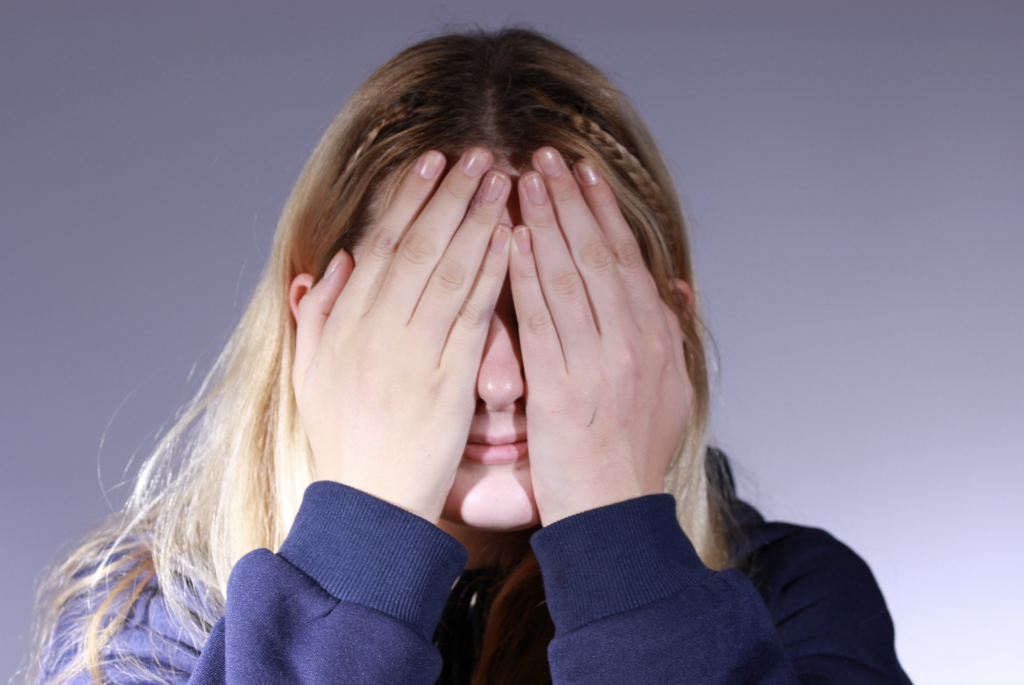
Posing with the eyes would be directed by the photographer for where they want the subject to be looking. By doing this is could enhance the lighting on the eyes when, for example, the subject is looking upwards rather then to the left.hands can also be used to focus the attention onto the eyes even when they are not looking directly at the camera
As an example, this photo shows the use of the hands posting upwards that lead the viewers gaze towards the eyes.
By adjusting the aperture on your camera, it is another way of adjusting the detail of specific aspects. If you were to focus on the yes, you would adjust the aperture which would then slighting blur out the background of the image other than the eyes. This can be a very accurate and frustrating process as one slight movement could move the focus on the nose or the hair so to lower the chances of this happening to Paul d be smart to use a tripod if possible.
Direct focus on the yes using lighting can easily brighten them and create the main focus. This can also be used by sunlight and not just artificial lighting. The lighting can cause shadows all over the image but the eyes will be well lit. This is a proven technique to create engaging portraits.
-A more narrow definition of a cultural conflict dates to Daniel Bell‘s 1962 essay, “Crime as an American Way of Life”, and focuses on criminal-enabling consequences of a clash in cultural values.
-Kornblum notes that, whenever laws impose cultural values on a group that does not share those views (often, this is the case of the majority imposing their laws on a minority), illegal markets supplied by criminals are created to circumvent those laws.
-Kornblum also classifies the cultural conflict as one of the major types of conflict theory.
(Ideas):Conflicting values
–Jonathan H. Turner defines cultural conflict as a conflict caused by “differences in culturalvalues and beliefs that place people at odds with one another.”
-On a micro level, Alexander Grewe discusses a cultural conflict between guests of different culture and nationality as seen in a British 1970 sitcom, Fawlty Towers.
-Cultural conflicts are difficult to resolve as parties to the conflict have different beliefs.
– Cultural conflicts intensify when those differences become reflected in politics, particularly on a macro level. An example of cultural conflict is the debate over abortion.
Personally, I believe that there are a lot of things causing cultural wars such as inequality, racism and other things such as religion and sex plus people trying to find their identity. I think that people should just accept certain people for who they are but there are also people who abuse the system by claiming information and wanting to make it real. It’s the fact that everyone is different and everyone has an opinion, certain feel as though they have the right for everyone to hear their thoughts where as others disagree, it’s hard to get everyone to agree with the same things that’s why we have conflicts and wars, we have the different genders fighting for different things such as women wanting equality, and certain men believing they should have the power, through all these ideas and conflicts to make everything easier the genders should be neutralised, this would be a huge problem for certain but why should men be above women just like why should certain races be above others. We have had constant arguments about Black Lives Matter and why they should be equal to the rest, these fights are all very unmatured to my opinion as everyone is human and deserve to have the same rights as everyone else, no one is left out, no one is judged and no one should have to sacrifice more things to have the same thing in return. This society has changed a lot which impacts the way people think and act. There are many things that have changed people’s perspective on life and some opinions are more valid than others, however it doesn’t change the fact that everyone has an opinion and has the right to express it. We have conflicts on things on abortion, some people believe that it is murder while others believe that abortion should be allowed, each opinion is valid, but I do believe that it should be the women’s decision if she wants to keep the baby or not. Many people would go against my opinion which I think is wrong as everyone has freedom of speech, there are conflicts about religion and how people may have different beliefs that someone else and therefore creates this exclusion. Some religions are more restrictive and make people wear religious symbols, headscarf’s whereas other religions are kept more on the down low. People believe that showing of your religion can impact how people think for example, children might feel forced to have a religion based on what they see around them. All together they will always be conflicts in society as everyone is so different and we don’t all agree which is a good and bad thing.
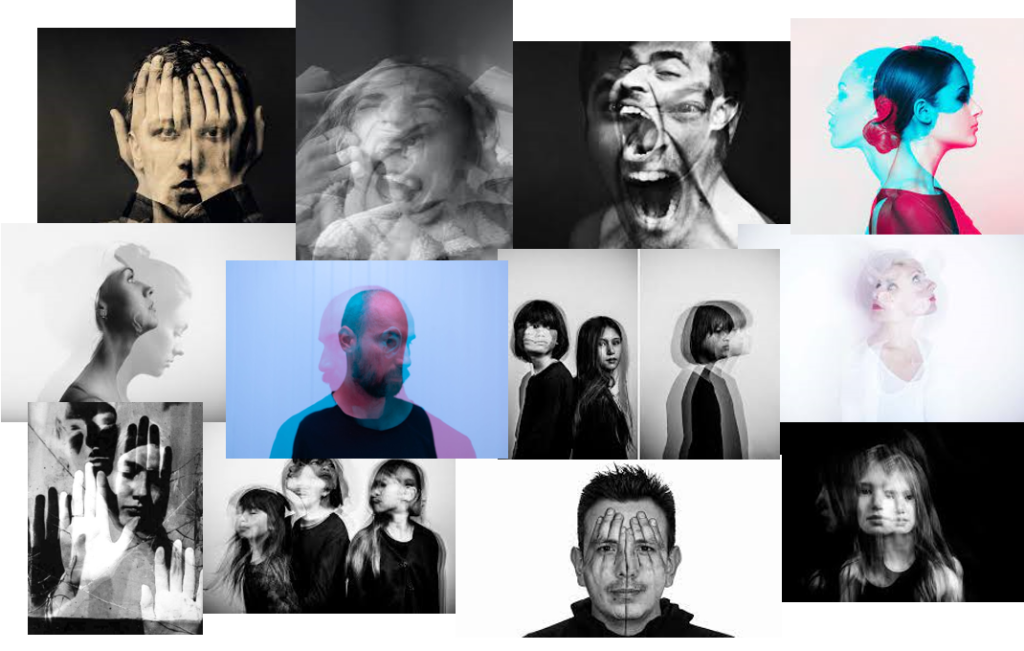
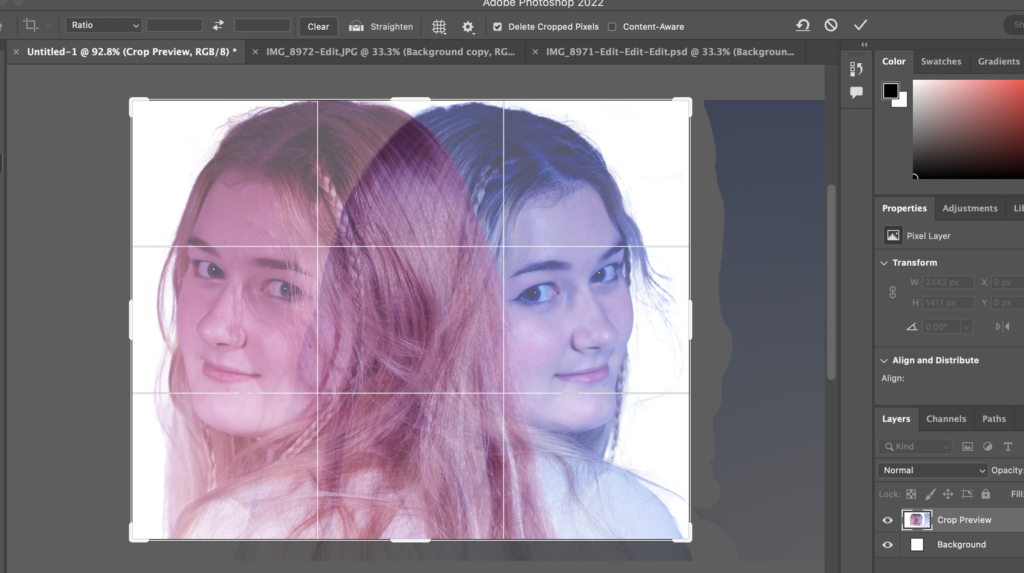
Double or multi exposure photographs are when an illusion is created by layering images (or parts of images) over the top of each other. This can be done on Adobe Photoshop by creating image layers and then using blending options and opacity control.
Mood board
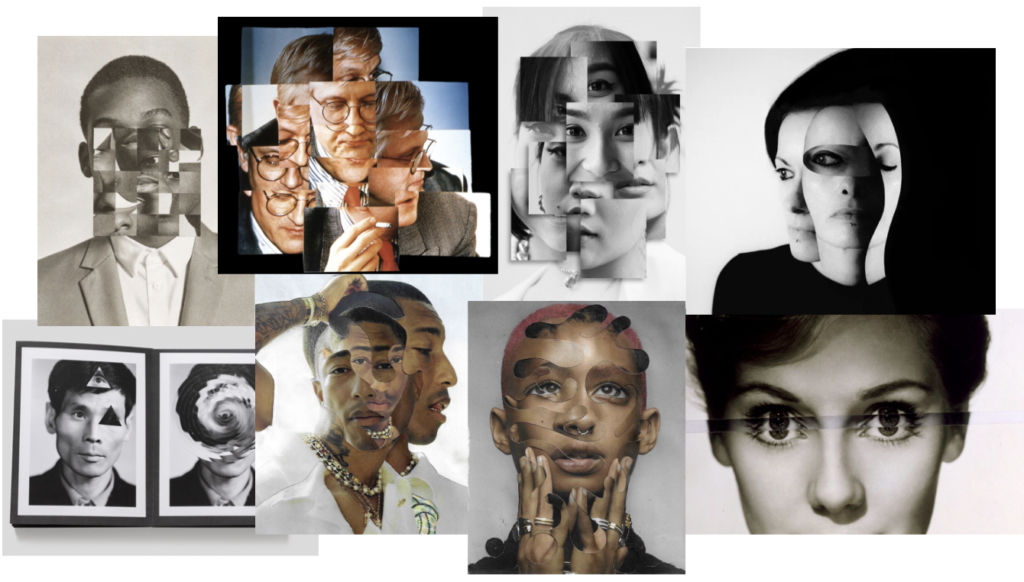
Artist Reference
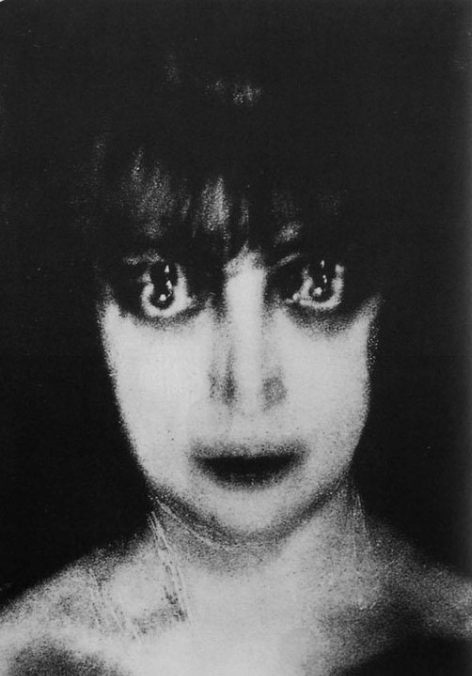
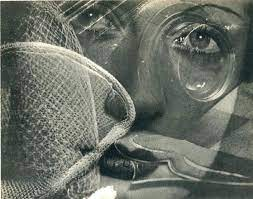
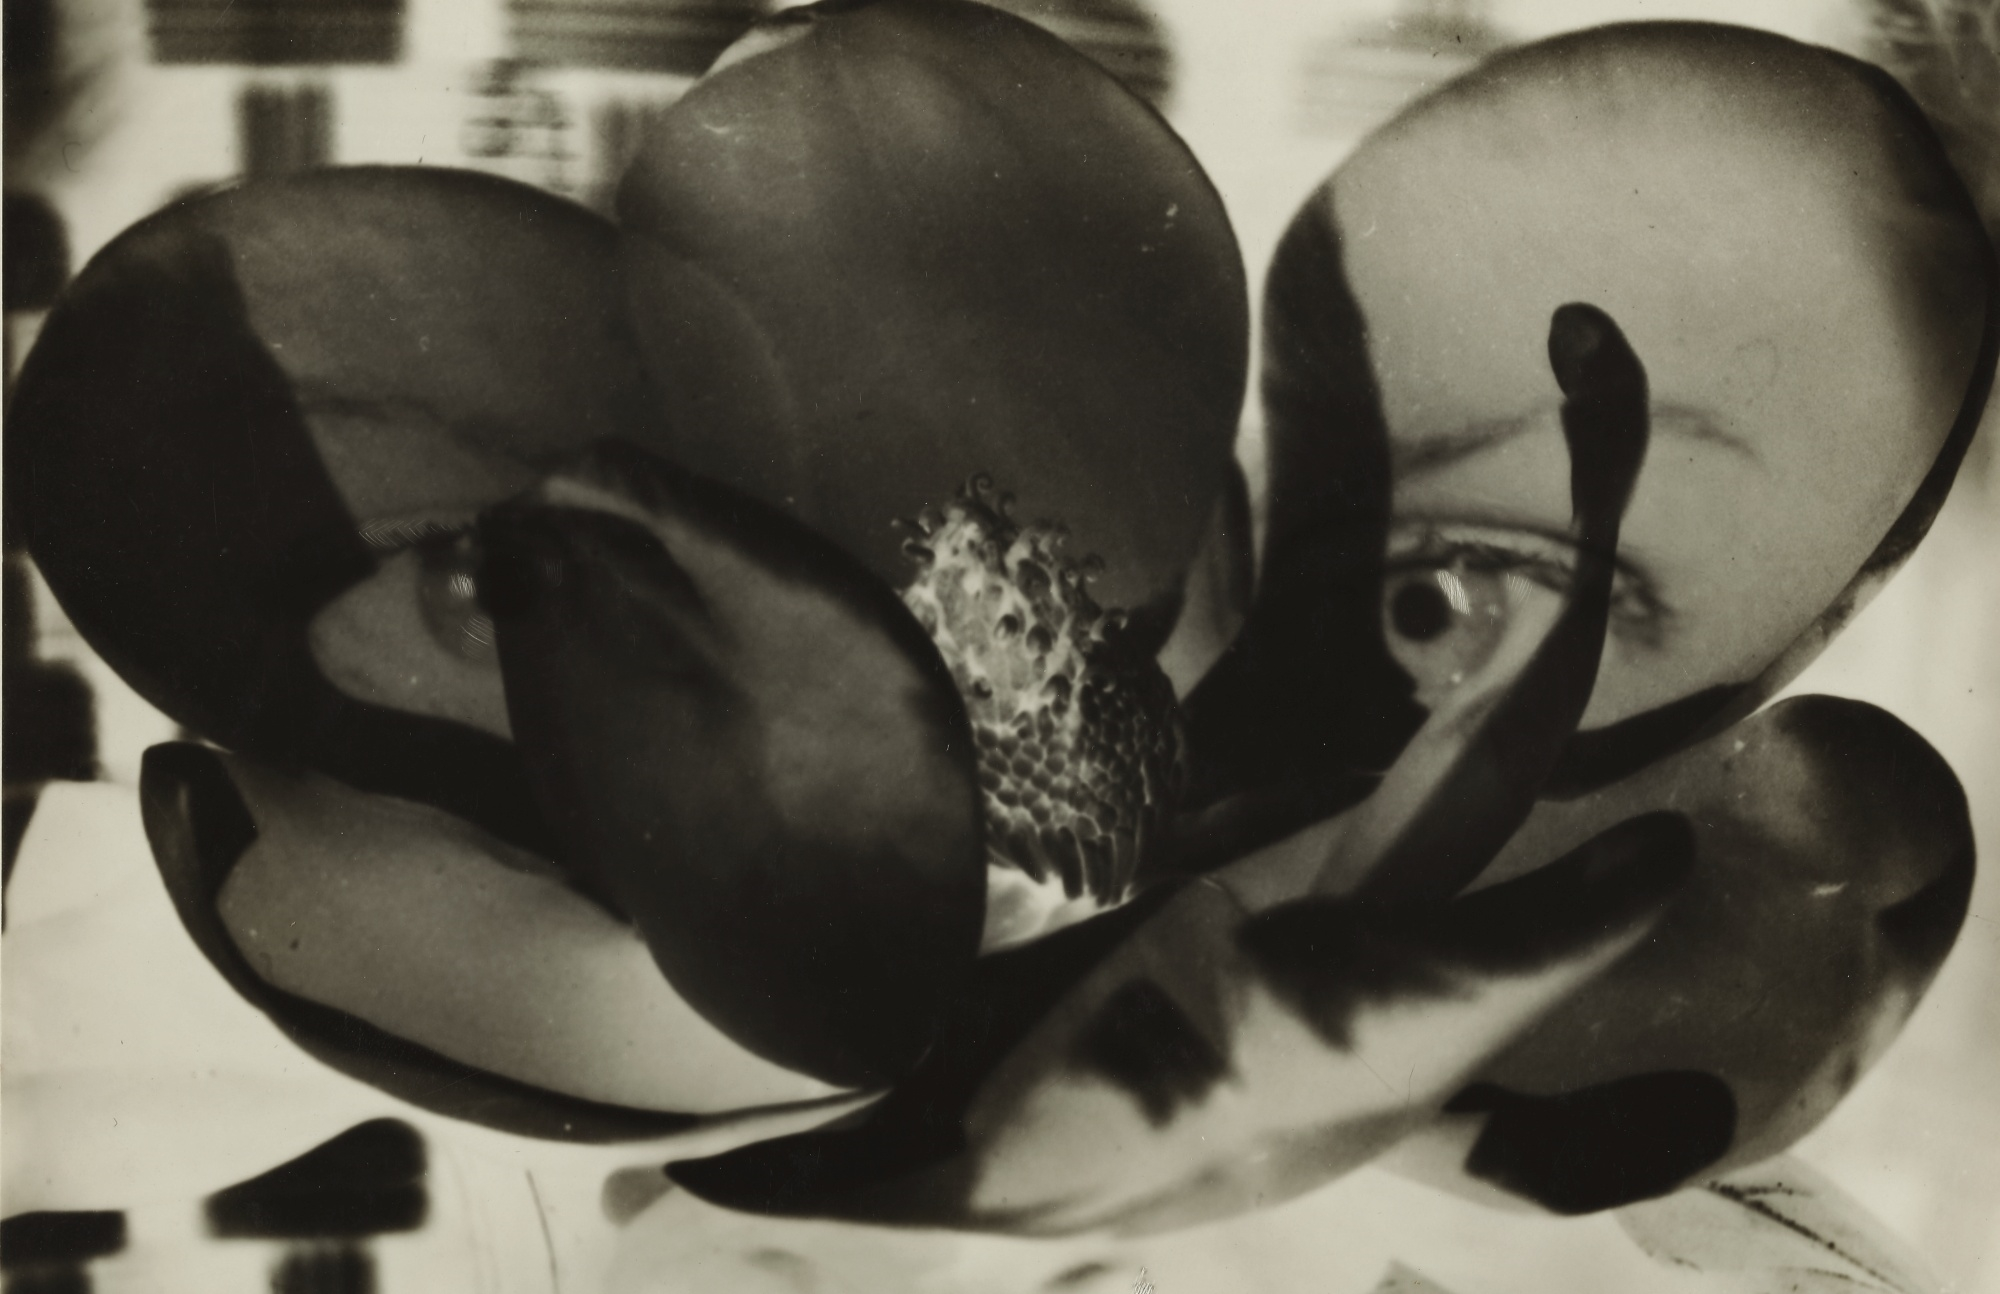
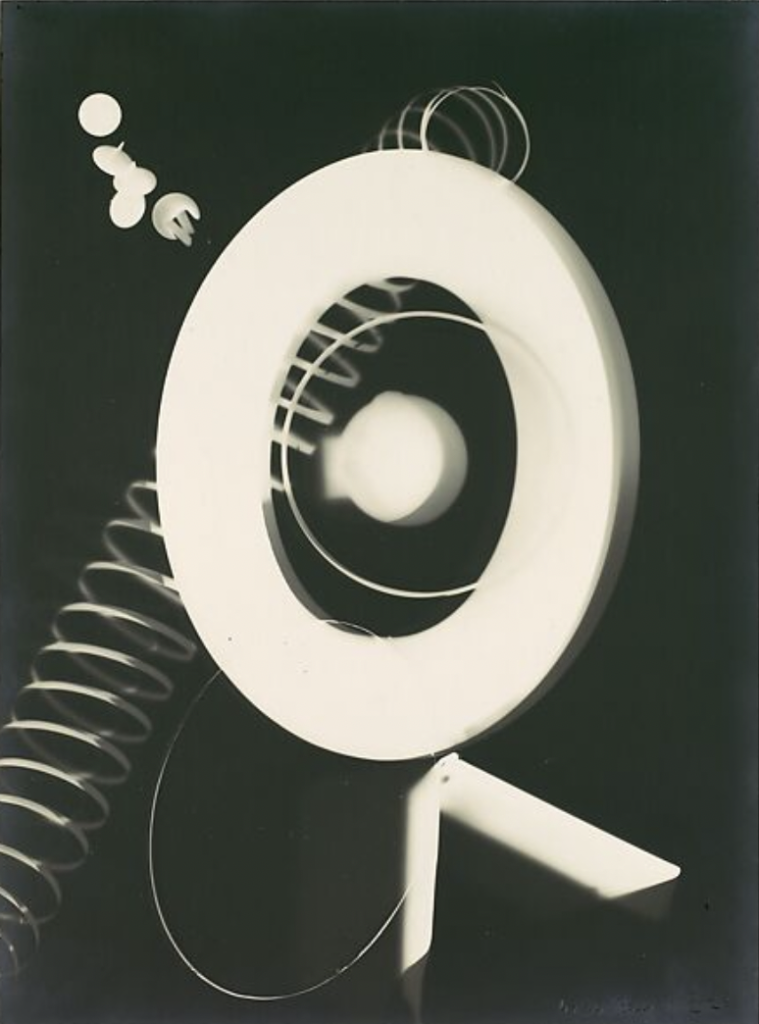
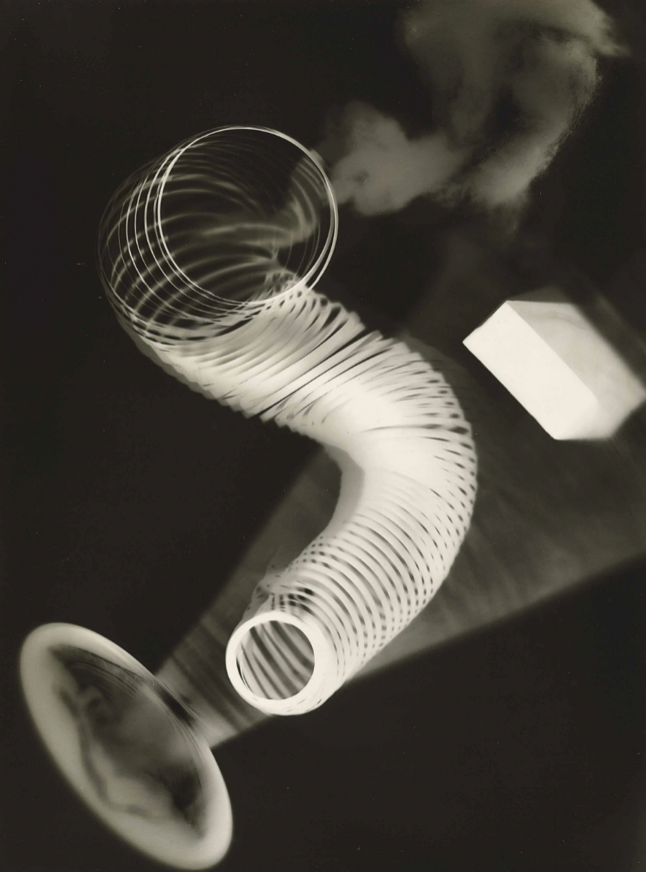
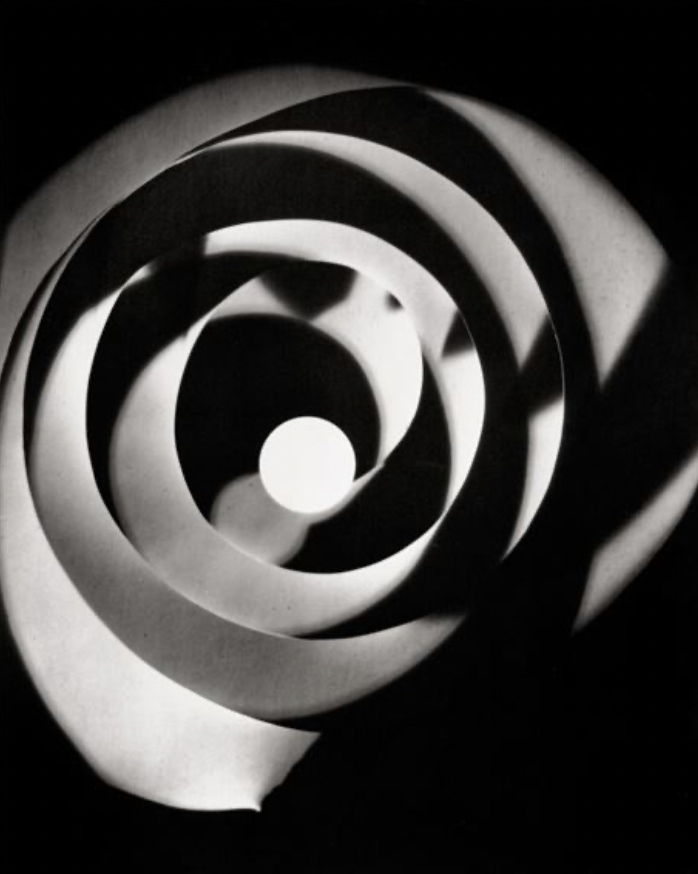
Man Ray was an American photographer, painter and filmmaker, born in 1890 under the name Emmanuel Radnitzky in Pennsylvania. He was most famous for his work in portraiture and spent the majority of his career in Paris, where he later passed away in 1976, aged 86. Man Ray was Jewish and a significant contributor to the Dada and Surrealist Movements, challenging social norms through art and writing. He invented many photography techniques, a remarkable example of this is Rayographs. Rayographs were made without a camera and, alternatively with the use of photosensitive paper which he would place objects on then expose to the sun.
Here are some examples of Rayographs:
I find these photos fascinating that they were not taken using a camera and they appear like an Xray. These images also look like they have been edited to create a Muti exposure image, which is why Man Ray is an interesting artist for this.
Photoshoot Plan
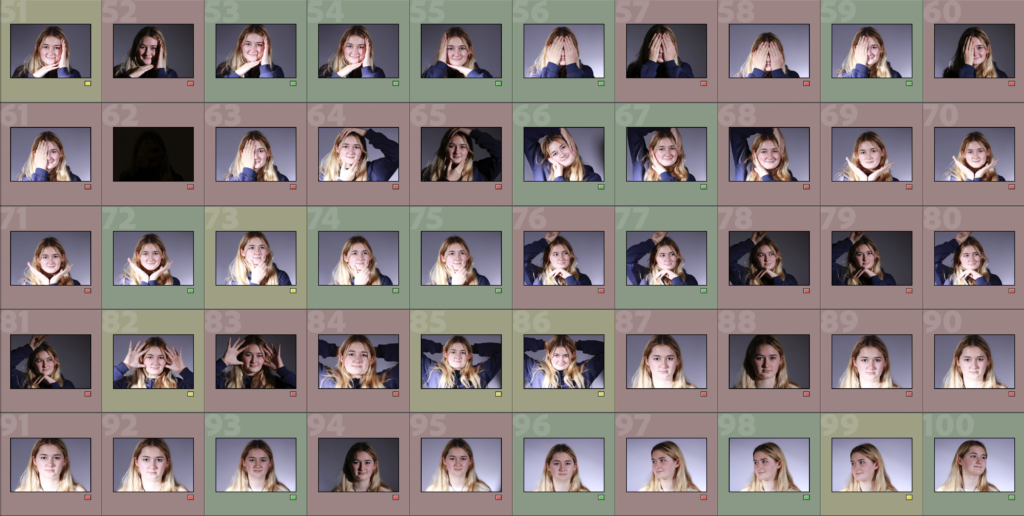
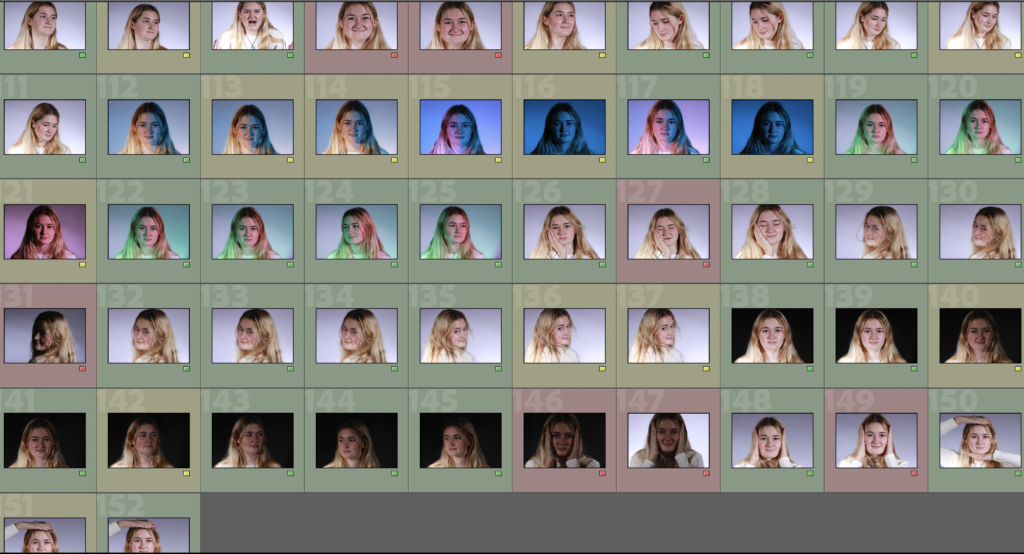
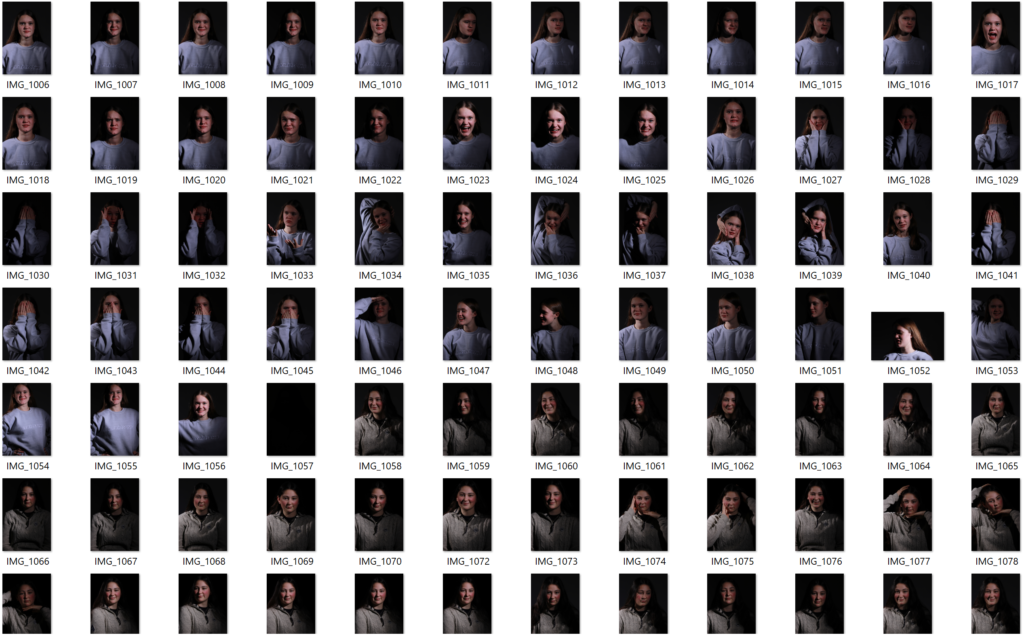
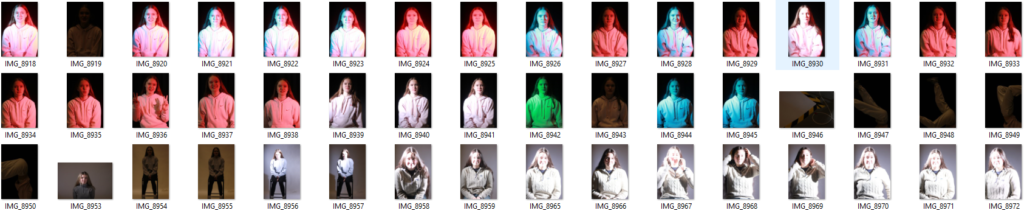
Photoshoot/Contact Sheet
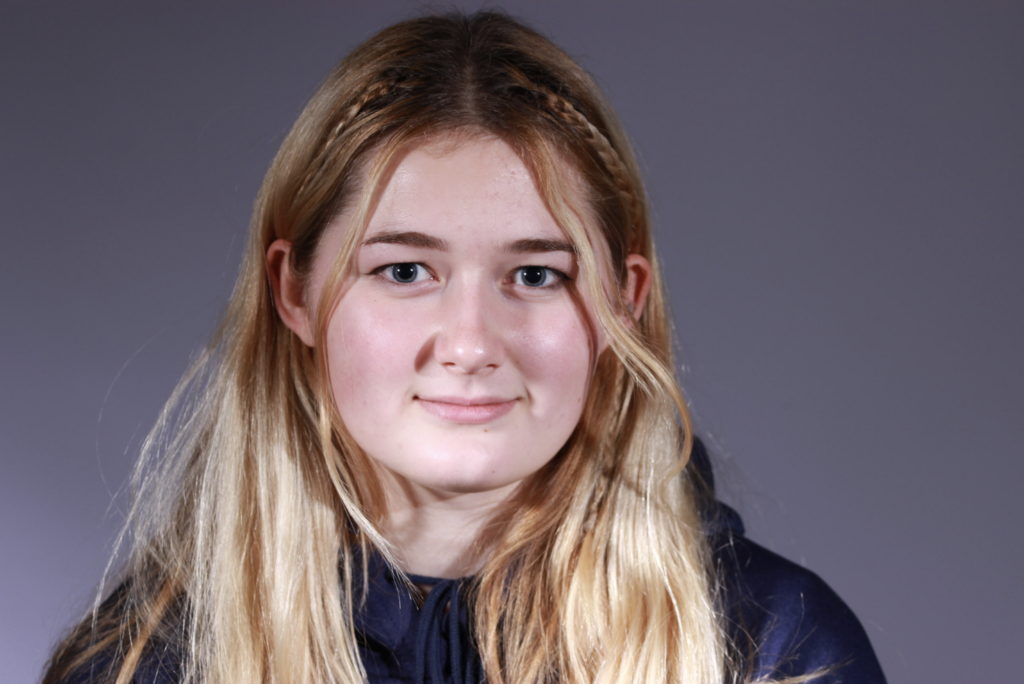
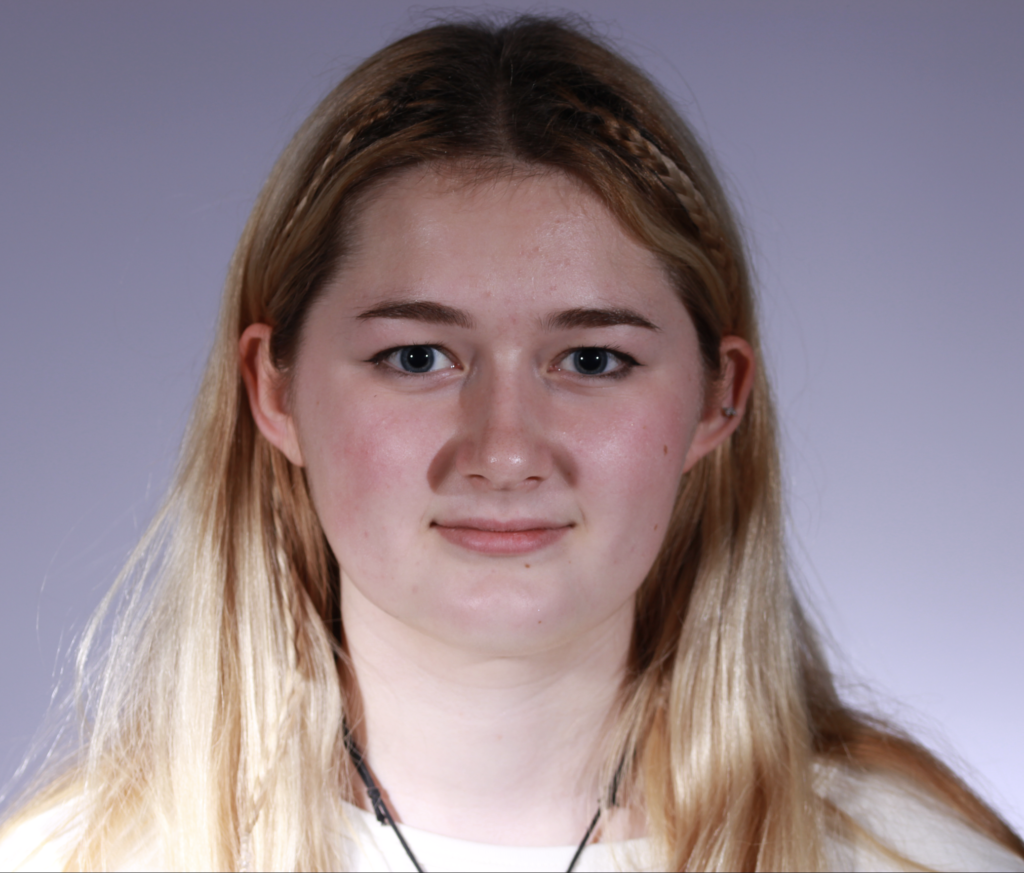
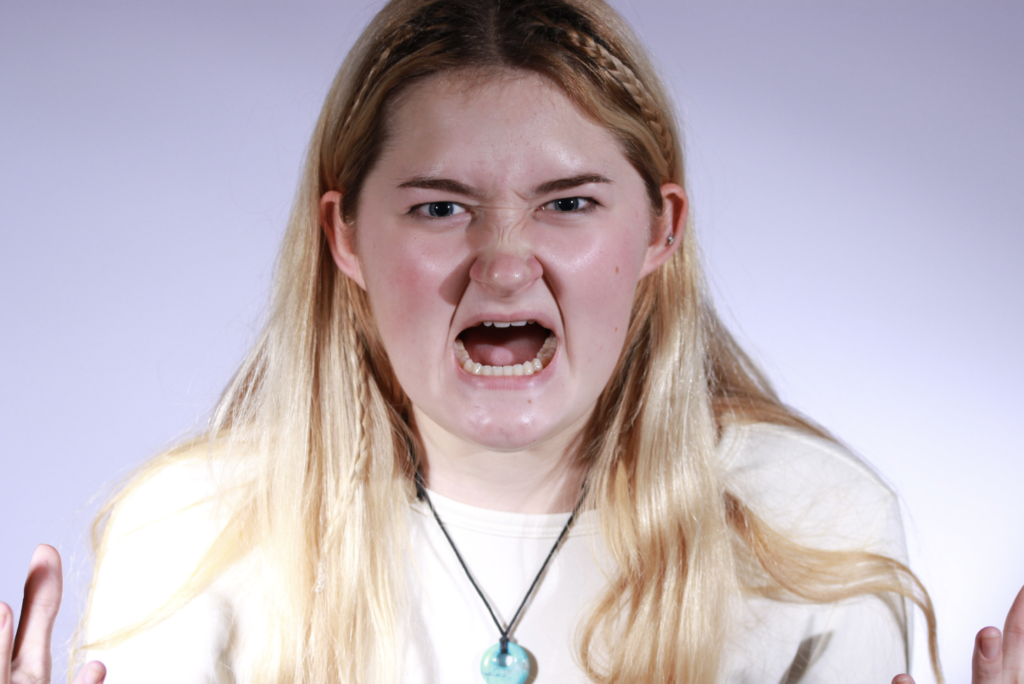
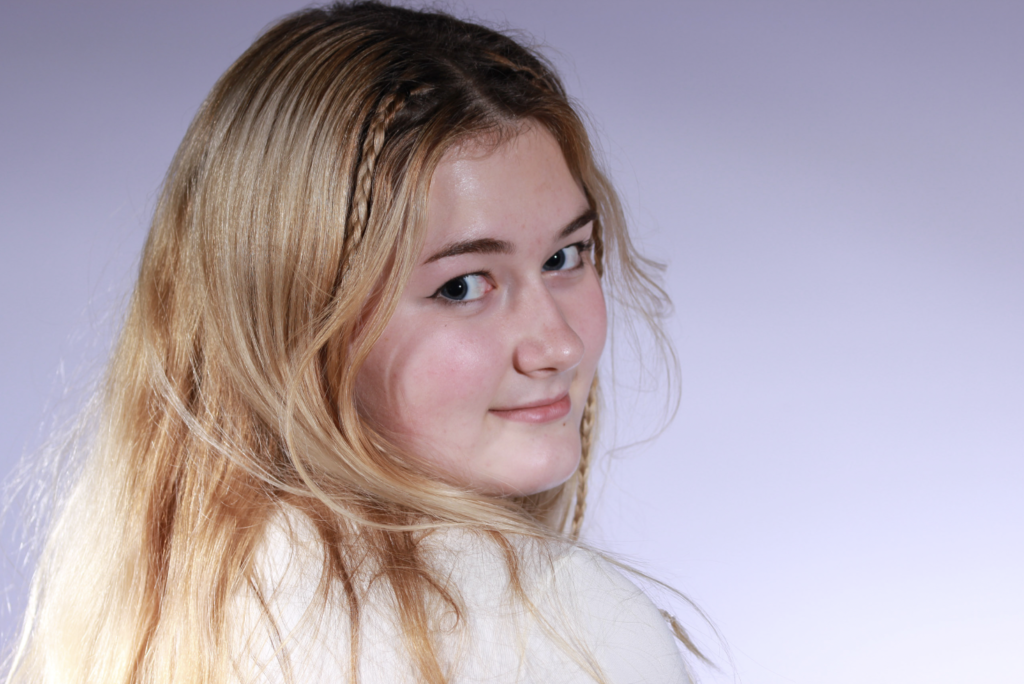
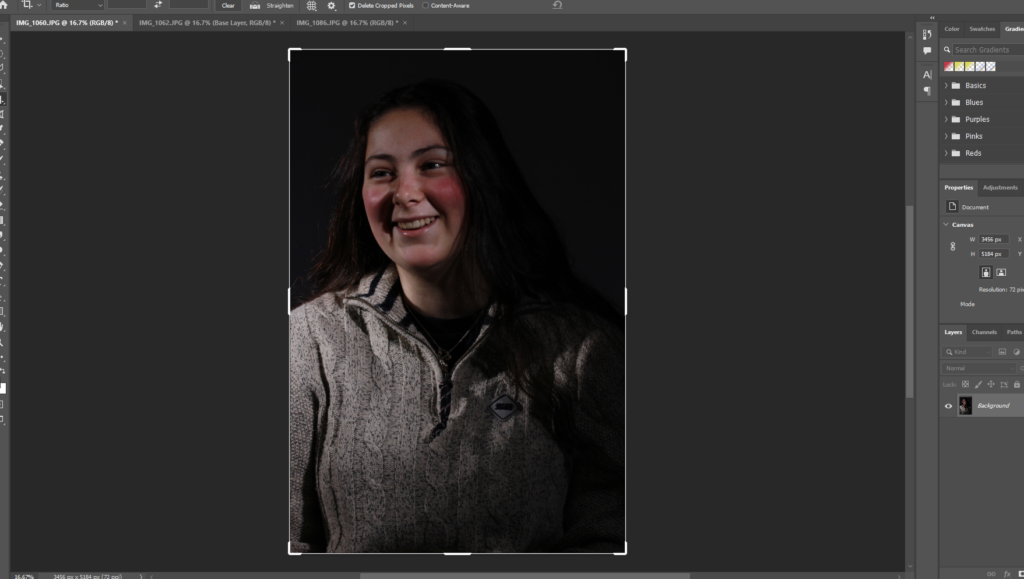
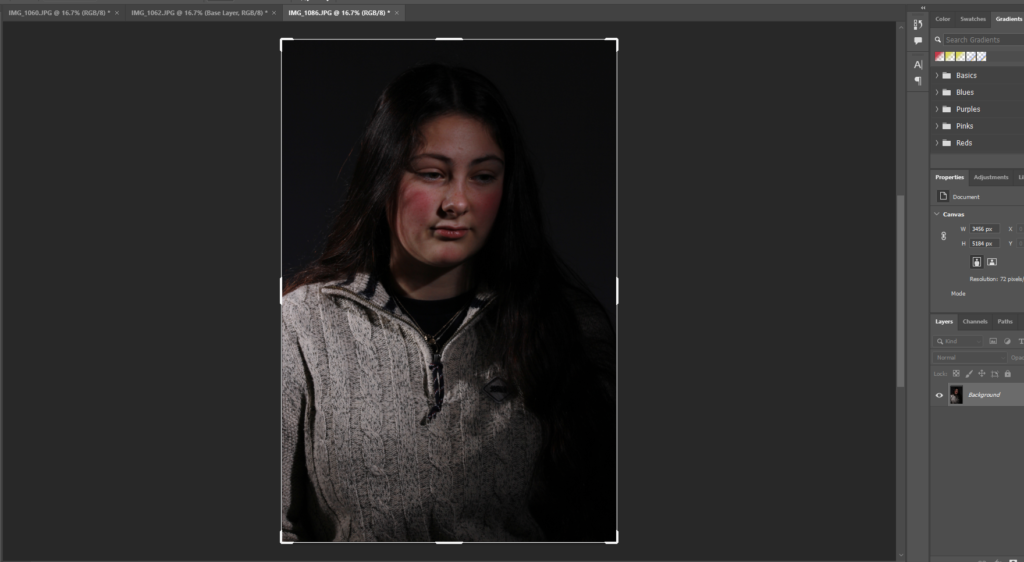
I am going to be using this same set of photos for all Headshots editing.
Edits
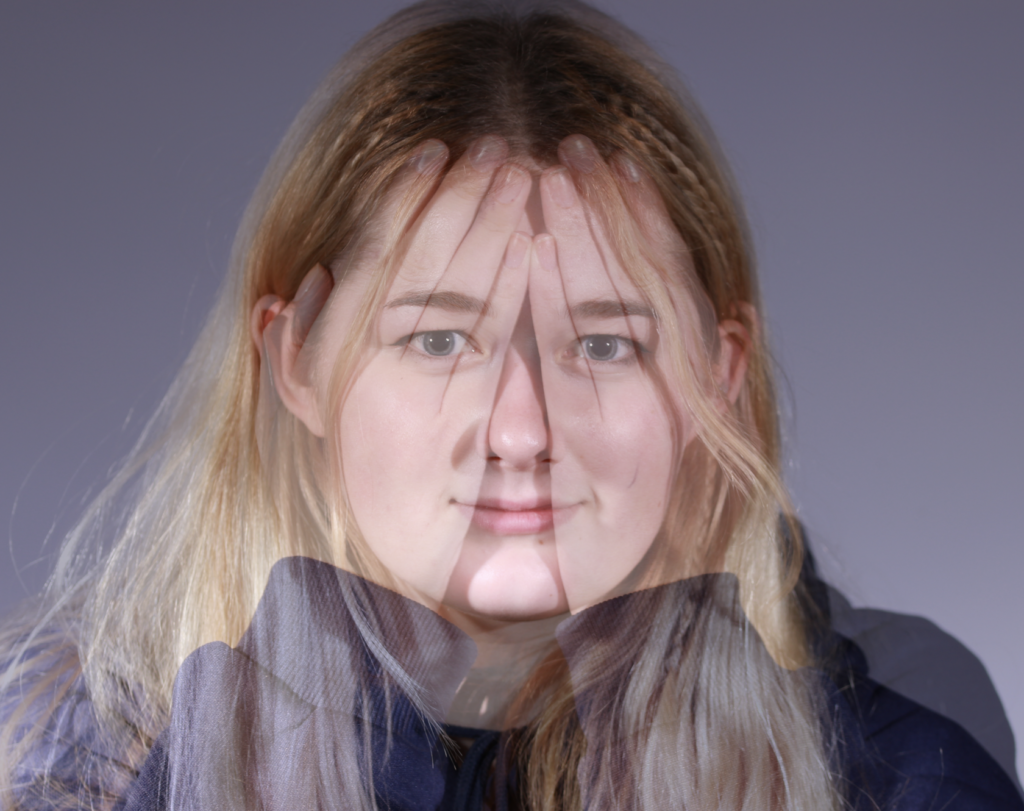
Edit 1
The photos I used for this edit are:
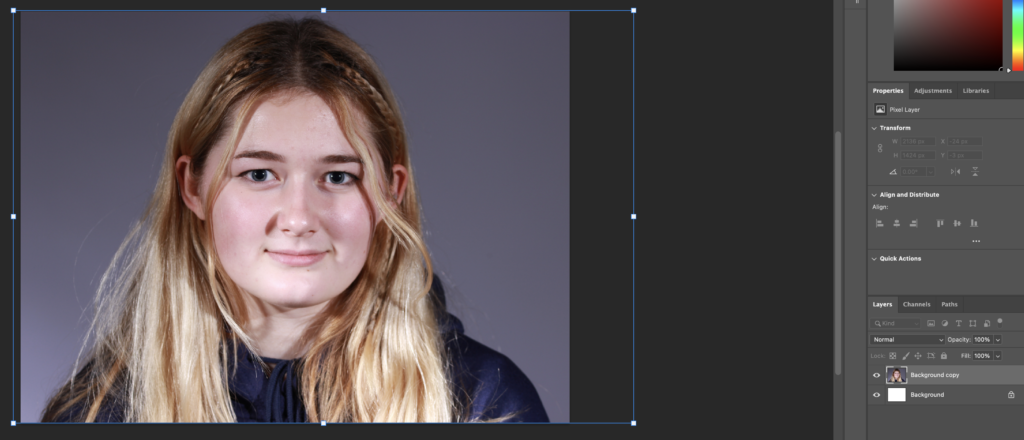
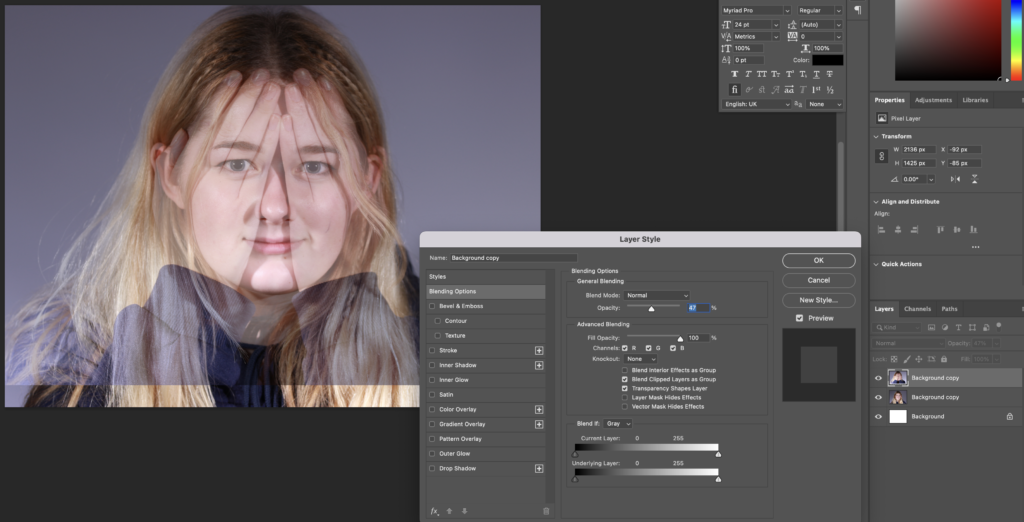
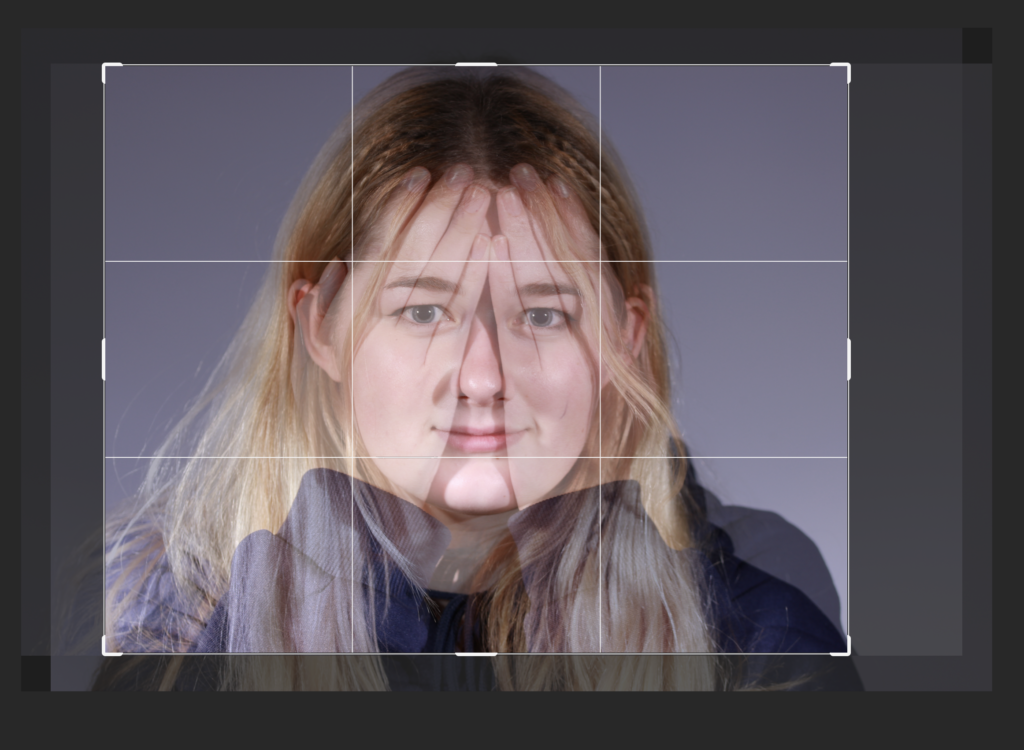
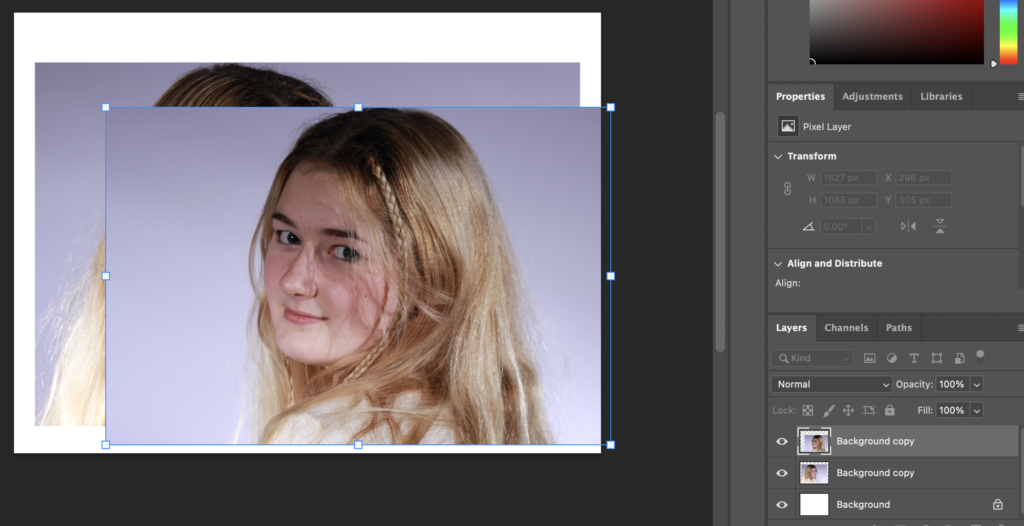
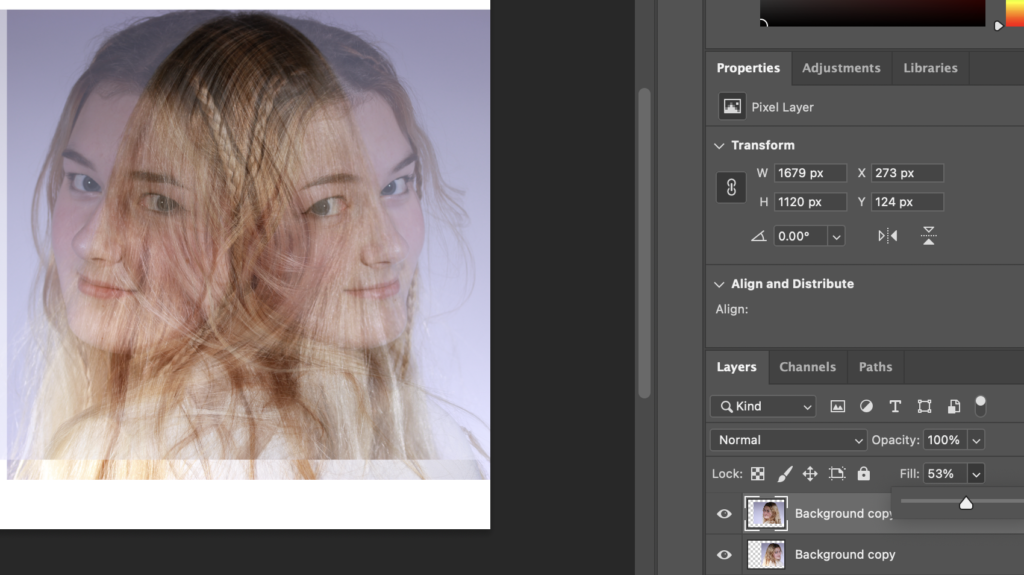
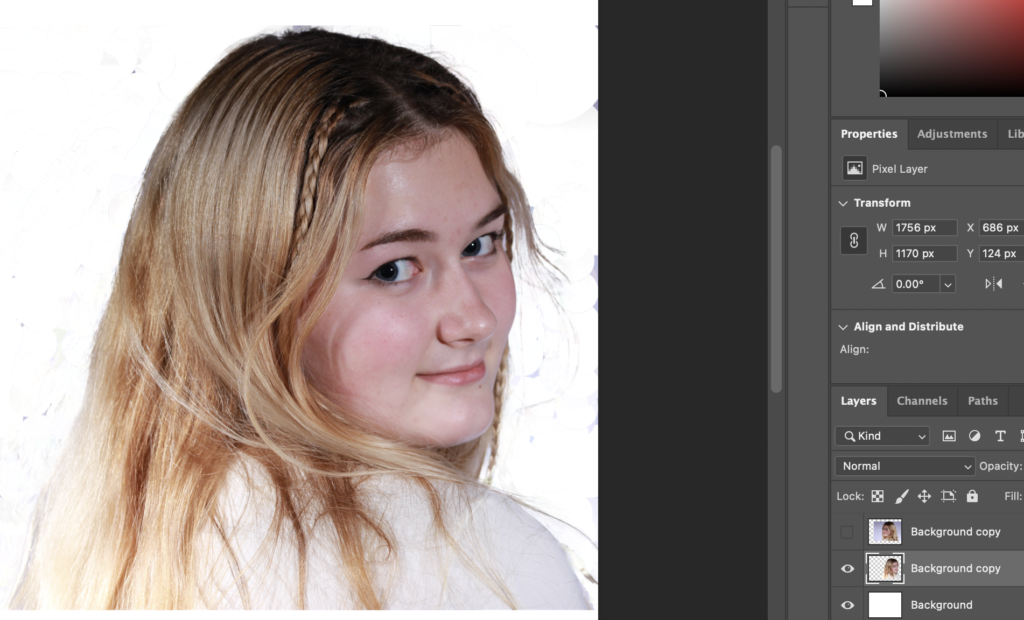
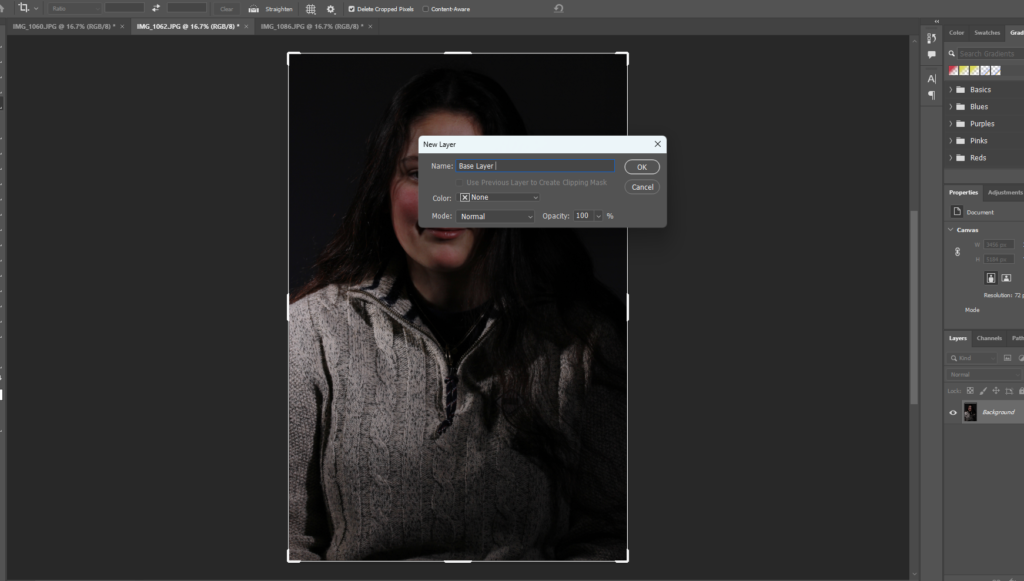
I started editing this photo by adding both images as a layer onto a blank document then lowering the opacity of the layer on top.
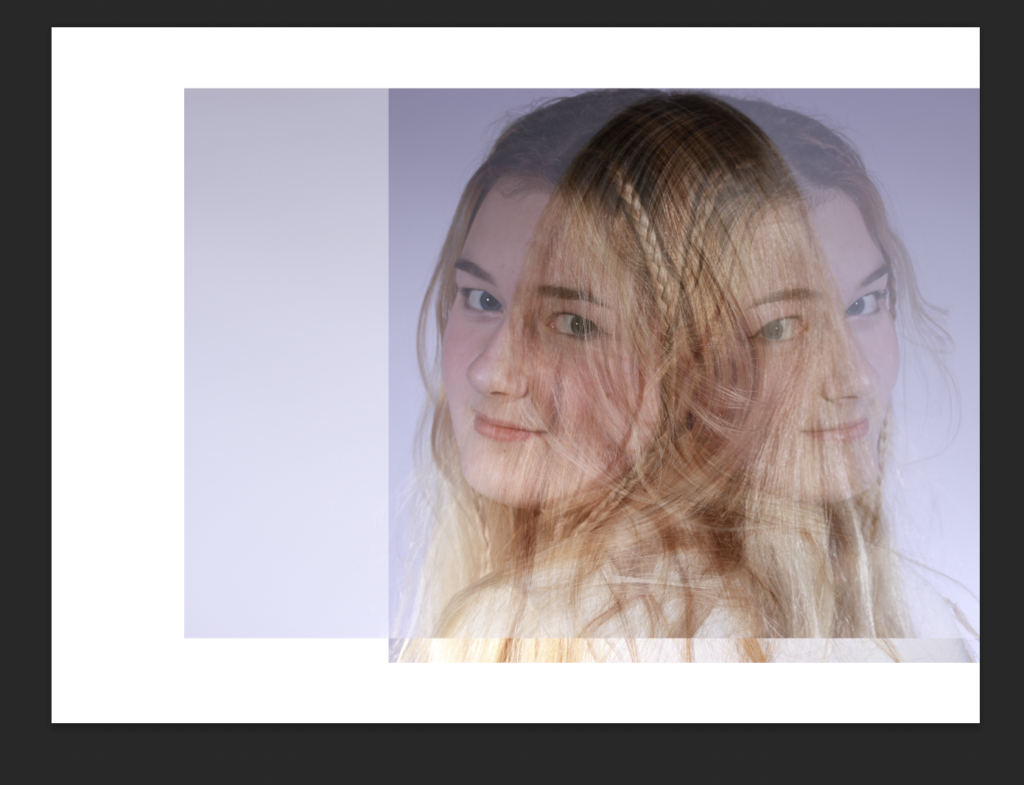
I then cropped the edit so that you couldn’t see the edges of the image layers then I went to Layer > Flatten Image so that the whole thing was just one singular layer.
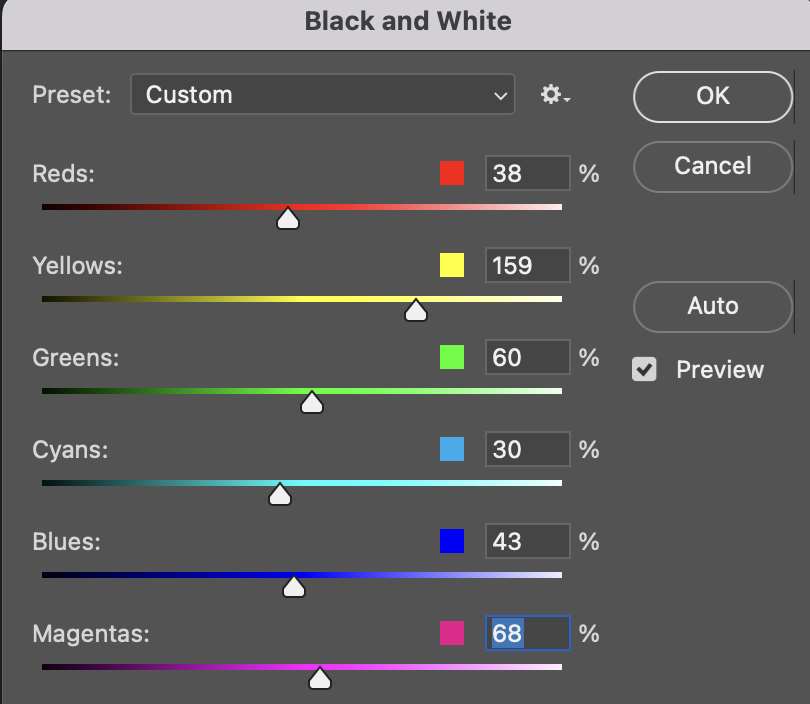
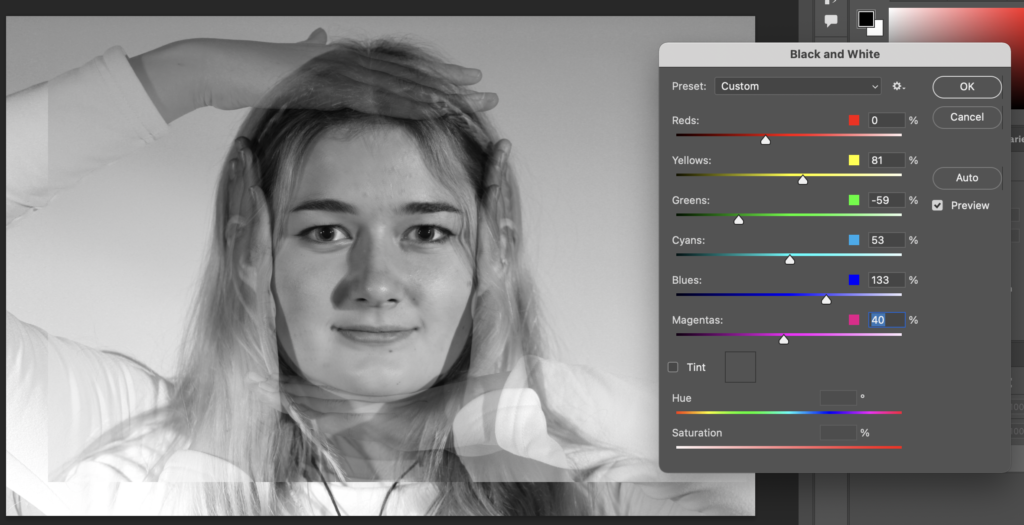
Finally, I made the image B&W by going to Image > Adjustments > Black and White and making the colours how I wanted them.
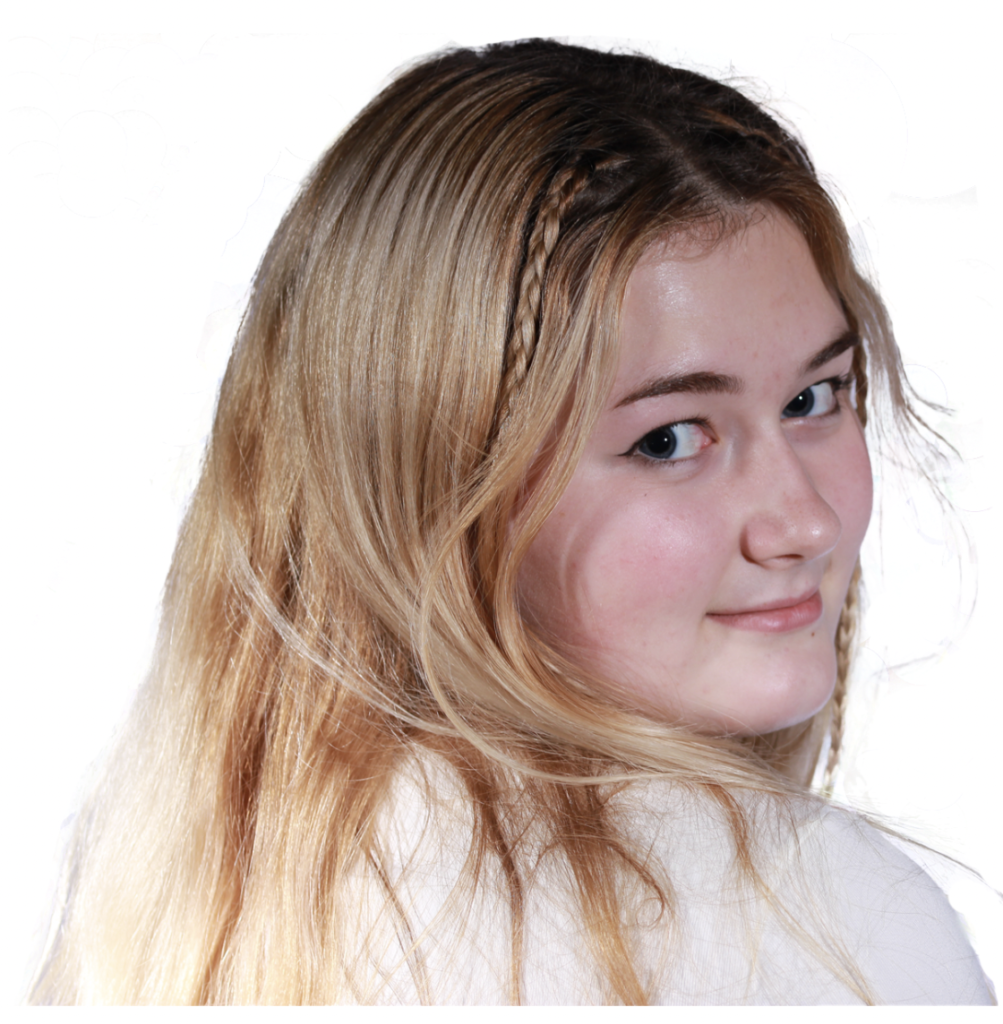
This is my final result:
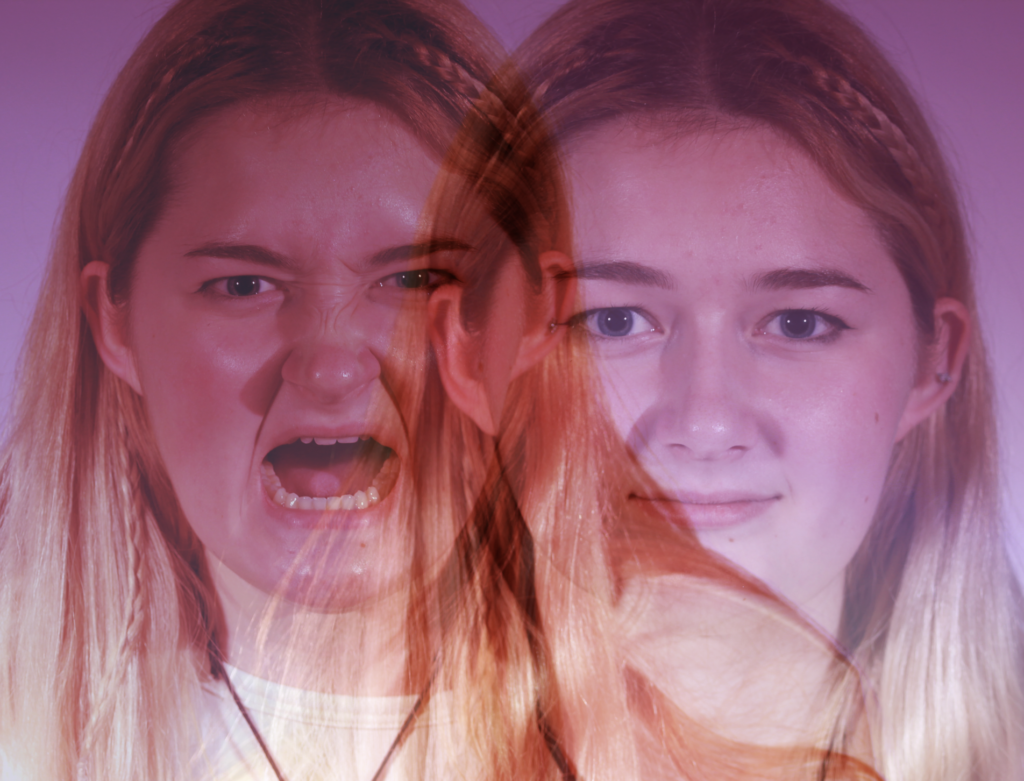
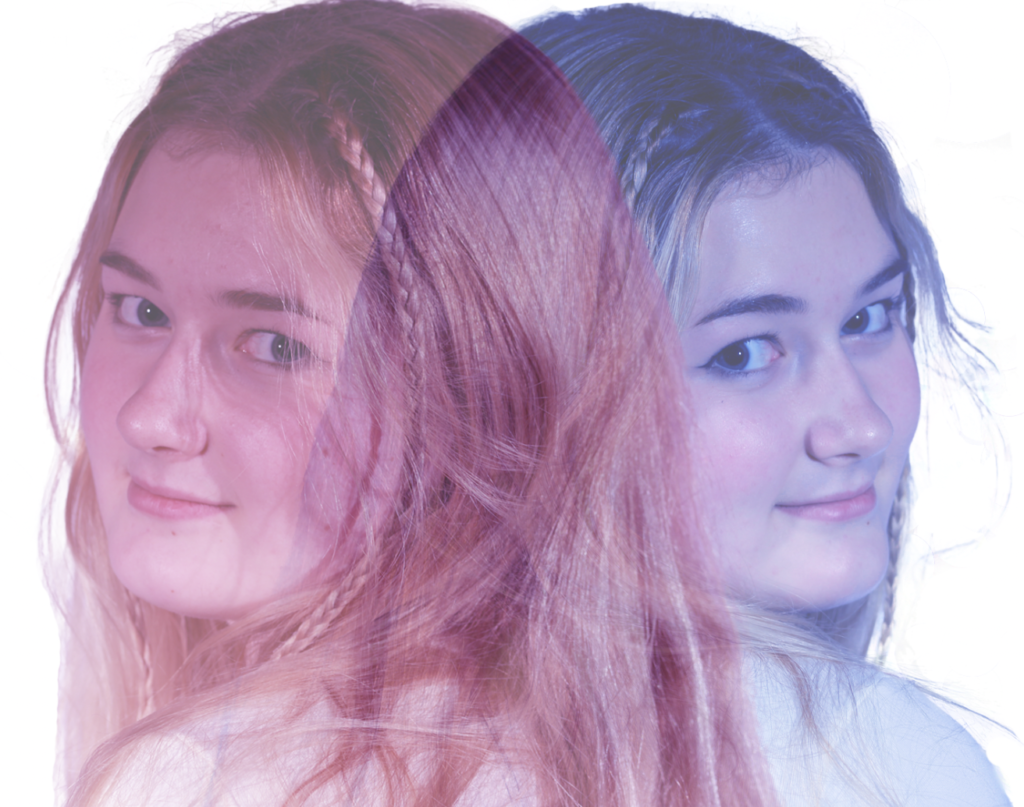
Edit 2
These are the photos I used for this edit:
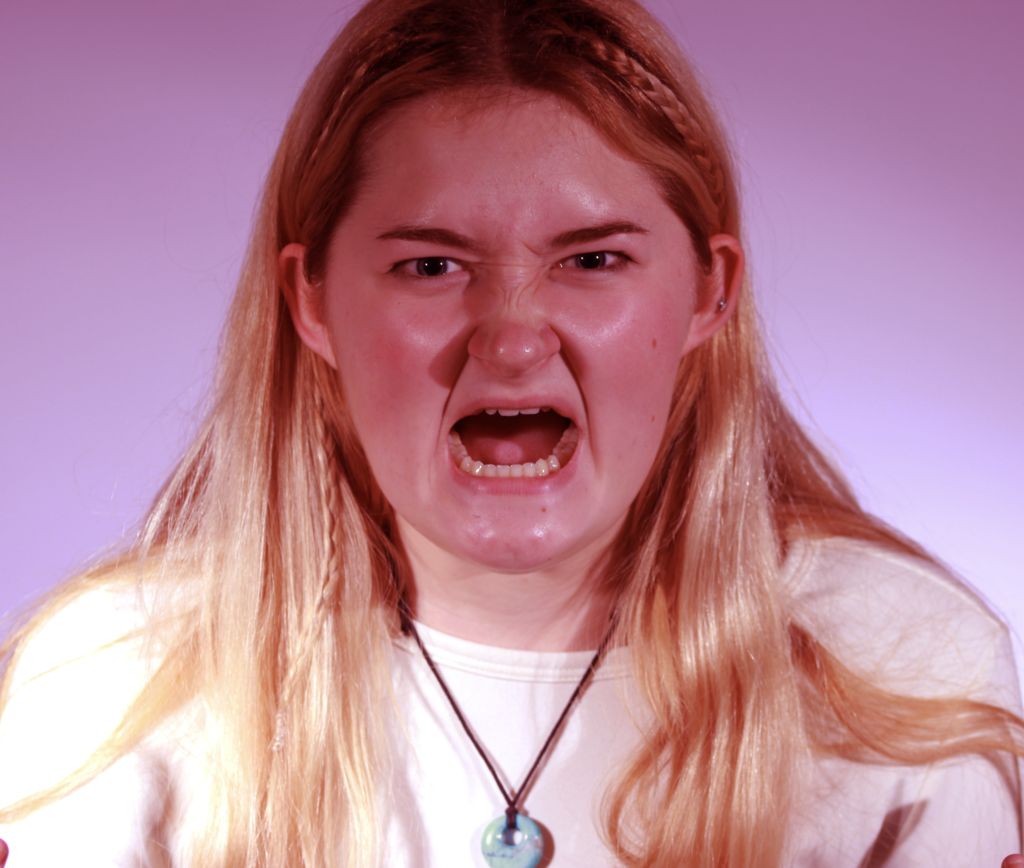
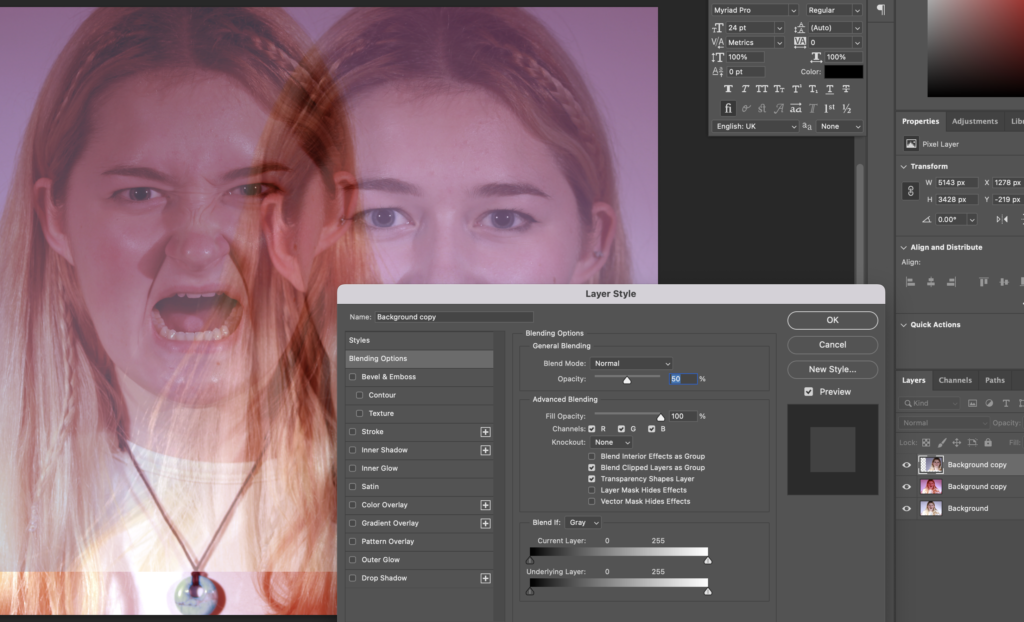
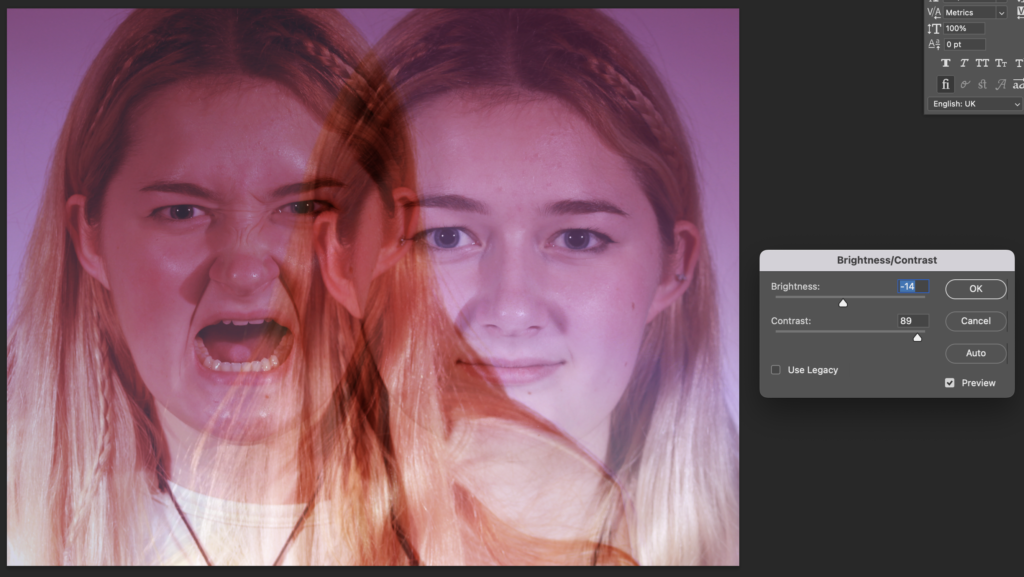
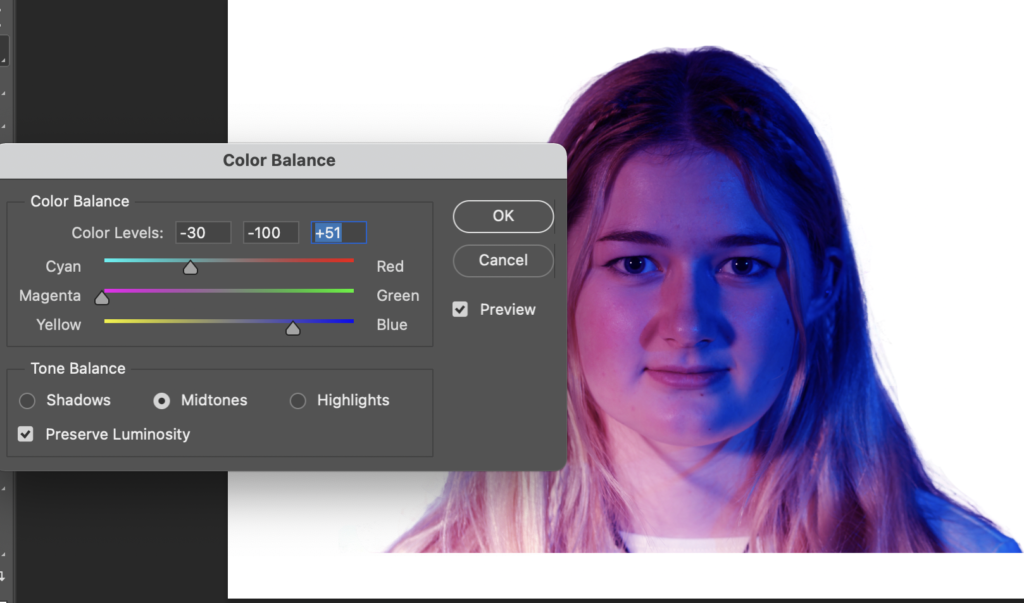
Firstly, I opened up my first photo in photoshop and made the image red for rage by going to Image > Adjustments and changing the Colour Balance.
After this, I added that photo as a layer on top of the other and lowered its opacity so that you could see the other beneath.
Finally, I lowered the brightness and increased the contrast so that the red of the image, to signify anger, is clear.
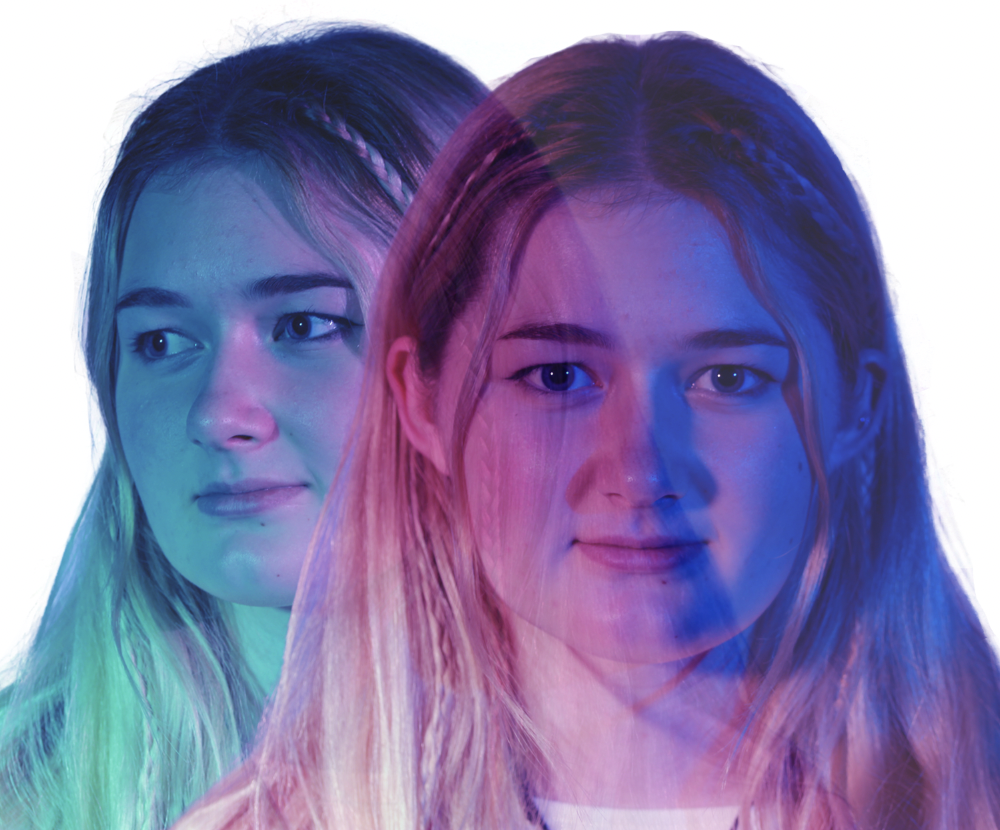
Edit 3
The photos I used for this edit are:
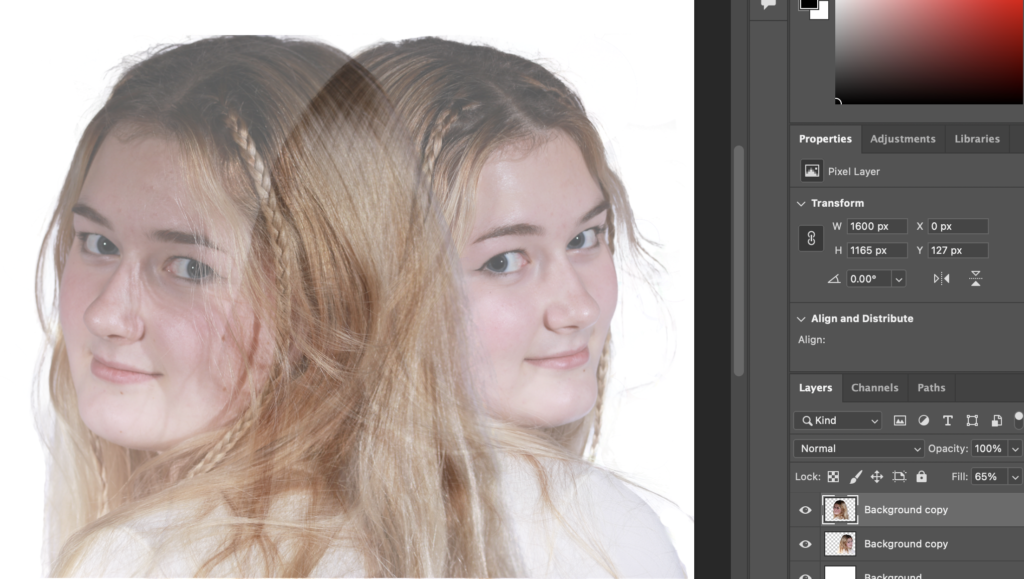
I created the final image by, firstly, layering each image where I would like them and lowering their opacity.
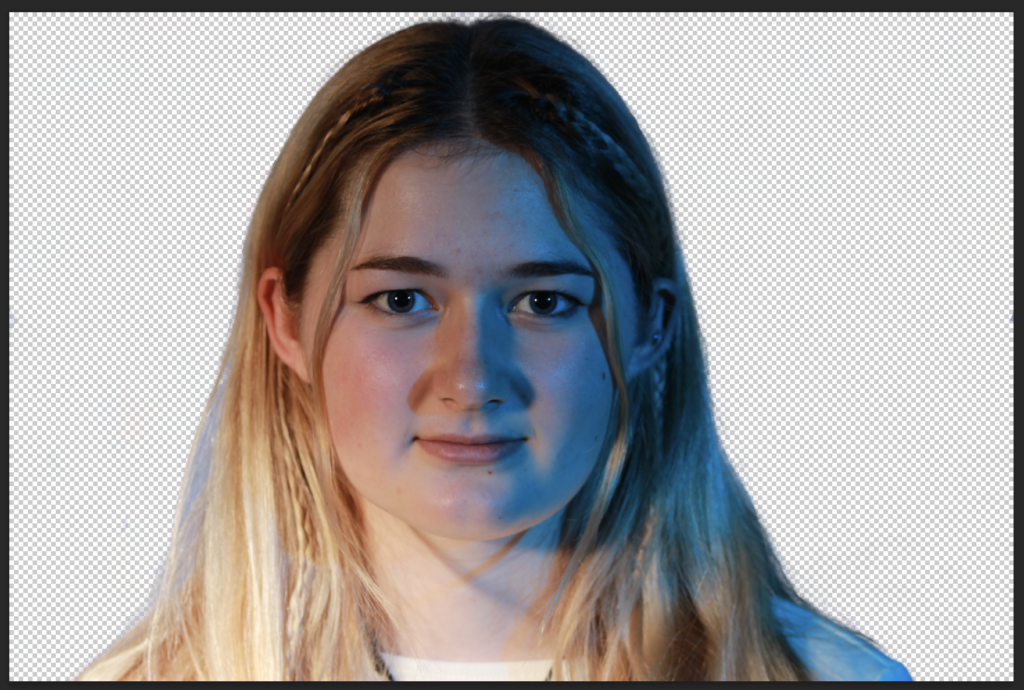
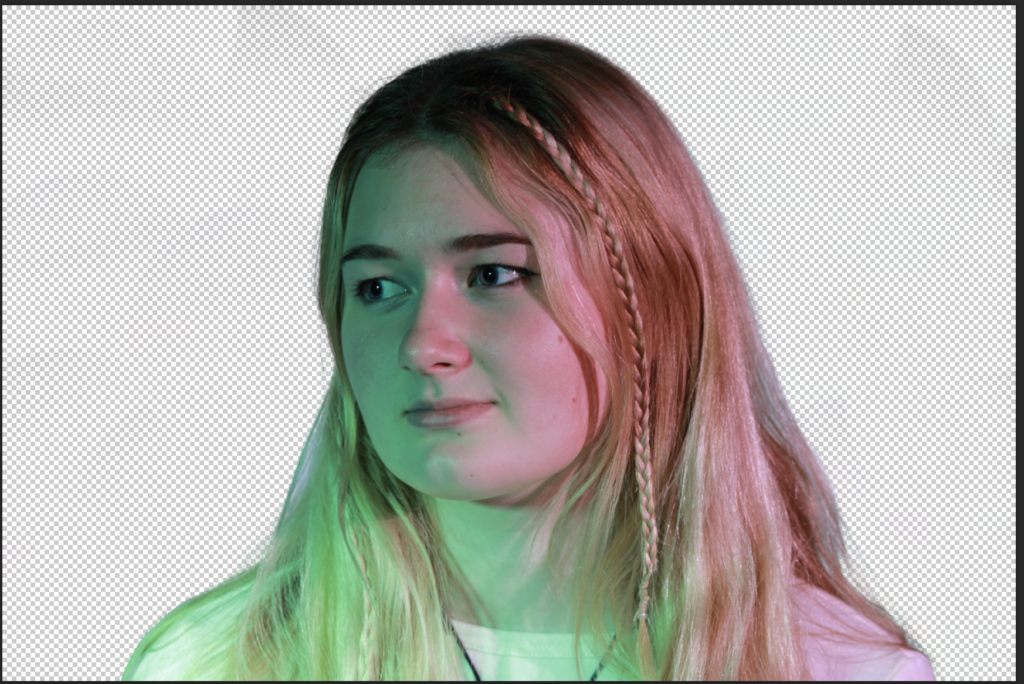
I then decided to go a different way about these images. Whilst hiding the first layer, I used the background eraser tool to remove the background then used the regular eraser tool to clean up. This was so that the backgrounds of each image don’t overlay so, when in colour, you can see the clear contrast between the 2 appearances.
I then repeated this process for the other layer.
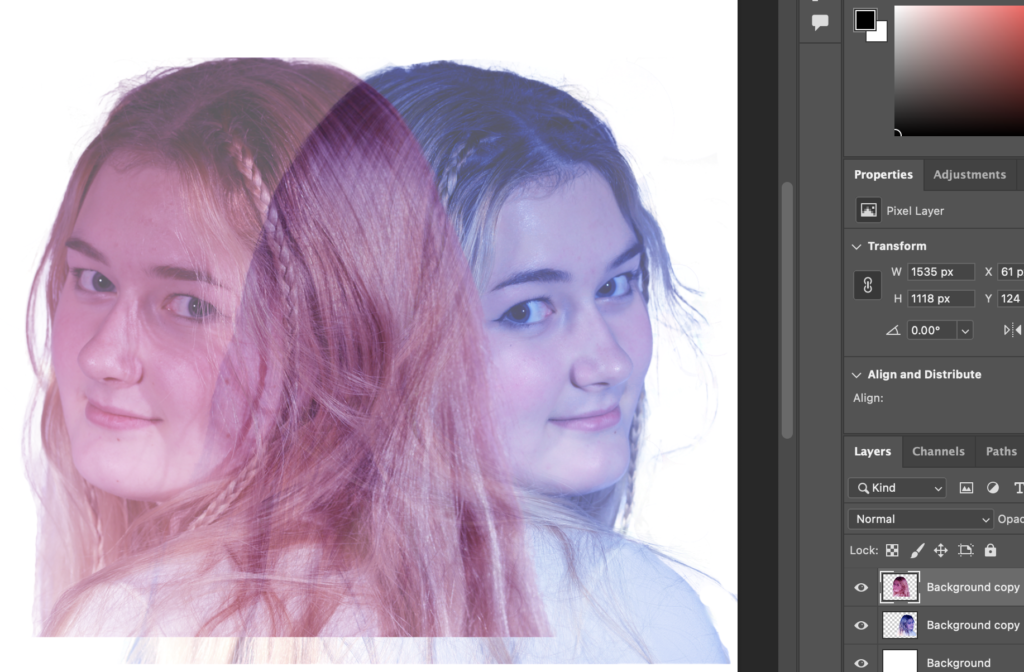
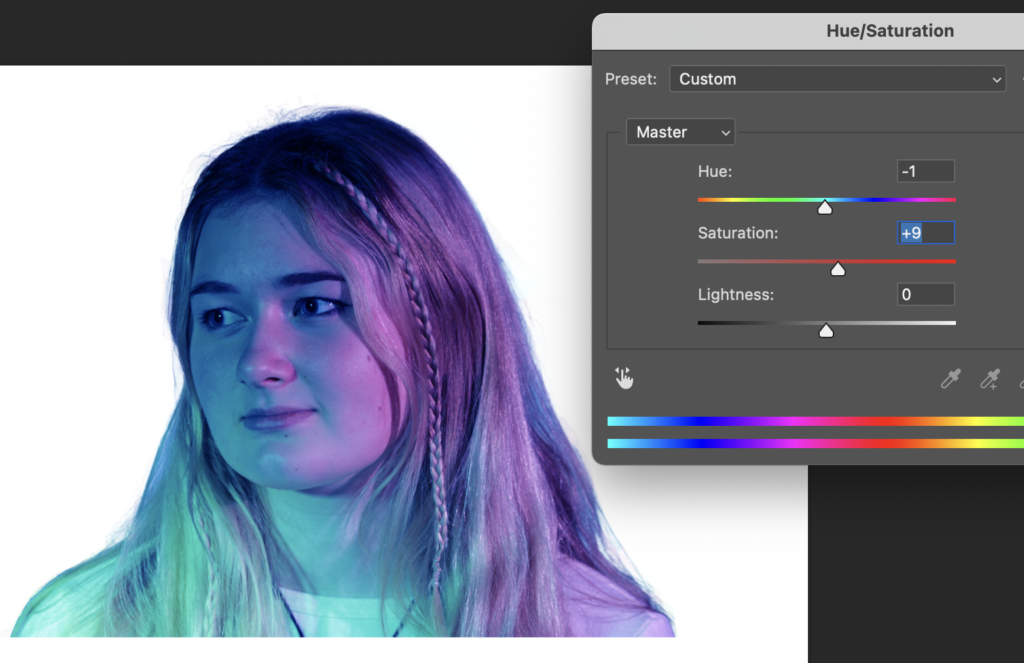
I then repositioned these layers and made each of them fill 65% so that they were transparent then added some colour. I added colour to each image by going to Image > Adjustments > Colour Balance and adjusting the colour until I was happy with it.
I then cropped this edit to create my final result.
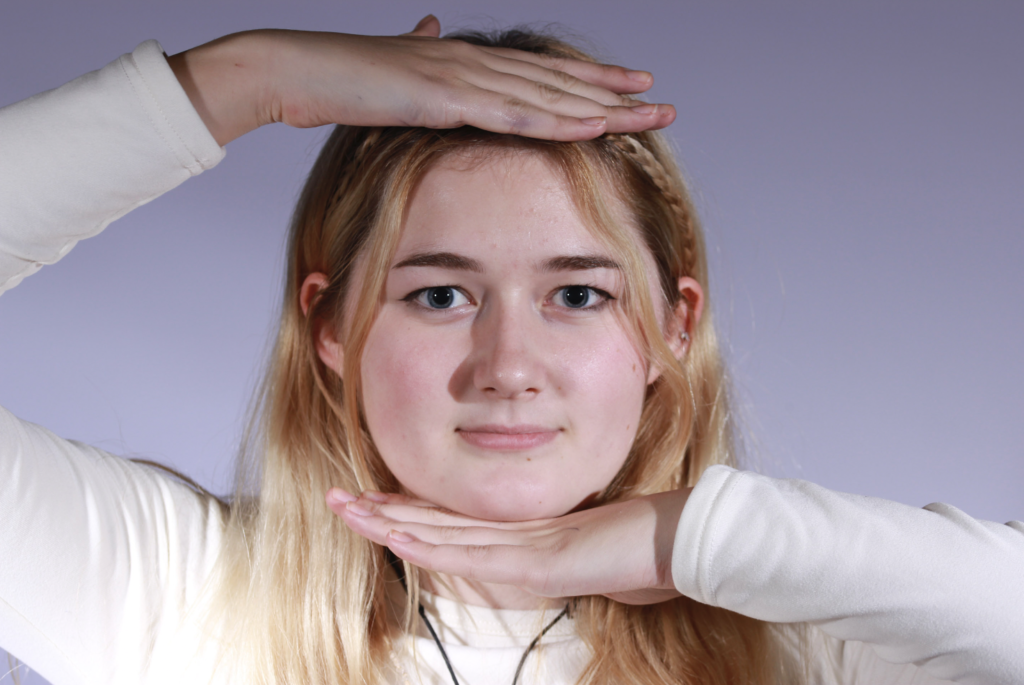
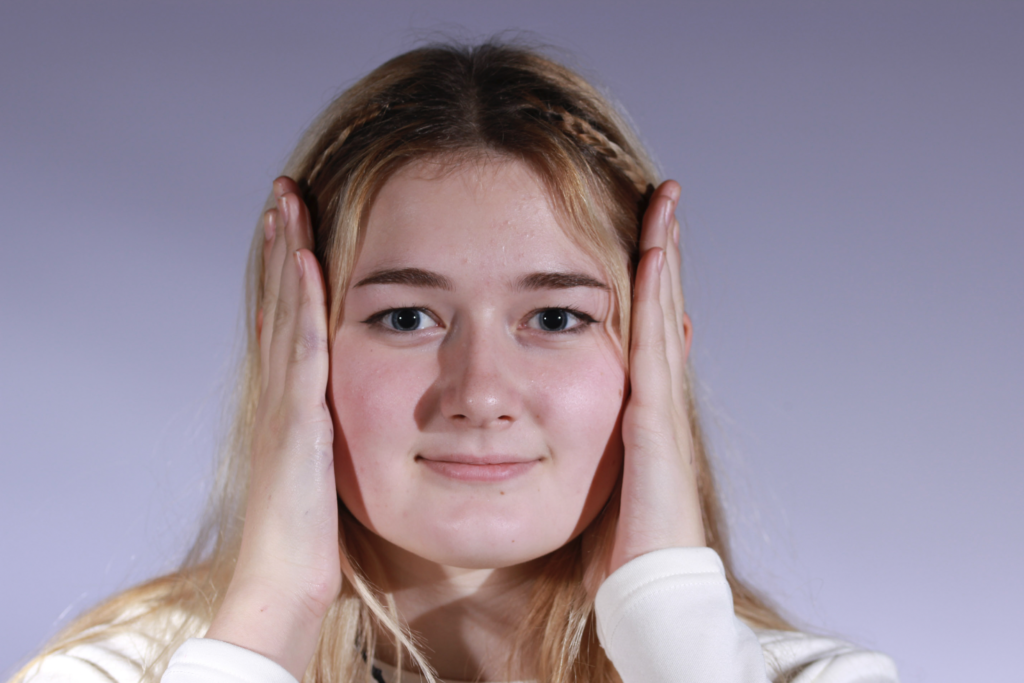
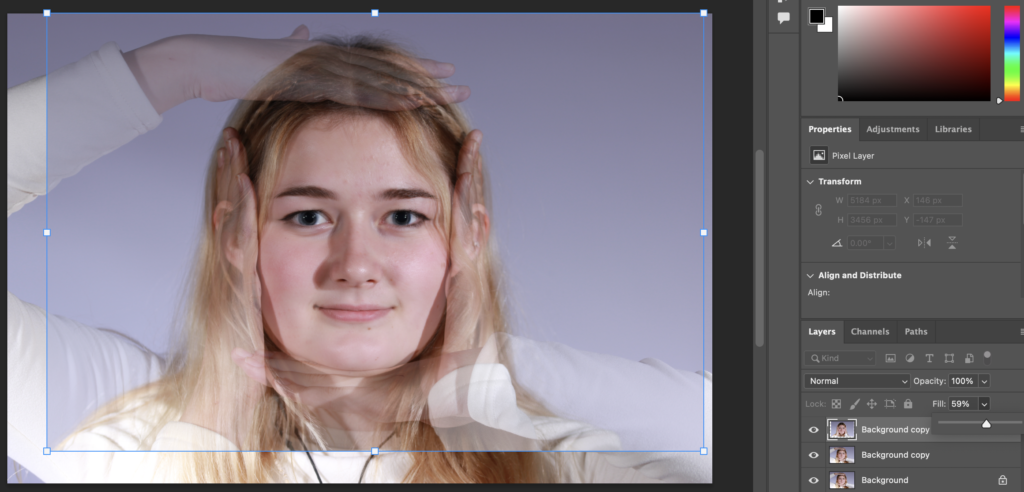
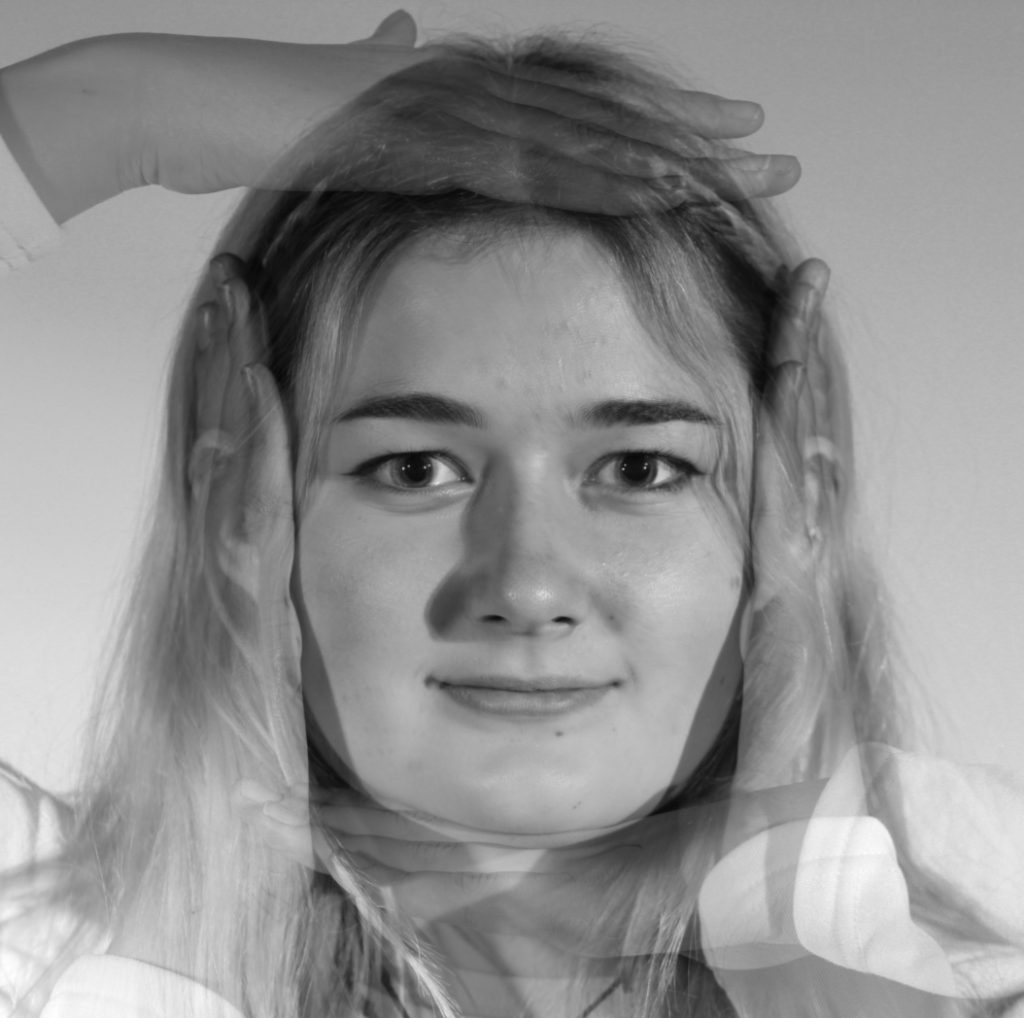
Edit 4
The photos I used for this edit are:
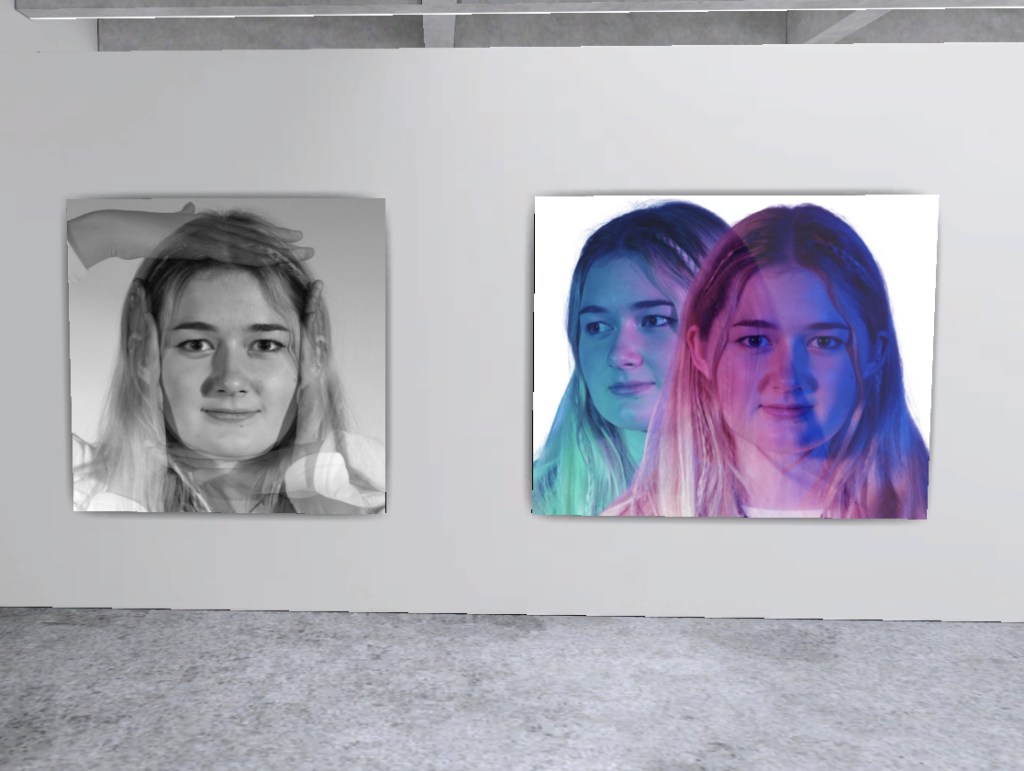
I chose these photos because they are where her facial expressions are most similar so that they will match up well.
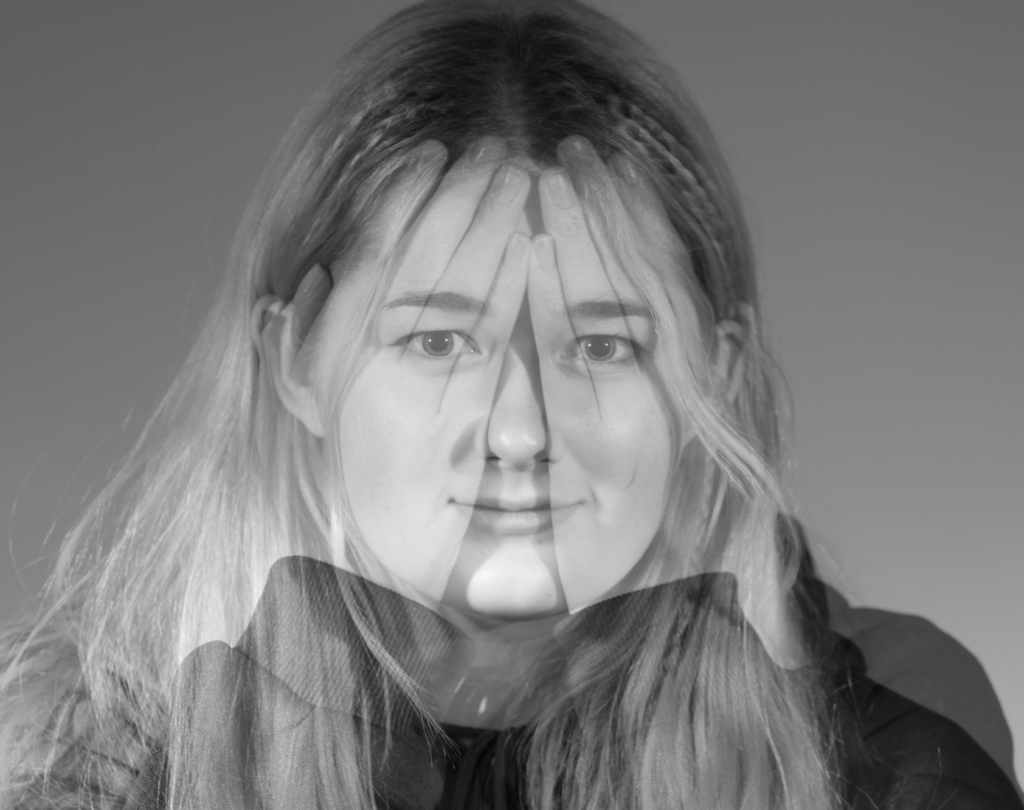
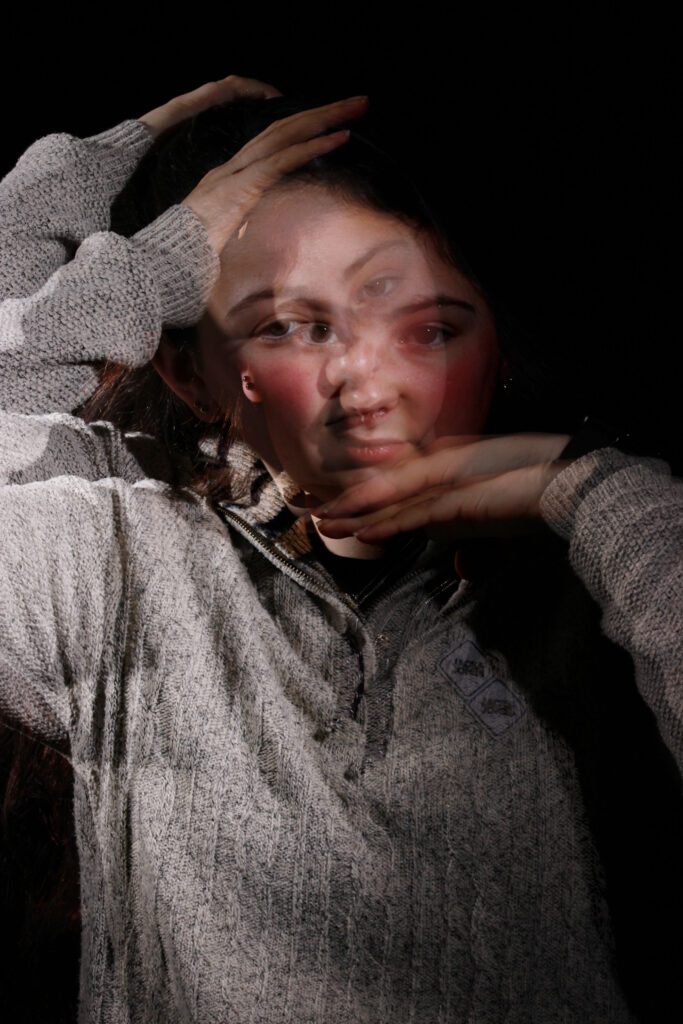
This was a very quick edit. I edited this by placing the image where her hand are on the side of her head on top of the other and lowering the opacity then aligning them so that her face remains normal.
I then decided to make this more interesting by making it black and white.
This is the final result after cropping it:
Edit 5
These are the images I used for this edit:
I edited this by, firstly opening up each image in photoshop and duplicating the layer. At this time, the photos were separate from each other. I then, like one of my previous edits, used the background eraser tool to remove the background of each image.
After this, I copy and pasted each layer onto a blank canvas, arranging them how I would like them then changed the colours of the images by going to Image > Adjustments > Colour Balance.
I did the same for this image, however, I also adjusted the Hue/Saturation.
Finally, I altered the opacity of each photo to give a double exposure effect.
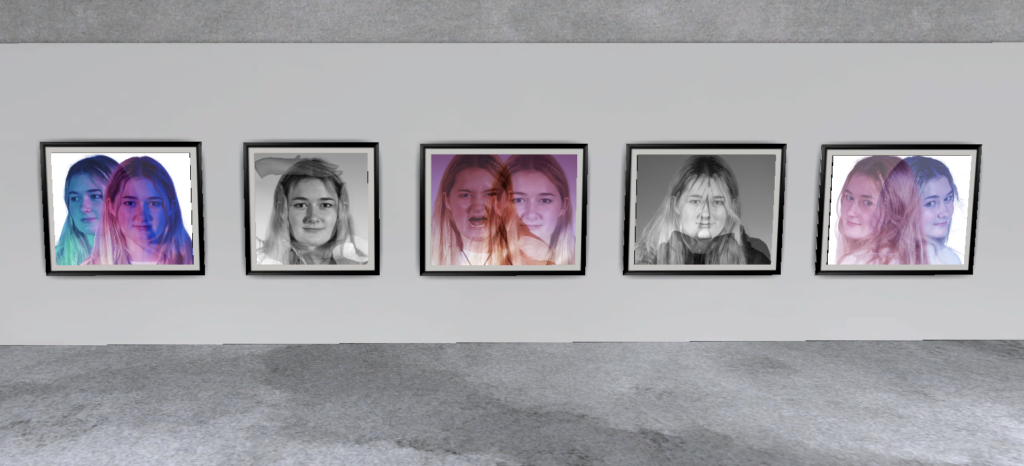
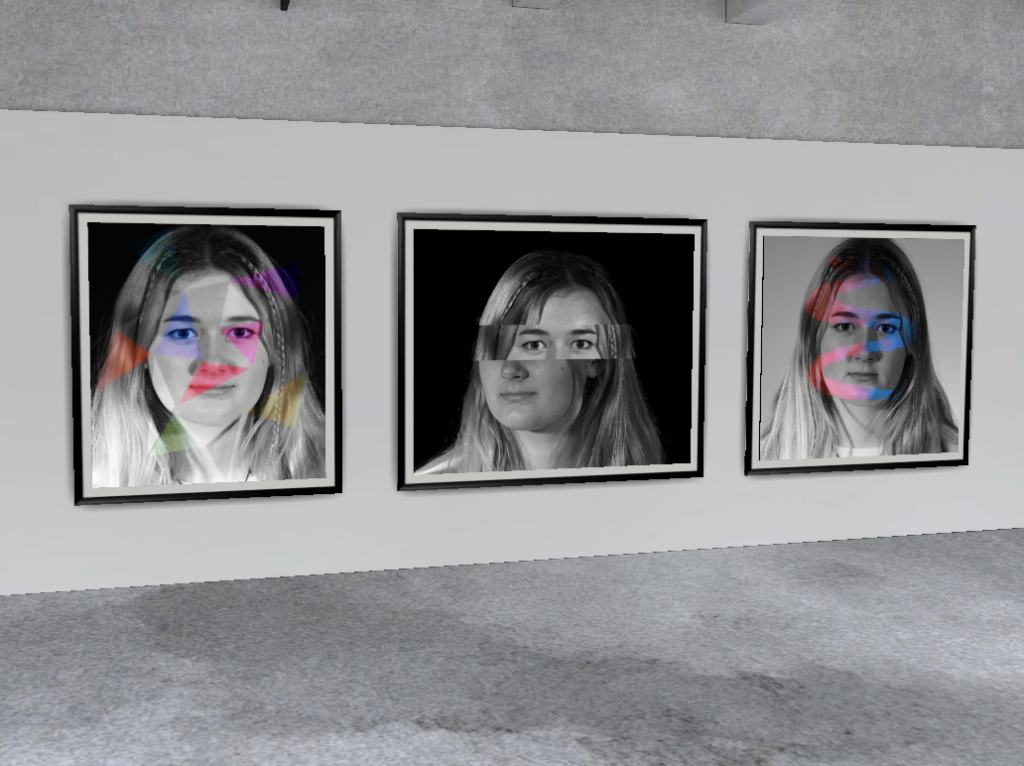
Evaluation/Virtual Gallery
These are my final images:
Virtual Gallery
Evaluation
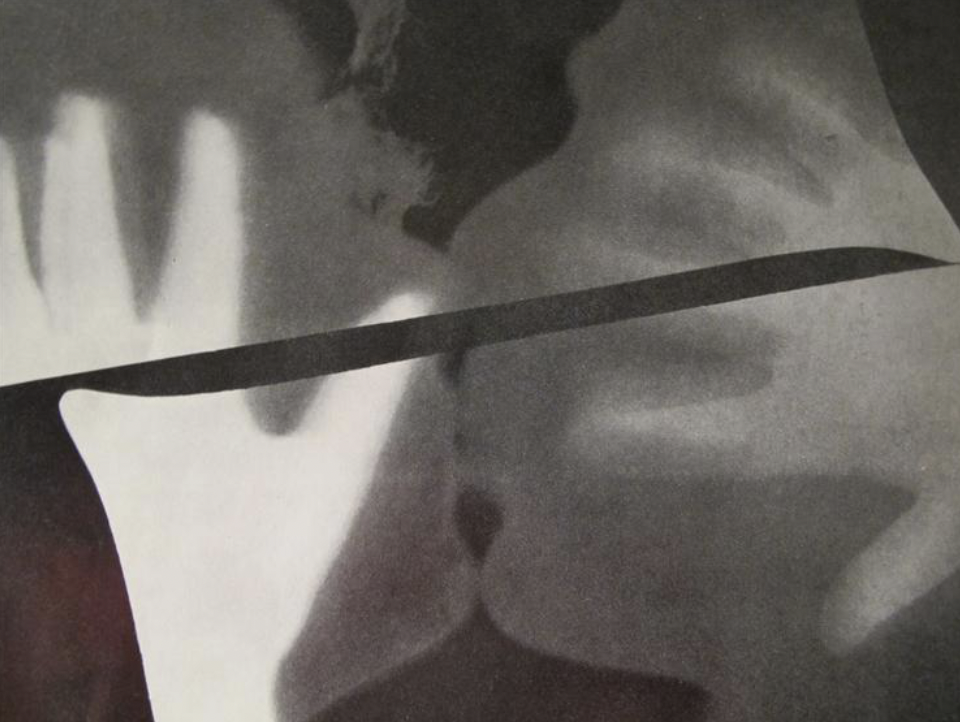
I personally don’t think that any of my edits share any similarities with the work of Man Ray, except from possibly this one:
I think this image is similar to Ray’s in terms of the B&W and Xray effect. I also believe that Man Ray has a rayograph that includes hands on the face, much like mine. This is also possibly my favourite edit for double exposure because I think that it clearly displays understanding of double exposure in Photography.
This is probably my least successful image and I think that I could have improved it by making there a clear contrast between the calm and anger by making just her face red in anger, rather than the whole image.
In terms of photo montaging, it is the experimentation and process of making a “composite photograph” by cutting, gluing, rearranging, and overlapping two or more photographs into a new image for artistic effect.
It is how magazine editors used to design “publications” before digital design software existed. It can exposes “the component images simultaneously through superimposed negatives”. Photo montaging can give the illusion of many object in one, it can look dramatic, bold and most of all interesting to look at in depth.
It’s been a potent and/or strong means of communication within the field of visual art since at least the early 20th century, first appearing most frequently in work of “Dada artists” e.g Hannah Hoch and John Heartfield. Ever since, photomontage has remained, among artists, popular that work with ranges of styles and images that are different.
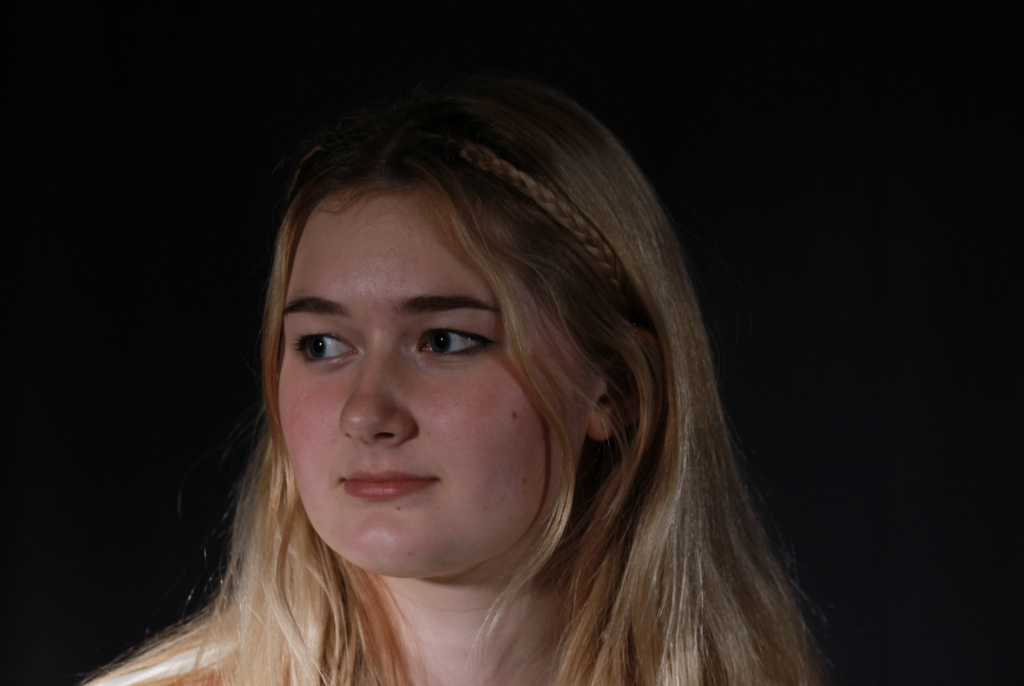
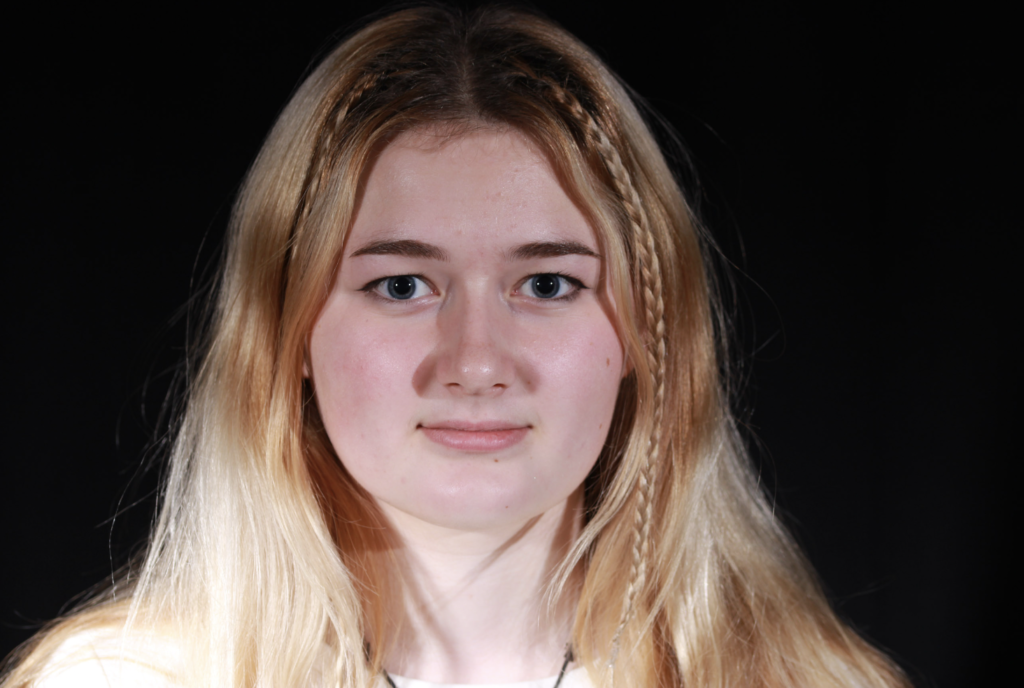
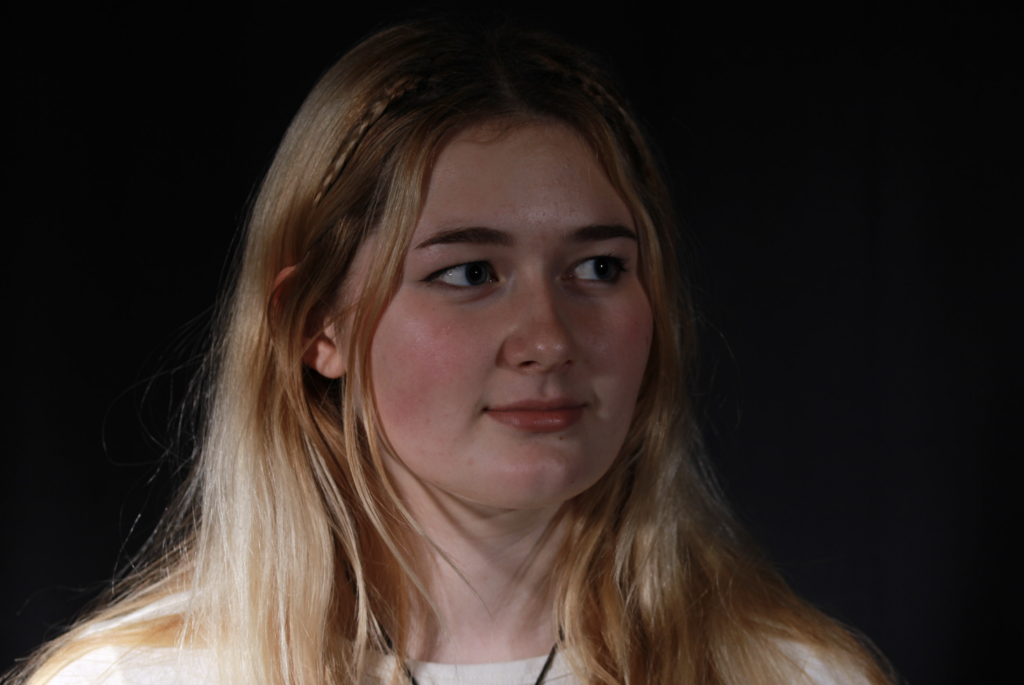
Contact Sheet for my headshots:
Experimentation with Photoshop:
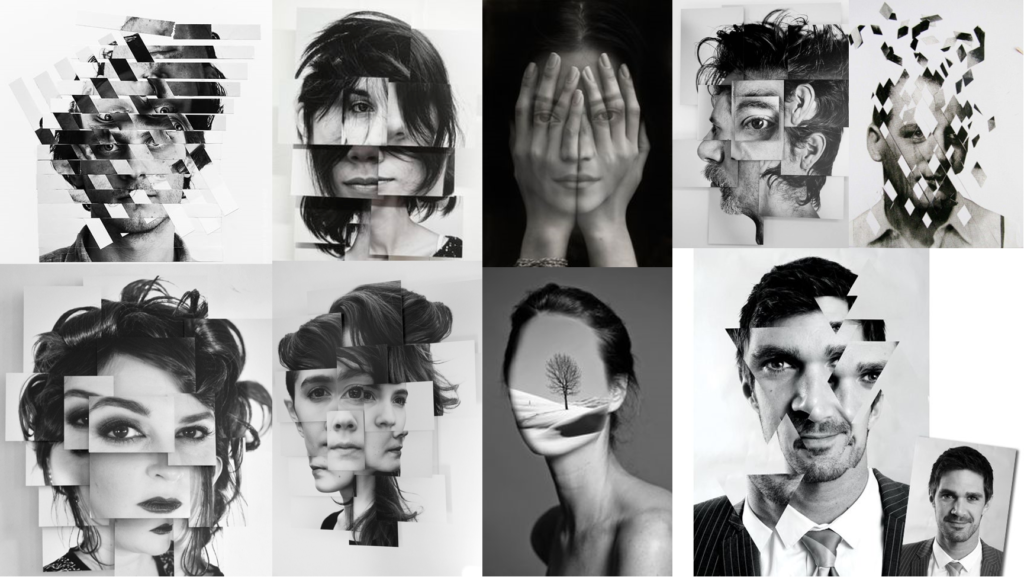
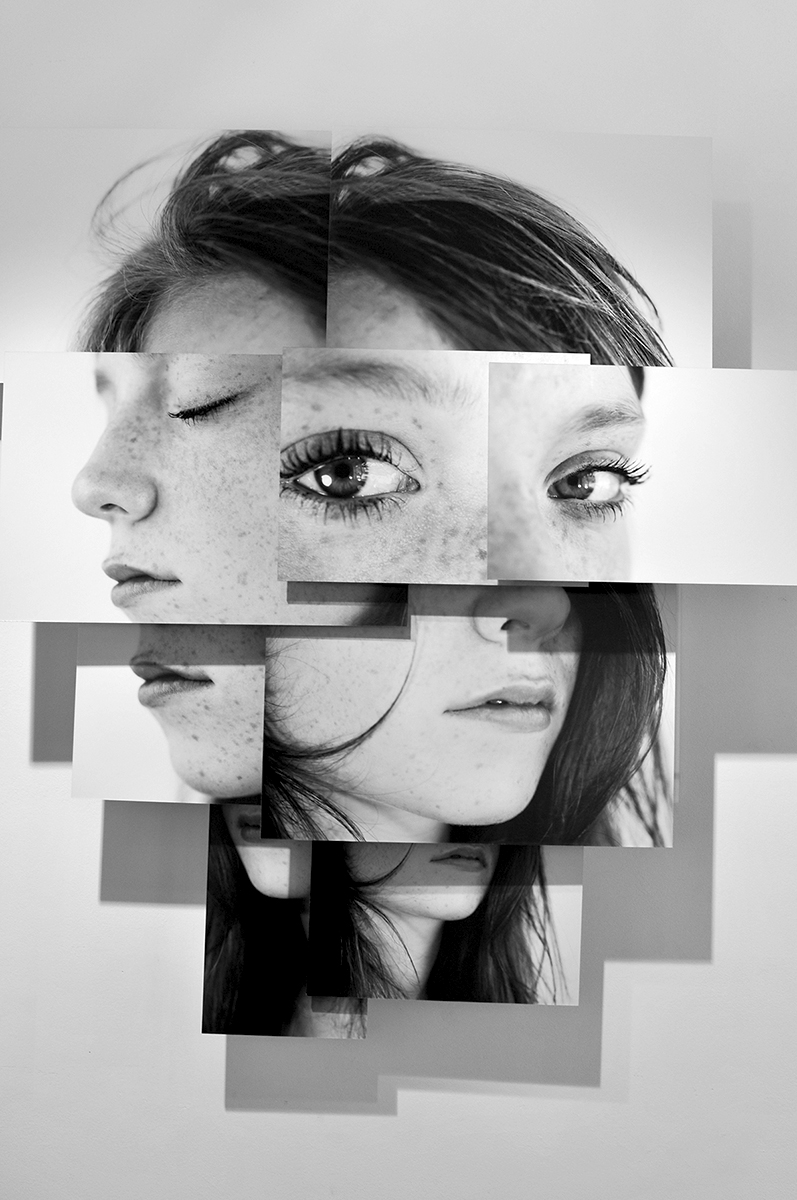
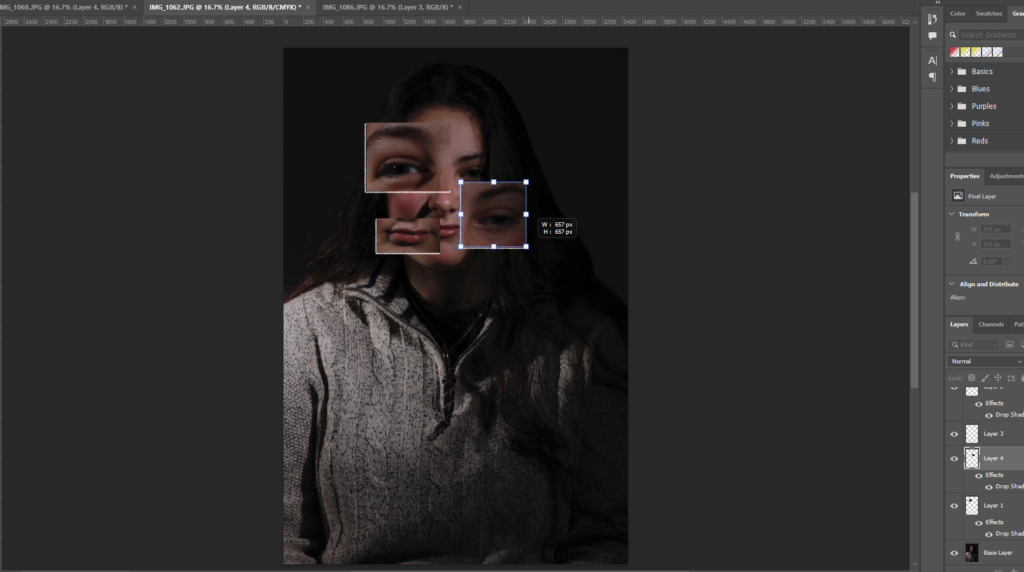
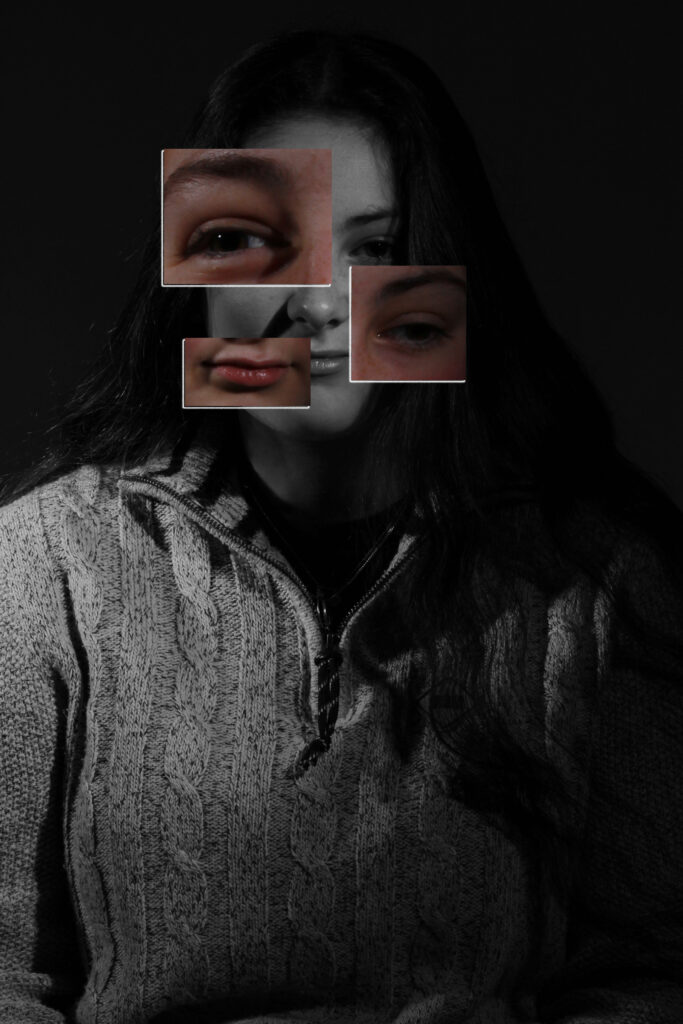
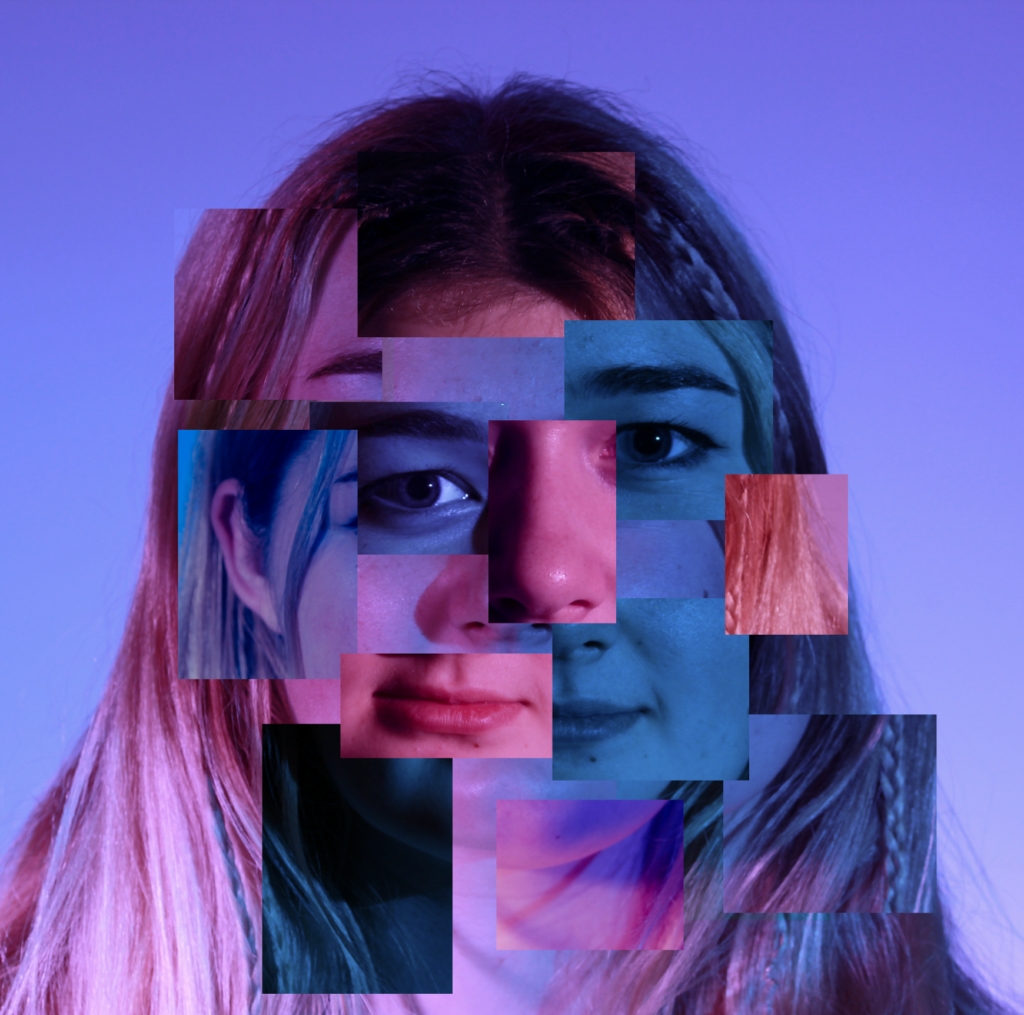
In this edit I looked at the experimentation of Brno Del Zou:
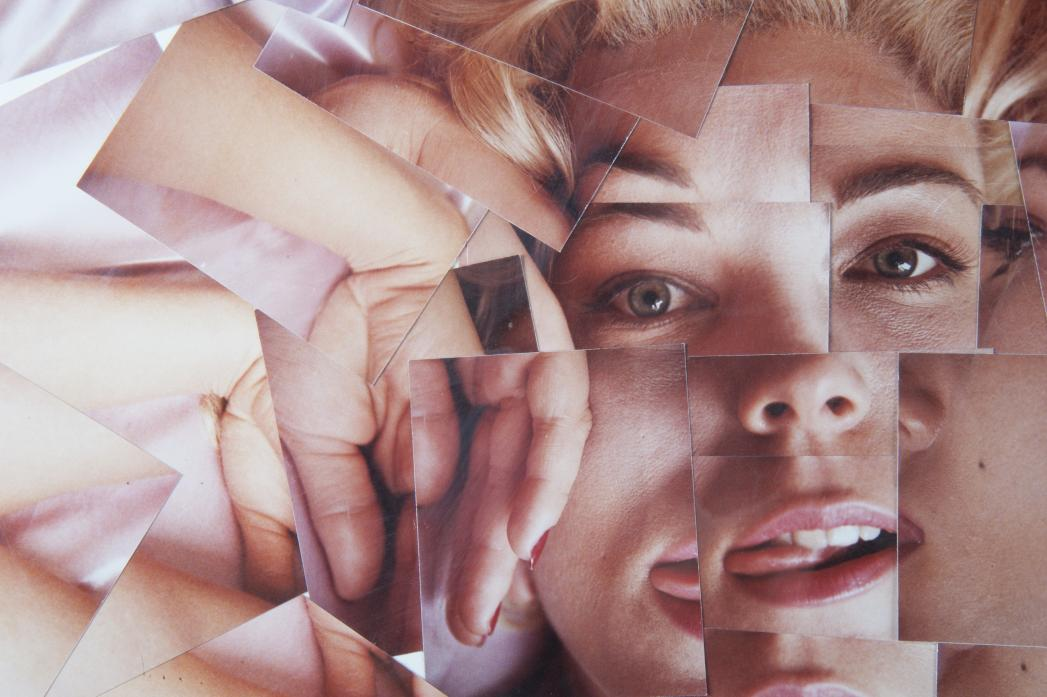
Brno Del Zou is a French, photographer. In Brno’s ‘photosculptures’ series he uses the fragmentation of the body in order to better understand it.The body and the faces are revisited and the features under various angles are highlighted in order to create collages interwoven with the other features creating a distorted and unproportional effect.
Brno grew up during the 1970/80s and was influenced by the artistic culture of the time.
These distorted collages are edit in a monochrome palette probably on photoshop.The 1980s were a vital time culturally and were marked by growing global capitalism and widespread mass media. Artists growing up during this time were heavily influenced by this cultural environment.
I personally like Brno’s work as as I feel that each specific photograph expresses a new feeling or thought going through the person’s head. The fact Brno displays their work in black, white and grey undertones adds a negative and mysterious atmosphere.
If I were to recreate this I would change the sizing of the pictures to create a sharp and clean effect yet still disorganized and chaotic as it is much more difficult to observe the photograph if there is much more to explore through the layers.
Bruno Del Zou inspired editing process:
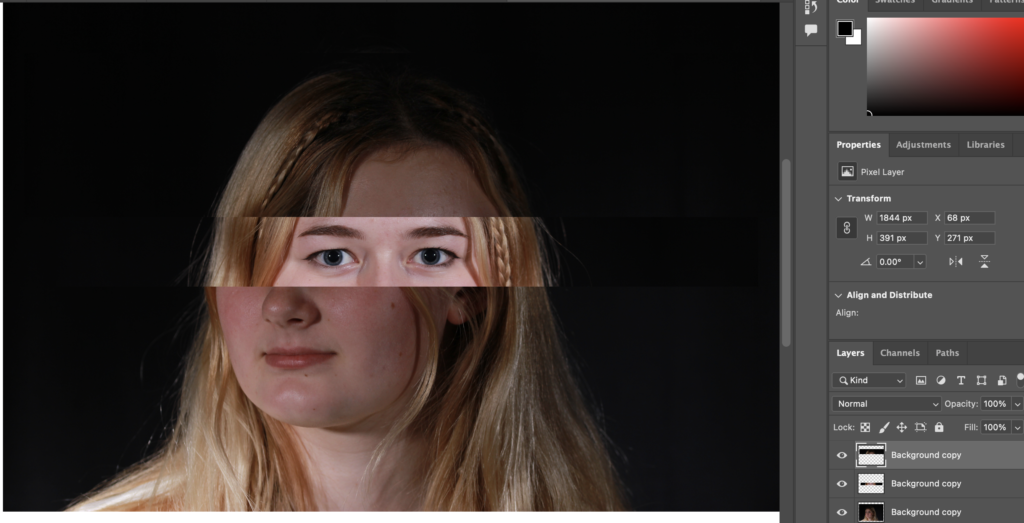
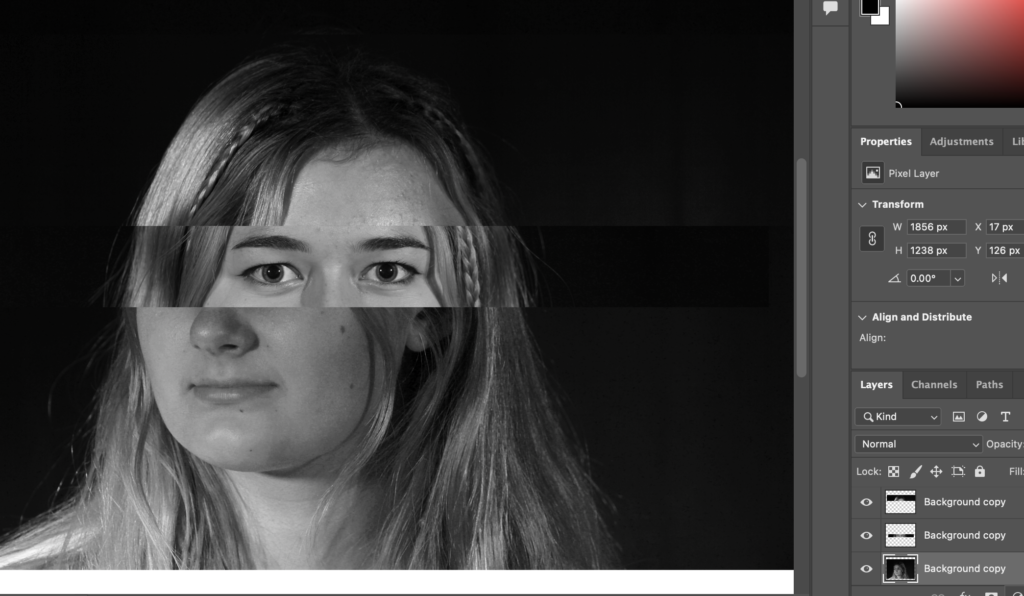
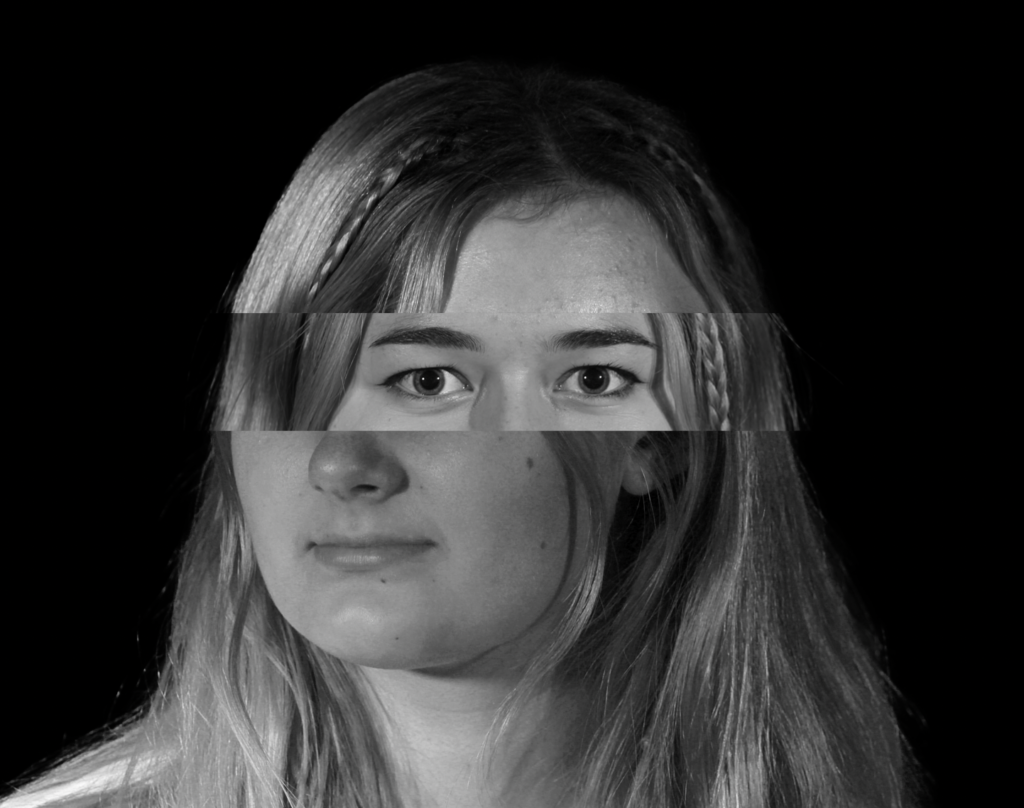
In this Photoshop edit, I decided to do a face fragment idea. Firstly, I opened the images I wanted to work with. They can be desaturated so they look at a similar tone to Brno’s edit’s but decided not to change any hue to them. I selected my background portrait image and double-clicked the layer to unlock it. I used the rectangular marquee tool to draw around different scaled features of a face, moved them around to create a distorted and layered collage using the move tool on the Photoshop toolbar, and used shortcuts such as ctrl d to fit my scale with I wanted the size to be and ctrl j to copy the layer so that I can move it later on in the edit. I took into consideration the other two photographs of the face at a different angle and copied them on the “Base Layer”. At the end of my Photoshop edit, I added a drop shadow to create additional layers and texture behind the fragments moved.
Double/Multi exposures are made by creating and layering photographs on top of each other. It can be created throughout the use of Photoshop and in the camera settings (making and experimenting with layers). The “Blending Options2 and “Opacity Control” can be used too. It can create a surreal feeling for the photographs and it two photographs collided can convey deeper “meaning or symbolism” (like a story).
+
Double exposure has been used since the 1860s. In the 1860s it was a significant business boost. “they discovered how to make a portrait subject appear twice in a frame as if they had an identical twin. In each of the pictures, the individual was striking a different pose.” In order to take those now-vintage images, the photographer would snap a picture of the subject in one position. Afterwards, they’d direct themselves in a different pose. A rotating lens caps and special plates were also part of the process. The result ends up looking in a surreal approach to early photographs. The images today through the use of double exposure can be manipulated in a way to look distorted in the viewers perspective.
John Deakin (British Photographer) is known for his portraiture however Deakin has produced some fantastic images with this technique. The video below shows “explores his artistic development from the 1930s into the more recent years…
Contact Sheet for my headshots:
Photographer Andrés Gallardo Albajar takes “double, long and triple exposure photographs in few different locations”. Many artists and photographers use double and long exposure photography to “convey emotional insight, show a progression of movement or relate a change in time”.
For Andres, he does not document he editing’s and experimentation with the use of double exposure and the backstory for how he got the results he got. I think it explains for itself and that Andres did not find it quite difficult to come up with the result as the description is very limited.
Photo-montage photography is multiple images are cut up and combined to create a new image. It can also be snipping an aspect from one image and adding it onto the same image in a different place. This can be done in two ways: The first way is by hand and the second is by using Adobe Photoshop. To do it by hand you just have to cut out one part of a photo and glue it, overlapping the other photo and arranging it so that it’s visually pleasing. There are many ways you could do this on Photoshop, depending on your wanted result. For example, you could simply create image layers then use the quick selection tool to cut out the image to or the lasso tool to cut out part of an image and then position the photos in their desired positions.
Mood board
Artist Reference
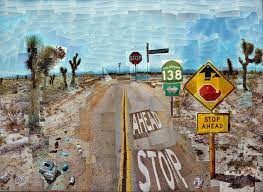
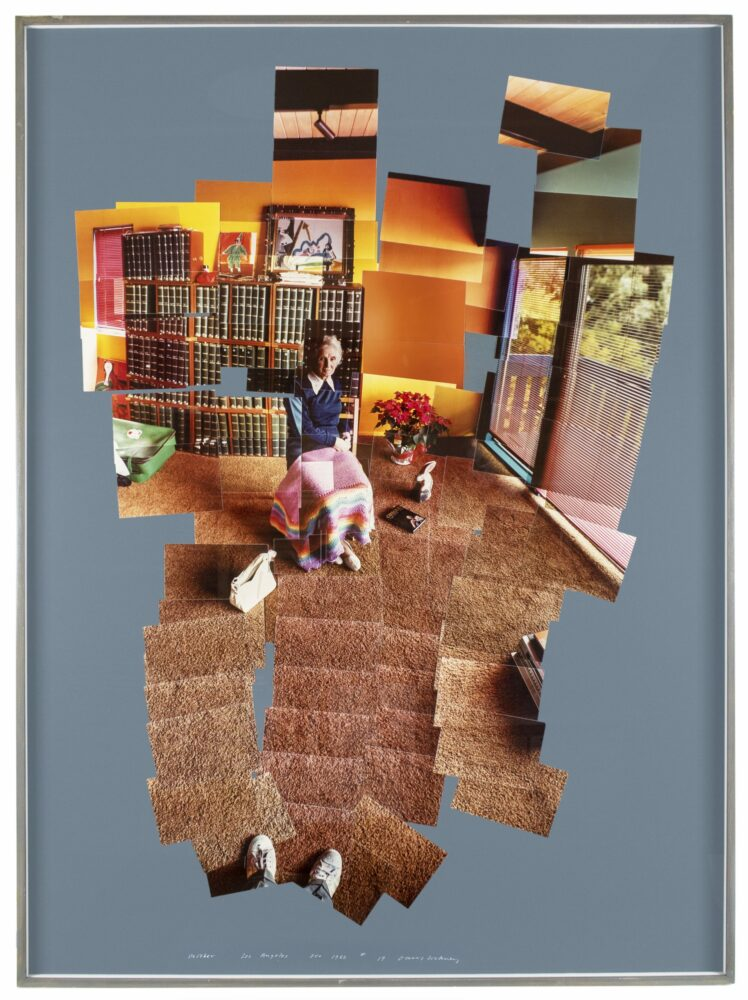
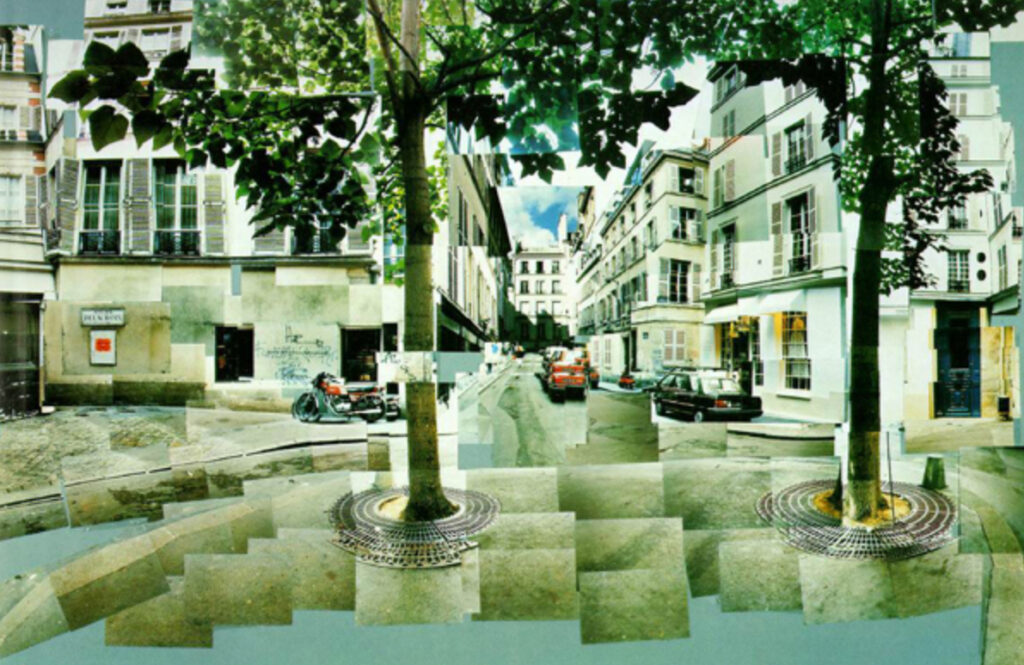
David Hockney, born in 1937, is an English painter, draftsman, printmaker, stage designer and photographer. Hockney is considered as one of the most influential British artists of the 20th century and was also a huge contributor to the pop art movement in the 1960s. He studied at the Bradford School of Art and later attended the Royal College of Art in London. Hockney was elected as a member of the Royal Academy of Arts in London in 1991 and, additionally, has his work displayed in the Tate Gallery in London and the Metropolitan Museum of Art in New York City. In 2018, David Hockney sold an art piece for $90.3 million at an auction. It wasn’t until the 1980s that David Hockney began his photography career, where he experimented with Polaroid photographs and joined them to create visually striking collages.
This is one of David Hockney’s photo joiners created with the use of Polaroid photos.
This is one of David Hockney’s photo joiners which was created using photo lab processed 35mm photographs.
Photoshoot Plan
Photoshoot
I am going to be using this same set of photos for all Headshots editing.
Edits
Edit 1
I made this photo collage using the following images:
I opened each image in photoshop and used the 3rd image along as the background. I then used the Rectangular Marquee Tool to cut out segments from each image and made them into a collage.
For some segments, I changed the colour slightly by going to Image > Adjustments > Colour Balance.
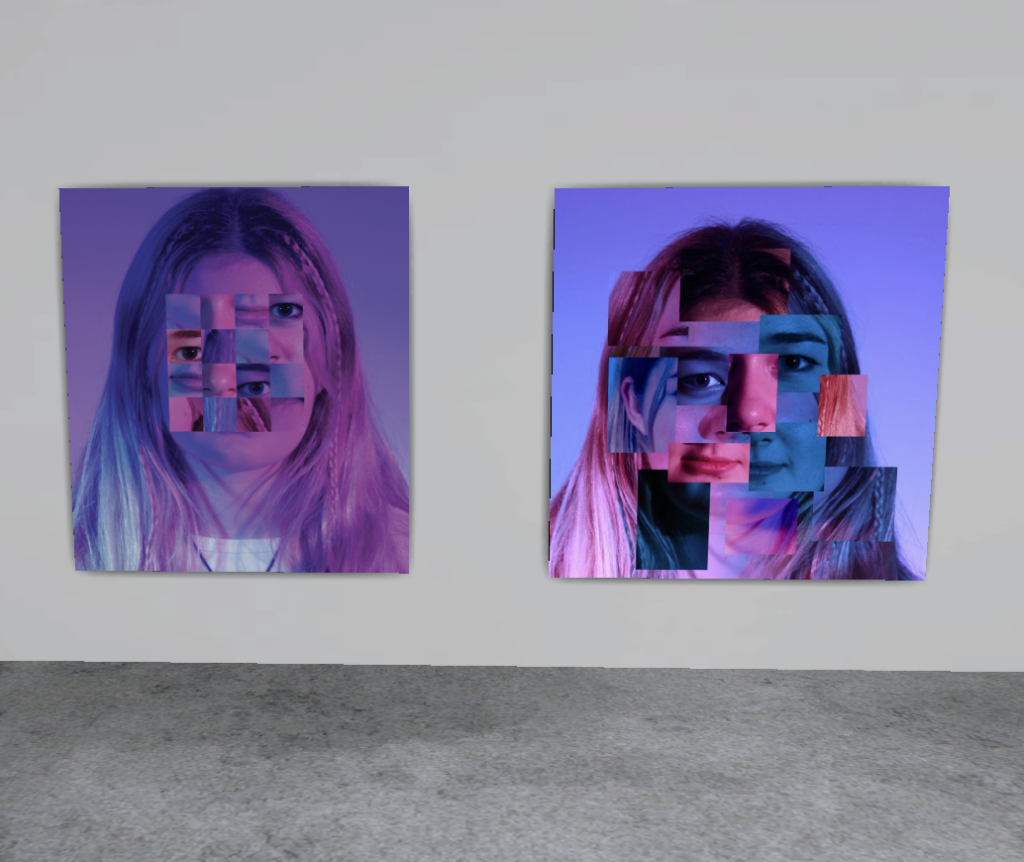
Edit 2
This is the image I used for this edit as I think it would be interesting to have the 2 different colours:
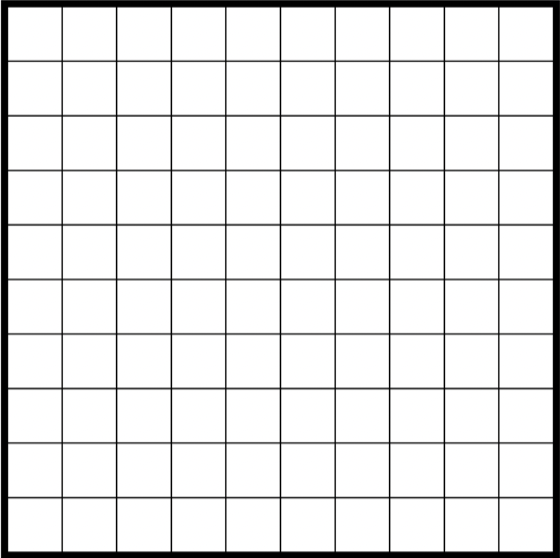
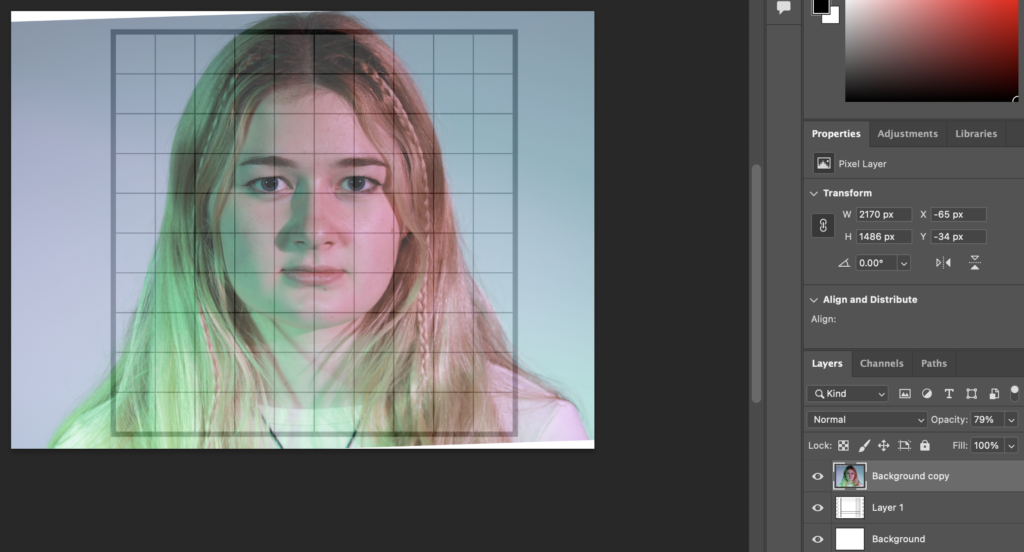
I used this grid template for the squares so that they are the same size:
I placed the image as a layer on top of the template and lowered the opacity.
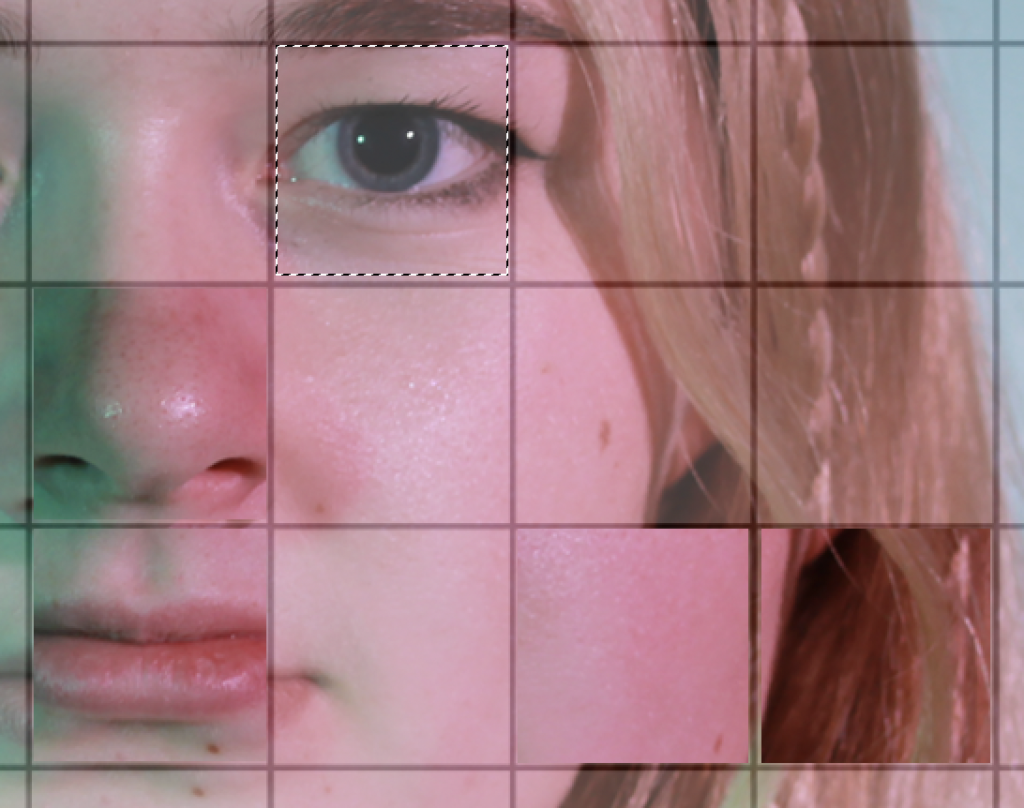
I used the rectangular marquee tool to select part of the image and copy and paste them to create the little squares. I moved around the photo to get the specific sections I wanted, whilst keeping both the photo and grid a constant size.
These are my completed squares:
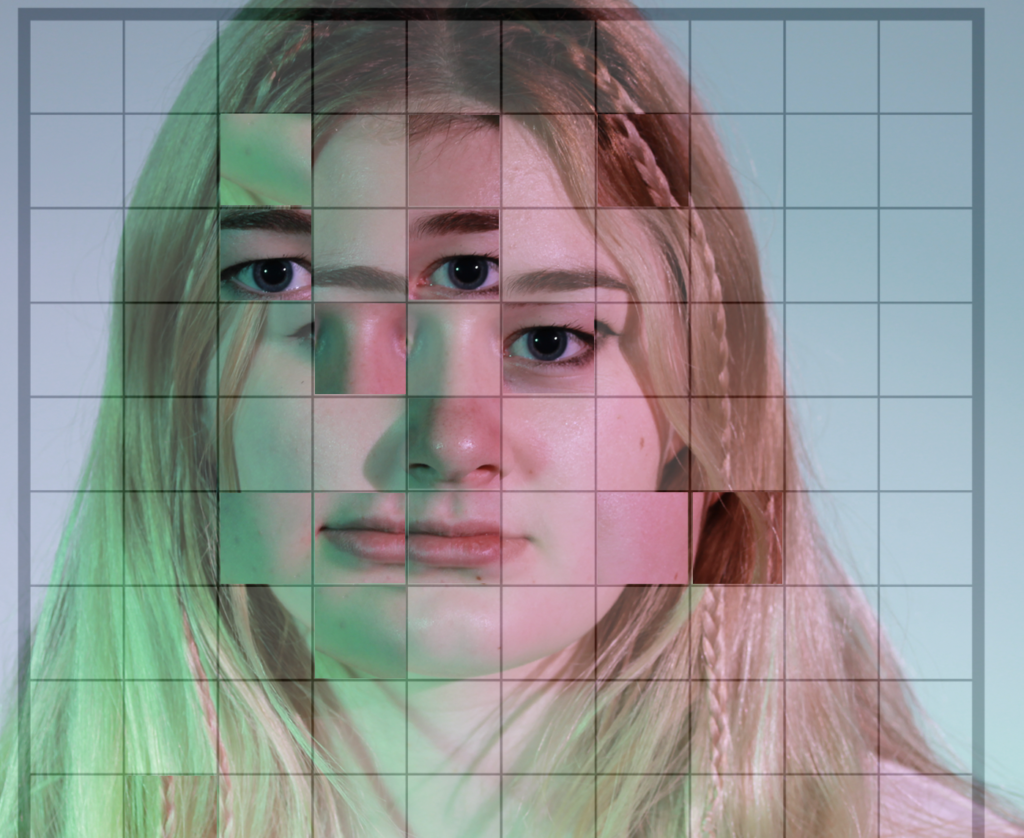
I then reopen the image on its own in photoshop then copy and pasted the squares onto it and arranged them how I would like.
Finally, I edited the photos and squares to make them my preferred colour. I also added a Gaussian Blur to some of these squares. Additionally, I also rearranged some of my squares. This is my final result:
Edit 3
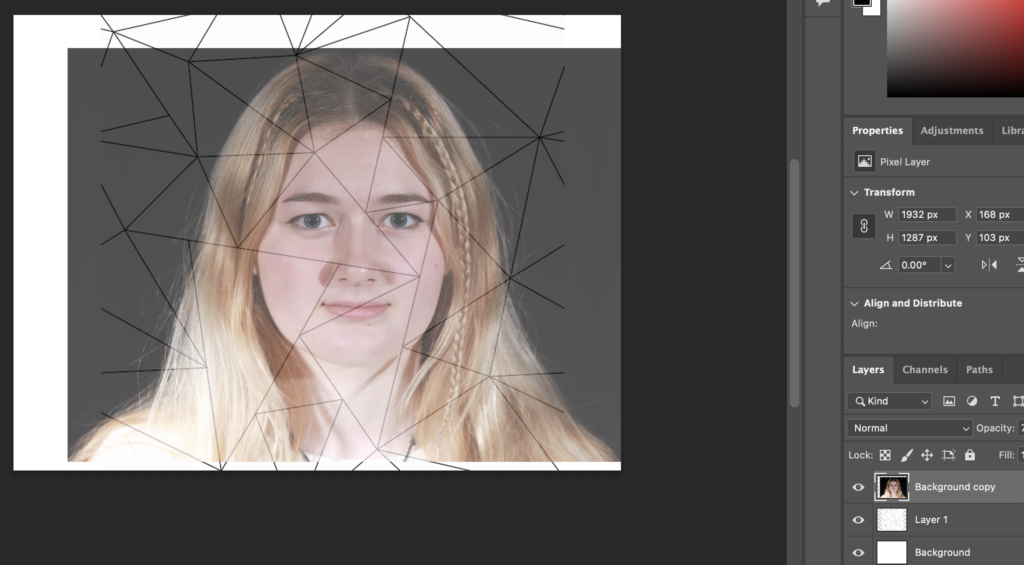
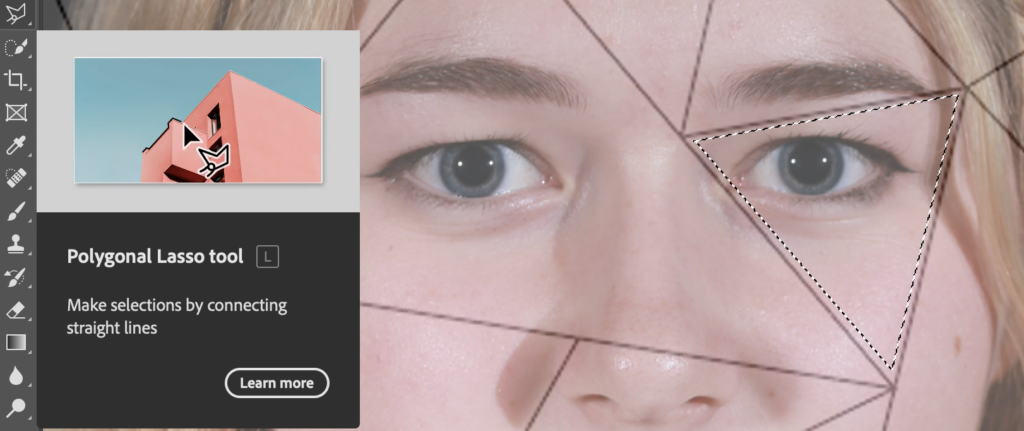
I started off editing this photo by getting a triangle template off of safari and making it a layer on Photoshop with the image I will be using as a layer above and lowering the opacity of the layer so that the template can be seen below. I am going to use this template
I used the polygonal lasso tool to create triangles, guided by the template, which I then copy and pasted to create a new layer that I could edit separately to the entire image.
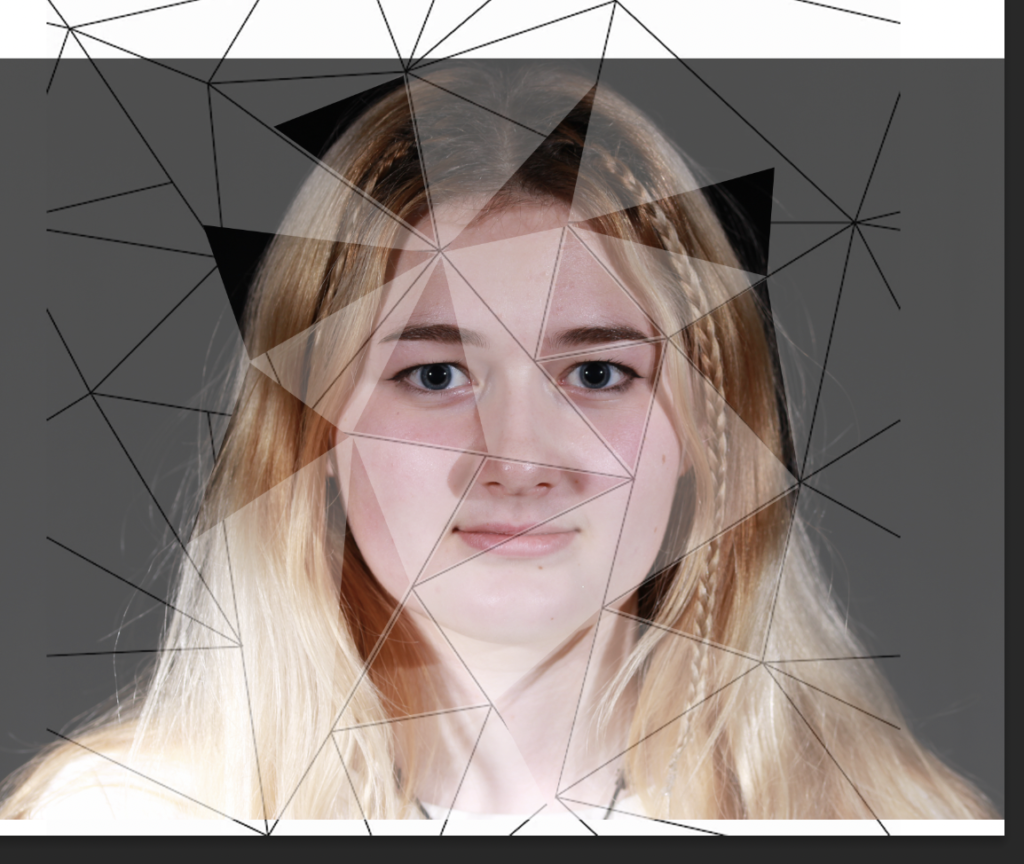
These are my triangles:
As you can see, I went a bit off the template, however, it was a good guide in the beginning.
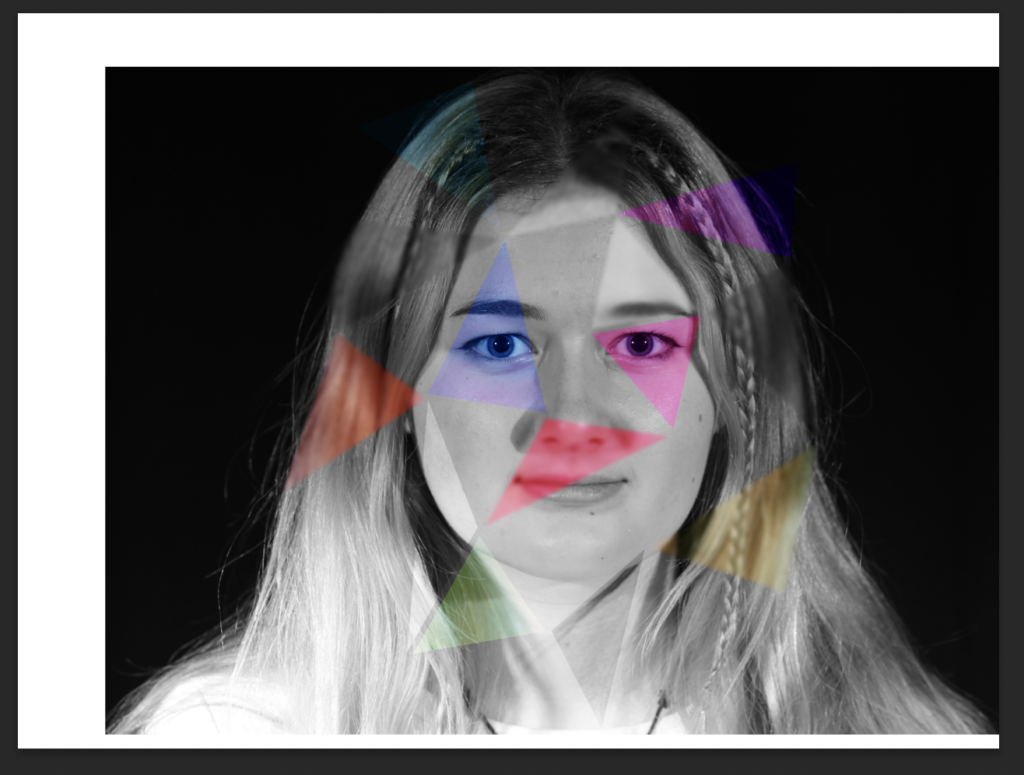
I then added a Gaussian Blur to some triangles and colour to others or both.
Finally, I flattened the image and cropped it.
This is my final result:
Edit 4
My plan for this edit it to use the following 3 photos as different sections of the face, with the middle one being just a small section containing her eyes.
I started this off by opening each image in Adobe Photoshop and creating background copies so that I could copy and paste them onto a blank document, however, before that I cropped them as to how I would like them. I used this image as the background:
Then, I cropped the following images and aligned them so that the sides of her head match up for each layer
Finally, I edited each layer so that they are B&W and match up well together.
This is my final result after cropping it and regulating the background by selecting it and using the brush tool:
Edit 5
I used this image for the background of this montage:
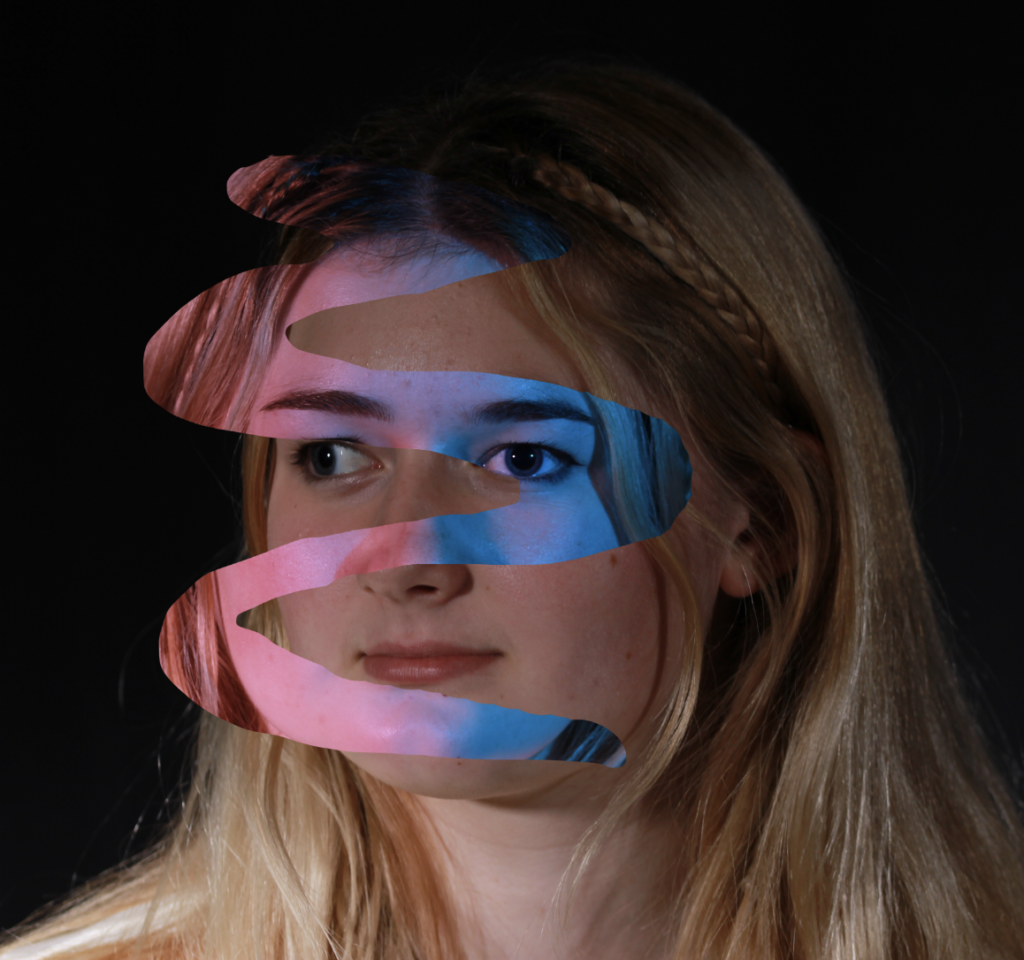
I then opened another image and used the lasso tool to make swirl cut out and copy and paste it onto the other image.
This is the image I used:
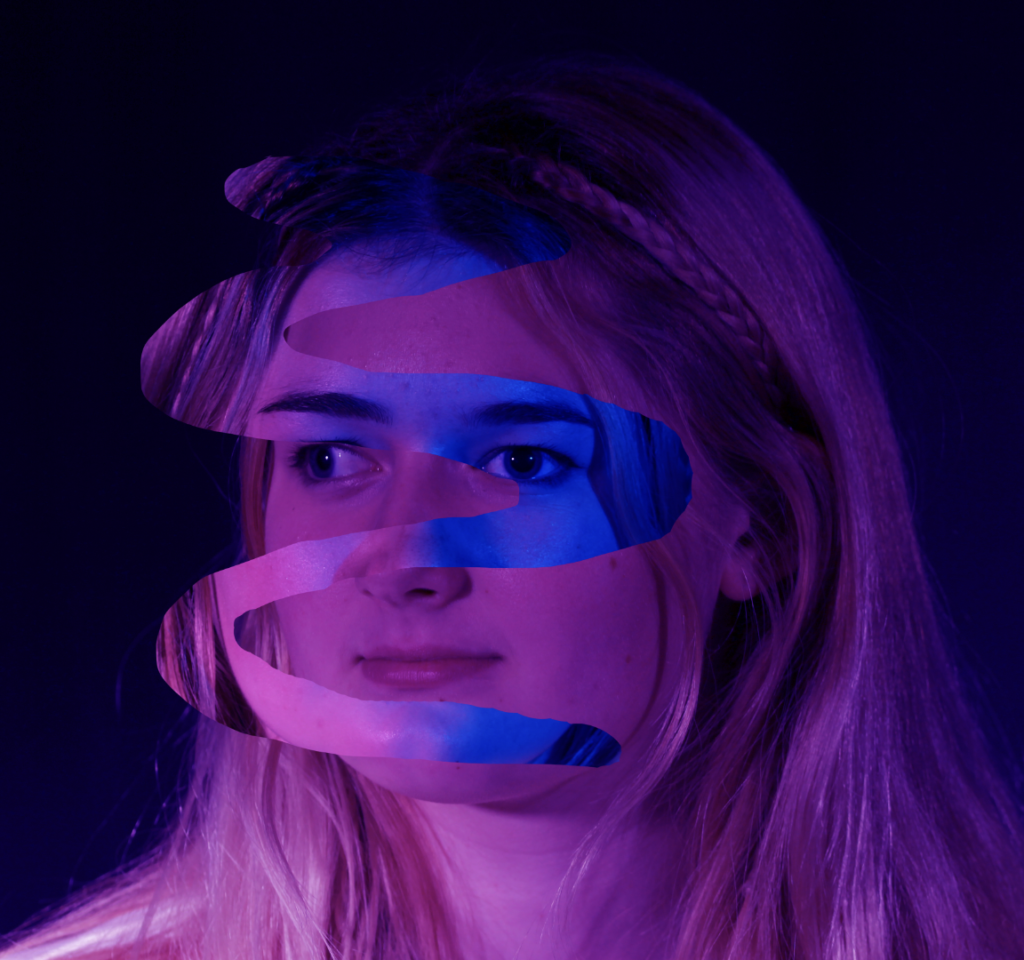
I then added some colour to each layer to make the edit more interesting and this is my final outcome:
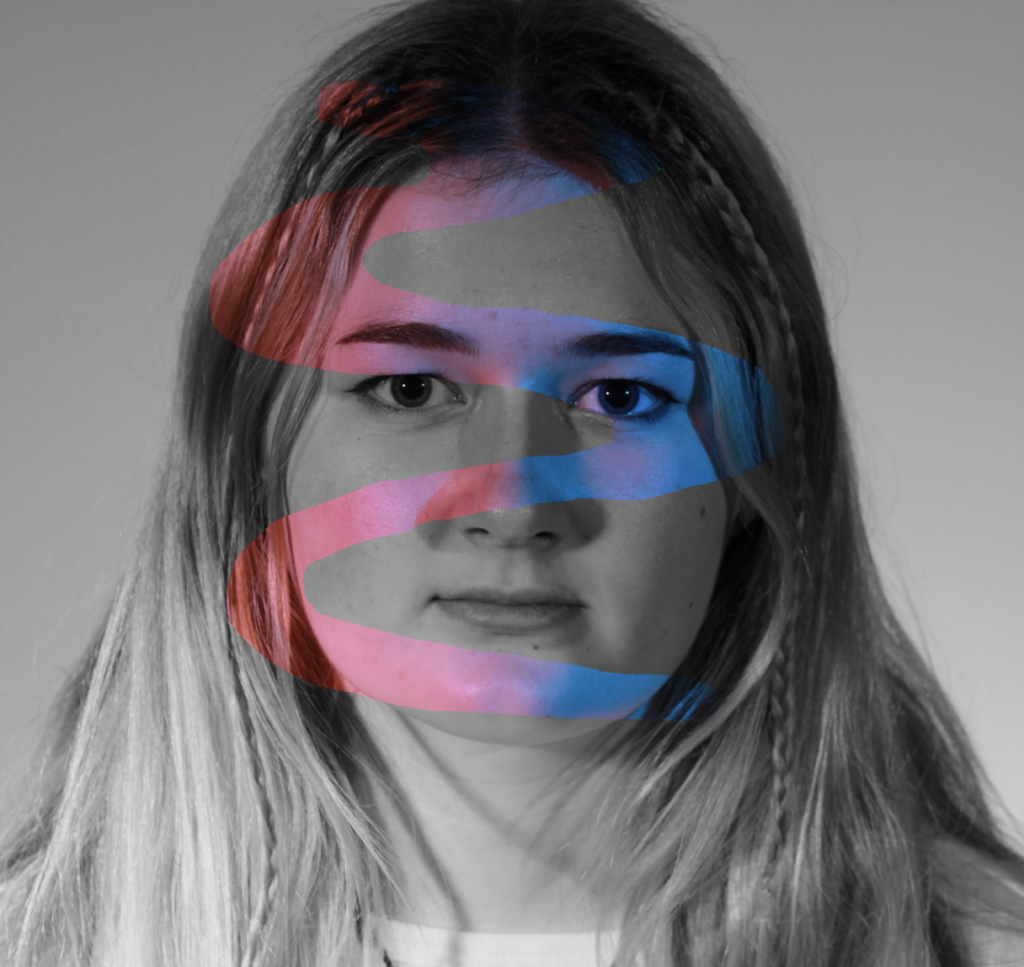
I also made this using the image that I cut the part out of and just changed the colour of it to B&W.
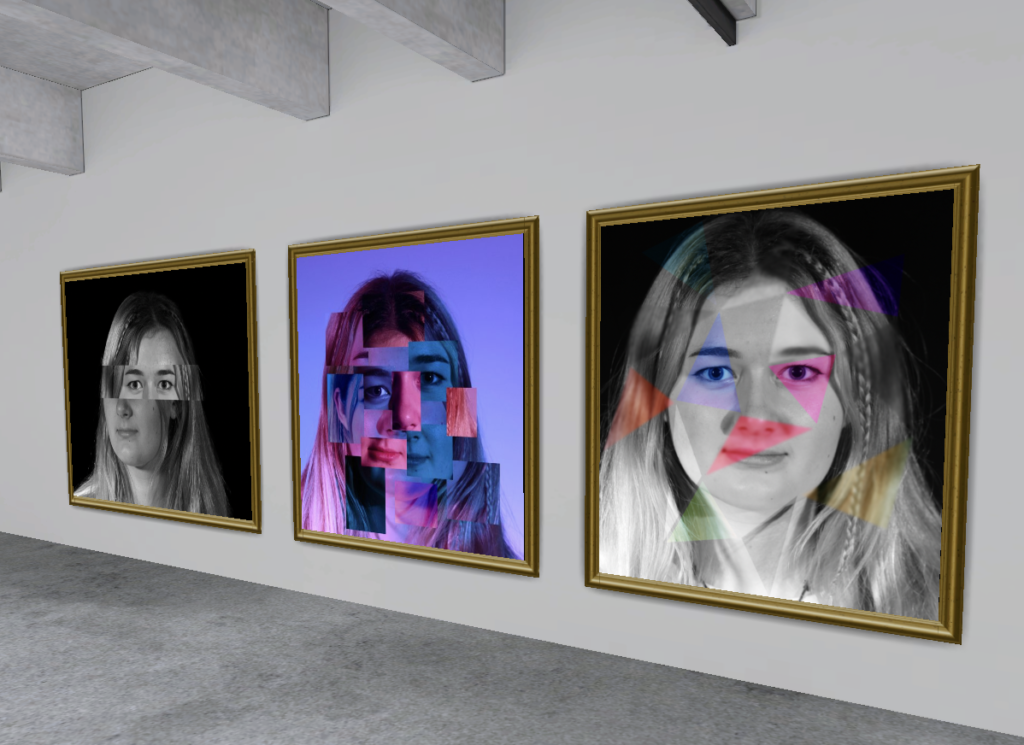
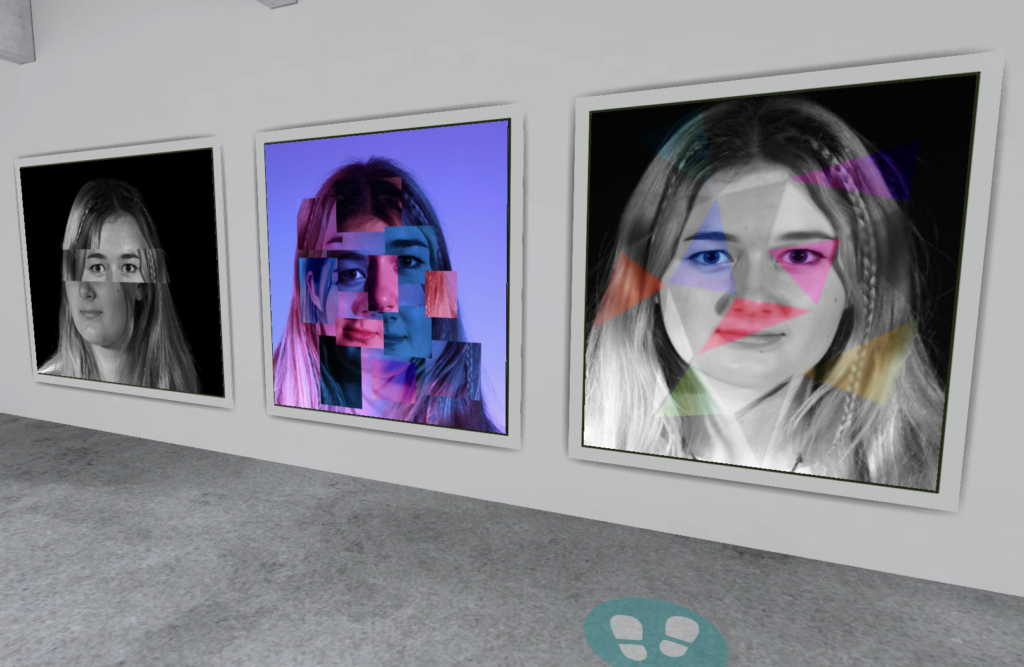
Evaluation
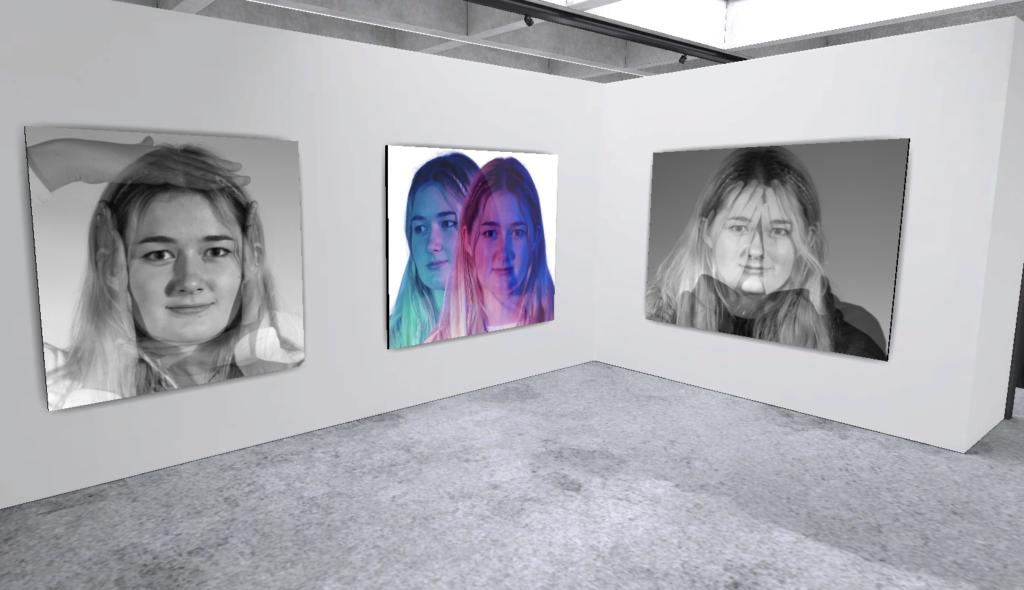
My Final Outcomes
Virtual Gallery
Evaluation
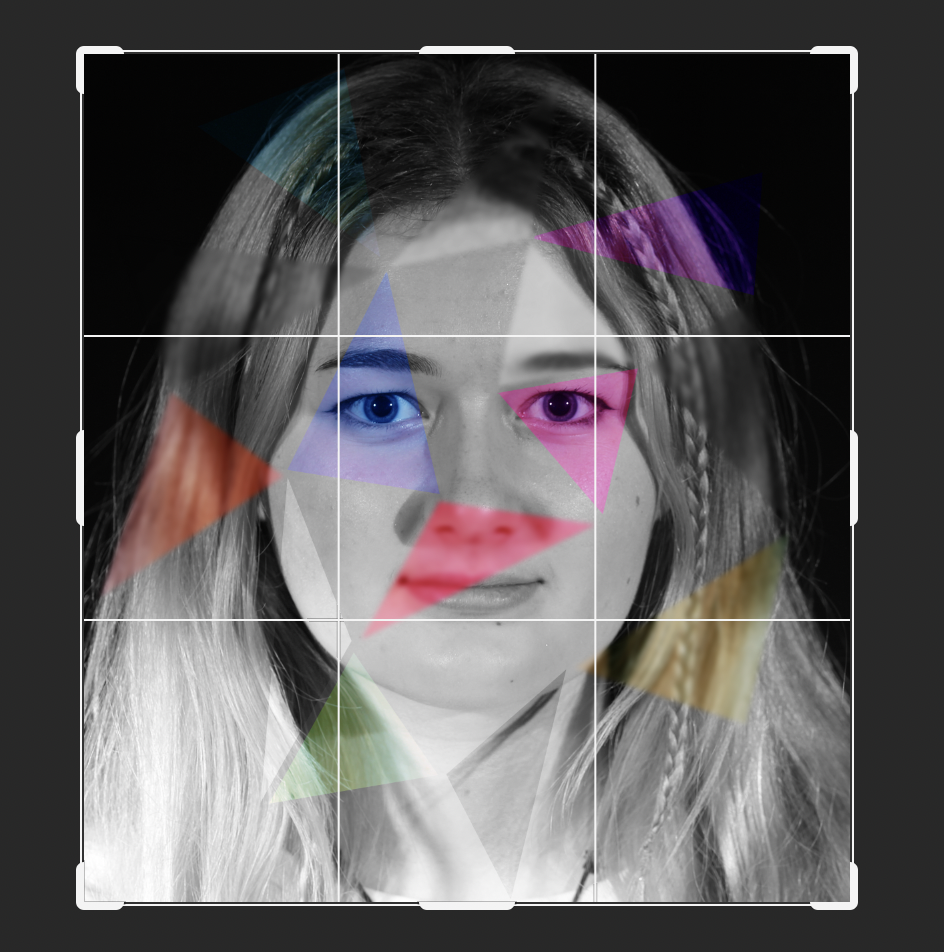
Overall, I think I have created some interesting photo montages, however, none of them are noticeably similar to Hockney’s. I think that my image which is most similar to the work of Hockney’s is this image:
This is due to the small squares which create a photo, however, the squares in mine are jumbled up.
This image is also quite similar to Hockney’s as it does consist of smaller images joined together to create a larger one, although a distorted larger image.
This is my personal favourite outcome because I like the use of different colours and the blur and I just think it all works out together very nicely.
I think this is my least successful photo as it looks a bit silly, however, it was good for experimentation and learning.
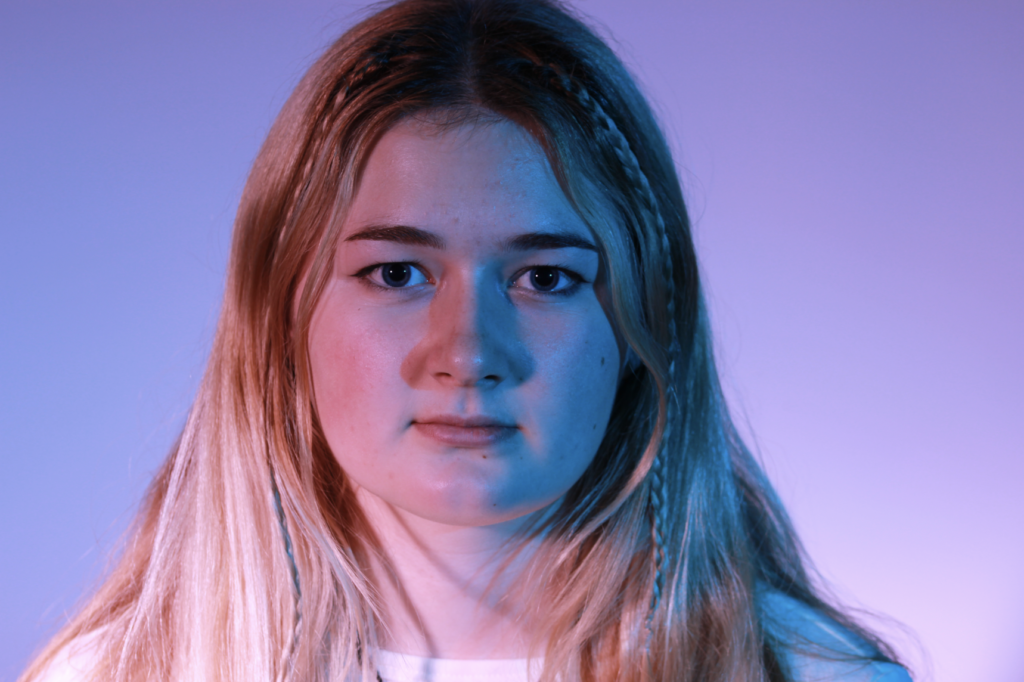
This technique appears when there is a high contrast that can utilize a low-key lighting setup to achieve contrast between a subject and a dark background.
The lighting adds depth and impact, there is an atmosphere created between the contrast of the shadows and highlights. “Dark colours add richness and drama to a scene.”
It’s “employed” visually to represent light and shadow as they define three-dimensional objects.
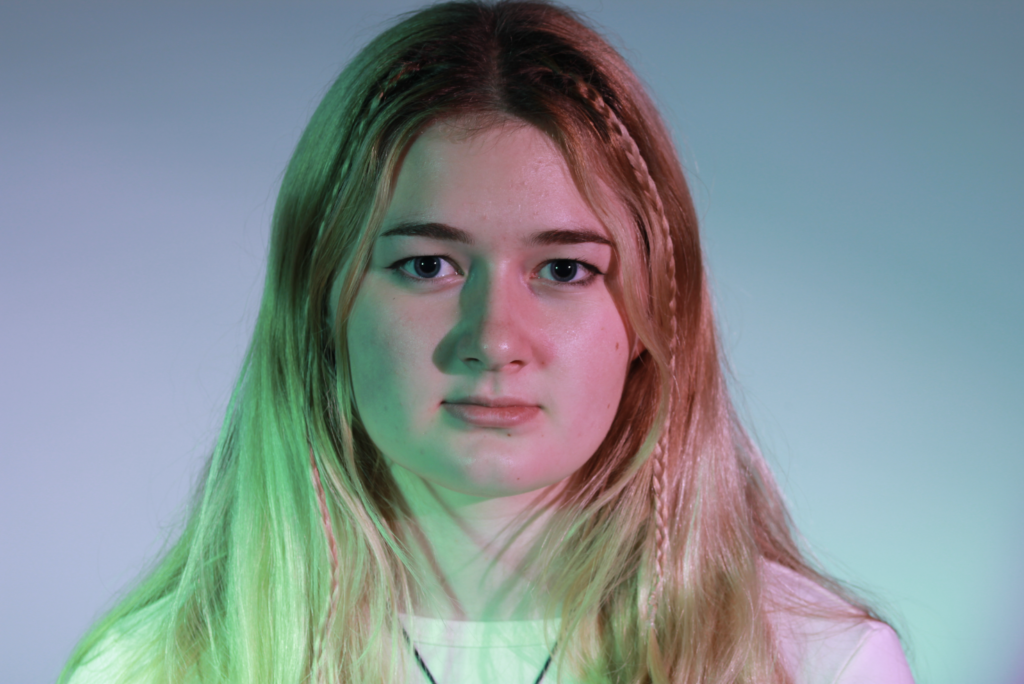
Butterfly lighting is when the lighting creates an even amount of light across the face. It’s a great lighting pattern when photographing a subject with strong cheekbones.
The key light is placed above the subject and points down at them. This creates a dramatic shadow under the nose and chin that appears to look like a butterfly but this can also appear as quite soft and as a flattering effect on the subject’s face. Whereas in Loop lighting: If the shadow from the nose doesn’t extend into the shadows, it is loop lighting (and if the shadow of the nose is directly below the nose, it is called butterfly lighting).
The technique is achieved by placing a light source at a 45-degree angle to the subject, above the eye level. This creates dark shadows and dimensions to the subject’s facial structures.
A butterfly lighting effect refers to the setup not the quality of the light. It can be soft or hard light depending on the effect you want.
Setting up the butterfly technique:
Setting up the loop lighting technique:
Once the key light is set up then you can experiment to fill the shadows. You can use a reflector to bounce the light back up and make the shadow softer under the chin & the one from under the nose.
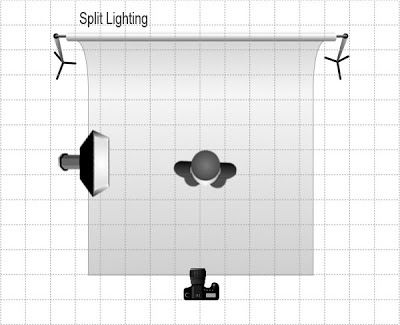
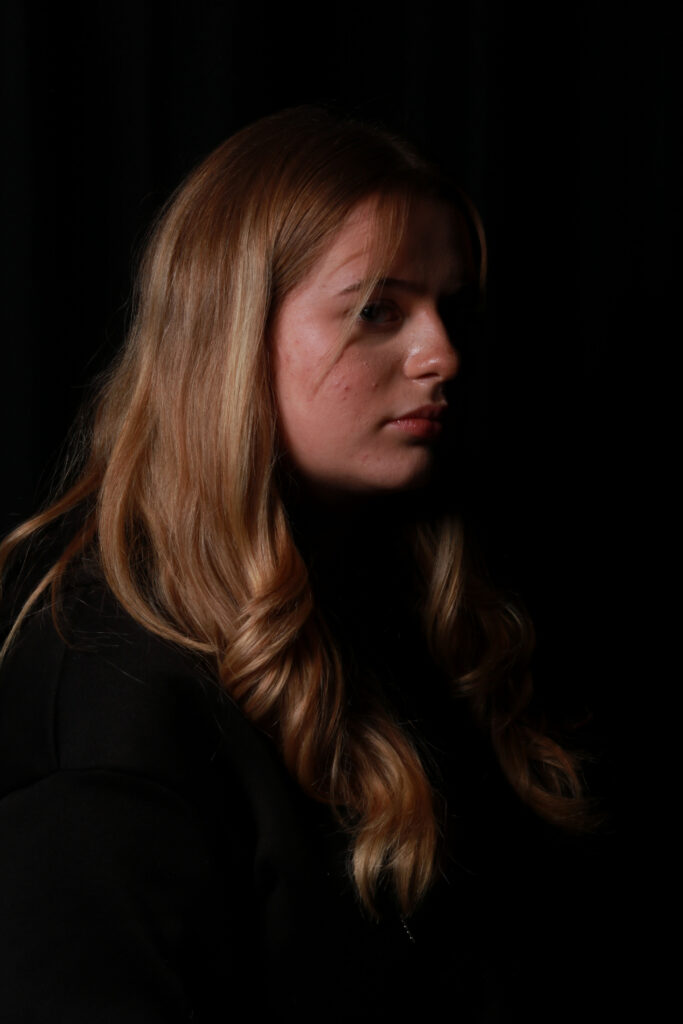
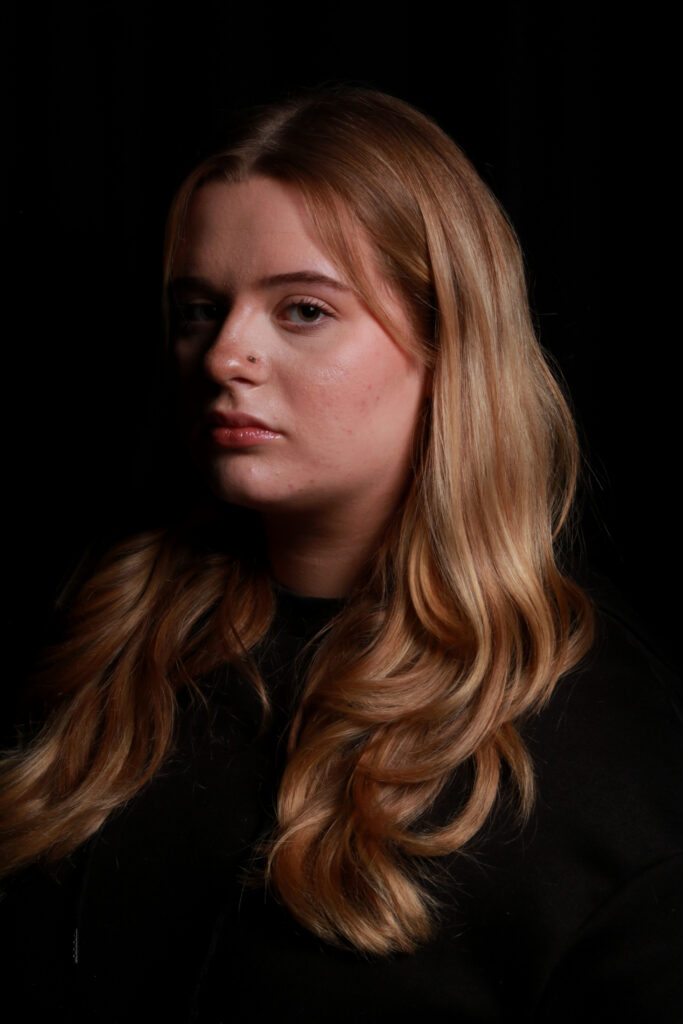
Split Lighting is when the light in the setup “illuminates the subject perpendicular to the model”. The set-up lights up only half of the face presented while keeping the other hidden and “shadowed”. Therefore, it can split the lighting on the subject’s face. This technique creates a sharp yet subtle/moody contrast that can make the image look more dramatic, assertive, and intimidating. It can emphasize power, glamour, and drama in a photograph. At its most basic level, it’s constructed with a single light source placed 90 degrees from the subject and a bit higher than eye level.