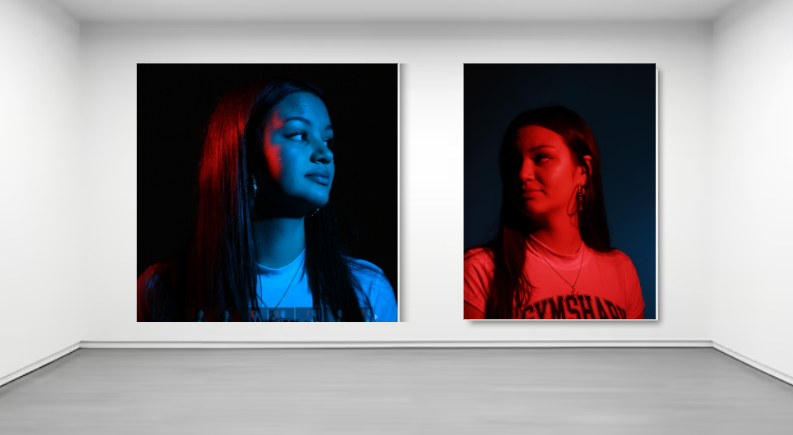
above are the best images that I took for my headshots blog.
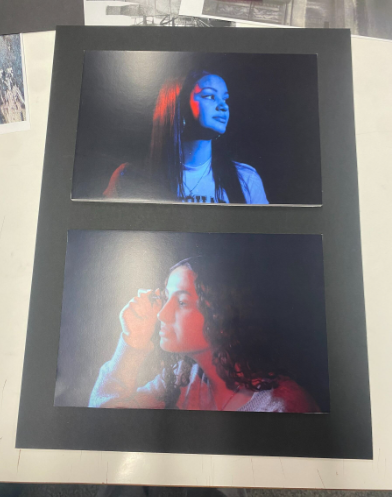
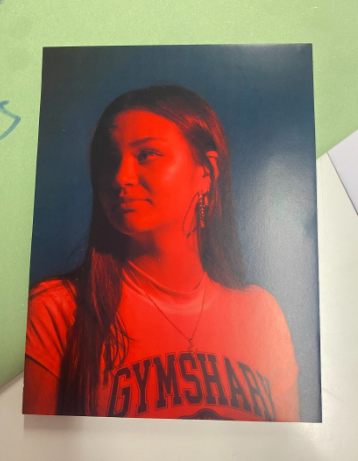

above are the best images that I took for my headshots blog.


This is my femininity virtual gallery with the final images I picked.
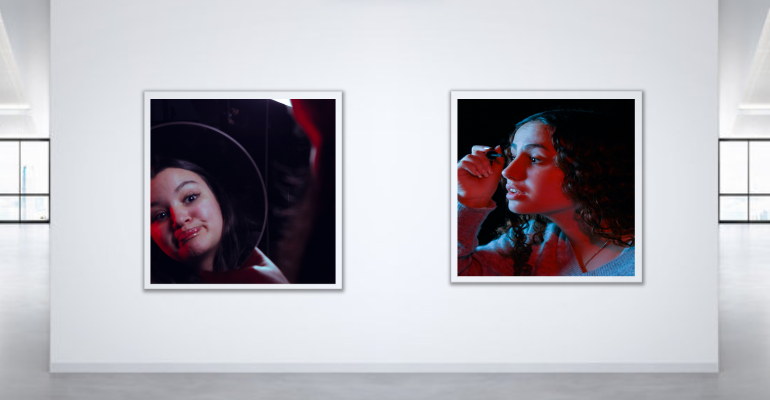
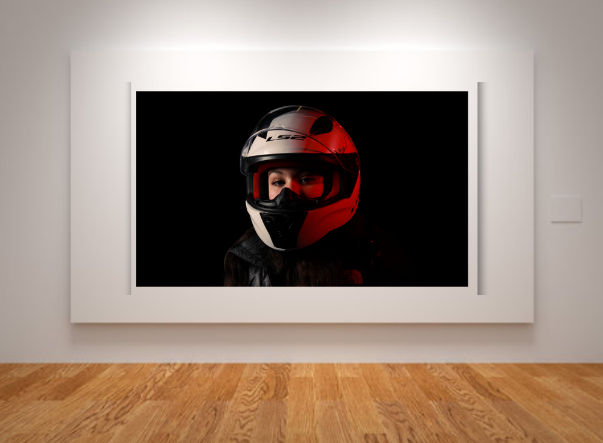
this is my still life virtual gallery with the best images I took.

(Draft)
‘Photography turns the ordinary into the extraordinary.’
In this essay I will explore and describe the history of photography and how it came to be what it is today.
‘Photography always transforms what is describes, that’s the art of photography is to control that transformation’
Photography was said to be invented in 1859, that was the year that a Frenchman, Louis Daguerre and an Englishman, Henry Fox Talbot played an important role announce rival processes that would ‘fix the shadows’. The beginnings of photography was ultimately about the struggle to see which method would thrive. Money and industry was a huge focus within the early beginning of photography and had huge impact on what photography looks like at the present date.
In Meudon, a quiet Paris suburb, in 1928, – André Kertész in 1928 midpoint between midpoint of photography and digital age of came here and photographed the landscape, unremarkable
1824
Louis Daguerre was an academically trained French painter and photographer, who is acknowledged for his invention of the daguerreotype process of photography. Daguerre is estimated to have began experimenting with photography in 1824, which is also the year which he began producing his diorama paintings, which are large scale paintings displayed in a dark room, which he sold seating to people, which earned himself the a entrepreneur. aced out when he presented his discovery to the world. very different to Talbots, fixed images on a mirrored metal plate instead of paper based and unlike negative positive o Talbots he produced one-off images. produces a unique physical experience upon witnessing his ‘mirror with a memory’ images.
not a conventional operating system the way a photograph is , light operates differently with daguerreotype silver grains of image sit up on the surface of the photograph instead of sinking into the surface like a paper image, light reflected back through an image, begins to approximate the actual moment within the picture was captured, the photos of the people are described as ‘not exactly alive, but on the edge of being present’.
January 1839 Discovered his own method of ‘fixing the shadows
The photos which are taken in a daguerreotype process have a different kind of connection which is more intimate, as the process features no separation between the material the image is being shot with and the finished result. This is because the same plate within camera is the same plate which is eventually displayed as the photograph.
Despite this method’s unbelievable range of values and detail, presenting the brightest whites and the deepest blacks, these photographs, if not gilded, could easily be wiped off with the slightest touch. Although only one image could be made from daguerreotypes, which was not ideal for the market photography was creating, which focused on money and industry.
Henry Fox Talbot
Talbot experimented with paper coated in silver salts and shoebox-sized cameras nicknamed ‘mousetraps’
‘Talbot recognised that human communication was through paper’ Ultimately, Talbot’s method of making photographs dominated the Daguerreotype as multiple copies of the same captured image could be created, instead of one which could be lost quite easily.
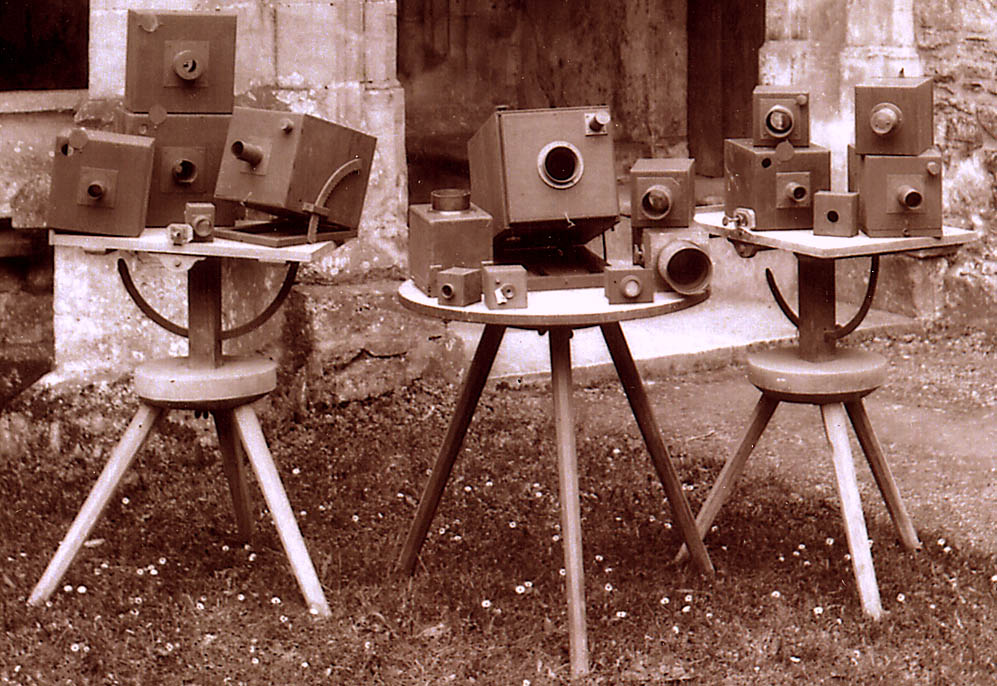
1928- thought to be invention of photography
‘photography is about what frame you put around an image ‘photography turns the ordinary into the extraordinary’ – in what way can the camera turn the ordinary turn into the extraordinary
Describe how an image is produced using camera obscura
1839 – photography thought to be invented – been around much longer
dark room, pictures are upside down/inverted, immersive – camera is dark box with hole that allows light to enter – completely natural, primitive
optical
camera obscura phenomenon happened before 1839, the image was fixed in 1839.
describe the two photographic processes that were invented in 1839 – similarities/differences?
Photography is associated with Romanticism
certain chemicals are light sensitive – allows camera obscura to happen
negatives in photographs – from negatives you can make as many positives as you want
Talbot used shoebox-sized cameras called ‘mousetraps’
method of fixing the shadow: on a mirrored metal – image sits on surface of metal
Windows of the World – Documented Reality
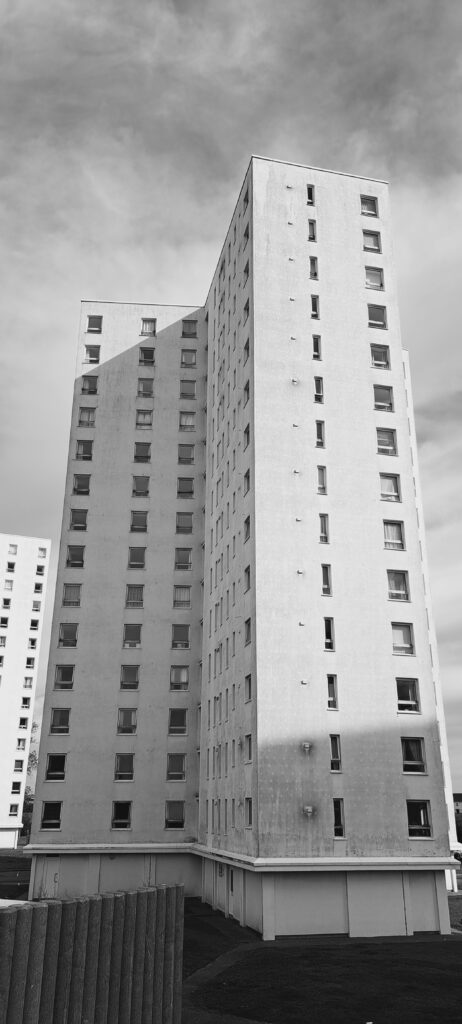
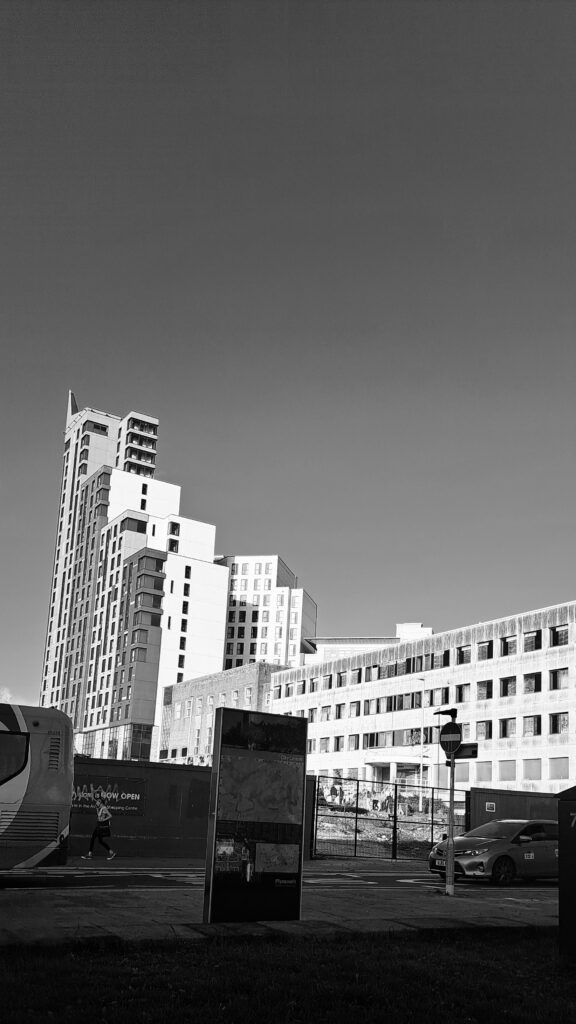
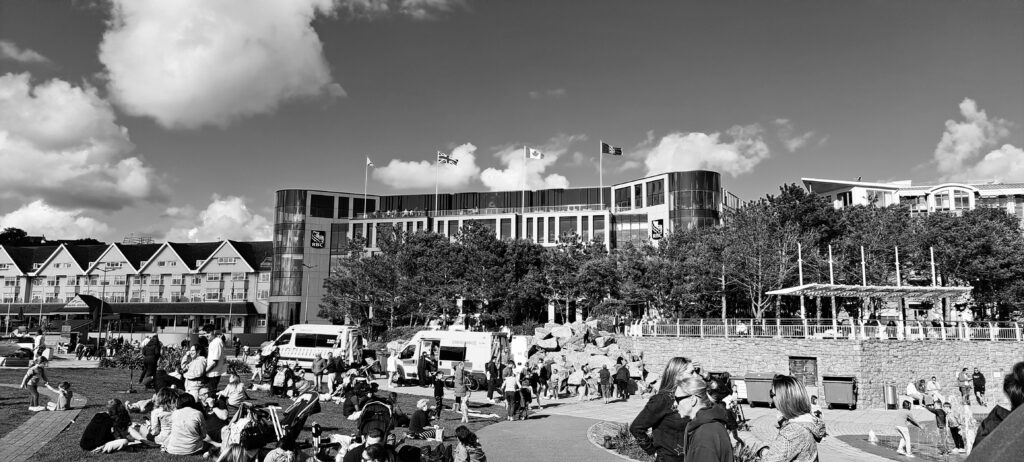
Mirrors of the World – Staged Reality
PLANNING > Produce a blog post where you plan and sketch out a few ideas in relation to the photo-assignment. You may use some of the images or artists references we looked at earlier in the week as inspiration and put together a mood-board, that will act as inspiration for your shoot.
DEVELOPING >In post-production you can incorporate different editing techniques…monochrome/ colour adjustments…montage/ composite…juxtaposition/ triptychs/ grids etc…using Lightroom, Photoshop, AI technology if appropriate to your intentions. The focus here is on creativity, imagination and experimentation. Add images to your essay as photographic responses to Szarkowski’s thesis and evaluate.
What is a Zine?
A zine (short for “magazine” or “fanzine”) is a self-published, often small-circulation work that typically focuses on a specific topic, theme, or subculture. Zines are usually created by individuals or small groups and can take many forms, including pamphlets, booklets, or digital formats.
What will my zine be?
Theme:
Tone and Style
Zines have a distinct tone and style for several reasons, zines are often created by individuals or small groups, allowing for a unique voice. The tone reflects the creator’s personality, beliefs, and experiences, making the content feel more intimate and relatable, The tone and style are often tailored to resonate with a specific audience. Whether it’s humorous, serious, or experimental, the approach helps to engage readers who share similar interests or values, and Many zines address social or political issues, and the tone can be used to critique or challenge mainstream narratives. A bold, confrontational style might be employed to provoke thought, while a more reflective tone might invite empathy.
What would be the tone and style of my zine?
MoodBoard


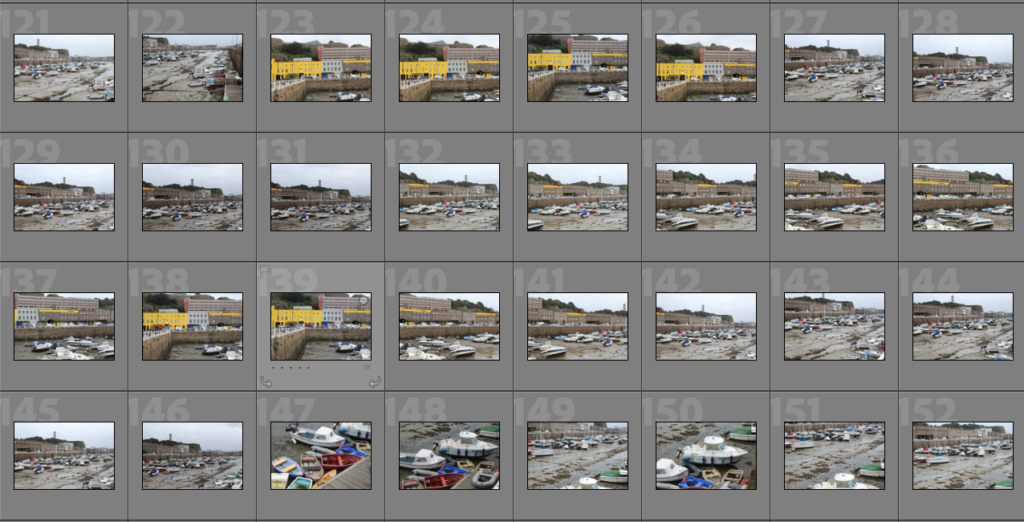


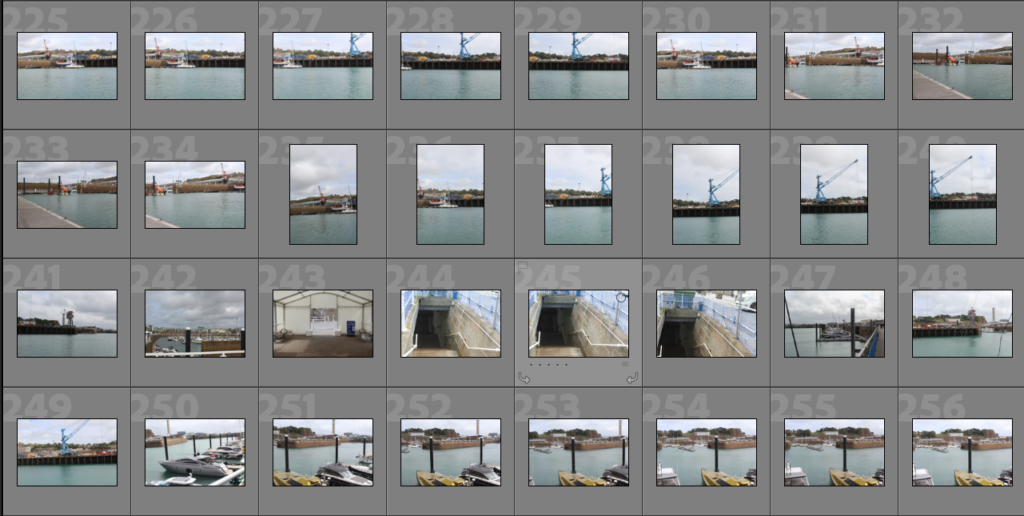


I took 392 photos around jersey St Helier Harbour.


i started editing the 43 photos i selected.
Harbour Photoshoot 1 edited


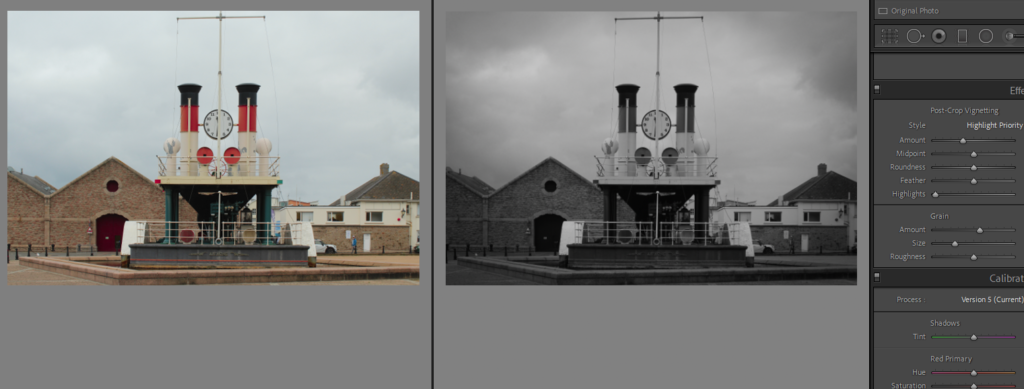


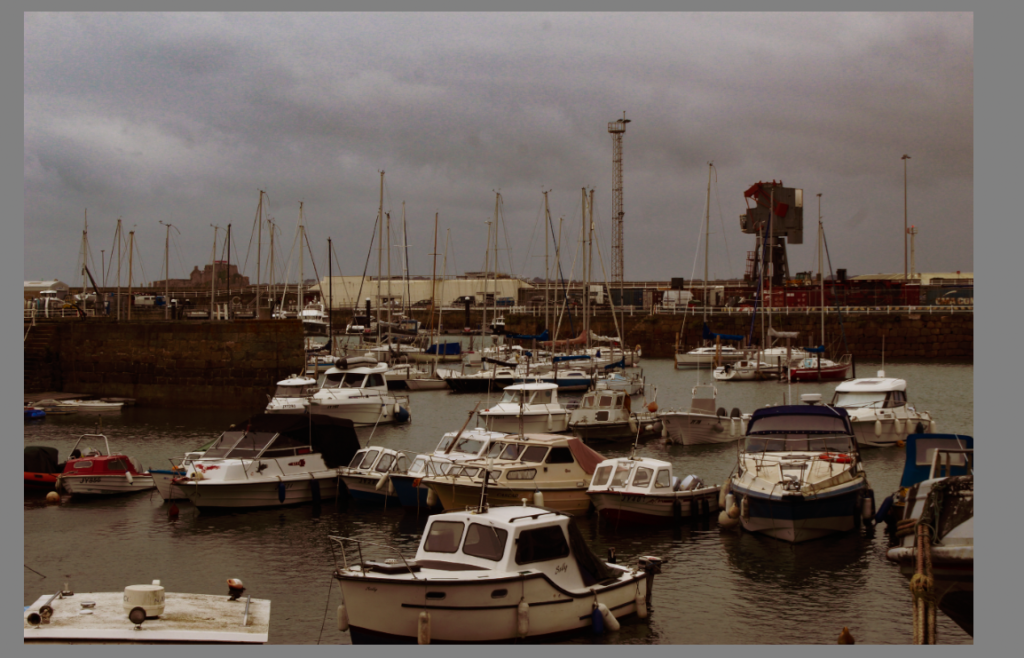


This is my first photoshoot from around st Helier harbour, I edited them on Lightroom, never did too much mainly changed exposure and lighting or cropped the images, next to most of them you can see how I edited them, the last few are main ones I was very pleased about and was fairly certain I was going to use for my final product.
Harbour photoshoot 2
We went around the harbour again for a second time to take even more photos.
we started in the maritime museum to have a talk and look around to take photos.


In this photoshoot I took around 351 photos, very similar to last time, I then went through and selected which ones I liked the best, and also to limit down on ones I had to edit.
I was left with 34 images.

I then went through and begun to edit them.


Final edited image


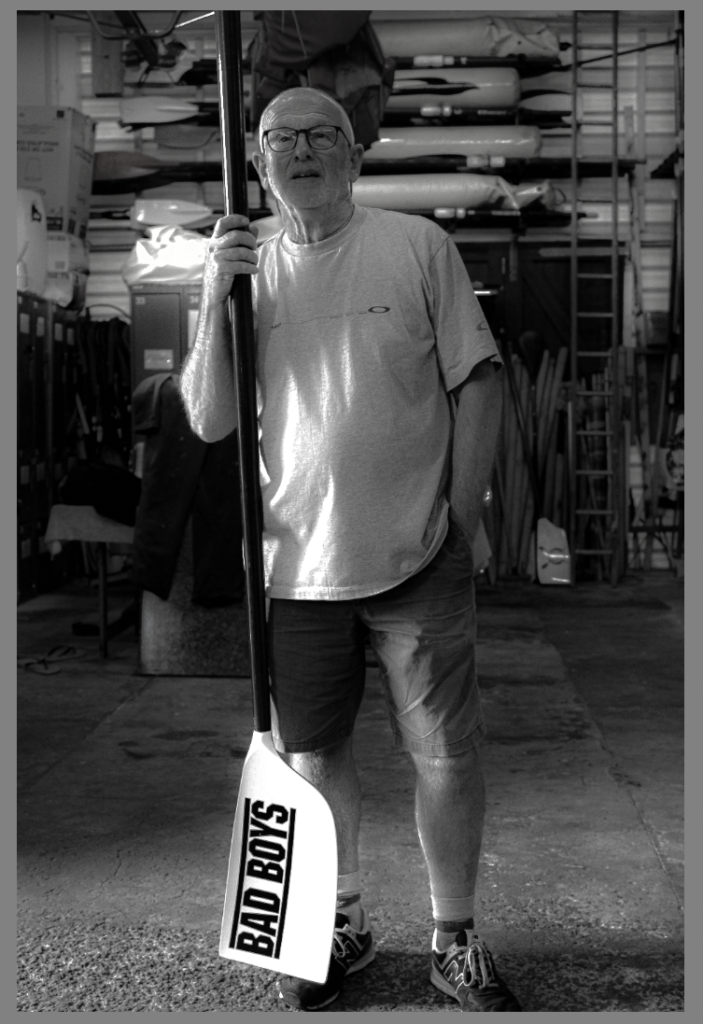


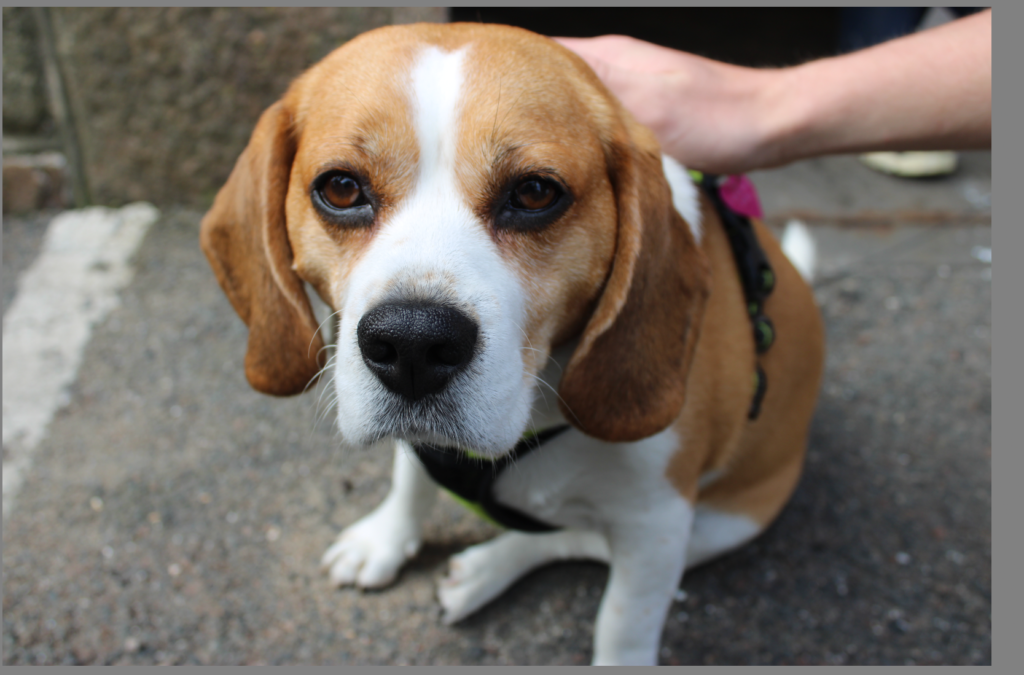

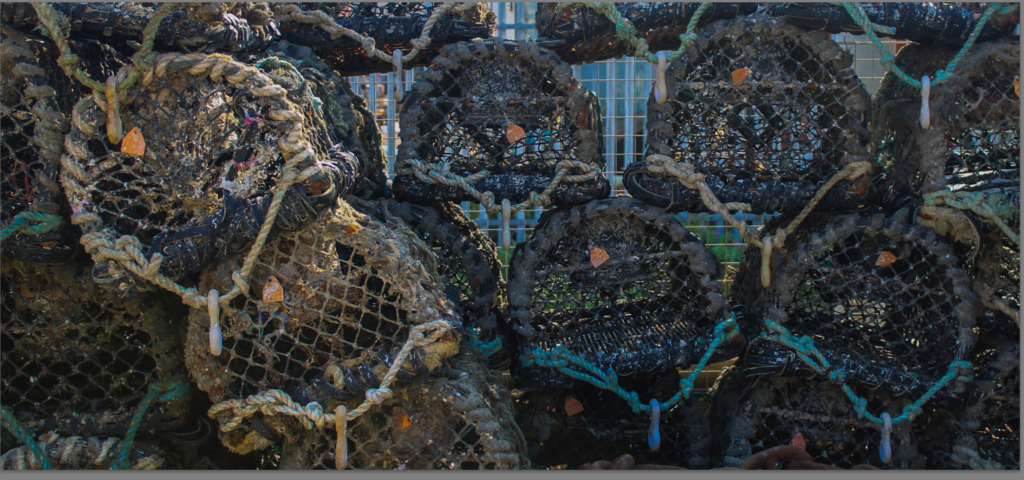
What are the differences between photographs that are mirrors or windows?

According to John Szarkowski, Photography falls into 2 categories of either being Mirrors or Windows. As Szarkowski states “The distance between in terms of their conceptions of what a photograph is: it is a mirror, reflecting a portrait of the artist who made it, or a window, through which one might better know the world?”. To explain it simply, when creating a photograph, does it capture/represent you as an artist, either abstractly or normal (Mirror). Or does it show the exterior world, with all its natural elements (Window).
Other words that can be used to describe Mirror photography include:
Other words that can be used to describe Window photography include:
Artists that include Mirrors and Windows:
Henri Cartier Bresson –

Henri Cartier-Bresson, previously studied for his use of the decisive moment when taking photographs, can be said to be create windows within his work. With many of his images taken on the street, with candid shots of the everyday passer-by, Cartier-Bresson can be said to show the world around us within his work, with no images of himself within his projects, this shows his aim is not to explore his own identity as an artist but the others around him. His photobook ‘Europeans’ is a good example as this collection documents aesthetically people all other Europe in the years from 1930 -1980.
Nan Goldin –

Representative of her own life, Goldin first displayed her work within Bars and nightclubs in the 80’s and 90’s to audiences, for her photos her subjects consisted of “entirely of the people in the slide show, my lovers and friends.” as Goldin states. Through photographing these people close to her this contributes to the mirror aspects of Szarkowski’s photography concept.
What are the differences between photographs that are windows and mirrors?
As stated by John Szarkowski, in 1974, in an essay he wrote that accompanied the exhibition, “is it a mirror, reflecting a portrait of the artist who made it, or a window, through which one might better know the world?.”
Key words associated with:
Mirrors: tableaux, subjective, romanticism, fiction, personal, warped, reflective, manipulated.
Windows: documentary, depictive, objective, realism, public, candid, straight, external.
Identifying windows and mirrors.
The below image is a window, it allows the viewer of the image to see the world around the boy and the influences that affected him. This photo was taken by Diane Arbus and is titled The boy with the toy hand grenade. It was taken in central park in 1962. The boy in the photo is Colin wood, according to a 2005 article by the Washington Post, written by David seal, Colin has no recollection of having his picture being taken. Colin told Segal that he wouldn’t of posed like this unless he where asked and he recons he was imitating what he saw in war movies. It is likely that Colin was out with his nanny when Arbus came a cross him and grabbed a few shots, due to this it is very much like a documentary image and can be seen as an image reminiscent of the decisive moment.


Mirrors and windows was a photography exhibition consisting of 127 photos at the museum of modern art in New York 1978, created by John Szarkowski. The exhibition was created because Szarkowski wanted to categorise photos into two categories.
Mirrors: are photos which mirror the photographer’s feelings/what they are trying to portray.
Windows: are photos which act a window for the viewer so they can view an image which is documented as what the photo actually is in reality.
Szarkowski described the exhibition as “a fundamental dichotomy in contemporary photography between those who think of photography as a means of self-expression and those who think of it as a method of exploration.“

This photo could be seen as a mirror because it is staged and the photo is taken in the view of the photographer, Nan Goldin, and is of people he knows.

This photo is an example of a window as it is just a photo of a landscape by Ansel Adams the photo documents the landscape and it is what it is shown. As it is all subjective it could be a bit of a mirror image as Ansel Adams had a passion for Yosemite national park and he could be trying to portray his passion for the landscape and scenery of the park by taking this photo to show his view of the park.