Category Archives: Uncategorised

Filters

Author:
Category:

Still Life – Photoshoot

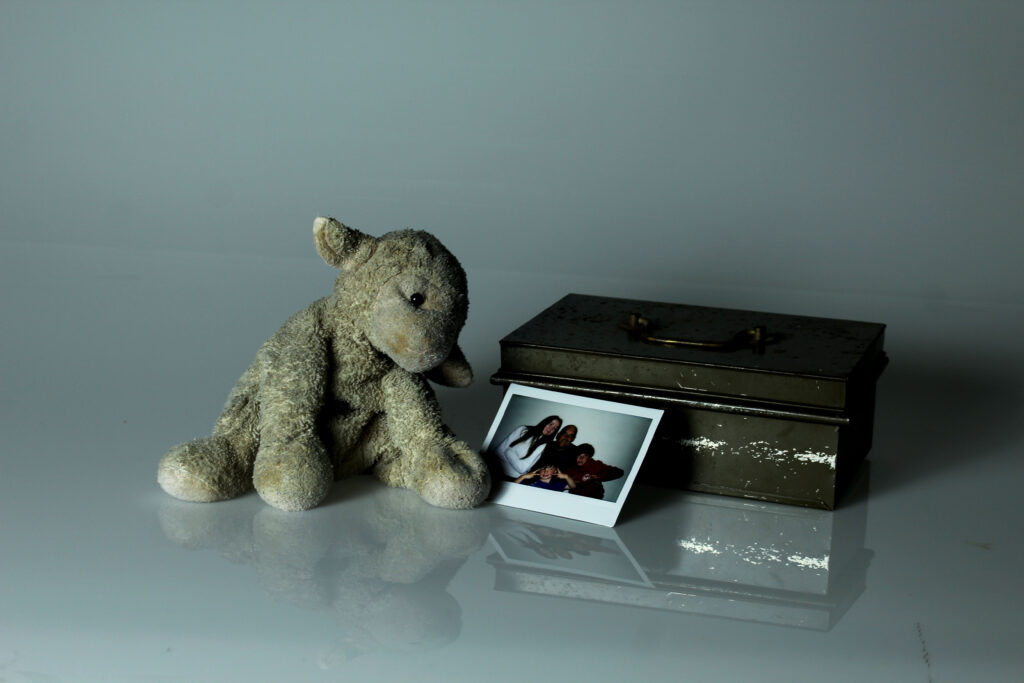
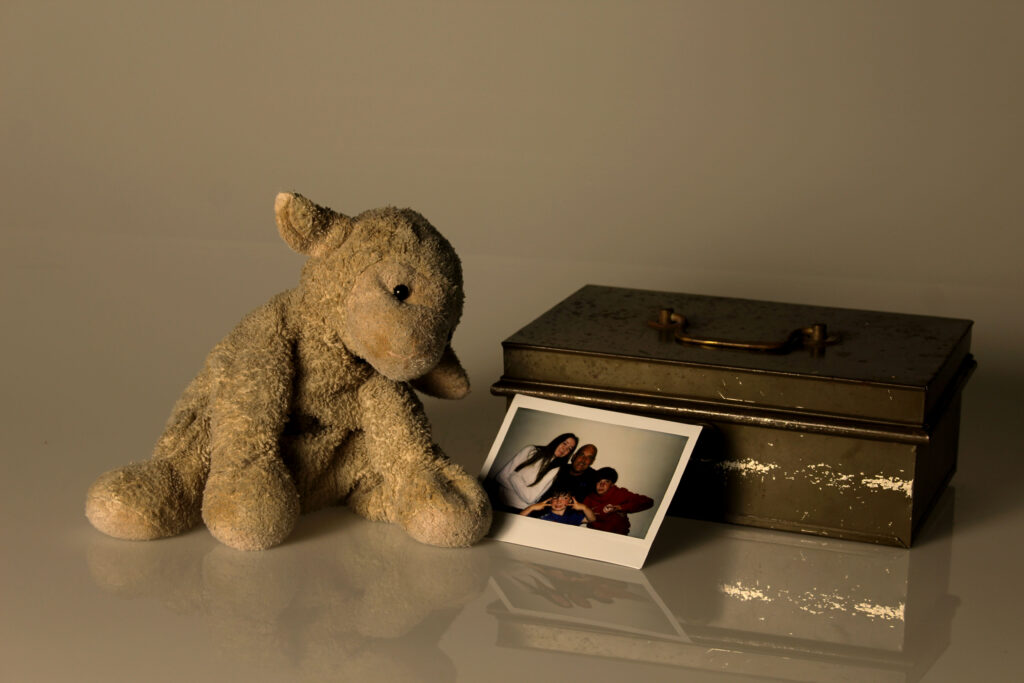
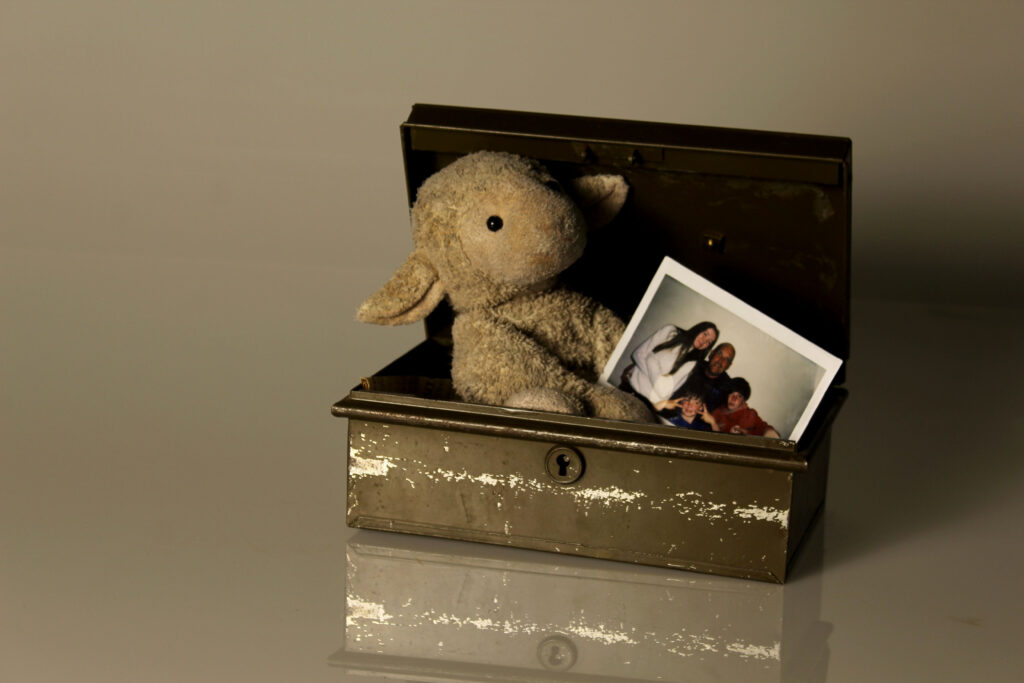
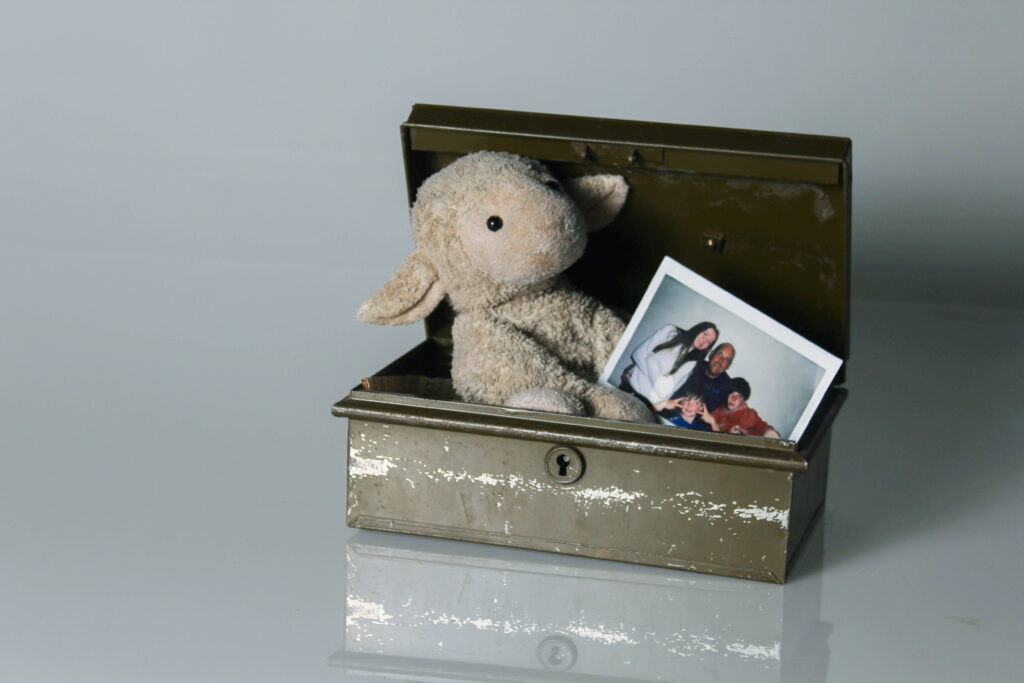
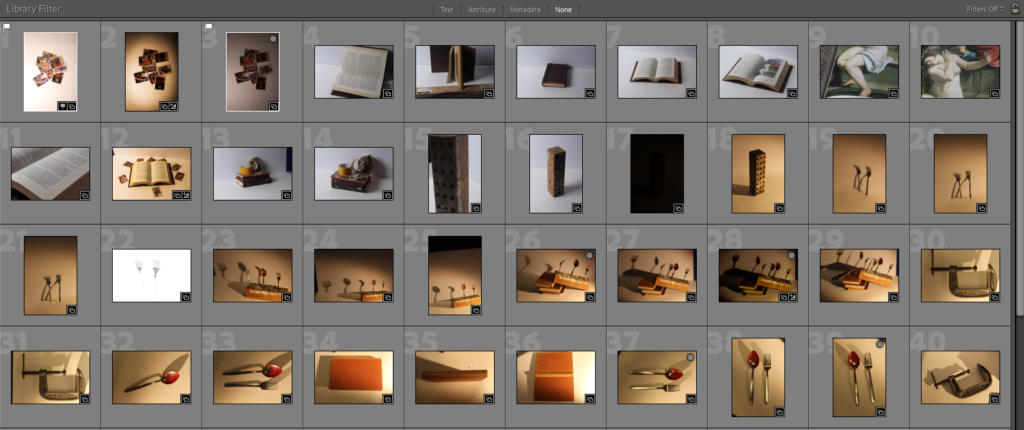
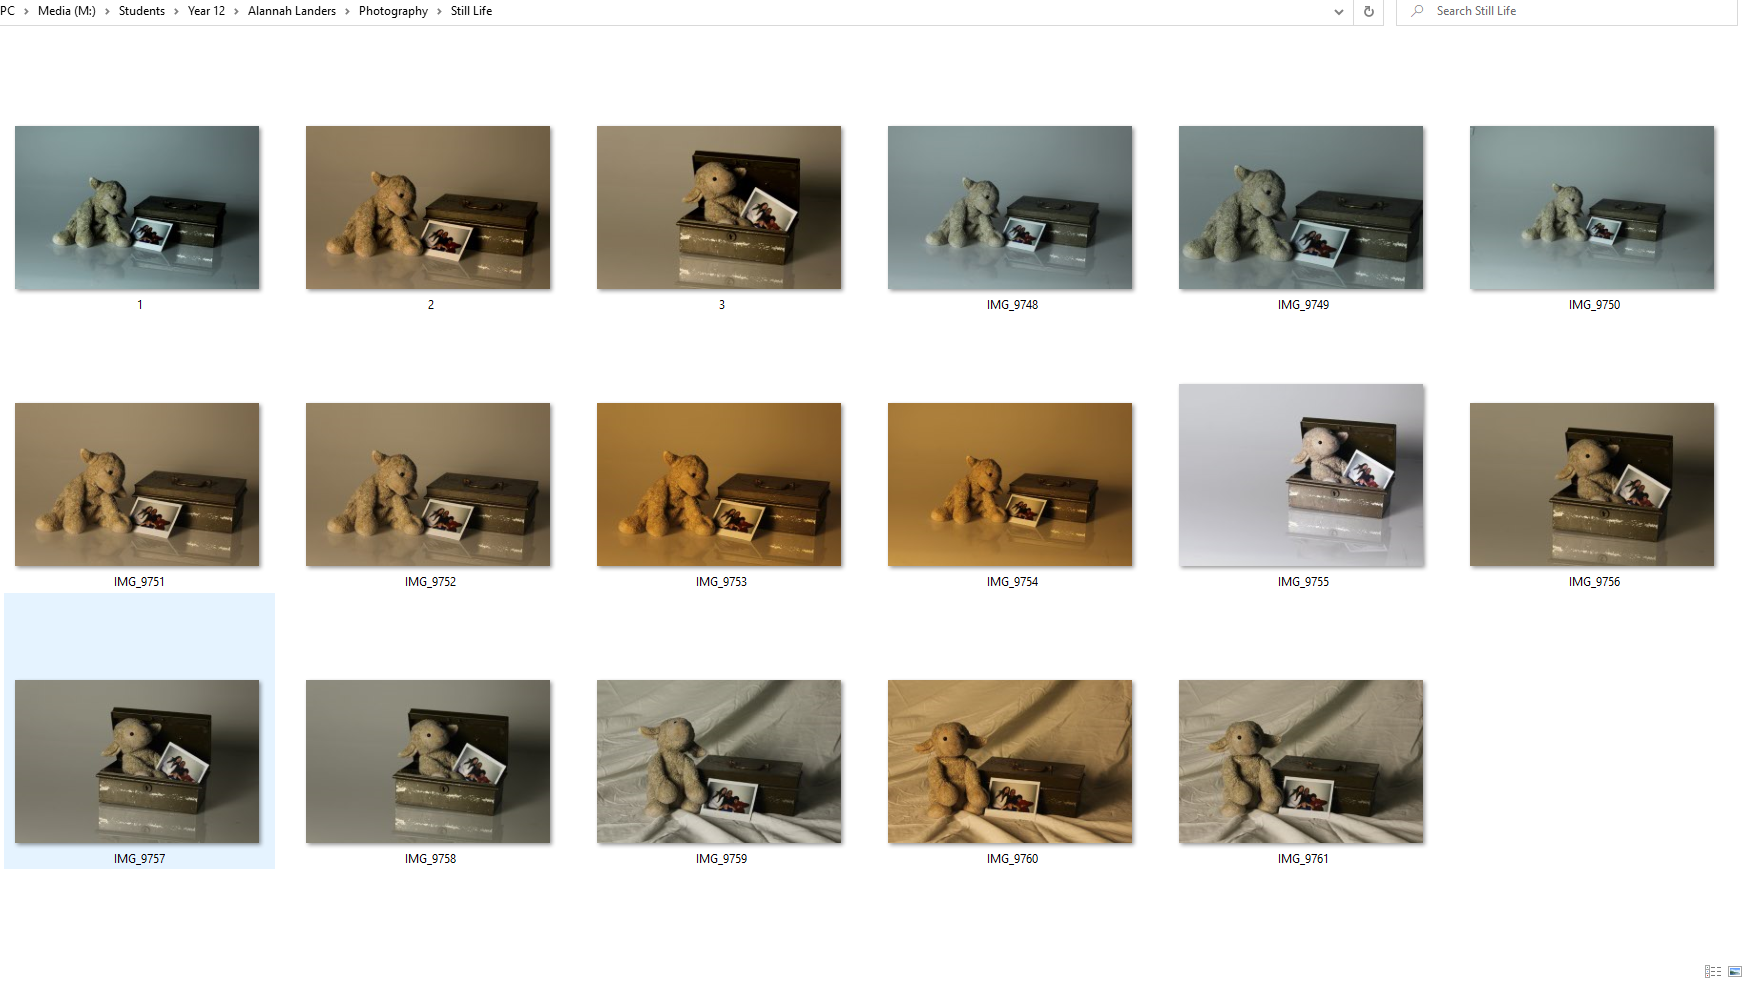
This is a print screen of all of the photographs I took in my photoshoot. I experimented with different lights, making the temperature warm and cool. I positioned the objects in different places to have a variety of photos. The objects I used for this still life shoot were nostalgic as the teddy is a childhood toy which has memories connected, the polaroid can be seen as nostalgic since, even though is is a recent photo, polaroid’s are old, lastly, the tin box could symbolise a time capsule holding nostalgic memories.

The photos below are some of my strongest photographs from this photoshoot.

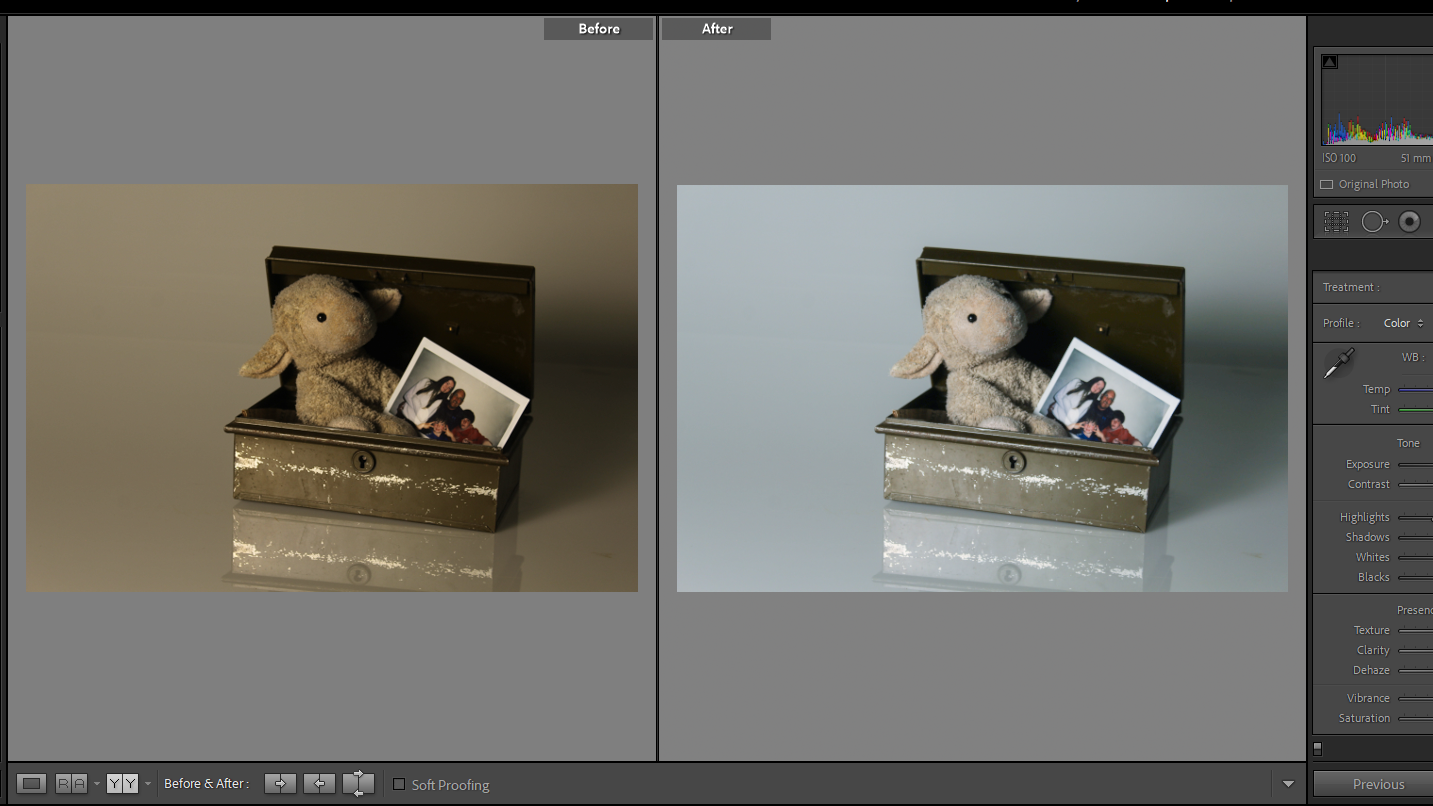
Simple Editing to enhance my strongest photo:

This is a screen screenshot of the before and after of a photo from this shoot that I edited in Lightroom. I brightened the image and increased highlights. I also adjusted the tone curves to dull down certain colours.

This is the final image:

Photography Quiz

Introduction to A-level Photography Quiz

Q1: What is the etymology (origin & history) of the word photography?

20sec

Writing with light.

Q2: What year was the first photograph made in camera?

20sec

1826 (Joseph Nicéphore Niépce)


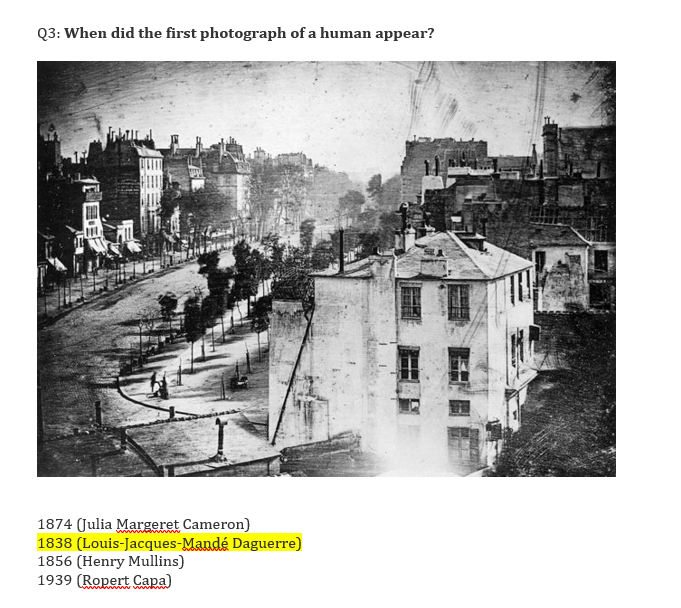
Q3: When did the first photograph of a human appear?

20sec

1838 (Louis-Jacques-Mandé Daguerre)

Q4: Who made the first ‘selfie’

20sec

Robert Cornelius (1839)

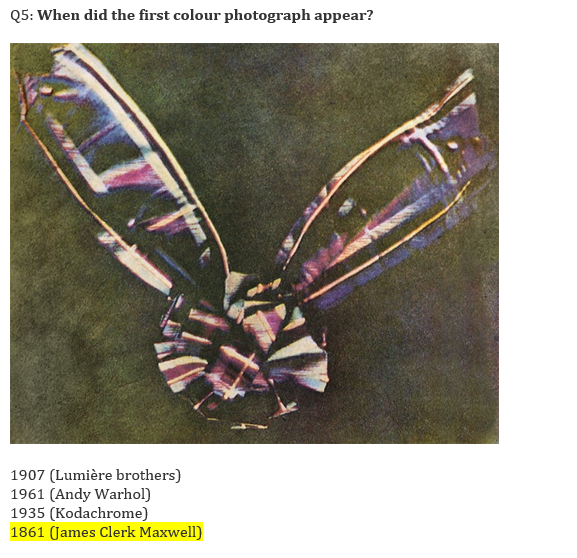
Q5: When did the first colour photograph appear?

20sec

1861 (James Clerk Maxwell)

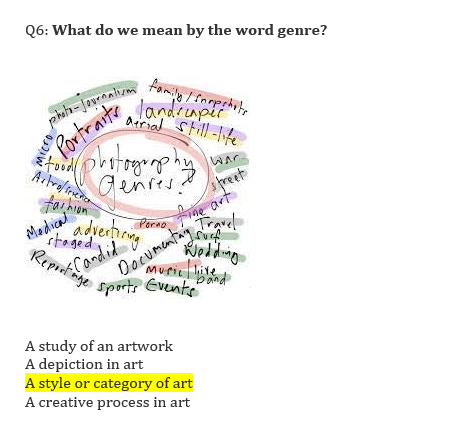
Q6: What do we mean by the word genre?

20sec

A creative process in art


Q7: What do we mean by the genre of still-life?

20sec

An image that shows inanimate objects from the natural or man-made world.


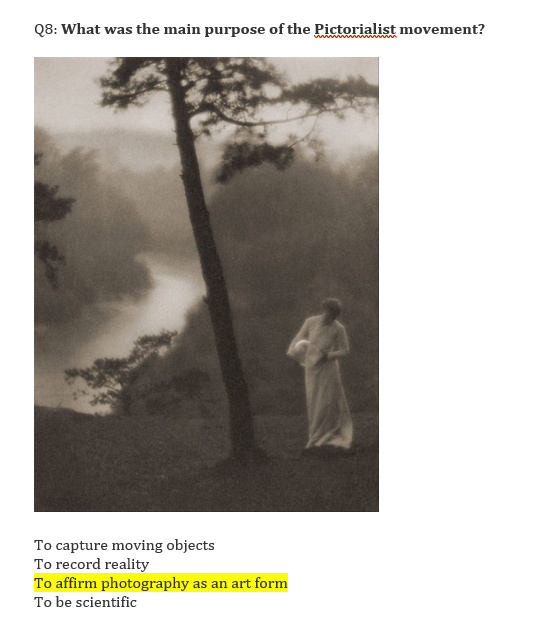
Q8: What was the main purpose of the Pictorialist movement?

20sec

To affirm photography as an art form

Q9: How do we describe the term documentary photography?


30sec

Staging images for maximum effect.


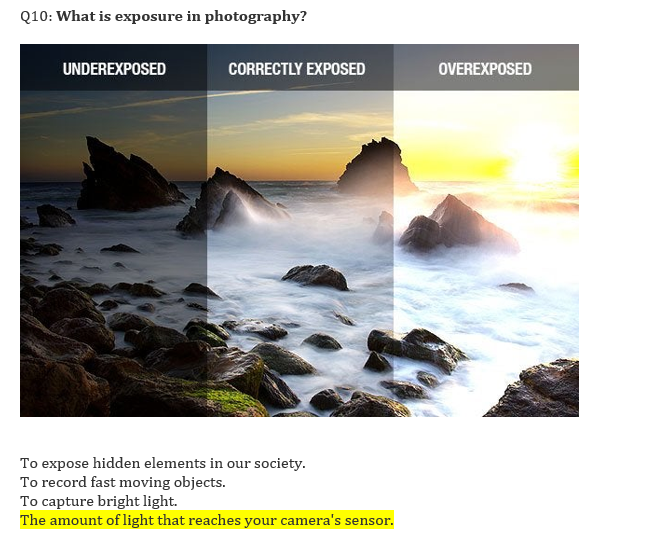
Q10: What is exposure in photography?

20sec

The amount of light that reaches your camera’s sensor.

Q11: What controls exposure on your camera?

30sec

Aperture, shutter speed, ISO.


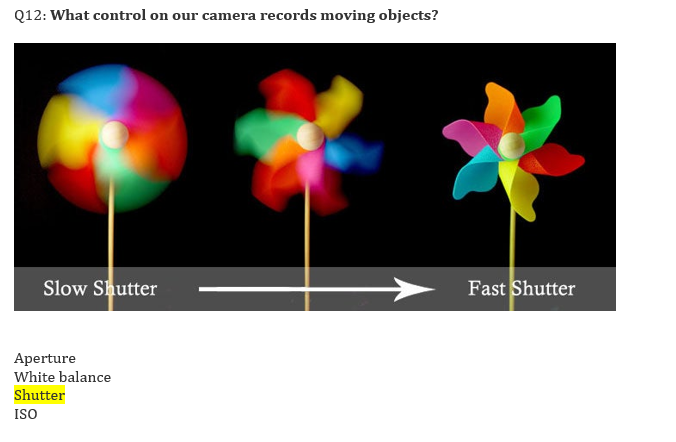
Q12: What control on our camera records moving objects?

Shutter


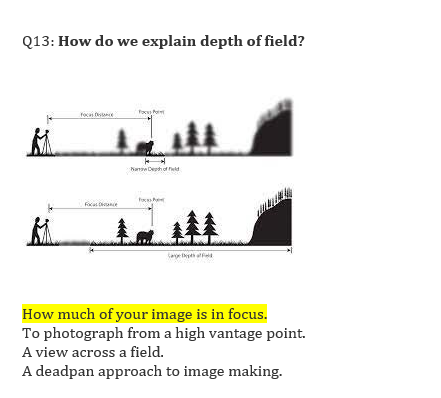
Q13: How do we explain depth of field?

20sec

How much of your image is in focus.


Q14: What factors affect Depth of Field?

30sec

Lens aperture, distance from camera to subject, and lens focal length.

Q15: What is composition in photography?

20sec

The arrangement of visual elements within the frame.

Q16: What is your understanding of aesthetics in art?

30sec

Concerned with the nature of beauty and taste.

It is subjective and in the eye of the beholder.

Aesthetic qualities refer to the way and artwork looks and feels.

Making a critical judgement based on observation and understanding.

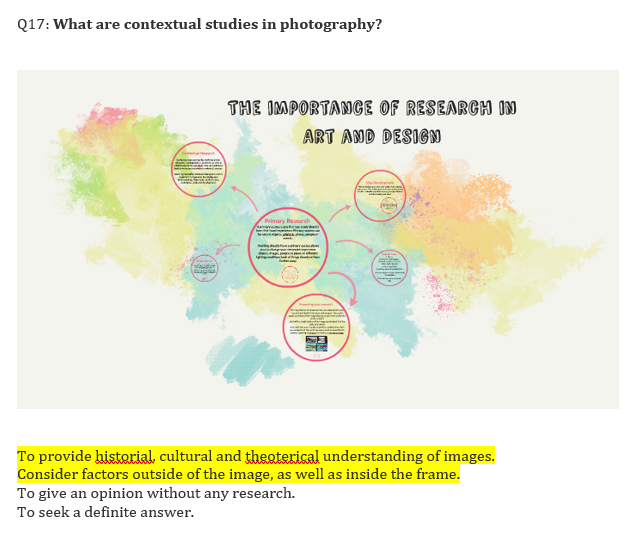
Q17: What are contextual studies in photography?

30sec

To provide historial, cultural and theoterical understanding of images.

Consider factors outside of the image, as well as inside the frame.


Q18: How many images are captured on average every day worldwide?

4.7 billion

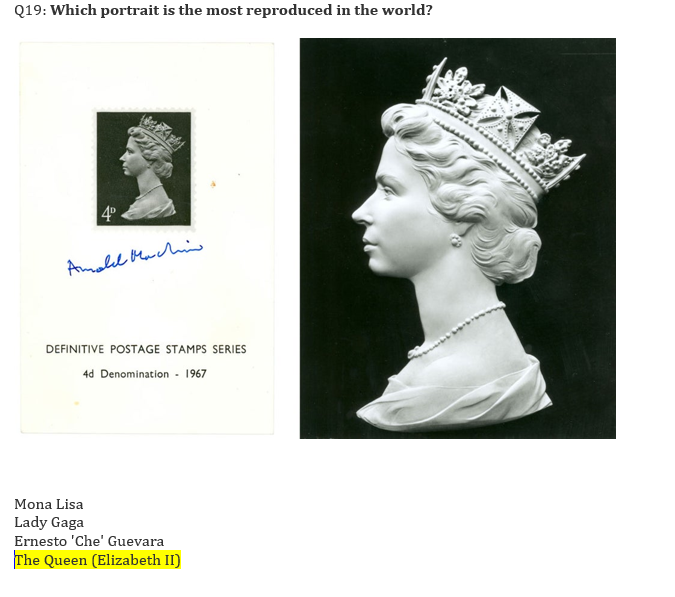
Q19: Which portrait is the most reproduced in the world?


The Queen (Elizabeth II)

Lauren Hodgson
Studio Image Diagnosis

Image Diagnosis

Choose an image to analyse

Look carefully at the image and add your findings below

Focus

  • Is this image in focus?
  • Partly in focus?
  • Is the depth of field shallow or wide?

Lighting

  • What lighting has been used? Flash or continuous? Hard or soft?
  • How can you / we tell?
  • Is the lighting effective?
  • Why / why not?

Exposure

  • Does the image have a balanced exposure?
  • Over-exposed?
  • Under-exposed
  • What are the signs of this?
  • What is the connection between the kind of lighting used and the exposure settings?
  • Include the FILE INFO / META_DATA here
  • Aperture
  • Shutter Speed
  • ISO

White Balance

  • Does the image have a hue / tinge to it?
  • What is the colour cast?
  • Do the white objects appear white?

(Add this information plus the image to a blog post)

Still Life Quiz

Q1. Where and when did still life originate?

  • The early 1600s from Dutch and Northern European paintings

Q2. What does colonialism mean?

  • Control by one power over a dependent area or people

Q3. How did colonialism impact the still life?

  • It introduced new materials and techniques.

Q4. what do you see in early still life paintings?

  • Variety of foods, flowers and occasionally skulls.

Q5. What could they symbolize?

  • They could symbolize wealth and power in some cases and others maybe death, and lack of time which is shown in the paintings with skulls and or hourglasses.

Still life

Still life is an arrangement of objects, typically including fruit and flowers and objects contrasting with these in texture, such as bowls and glassware.

Still life originated during the early 1600s Dutch and Northern European paintings. Many of the objects symbolise religion and morality. Colonialism played a part in still life since it means, control by one power over a dependent area or people. This led to the suppression of traditional African art forms and the promotion of European art. In the early (and modern) still life work, you can see burnt candles, human skulls, dying flowers, fruits and vegetables, broken chalices, jewellery, crowns, watches, mirrors, bottles, glasses and vases. These could be symbolic of the brevity of life, power, beauty and wealth. The most common objects to be seen are skulls and hourglasses which could symbolise death and the fragility of life, the hourglass connects with the skull to portray the time that you have left.

Pieter Claesz was a Dutch painter of the 17th century. He painted still-life images. His range of subjects included breakfast settings with glass or metal objects painted in a monochromatic colour palette and layouts of different objects. The image below is one of his paintings.

Camera + studio set up + Canon Camera Simulator examples

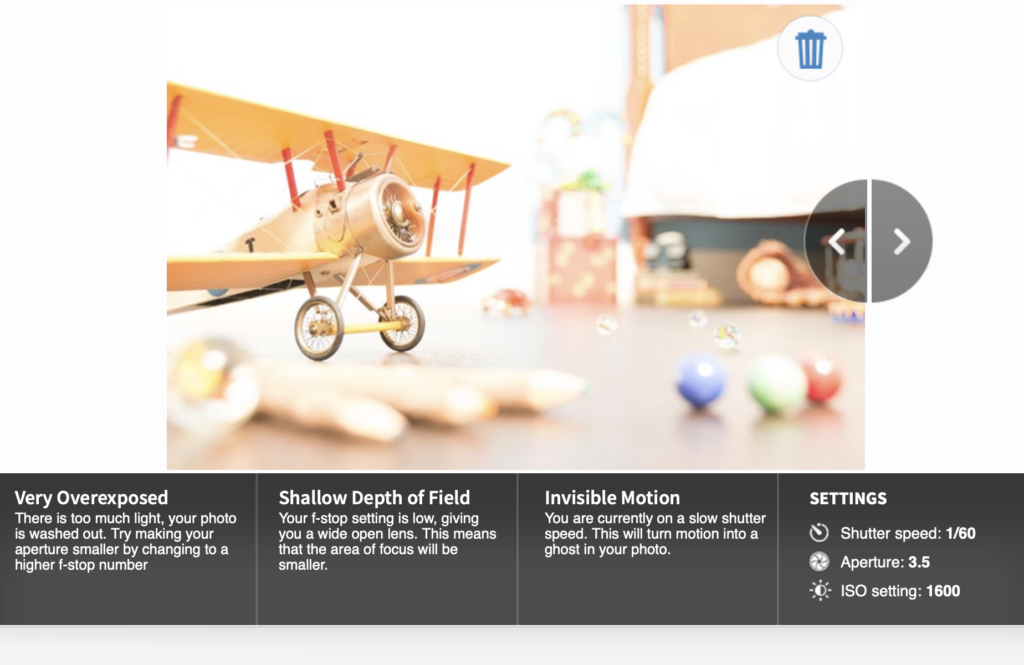
For this photo I increased the aperture by a lot, Because of this the photo doesn’t have enough light and disables the natural colours and light in the photo. it makes the photo really dull and lifeless. It also gives the photo a ghost like tone to it which is no good. However the wide depth of field is perfect as my subject and background are both in focus.

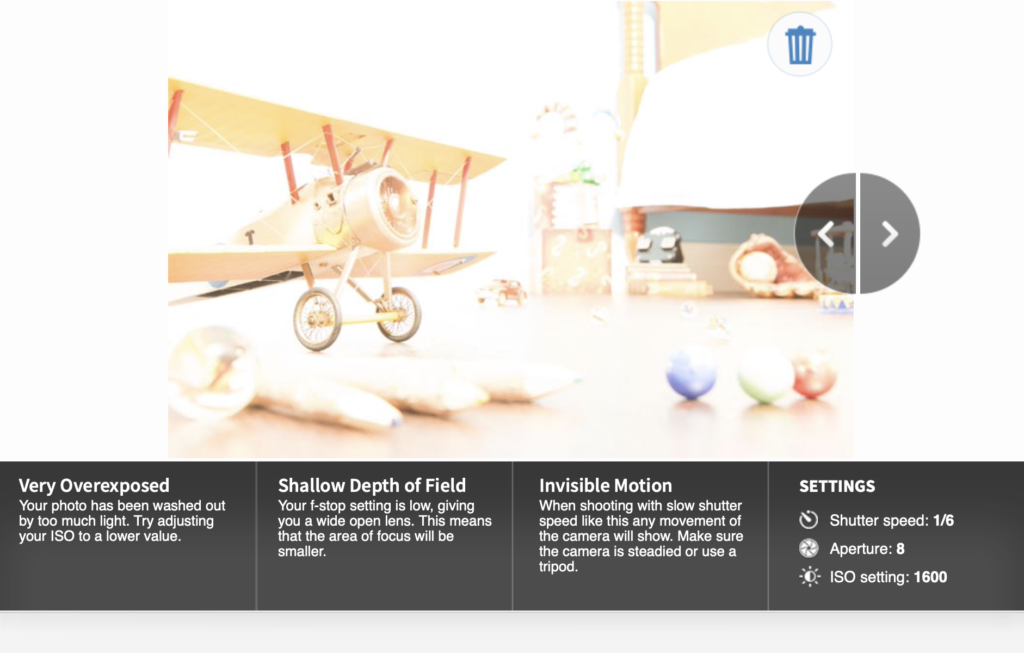
In this photo, I decreased the aperture which made the photo over exposed and stripped the colours from the photo. it really highlighted the whites in the photo and hide the colours from the photo. This photo has a shallowe depth of field which means that some parts are much more sharper than other parts in the photo. This photo also has a lack of movement which can be improved by increasing the shutter speed.

For this photo I decreased the shutter speed which made the photo over exposed and stripped the colours from the photo. it really highlighted the whites in the photo and hide the colours from the photo. The photo has a shallowed depth of field which means that some parts are much more sharper than other parts in the photo. This photo also has a lack of movement which can be improved by increasing the shutter speed.

For this picture I increased the shutter speed by a lot which made the white in the photo very apparent and overly exposed which made the picture washed out. The photo has a shallowed depth of field which means that some parts are much more sharper than other parts in the photo. In such slow shutter speed I need to have something to steady the camera to prevent the photo from not capturing any type of movement.

For this photo, I increased the ISO by a lot which made the photo very overexposed and extremely white washed. In this photo it has shallowed depth of field but instead of sharpening some parts of the photo it isolated the subject from the background. The shutter speed needs to be decreased so that it doesn’t make the photo ghost like.

For this photo I decreased the ISO which made the photo very underexposed and made the photo very ‘dead’ like. There wasn’t enough light in the photo to actually show the details of the background and in general objects. Because this photo has a shallowed depth of field it gives a wide open lens which means that the area of focus will be smaller therefore not showing enough details. In such slow shutter speed I need to have something to steady the camera to prevent the photo from not capturing any type of movement.

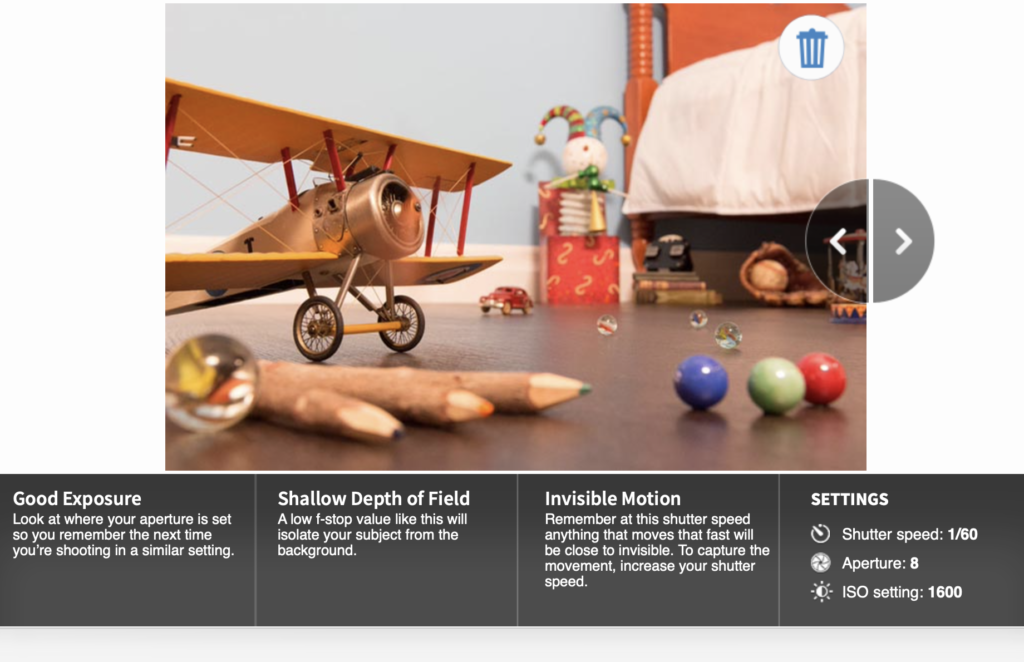
For this photo I left the aperture on 8 kept the shutter speed at 1/60 so quite balanced, and I kept the ISO setting balanced too (1600). The aperture gave the photo good exposure, the ISO setting gave it isolated my subject from the background so need to be improved and then the shutter speed needs to be increased to capture more movement.

For this photo, I kept the aperture the same as the photo above (8) but increased the shutter speed (1/180) and ISO (6400). With a slow shutter speed I need to have something to steady the camera to prevent the photo from not capturing any type of movement. The photo has a shallow depth of Field so which makes the area of focus smaller so it the ISO needs to be decreased.

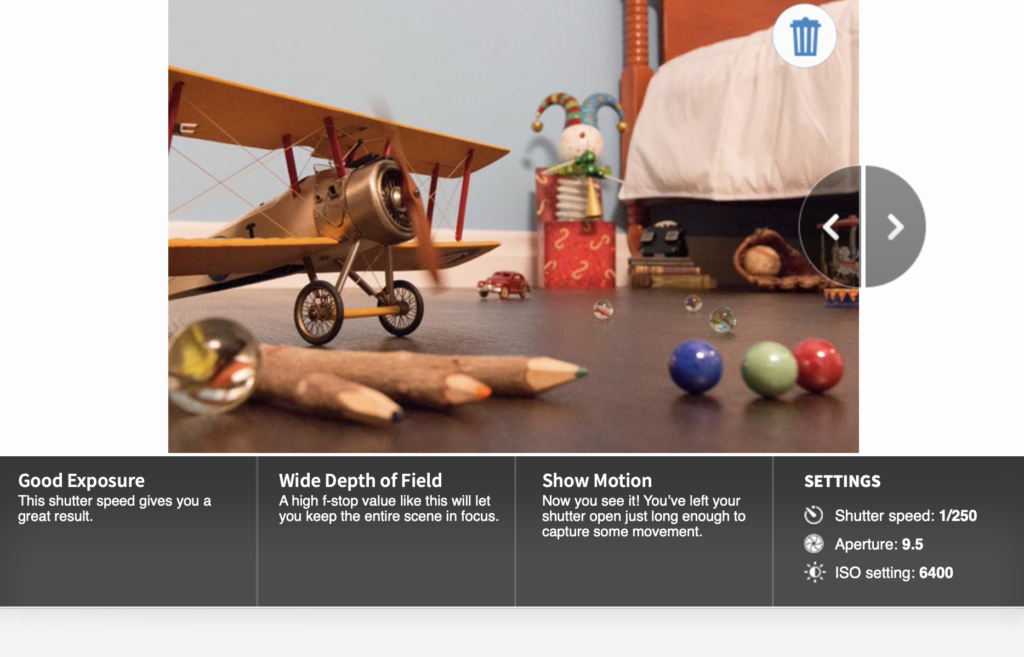
For this photo decreased the shutter speed (1/250) kept the aperture the same as above (8) and kept the ISO setting the same as the photo above (6400). The ISO gives the photo good exposure. The aperture gives the photo a shallowed depth of field which make the subject the centre of attention and the background not as relevant which is okay so aperture will stay like that. The shutter speed is set at a good speed because it captures some movement.

For this photo I managed to perfect every single setting which made the photo perfect. I decreased the shutter speed at 1/250, the aperture at 9.5 so I increased aperture which I thought wouldn’t help but actually helped a lot, and I increased the ISO setting to 6400. Decreasing the shutter speed to 1/250 helped capture lots of the movement without making the movement too blurry. Increasing the aperture to 9.5 helped give the photo a wide depth of field which helped keep the entire scene in focus. Increasing the ISO setting to 6400 helped give the photo the enough amount of light, darks, shade, highlights and colour. I think this picture looks great.

ALL THE STUDIO SET UPS AND LIGHTING ARRANGEMENTS THAT WE HAD AVAILABLE.

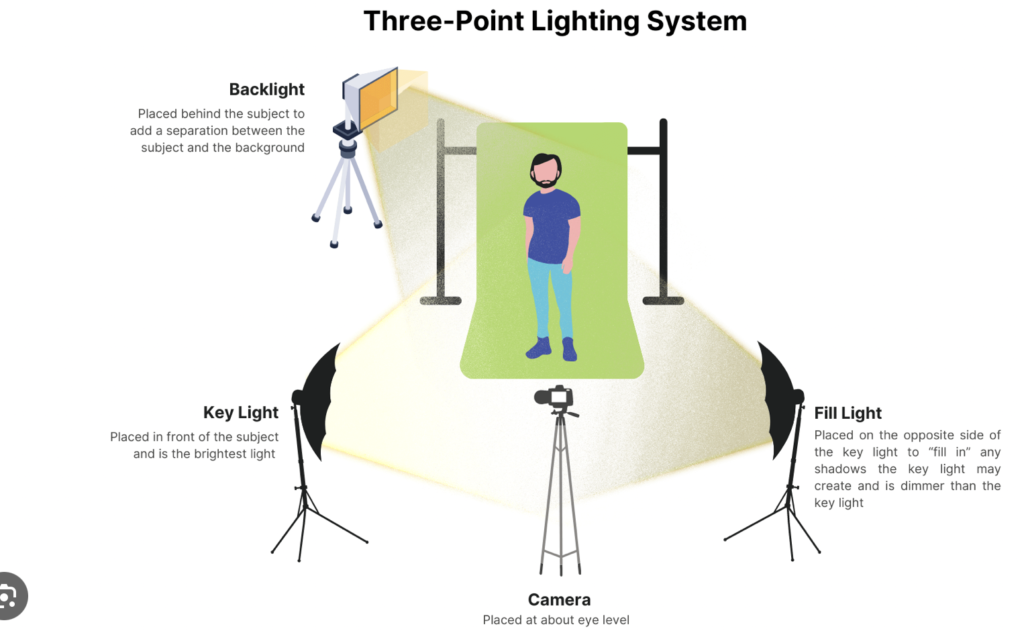
1,2,3 point lighting

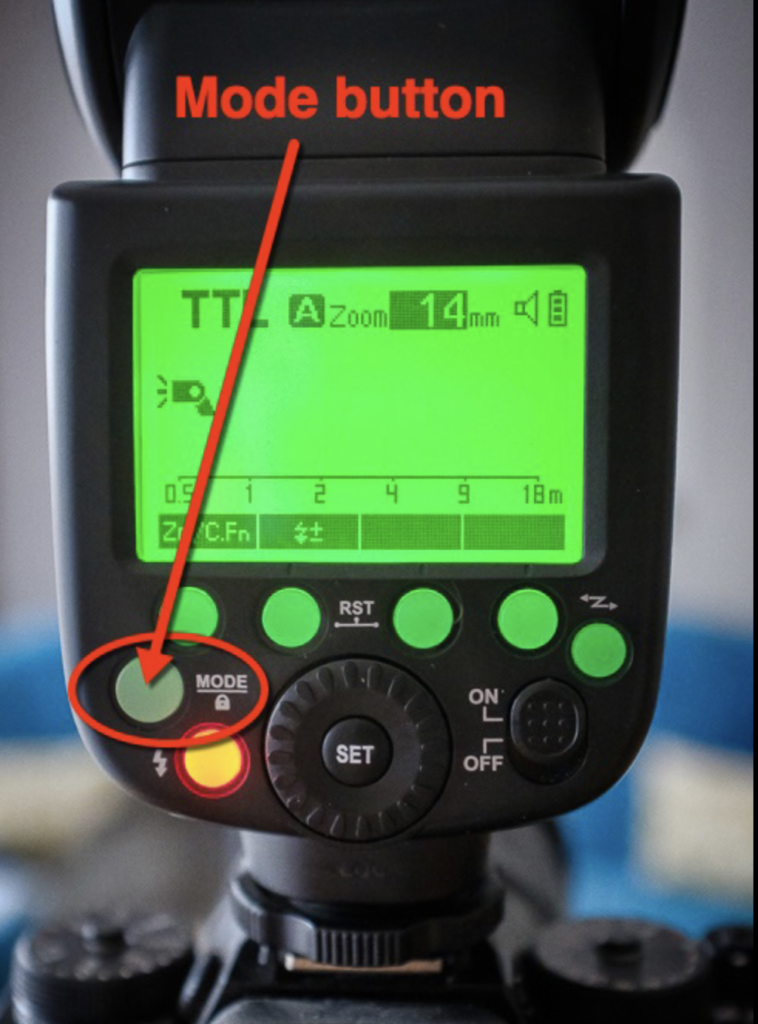
flash setting

Static / continuous lighting

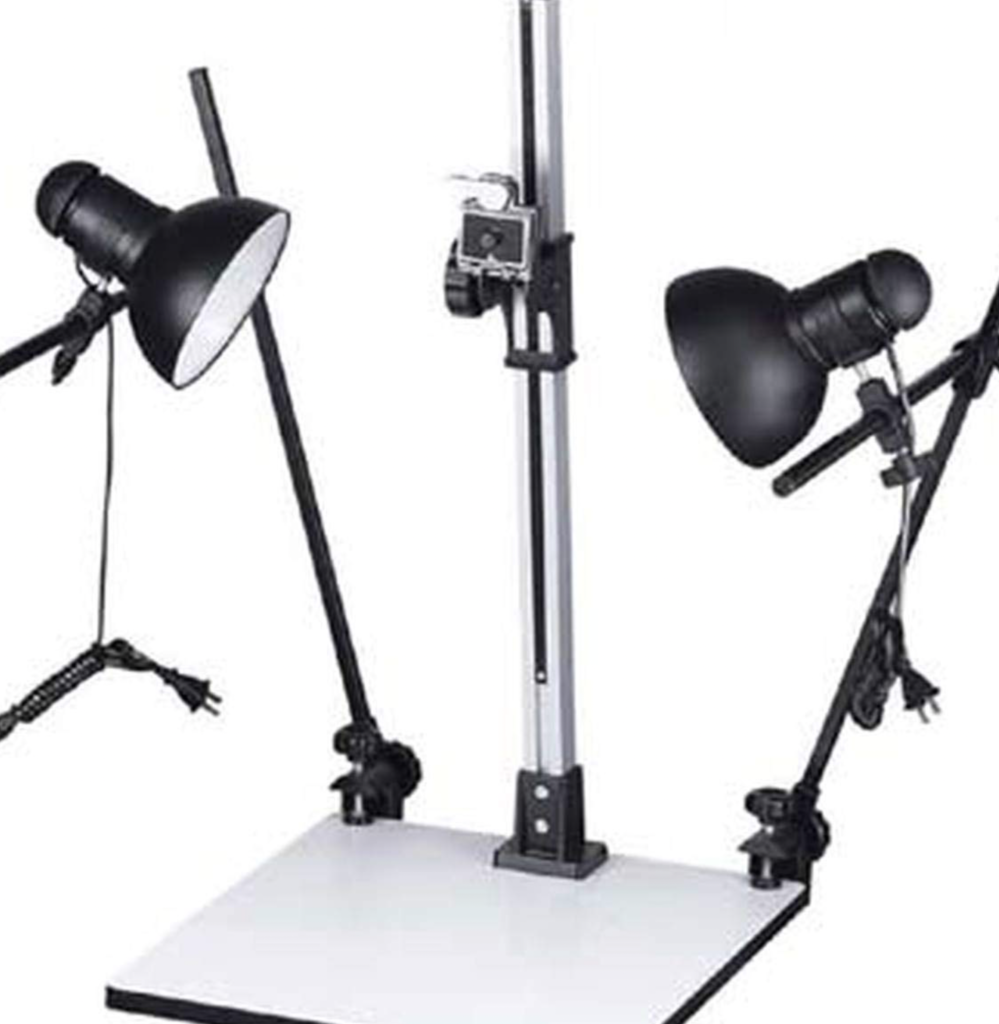
Copy-stand

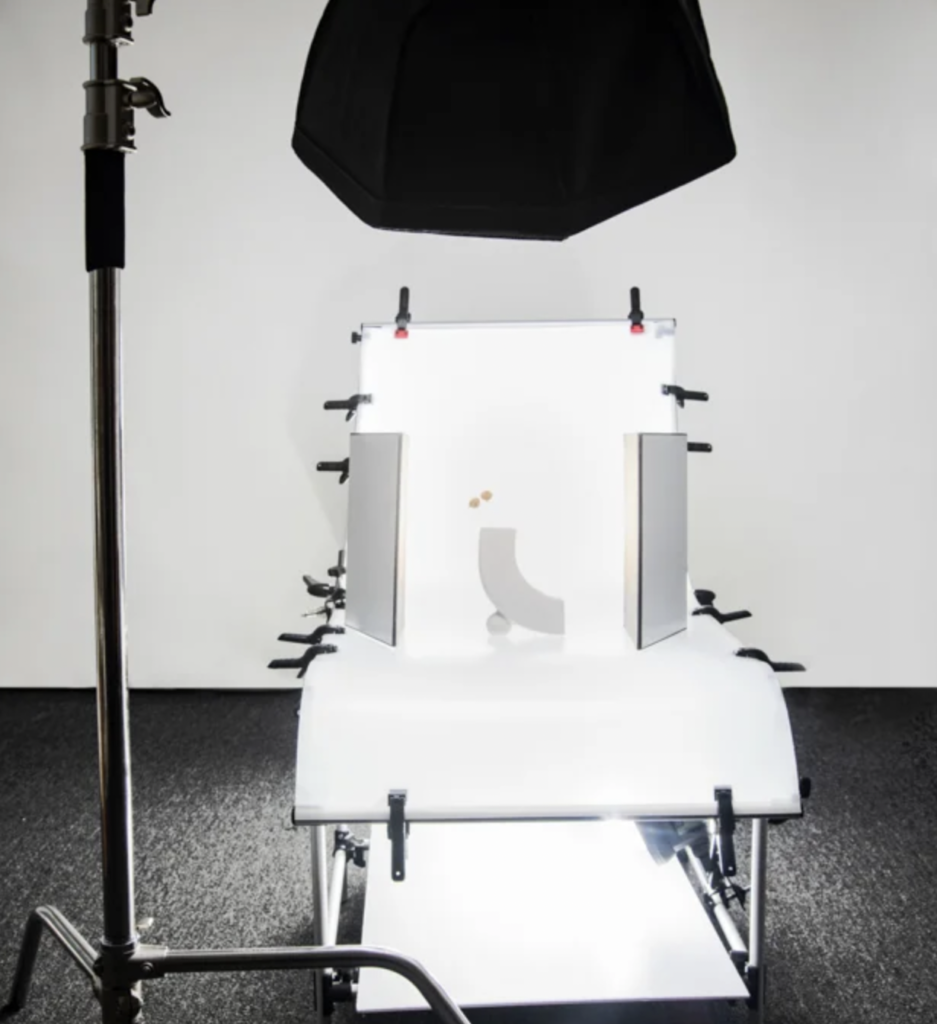
Infinity Screen

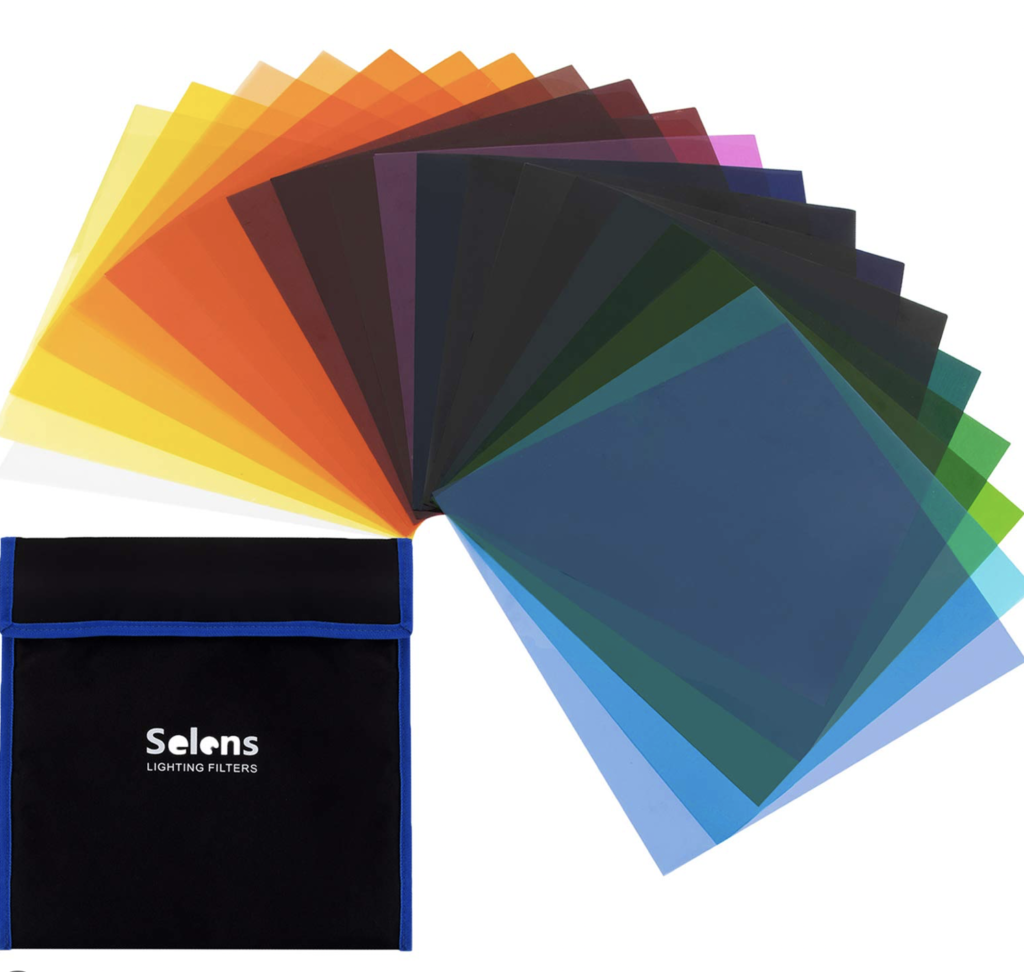
Coloured gels / filters

ACTUAL CAMERA USED (canon 1300 D)

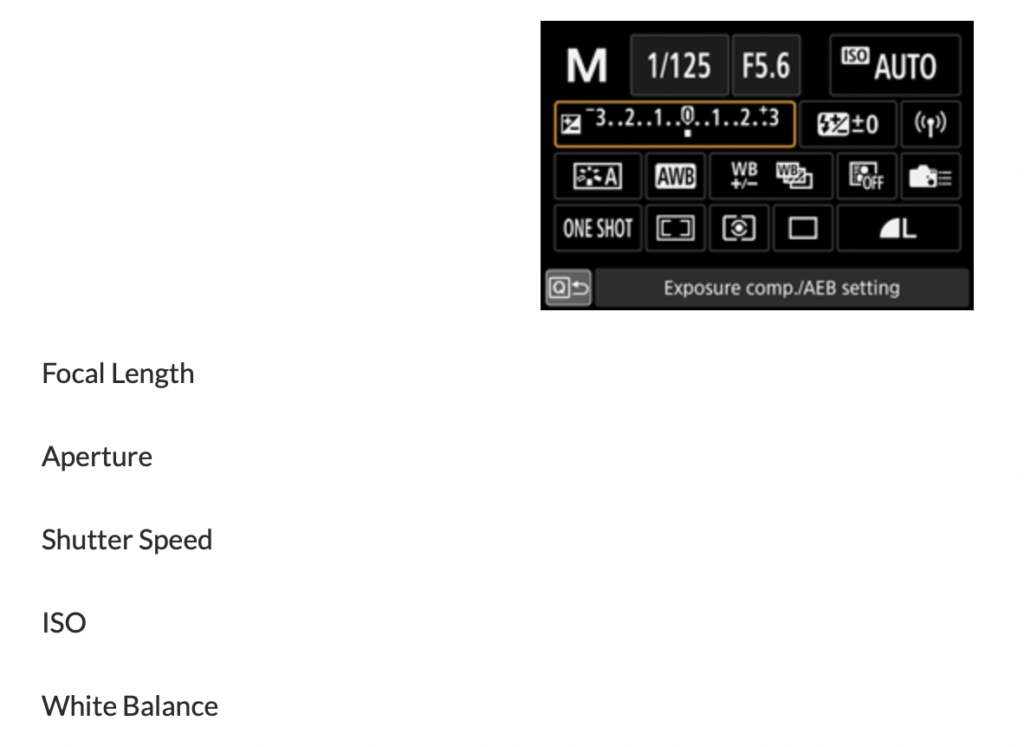
CAMERA SETTING AND EXPOSURE VALUES

Darren Harvey-Regan & Walker Evans

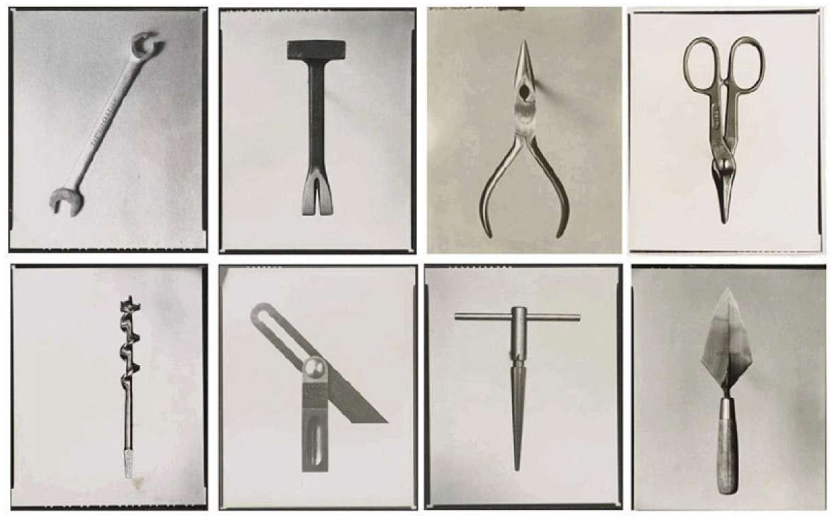
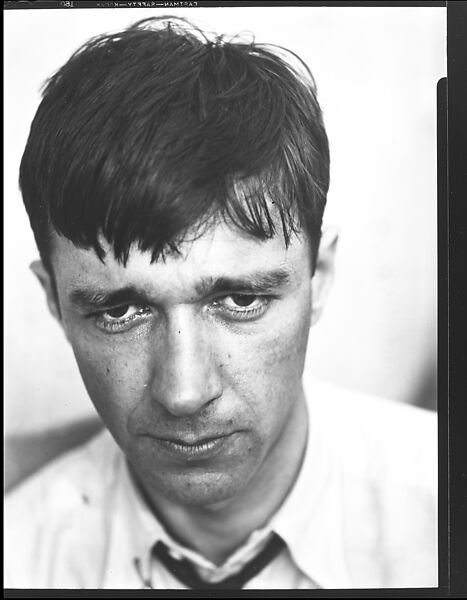
Walker Evans is a Photographer Born on the 3rd of November, 1903 in the United States and died April 10th 1975. Who also has the project “The Beauty Of The Common Tool”.

The project “The Beauty Of The Common Tool” was made in 1965 and all of the images within the project have a plain white background and also in monochrome, These two effects adds a vintage and a mysterious effect onto the project. He also has his photos exactly in the centre of the frame in every single photo with a lot of negative space around the objects, Evans uses tools that look like construction tools or hospital tools. So I would assume that these photos have been taken in a hospital, a construction site or in someone’s shed.

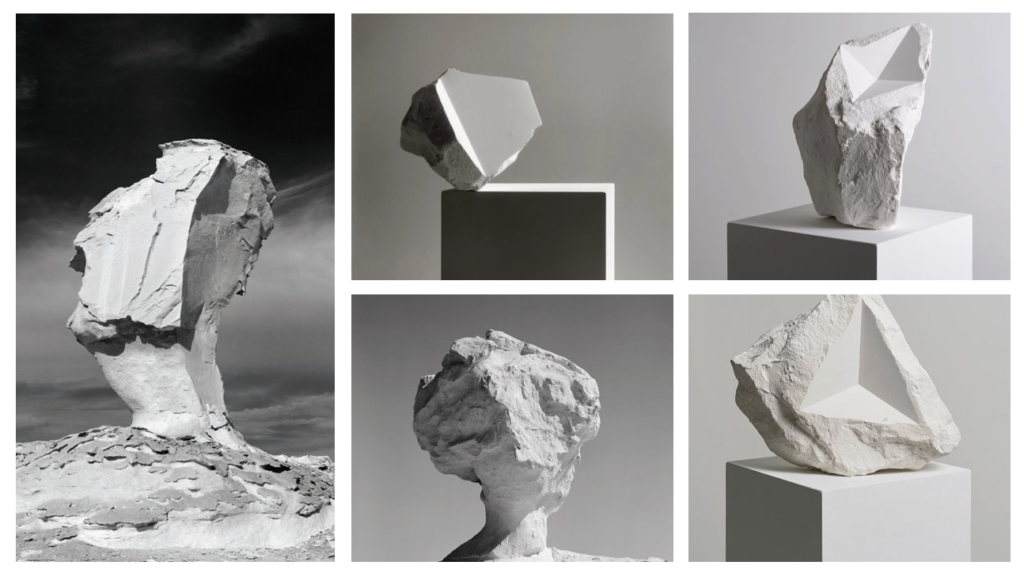
Darren Harvey-Regan is a British Photographer born in Exeter in 1974. Darren Harvey-Regan also created “beauties of the common tool”. Darren Harvey-Regan`s Photographs are extremely similar to Walker Evans Images in the subject of formalism. Harvey-Regan normally focuses on one object however focusing on the use of lines and shape, in these images above the objects have a unique shape with a different form of lines and texture for example the shapes of the objects are not a square or an actual shape they are a complete random shape. His work often shows up at different exhibitions and museums.

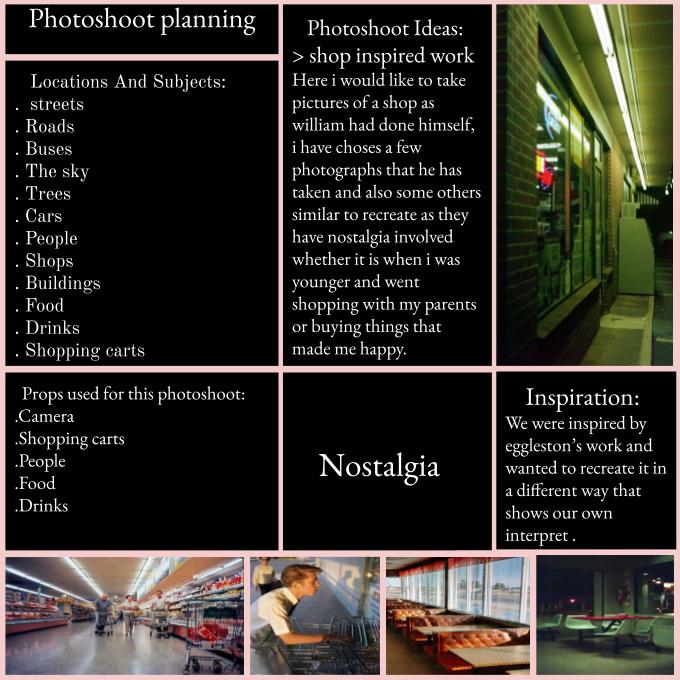
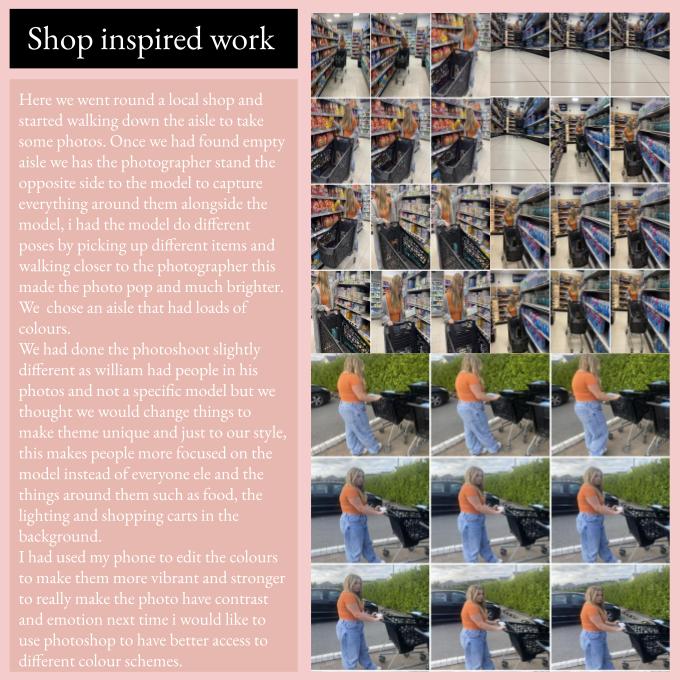
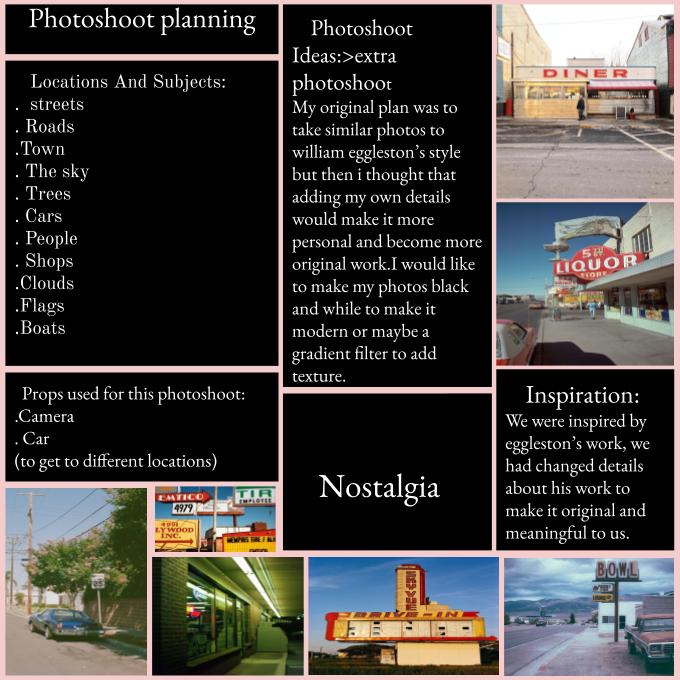
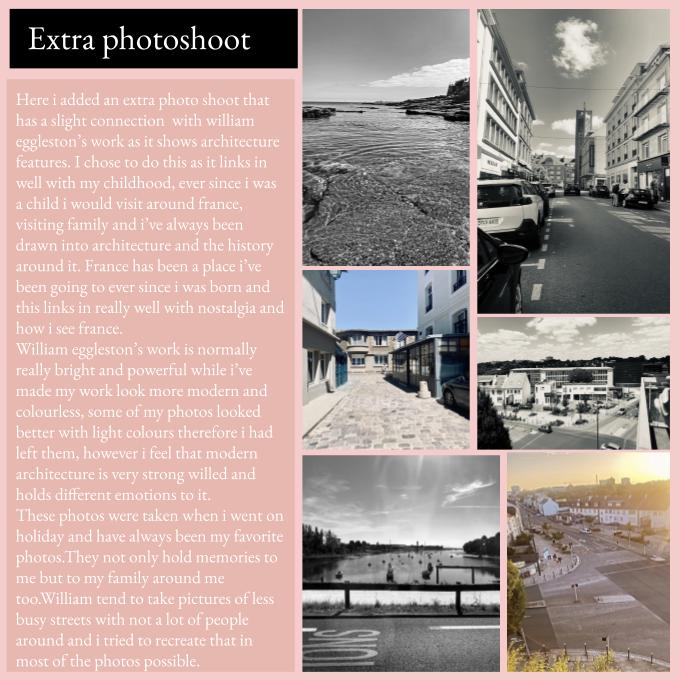
Still Life Photoshoots

Photoshoot 1

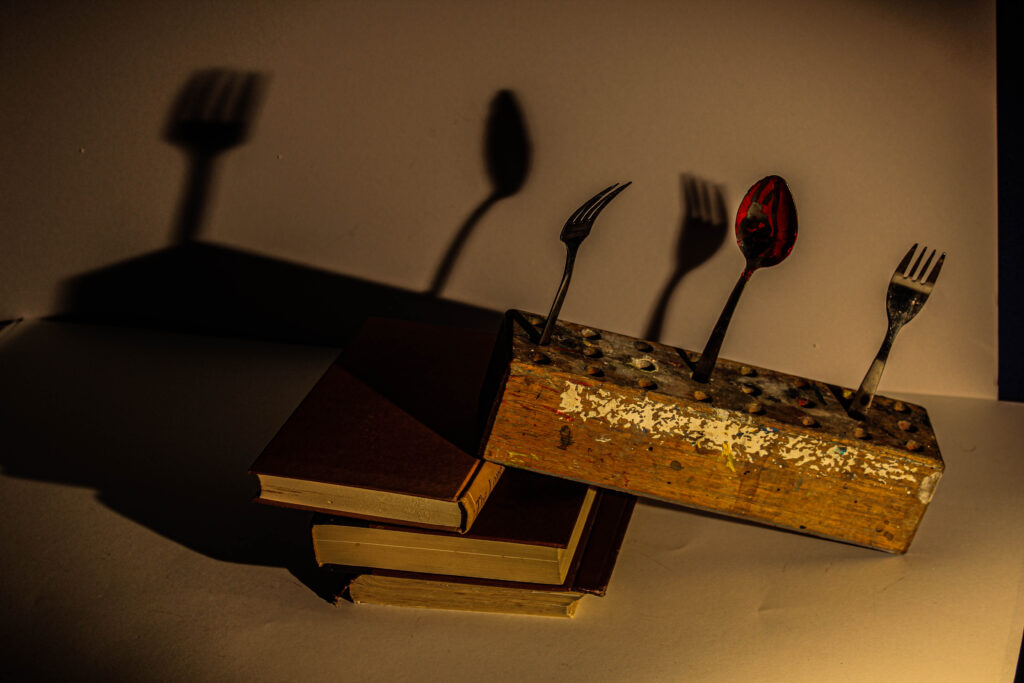
For My first still life photoshoot, I experimented with many different objects and I did not really focus on any specific objects or style. In this photoshoot I used different objects such as: books, cards, cutlery and some tools, my favourite objects to photograph out of the ones I used I find that the photographs of the cutlery and the books came out the best because the cutlery can give various shadows as well as give you photo that element of uniqueness. I also think that the photographs that have the books in it came out nicely because the books really give that theme of nostalgia.

Photoshoot 2

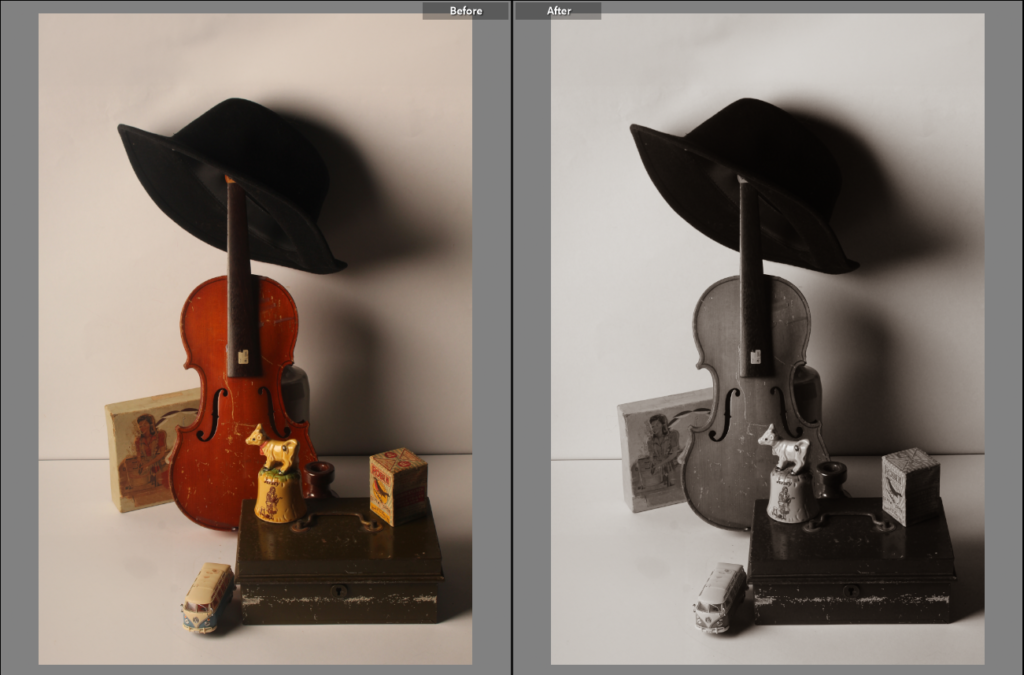
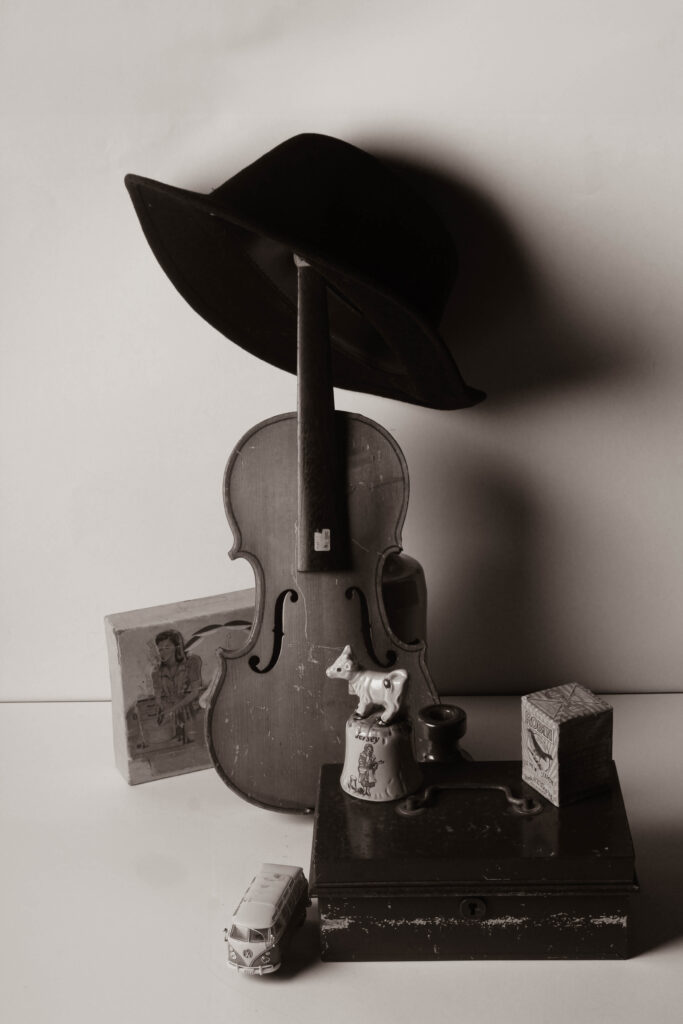
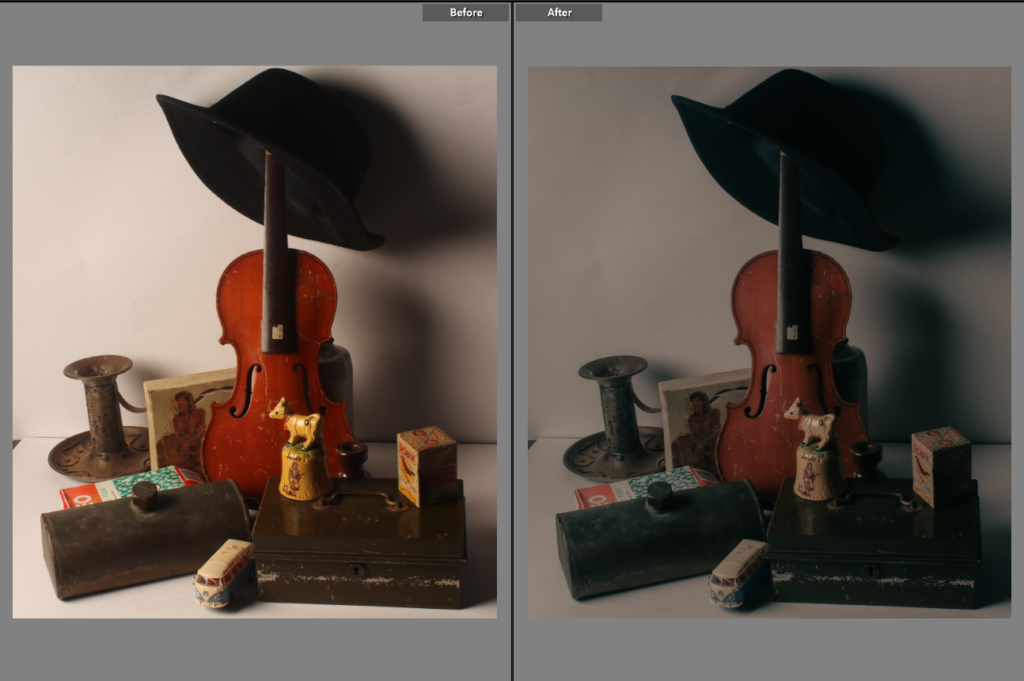
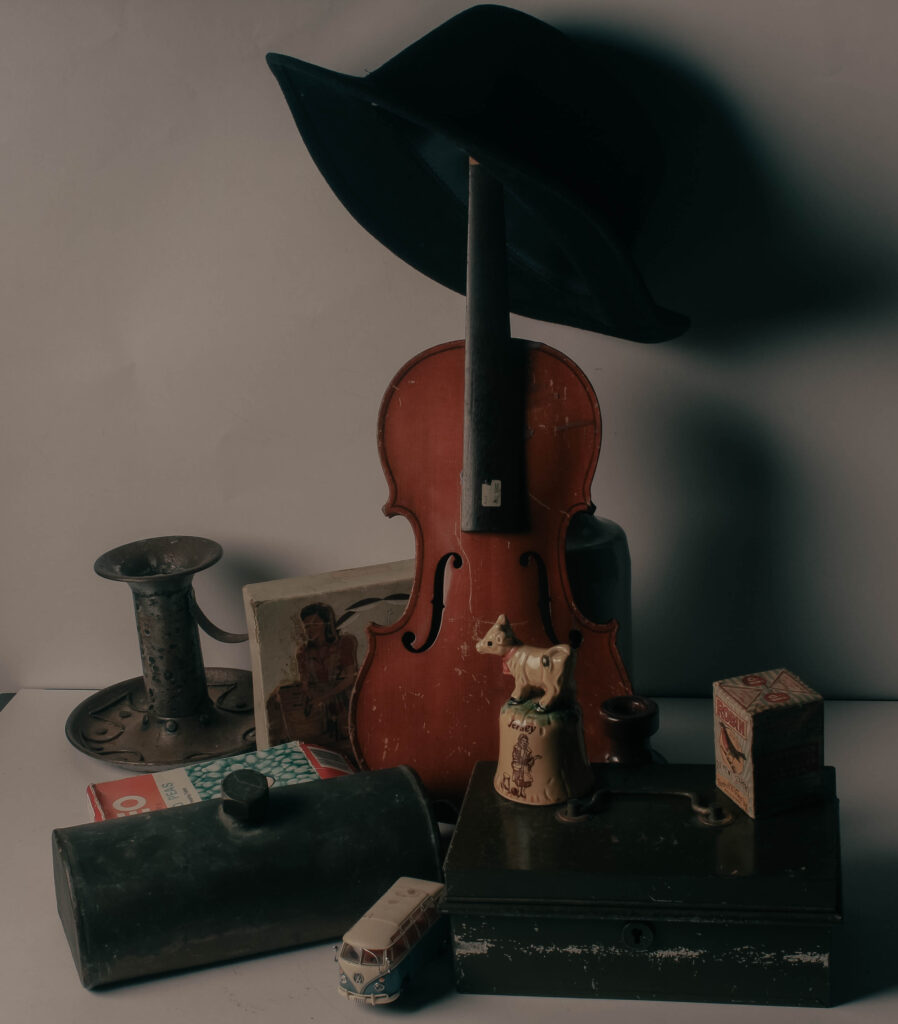
For my second still life photoshoot I had more of an idea of what I wanted in my photoshoot unlike in my first photoshoot where I just experimented. In this photoshoot I used objects such as: a violin, toy car, hat and many different antique nostalgic objects. My focal point in photoshoot 2 is the violin, the violin is the object that catches the viewers eye when looking at these photos, this is because the violin is the biggest object in the photos and it is also the most vibrant and colourful object in the pictures.

Photoshoot 1 Favourite Photos

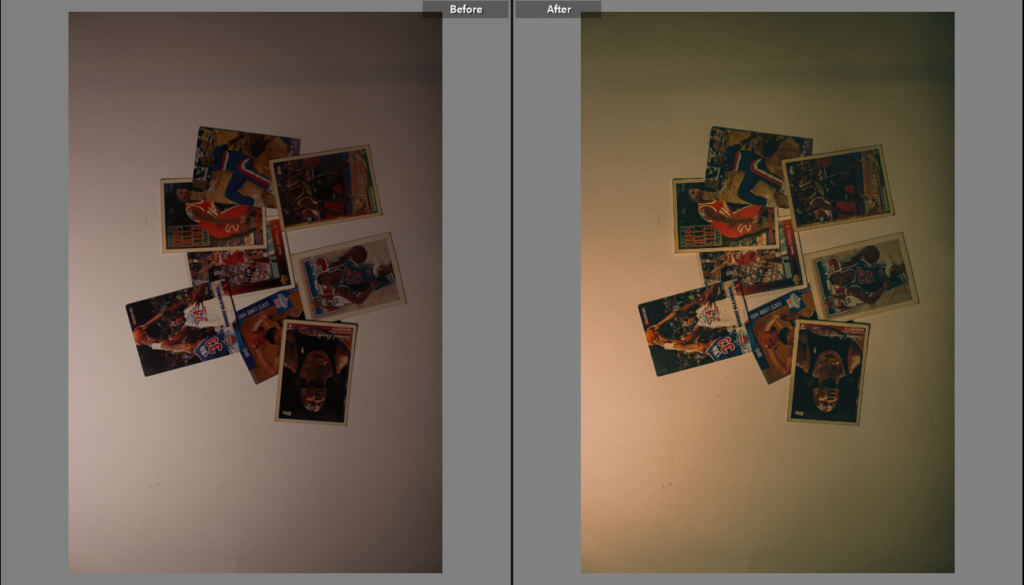
This is a before and after of one of my favourite photographs from my first still life photoshoot. I find that this image is one of the best ones from this photoshoot, I think this because the use of the NBA cards really give off the theme of nostalgia, I also placed them in a random order so it looked like I had found it like that. I then edited the photo in Lightroom changing the temperature of the photo as well as the contrast and shadows.

Canon Camera, ISO 100, Focal Length 18mm, Aperture f/45, Shutter Speed 1/200 sec

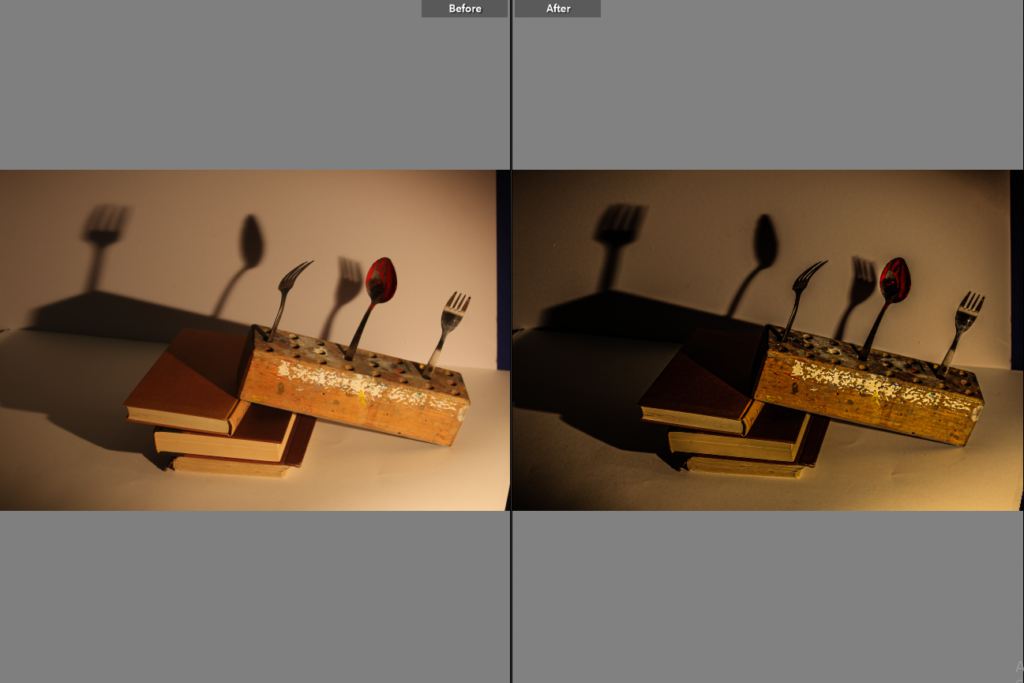
This is also another one of my favourite photos from the first photoshoot. I really like this photo because of many different aspects, for example the shadows, the books and just the general layout of the photo. For this image I stacked 3 books on top of each other like a staircase and then put the cutlery as well as another object on top of it. The use of the cutlery gives great shadows and makes the image more appealing. I then edited the image using Lightroom increasing the contrast, texture and clarity to give it this stronger lighting which adds onto the theme of nostalgia.

Canon Camera, ISO 100, Focal Length 45mm, Aperture f/5.0, Shutter Speed 1/60 sec

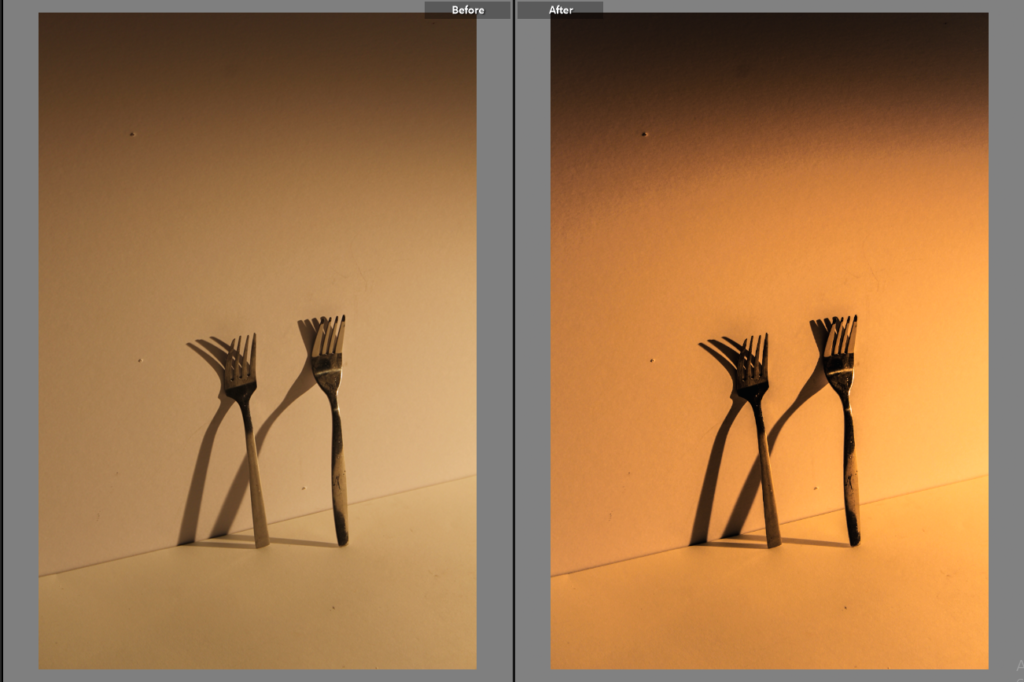
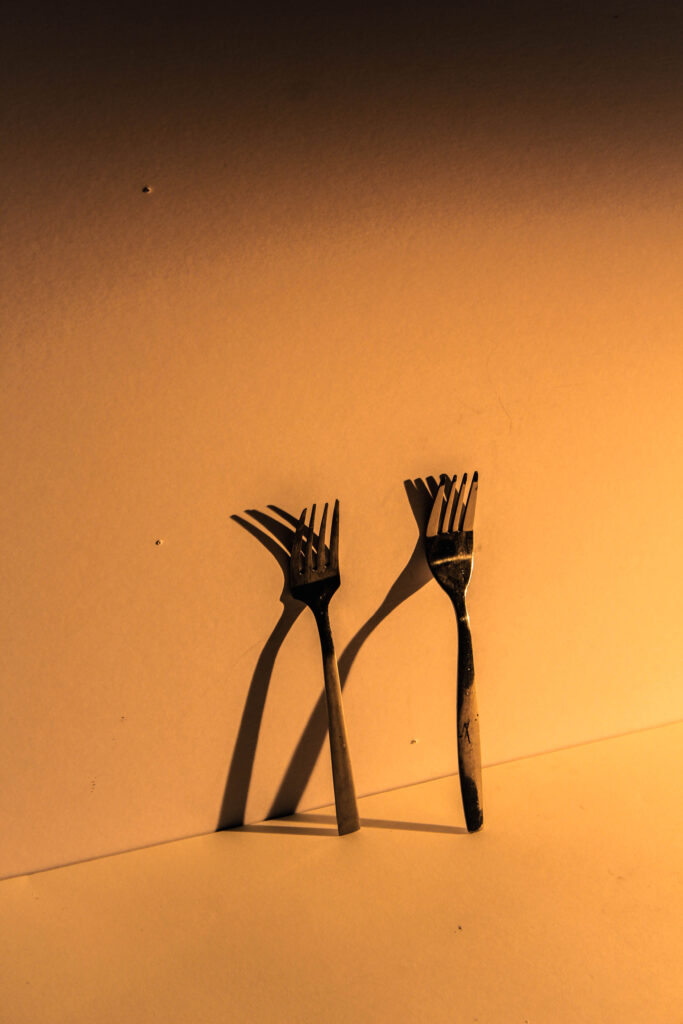
This is my final favourite image from my still life photoshoot 1. This is a very strong image in my opinion because it has excellent shadows the forks give off interesting shadows for example in this photograph it looks like there are 4 forks and they are balancing on each other but there are only 2 forks and its shadows. For the editing of the image all I did was increase the temperature very slightly, decreased the shadows and increased the clarity a lot.

Canon Camera, ISO 100, Focal Length 55mm, Aperture F/5.6, Shutter Speed 1/50 sec

Photoshoot 2 Favourite Photos

Canon Camera, ISO 200, Focal length 41mm, Aperture f/11, Shutter Speed 1/160 sec

Canon Camera, ISO 200, Focal length 41mm, Aperture f/11, Shutter Speed 1/160 sec