1. Write a book specification and describe in detail what your book will be about in terms of narrative, concept and design with reference to the same elements of bookmaking as above.
Narrative:What is your story? Describe in:
3 words
Jersey Urban Legends
A sentence
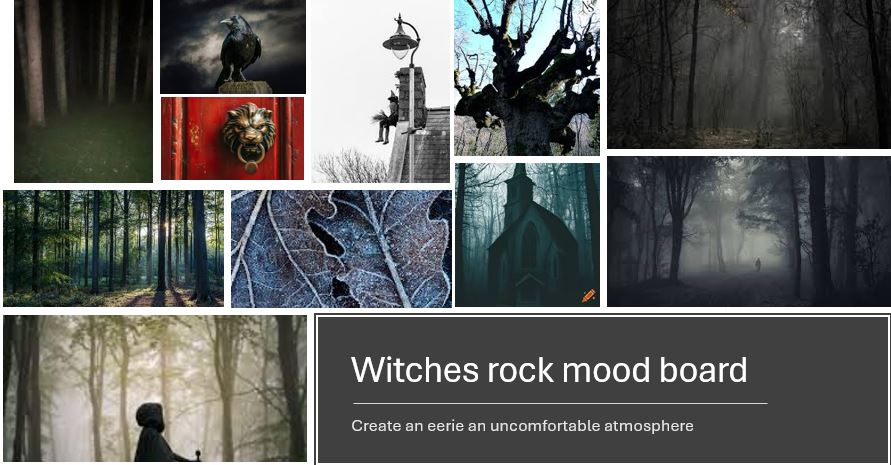
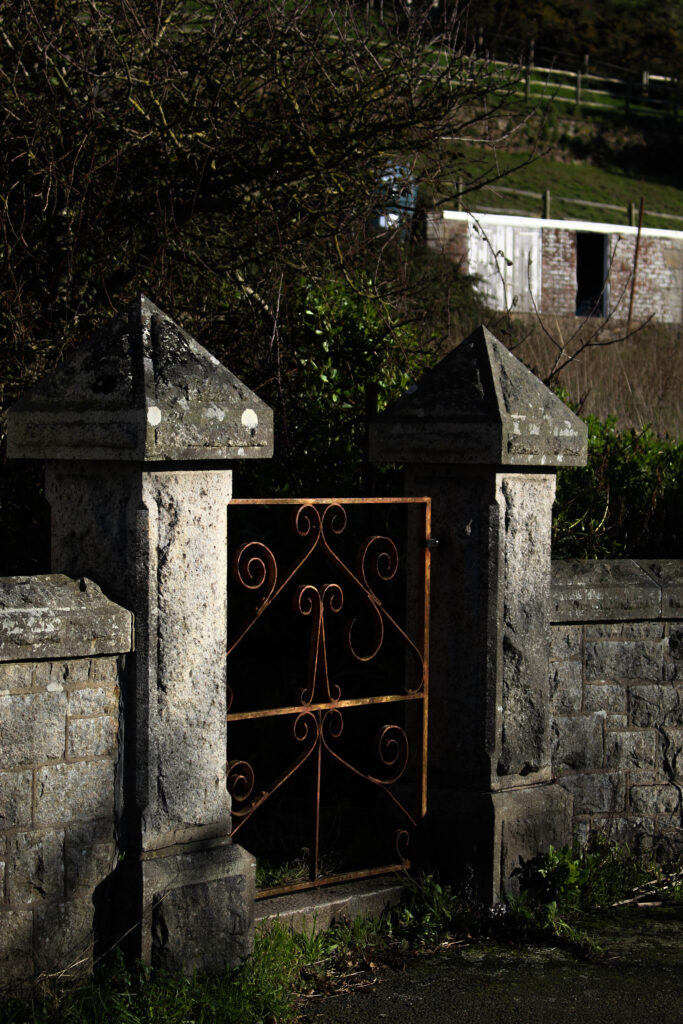
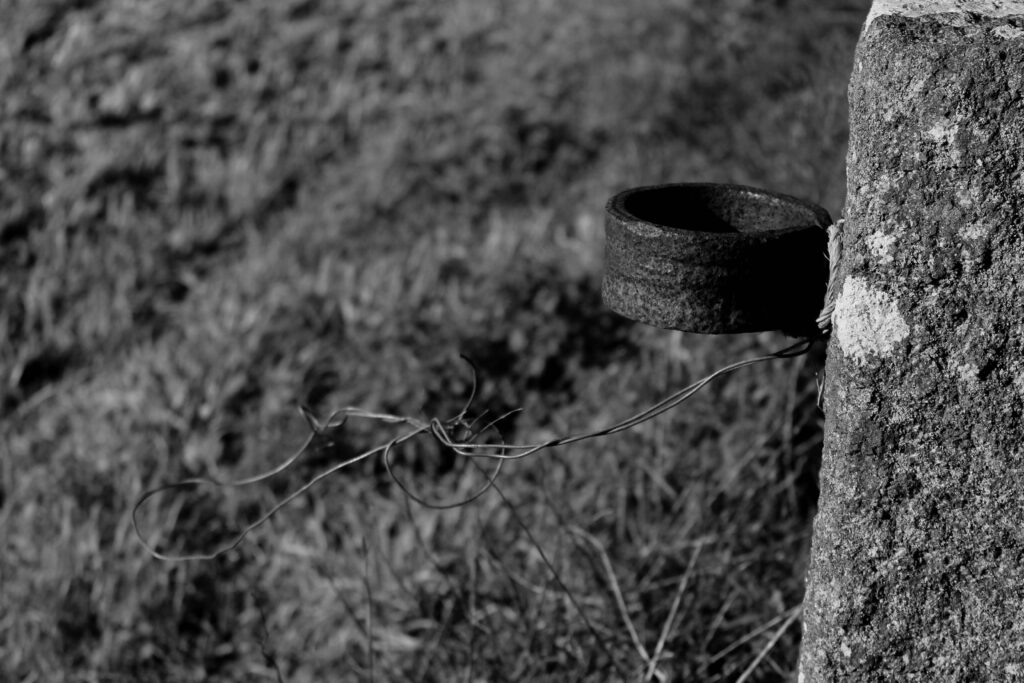
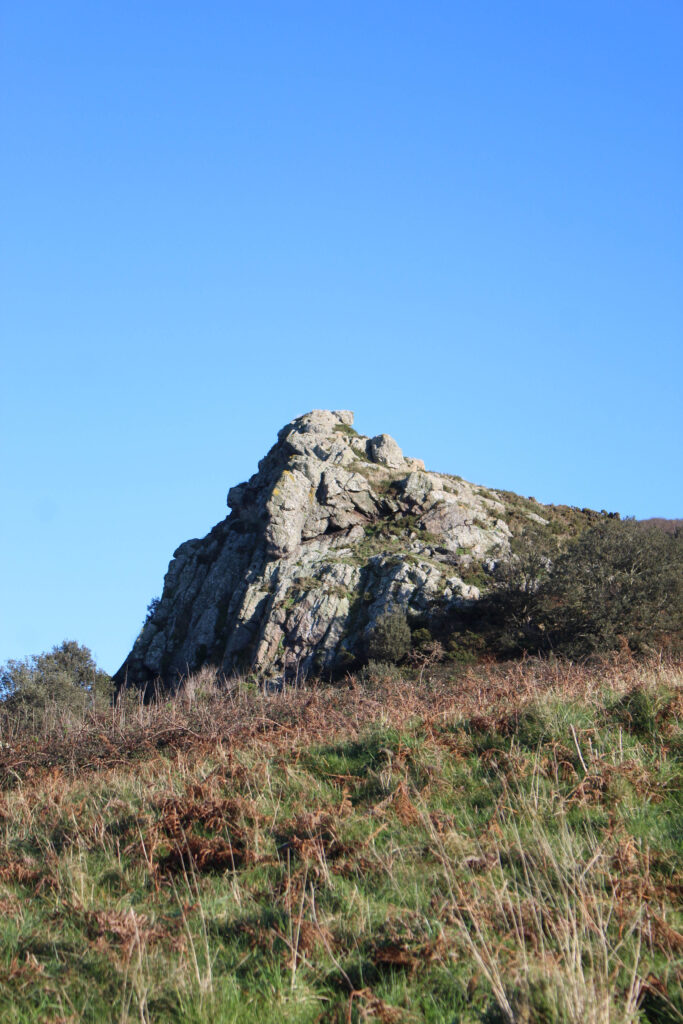
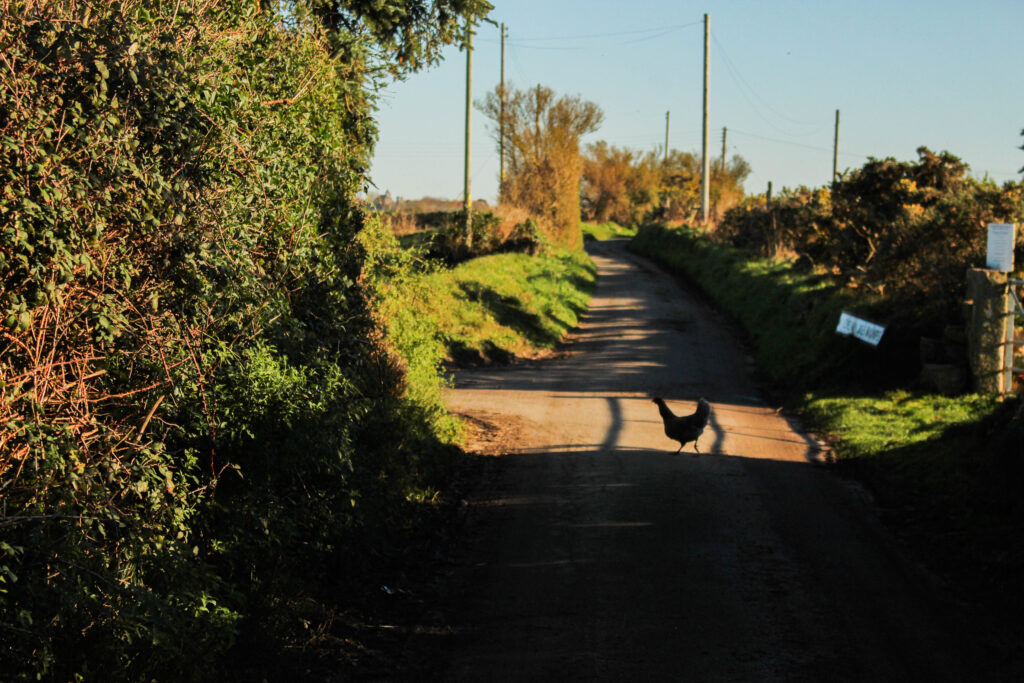
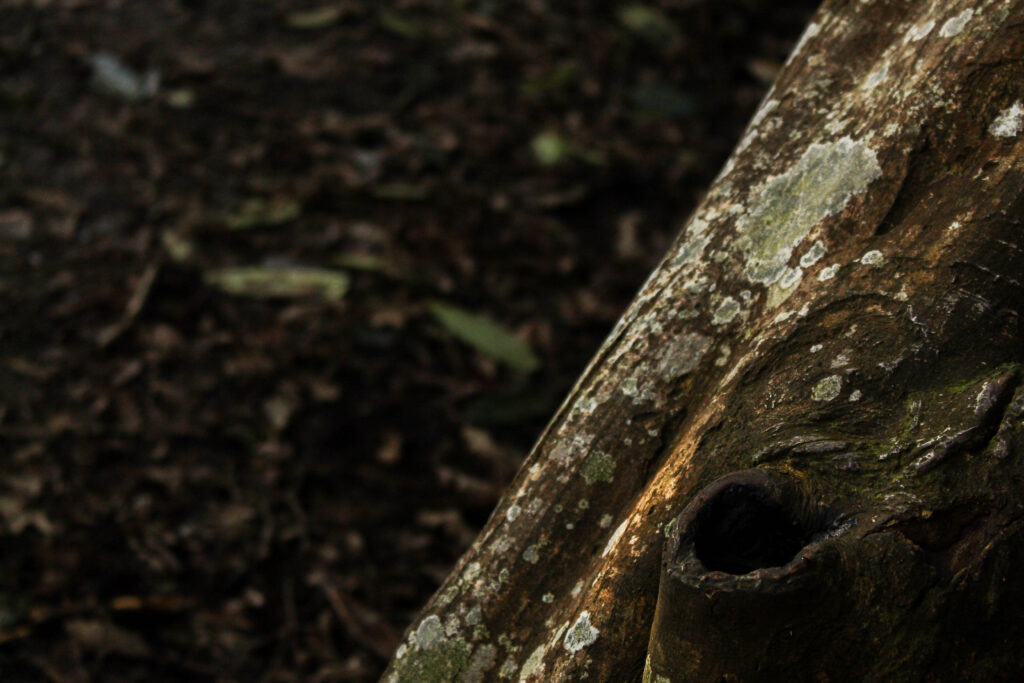
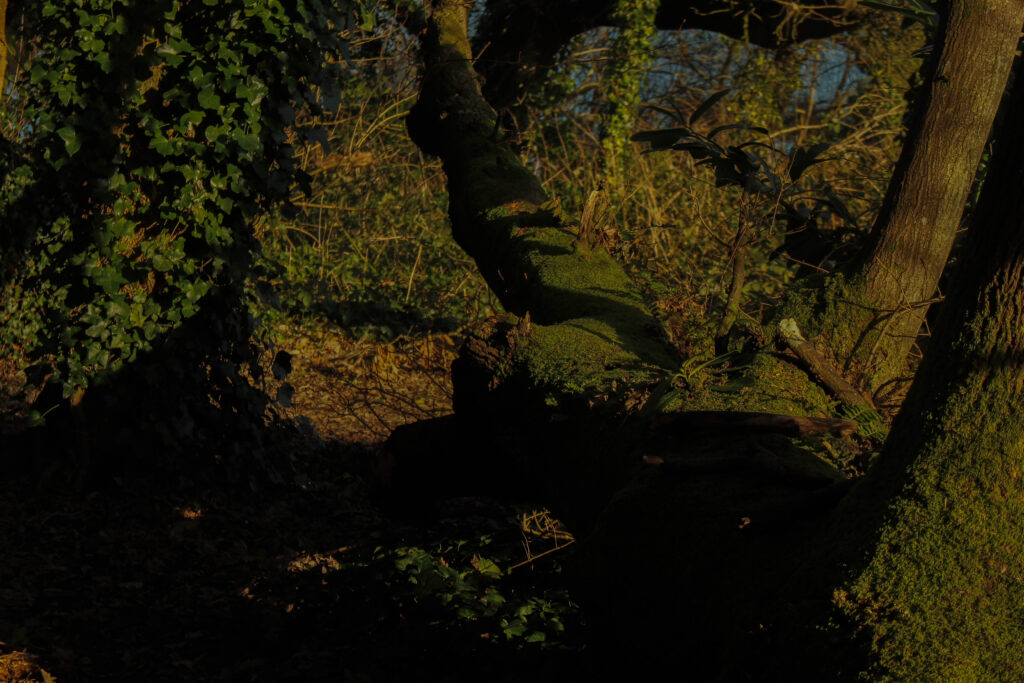
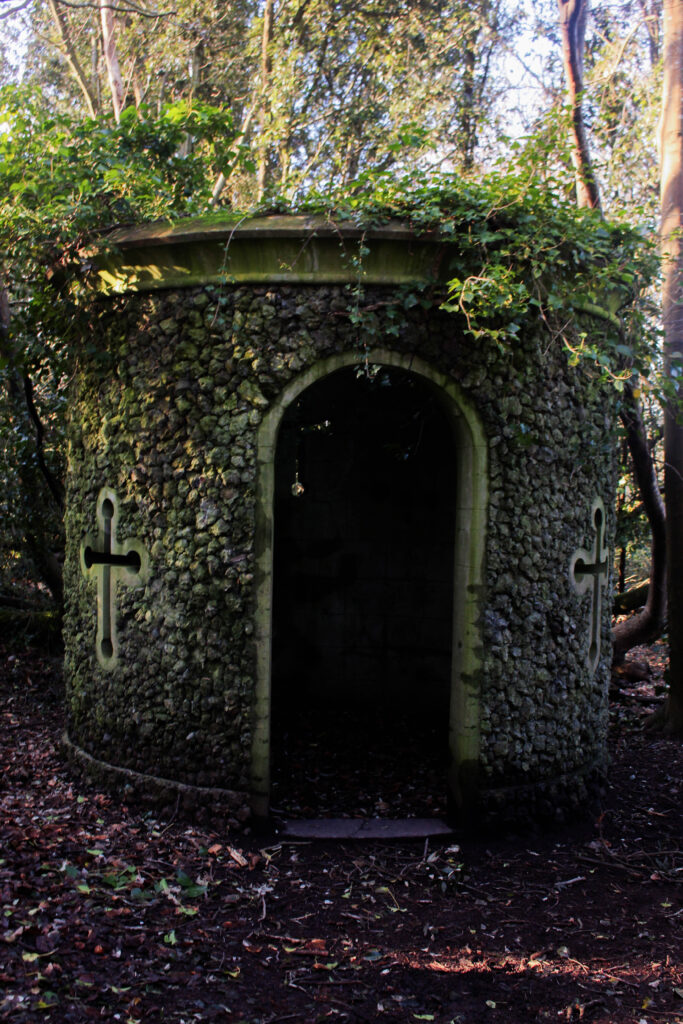
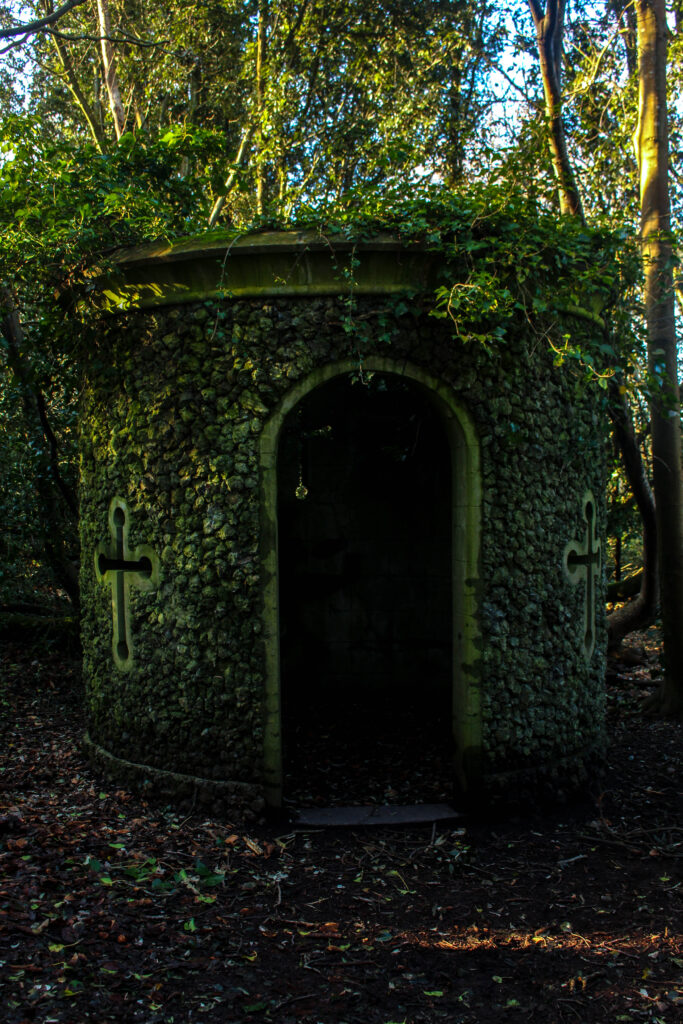
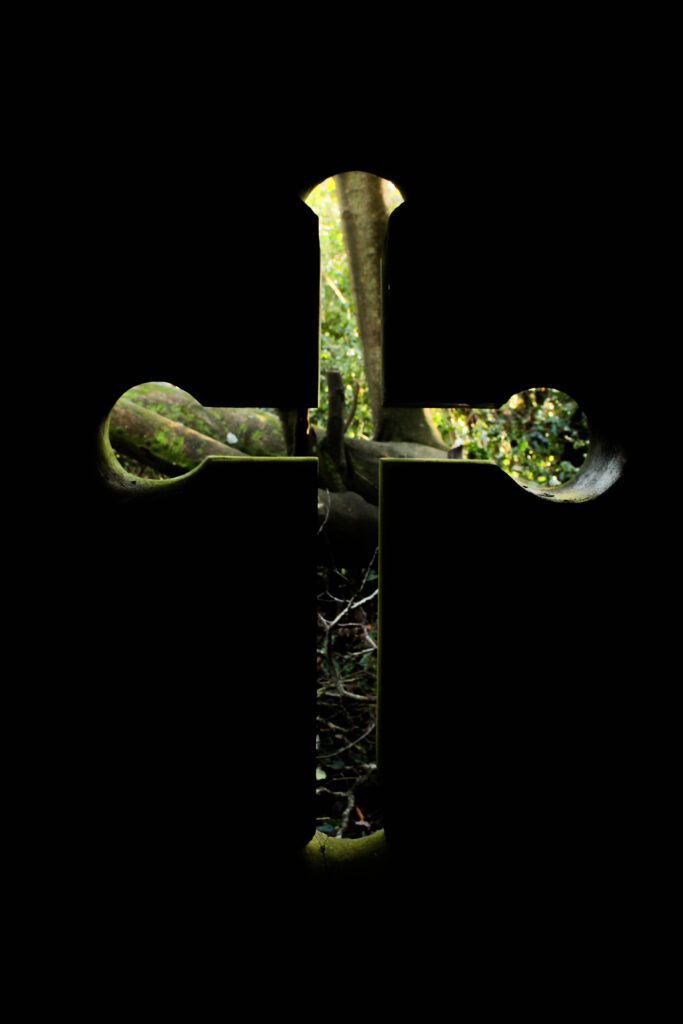
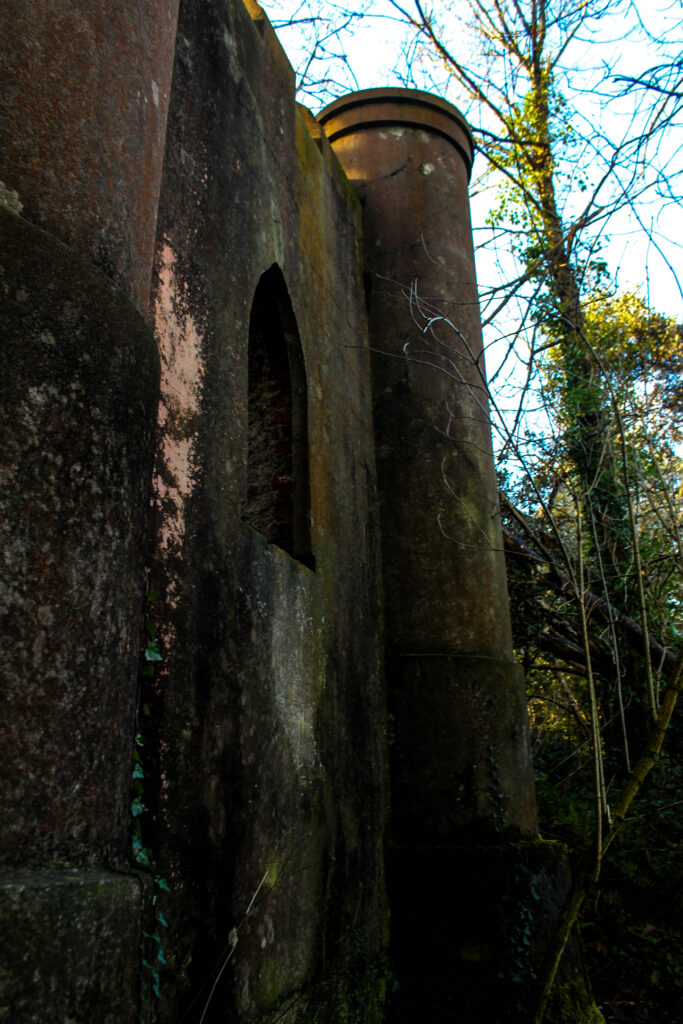
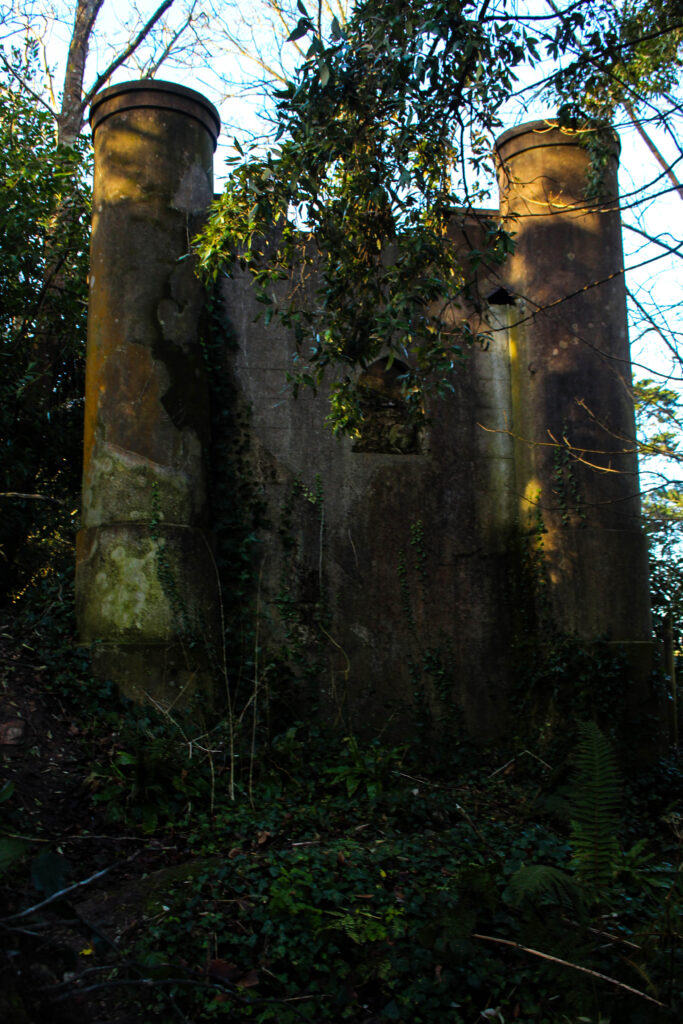
My photobook will be an attempt to retell and portray two Jersey urban legends, the Crooked fairy and Witches Rock.
A paragraph
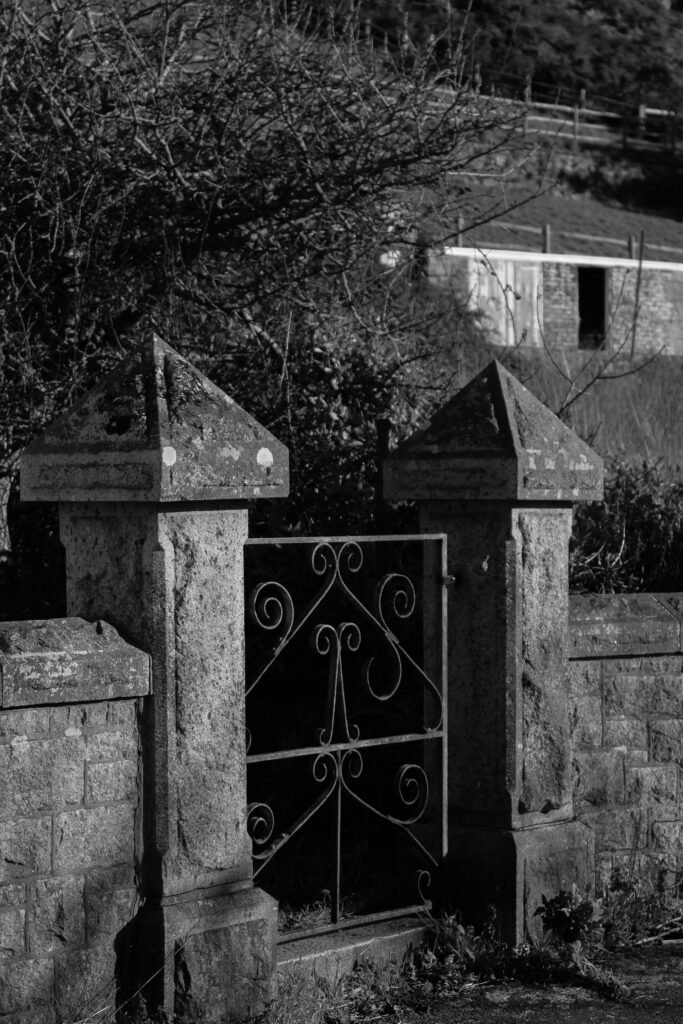
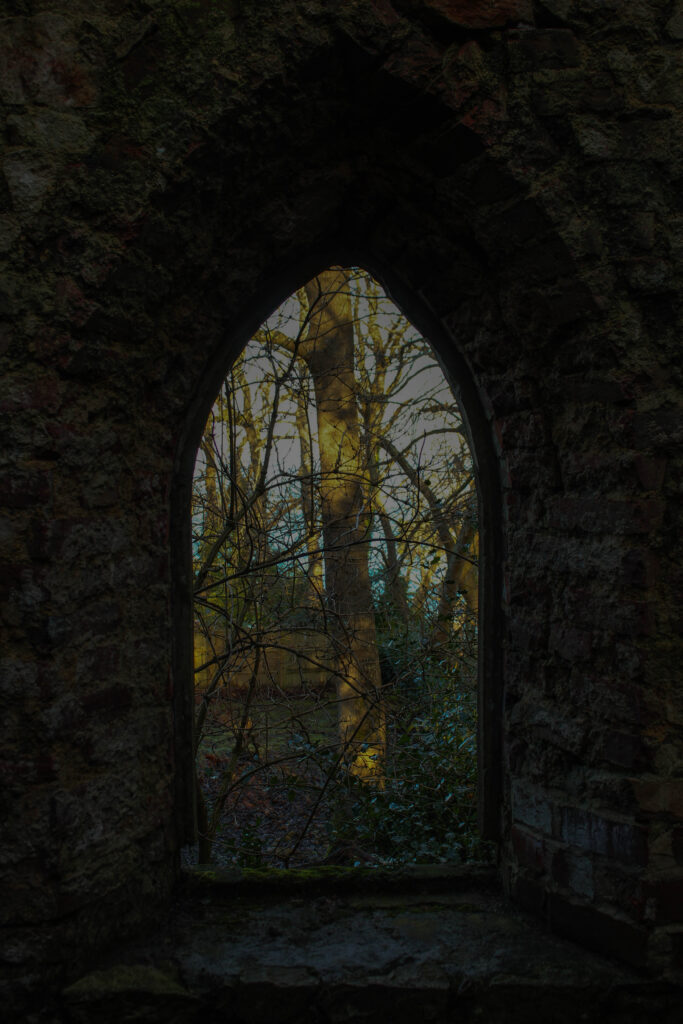
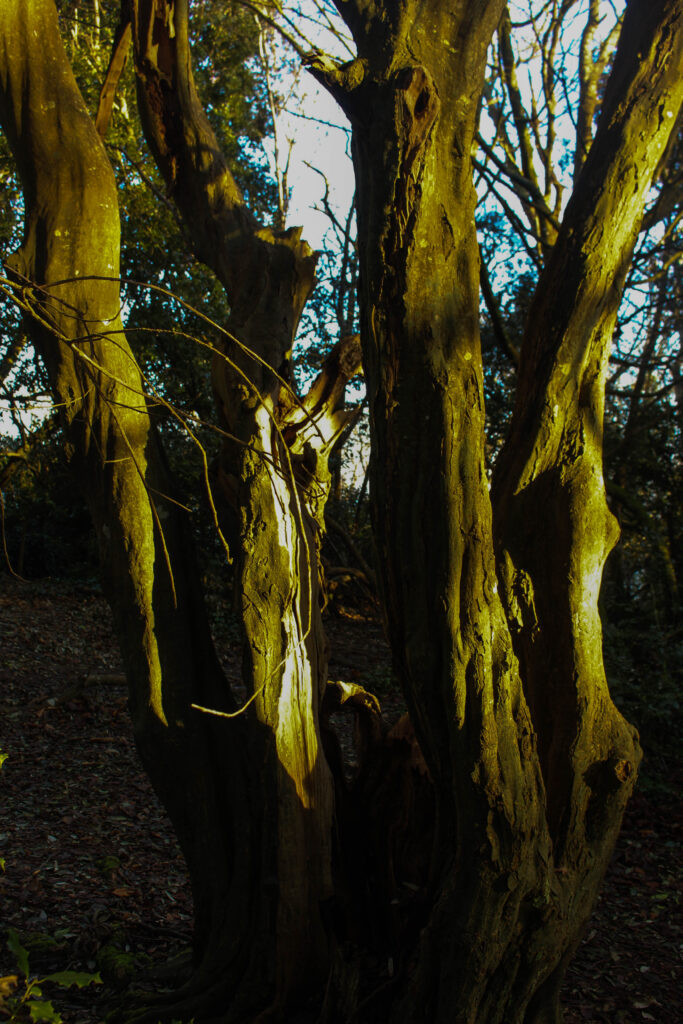
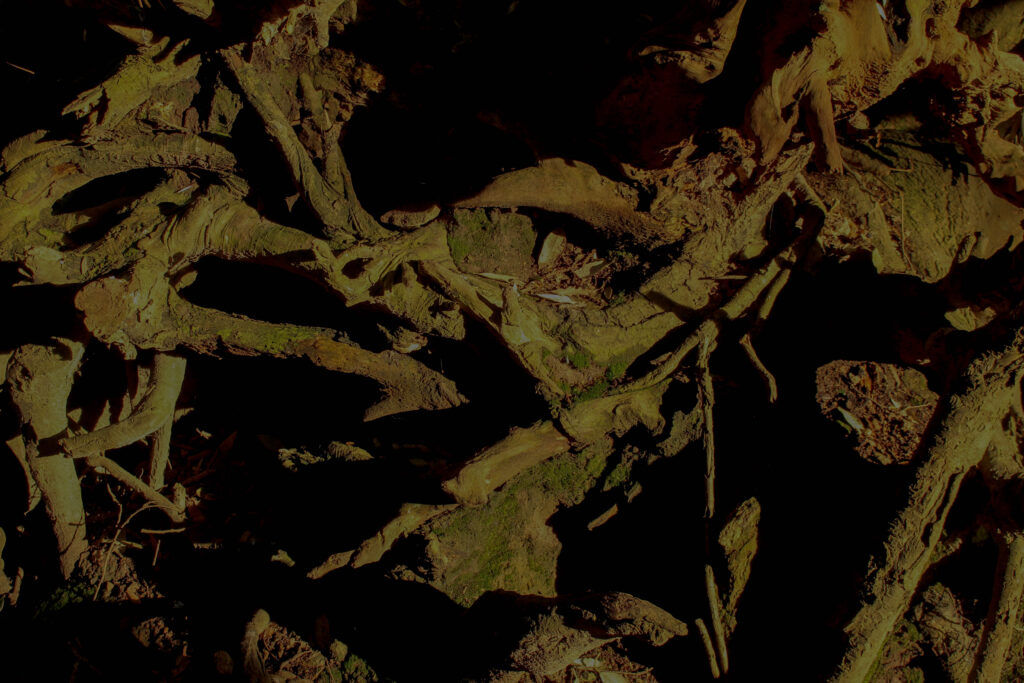
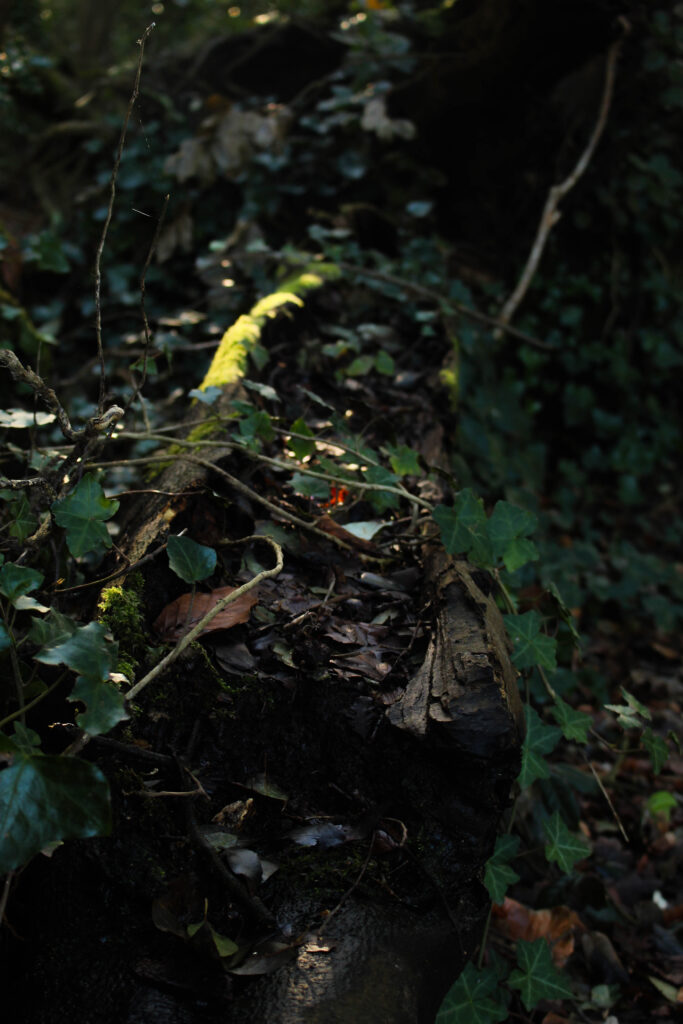
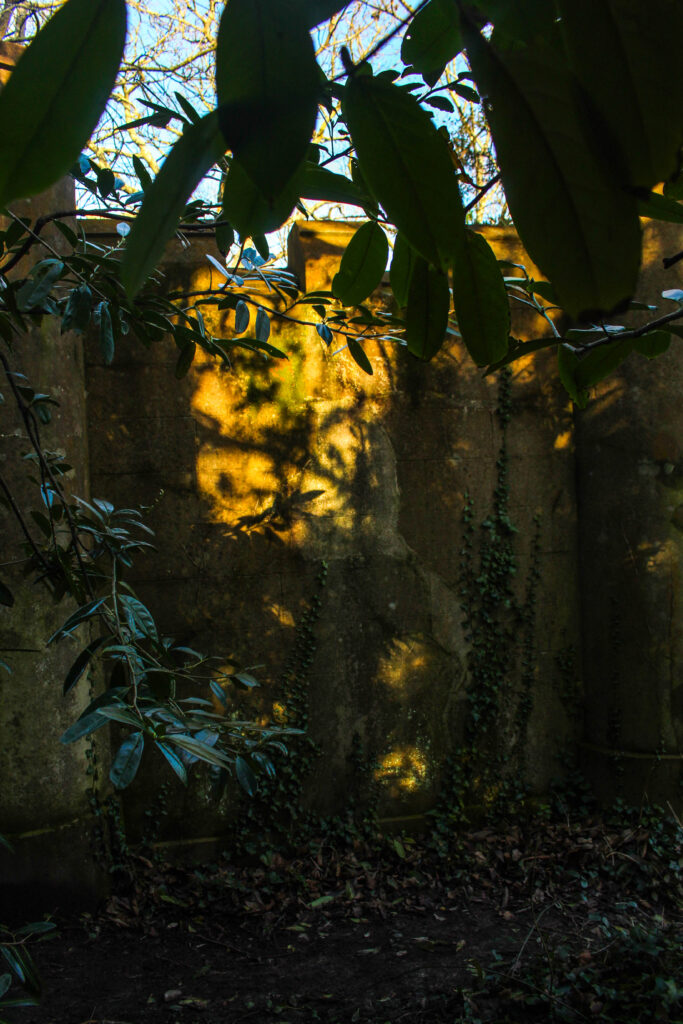
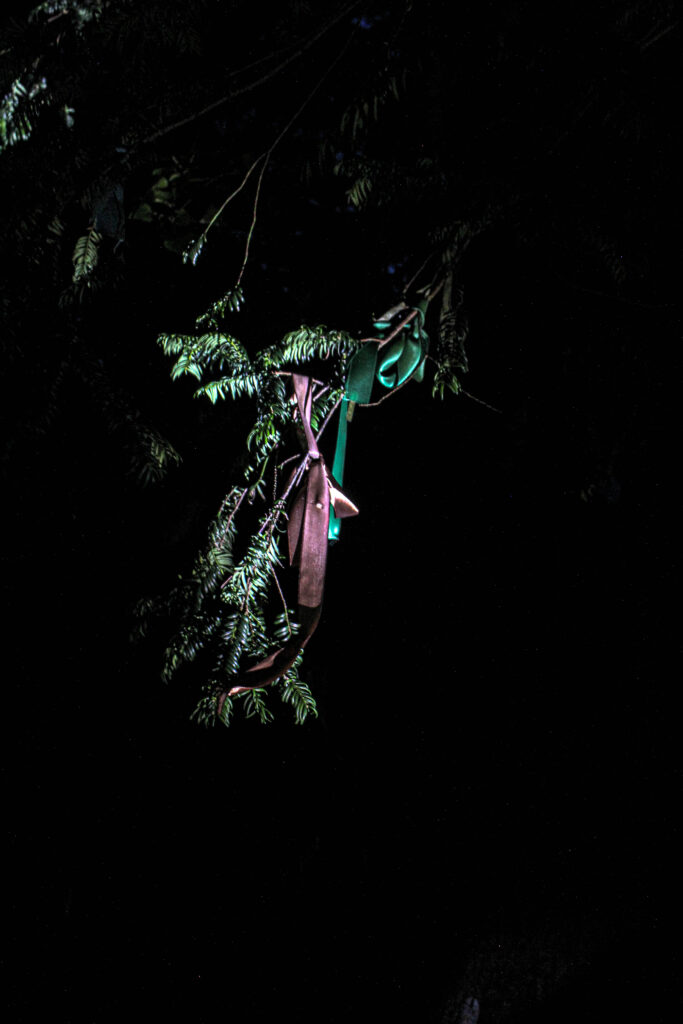
I am attempting to capture the essence of 2 jersey folk law legends called the crooked fairy and witches rock, I will be doing this through individually selected images chosen to create an ambiguous and eerie atmosphere that coveys an open to interpretation narrative of my chosen legends.
Design: Consider the following
How you want your book to look and feel
Paper and ink
Matte paper as I am going to add drawings afterwards
Format, size and orientation
landscape , medium size
Binding and cover
Title
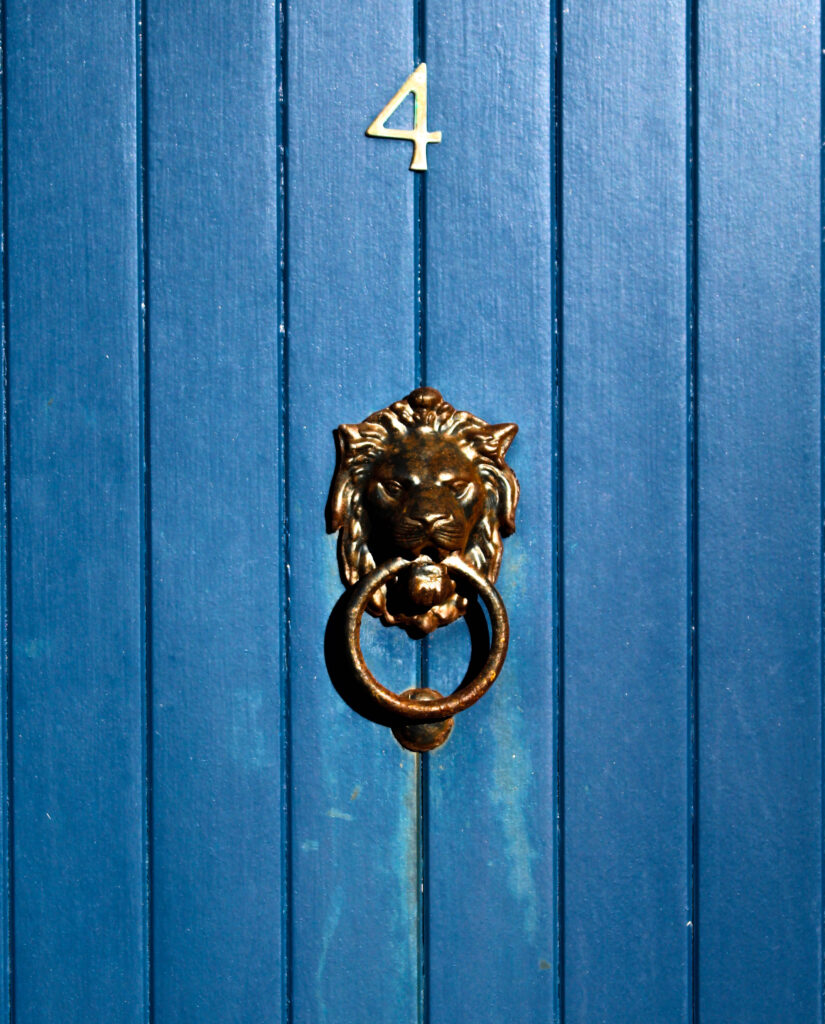
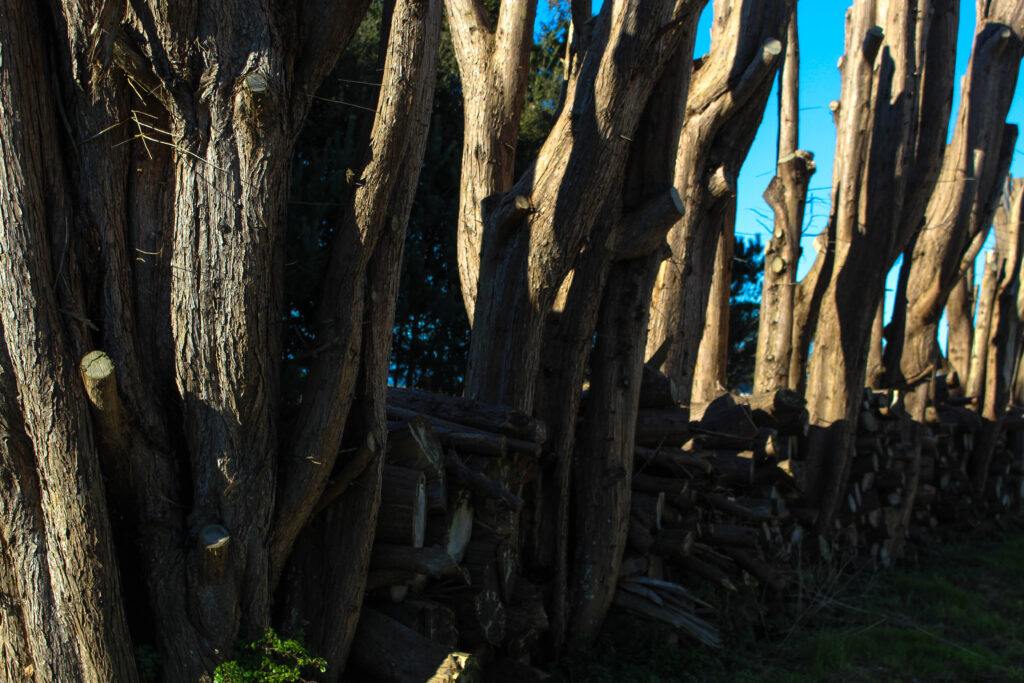
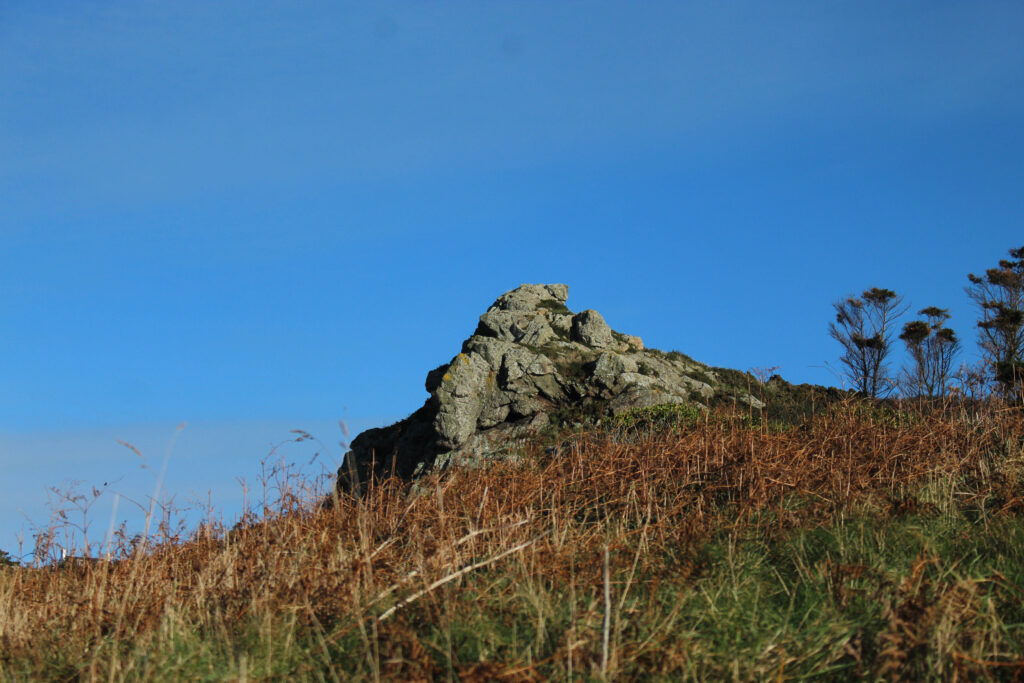
What Hides Within The Woods Of Jersey – a retelling of two chilling legends
subheadings
The CROOKED Fairy
The WITCHES Rock
Structure and architecture
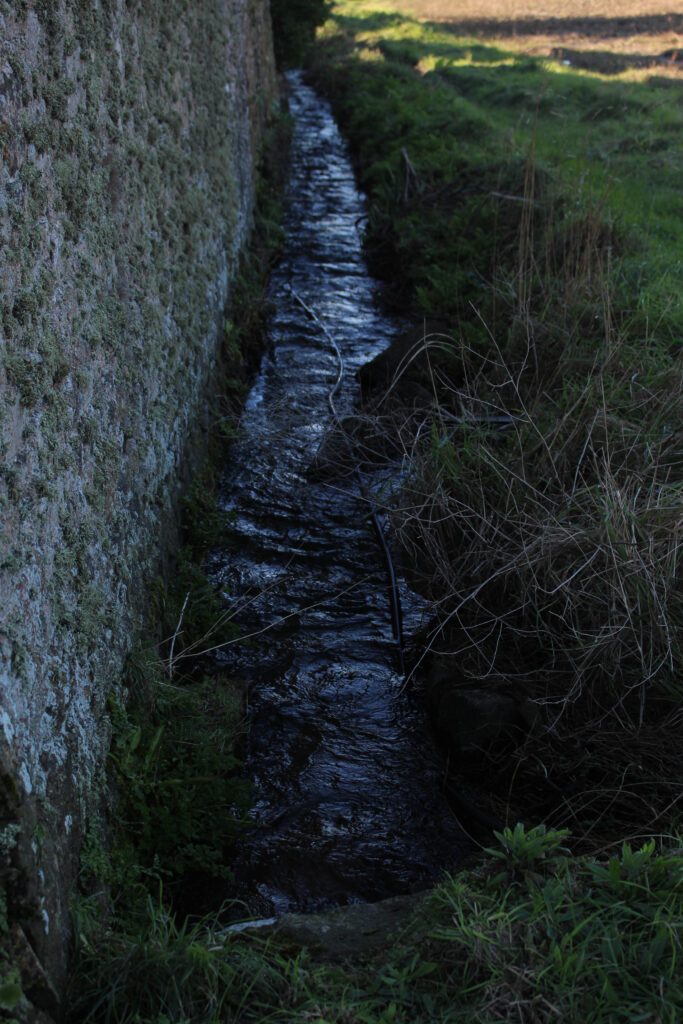
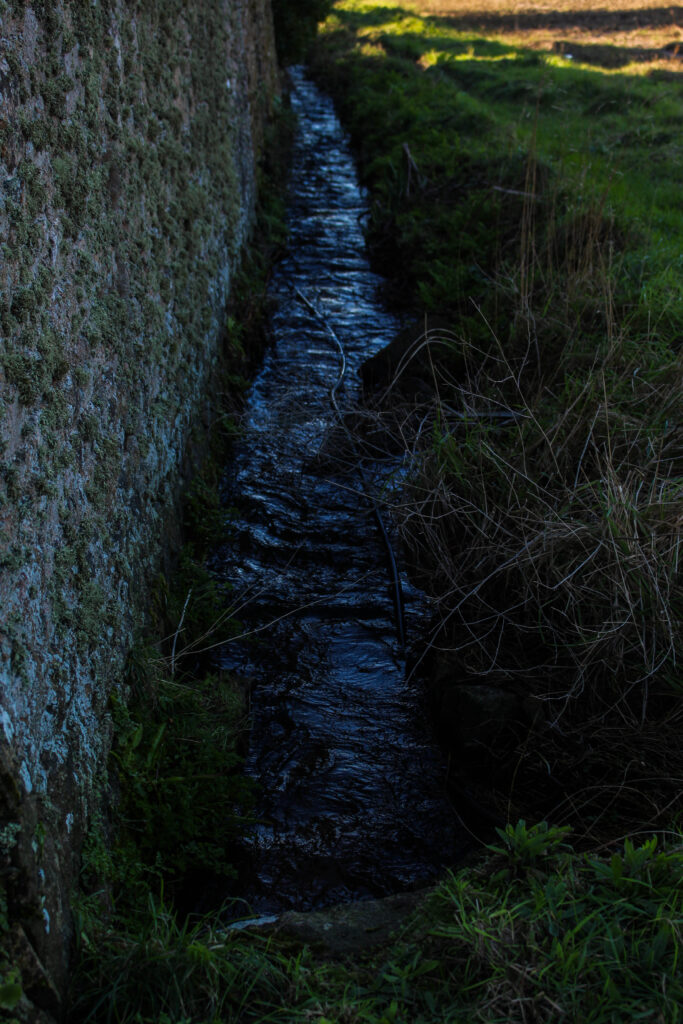
two narratives conjoined by architectural images
Design and layout
pen illustrations separating stories
Editing and sequencing
17-20 images per story at beginning and end with filler images in the middle conjoining the story’s through aesthetic and atmosphere
Images and text
small description of witches seats and their history
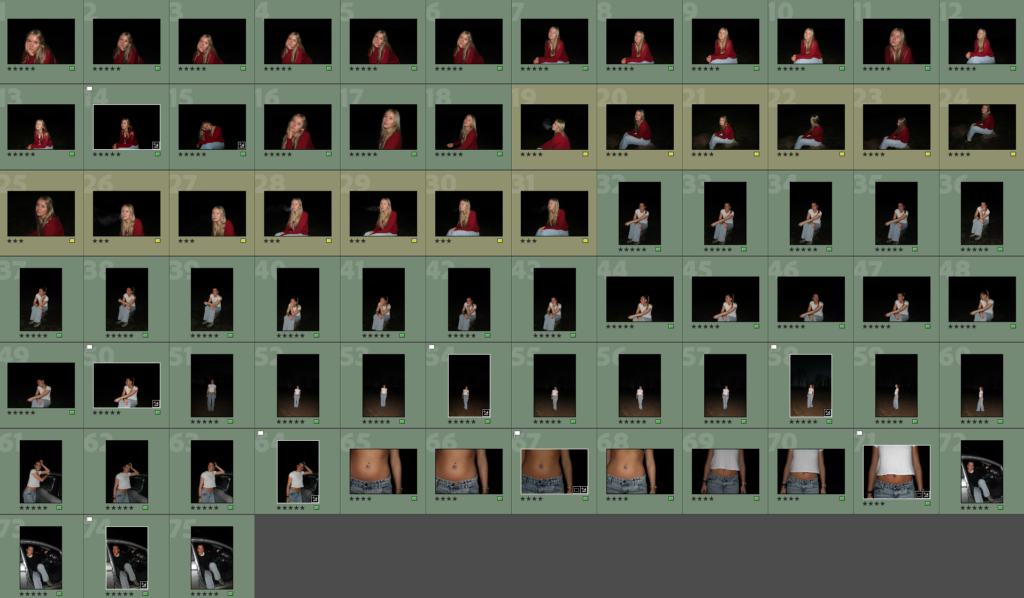
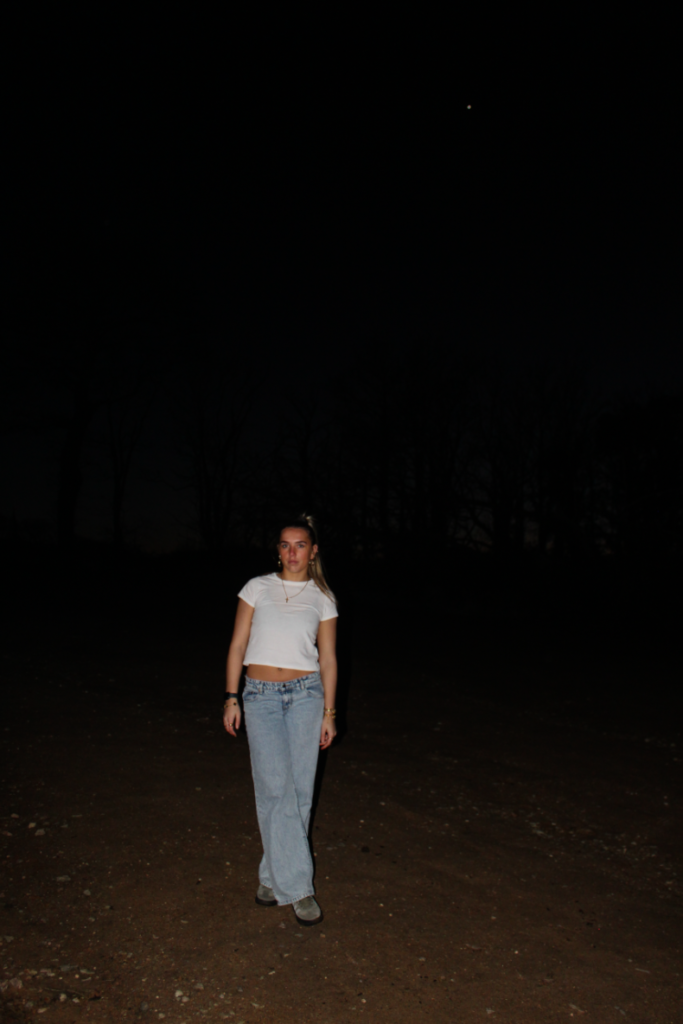
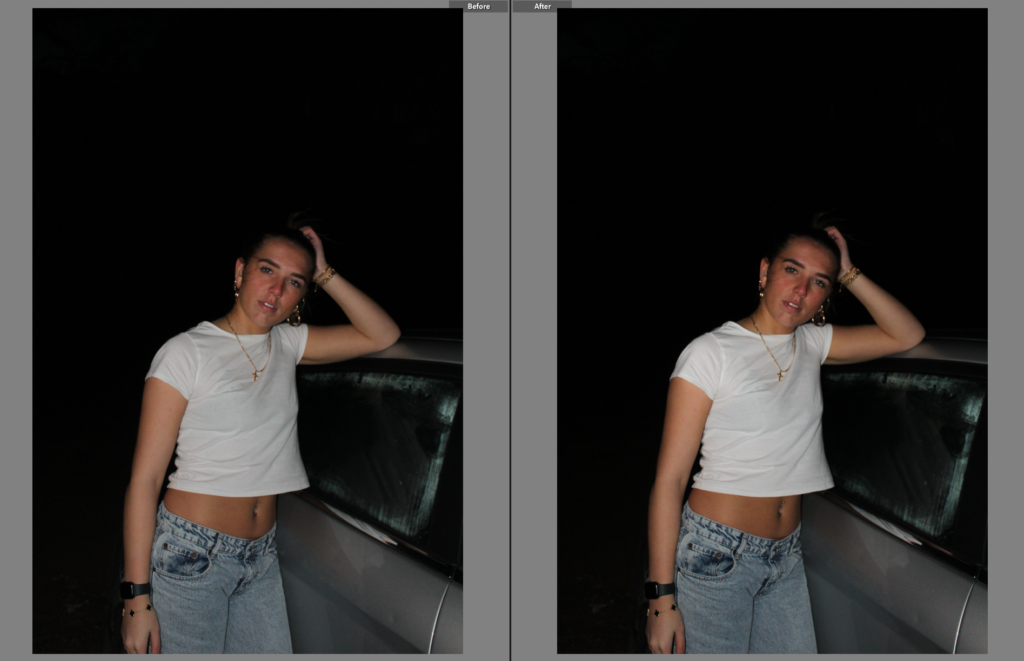
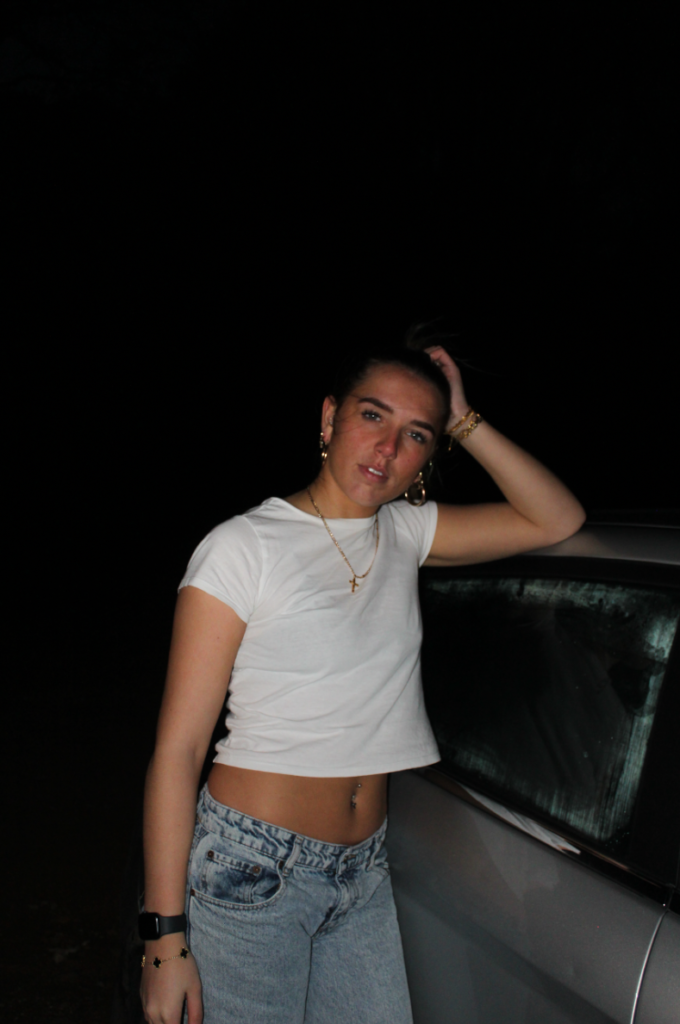
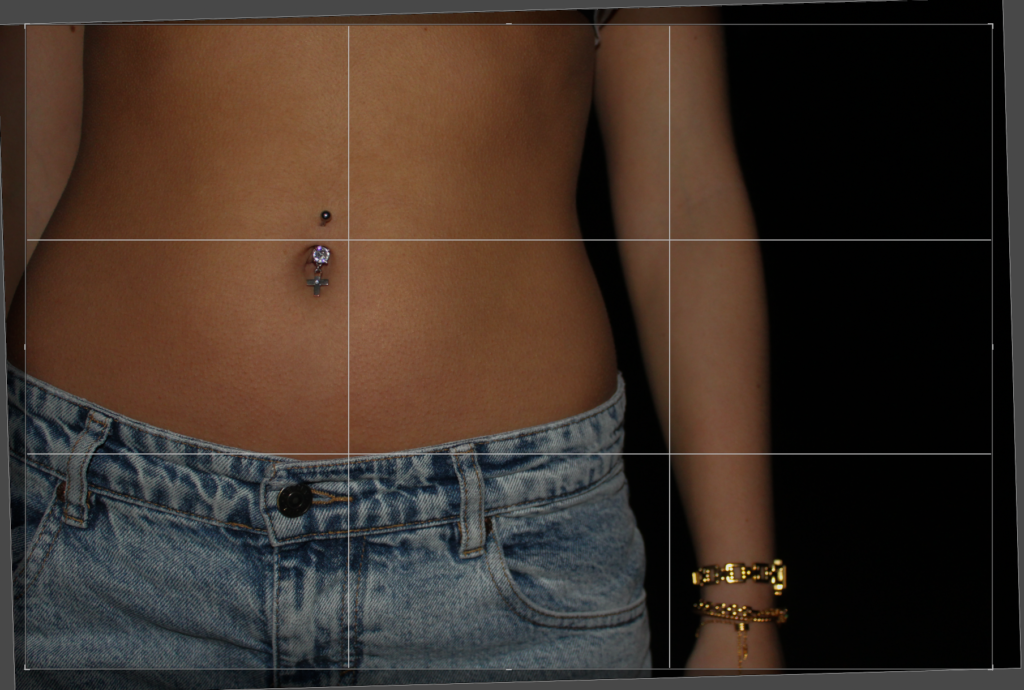
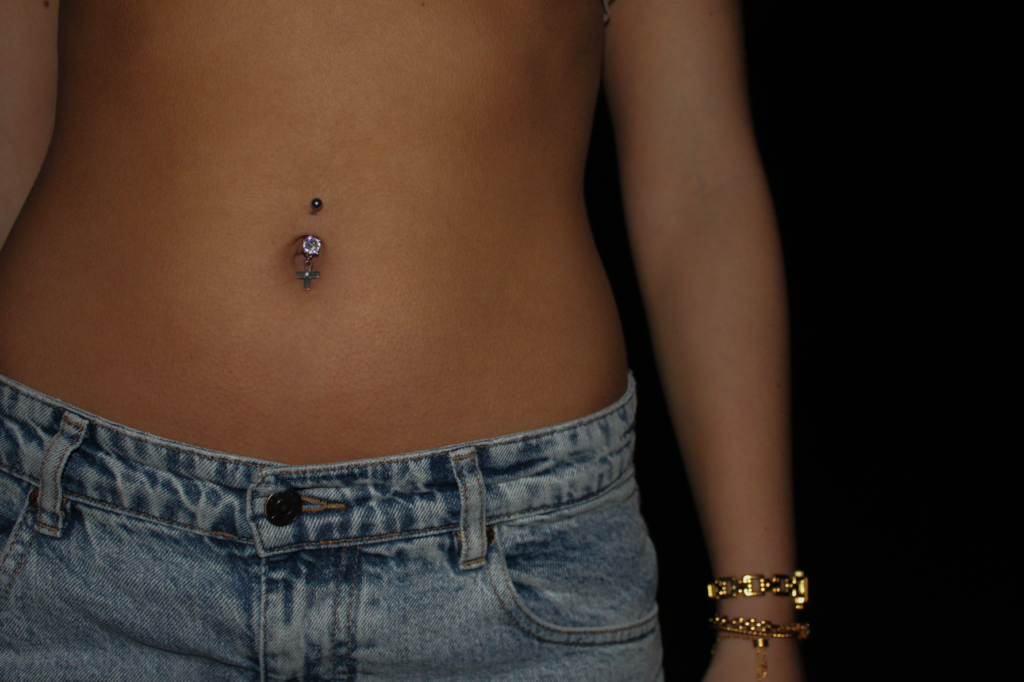
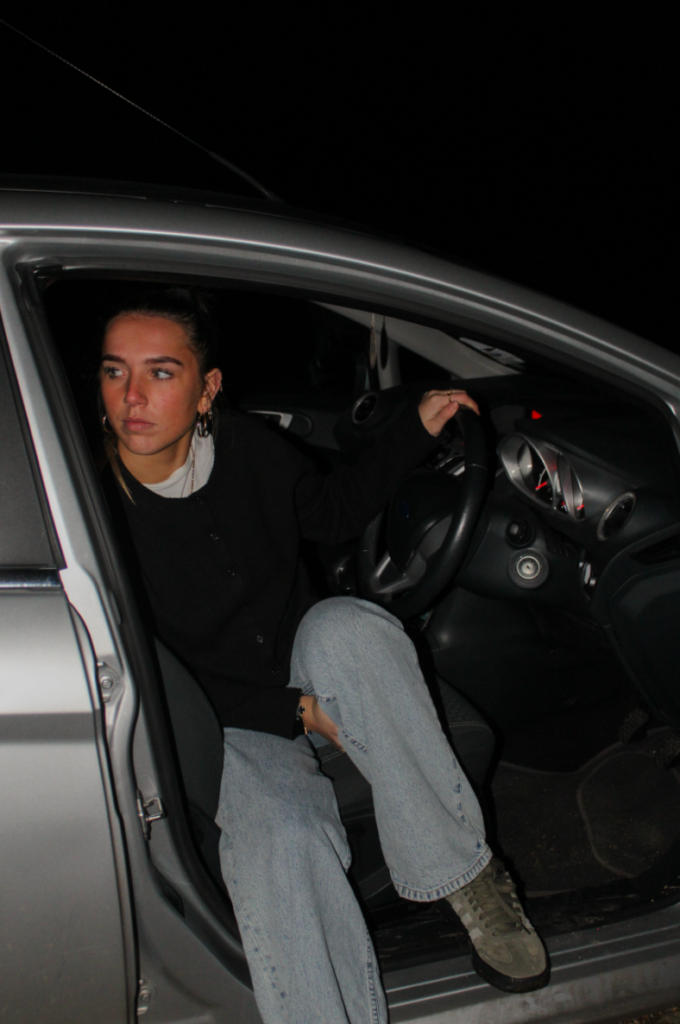
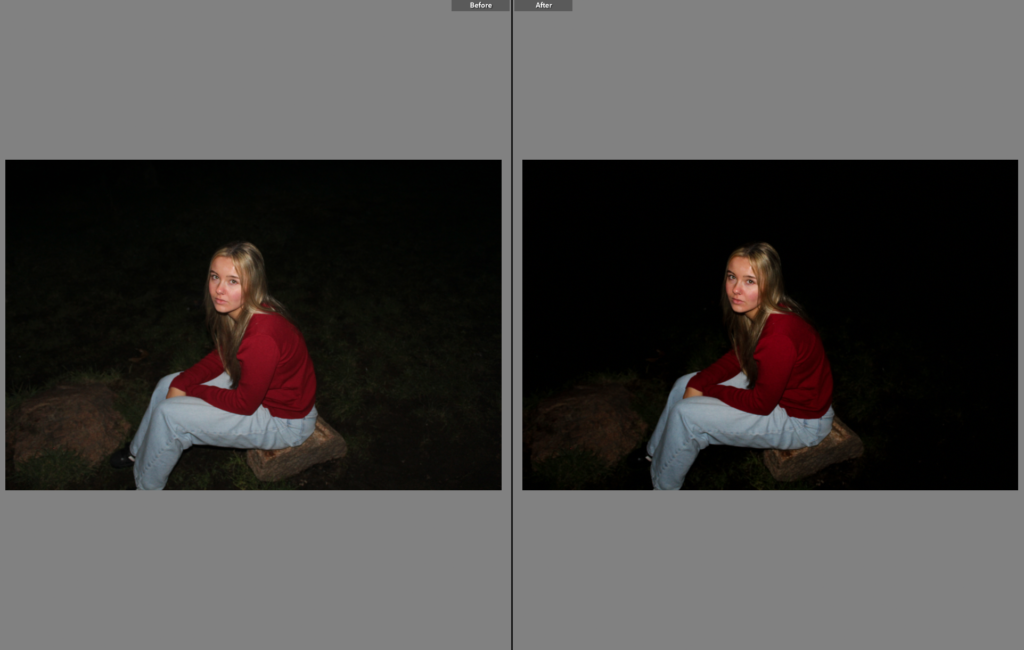
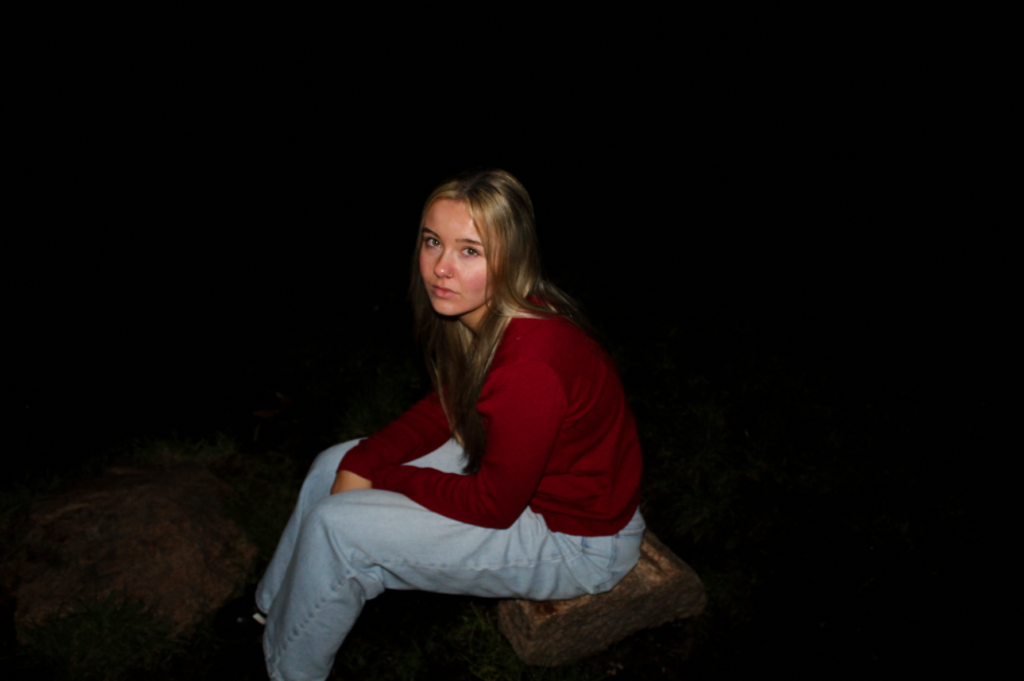
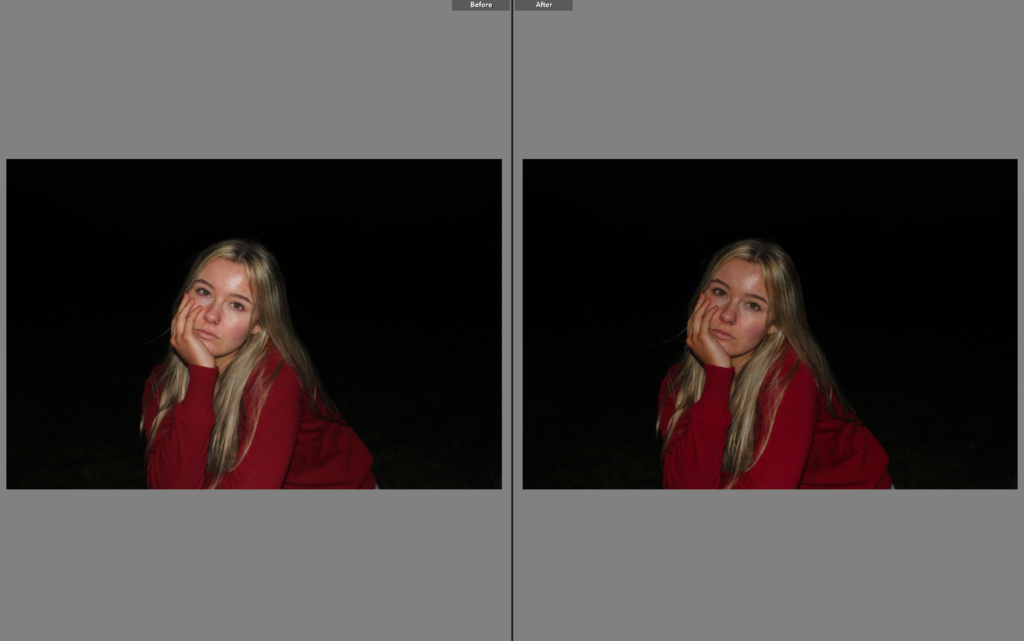
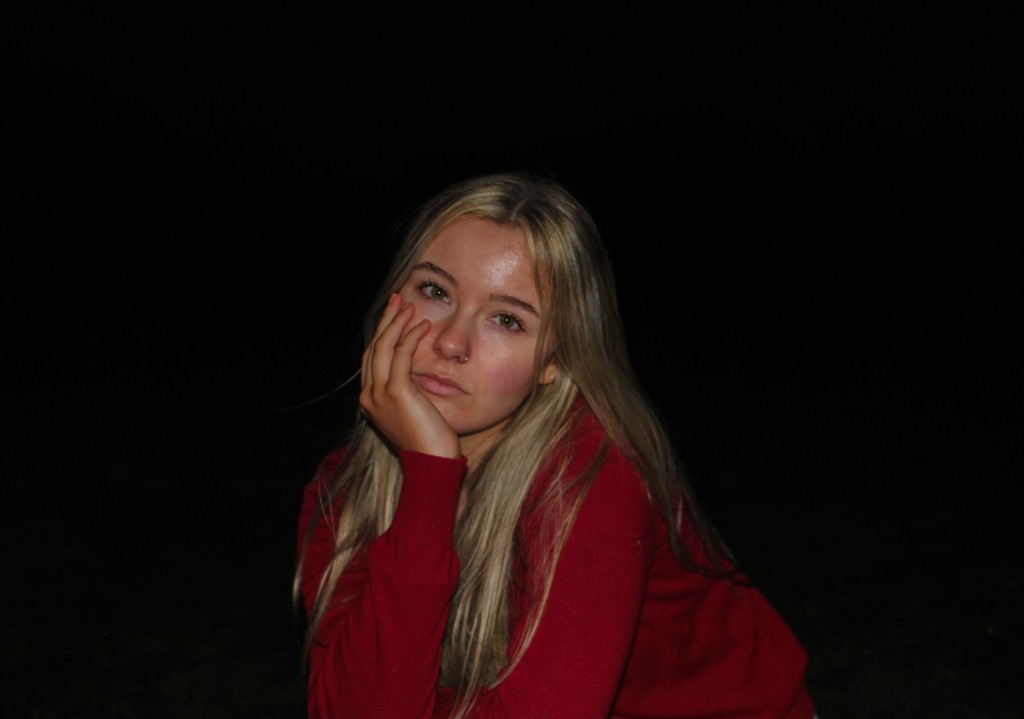
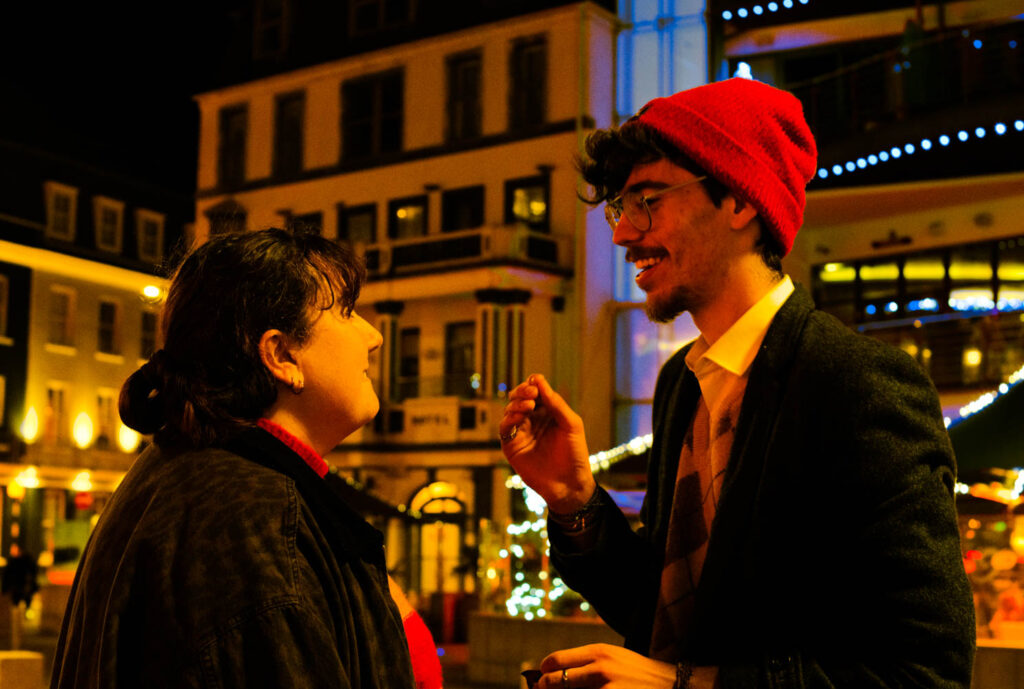
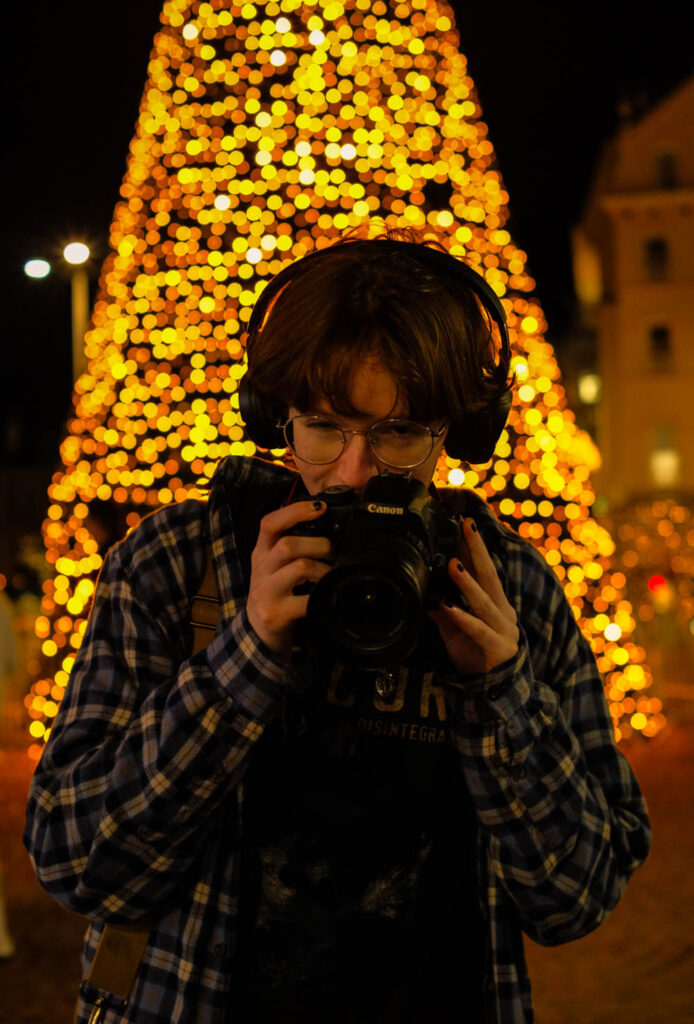
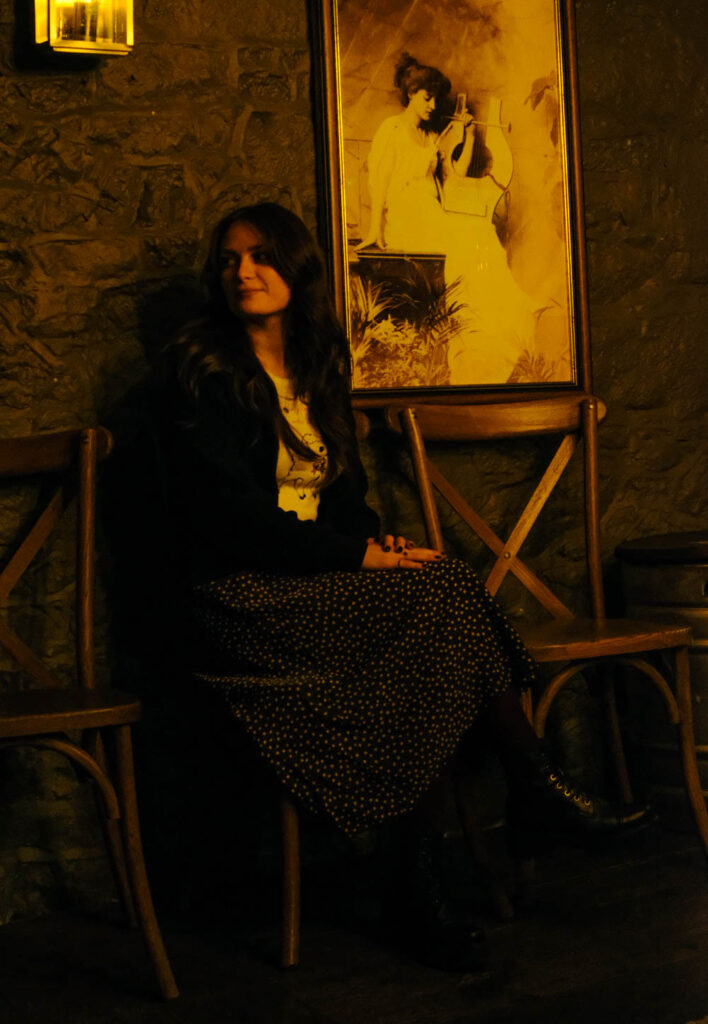
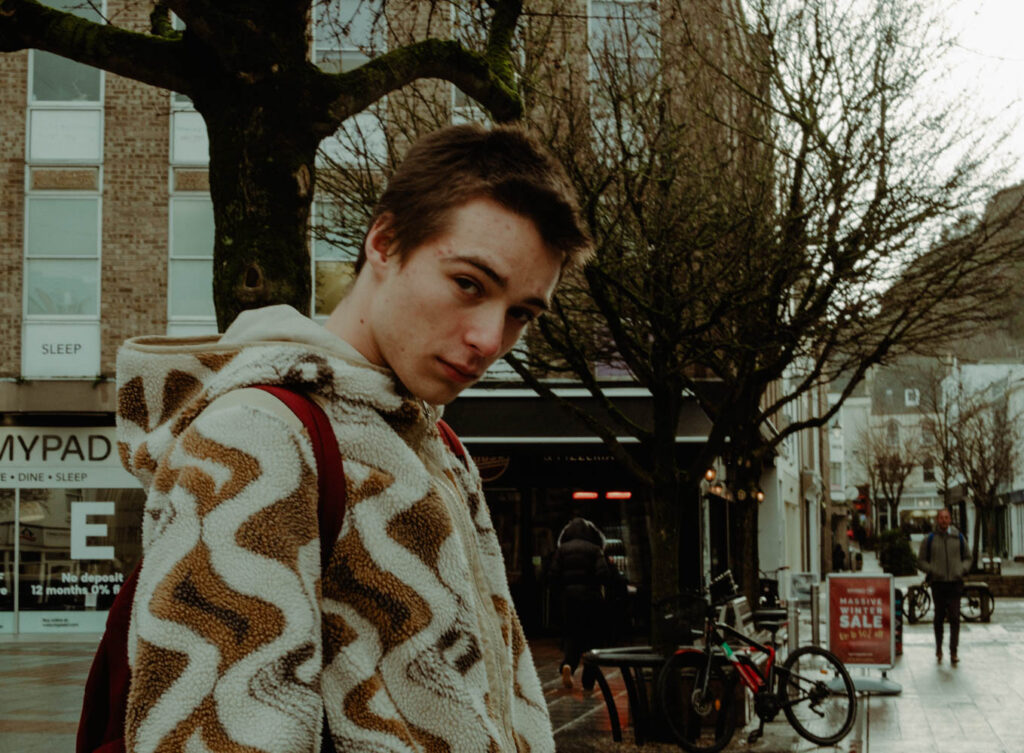
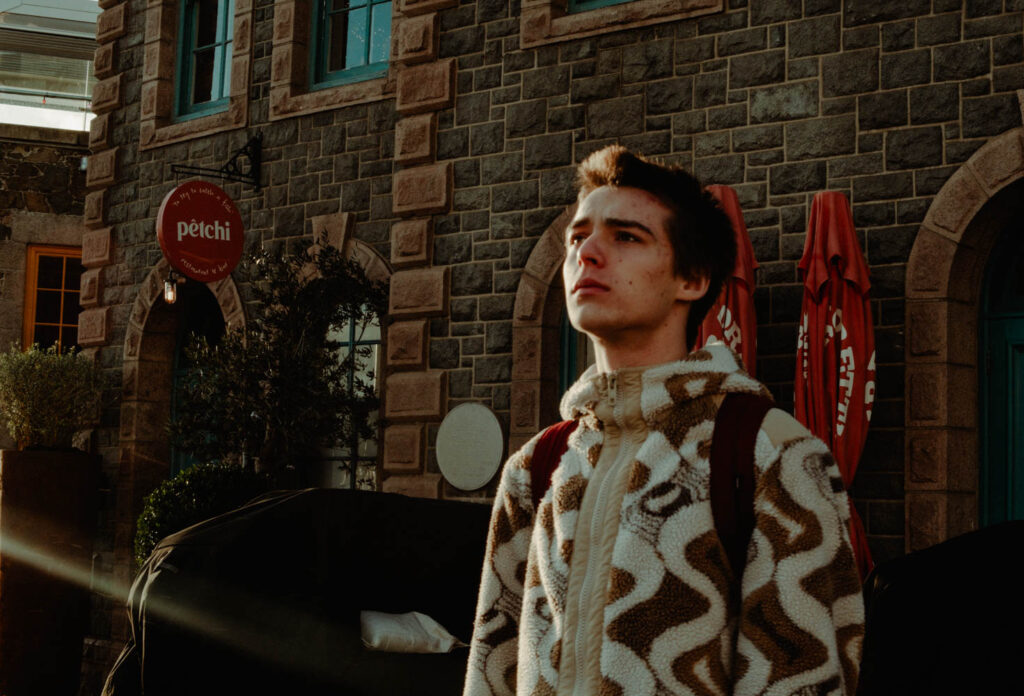
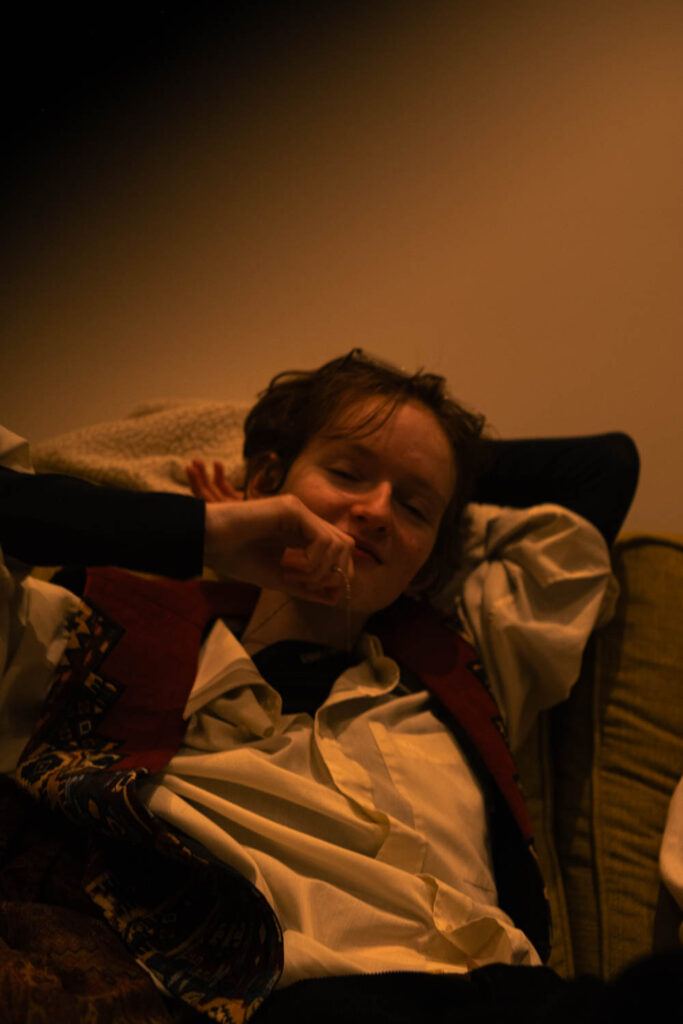
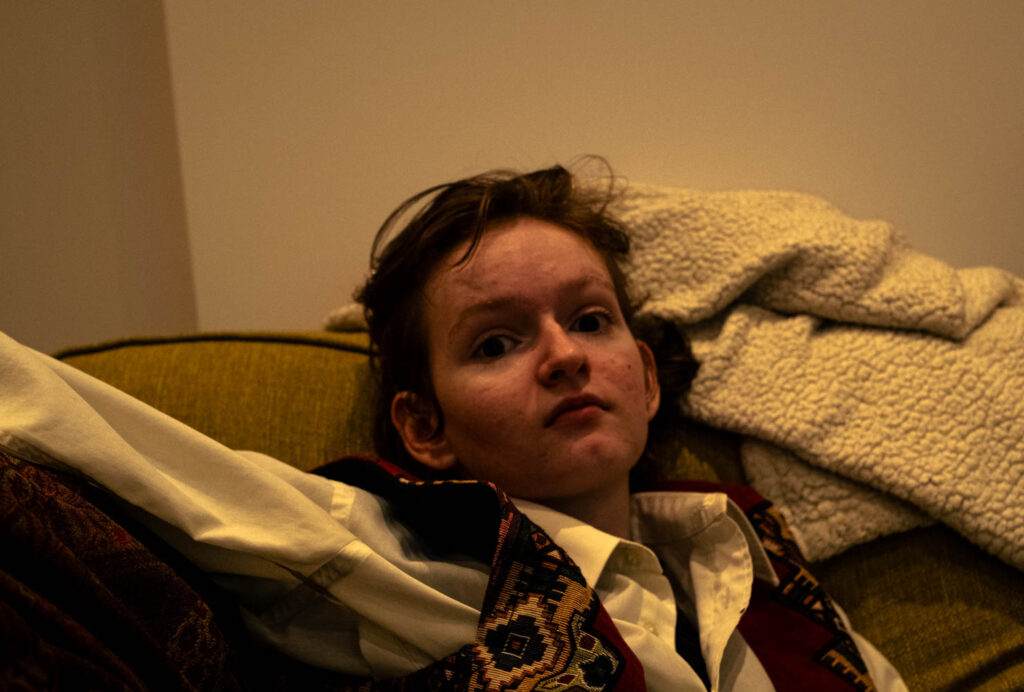
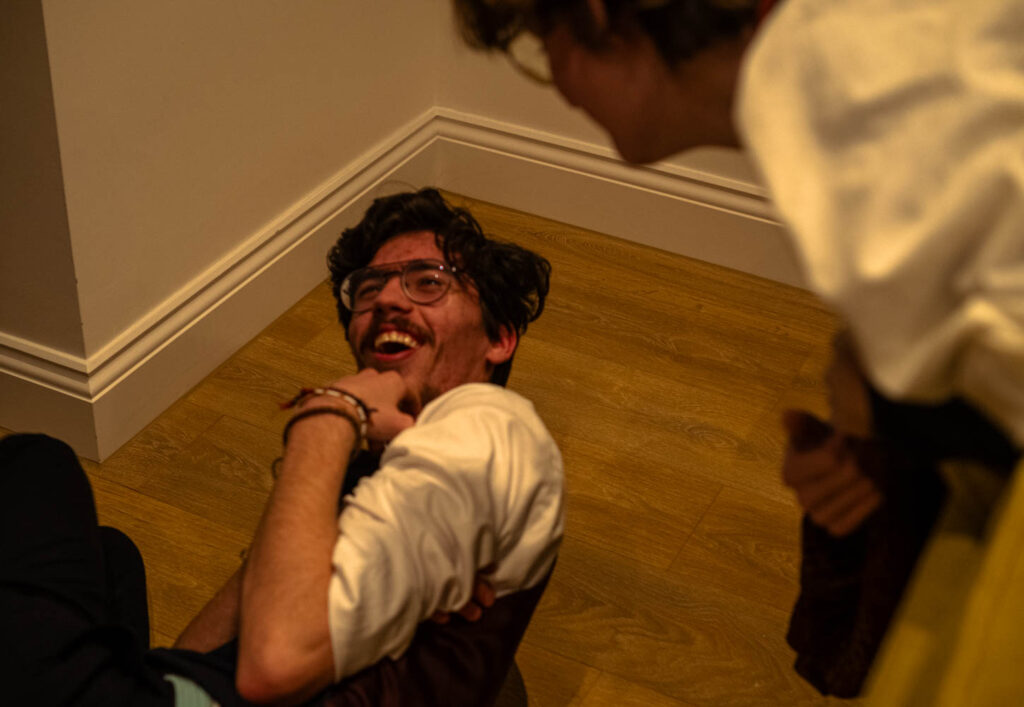
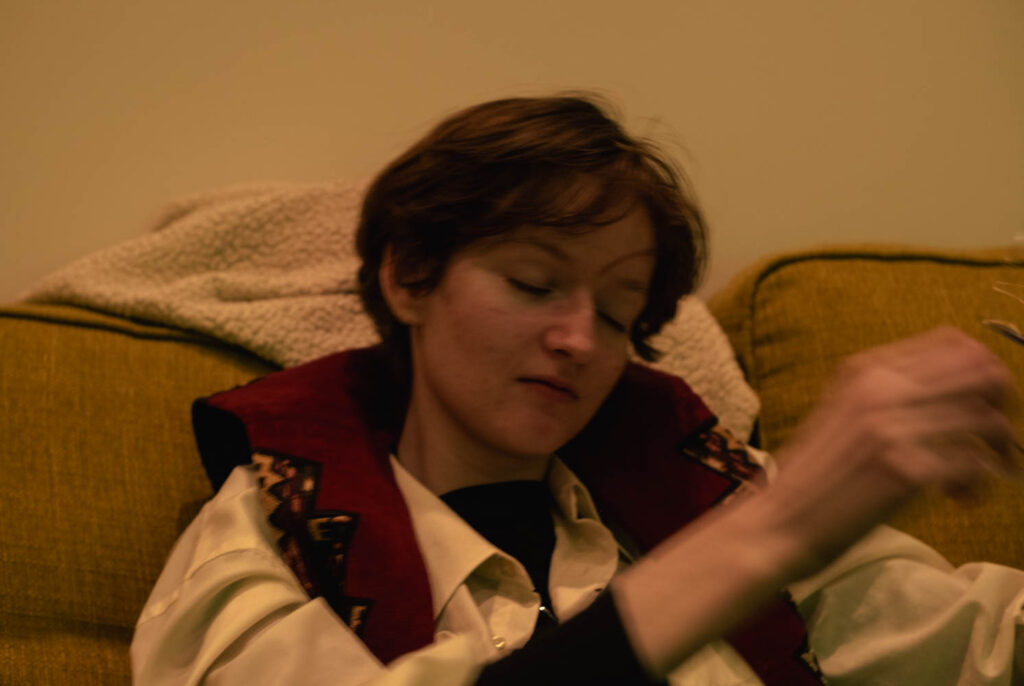
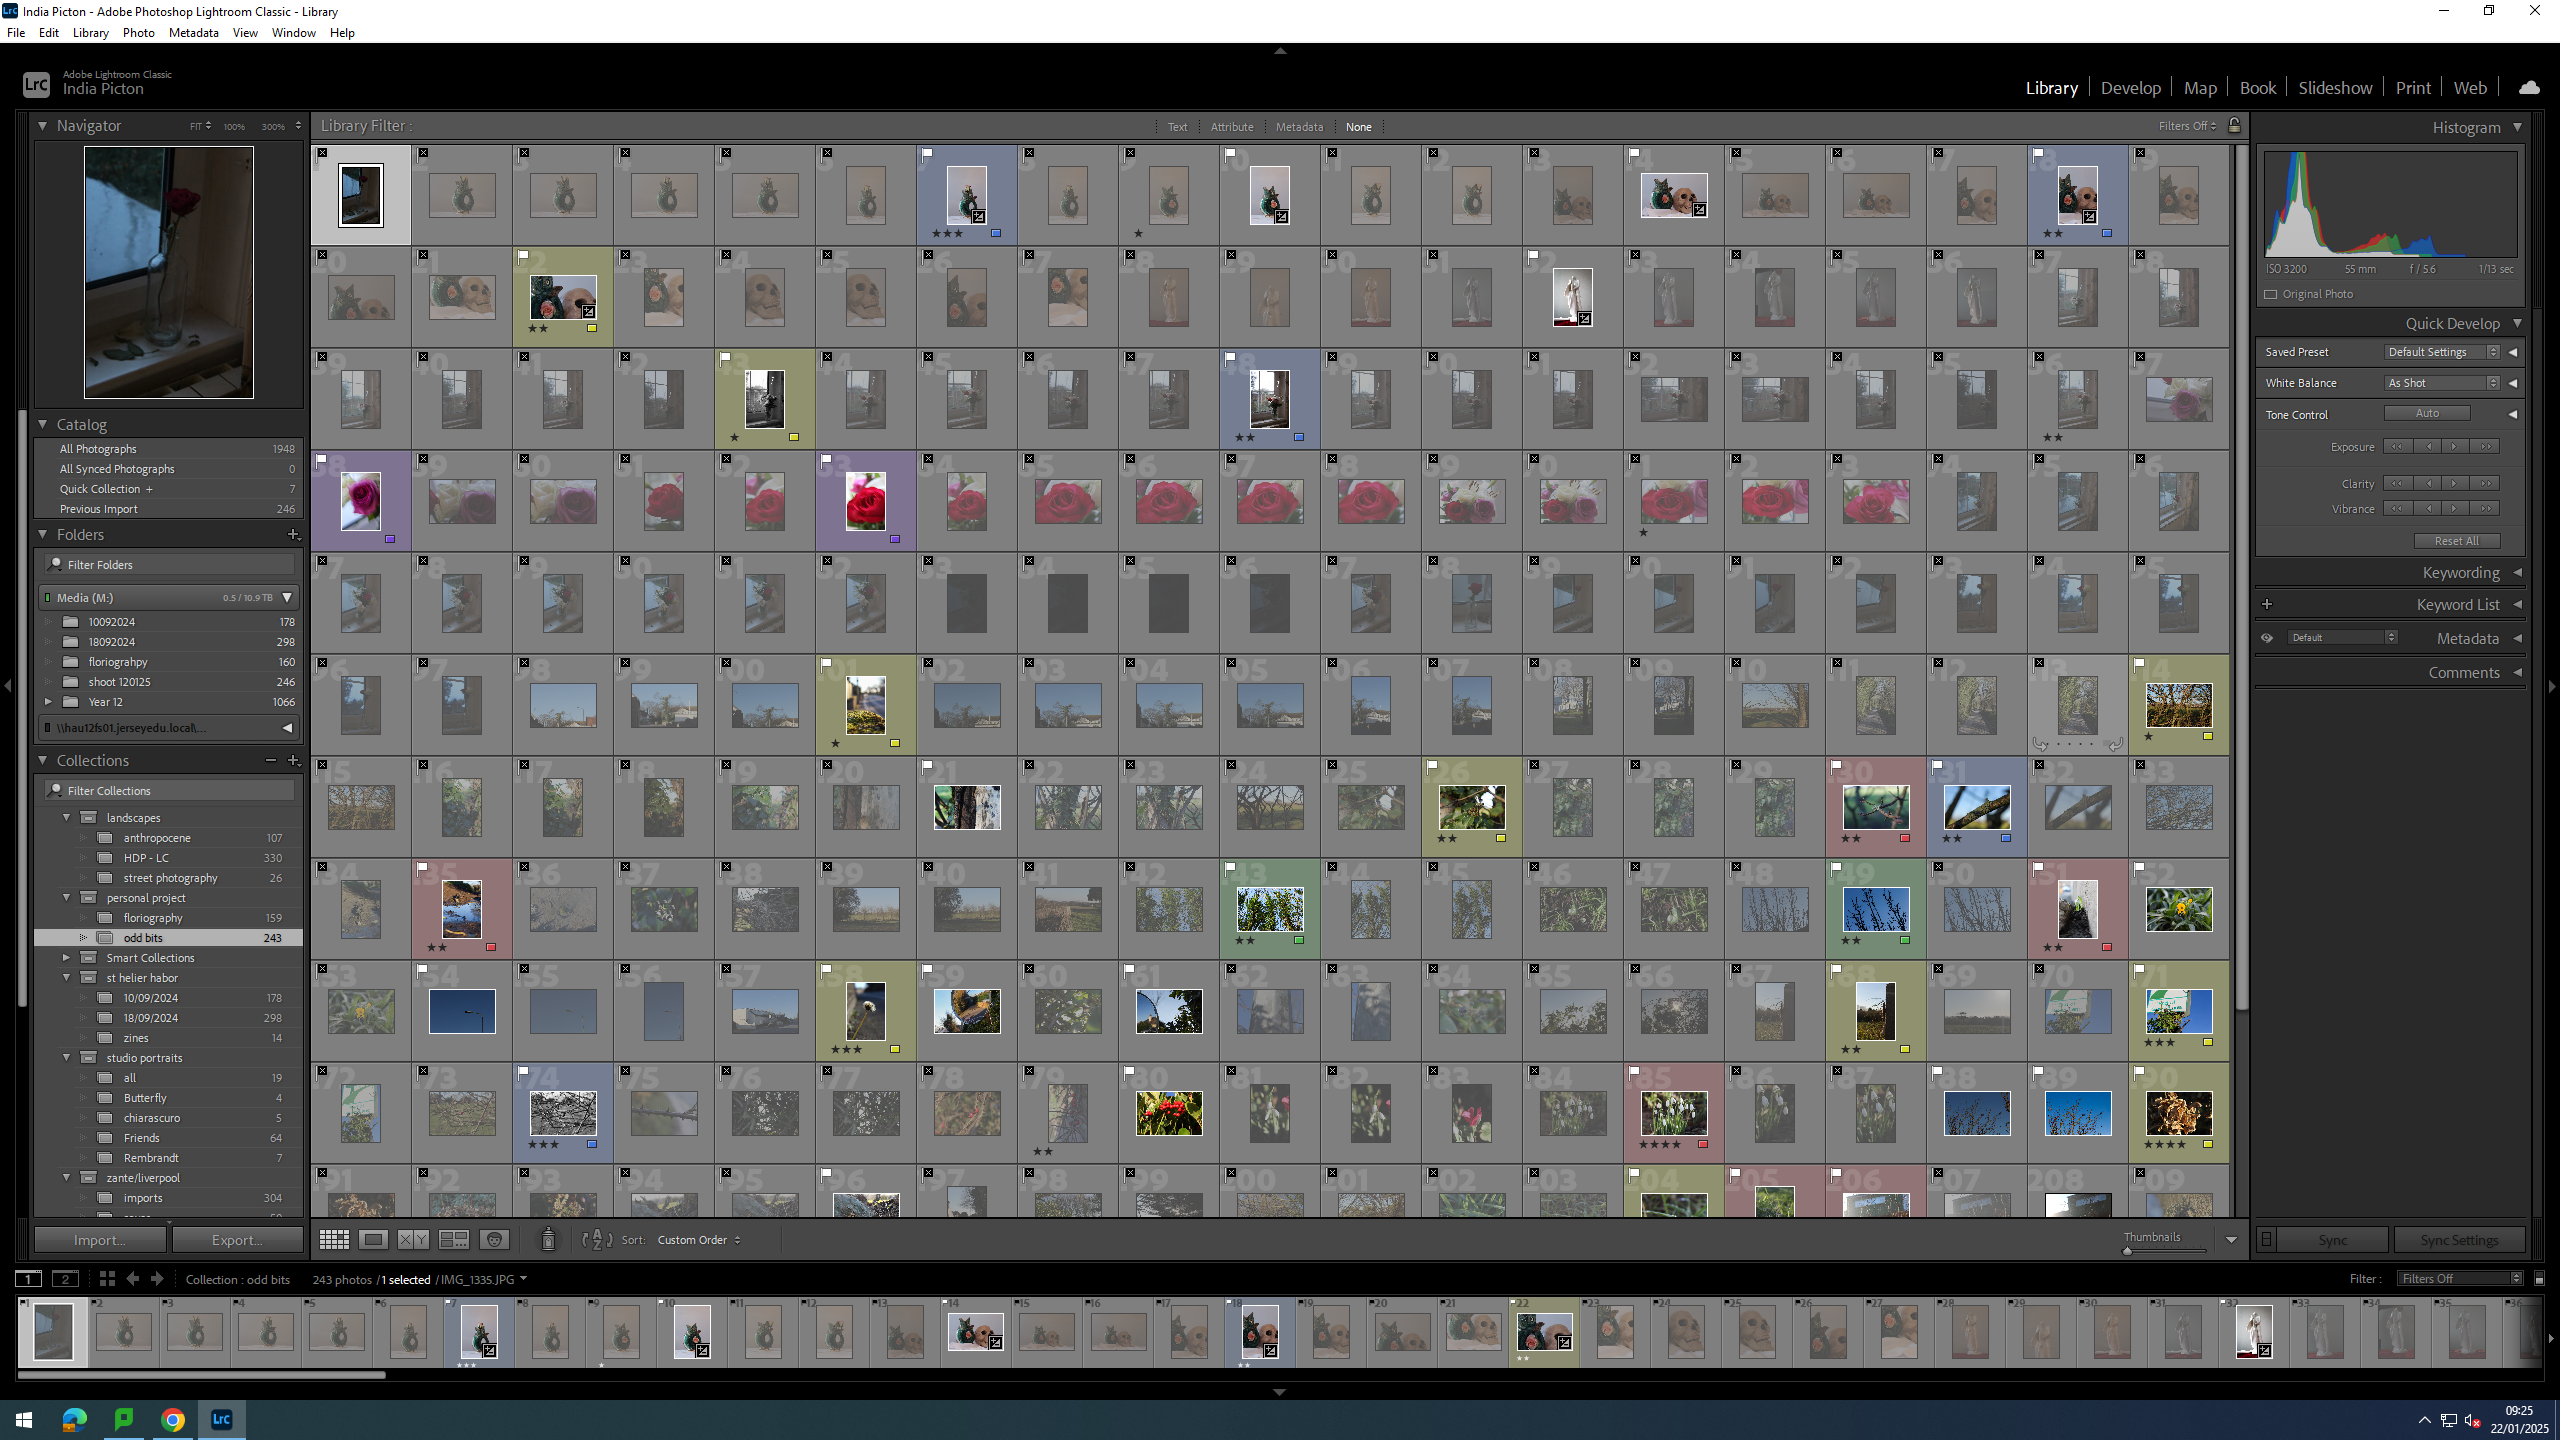
For my fourth photoshoot on my personal study, I focused on myself and one other subject to photograph. This shoot was not inspired by any artist specifically, so it was a chance for me to evoke a more personal theme through my images, where I can include my own ideas, lighting, settings etc. For this shoot, me and my subject went to a field behind St Martin’s school during the evening to create a more dramatic effect, which successfully contrasts my other shoots as they have opposing elements within them. I wanted this shoot to tie in with my themes of youth and femininity through the element of loneliness, which I think relates well to my themes as it is something many young people suffer with. The dominant dark lighting in all of the images help create a sense of drama, and they emphasise how we are sat by ourselves in the dark. This works well because we are wearing vibrant colours such as white and red, which contrast greatly with the colour black. Due to the time of day we took the shoot, it therefore allowed me to experiment with using the flash when photographing,
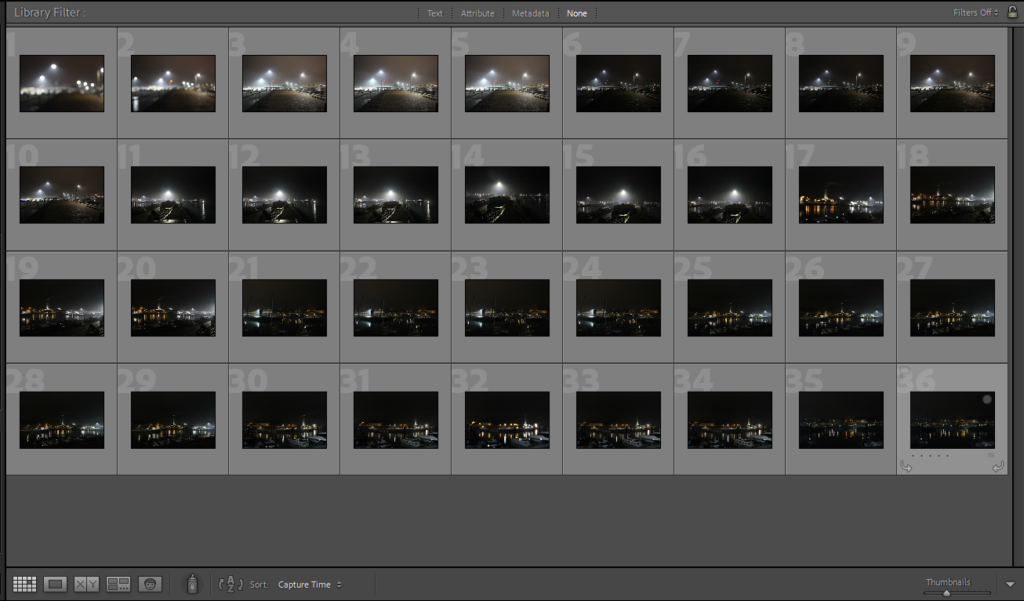
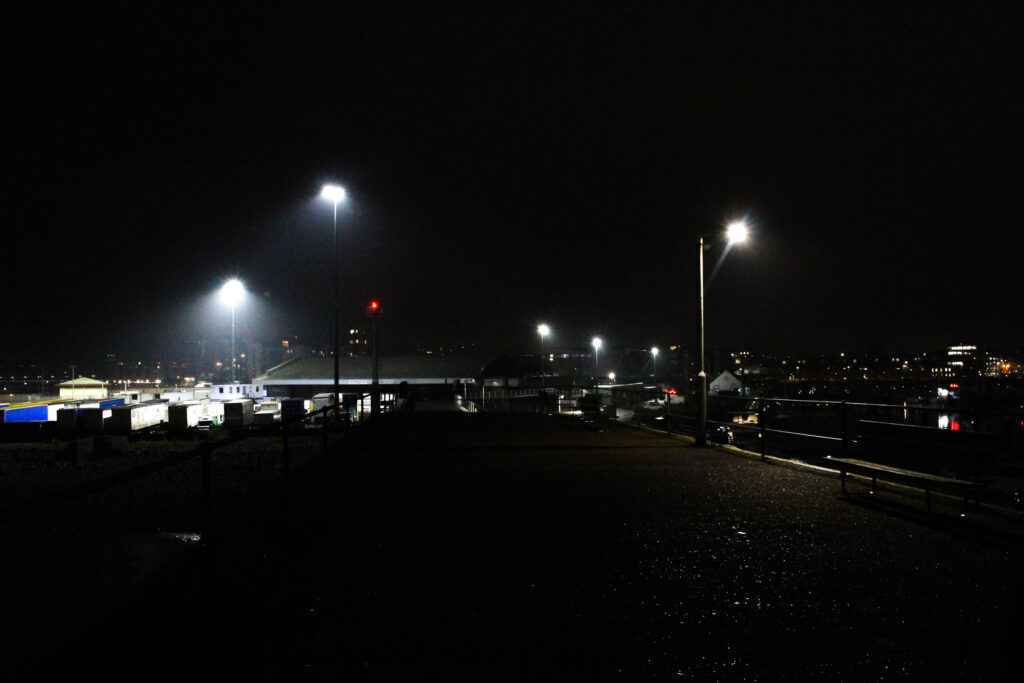
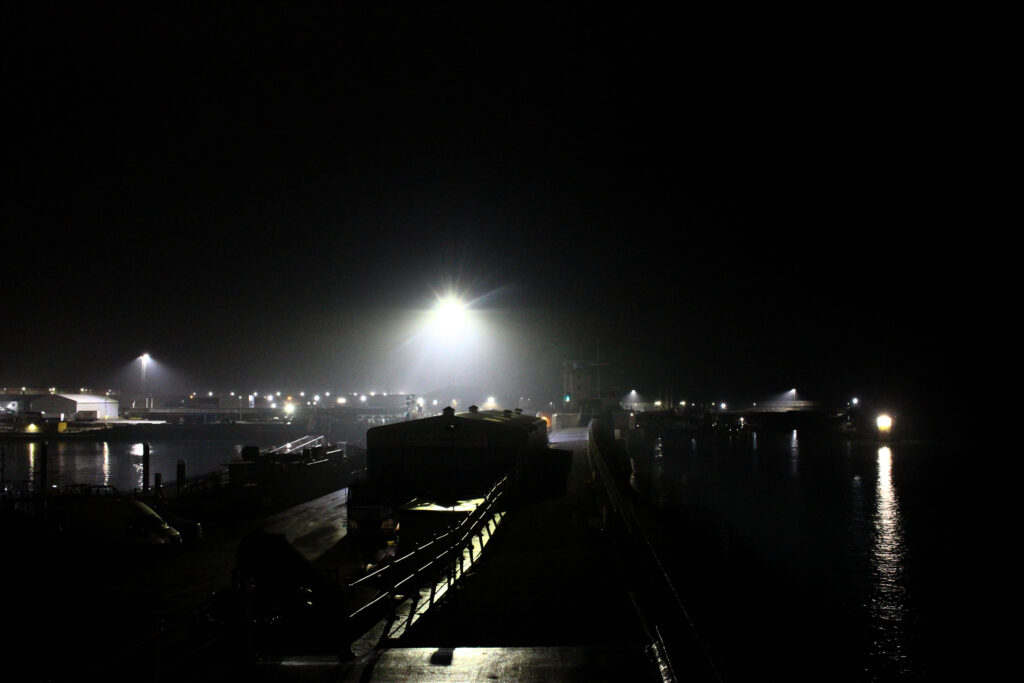
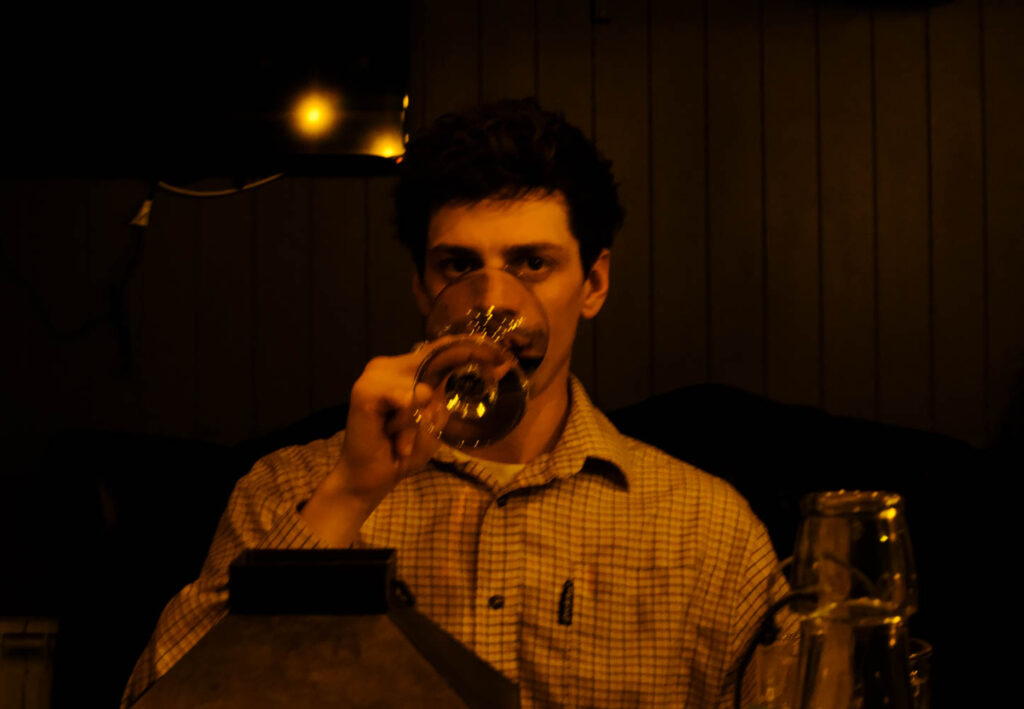
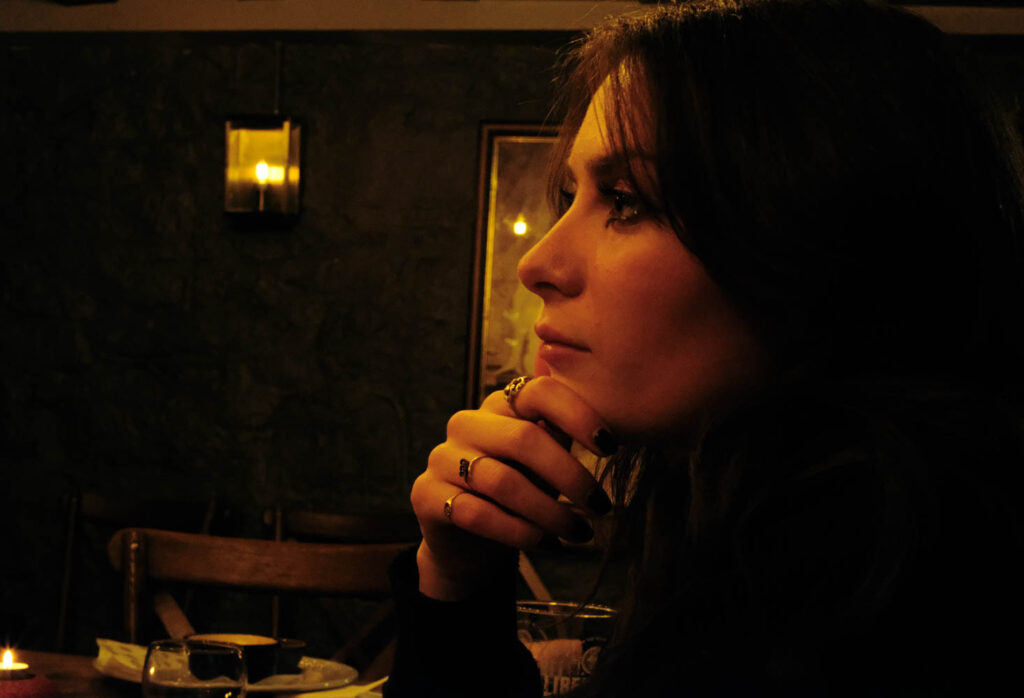
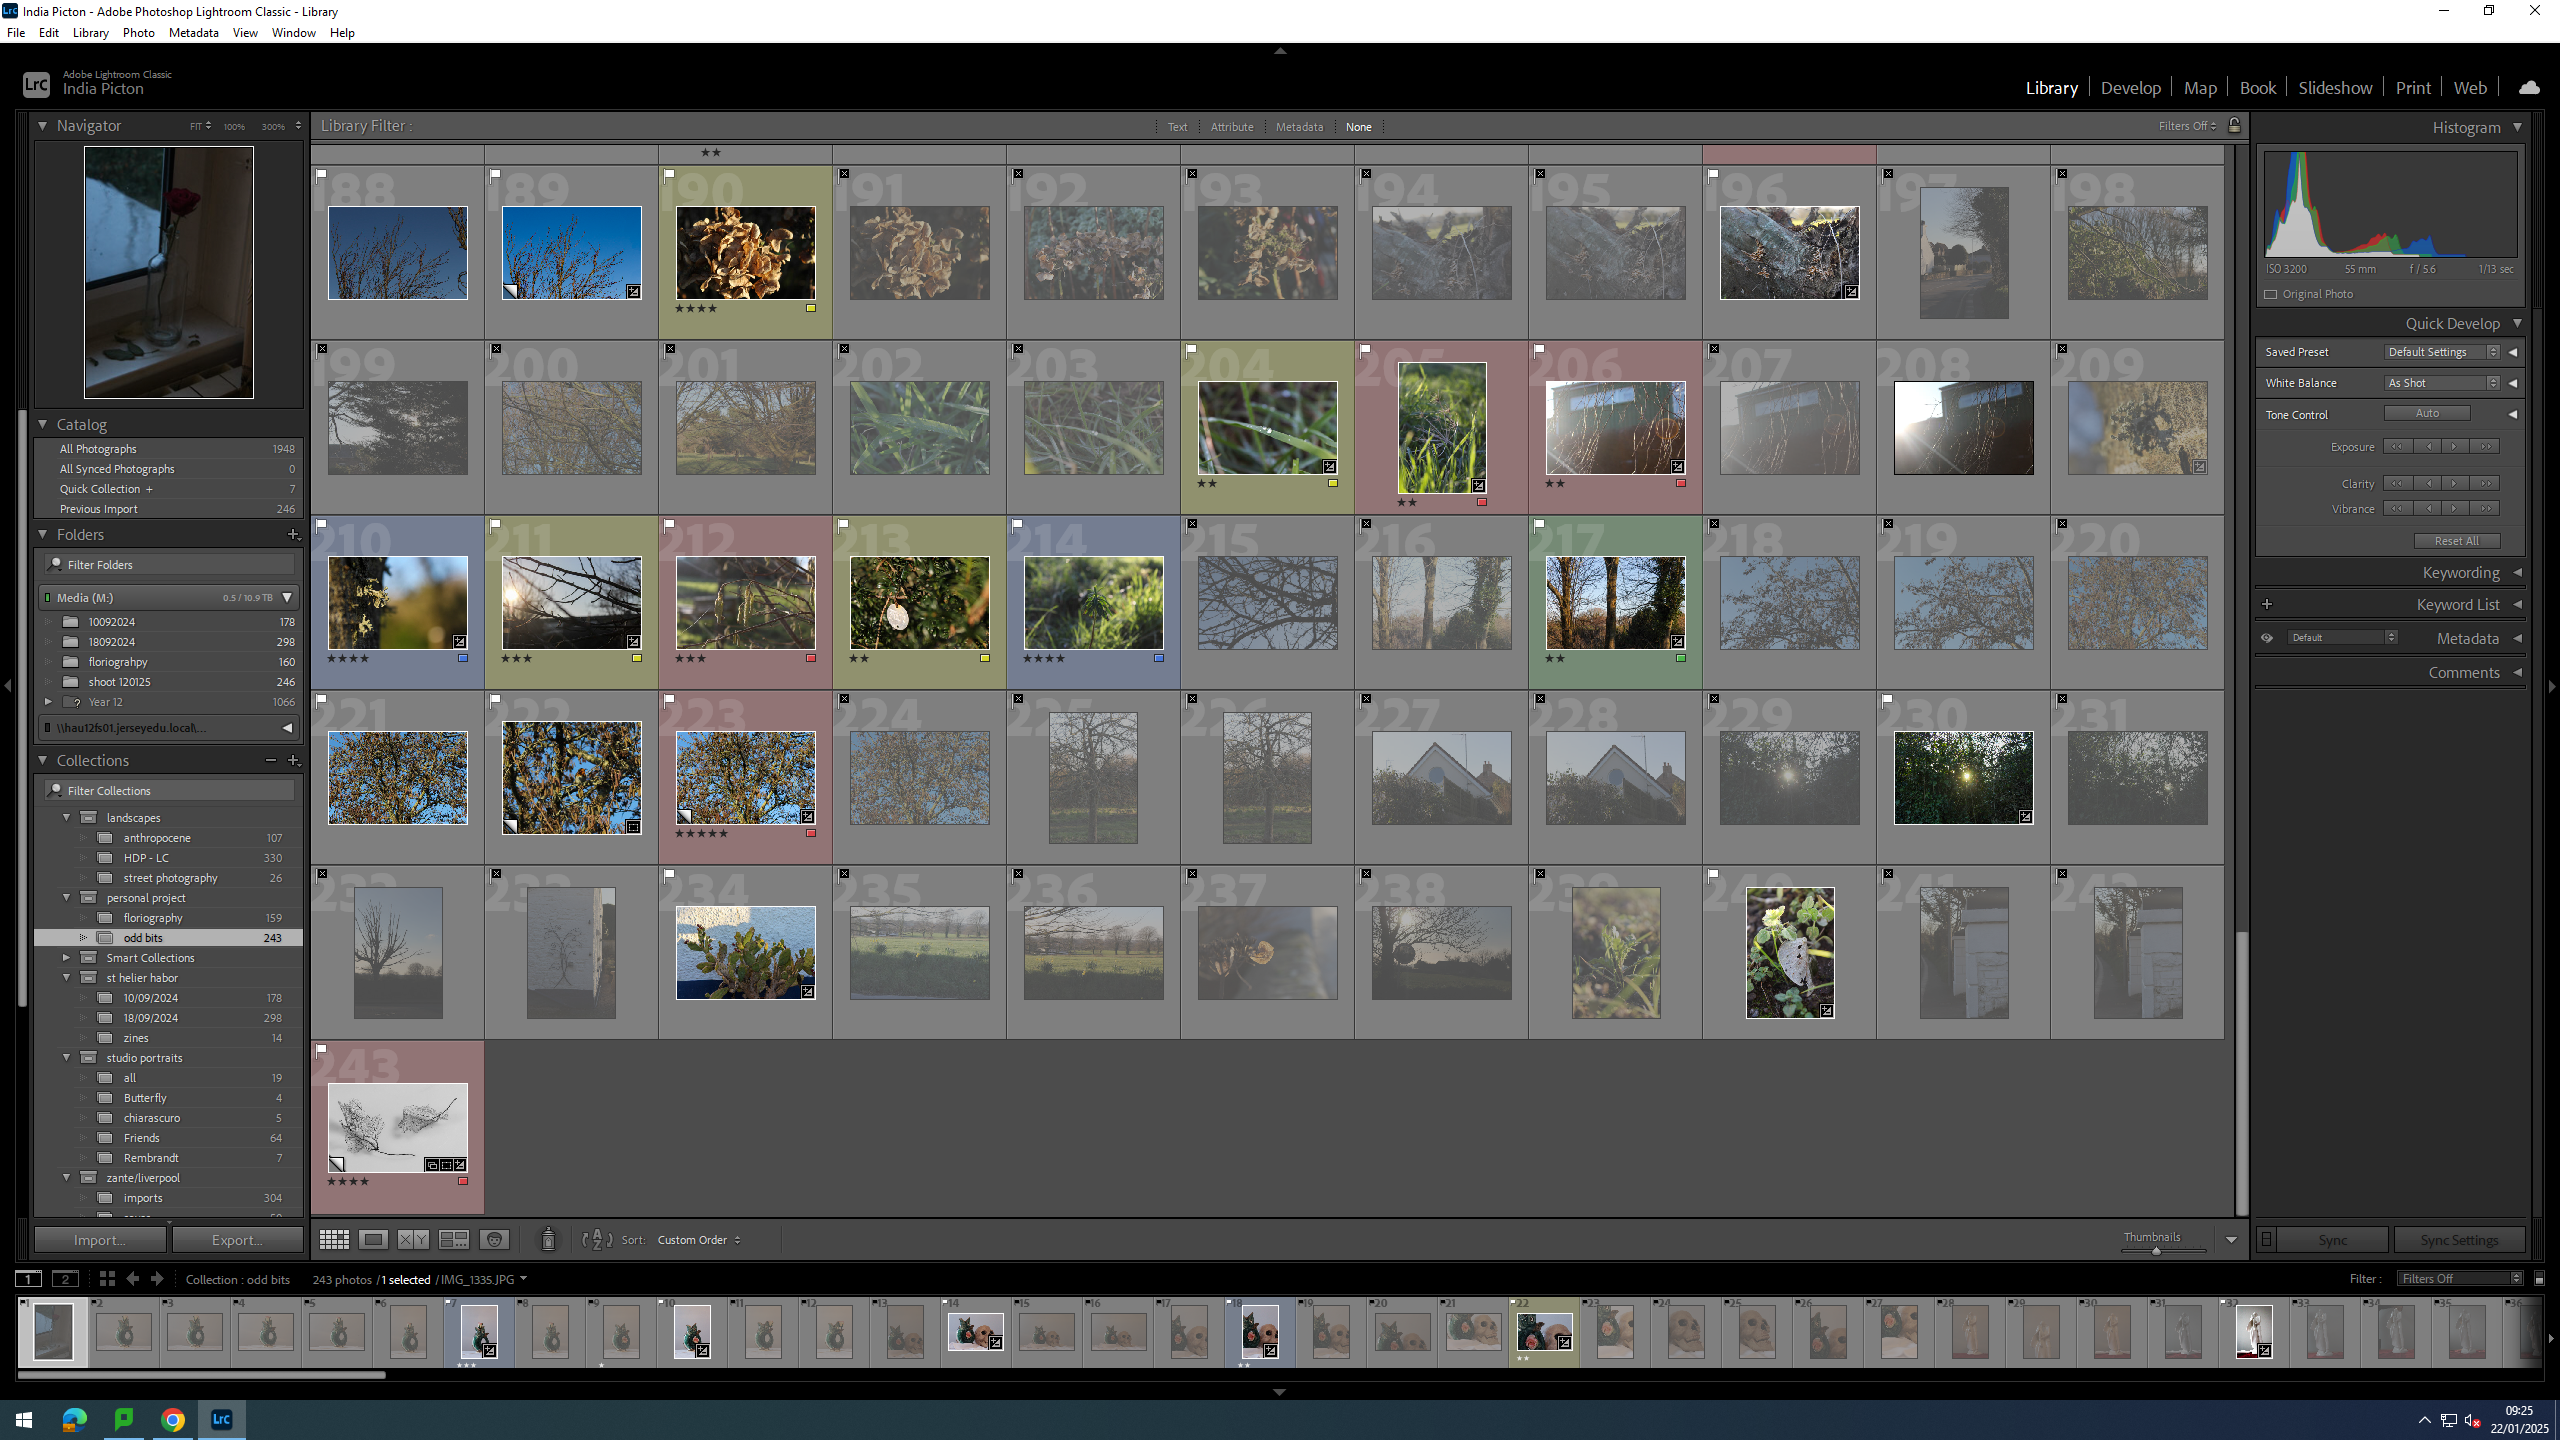
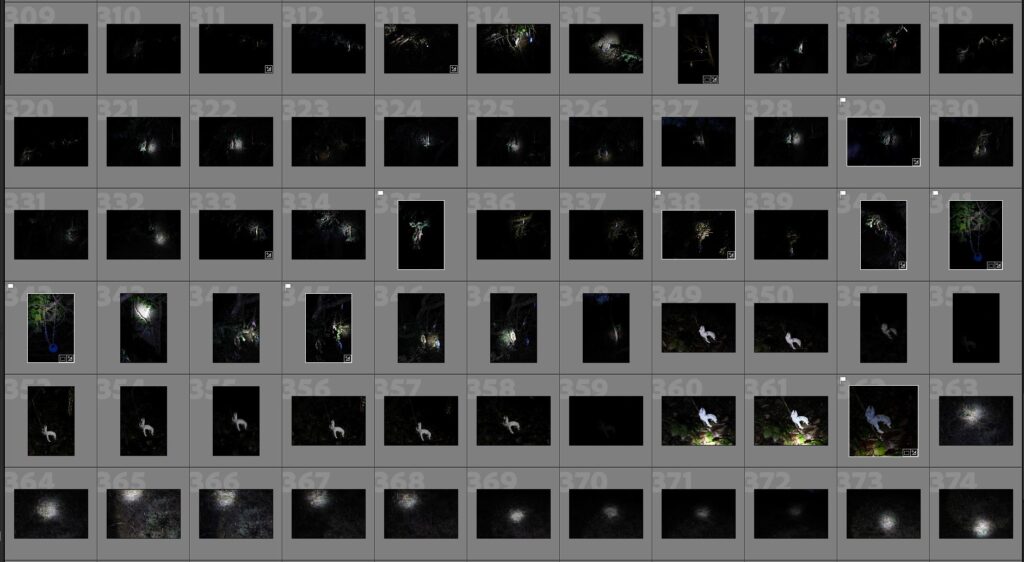
Above is a image showcasing the initial photographs that I took for this photoshoot, this photoshoot was pretty short, only capturing 36 images in total. I chose this particular location for this photoshoot because of the artificial lighting and the overall mood, the lights at Elizabeth Marina are flood lights meaning that the light scatters across a certain distance, this worked well with the slight amount of mist that was present during this photoshoot. This photoshoot almost replicates my third photoshoot, emphasizing the interplay of the fog and artificial lighting, creating a surreal and dreamlike scenery. For this photoshoot I used my DSLR camera along side a tripod and shutter release to ensure the frame is as stable as possible, similarly to my third photoshoot I used a relatively high ISO of 6400, this was a mistake of mine and the ISO should have been set to a smaller number like ISO 100 to capture as much detail as possible. Even though I used a high ISO, I still like the overall photoshoot and I think the outcomes are great, grain is seen in all of the images in this photoshoot due to the use of the high ISO but I believe that the grain improves and highlights the overall mood I am aiming for. The main target with this photoshoot, just like the rest of the photoshoots taken at night and at low light was to capture the sense of solitude, mystery and isolation.
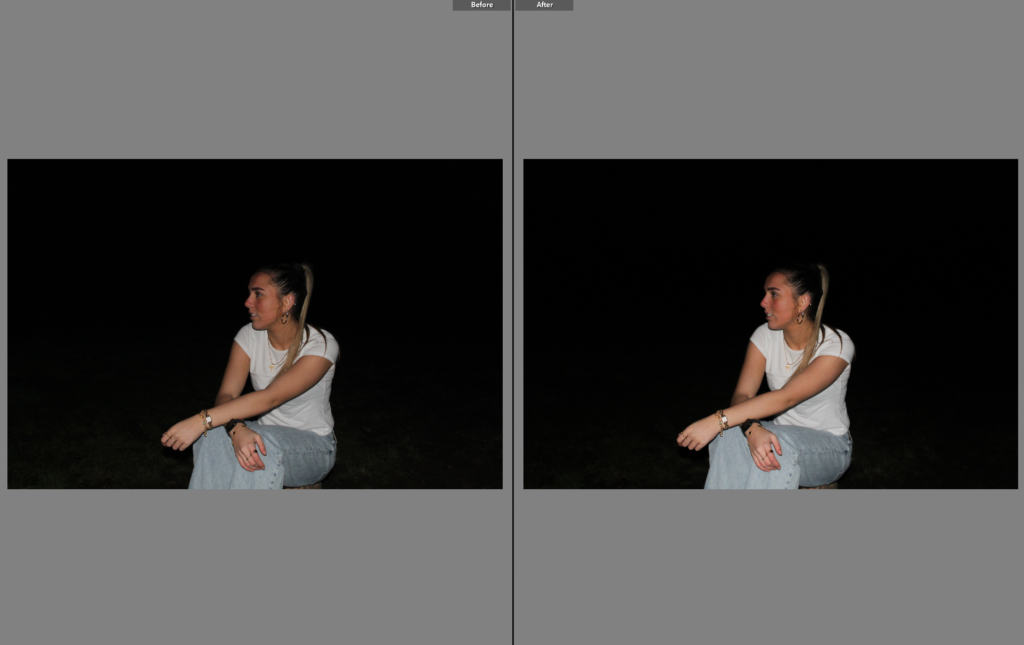
Final Selection Of Images
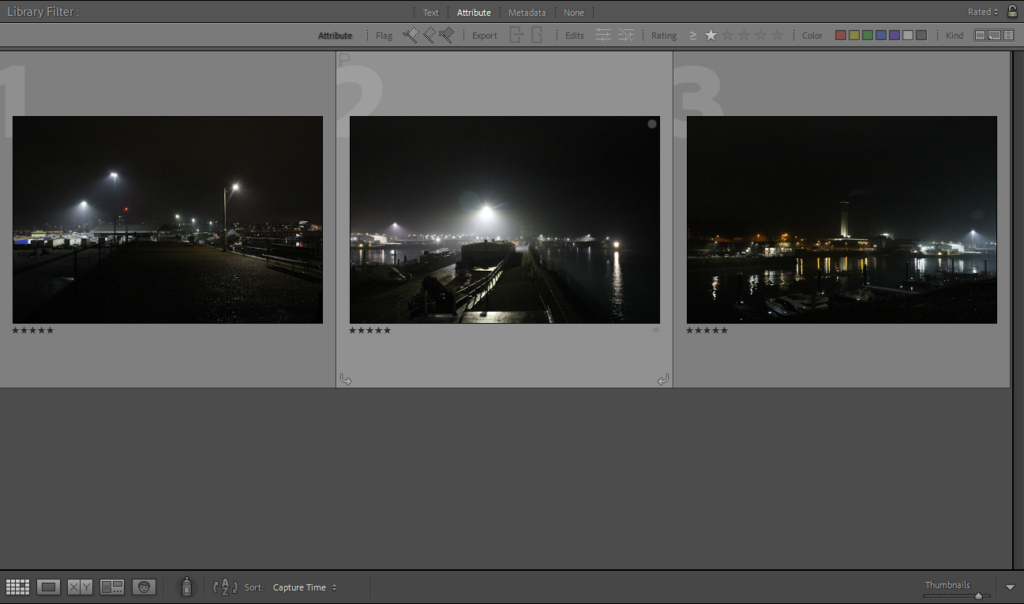
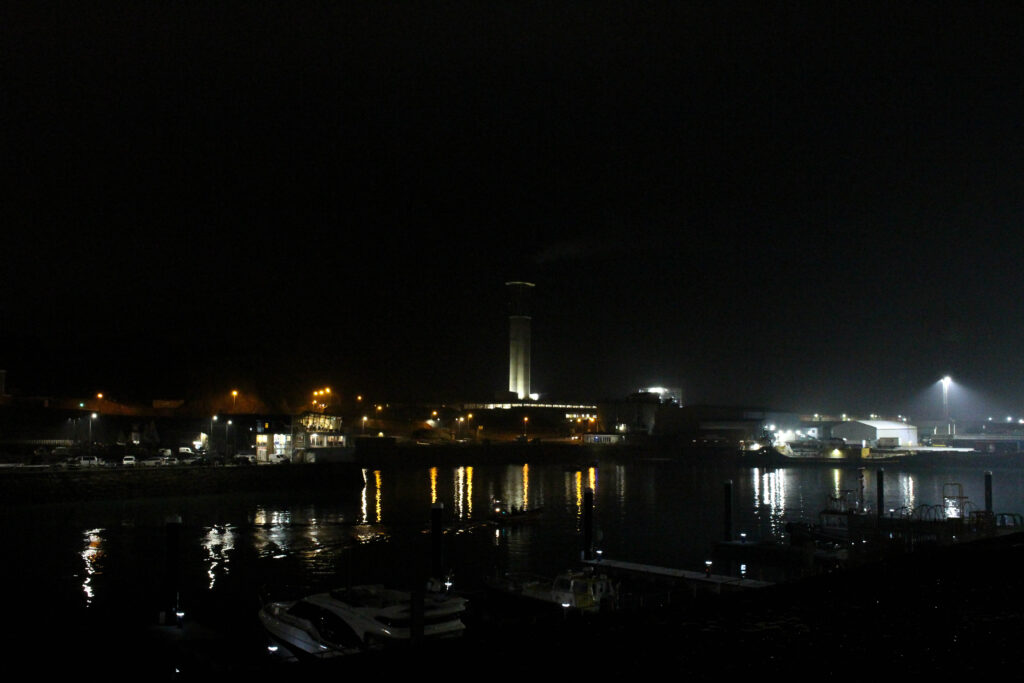
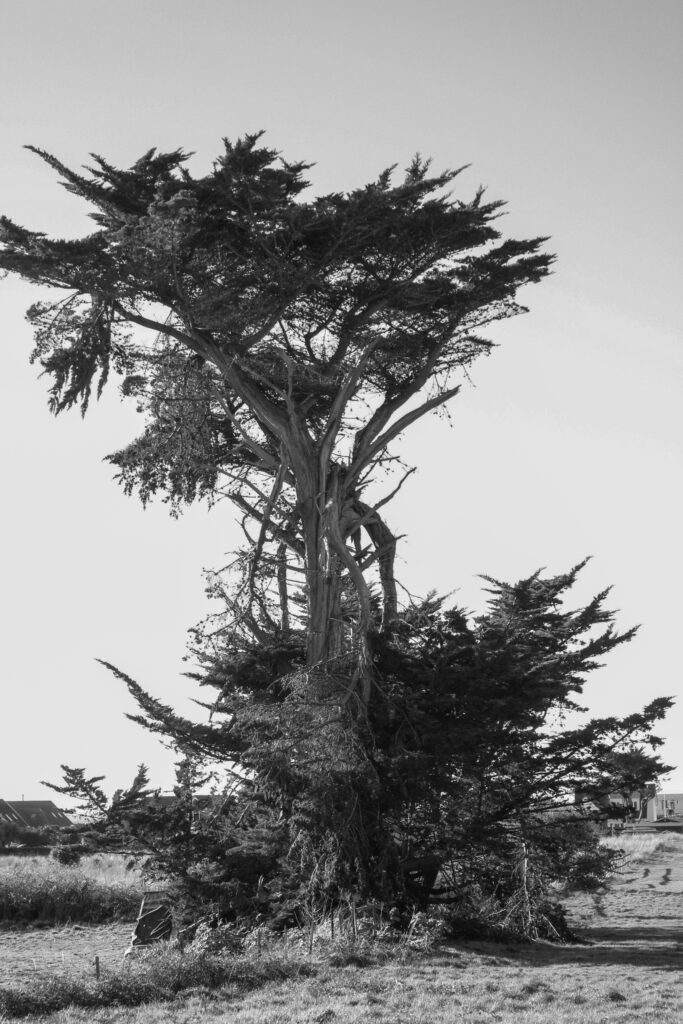
Once I had put my 36 photographs, the next step was to look over each photo cautiously, to then choose the final best images. From the 36 photos I selected 3 final images which I believe best fits the mood I was aiming for with the project as a whole. The reason as to why there is a little final selection of 3 photos, is because the majority of the 36 photographs are almost identical angles and placement, I took various photos from one point as every photo from that point would capture some differences. These final images blend in beautifully with the rest of my photobook, contrasting with images taken throughout the day and tying in with other photos taken at night.
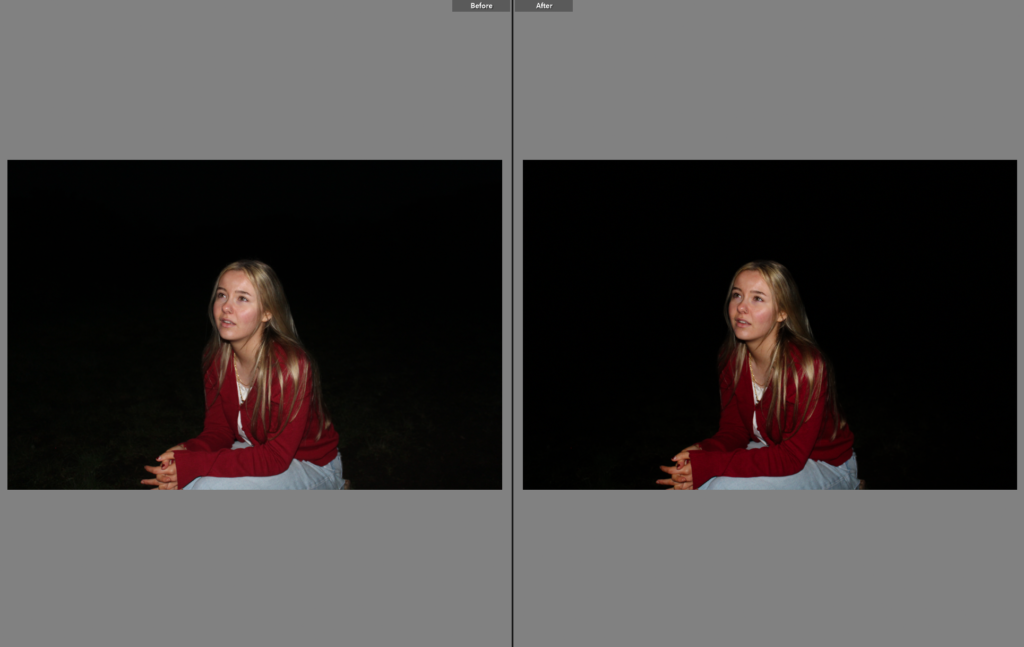
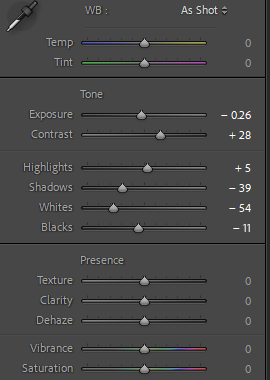
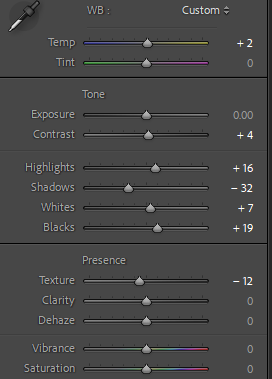
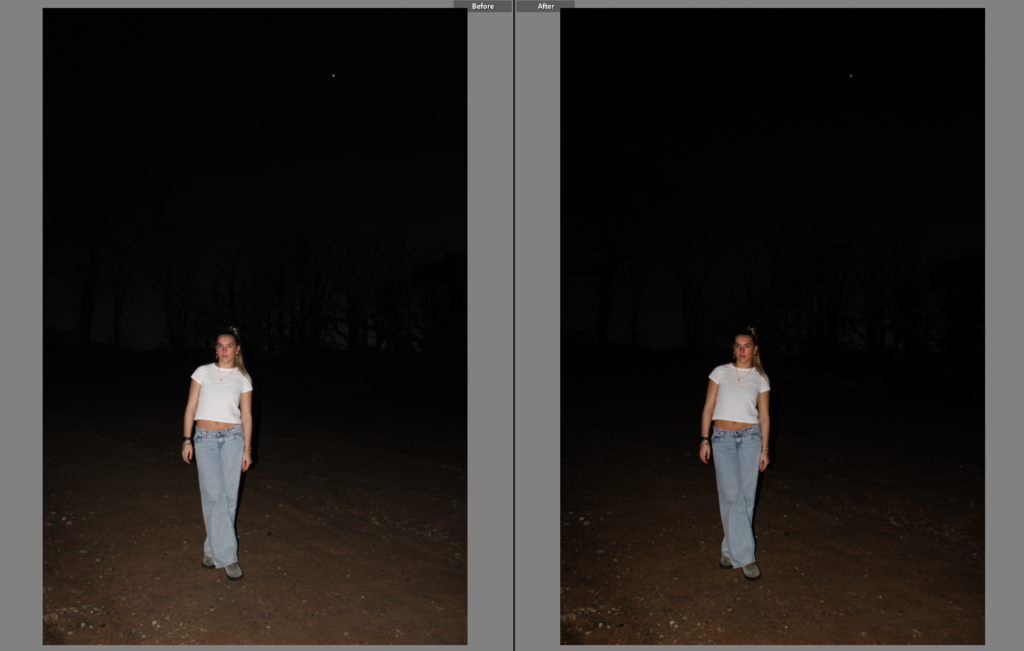
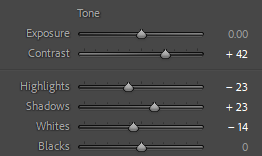
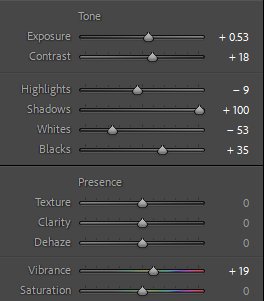
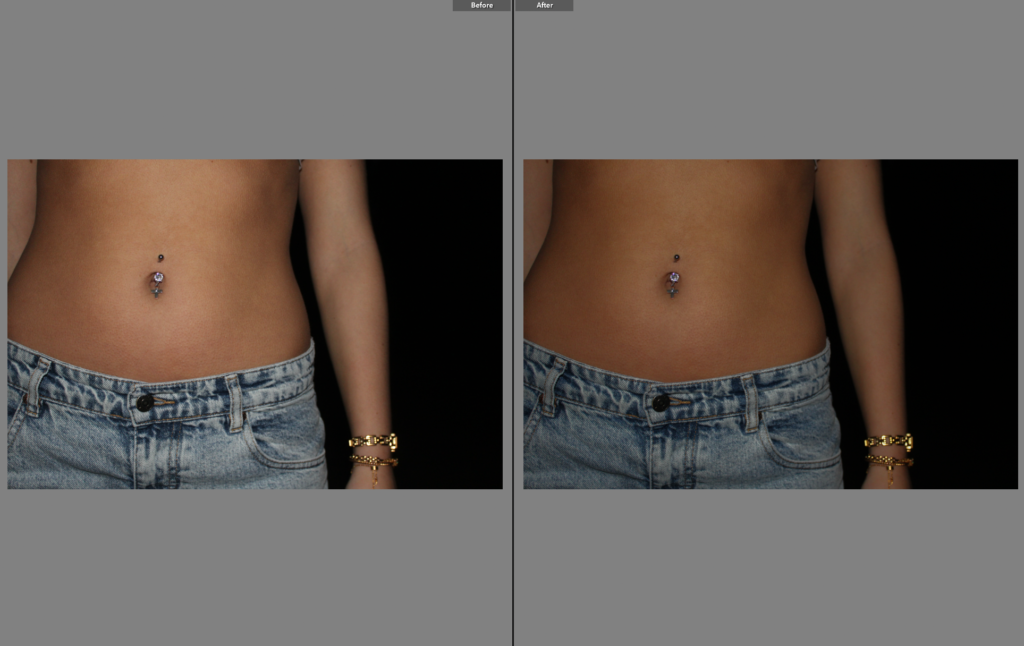
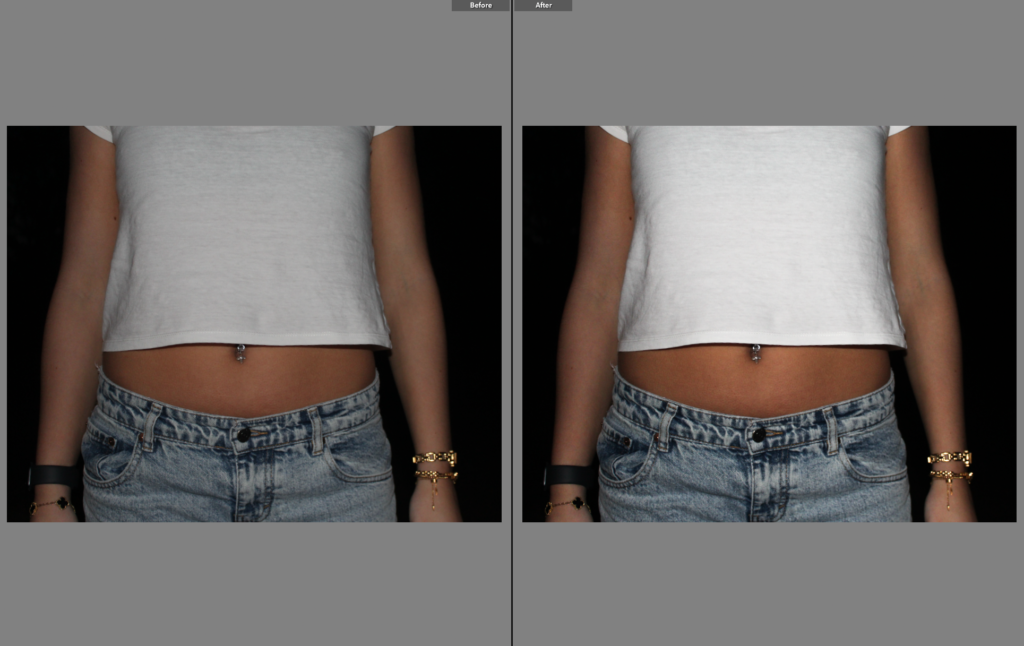
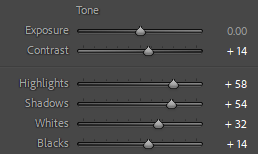
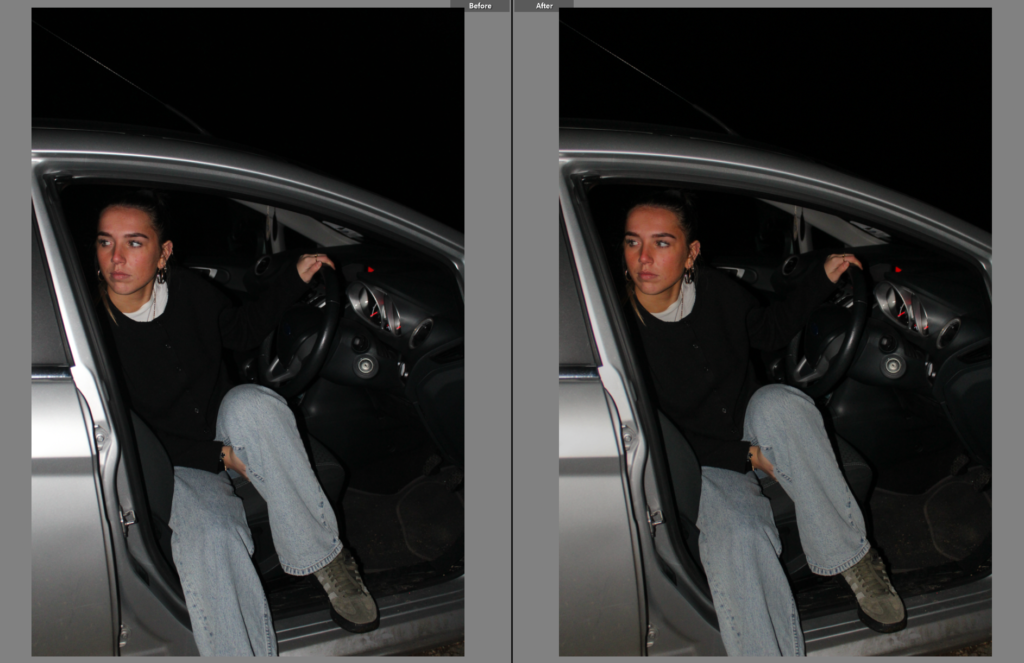
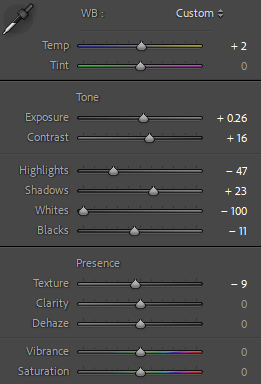
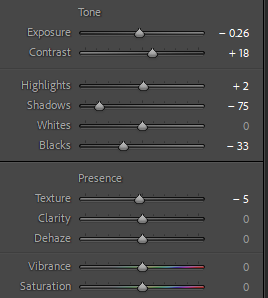
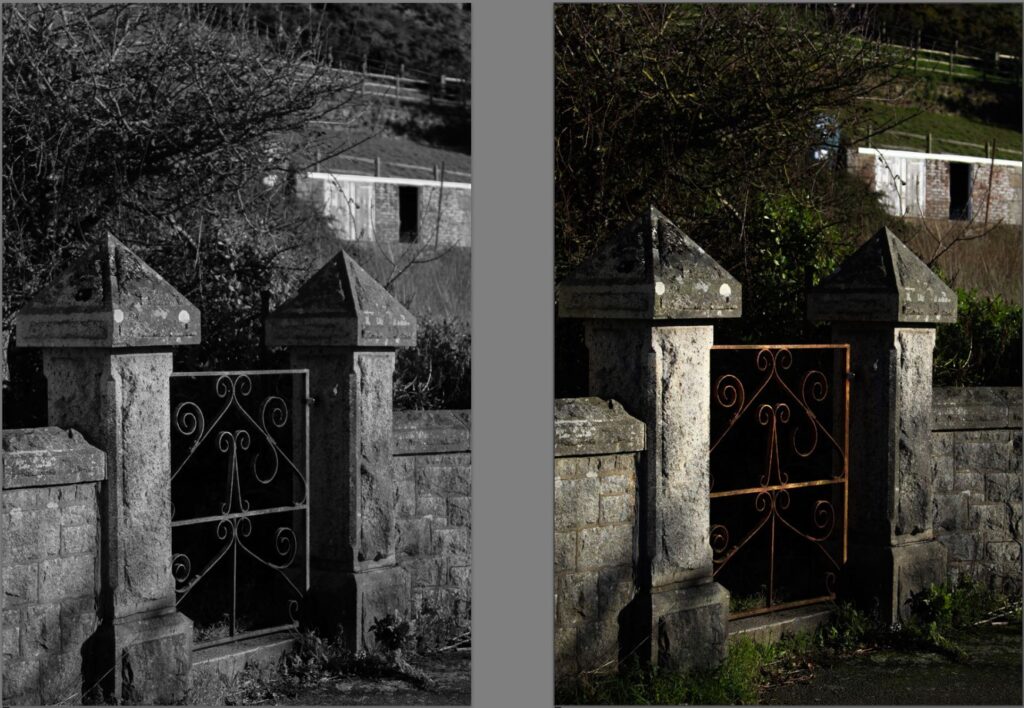
Before And After Editing
Image 1Image 2 Image 3
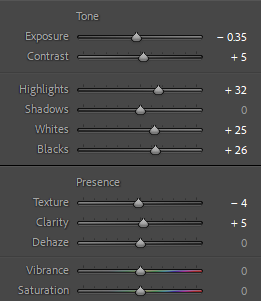
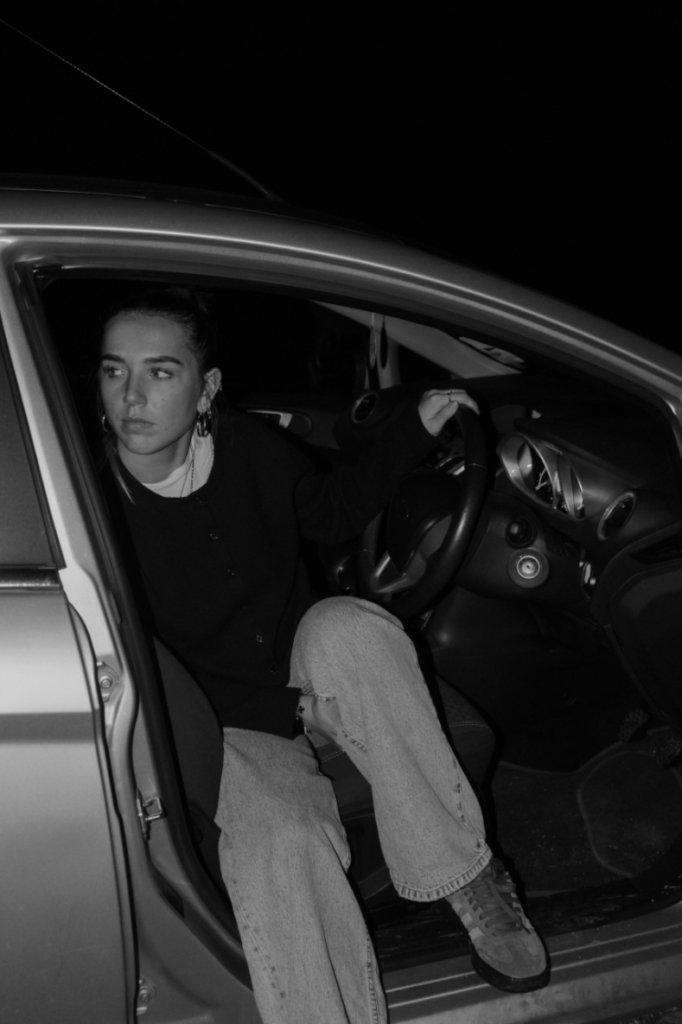
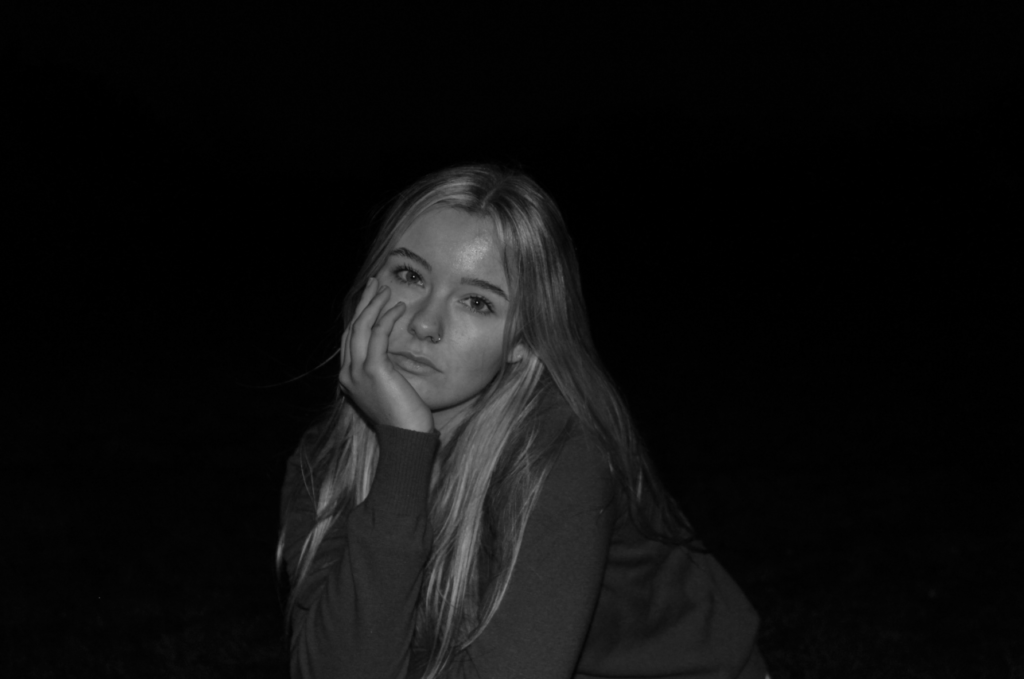
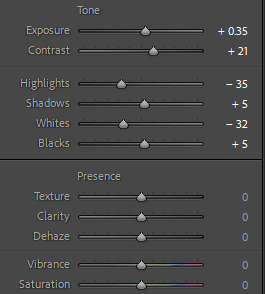
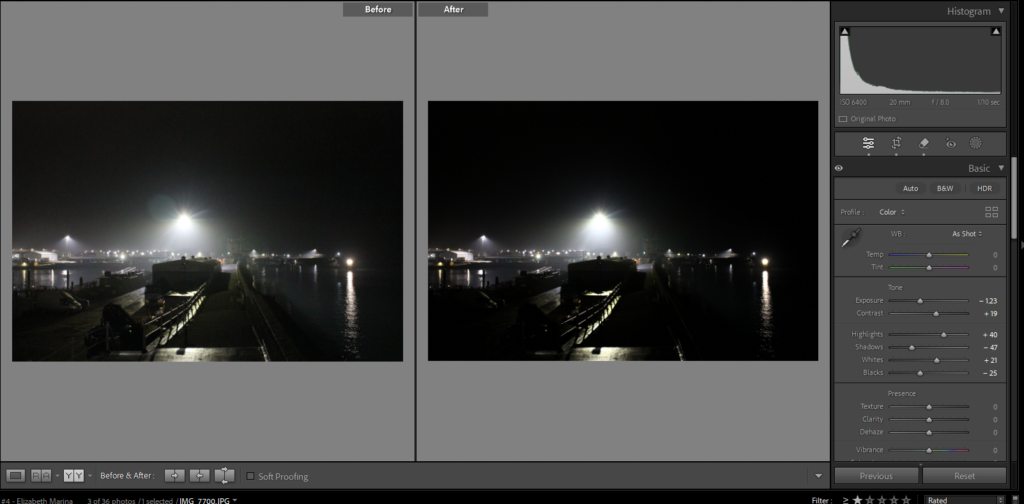
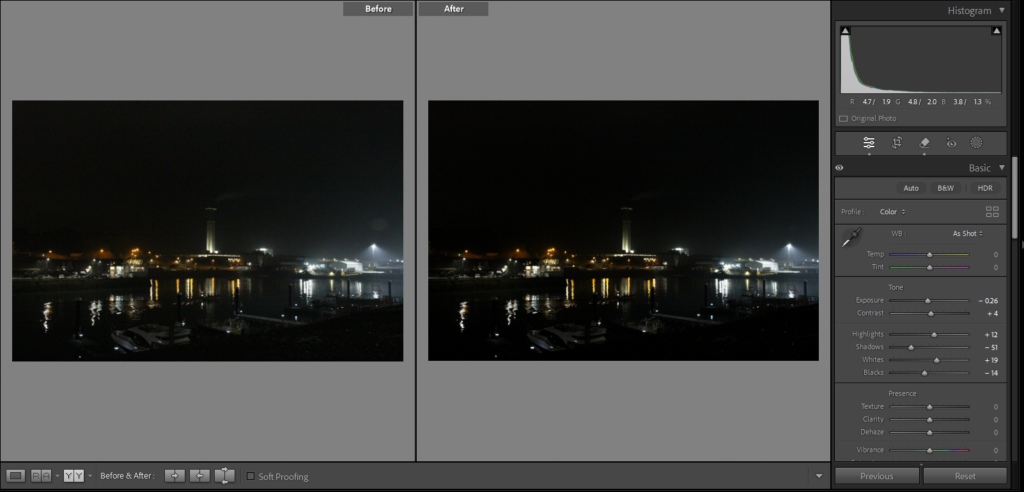
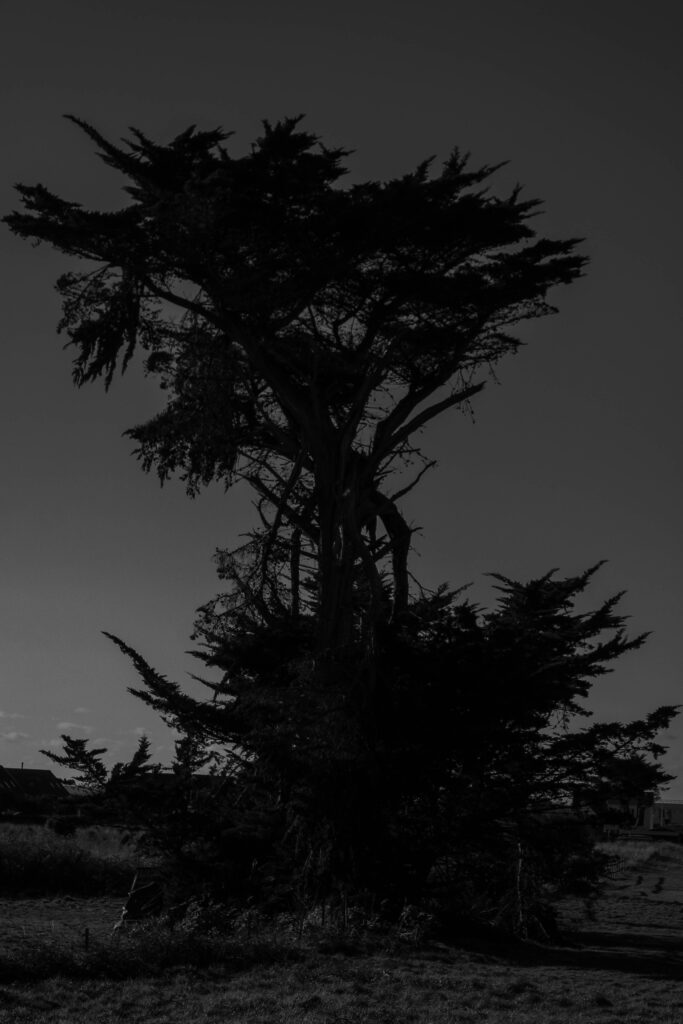
Similarly to other photoshoots, when editing these images I only made slight, subtle changes to them. I did not want to completely alter the unedited images as they are great images as a whole, capturing the isolation and the interplay between the artificial light and the low light. As you can see in the screenshots above for each image I reduced the shadows, increased the whites and decreased the blacks, this was done to reduce as much grain from the image as possible and to also emphasize the time of day. Reducing the shadows and decreasing the blacks meant that my image became darker overall this was done to really show the difference between the day and the night, where the daytime photographs are lit up, detailed and filled with life and the low light photographs are dark, mysterious and lack detail. Another process which I went through was using the Spot Removal tool to get rid of any glare from the lights which hit the lens away from the image, removing this glare.
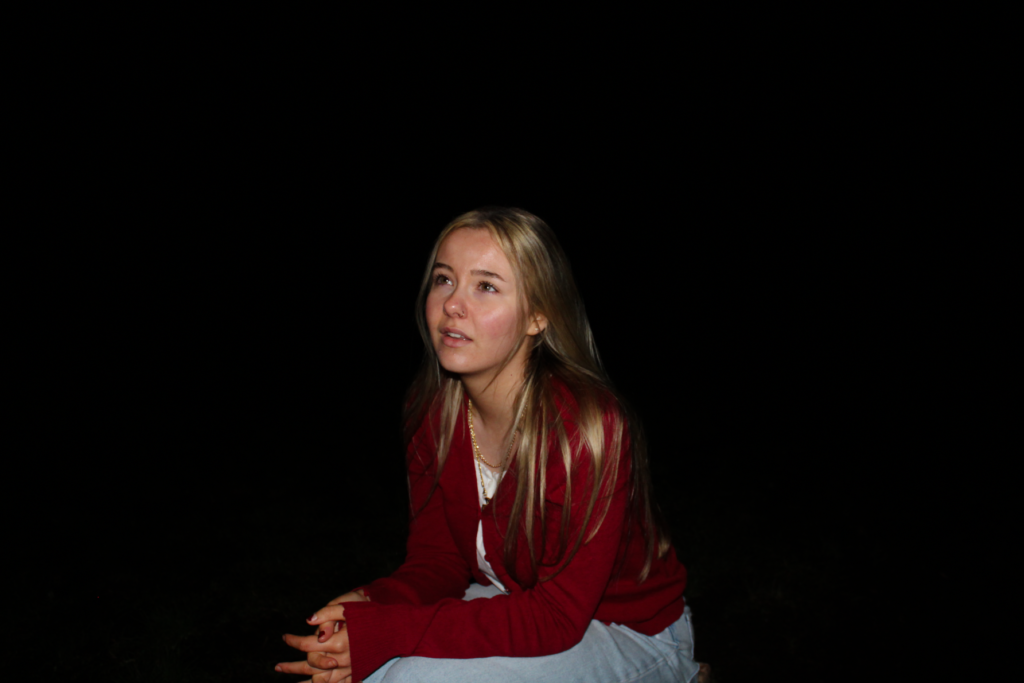
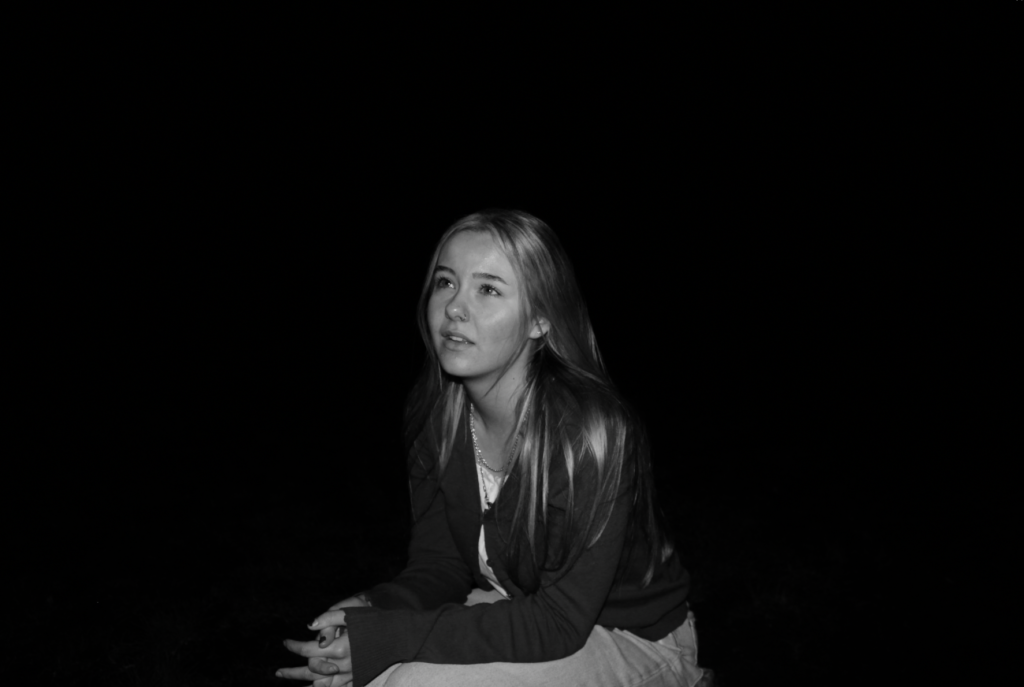
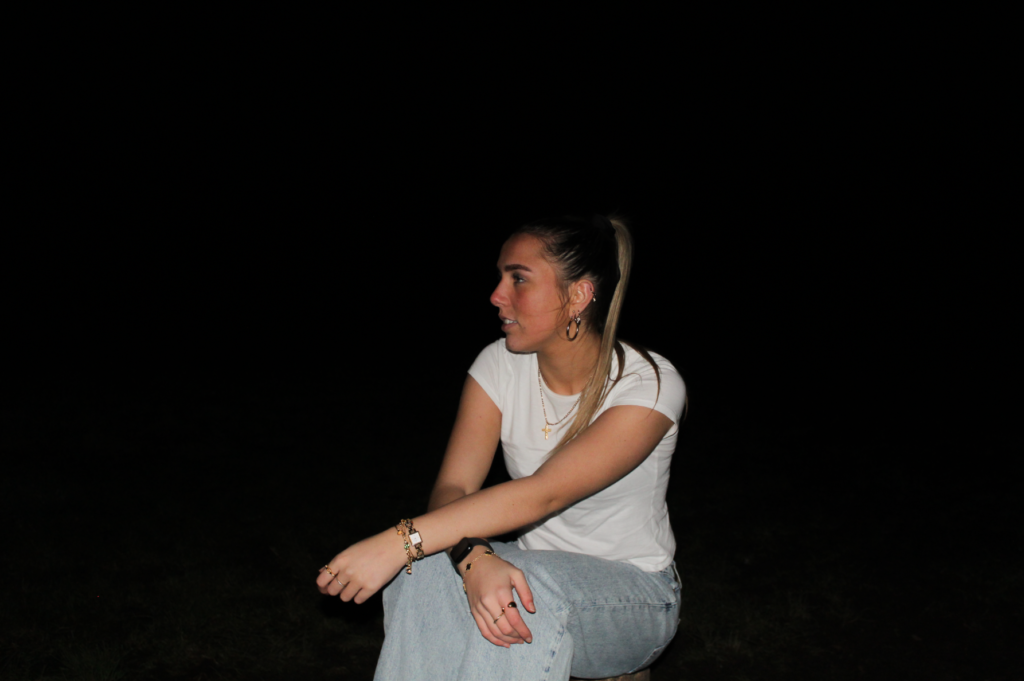
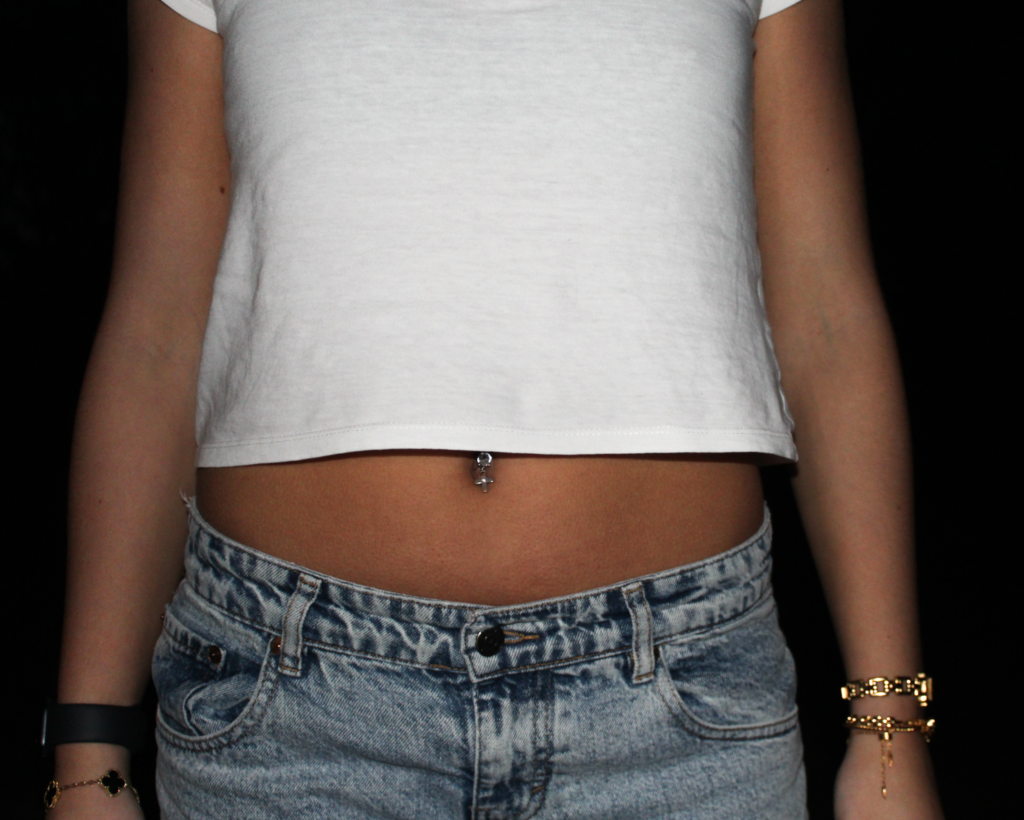
Final Images
Overall after editing these final images, I believe that this photoshoot was a great success. These 3 final photos will play a part in my final photobook to efficiently show the contrast between the atmosphere during the day and the night. These 3 images clearly resemble what the night, low light does to a setting, these photos I think convey a strong feeling of abandonment.
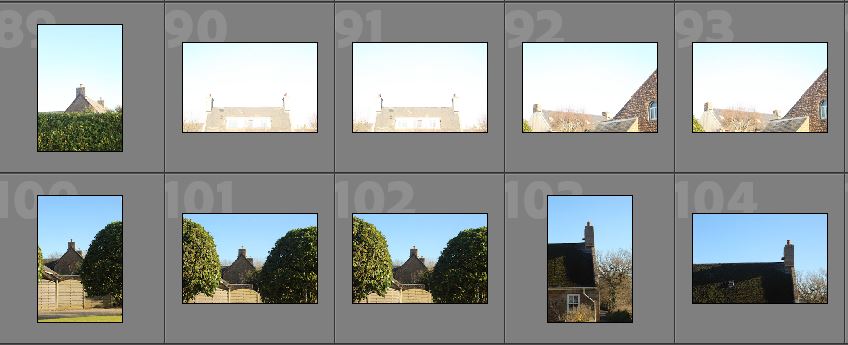
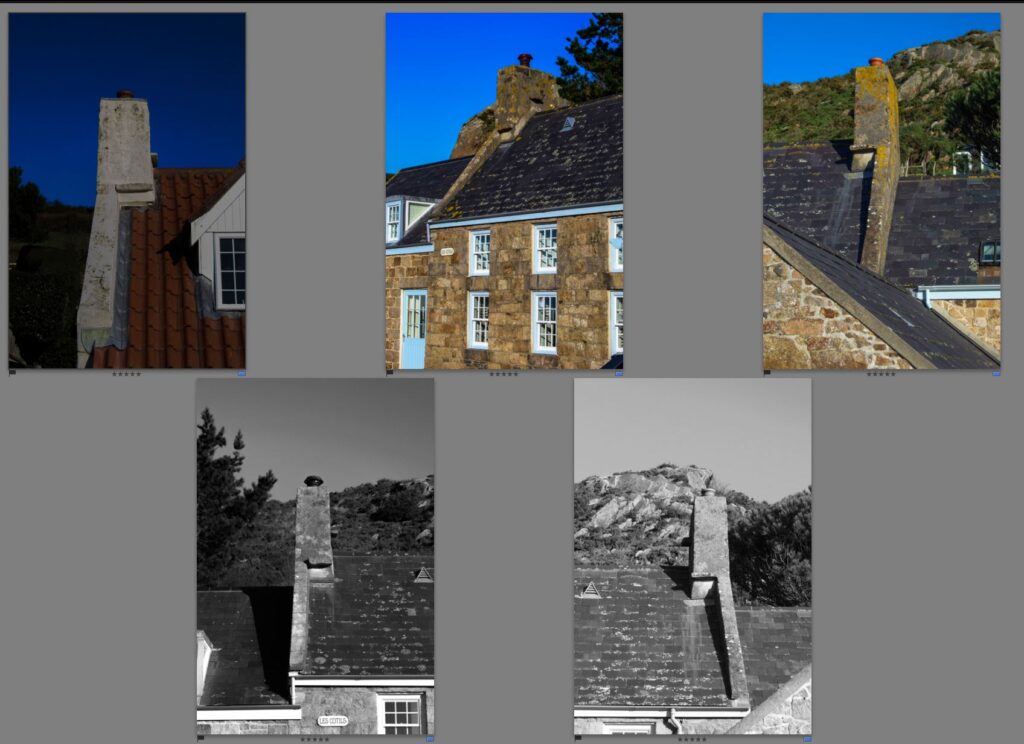
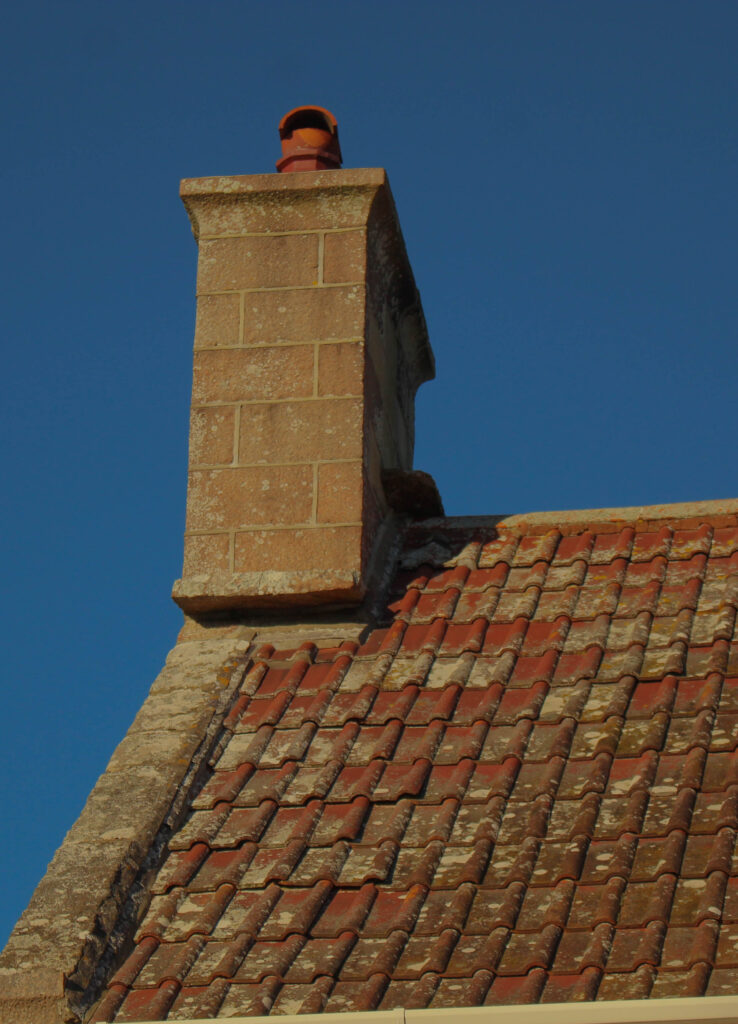
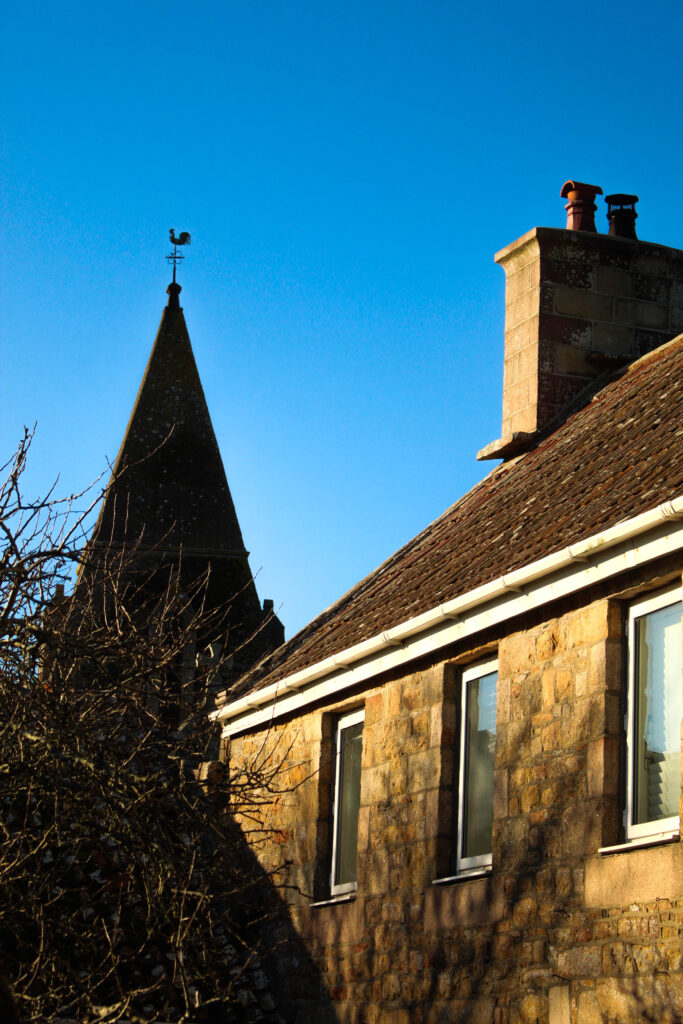
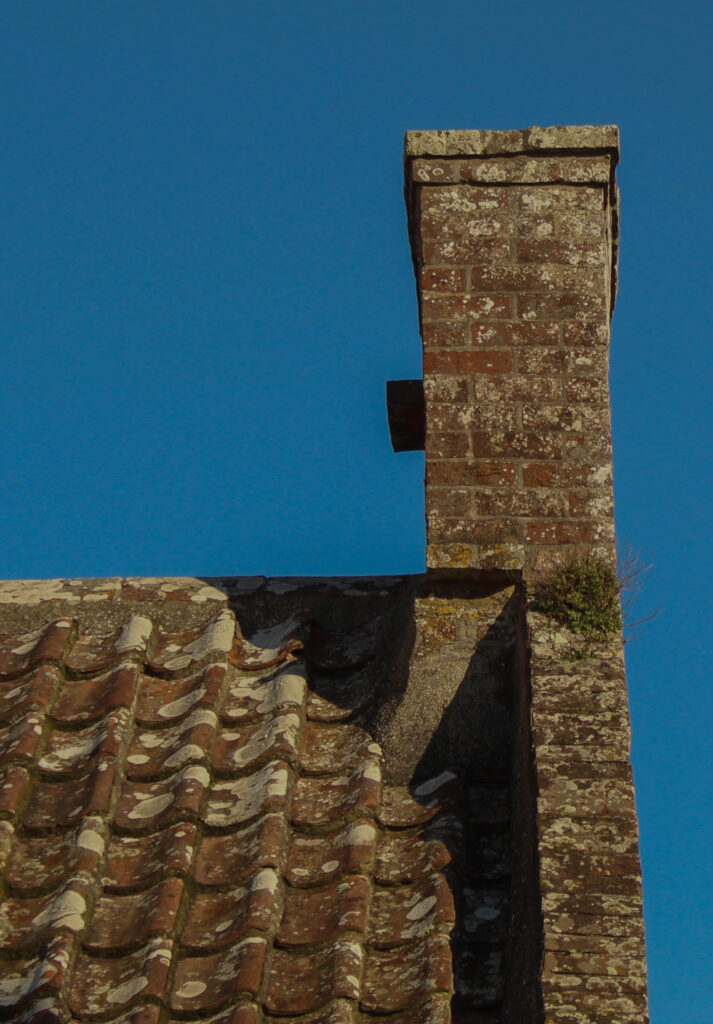
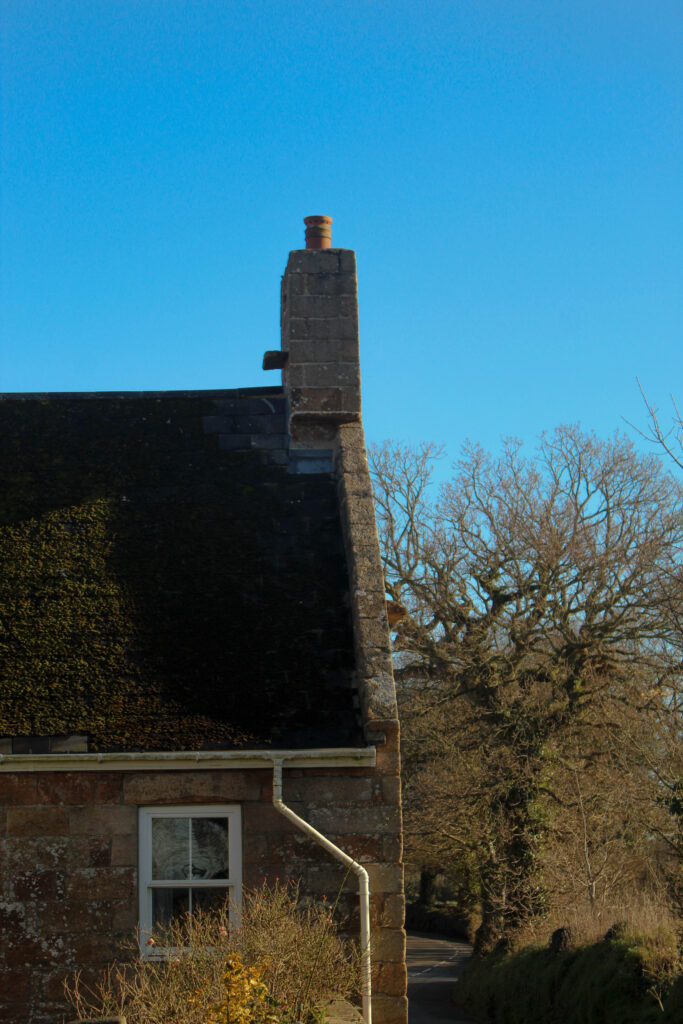
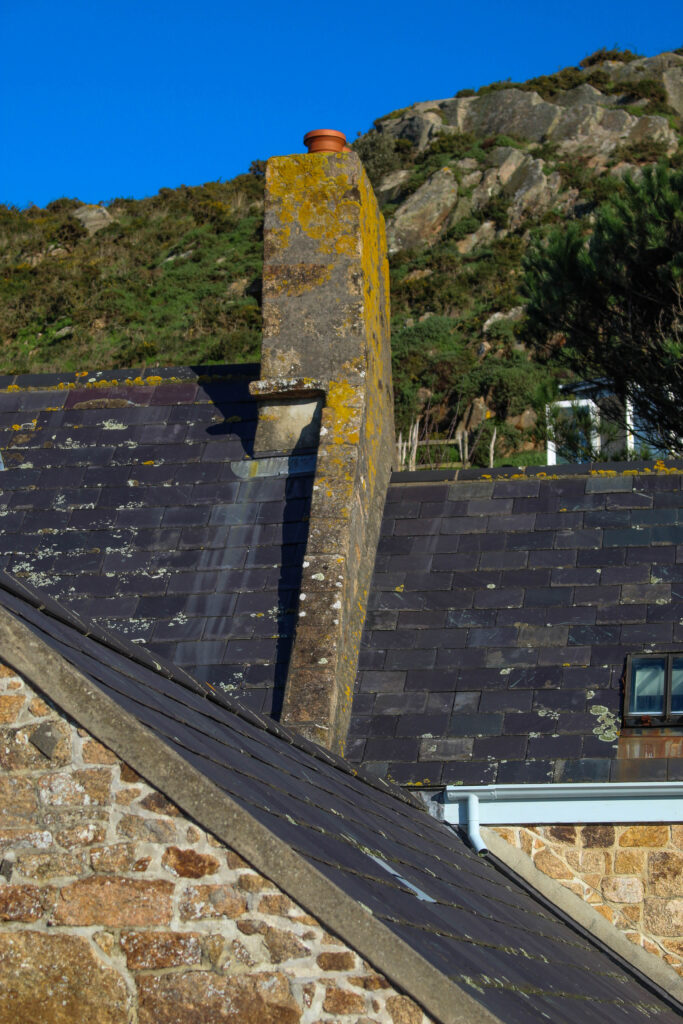
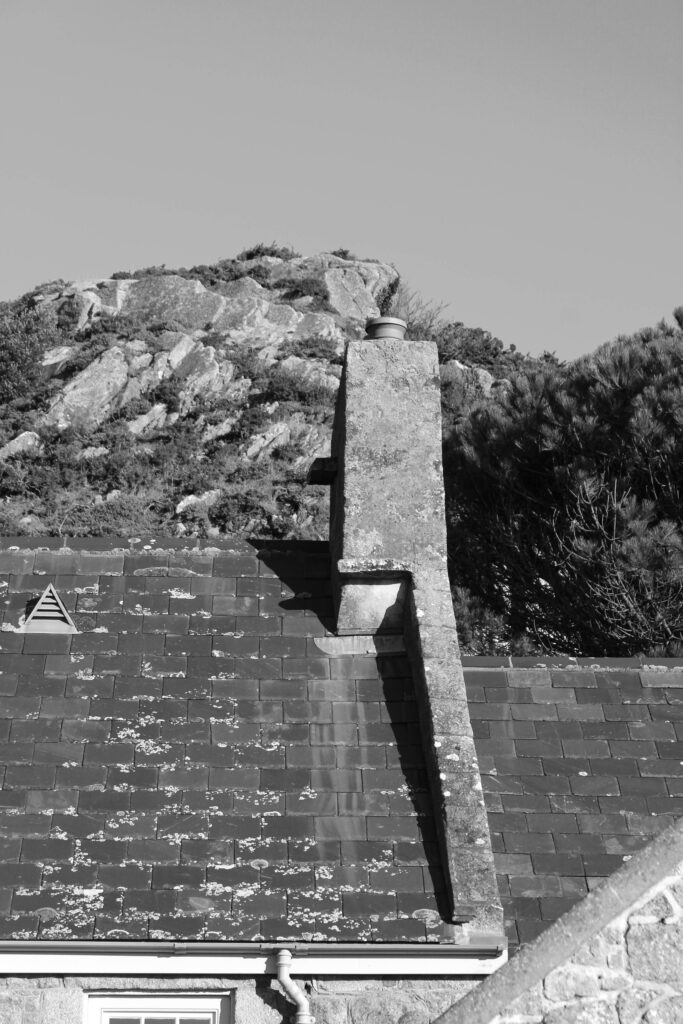
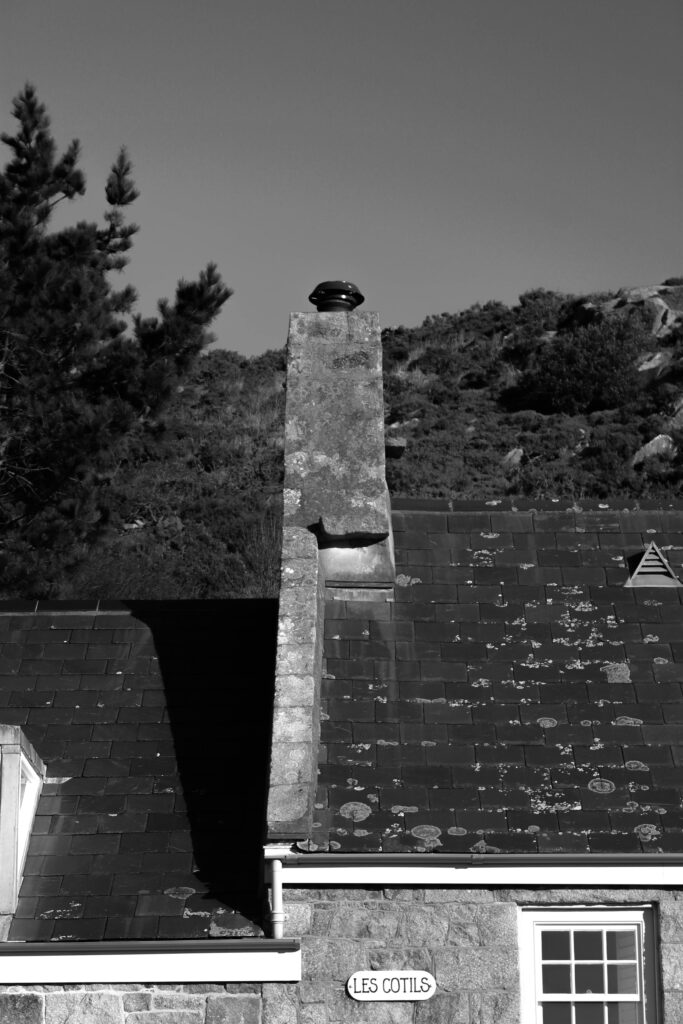
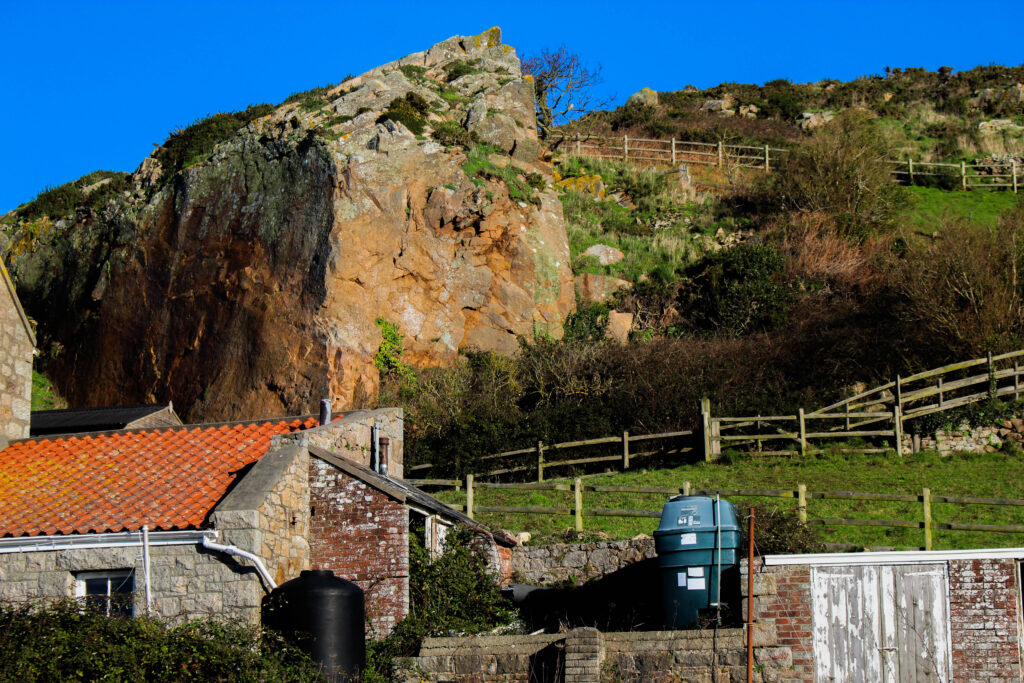
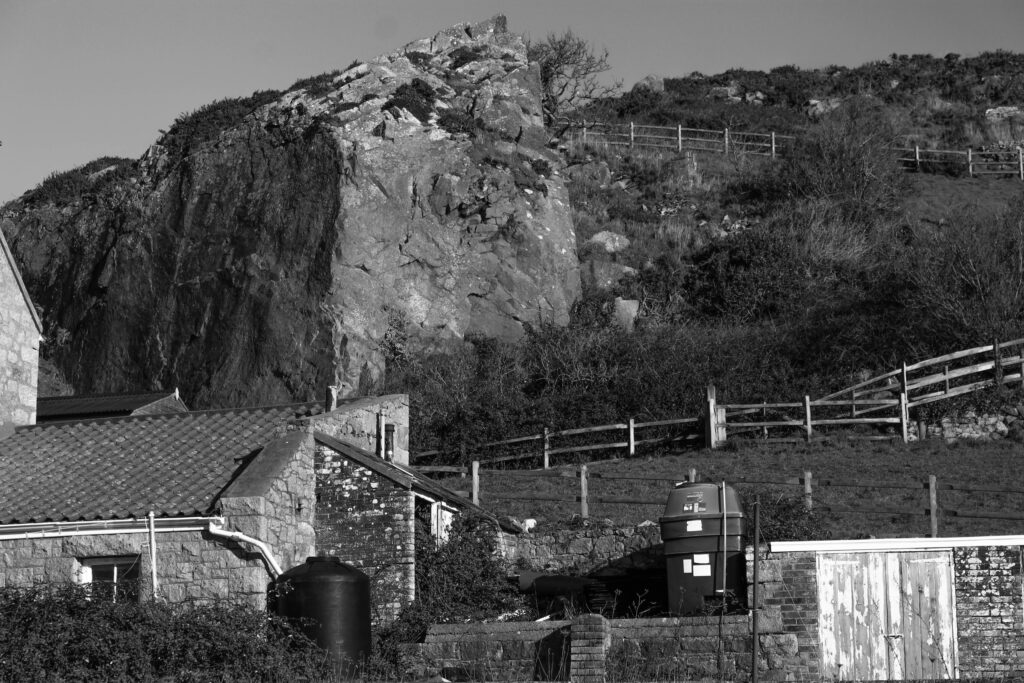
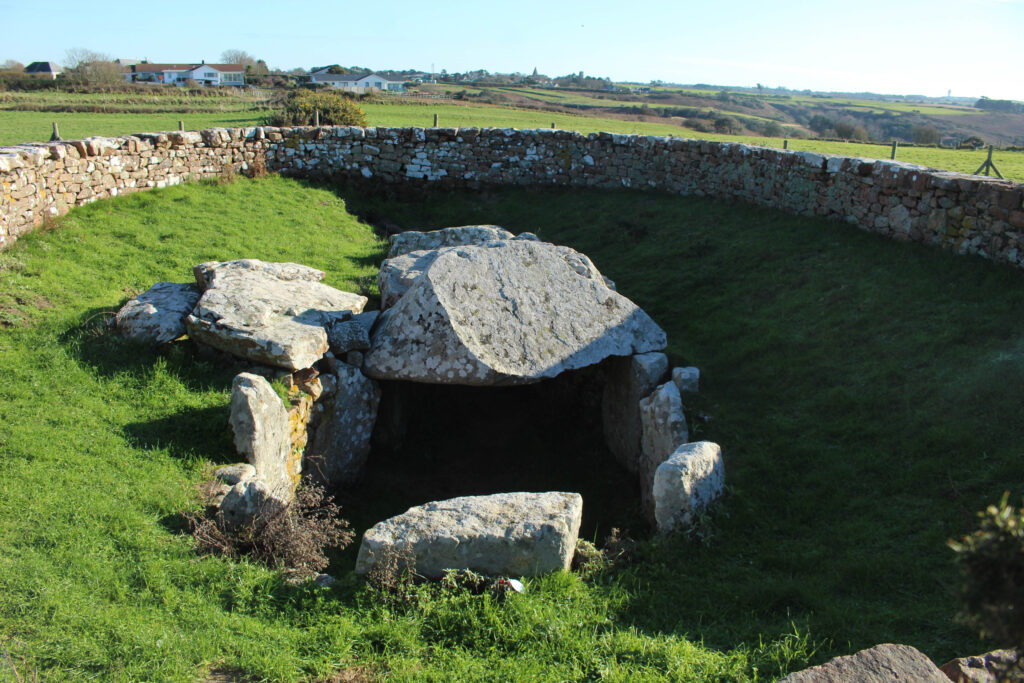
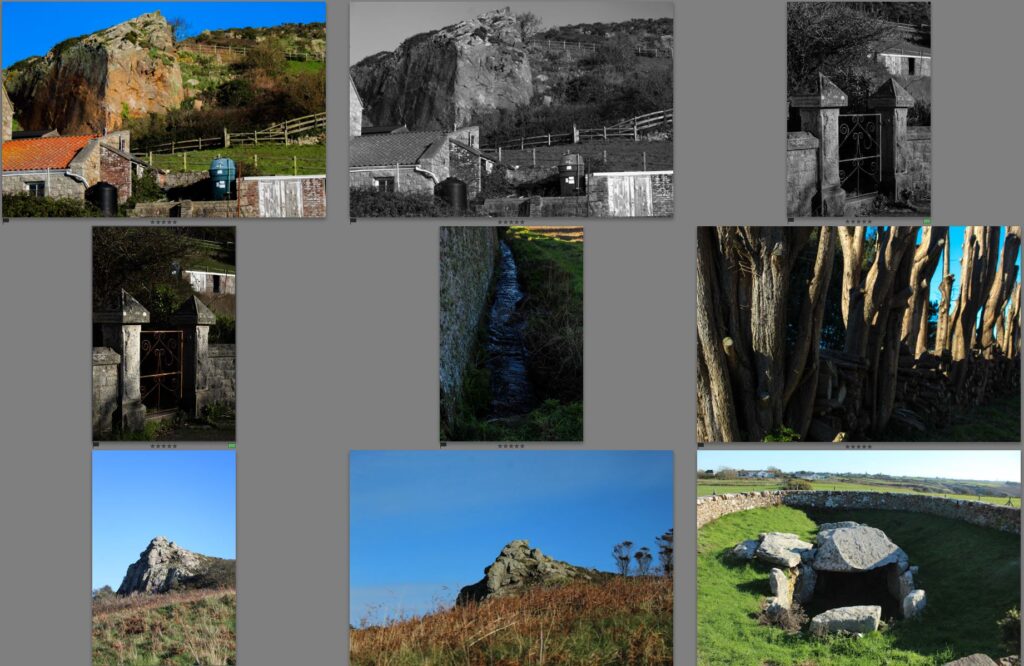
Witches’ stones (in Jèrriais: pièrres dé chorchièrs) are flat stones jutting from chimneys in the islands of Jersey and Guernsey.[1]
According to folklore in the Channel Islands, these small ledges were used by witches to rest on as they fly to their sabbats. Householders would provide these platforms to appease witches and avoid their ill favour.
Traditional vernacular architecture in Jersey is in granite and such witches’ stones can be seen protruding from many older houses. The real origin of this architectural feature is to protect thatched roofs from seeping water running down the sides of the chimney stack. Thatched roofs being thicker than tiled roofs, the jutting stones would sit snugly on the thatch – as can be seen on the few remaining thatched roofs in Jersey. When thatch began to be generally replaced by pantiles in the 18th century, and later by slates, the witches’ stones were left protruding prominently from the chimney stack. This either gave rise to the belief in witches’ resting places, or reinforced an existing belief. Fear of witches was widespread in country areas well into the 20th century in Jersey.
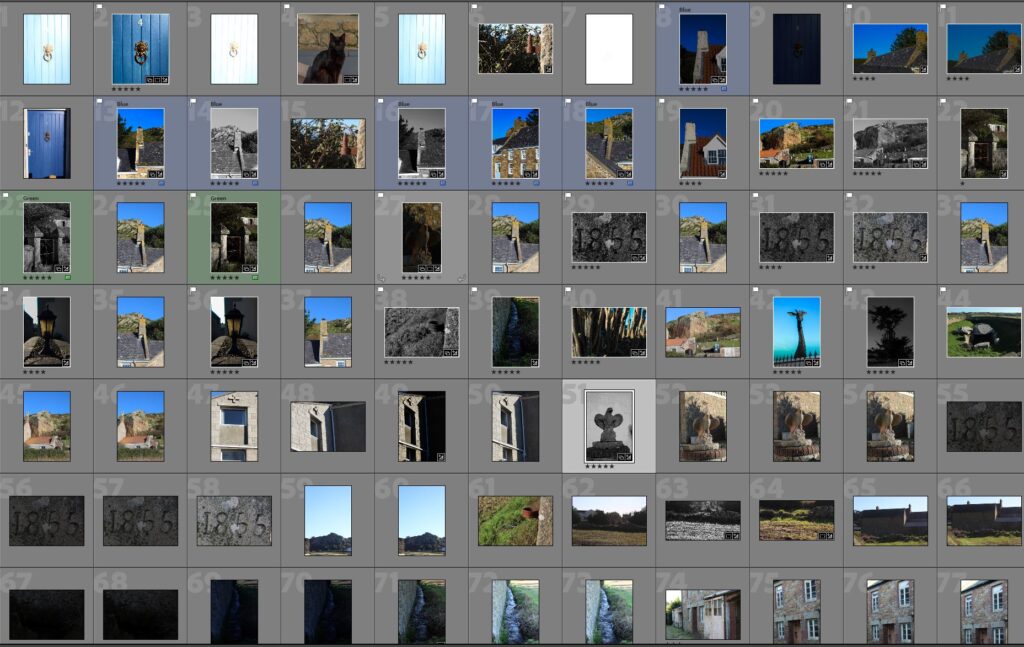
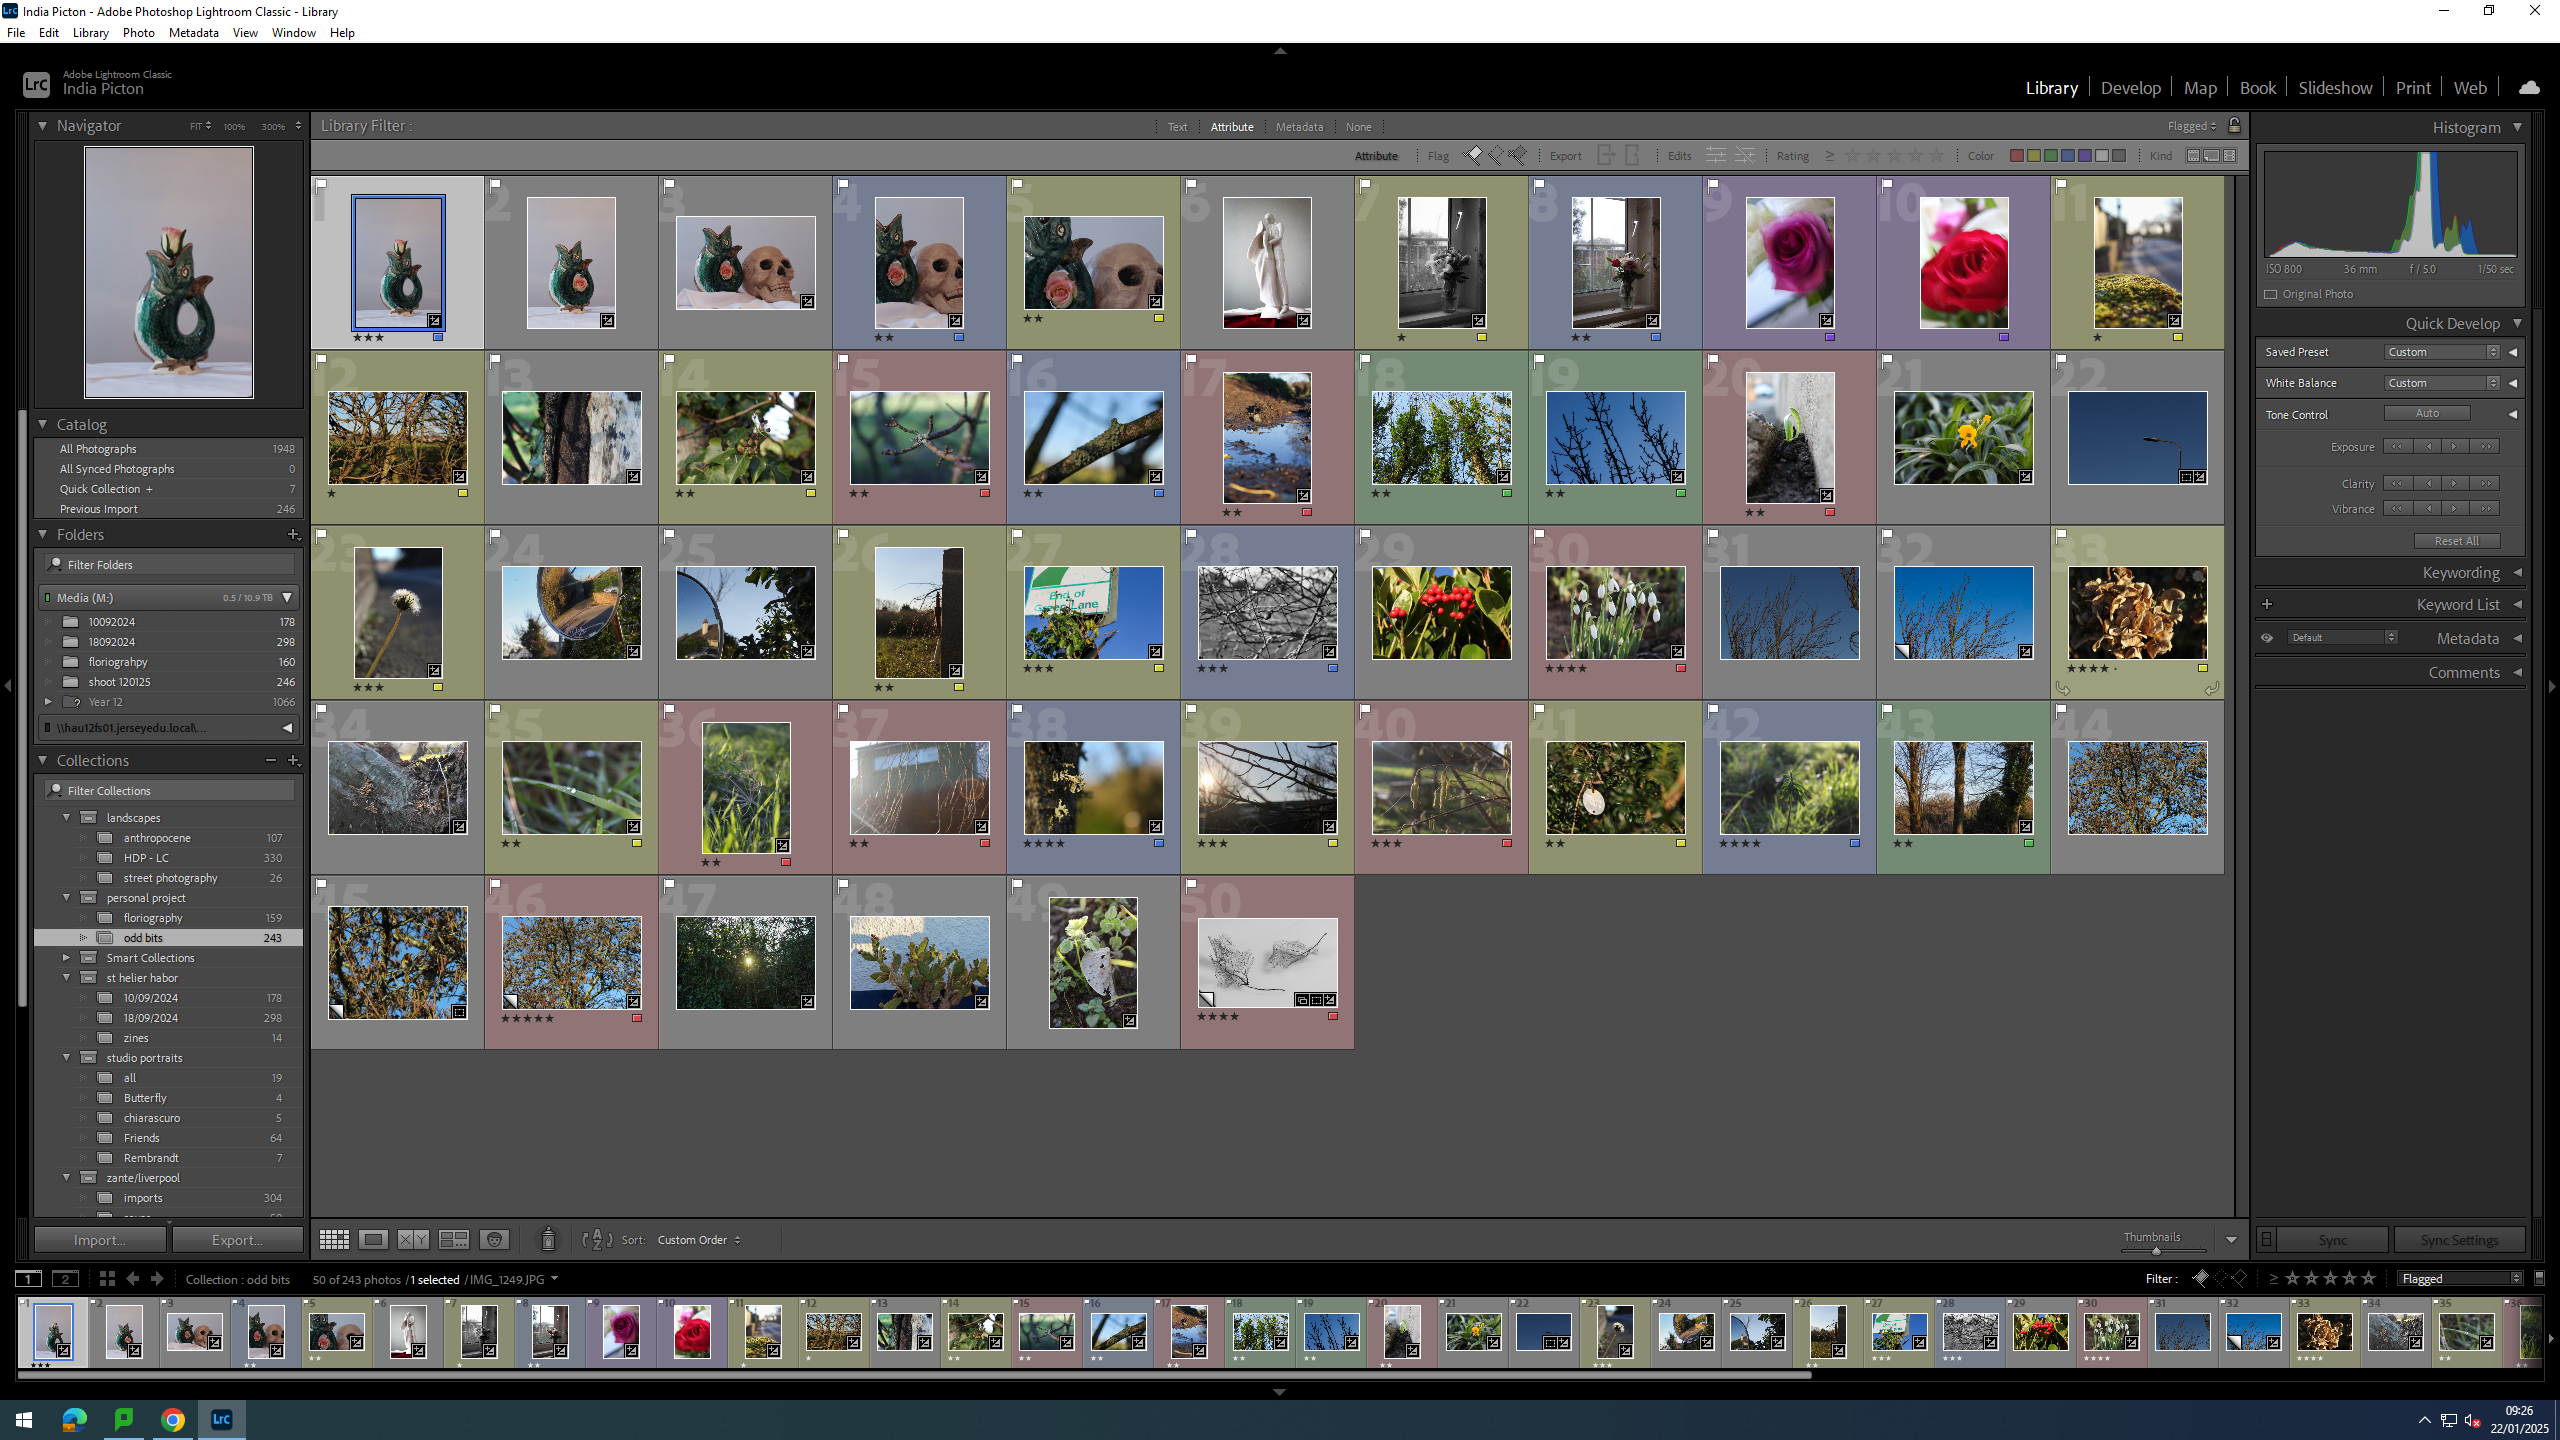
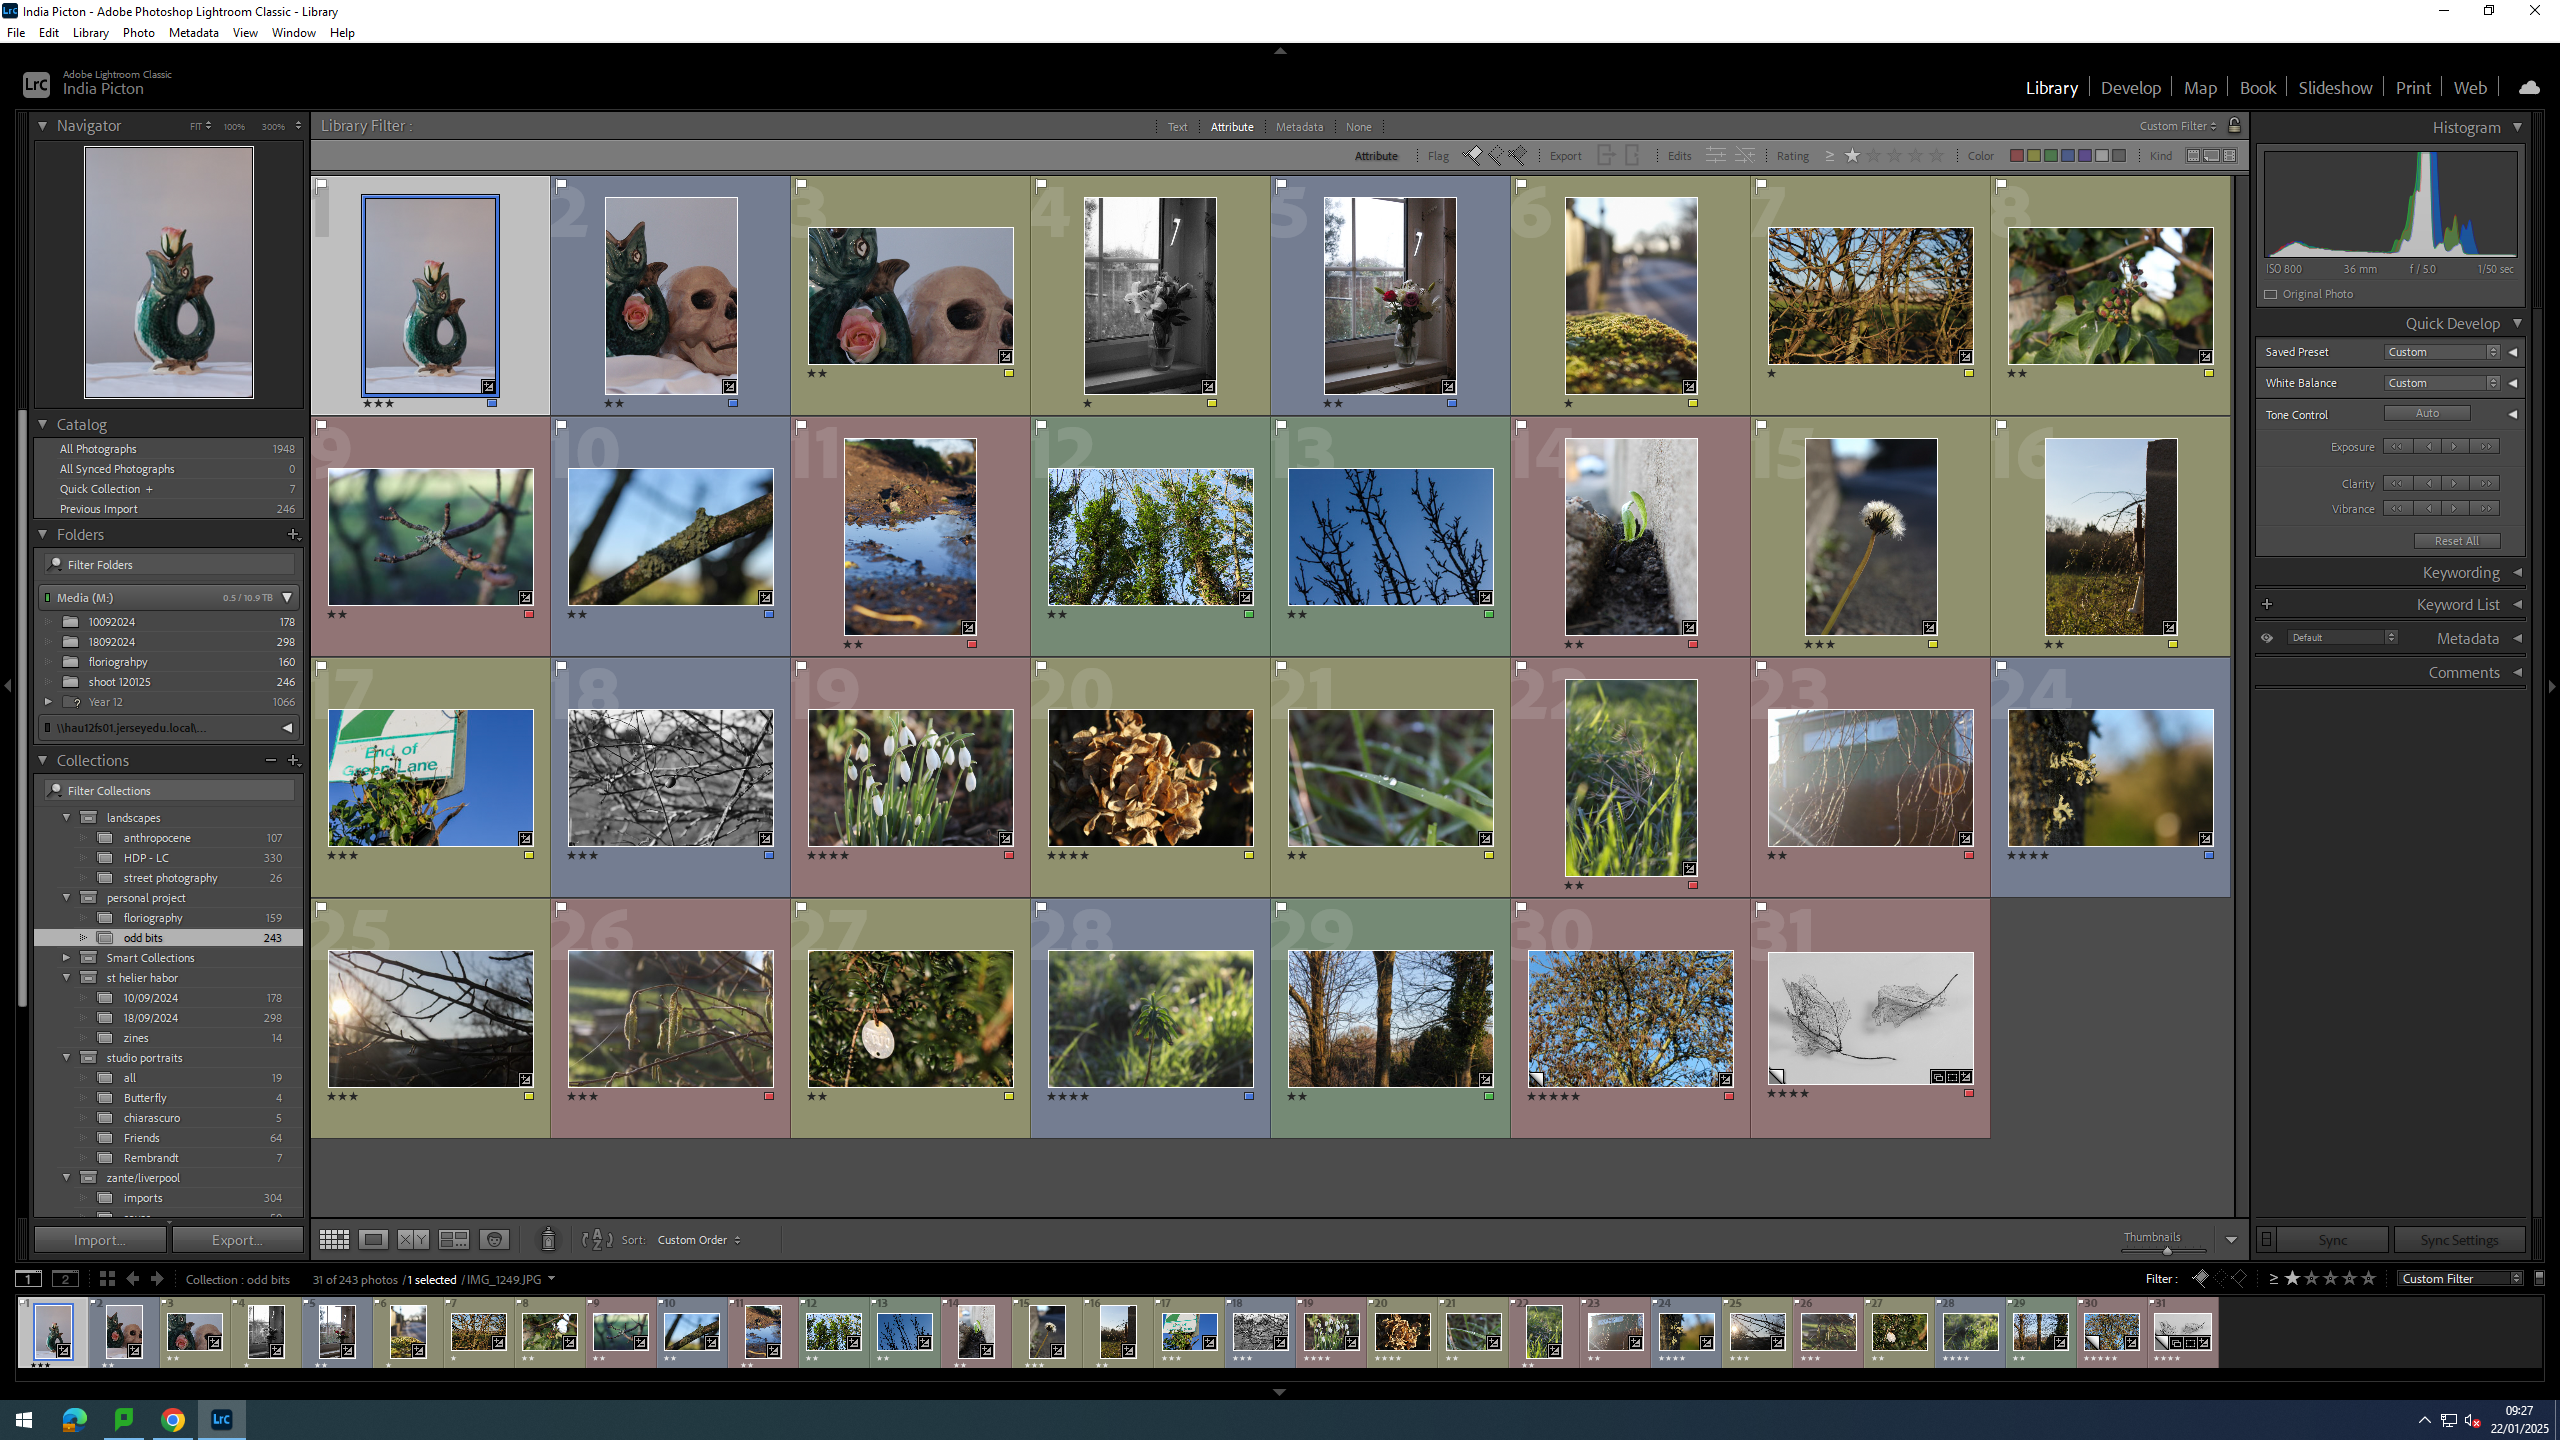
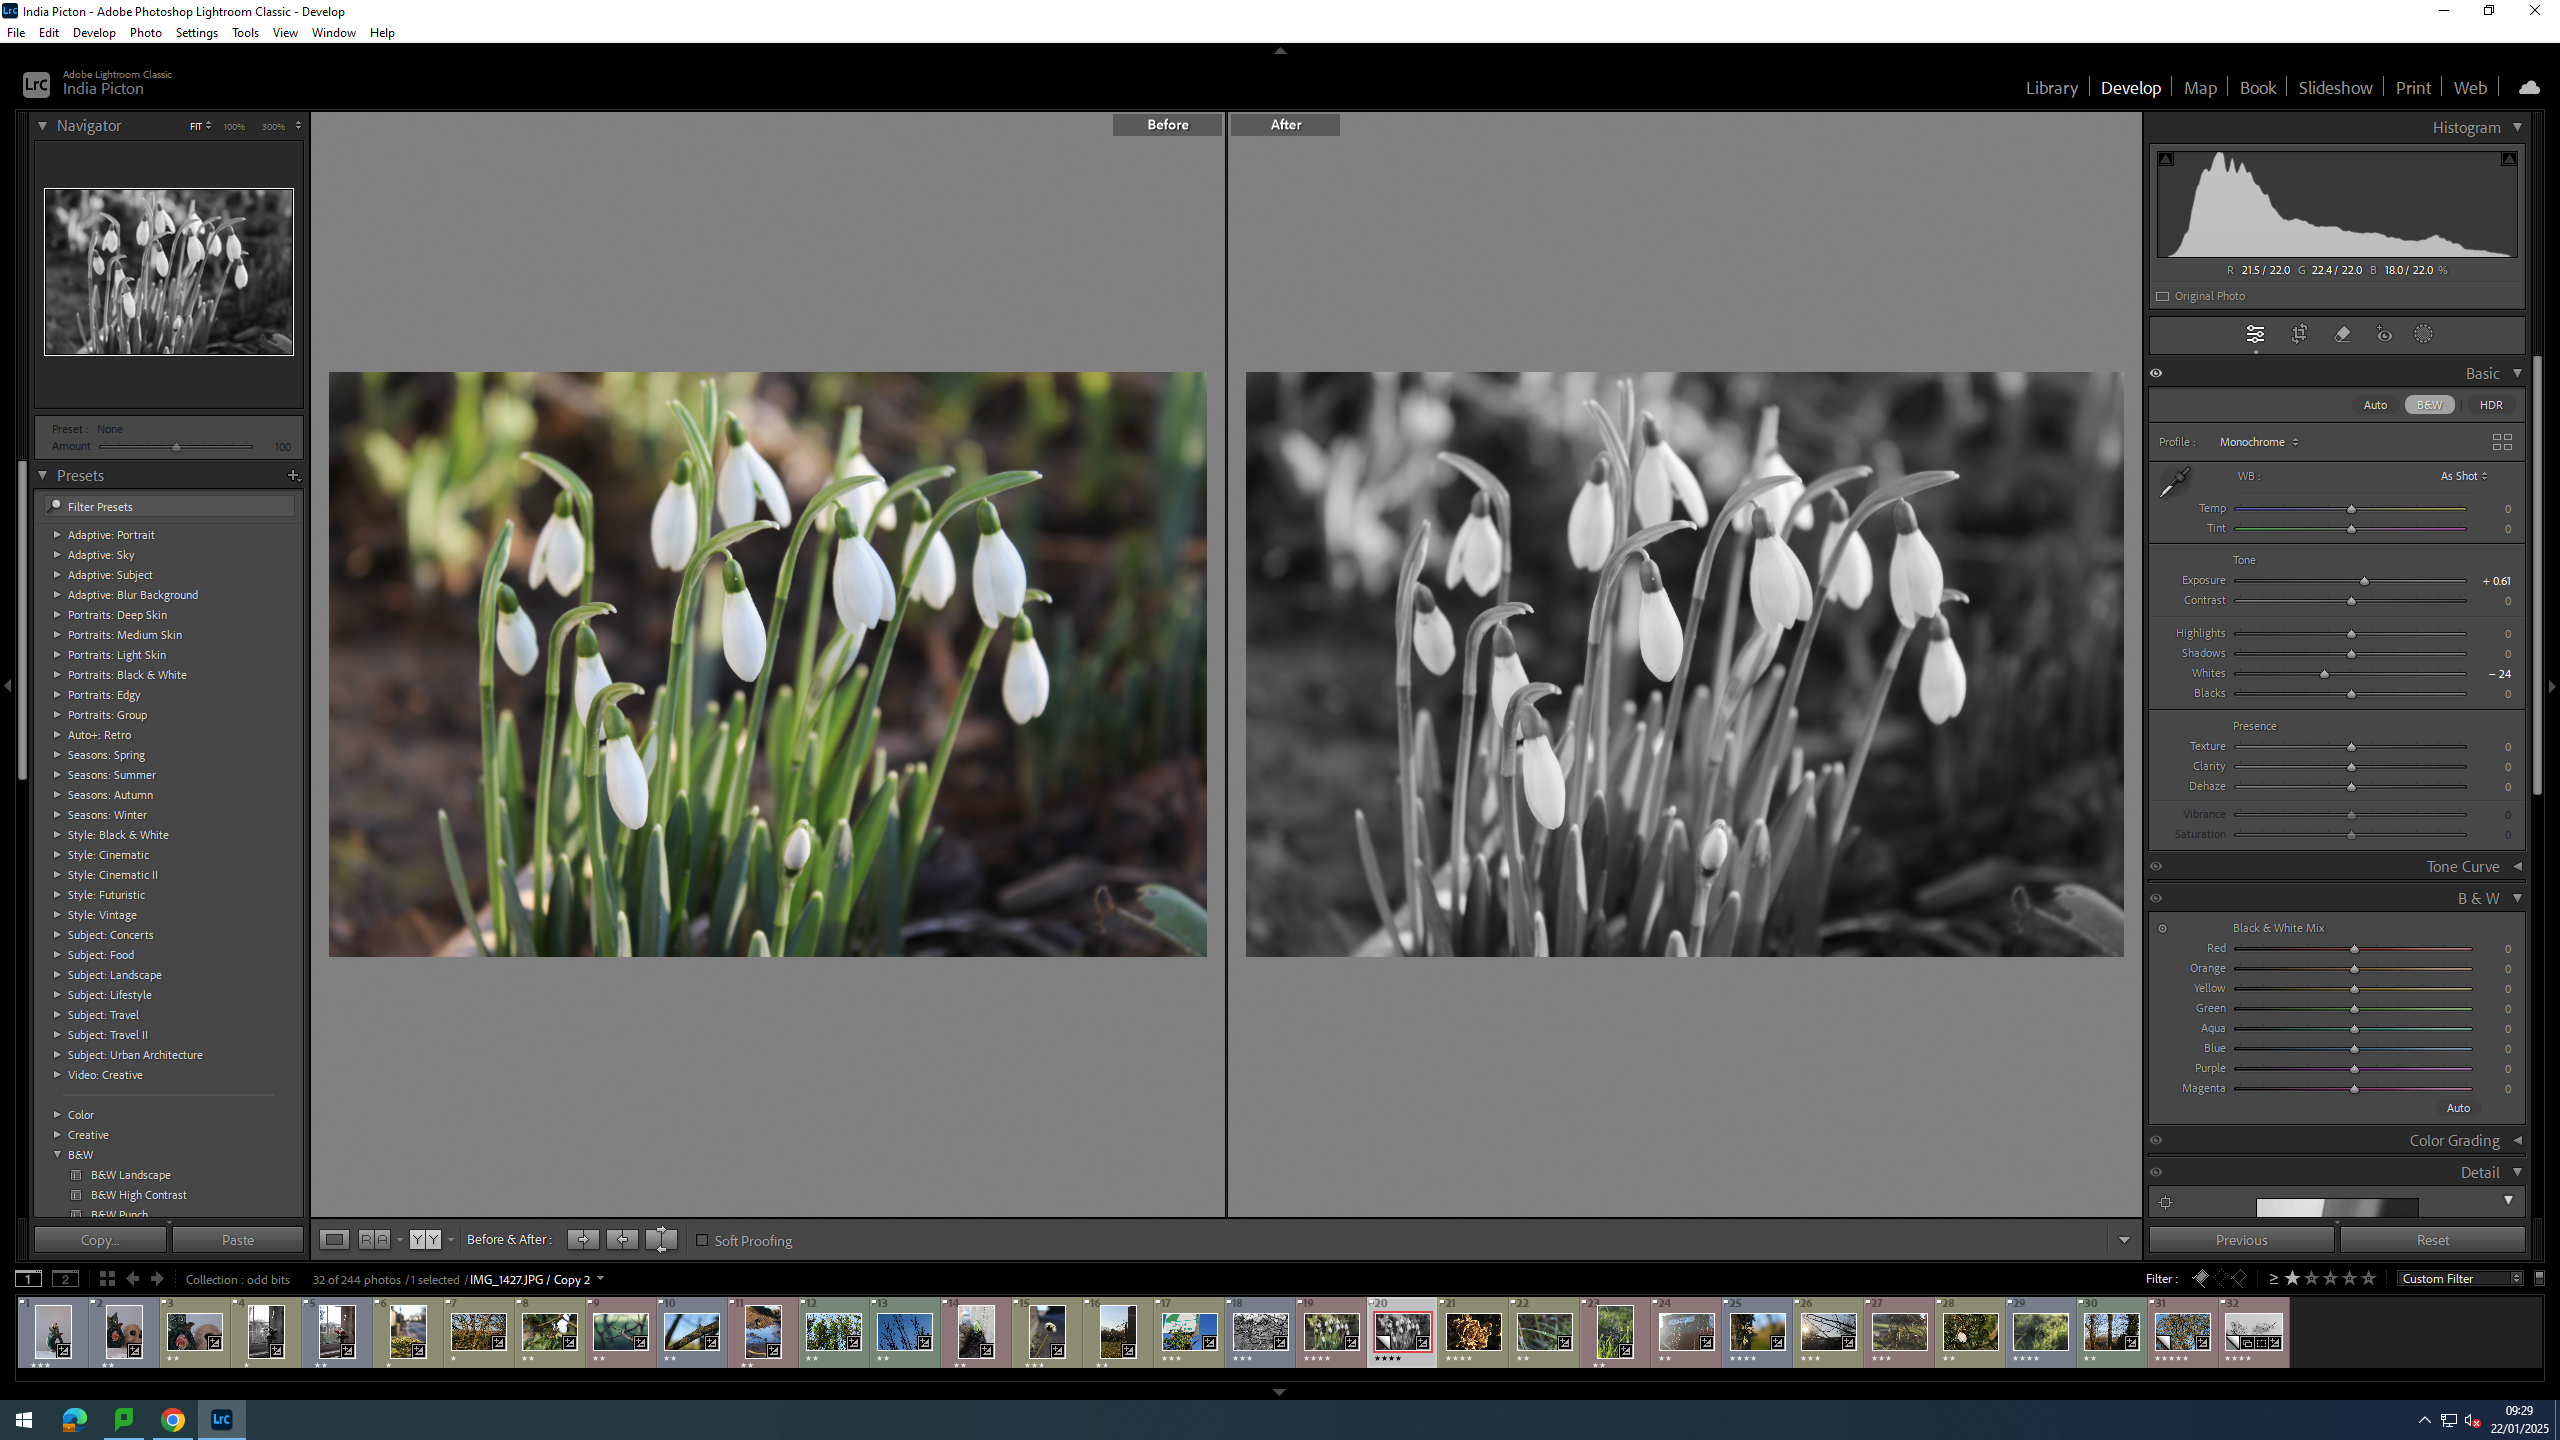
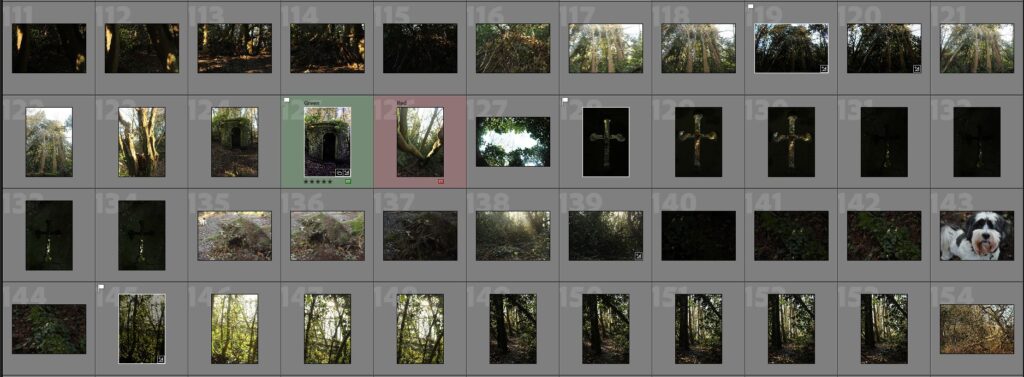
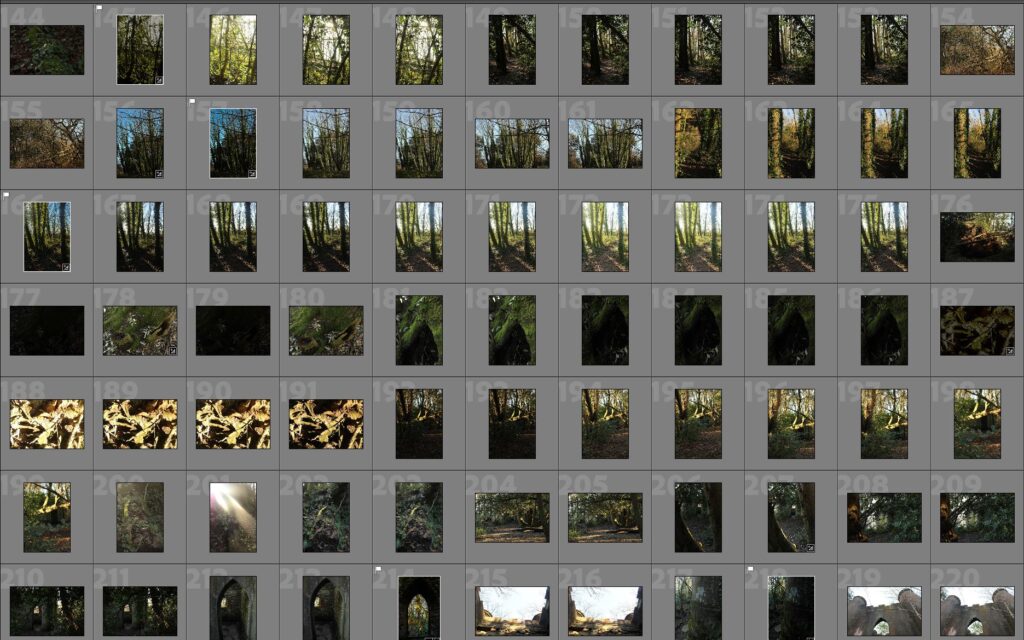
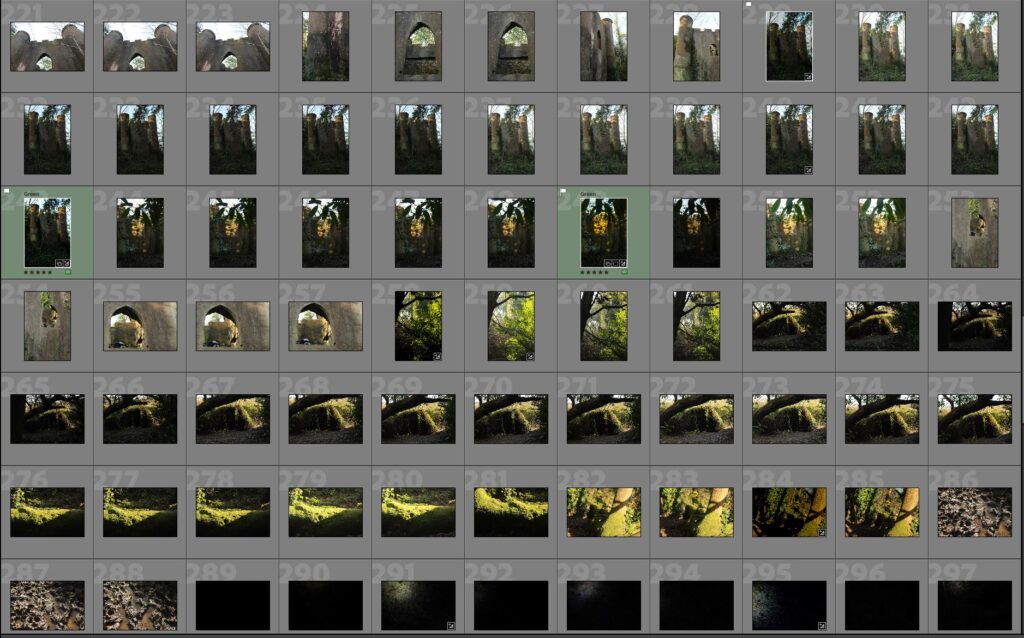
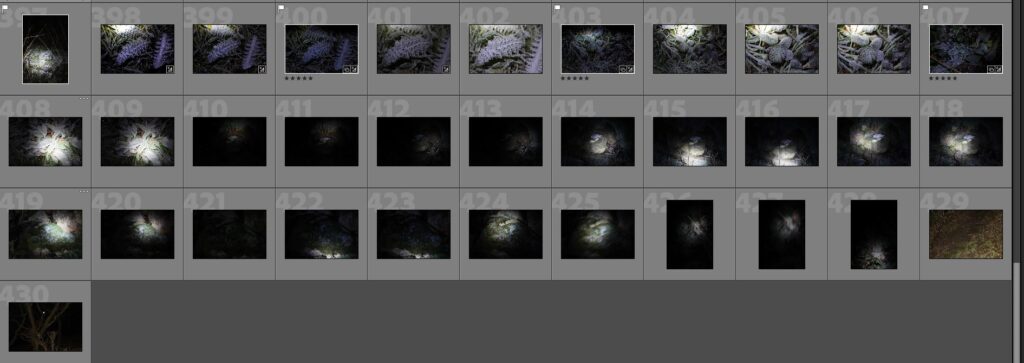
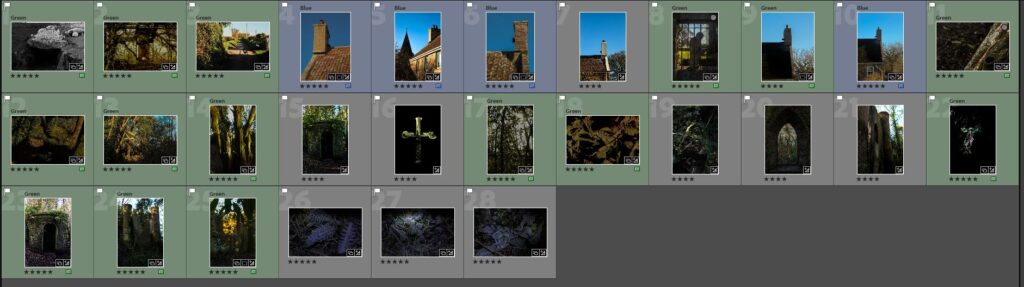
I started out with 250 photos. after selecting the best of the shoot. I was left with 51, which was further altered to 31 with edited copies of a few images.
EDITING
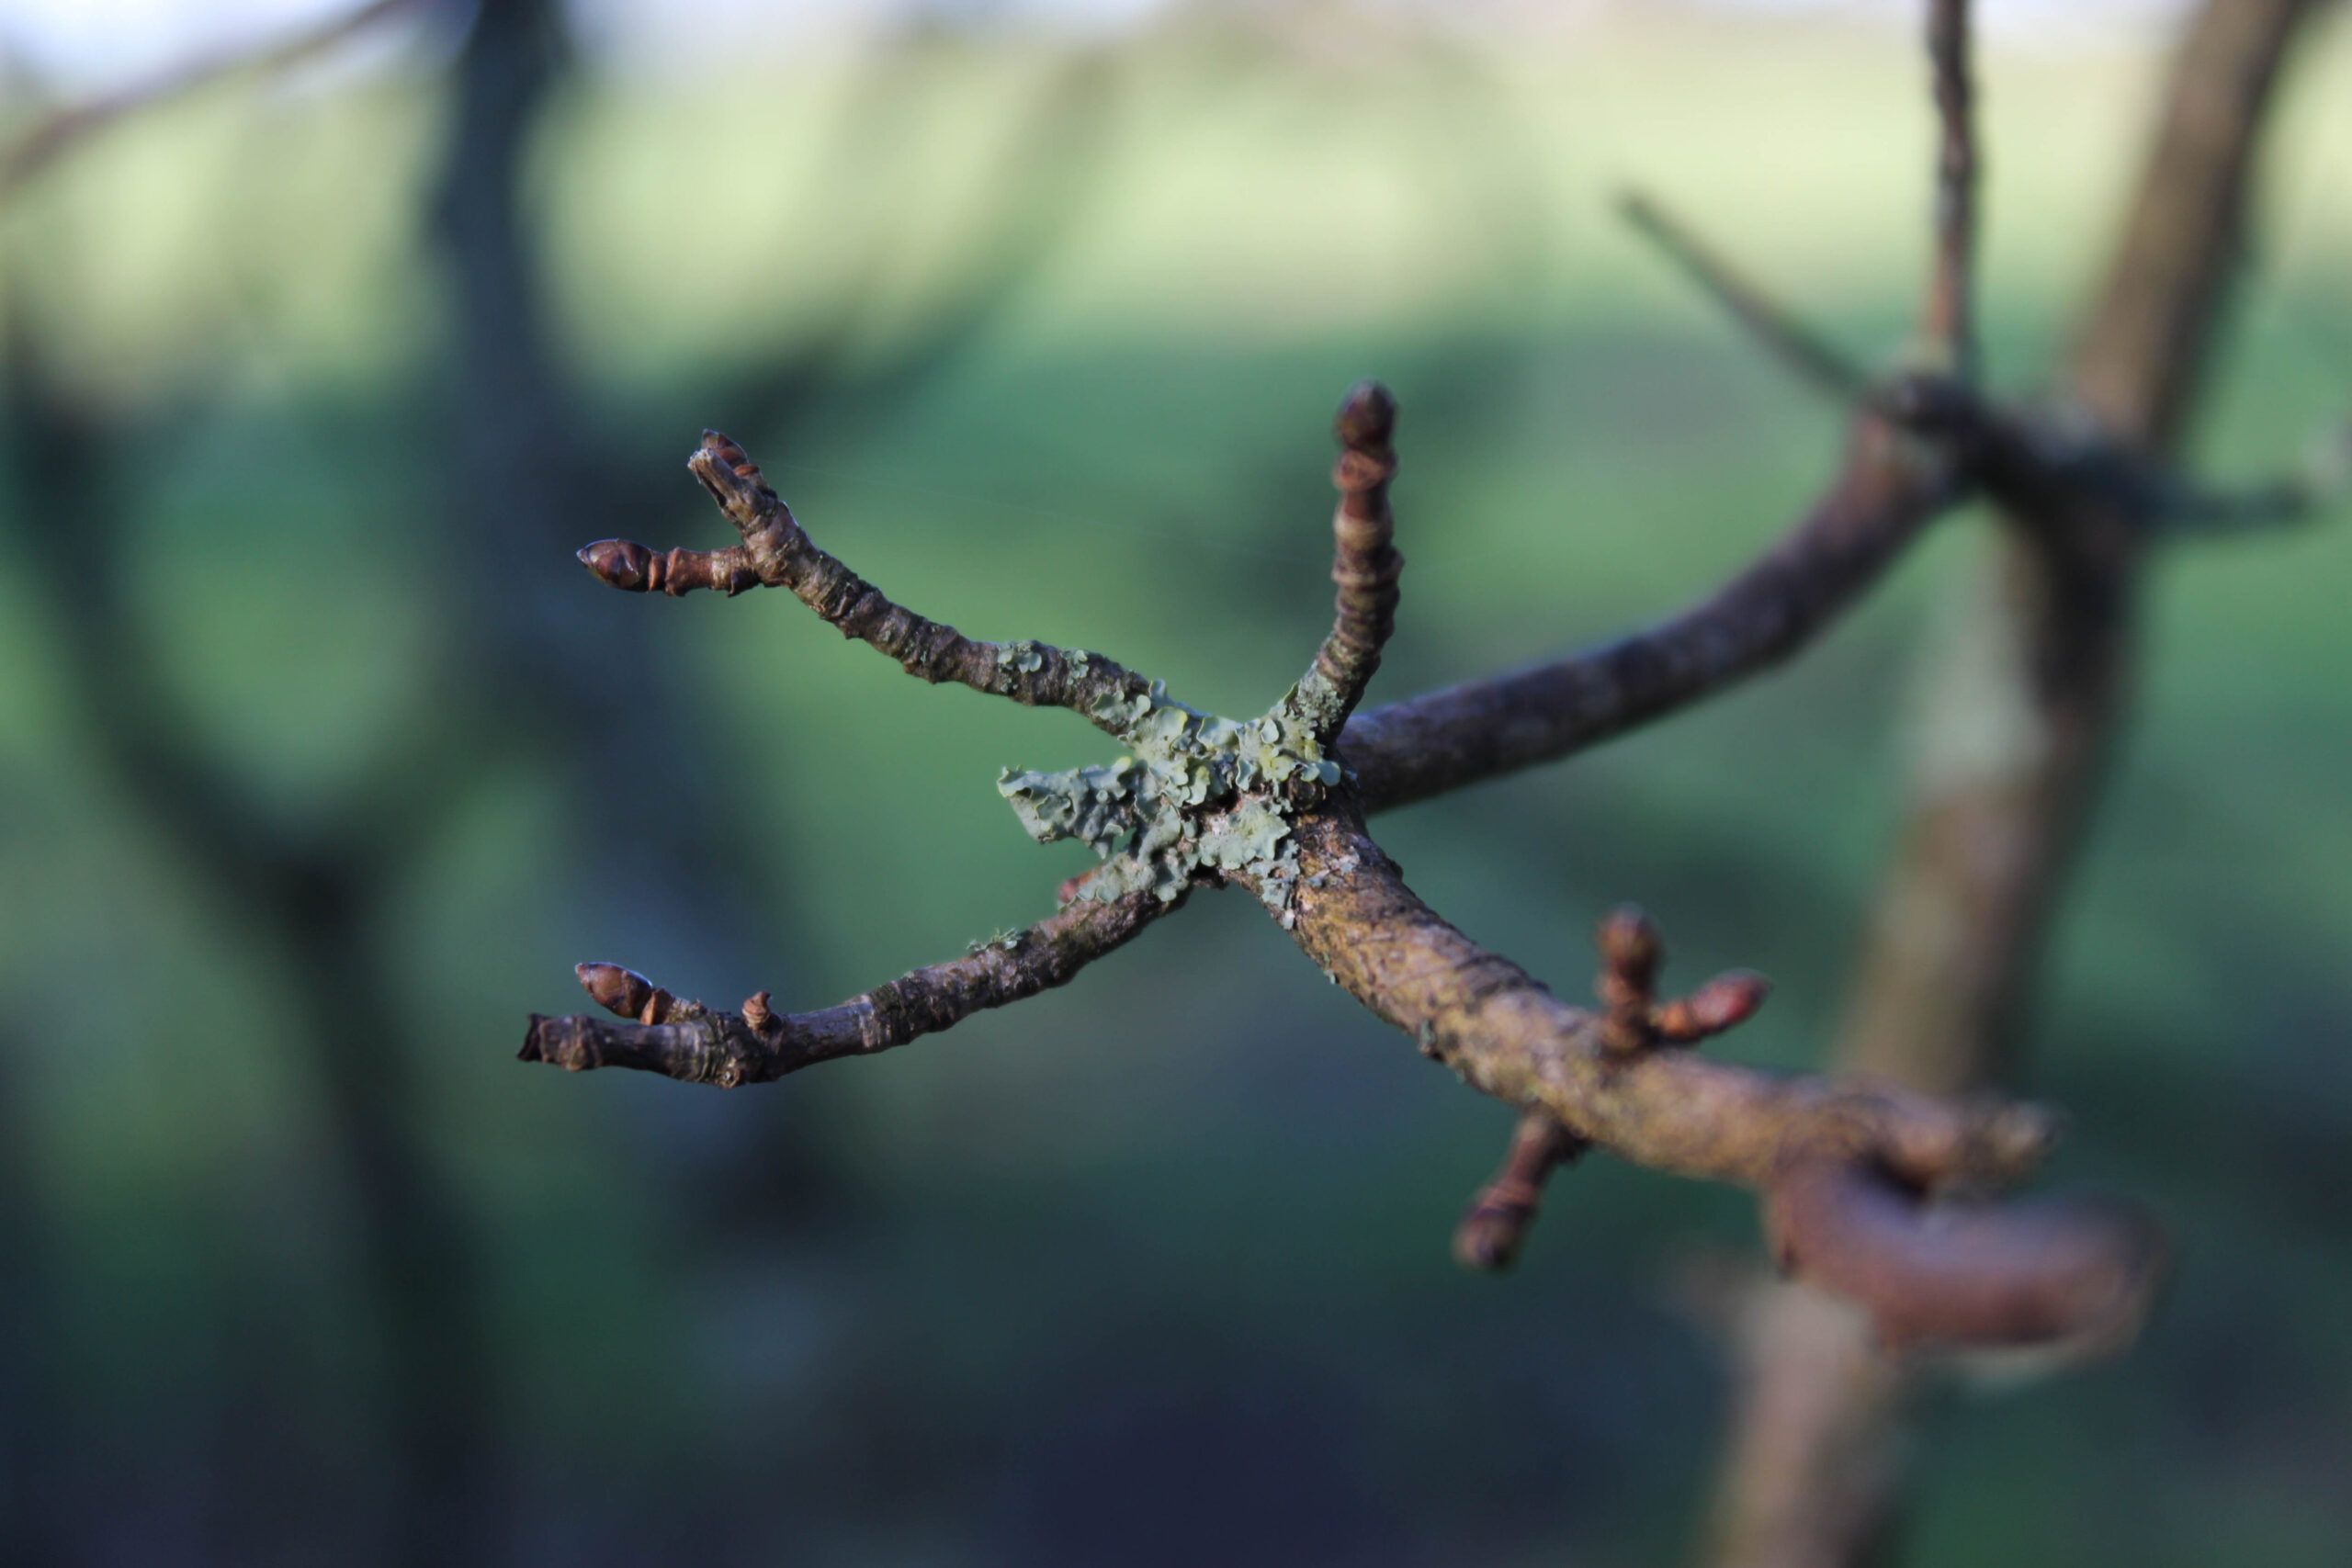
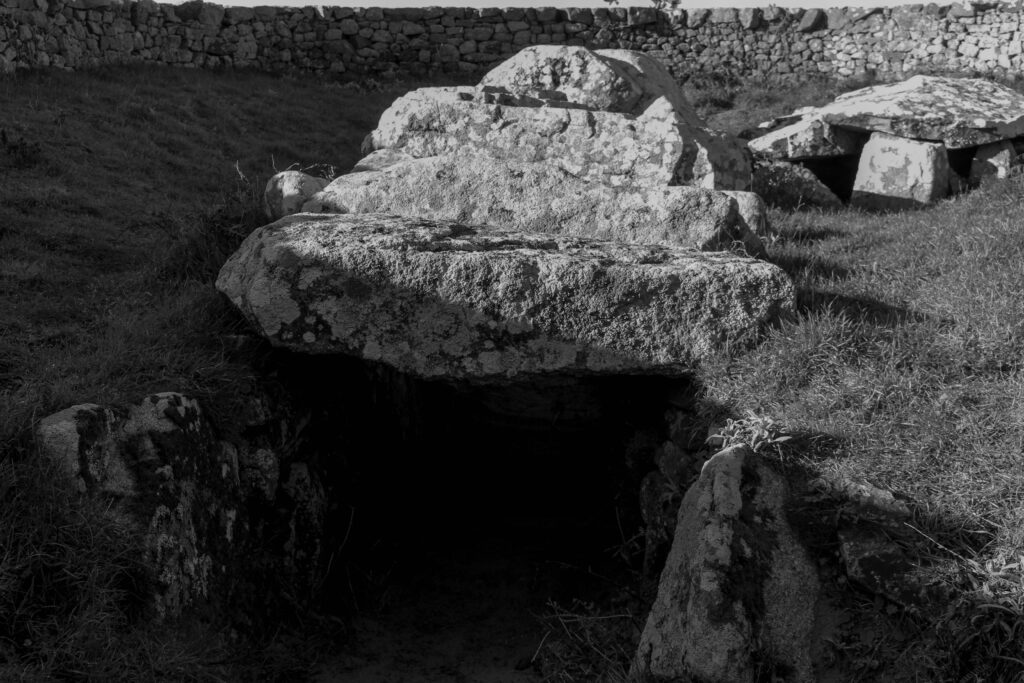
I brightened this image up a little to make the texture stand out more.
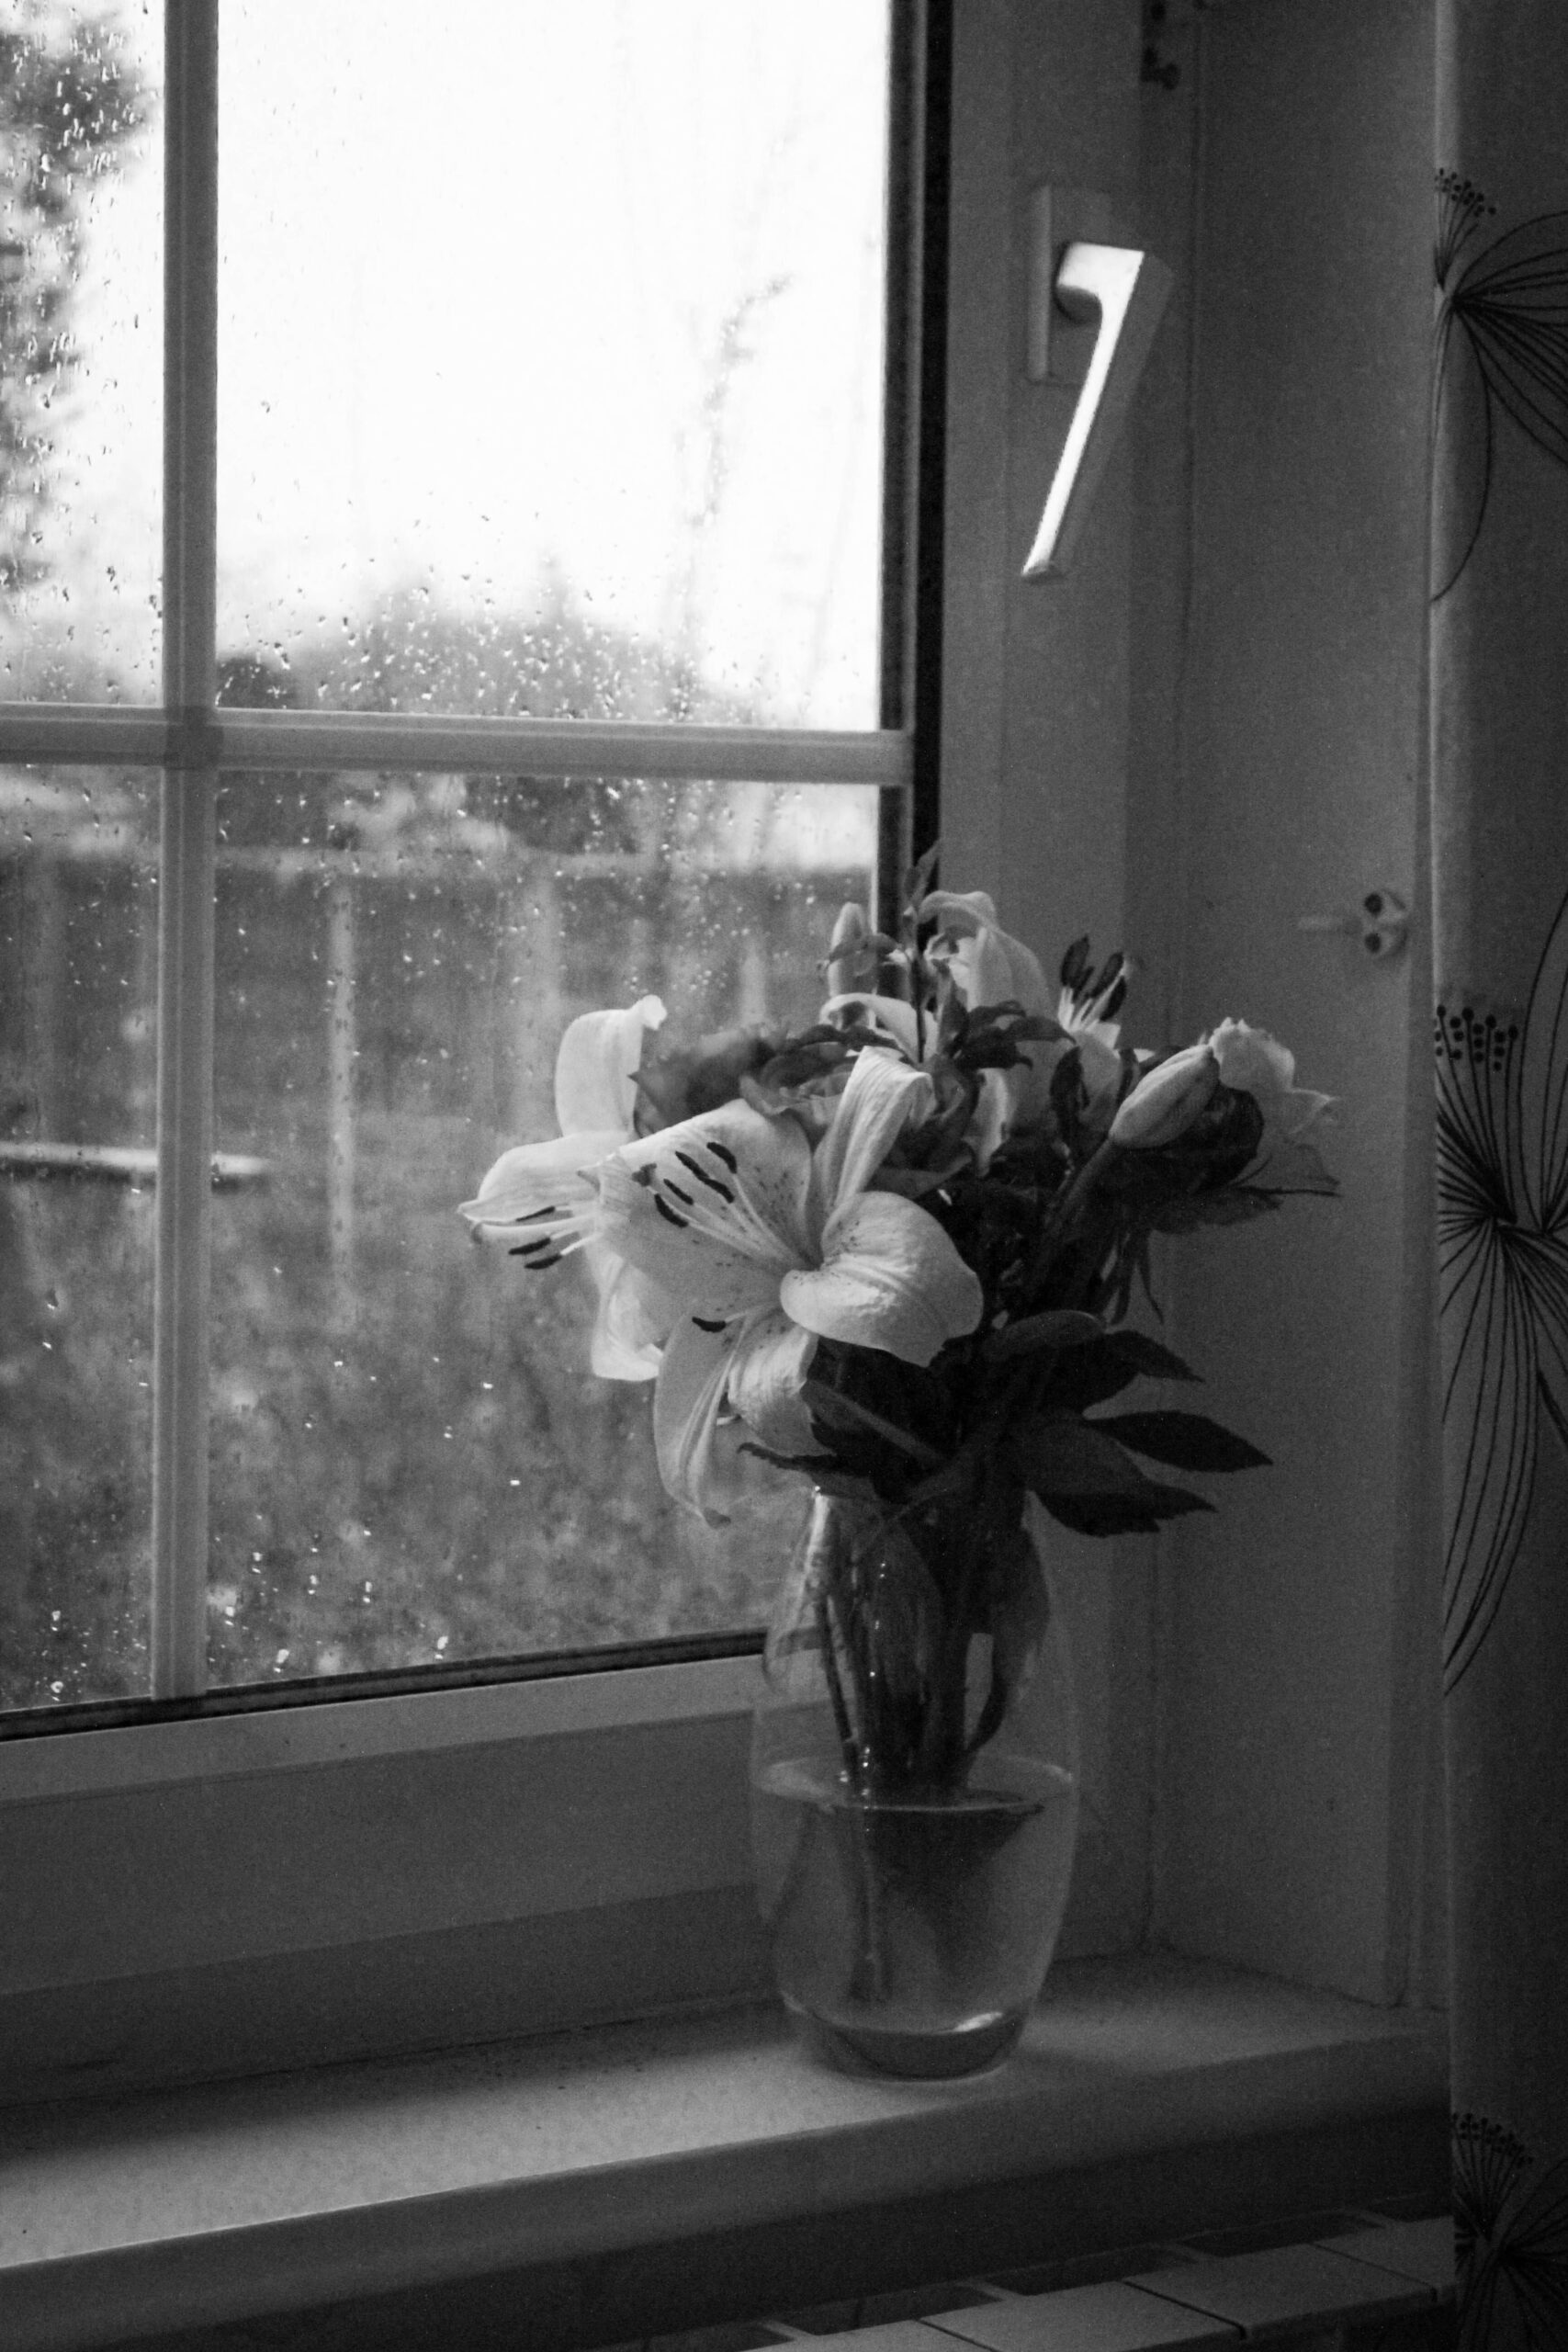
There is a superstation that snowdrops blooming in a house can bring around death. to match this I’ve made the image black and white to add the solemn aspect to it.
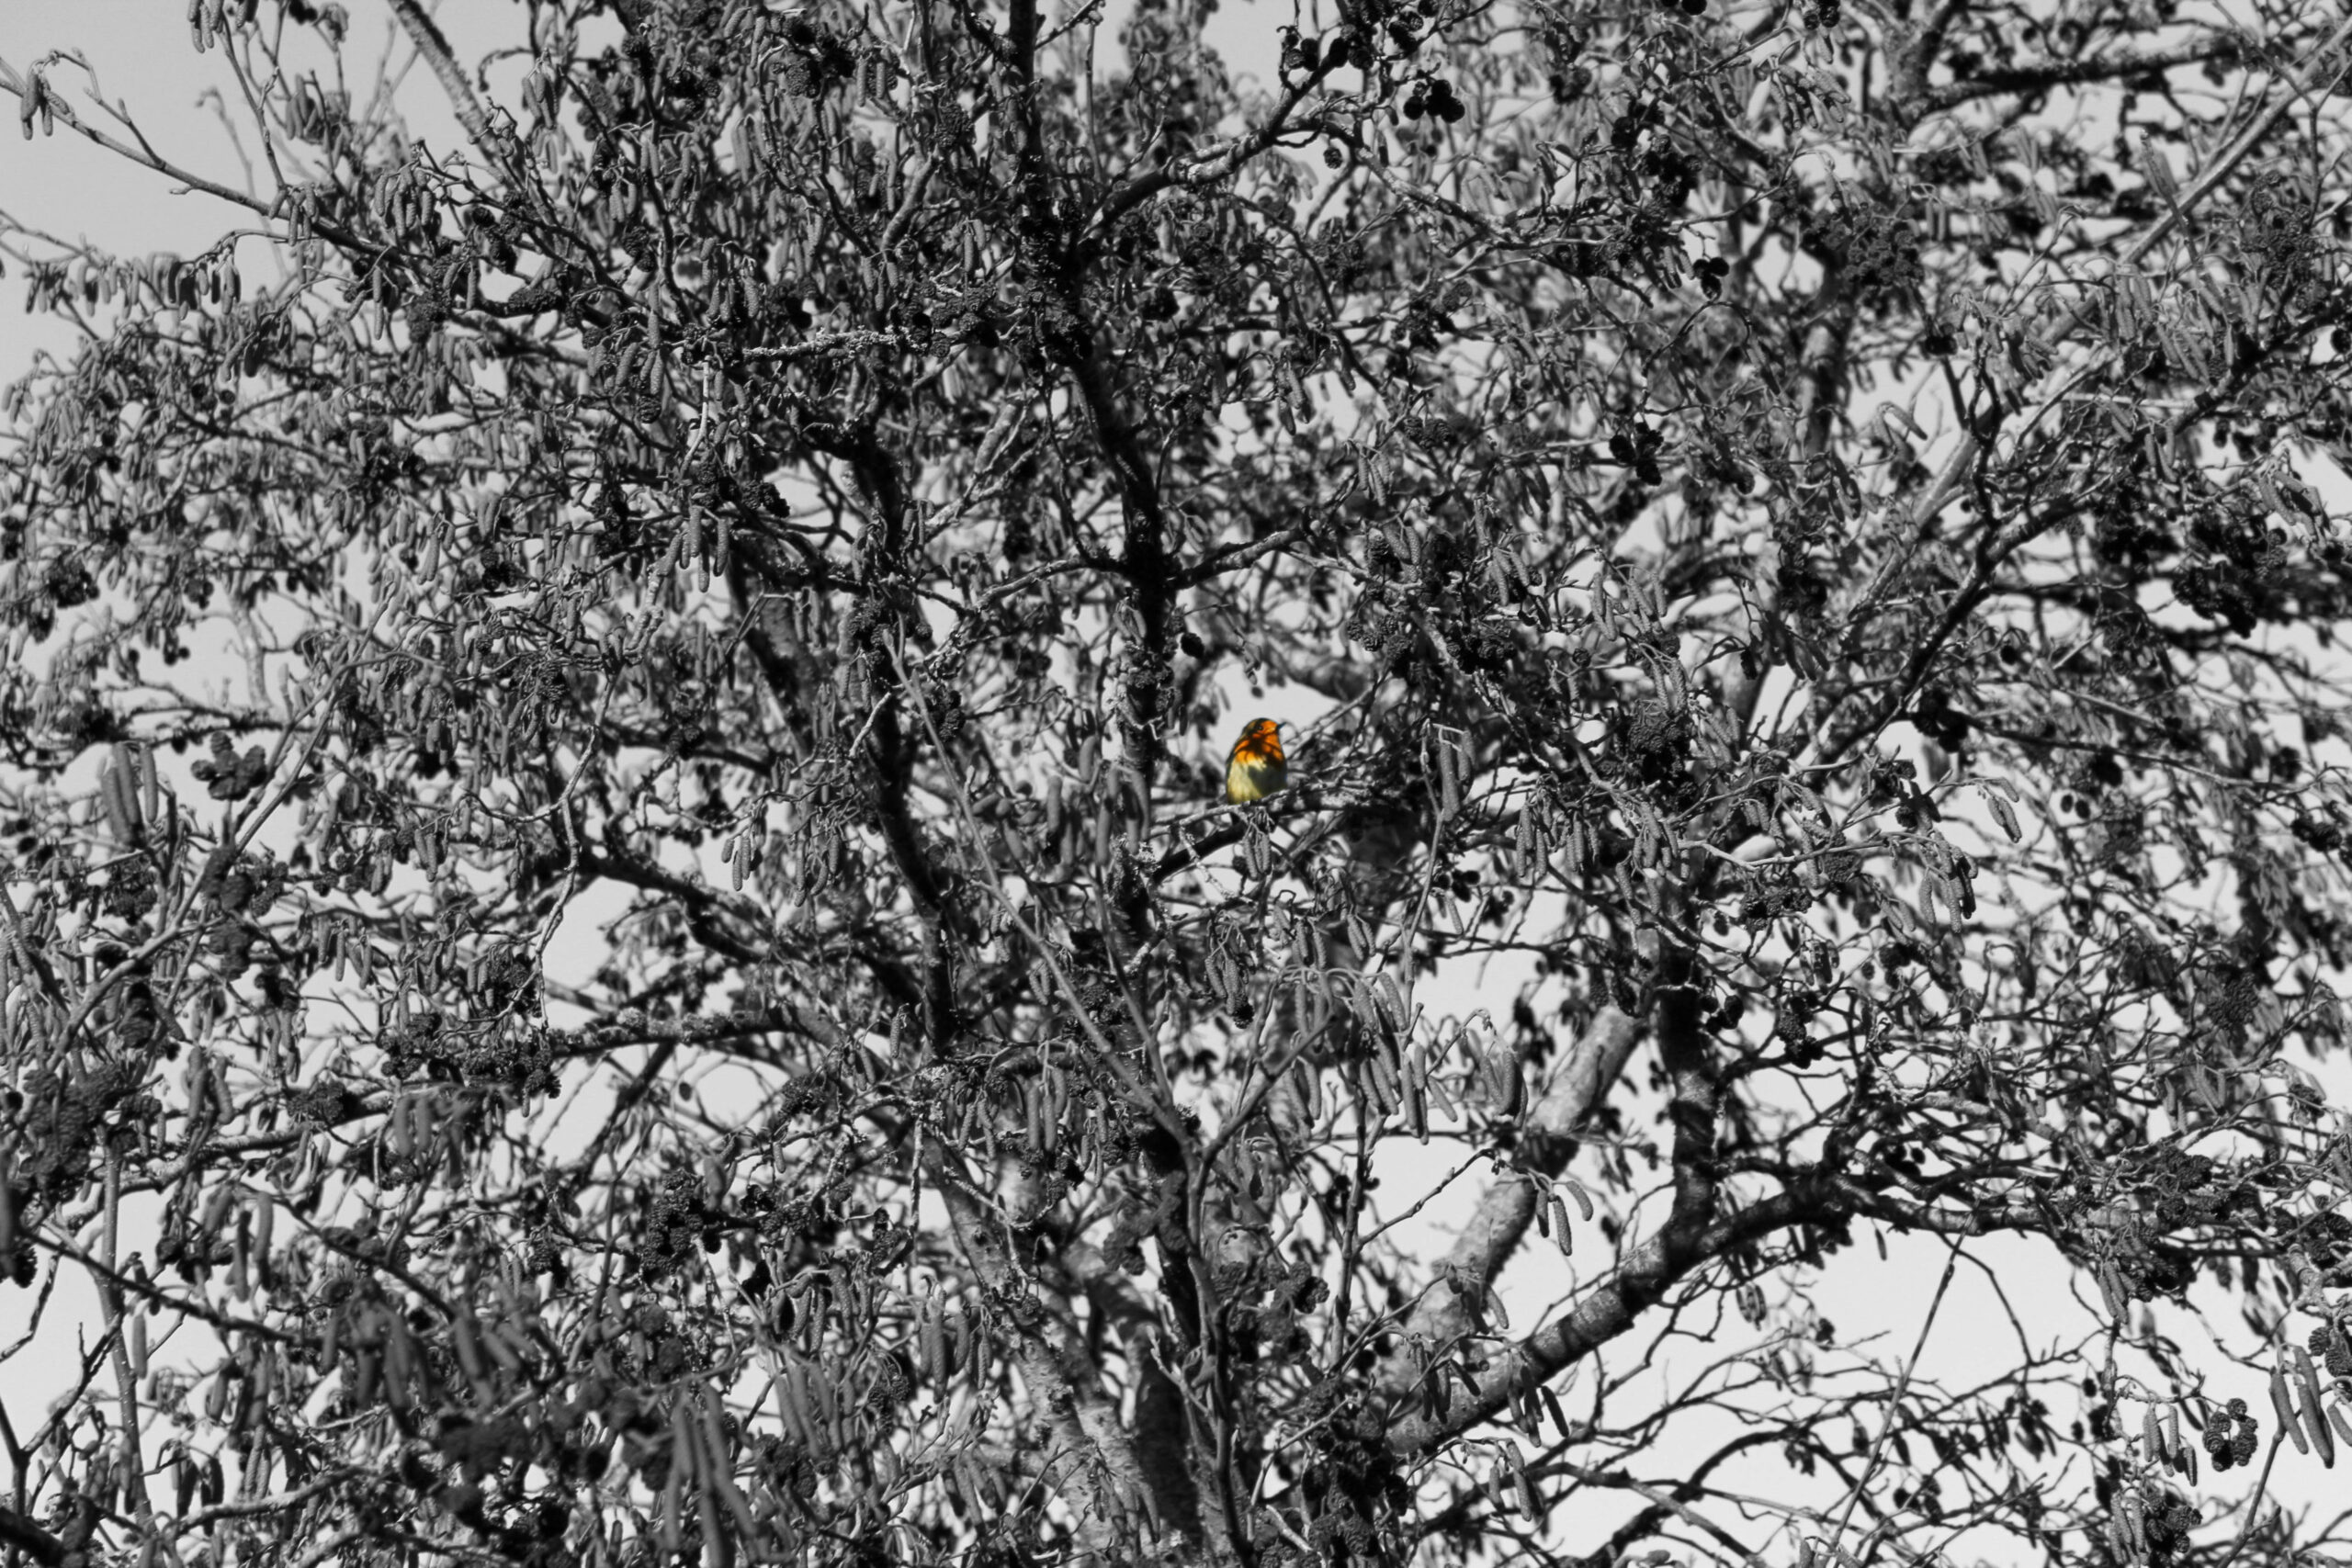
For this image I have isolated the robin so the he is the only section that is in colour. This little pop of colour against the black and white background can immediately catches the eye.
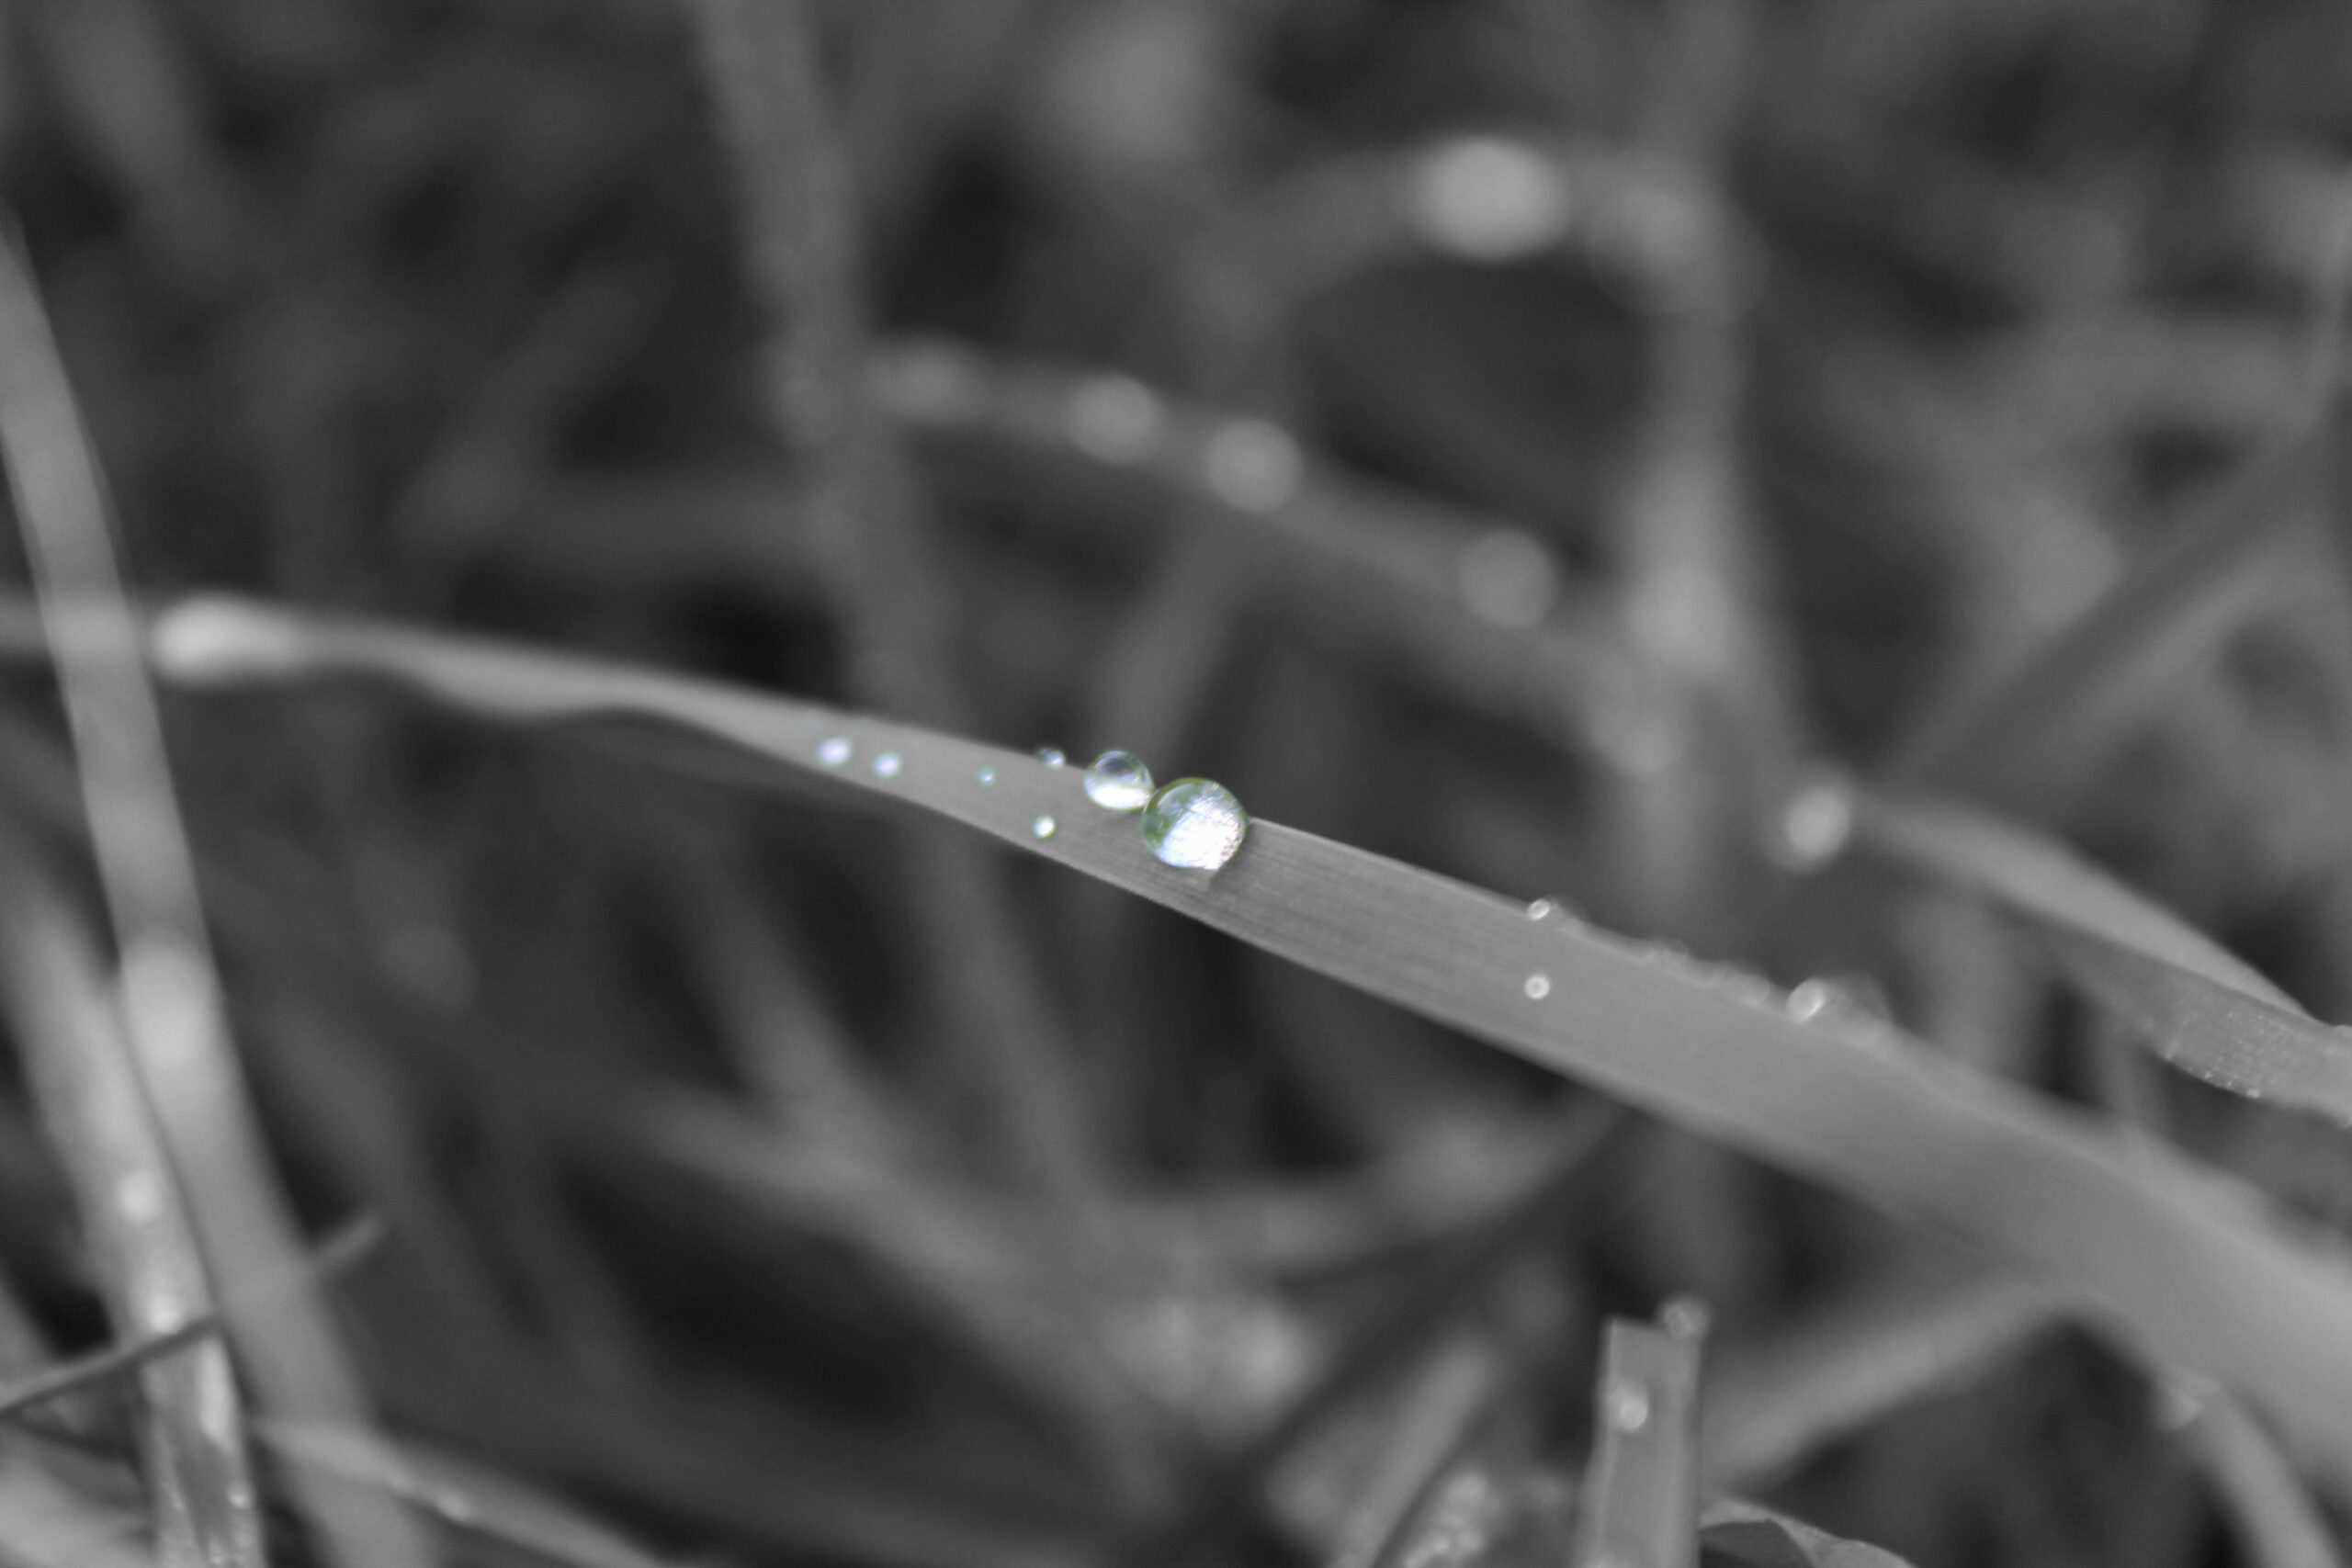
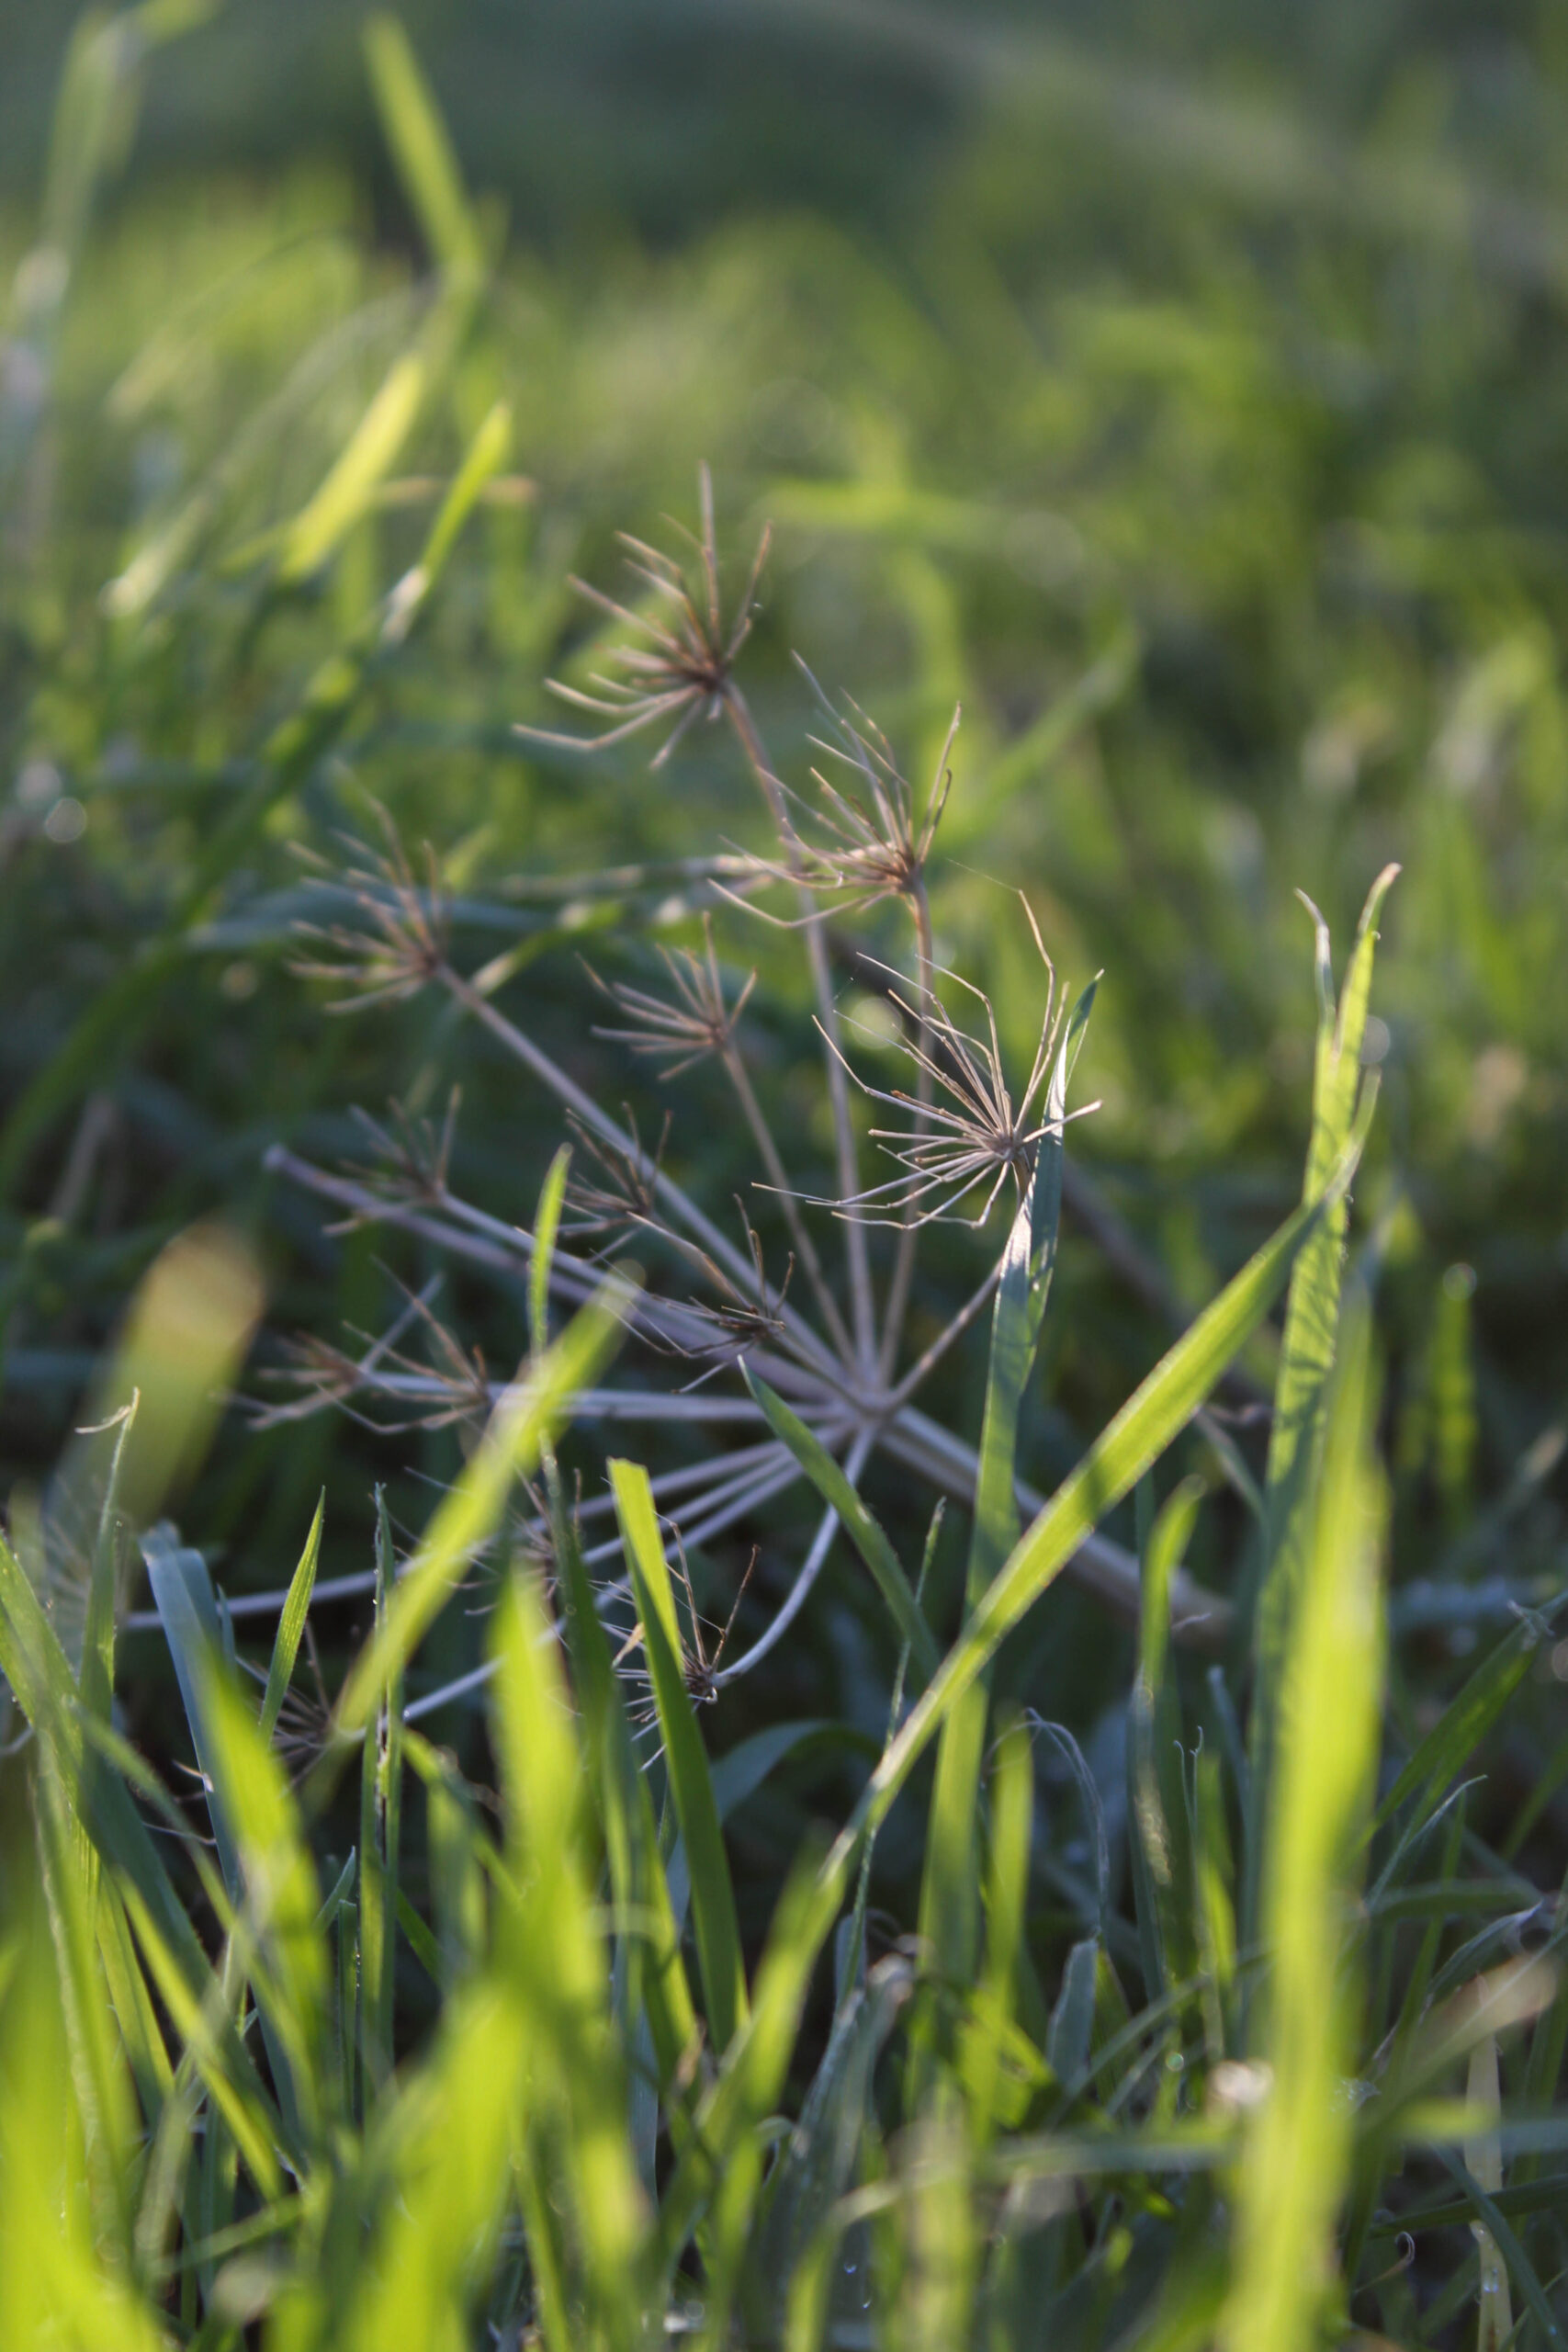
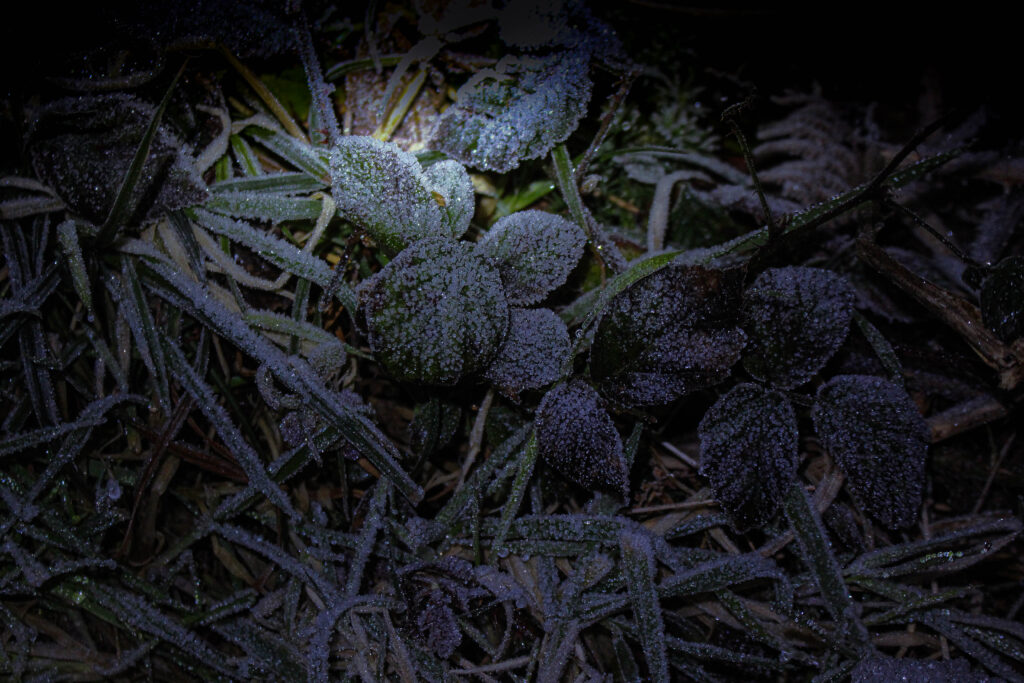
For this image I isolated to dew drops on the blade of grass. this makes it pop a little more, creating a sharper image.
FINAL PHOTOS
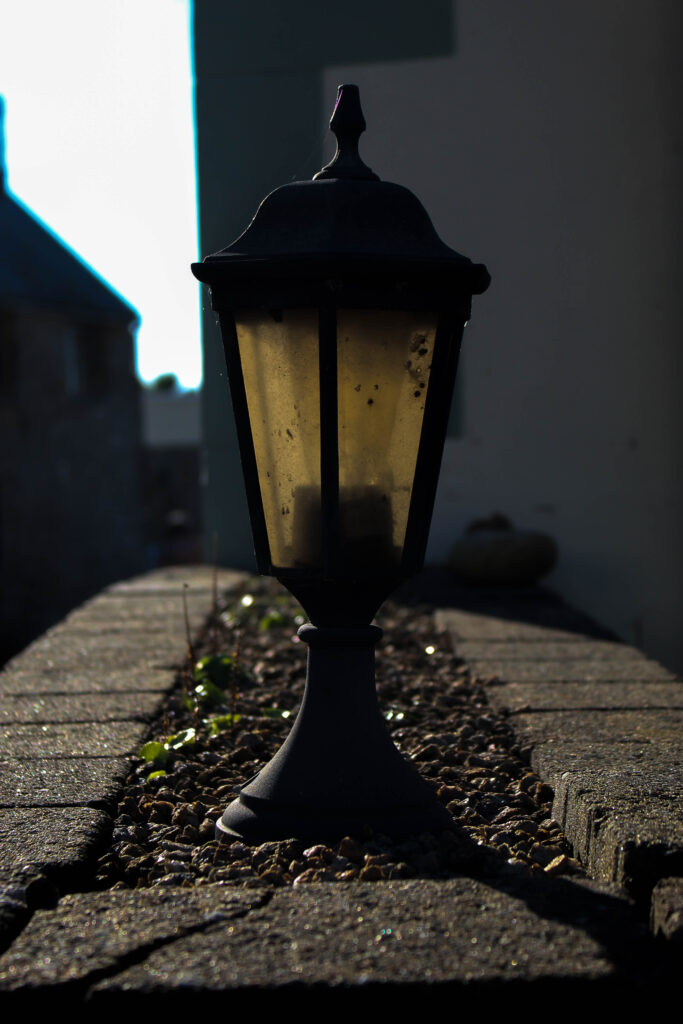
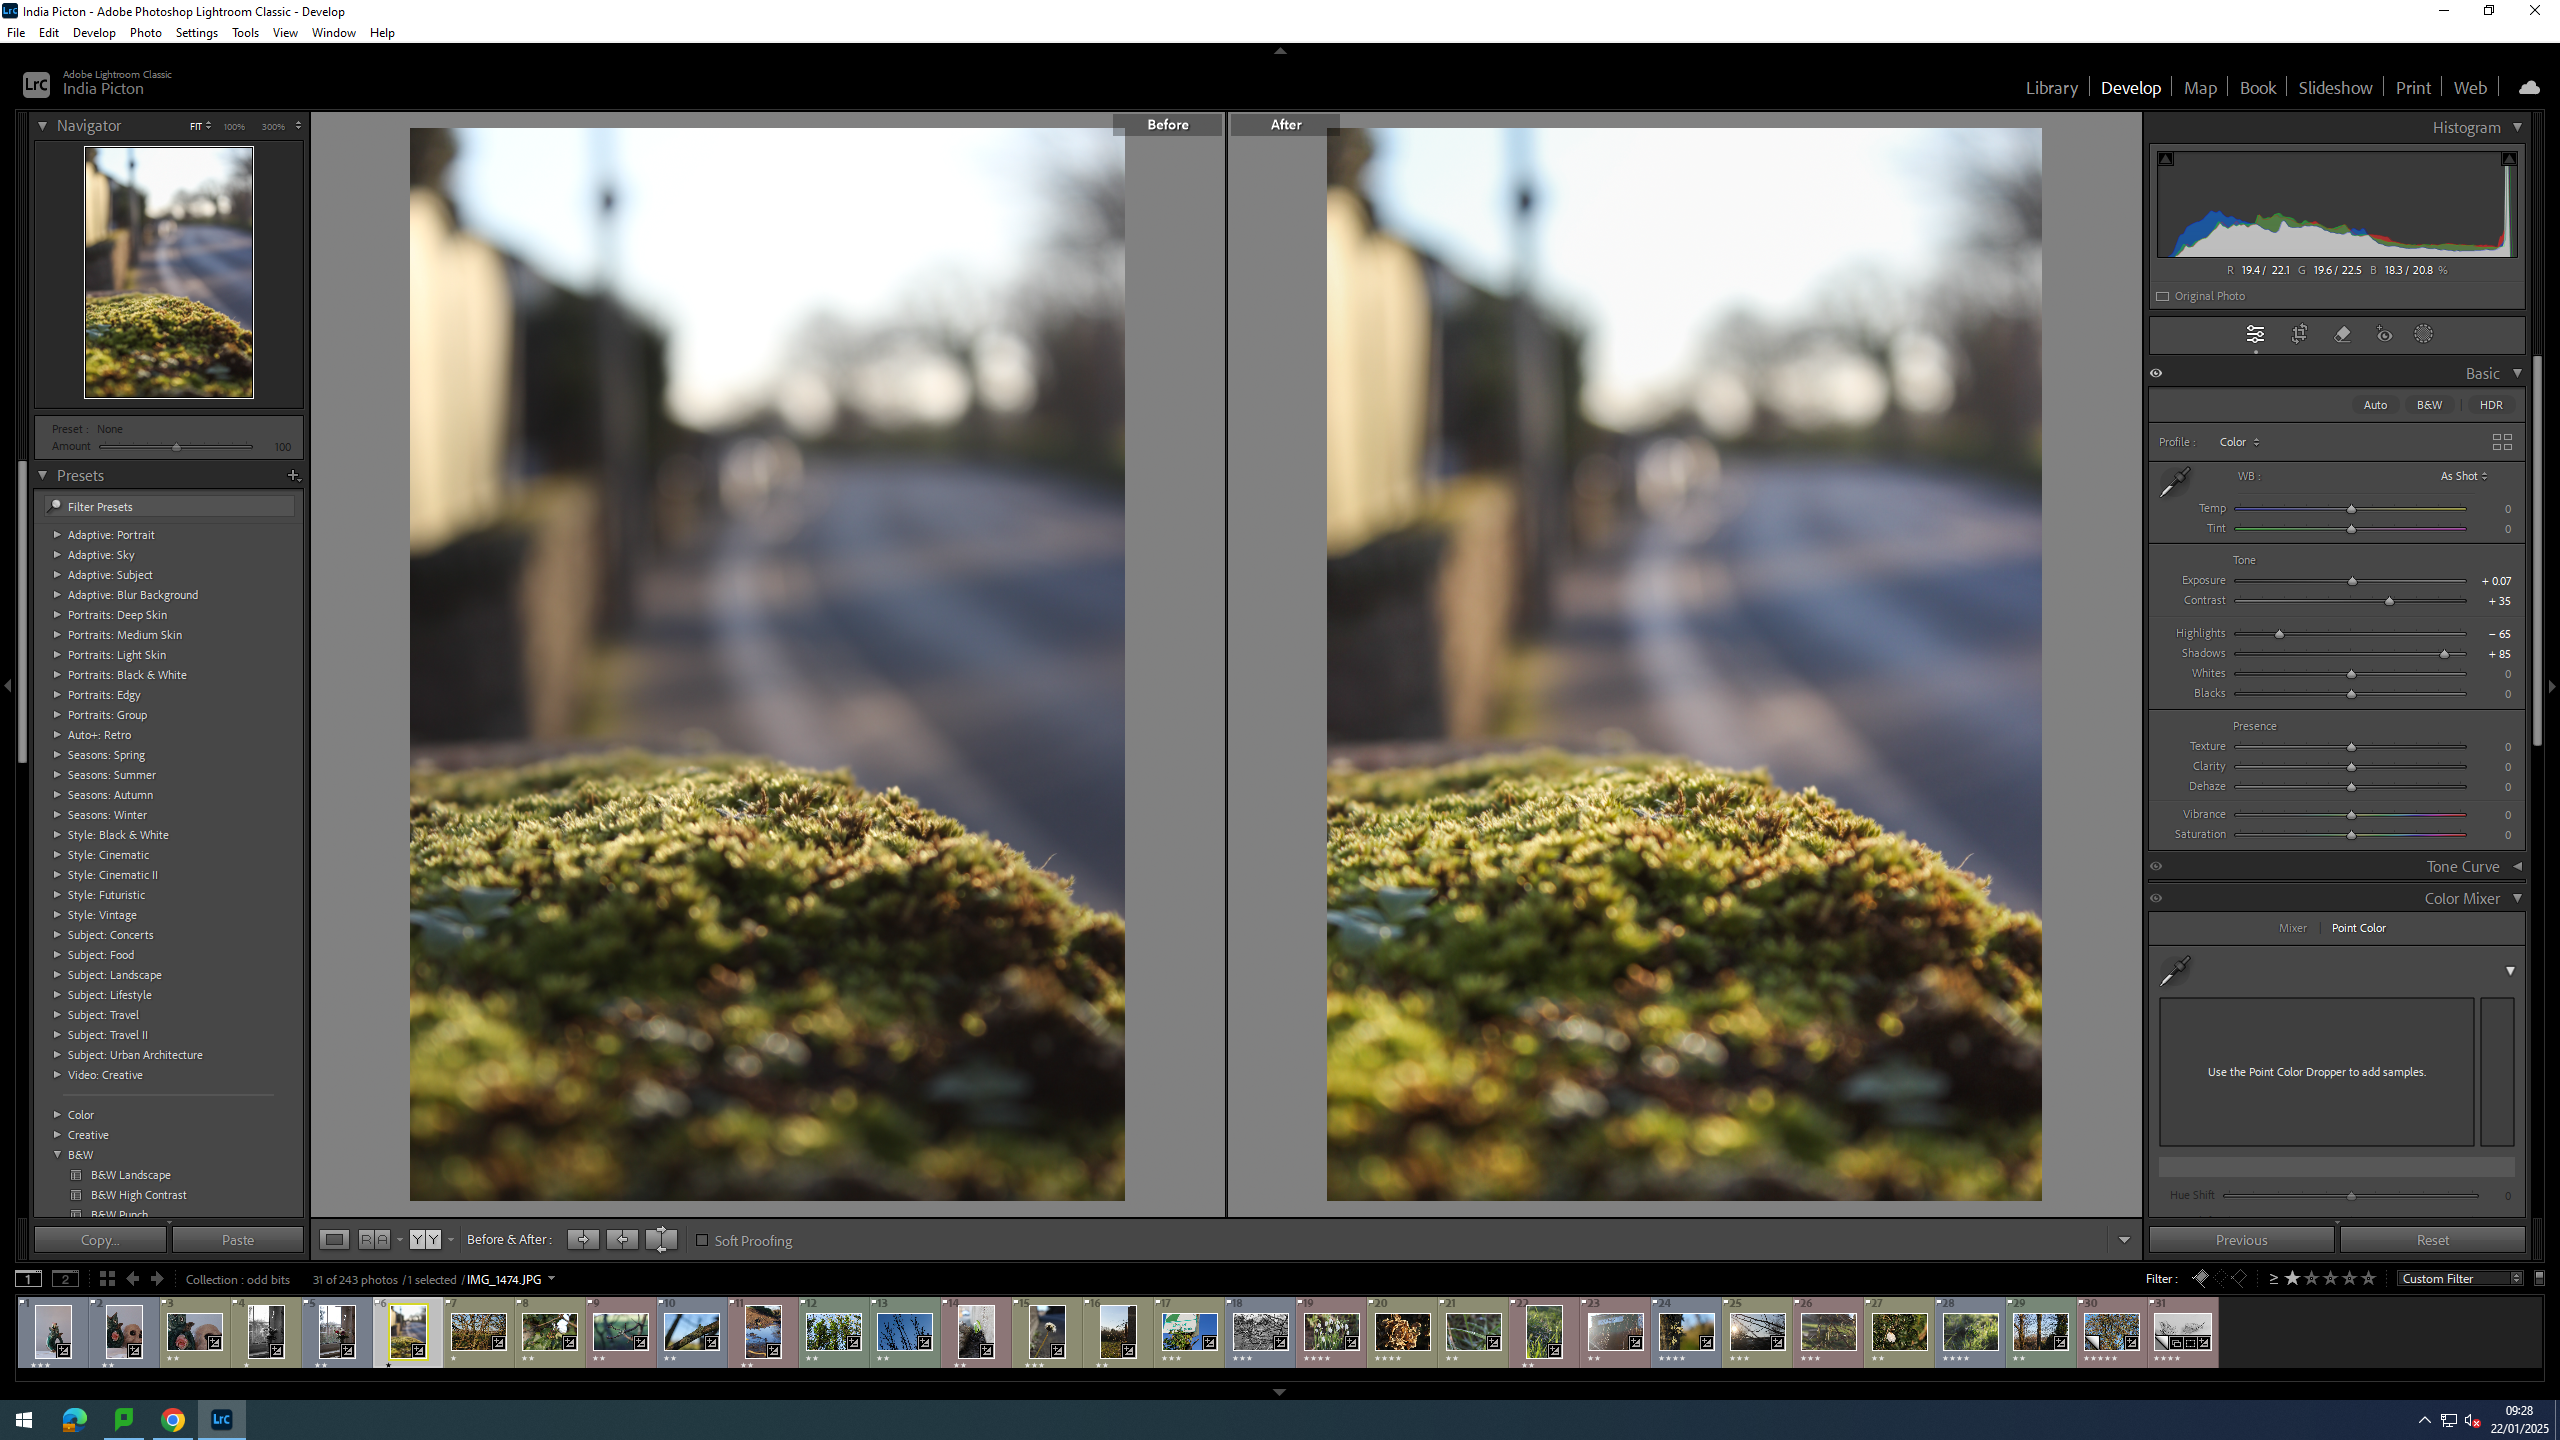
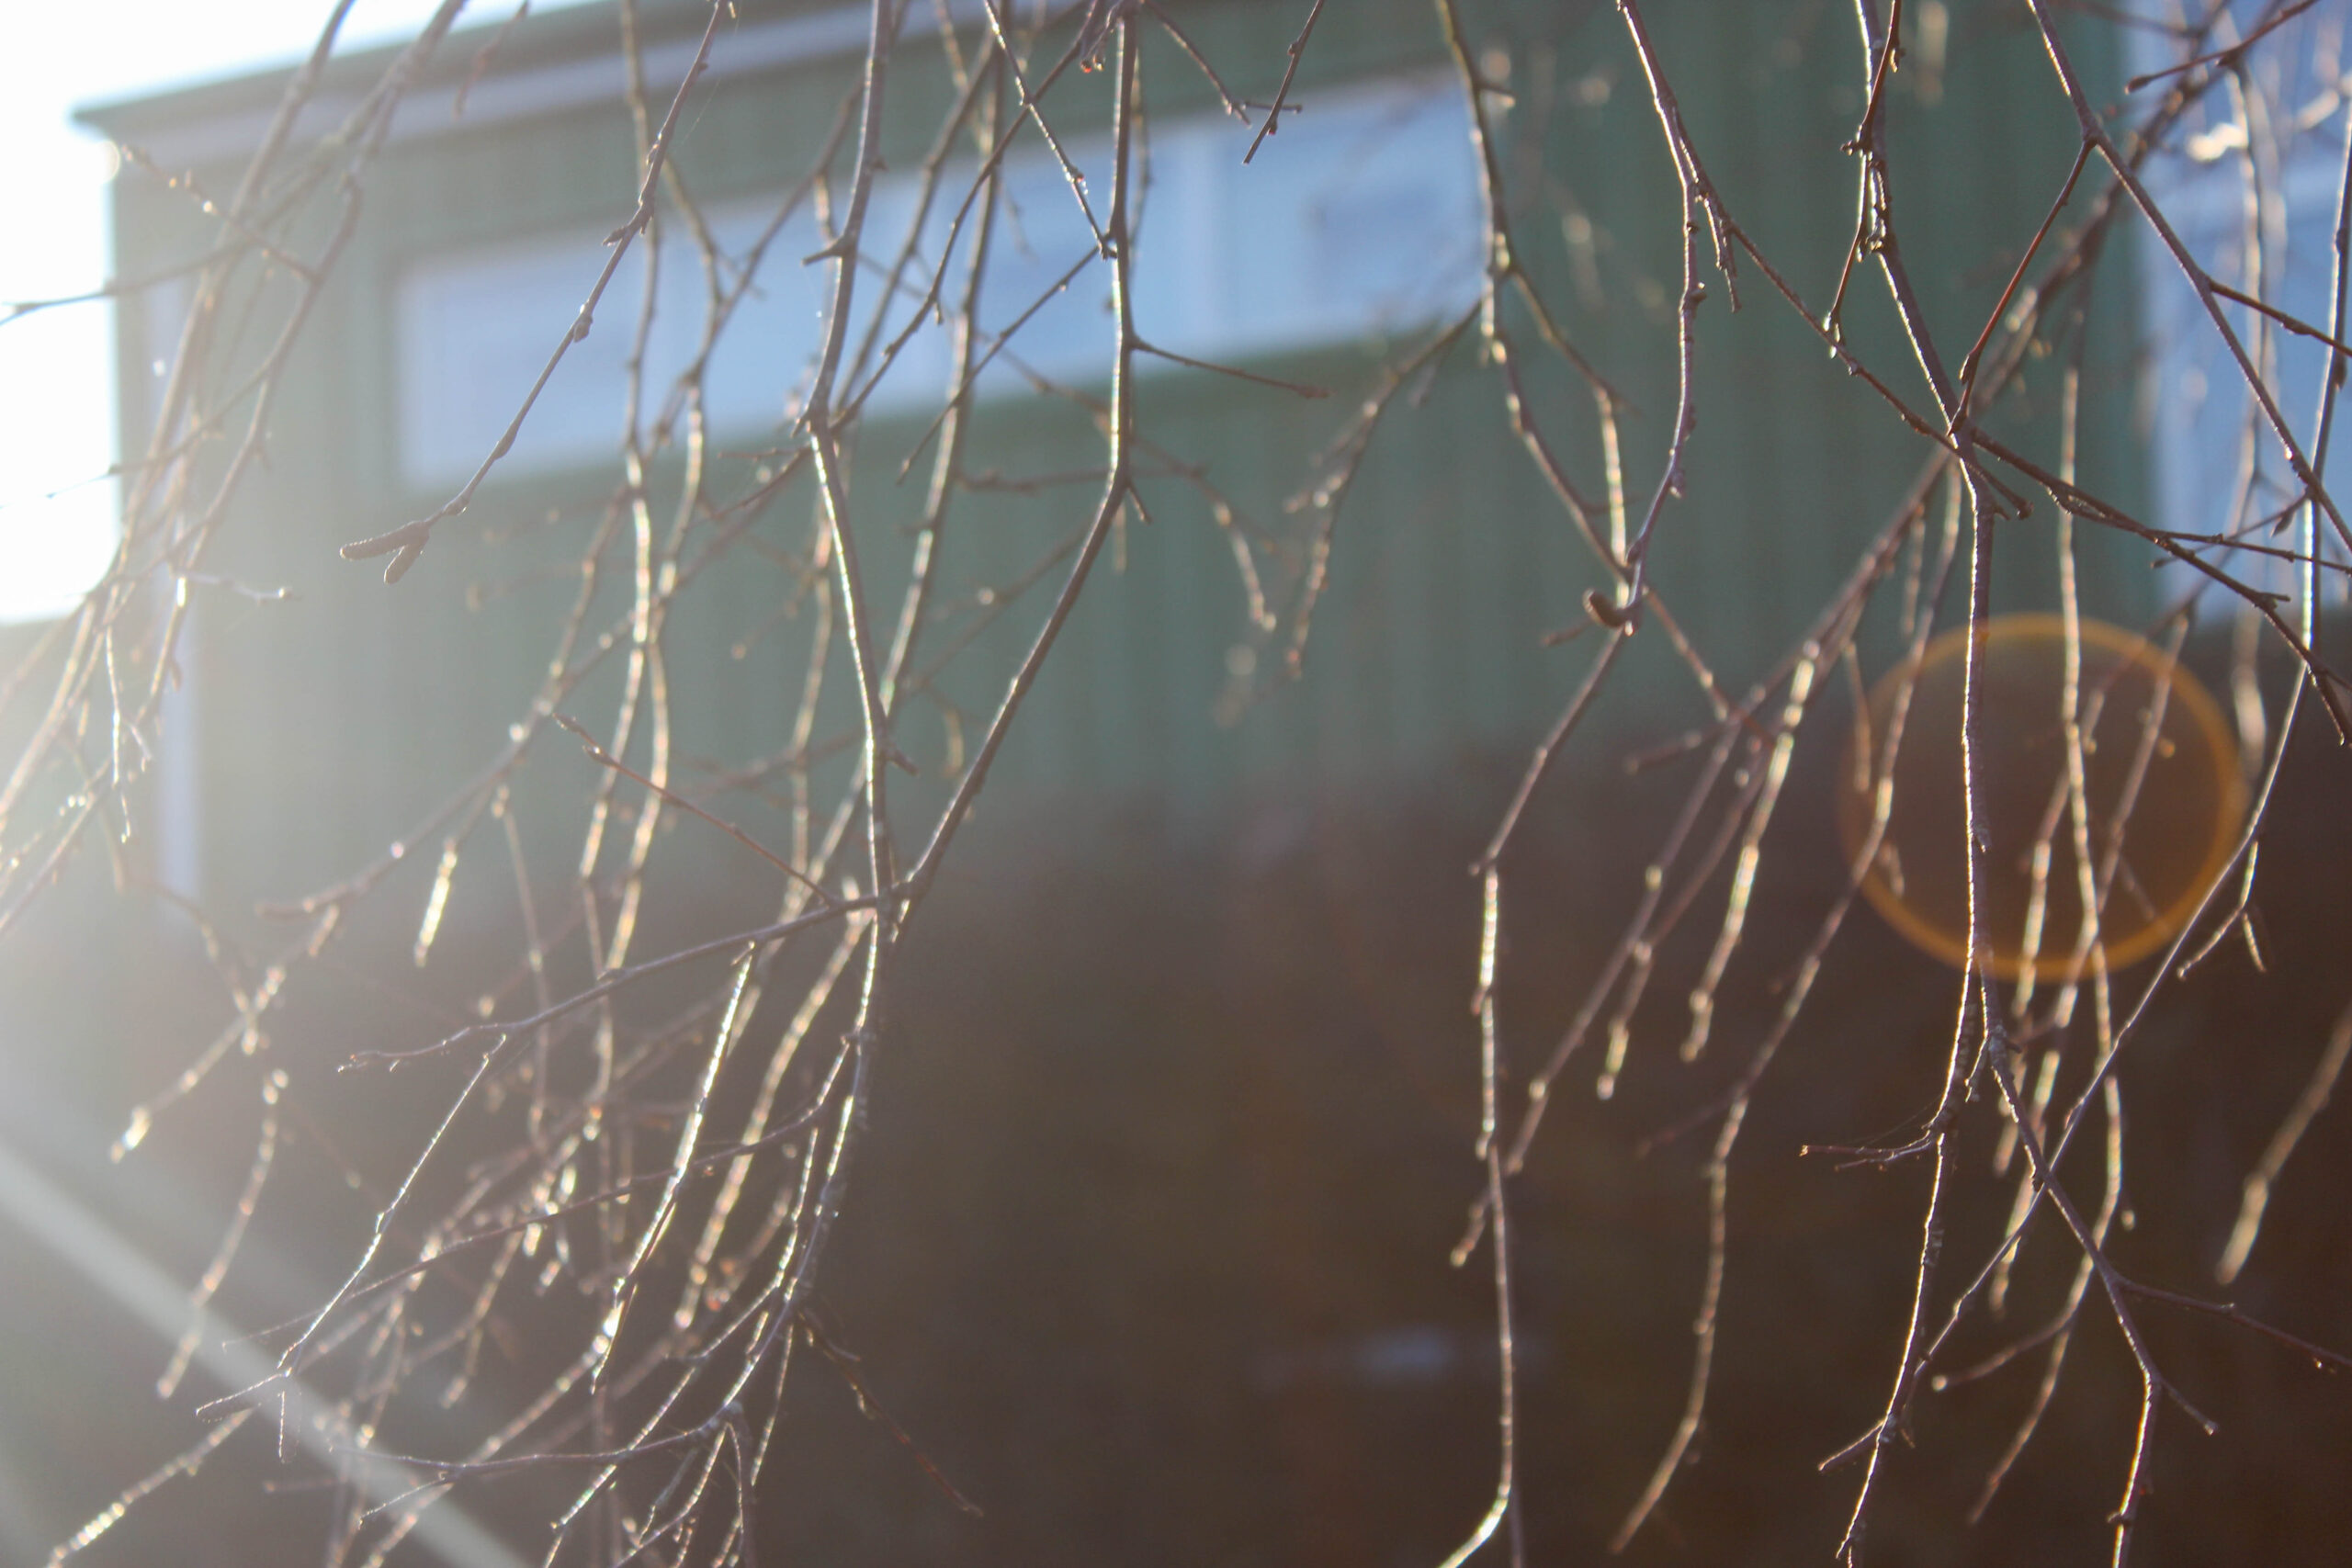
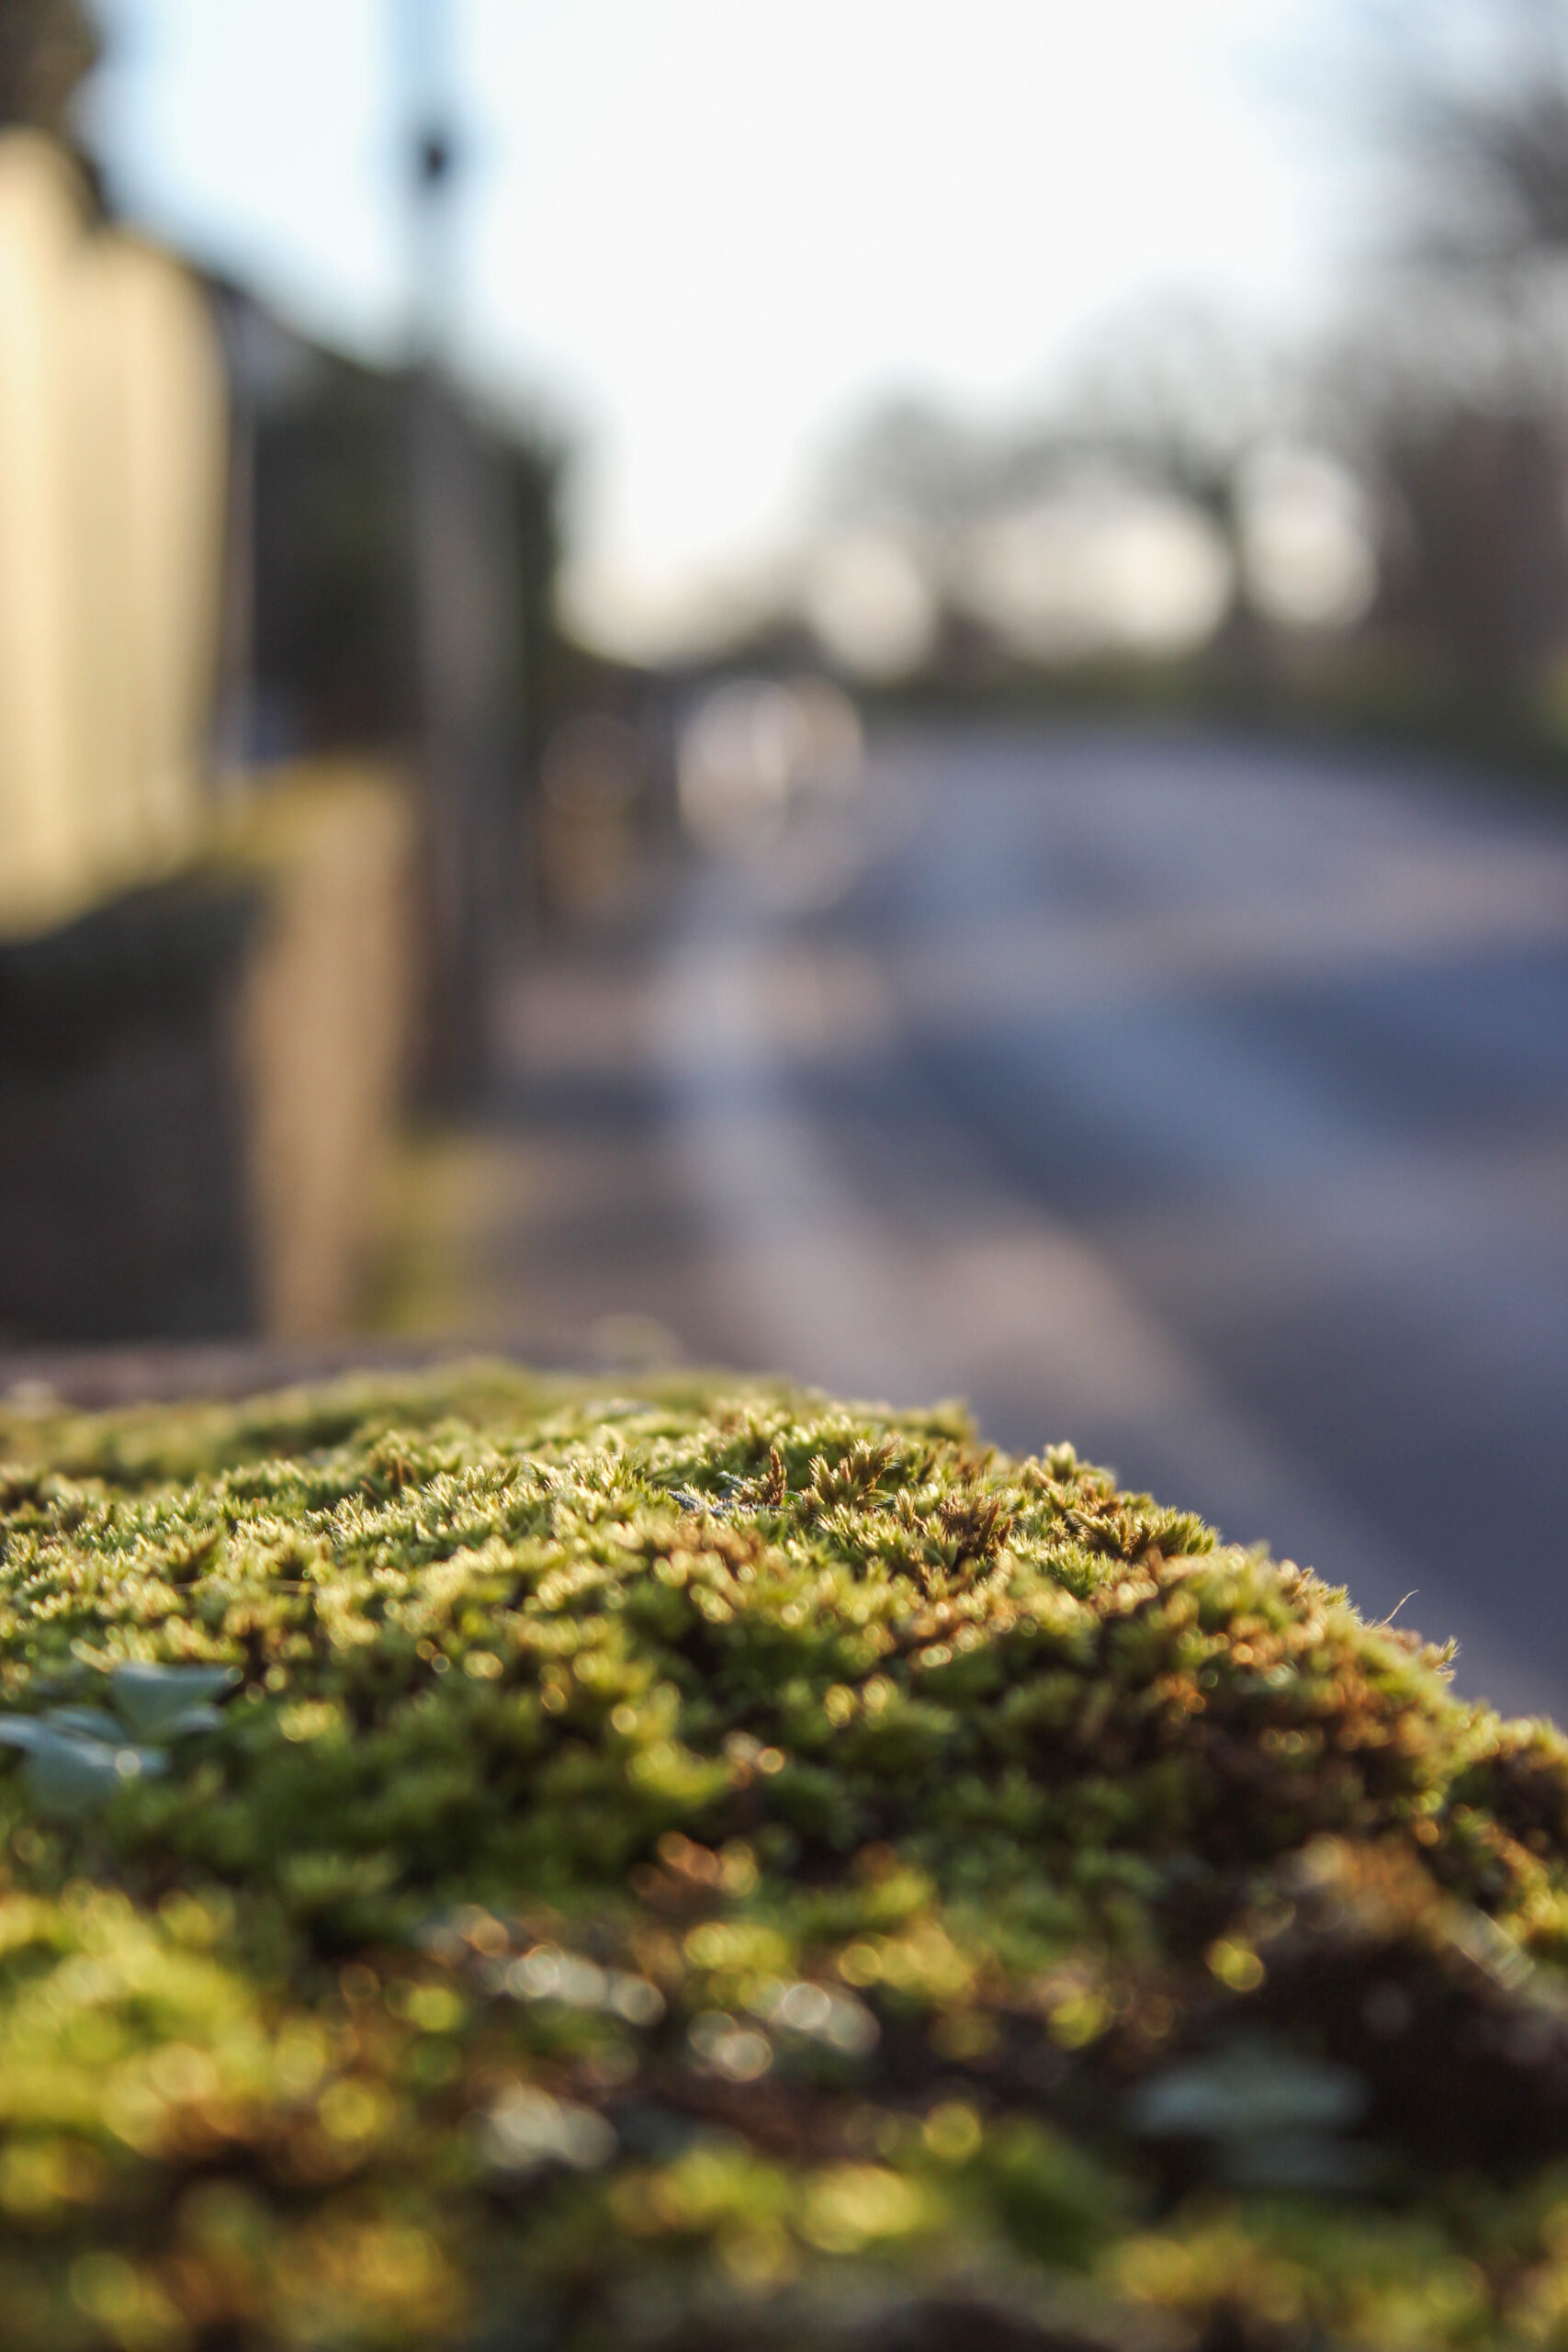
This image immediately caught my eye when I was looking though them. The orange light flare contrasts nicely with the green warehouse in the background. the background being out of focus adds a nice depth of field to the image, and the rays of light in the bottom corner add a sort of ethereal quality to the image.
Can truth and realism be shown through photography?
‘A photograph is a secret about a secret. The more it tells you, the less you know.’ Diane Arbus, 1971.
This quote captures photography’s power to tell a story but not the whole story, leaving some elements hidden. Photography is often seen as a way of capturing reality, but it raises a critical question which I will be addressing in this essay – can truth and reality be shown through photography? Truth is about accuracy in a specific moment or detail whereas reality includes the bigger picture. A photograph can capture a visual truth, or it may provoke thoughts as to what is really going on (the reality) or, more often, it can do both.
The reason I chose this theme came about from my background research in photography and practical experimentation with techniques. Also, photography’s ability to capture reality has long been debated and as I’ve grown up as a digital native, I wanted to add my perspective to it. Photography is a powerful method to document the world visually, which in turn, is used to further enhance human understanding of the world. But the fact that it is a physical or digital photograph means that decisions have already been made along the way to either increase or decrease its truthfulness. These decisions include the way photographers choose to frame their subjects, how they choose to edit, and the stories they want to convey, all of which converge to influence how the truth is captured and preserved. I am fascinated by how closely photography can document reality and also how modern photography techniques and technologies can undercover further truths, often in unexpected and surprising ways.
In this essay, I will explore the work of two influential photographers – Henri Cartier-Bresson and Jeff Wall. I will examine the context in which they worked and examine how each of them address the notion of truth and realism from their different positions of ‘spontaneous’ versus ‘staged’ images. I will demonstrate how their work influenced my work with my photograph series ‘Rise to Recovery’ showing an injured basketball player and how his truth can be accurately represented in staged photographs. By discussing the historical context of these photographers and by critically analysing their work, this essay will argue that whilst photography can preserve truth in an instant, it is still always ultimately shaped by the photographer’s own perspective and choices. The Guardian’s Points of View ad, (Guardian, 1986) demonstrates differing perspectives powerfully. A photograph cannot be as real as life itself, but is as close as it gets. Further, can it go beyond literal truths and provoke powerful emotional and deeper truths? Finally, this essay will discuss how photography in the digital age is assisting in uncovering previously unseen truths – adding a further perspective to the truth/reality debate.
Historical/Theoretical context
Photography, since its invention in the 1820s, was developed from scientific experimentation with early processes like the daguerreotype and the calotype. Once the ability to preserve long-lasting images was achieved, photography was viewed as the method to record real life with precision. Early photographers documented nature or scientific images, eg. the moon (Campbell, 2013), and soon photography evolved into an artistic method which reflected wider cultural movements. Realism of the 19th century documented ordinary life, highlighting poverty and injustice aiming for social reform. Works by Jacob Riis (1890) documented New York’s social housing and improved their conditions. In the 20th century, Modernism moved away from the gritty reality towards more subjective expression of life, and Henri Cartier-Bresson’s work is an example of this which will be examined in more detail later. By the mid 20th century, Postmodernism began to challenge photography’s claim to documenting truth. My second photographer Jeff Wall, staged seemingly spontaneous scenes, including ‘Mimic,’(Wall, 1982) shown in Image 1. Demonstrating how photography can manipulate reality very cleverly, as Wall recreated a moment of racial prejudice that he witnessed in Vancouver.
This is particularly relevant to my question of how photography can depict truth and reality, because a photograph simultaneously records reality whilst also constructing a perspective of it. It’s a juxtaposition which I find fascinating, and I feel no other medium is capable of doing this better. The other layer to discuss regarding truth is the Digital Age – the way the photograph is viewed nowadays is key. Whereas photographs were originally physical items, most photographs are now viewed digitally though a screen (Growcoot, 2023), adding levels of complexity. Originally the route was photograph to eyes, but is now photograph to screen to eyes. We also know from debates online, for example the blue/black dress optical illusion photograph (Pearson, 2015), that viewers can receive and interpret the same image very differently (see Image 2).
This means that whatever the photographer’s intention, there is no guarantee that their intension will be received the same. Similarly, we can now use science and special photography (x-rays, UV and infrared) to uncover hidden details in art and photography, as used by The Courtauld Institute in BBC’s Fake or Fortune programme. (BBC, n.d). Also, Metadata, can reveal the truth stored beneath a photograph to prove any manipulation. Truth therefore comes in layers – the immediate, the inferred and the uncovered. Truth and reality have many facets to explore, and in the next sections, will be analysed from two very different angles.
Henri Cartier-Bresson and the Decisive Moment.
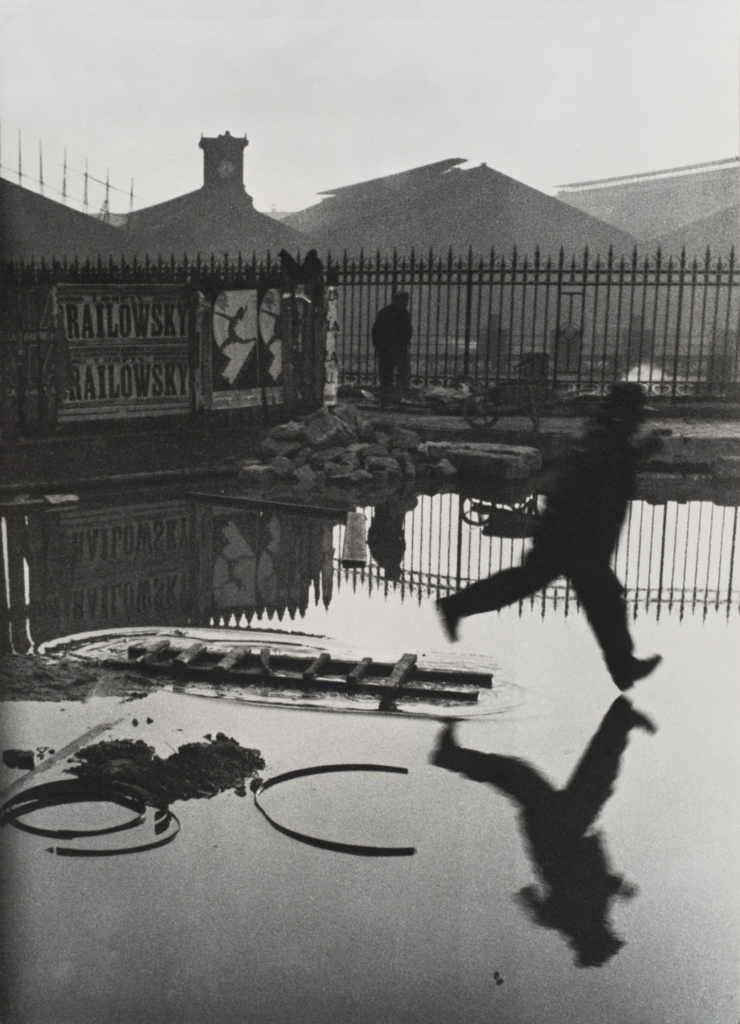
Henri Cartier-Bresson’s idea of the ‘decisive moment’ is a central theme to his photography, and he is considered a pioneer of Photojournalism. The decisive moment is the exact moment when everything in a scene comes perfectly together to create an image that tells a complete story (Cartier-Bresson, 1952). His famous photograph ‘Behind the Gare Saint-Lazare’ (1932) shown in Image 3.
Captures a man mid-leap over a puddle with his reflection mirrored below, in black and white with an image of a leaping man on a poster in the distance. Cartier-Bresson showed life as is, with no interference from the photographer. Using a small, portable Leica camera, often strapped to his wrist, he was able to take photos quickly, remain unnoticed, capturing moments in their natural state. Roland Barthes observed in Camera Lucida (Barthes, 1981) that photographs show what ‘has been’ and this fits well with Cartier-Bresson’s images. However, some critics argue that his decisive moment is not as ‘real’ as it seems. Susan Sontag wrote that ‘to photograph is to frame, and to frame is to exclude’ (Sontag, 2003) which applies to Cartier-Bresson’s work. Even though his images look spontaneous and truthful, they are the result of careful planning, framing and waiting for the perfect shot, so showing only a partial reality from his interpretation. He himself seems to agree with Sontag’s view, demonstrated in his quote ‘There is a creative fraction of a second when you are taking a picture. Your eye must see a composition or an expression that life offers you, and you must know with intuition when to click the camera. This is the moment the photographer is creative.’ (Cartier-Bresson, 1957). Therefore, the creativity demonstrates that he knew his images are not real life but a carefully thought out decision of timing and framing. The photographer is deciding what part of the truth to capture and therefore it’s not objective reality.
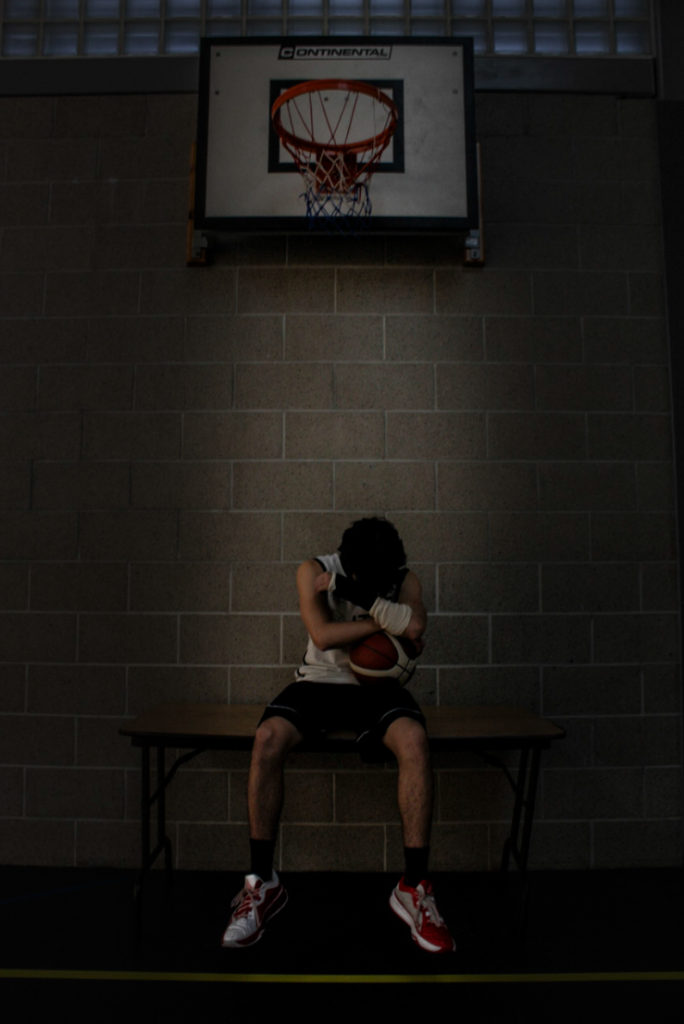
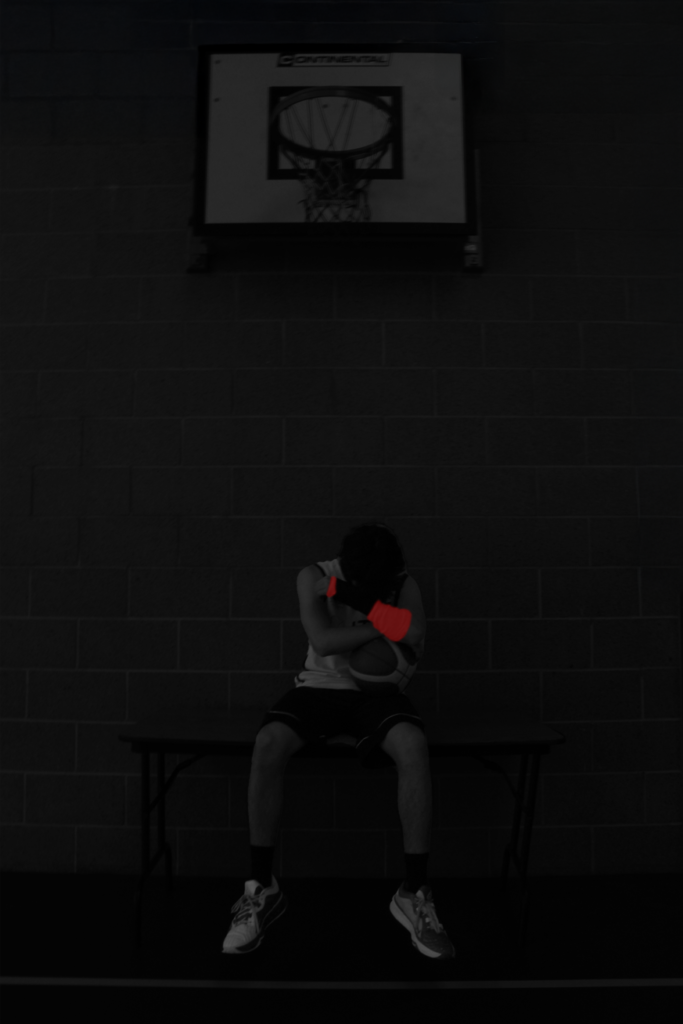
In my own work, I was inspired by Cartier-Bresson’s focus on storytelling and composition, though I used staging not spontaneity. My photograph ‘Hoops, Shattered Dreams’ shown in image 4.
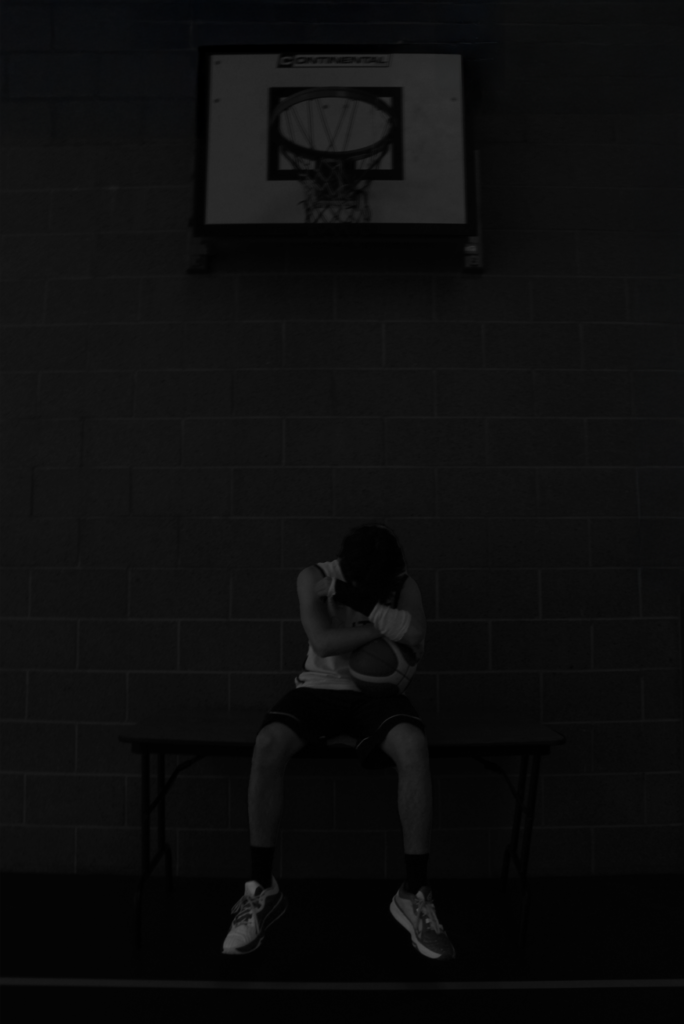
As part of my project ‘Rise to Recovery,’ shows an injured basketball player sitting alone under an unused hoop. I placed him deliberately against a dark wall emphasising his physical and emotional separation from the game. His head is bowed, a column of light highlights his body and his cast, covering his injured wrist. Whilst my scene is staged, it followed interviews with the subject to understand his story, and the photograph aims to reflect his emotional reality of isolation and frustration – still wanting to participate and feel included by wearing his team kit. This is much like the ‘decisive moment’ which captures the emotional core of a fleeting event, and like him, I used composition to focus the viewer’s attention and create a story within my chosen frame. Further inspired by Cartier-Bresson’s black and white imagery, I used Photoshop to turn my image black and white, darkening the edges and removing windows/light to increase the emotional impact. The resultant image ‘Isolation’ (Image 5).
Evokes increased bleakness, further emphasising emotional truth rather than purely literal truth, confirming that there are levels of truth in photography. I will now explore a different approach to truth via my second photographer.
Jeff Wall and Staged Realism
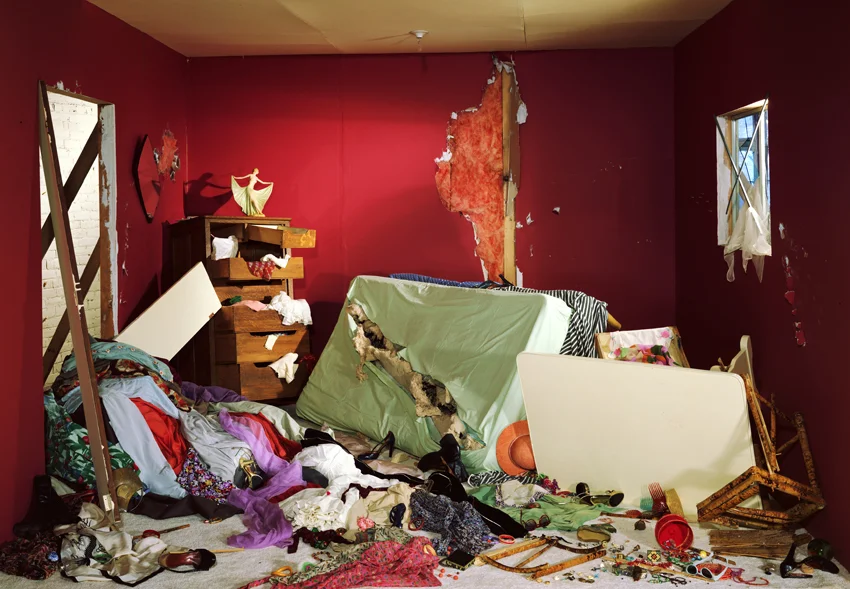
Jeff Wall’s photography challenges traditional ideas of truth by meticulously staging scenes that feel real. He was known for large-scale images which often resembled cinematic stills or famous paintings, designed to create a deliberate tension between reality and construction. A famous example is ‘The Destroyed Room’ (Wall, 1978) shown in Image 6.
Which depicts a chaotic room with furniture overturned, ripped walls, as if a terrible event has occurred. But absolutely everything is staged, raising questions about whether constructed images can convey truth or not. Wall himself stated ‘What I am interested in is making images that remain truthful to the spirit of the time, even if they are invented’ (American Suburb X, 2020). This highlights his belief that truth can be emotional or conceptual, not just literal. He deliberately hid some items from view, for example behind the upturned mattress, encouraging the viewer to wonder what lies beneath.
A supporter of Wall, Art Historian Michael Fried argued in his book that Wall’s work ‘achieved a sense of realism…that conveys truth and realism through its detailed composition’ (Fried, 2008). Critics though, challenge the idea that staged photography can represent truth at all. John Berger noted ‘Every image embodies a way of seeing’ (Berger, 1972, p.10) suggesting that Wall’s images reflect his personal interpretation of reality rather than an objective view, therefore agreeing with Cartier-Bresson’s view earlier. Further, in an interview with Michael Schwander (Wall, 1994), Jeff Wall stated ‘In photography, there is always an actual moment – the moment the shutter is released. Photography is based in that sense of instantaneous.’ This view acknowledges that even in staged scenes, there is a finite moment when the button is pressed, which connects to the ‘decisive moment’ by Cartier-Bresson. Both acknowledge then that whether a scene is constructed or not, they are both linked by recording a real moment in time – a truth. Wall’s quote also implies like Cartier-Bresson did, that the specific truth captured is still dependent on photographer’s choice. So although this might distance his work from traditional documentary photography, we have already seen earlier how even this doesn’t show objective truth due to photographer’s choice and so it can be argued that Wall’s approach is still valid for reality.
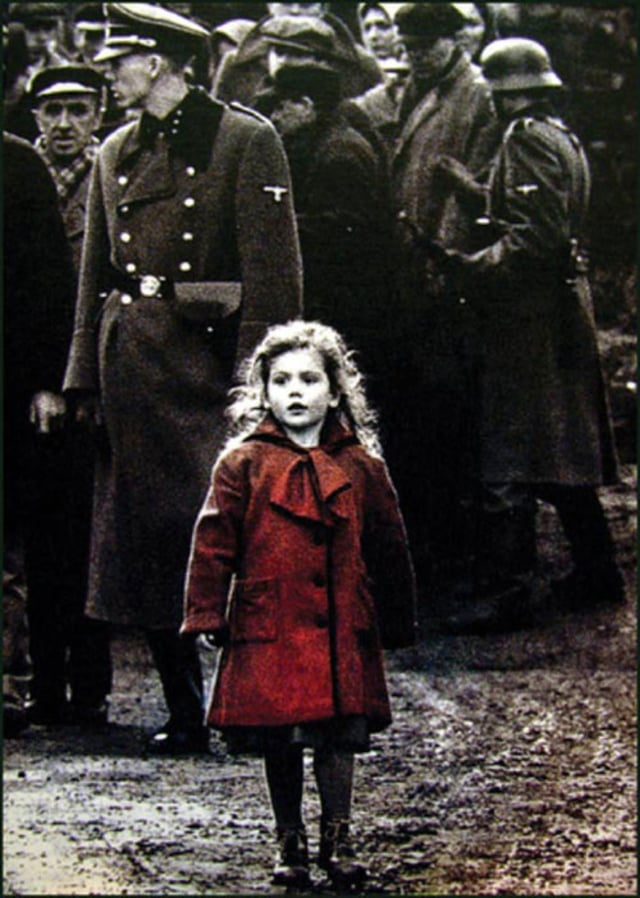
Wall’s use of colour further enhances the emotional impact of his work. In ‘The Destroyed Room’ vibrant red tones dominate the scene to amplify the drama of destruction and draws the viewer’s eye across the chaotic scene. Wall’s strategic use of colour, with bright red in the middle, inspired me to experiment with strategic colour too. I was also reminded of the ‘Girl in the red dress’ from Schindler’s List, (2012) in Image 7.
So, using the same red to depict pain, both emotional and physical, would be worth trying and this is shown in my Image 8, ‘Pain’.
Like Wall, I used staging to explore emotional truths, layered over literal truths. Whilst his work often represents larger dramatic scenes, mine focused on the personal struggles of a single subject. I was inspired by Wall’s decision to hide elements and so my subject’s face and cast are deliberately hidden, masking his physical and emotional pain. Wall’s ability to combine meticulous construction with emotional depth has shaped my understanding of photography as a medium to go beyond documentation to reveal truths about human experiences. Like Wall, I aim to create images that feel authentic in their emotional content, even though they are constructed. The next section examines technological advances adding and uncovering truth in photography in ways that have never been achieved before.
The Digital Age
The rise of digital photography, editing tools and metadata has further transformed the relationship between truth and realism. Photography is no longer limited to capturing only what is in front of the camera, as tools like Photoshop and Lightroom allow photographers to manipulate images as they decide. This has given rise to questions about how authentic certain images are (Bardis, 2004).
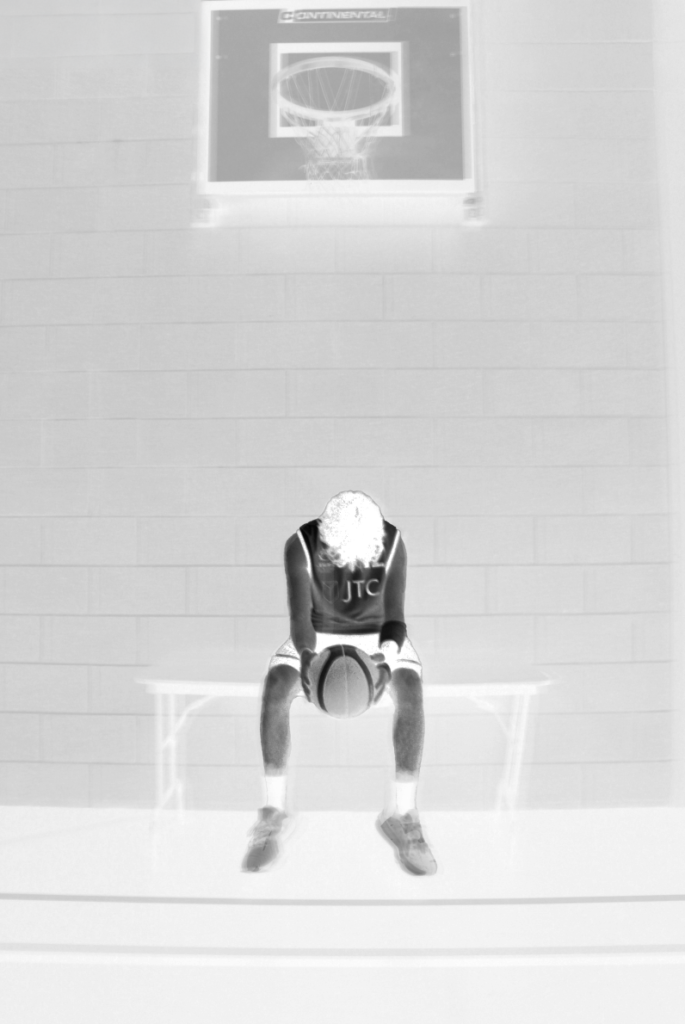
In my own work, digital editing played a key role in enhancing the emotional impact of my photographs and I tried multiple approaches – the red cast, use of shadows, brightness, contrast and black and white versions. At one point, I accidentally inverted one of my images during editing, which suddenly revealed a new perspective (Image 8).
It showed unexpected details, such as the logo on the player’s jersey. This happy accident called ‘Inverted’ added depth to the image and became an integral part of my project, demonstrating how digital tools can uncover hidden layers of meaning, even with unintended consequences. My subject recovered from his injury and I took inspiration from Cartier-Bresson’s ‘Behind the Gare Saint-Lazare’ (1932) by photographing my subject mid-leap rising to the hoop. I combined this with the Inverted filter to achieve my resulting image ‘Hoops, Ascend’ (Image 10) set alongside Image 3 for comparison.
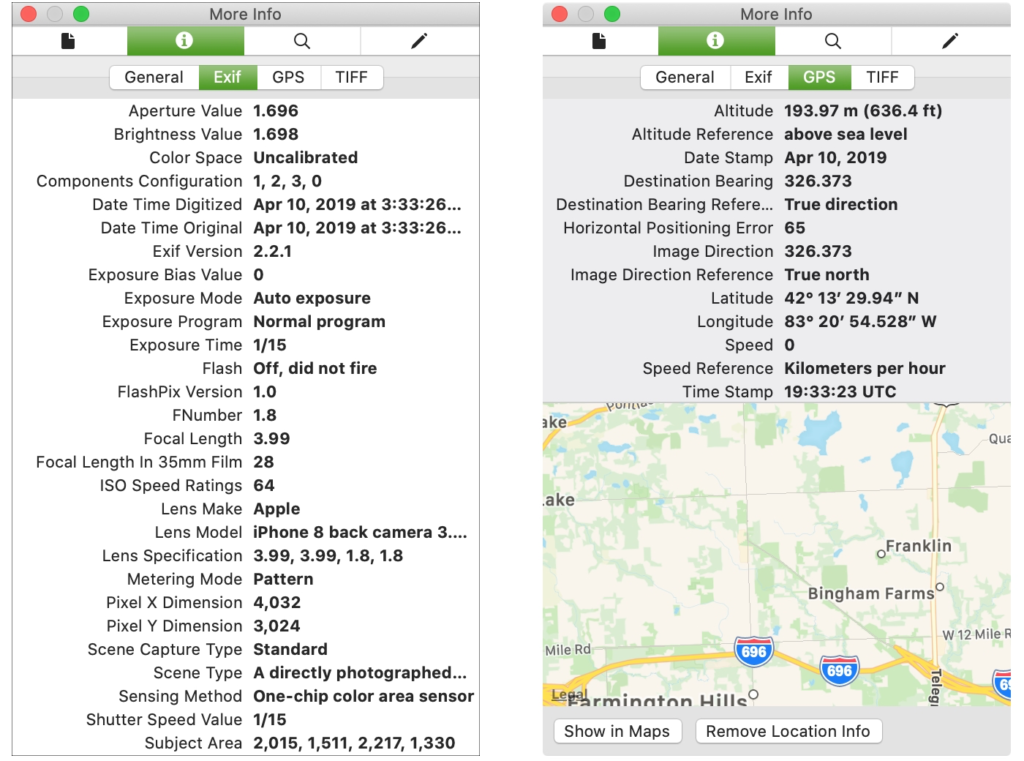
However, just as digital tools can unveil truth, the ease of digital manipulation challenges the viewer’s trust in photography overall. As Sontag noted, (Sontag, 1997) photography’s power lies in its perceived connection to reality, but digital editing blurs the line between truth and lies. Metadata (Image 11).
Which records details about how an image was captured and edited, offers one way to maintain transparency in digital photography. Therefore, truth can be challenged but with metadata, it can be confirmed.
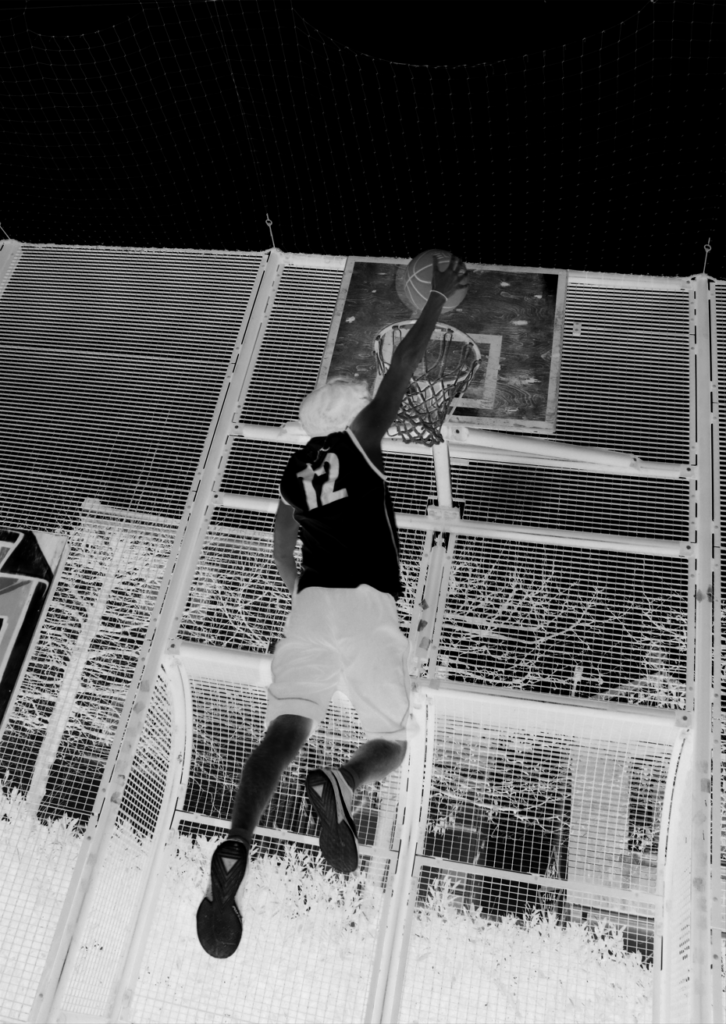
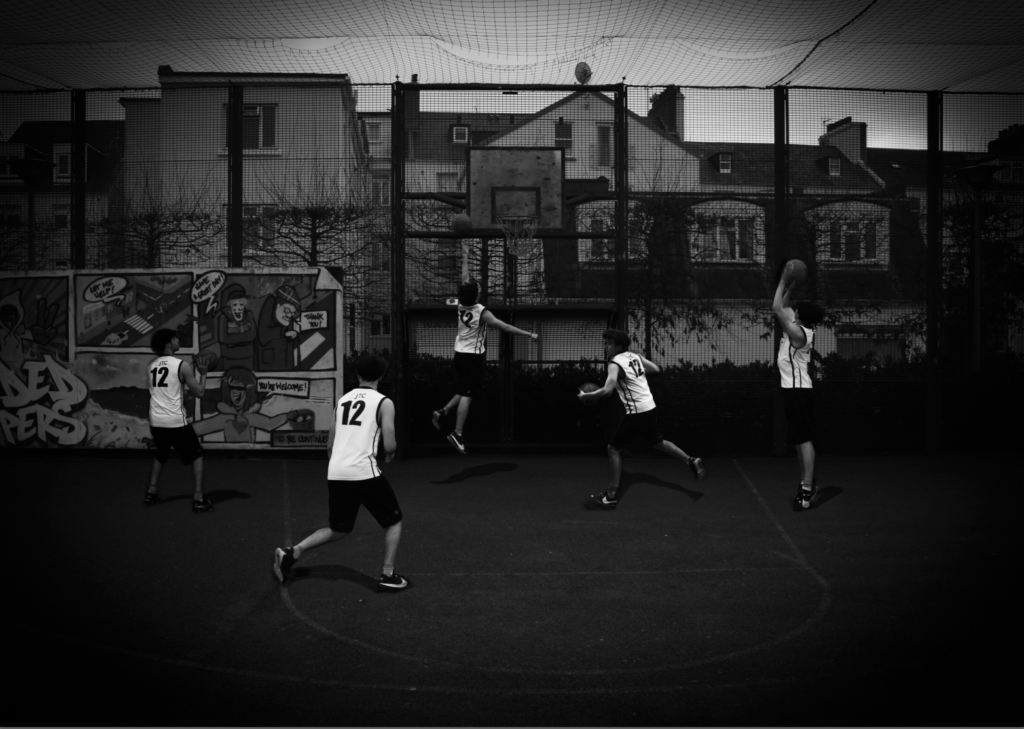
I played with the idea of obvious untruths in ‘Twelve, Back,’ (Image 12).
Which combined elements of both photographers’ work. I staged an outdoor scene, with a tripod stood at the top of the court, to capture multiple action shots of him in various positions. Like Cartier-Bresson’s photography experience, I am also an experienced basketball player so I used this to my advantage by anticipating the ‘decisive moment’ shot. Using Photoshop, I then layered multiple cutouts of him over one image, increasing the brightness of his number 12 jerseys and creating shadows underneath to increase the realism. This photograph is a definite record of his emotional and physical truth, but as it’s clearly the same subject in five different positions, it can’t possibly be real. Even so, it may not be real in the image, but it demonstrates that to him, it’s his reality, and he’s back.
Conclusion
During my investigation, I set out to determine whether truth and reality can be shown in photography. My hypothesis was that while photography can show and preserve truth in an instant, it is ultimately shaped by the photographer’s own choices and perspective so cannot capture reality. After research and analysis of two prominent photographers Henri Cartier-Bresson and Jeff Wall, I found that whilst photography can capture the truth, it can never be objective, which confirms my hypothesis. In Cartier-Bresson’s decisive moment approach seen in Behind the Gare Saint-Lazare, this image feels very real and authentic due to its unposed spontaneity. Yet, he still chose what to frame, exclude and include, and when to press, confirmed by his own thoughts on photographer creativity. Jeff Wall’s approach whilst different, by planning, staging and recreating scenes, challenged the idea of reality yet his images still feel true. He also acknowledged photographer choice and the finite moment of pressing the shutter, in agreement with Cartier-Bresson.
My perspective changed throughout my study, as I initially believed only spontaneous shots were truthful. I now realise that staged photography also shows realism, sharing many similarities with the spontaneous approach, as both are still subjective, therefore one method is not more ‘real’ than the other. I also discovered much more, including that truth and reality has layers. I initially believed photography could only show literal truth but I demonstrated that photographs can convey deep, emotional truths and like my injured player, can capture his reality, even if staged. Therefore photography can show reality, just not the literal reality I originally expected. I was influenced to try new techniques, from colourisation (Image 8).
To digital editing to increase the emotional truth of a scene effectively (Image 12).
Through to my favourite image, ‘Inverted’ in Image 9.
Which reveals hidden elements. Image 8 didn’t work as well as I wanted so I will experiment further with the red colour/shading. My images were mainly focused on the subject, I’d like to try shots from what he sees eg. looking up through the hoop. I discovered metadata stored in digital photographs to prove or disprove its truth, and together with modern scientific techniques, is helping to uncover factual truths.
I only analysed two photographers and so there are more photographers and techniques to consider for future studies. There is also the angle of the viewer and social media – I touched on it in this essay regarding the modern screen-use, potentially changing what each viewer sees, interprets and shares and this could be investigated further to determine if viewers receive what the photographer intended.
Finally, whether through spontaneous moments, staged scenes, or through digitally-enhanced images, photography has the power to tell a story and get as close to the truth and reality as any medium. Diane Arbus’ quote at the start suggested that photography’s secrets lie not just in what it shows, but in what it leaves hidden, and this essay proved this to be the case, with photographer creativity always making that choice.
Images
Image 1. ‘Mimic (1982)’ Jeff Wall.
Image 2. ‘Photo finally solves the black and blue/white and gold dress debate (2015)’ Nick Pearson.
Image 3. ‘Behind the Gare Saint-Lazare (1932)‘ Henri Cartier-Bresson.
Image 4. ‘Hoops, Shattered Dreams (2024)’ Tommy Little.
Image 5. ‘Isolation (2024)’ Tommy Little.
Image 6. ‘The Destroyed Room (1978)’ Jeff Wall.
Image 7. ‘Girl in Red Symbolism (2012)’ Schindler’s List.
Image 8. ‘Pain (2024)’ Tommy Little.
Image 9. ‘Inverted (2025)’ Tommy Little.
Image 3&10. ‘Behind the Gare Saint-Lazare (1932)‘ Henri Cartier-Bresson. ‘Hoops, Ascend (2025)’ Tommy Little.
amer4127 (2020) Evocations of the everyday: The street pictures of jeff wall (2009), AMERICAN SUBURB X. Available at: https://americansuburbx.com/2016/06/evocations-of-the-everyday-the-street-pictures-of-jeff-wall-2009.html (Accessed: 27 January 2025).
Arbus, D. (1971), quoted in Smithsonian Magazine (2018) A Window into the World of Diane Arbus. Available at: https://www.smithsonianmag.com/smithsonian-institution/window-world-diane-arbus-180968861/ (Accessed: 25 January 2025).
Bardis, A. (2004) ‘Digital photography and the question of realism’, Journal of Visual Art Practice, 3(3), pp. 209–218. doi: 10.1386/jvap.3.3.209/0.
Barthes, R. (1981) Camera Lucida: Reflections on Photography. Translated by R. Howard. New York: Hill and Wang, p. 85.
BBC One. (no date) Fake or fortune?, could a painting described as ‘in the style of sir Joshua Reynolds’ have something murkier lurking beneath the paint? (no date) BBC One. Available at: https://www.bbc.co.uk/programmes/p0gj6sh3 (Accessed: 25 January 2025).
Berger, J. (1972) Ways of Seeing. London: BBC and Penguin Books, p.10
Campbell, E.F. (2013) The first photograph of the Moon, Time. Available at: https://time.com/3805947/the-first-photograph-of-the-moon/ (Accessed: 29 January 2025).
Cartier-Bresson, H. (1952) The Decisive Moment. New York: Simon & Schuster.
Cartier-Bresson, H. (1957) ‘Photography is not like painting’, The Washington Post, 10 November.
Fried, M. (2008) Why Photography Matters as Art as Never Before. New Haven: Yale University Press.
Growcoot, M. (2023) Almost all photos are now taken on smartphones, according to study, PetaPixel. Available at: https://petapixel.com/2023/06/20/almost-all-photos-are-now-taken-on-smartphones-according-to-study/ (Accessed: 23 January 2025).
Guardian ad 1986 – Points of View advert – YouTube. YouTube. Available at: https://www.youtube.com/watch?v=_SsccRkLLzU (Accessed: 25 January 2025).
Henri Cartier-Bresson. behind the Gare St. Lazare. 1932 | moma. Available at: https://www.moma.org/collection/works/98333 (Accessed: 25 January 2025).
Jeff Wall, ‘Jeff Wall interviewed by Martin Schwander’, Jeff Wall, Restoration [Kunstmuseam Luzern and. Kunsthalle Dusseldorf, 1994]. 22-30.
Jeff Wall, Mimic. (1982) Transparency in Lightbox. 198x229cm [78x90in]. Collection, Odessa Hendeles Art Foundation, Toronto.
Metadata forensics: Uncovering hidden truths in digital files (2024) Metadata Forensics: Uncovering Hidden Truths in Digital Files | Ironhack Blog. Available at: https://www.ironhack.com/us/blog/metadata-forensics-when-files-can-speak-and-reveal-the-truth (Accessed: 25 January 2025).
Modern classics: Jeff Wall – the destroyed room, 1978 (2021) artlead. Available at: https://artlead.net/journal/modern-classics-jeff-wall-destroyed-room-1978/ (Accessed: 25 January 2025).
Pearson, N. (2015) Photo finally solves the black and blue/white and gold dress debate, 9News. Available at: https://www.9news.com.au/world/photo-finally-solves-the-black-and-blue-white-and-gold-dress-debate/15465485-dad8-45d2-8da0-8d20558b5013 (Accessed: 25 January 2025).
Riis, J. (1890) How the other half lives, by Jacob Riis (1890) How The Other Half Lives, by Jacob Riis: Available at: https://www.historyonthenet.com/authentichistory/1898-1913/2-progressivism/2-riis/index.html (Accessed: 23 January 2025).
Scharf, A. Henri Cartier-Bresson, Encyclopœdia Britannica. Available at: https://www.britannica.com/biography/Henri-Cartier-Bresson (Accessed: 24 January 2025).
Sontag, S. (2003) Regarding the Pain of Others. New York: Farrar, Straus and Giroux, p. 46.
Sontag, S. (1997) On Photography. New York: Farrar, Straus and Giroux.
The girl in red symbolism (2012) Schindler’s List. Available at: https://schindlerslisteight.wordpress.com/character-analysis/the-girl-in-red-symbolism/ (Accessed: 25 January 2025).
1. Research a photo-book and describe the story it is communicating with reference to subject-matter, genre and approach to image-making.
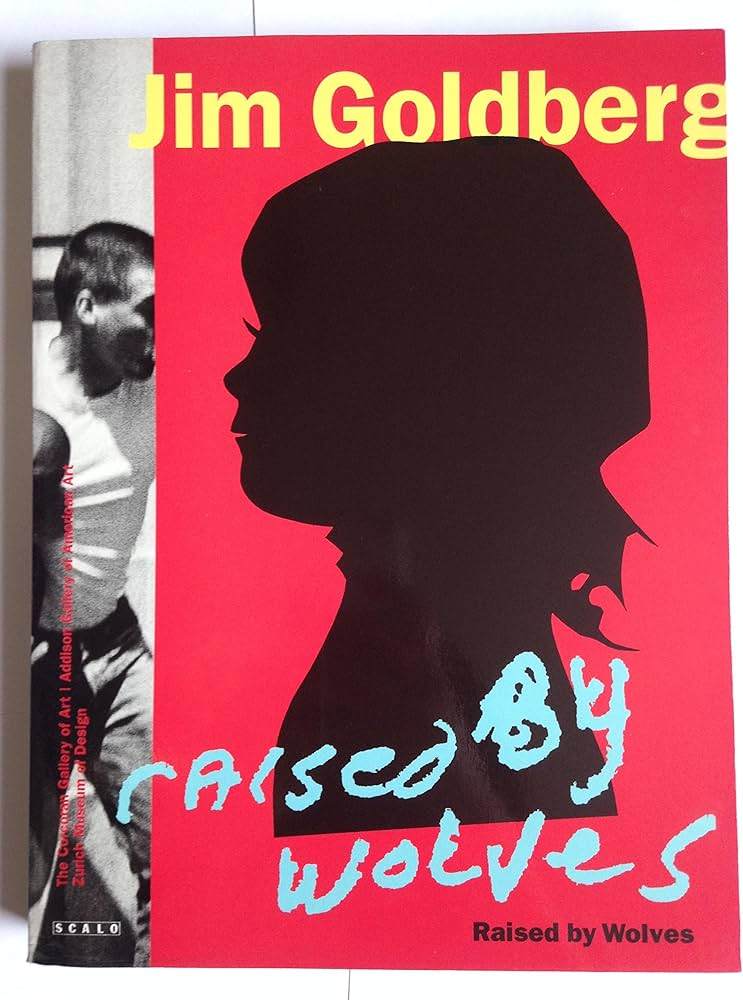
Jim Goldberg – raised by wolves
This book is about shedding light on kids without giving them labels like ” victims of abuse” or “drug addicts”, by people trying to classify them into neat groups. This book follows two “main” figures, Echo and Tweedy Dave, where there story is told without being “edited” or “manipulated” to fit with what the readers want. It contains mostly archives of Goldberg’s polaroid’s, and a few pages with interviews by the figures in the books, as well as notes and comments from Goldberg.
“when I thought of youth, I thought of my own teenagehood and childhood, and other people I knew who were often scapegoated, not appreciated, or not given a chance. The end result was trouble for them. I wanted to look at those people who were outsiders, like I felt I was.”
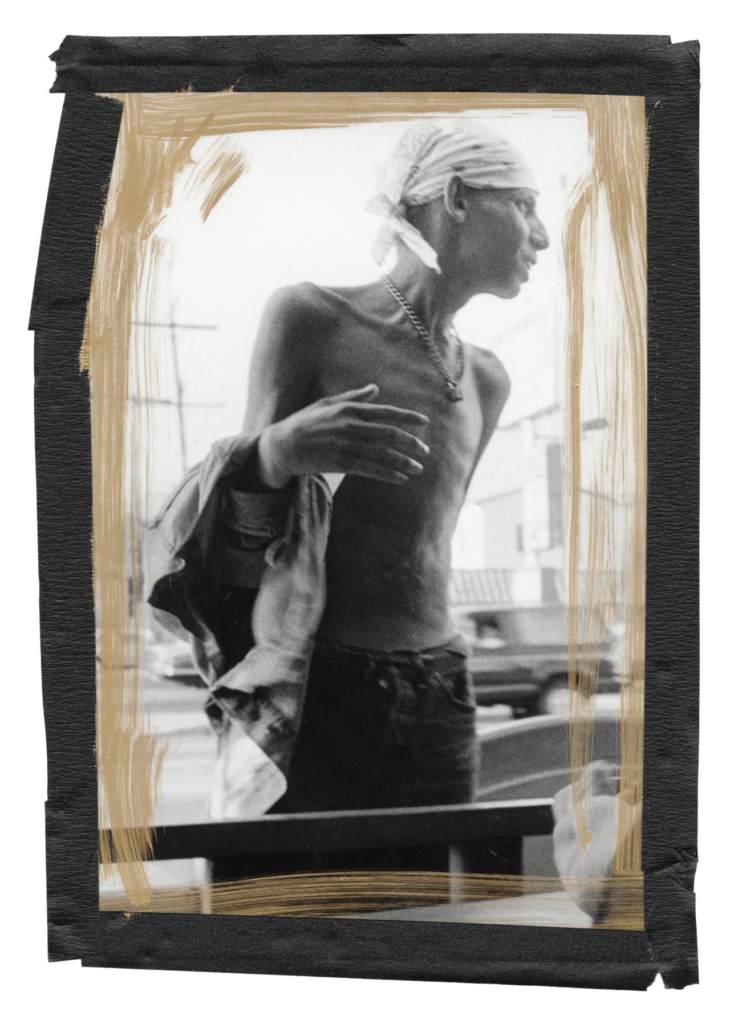
Jim Goldberg “Dave.” San Francisco, California, USA. 1989.
The photos are taken around the California streets, from Hollywood up to San Francisco and back. Many of the figures in the books start out fairly well, but as the book progresses, they slowly determinate and fall into bad habits. There is a lot of drugs and prostitution making it a very emotional book as it shows the difficulties of youth homelessness.
For the image making, he often took a abstract approach, with blurred and B&W images, or close ups of certain people, places or object that help add emotion or explain the story.
2. Who is the photographer? Why did he/she make it? (intentions/ reasons) Who is it for? (audience) How was it received? (any press, reviews, awards, legacy etc.)
Jim Goldberg’s reasons for creating this was to tell a story of kids in various Californian areas over a 11 year period of interviews and photos. It’s also partial, rearranged, taken out of context, romanticized, subjective, and, therefore is as much about Goldberg’s making of the project as it is about the kids. I think the main audience is for other photographers and people who have the money to spend on a book like this.
ZHodl and the other subjects of “Raised by Wolves” are deep in their subcultural world, and Goldberg is, too. Indeed, he’s a most original photo documentarian. He immersed himself in a work of teenage runaways, getting them to write in there own hand writing, and gets up and personal to the subject.
It has a 4.71/5 star rating on good reads, and has been received very positively by the press
3. Deconstruct the narrative, concept and design of the book and apply theory above when considering:
Book in hand: how does it feel?
The book has a heavy weight to it, as well as feeling flimsy and a need to be looked after.
Paper and ink: use of different paper/ textures/ colour or B&W or both.
The whole book is the same texture, but printed like its a personal diary, with fake texture added to the pages. There’s also a lot of colour and and B&W areas creating a contrast through the book.
Format, size and orientation: portraiture/ landscape/ square/ A5, A4, A3 / number of pages.
The format is portrait, size 23 x 30 cm and 314 pages. So it is quite a big book, which makes since considering how much is in it, and how much is needed to tell stories of lots of youths.
Title: literal or poetic / relevant or intriguing.
The title ‘raised by wolves’ suggests that they are growing up in there own way and that they don’t fit what’s expected upon them by society. People often use the term ‘you’ve been raised by a wolf’ to suggest they are acting in a wild and uncivilised manner with a lack of basic manners or social norms.
Structure and architecture: how design/ repeating motifs/ or specific features develops a concept or construct a narrative.
Its structured with mostly Images, some interviews with fake textures added, and the real handwriting of the people inside the book.
Design and layout: image size on pages/ single page, double-spread/ images/ grid, fold- outs/ inserts.
This can vary a lot, including almost every kind of design and layout. I think this was done to make it seem handcrafted like a diary.
Editing and sequencing: selection of images/ juxtaposition of photographs/ editing process.
The editing seems limited, but the way the images are shot can be very abstract. I saw a few Juxtaposition of Images as well.
Images and text: are they linked? Introduction/ essay/ statement by artists or others. Use of captions (if any.)
The images and texts are linked very closely. The Images are usually there to explain some text or add more detail that can be difficult to explain through text, e.g. showing a subject, where they like to go, ext.


 Demonstrating how photography can manipulate reality very cleverly, as Wall recreated a moment of racial prejudice that he witnessed in Vancouver.