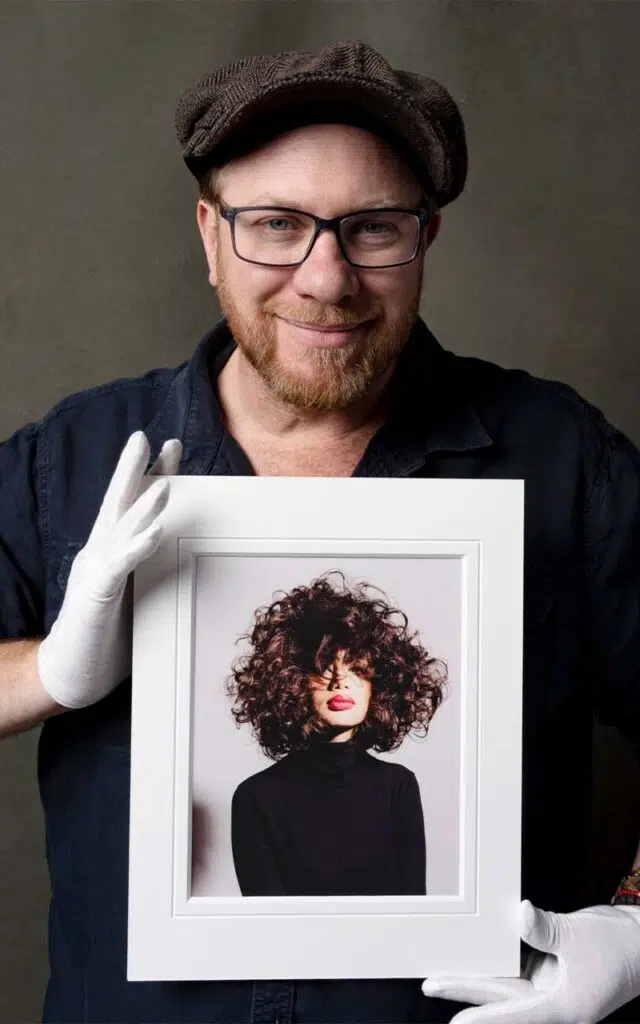
Oliver Doran is a photographer based in Jersey, he has immersed himself in portrait photography ” Myself and my team strive to capture the essence of our subjects, a process that begins well before my camera clicks. Building relationships with our subjects, from calls and interviews to casual chats, helps us truly understand their personalities.”
“Studio Portrait Experiences”
Oliver Doran runs studio portrait experiences where you can book and have him take your photos, he includes a what to expect section on his website, where he says how he will discuss with you what you are looking for during your sessions, what your wardrobe styling will be, hair and makeup styling and much more, this proves how his photos will explore you personally, he creates specific environments’ in specific photos, although he says that he approaches all shoots with the same ethics all the shoots tend to come out differently.
Exploring his Images
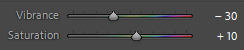
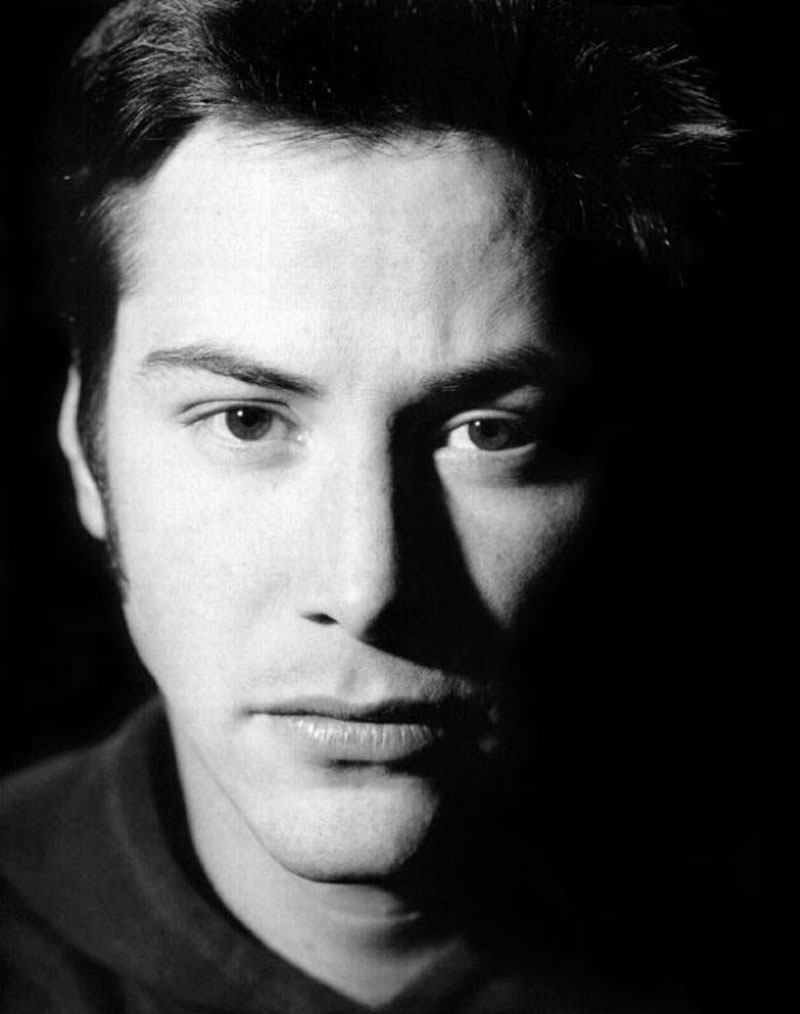
Oliver Dorans images all tend to have a shadowy lighting effect, showing clearly where he has placed the lights too really frame and capture his subjects face. His photos are also normally in black and white, but not just like a pasted over black and white filter but instead they have real depth, you can see shine on the chairs in his photos, gloss on his subjects faces, and shimmer within there outfits, proving real depth within his images, making them actually come to life rather them boring two dimensional photos.
My Comparison
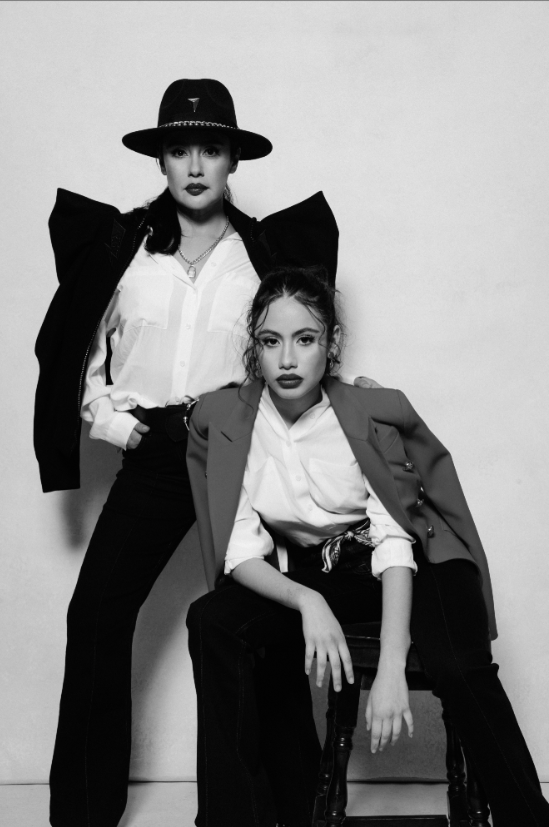
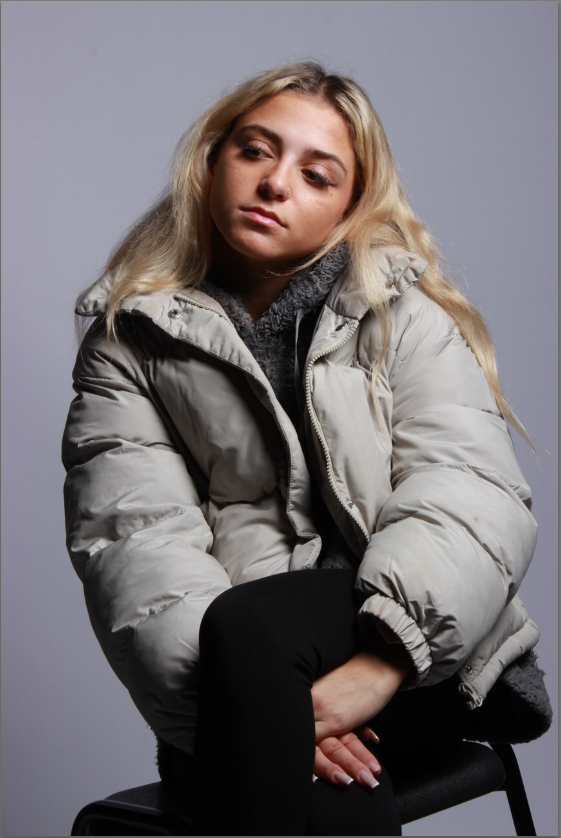
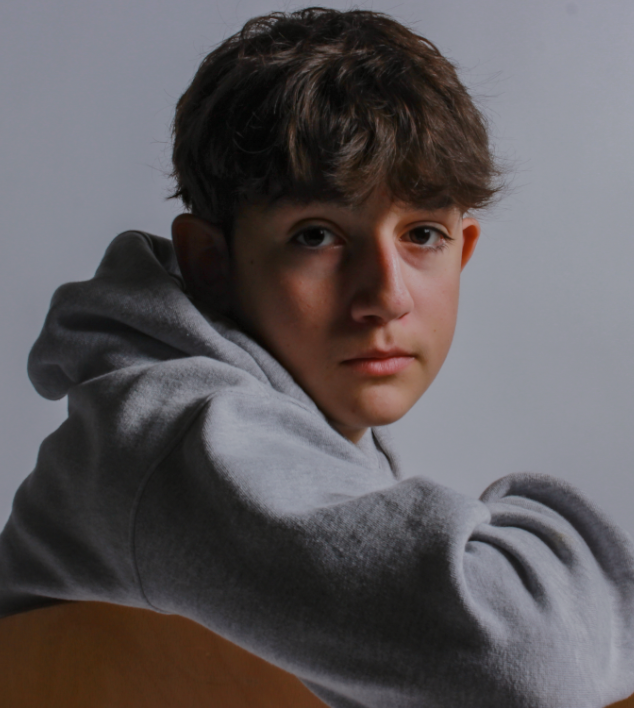
My images compare to Oliver Dorans, due to them being almost full body or just full body, he does this too create a personality within the image, and normally takes photos of people for things’ like there businesses so by doing this he can make these models come across as who they are through a lense which i have captured. His images also tend to be black and white, this is due to making an image black and white gives it a more of over all filter, and by doing this it calms down any lights or colours leaving your only focus being the model. The lights have been placed too frame the model, and place shadows in certain places too create a main focus.
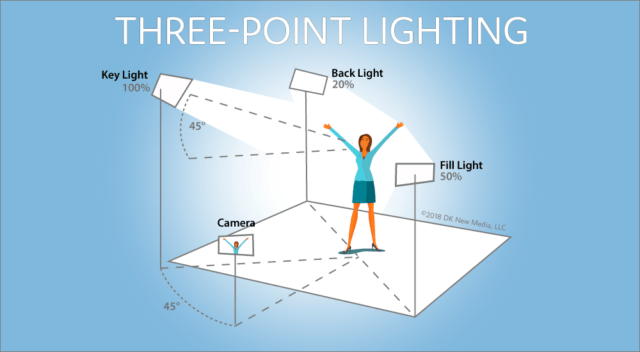
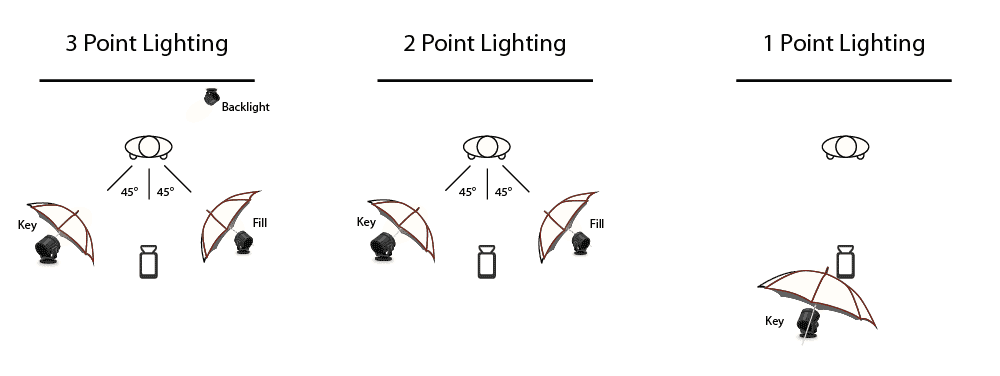
Three-point lighting is a traditional method for illuminating a subject in a scene with light sources from three distinct positions. The three types of lights are key light, fill light, and backlight. Key light is the primary and brightest light source in the three-point lighting setup.
This technique can be used to eliminate shadows cast by foreground elements onto the background, or to draw more attention to the background. It also helps to off-set the single eye nature of the camera, this means that it helps the camera give depth to the subject.
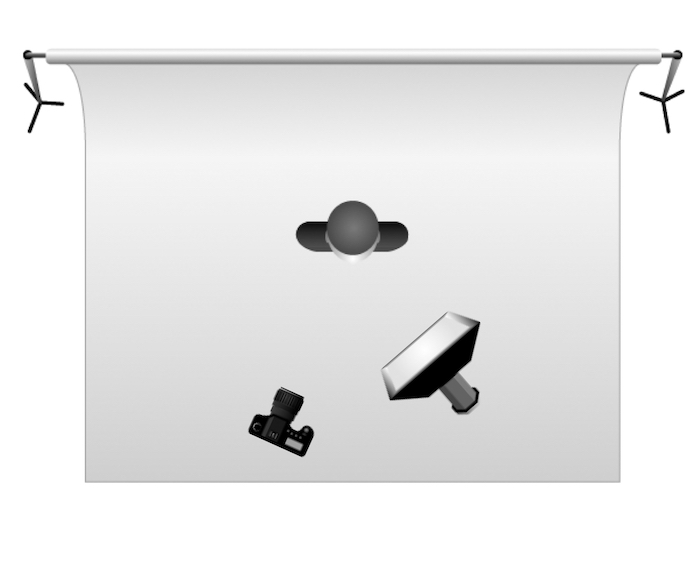
When taking 3 point lighting images, The key light should be pointed towards the subject’s face. Then position your fill light to the side of the subject at a 45-degree angle. The fill light should be 3-feet away from the subject. Finally, place your backlight behind the subject and 3-feet away.
3 Point Lighting Photoshoot:
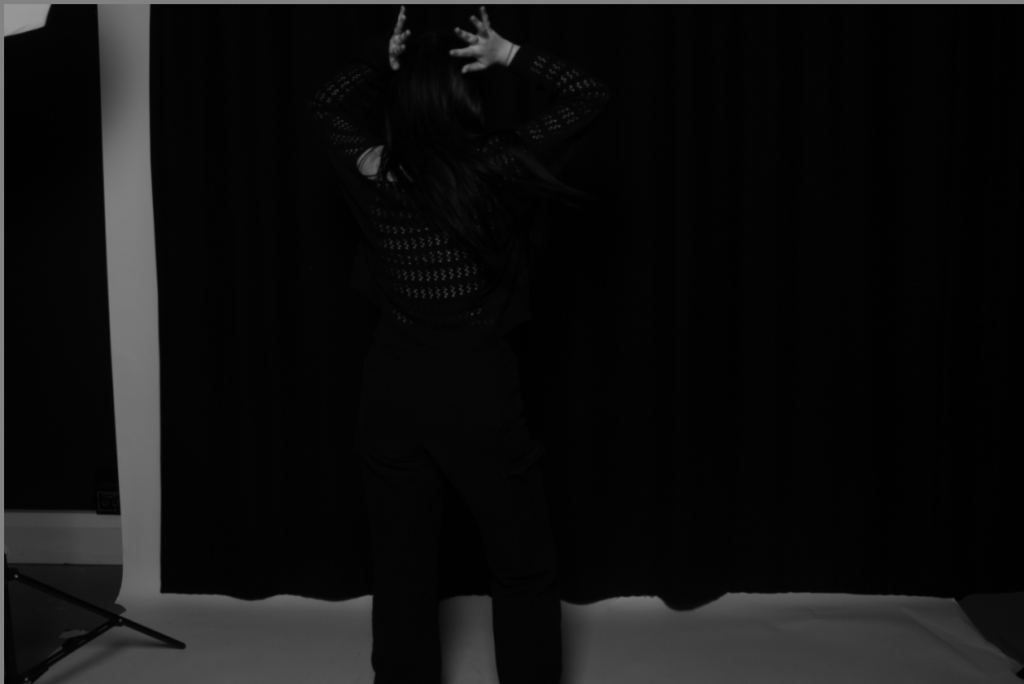
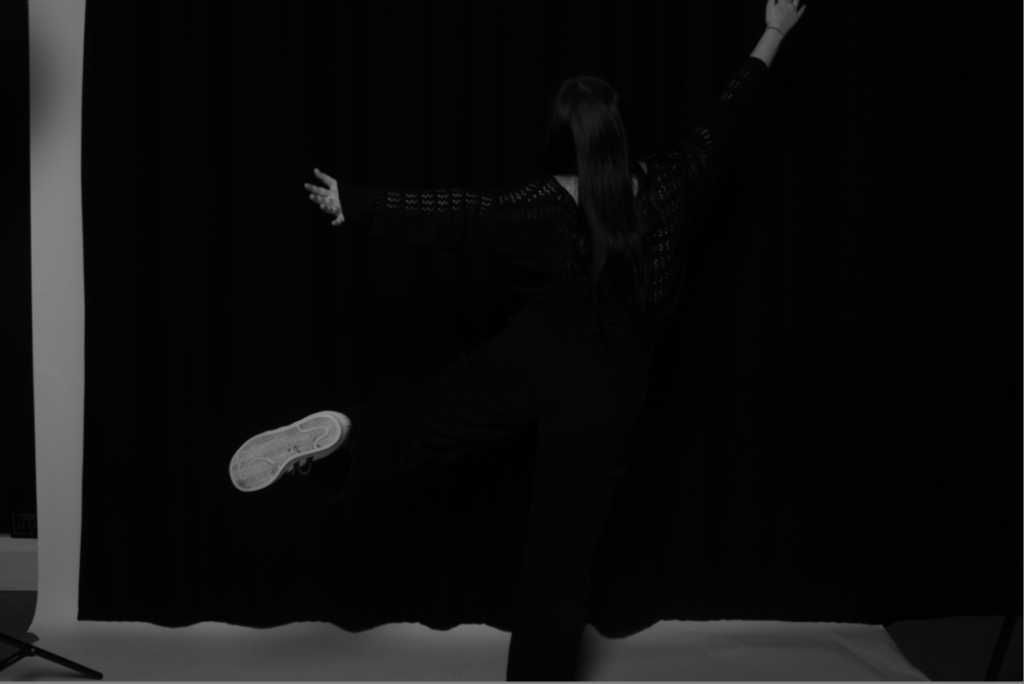
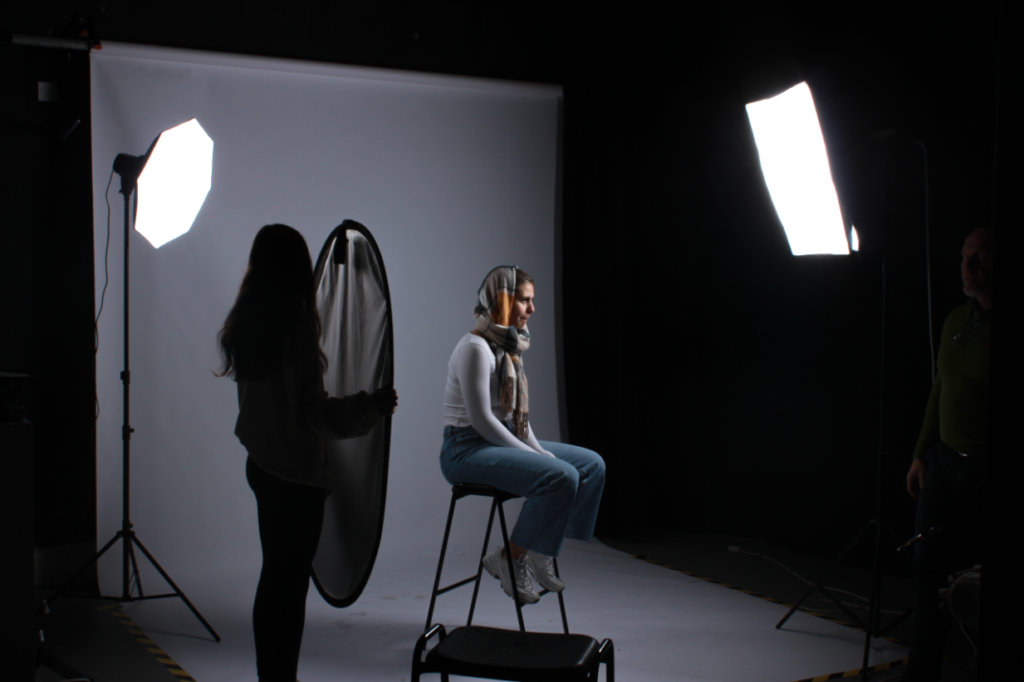
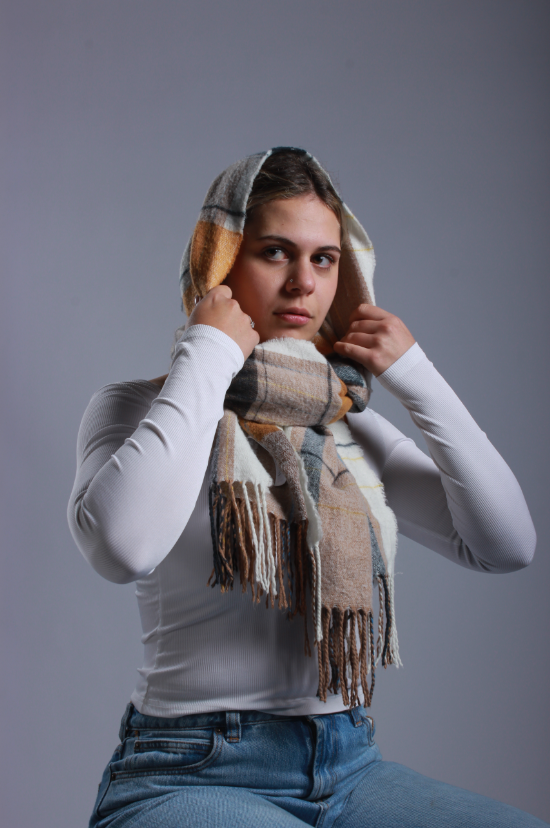
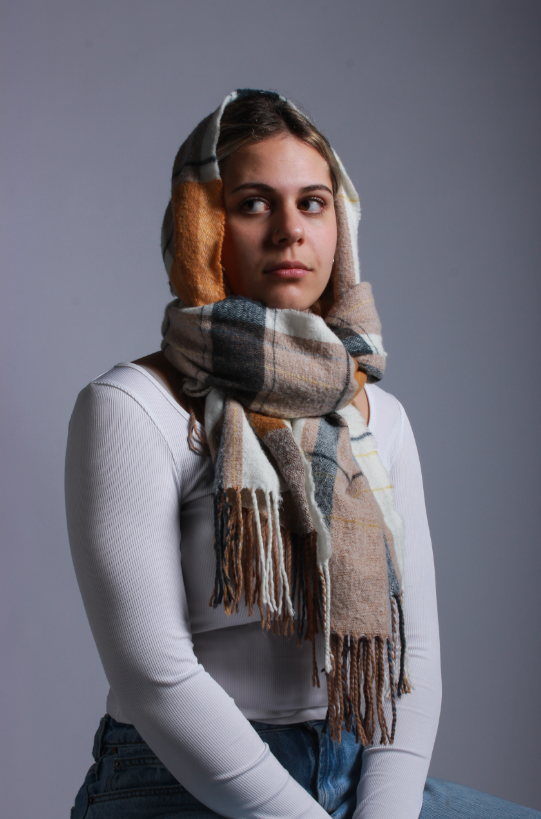
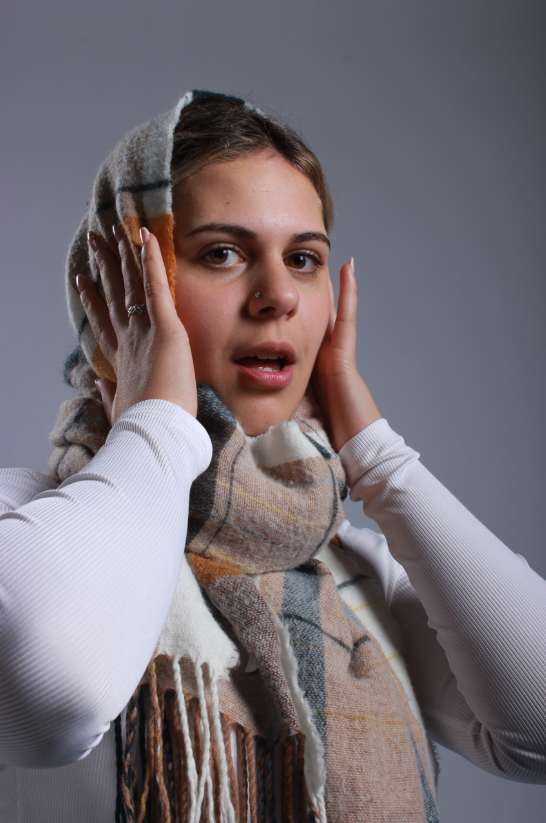
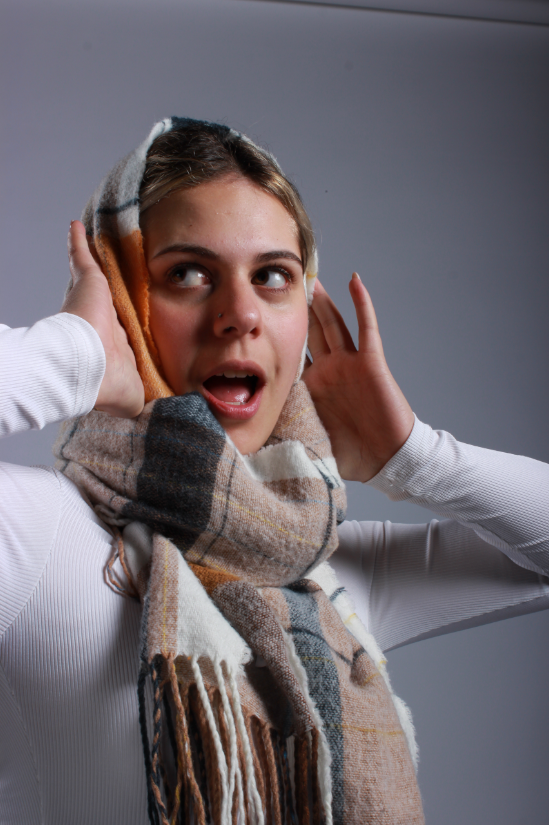
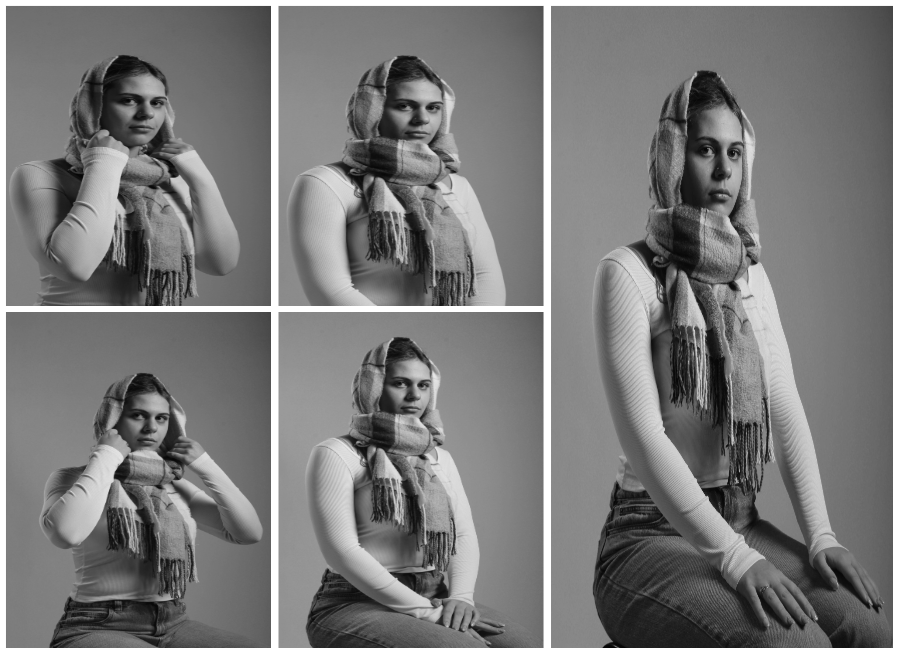
Before taking images, we had to setup the studio. We placed one light source in front of the model at an angle, another light source behind the model and then a reflector to the side of the model in which the light from the first light source could bounce off of and then hit the subject’s face from the other side. I then got the model to experiment with different hand gestures, positions and angles.
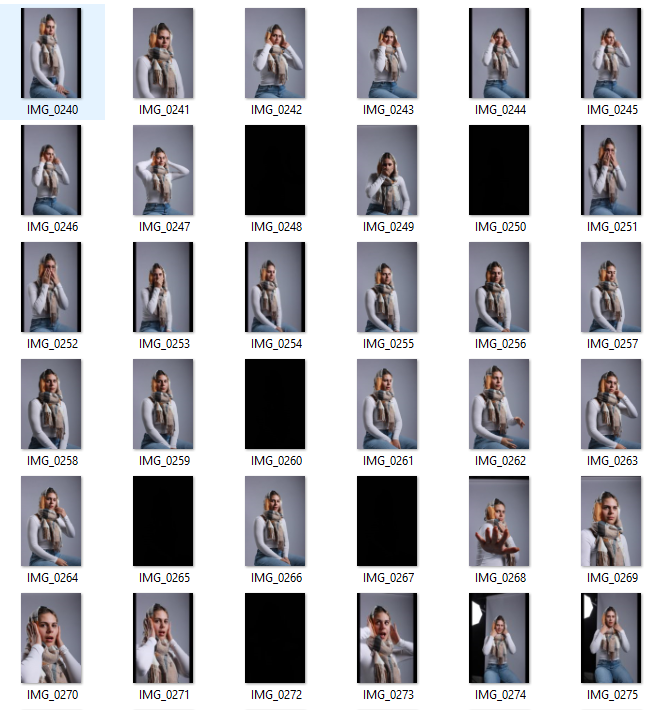
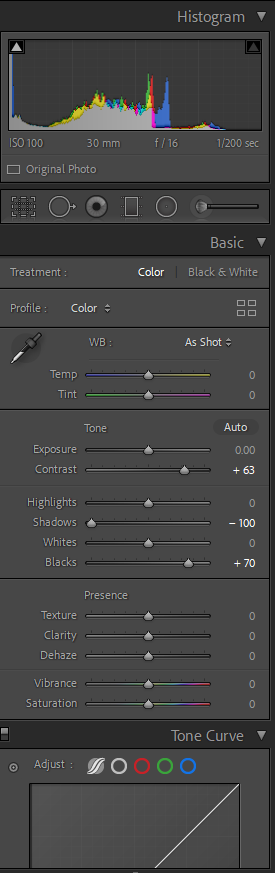
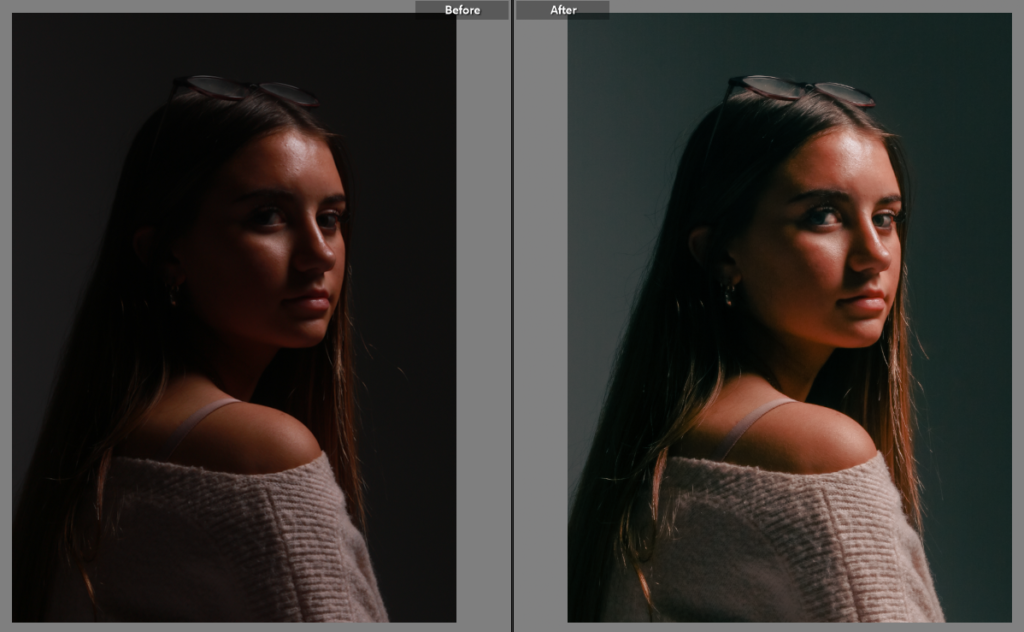
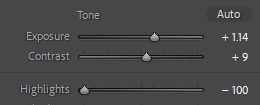
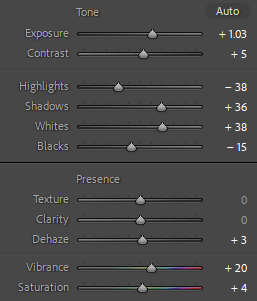
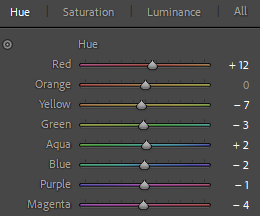
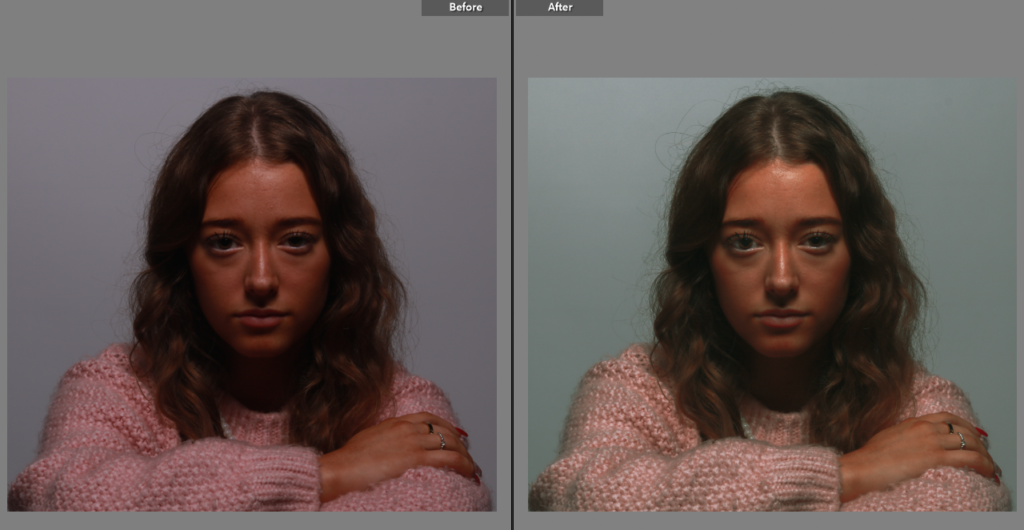
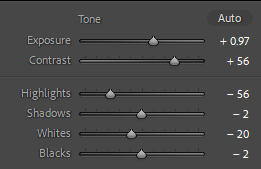
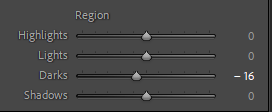
Once I had taken my images, I imported them into Lightroom. I first gave each picture either a black flag if I didn’t like it then a white flag if I did. Next, I gave all the images which I had just given a white flag to a rating out of 5 (5 being the best and 1 being the worst). Finally, I assigned a colour to each of my images: green=good, yellow=okay and red=bad. This process helped me to narrow down my images so I could display only the best ones. Once I was left with my best images, I adjusted the contrast, exposure, highlights, shadows, black and whites of them until I was left with an photo I was satisfied with.
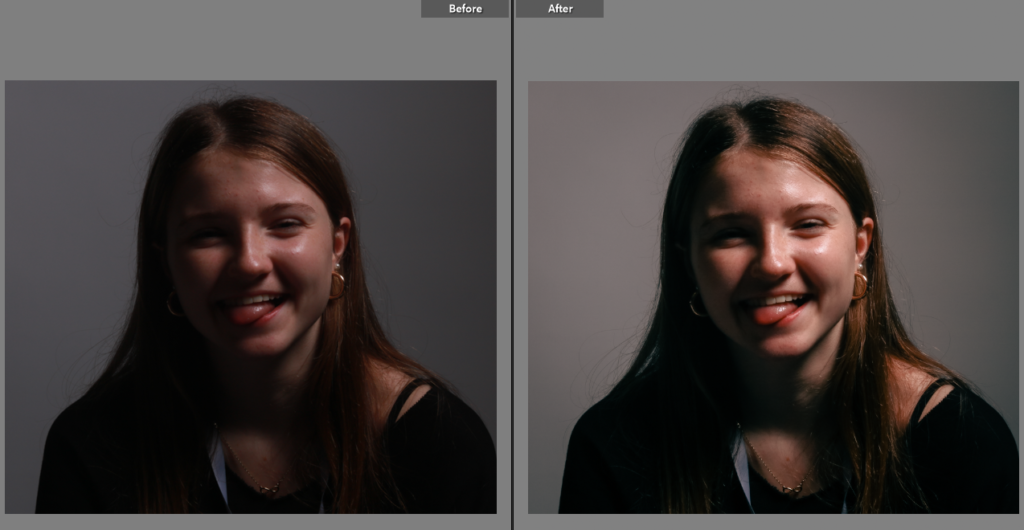
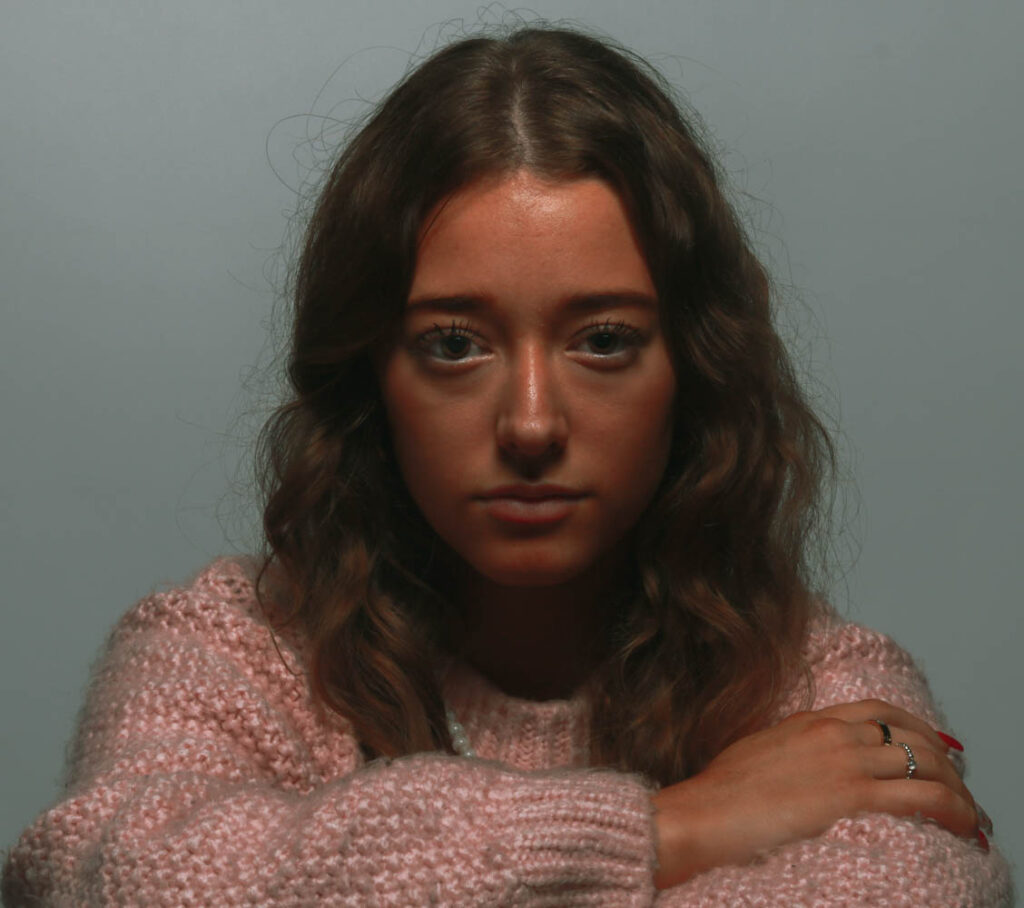
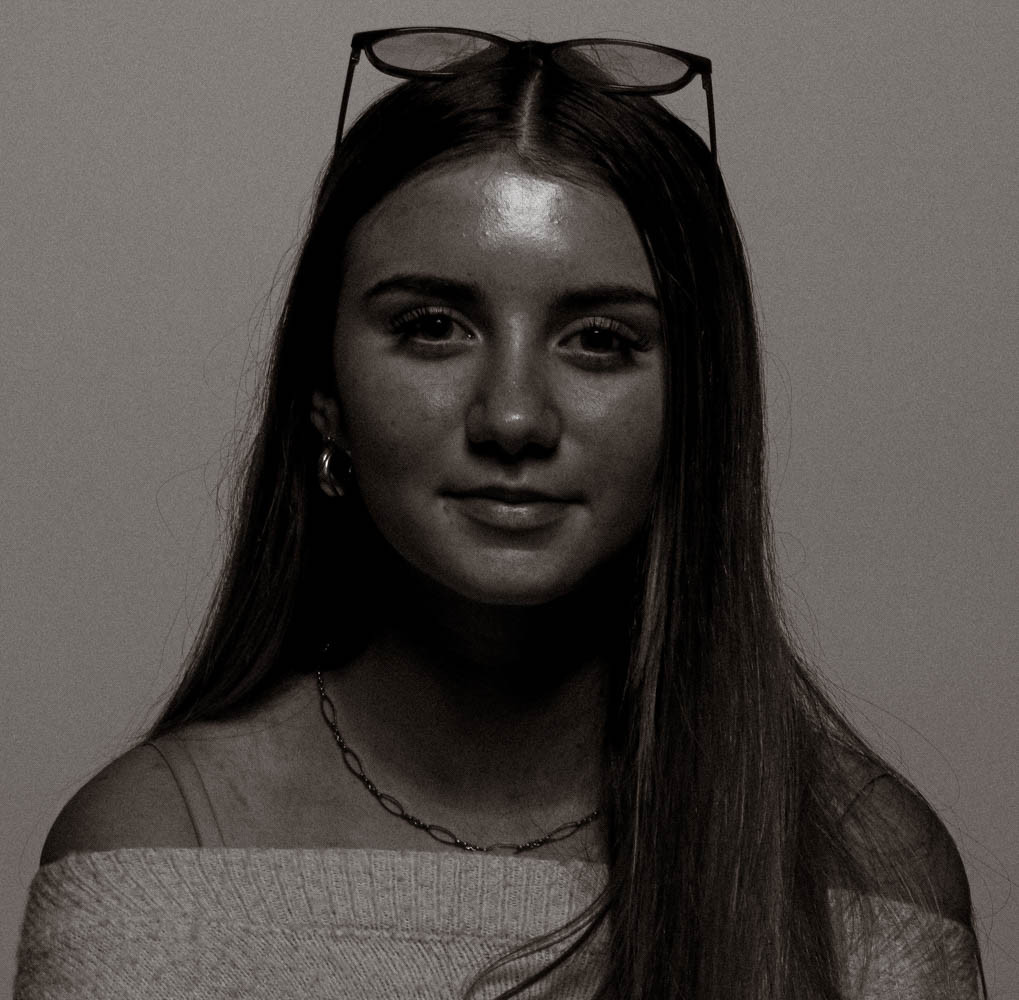
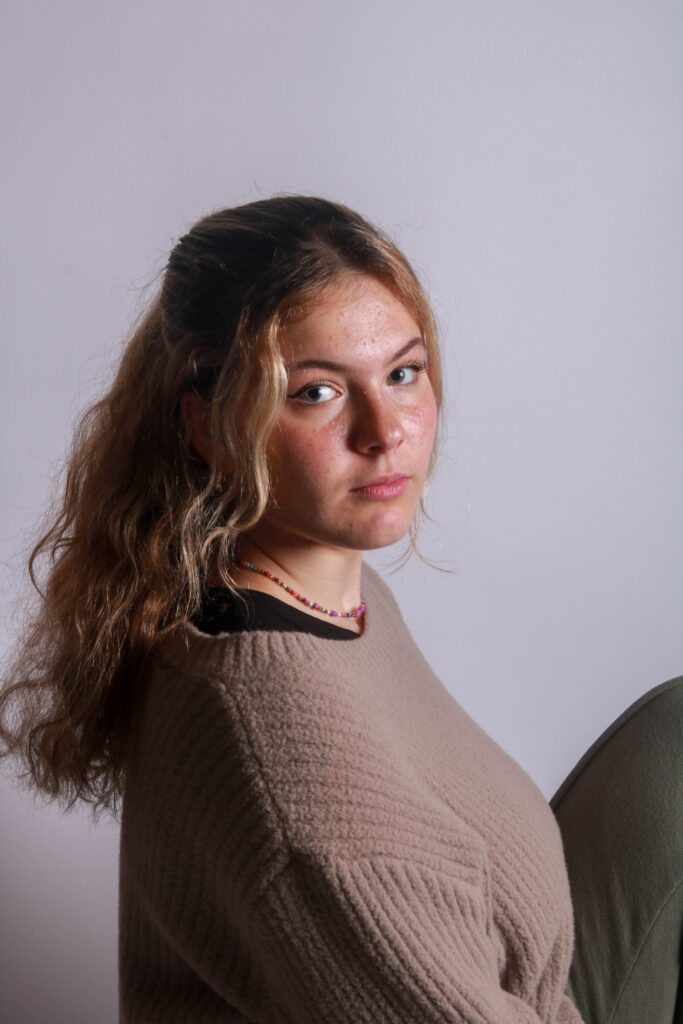
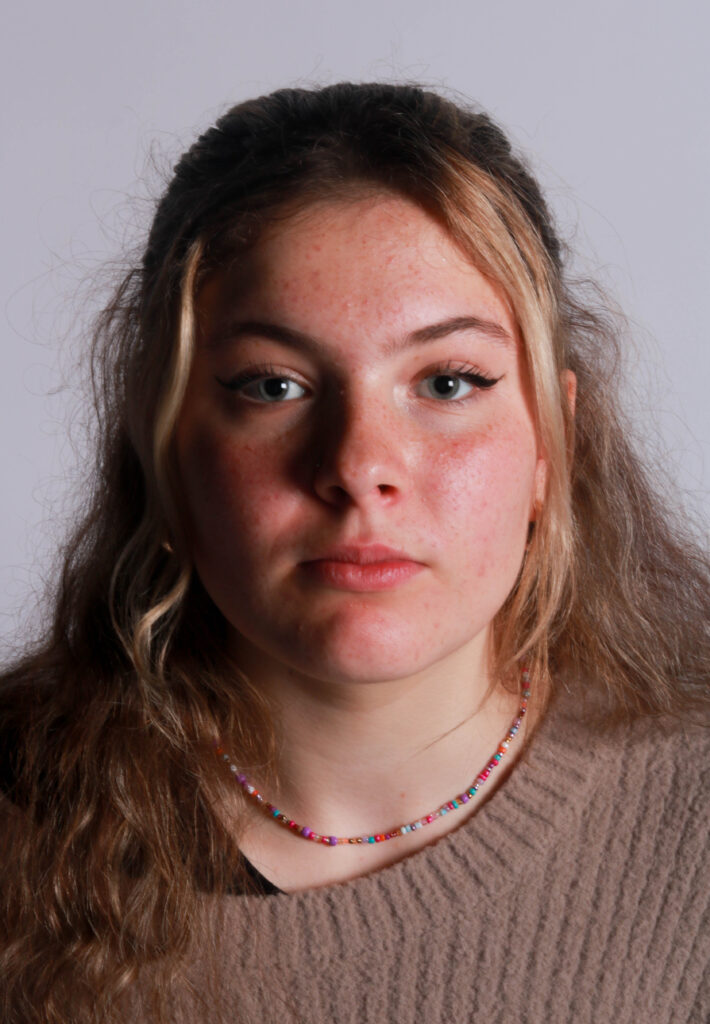
I like how this photoshoot came out due to the subject’s variety of facial expressions and use of hands which helped to make each image unique to itself. I tried to capture the model in a variety of ways. For example, some of the images are more closer up and focussed on the face whereas some of the images include her whole body. I think I successfully managed to create 3 point lighting as one of the main focusses of this lighting type is the lack of shadows seen in the images which is also seen in my work too.
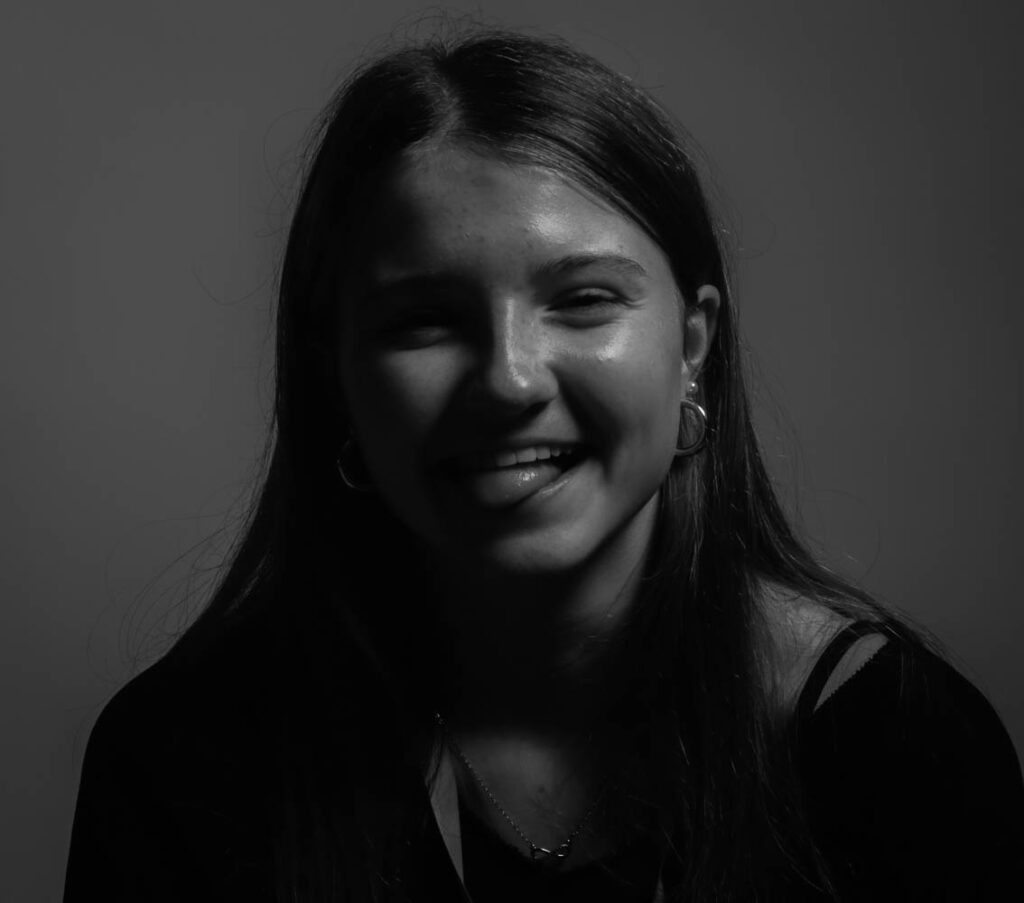
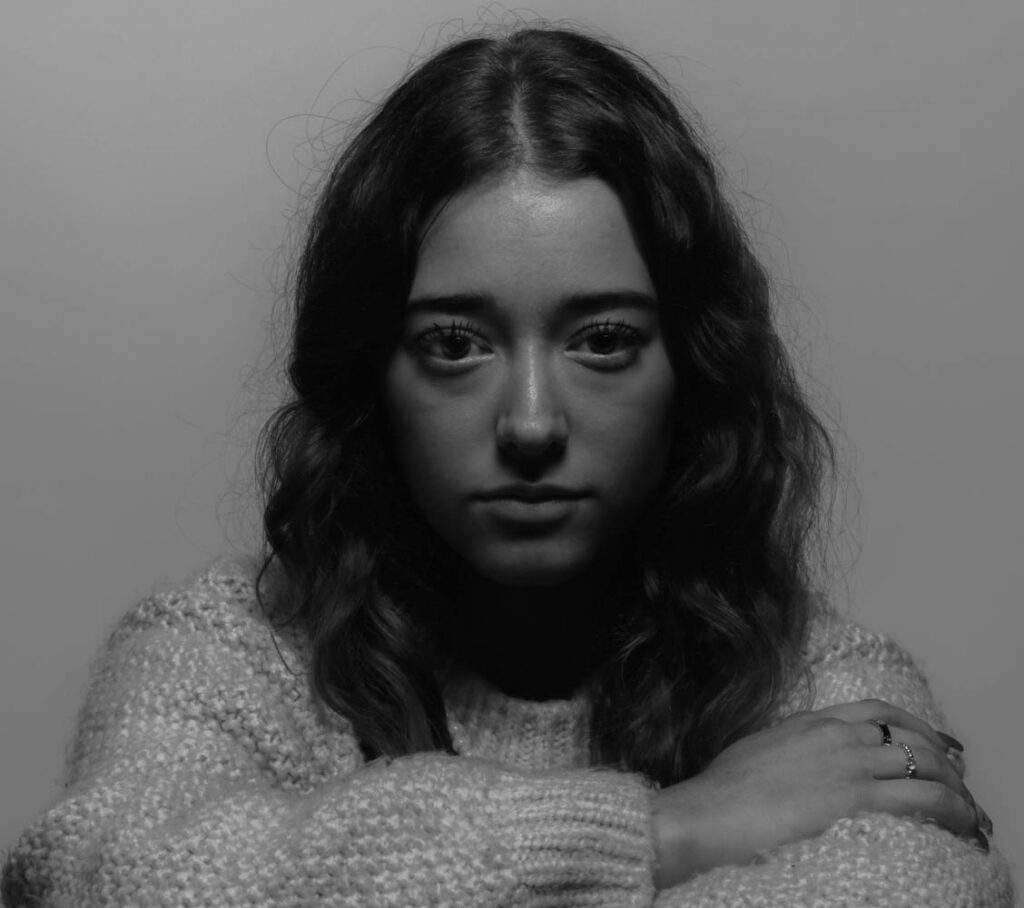
I then decided to experiment with my photos more and turned them black and white.
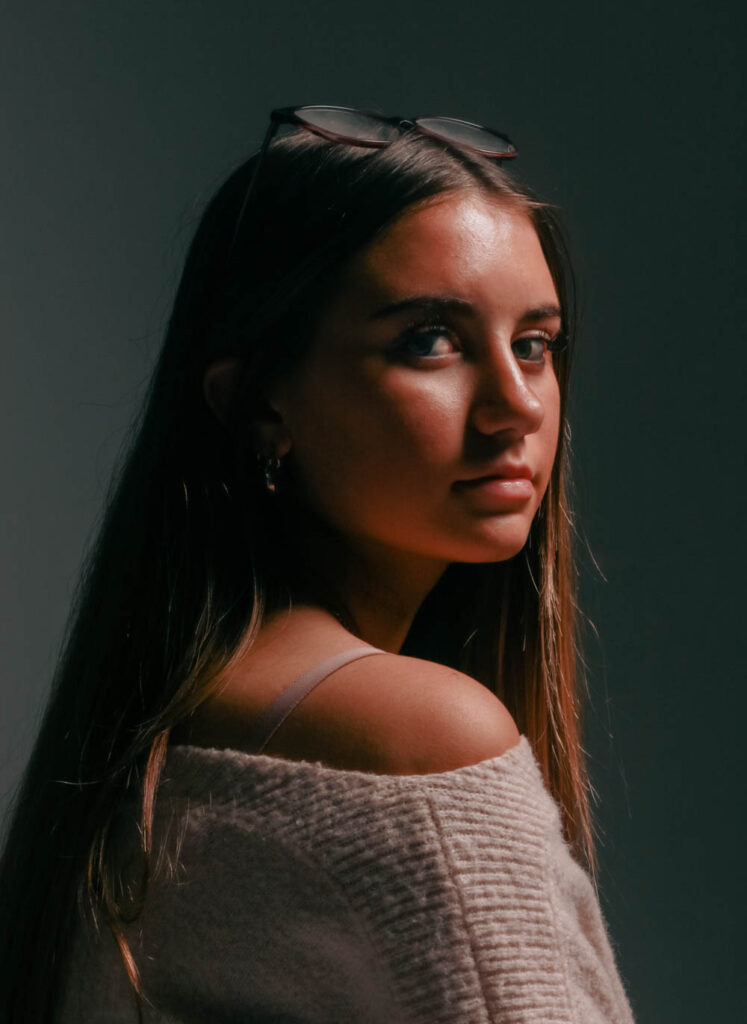
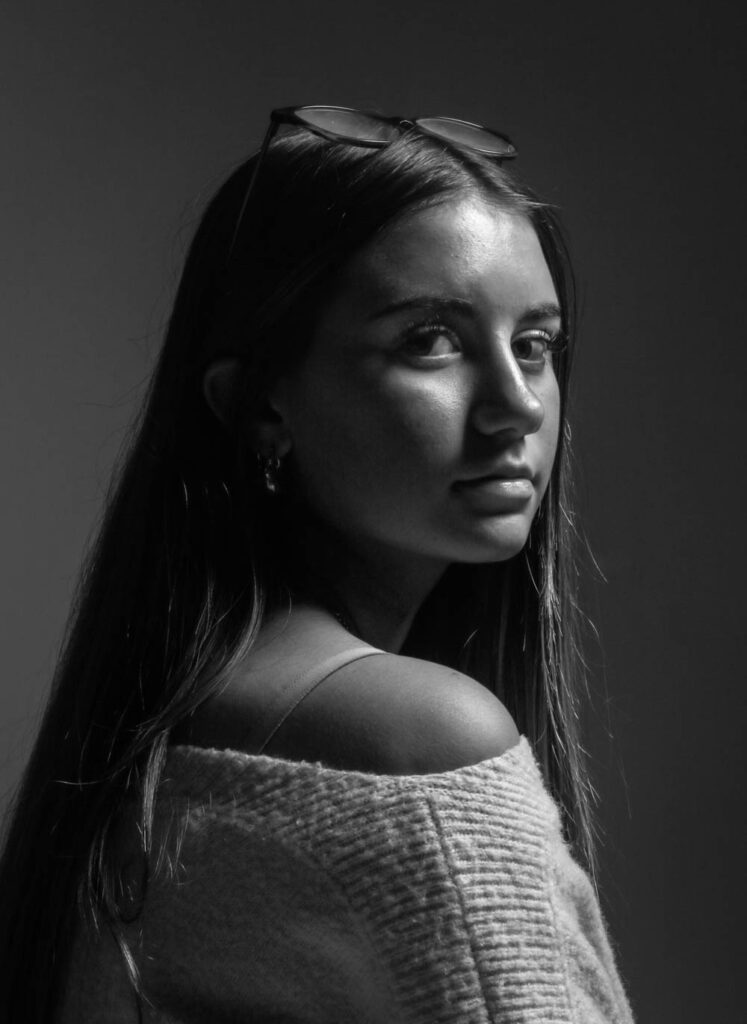
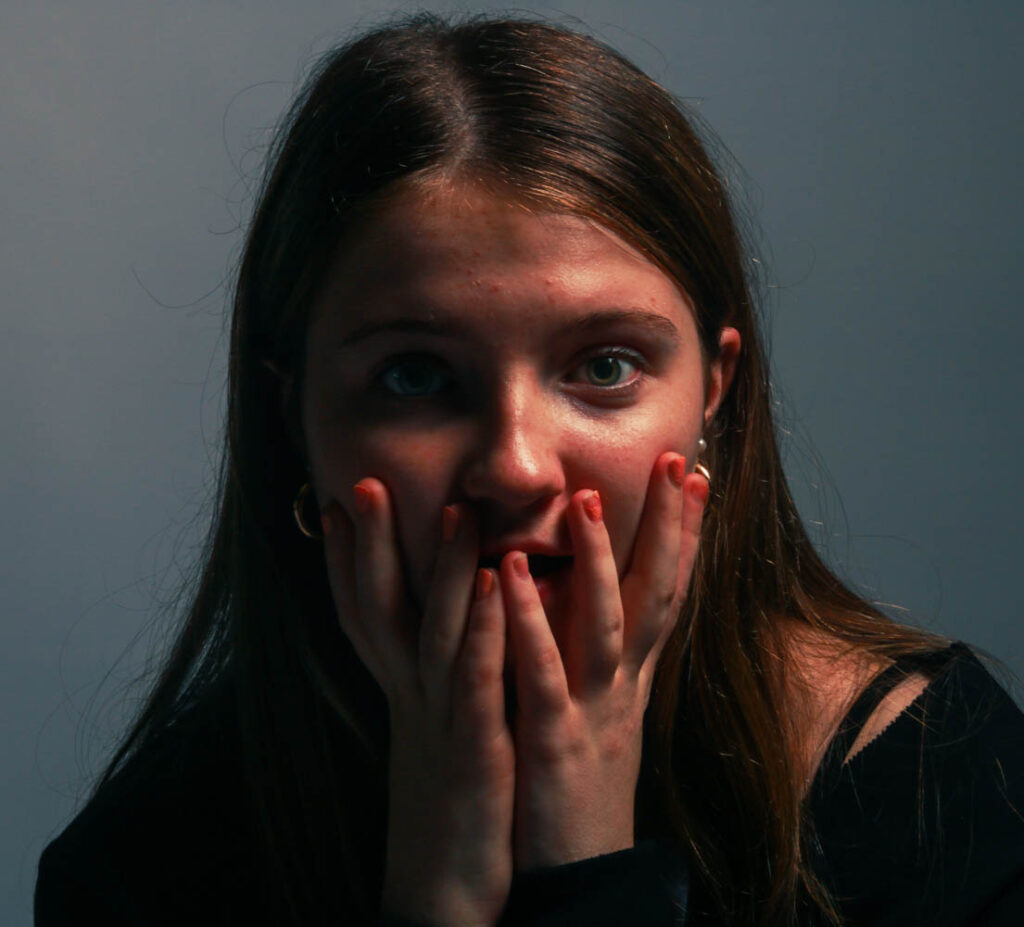
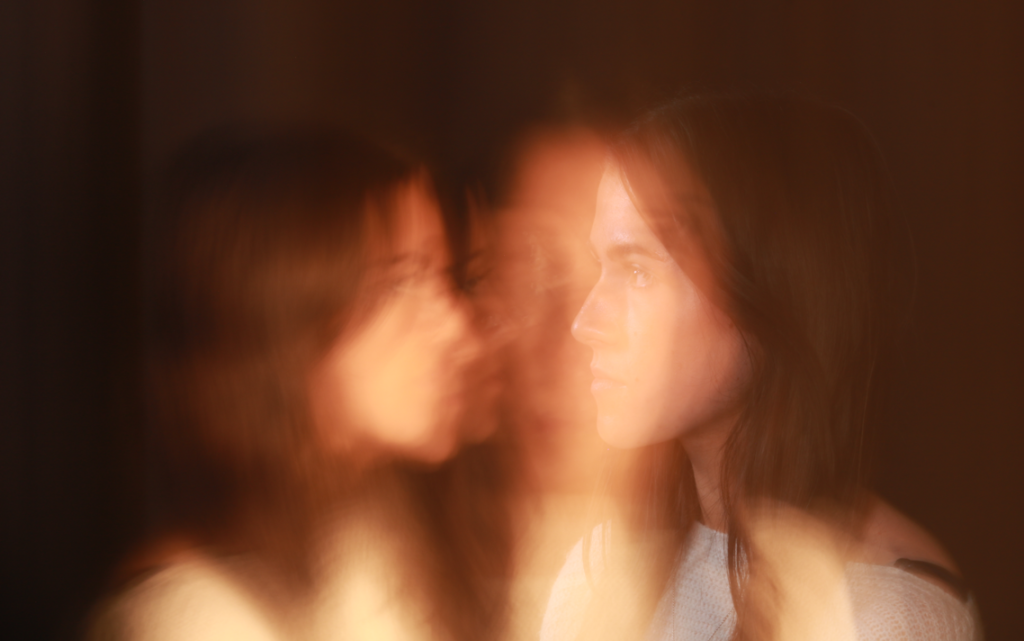
Butterfly lighting is regularly used within portraits due to its flattering effect, which I can see is clearly proven here. It has highlighted the subjects cheekbones, and also created shadows under the neck. I used a key light that was flash rather than continuous, meaning it will only light up when the photo is actually being taken, this gives a more vibrant and brighter effect. I used a hard light rather than a soft light, to really create the effect of those shadows. A reflector was used in the first photo in order to make the light bounce off the nose and soften the shadow under the chin. We used a silvery/ white reflector which gave off a more neutral tone. The subjects face was towards the light but with the light pointed at quite a high angel making sure all the shadows were captured. The second two photos I have included have a dimmer look too them, this is to create a different atmosphere, one of darkness, while still capturing the shadows on the models face. I have also included how I have developed the photos within lightroom, to show how I have managed to make the shadows stand out more and make them deeper.
Chiaroscuro Lighting:
2.
3.
Evaluation:
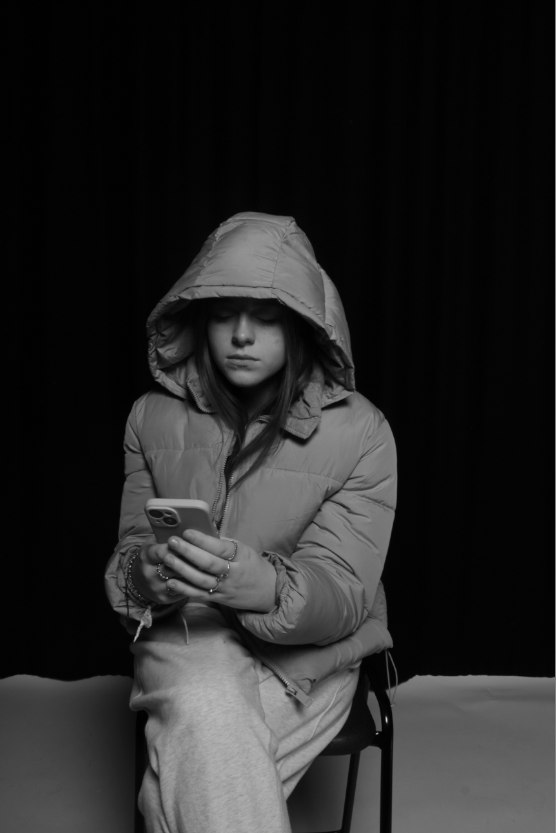
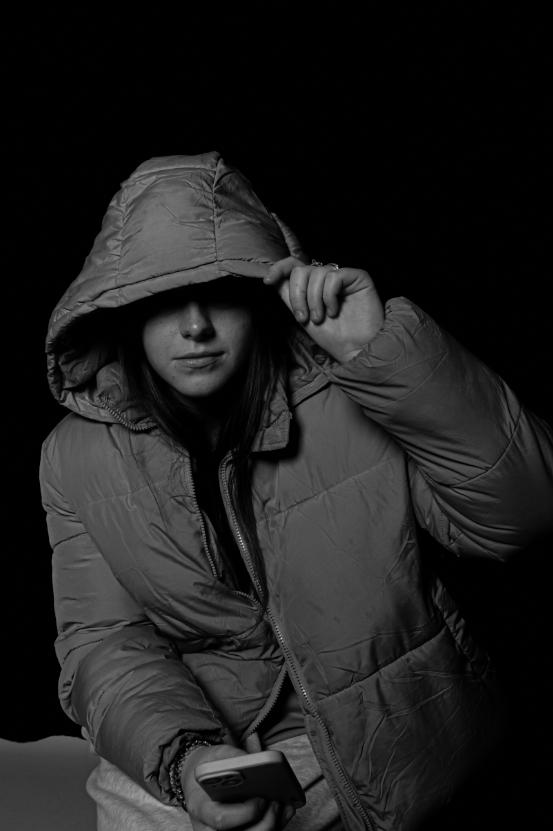
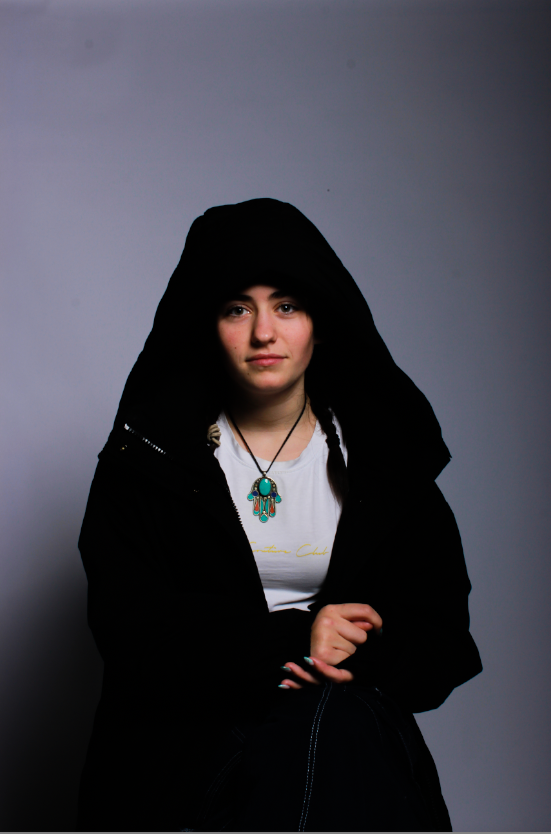
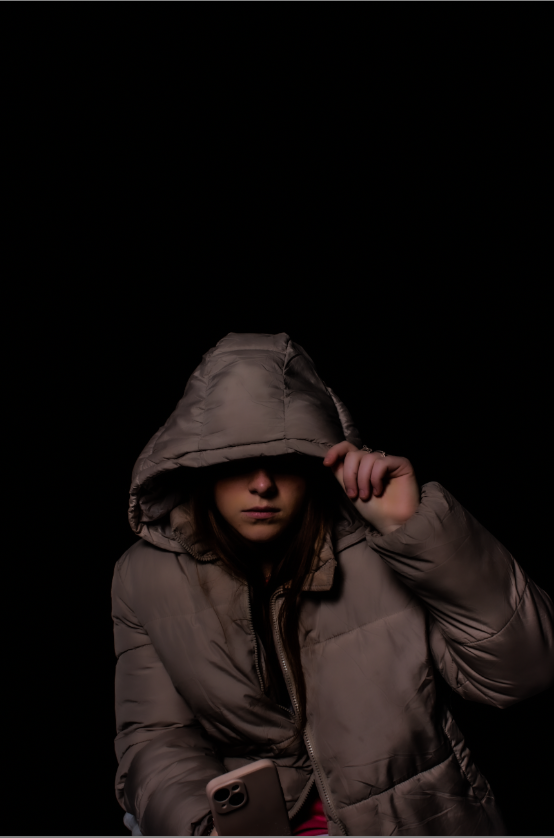
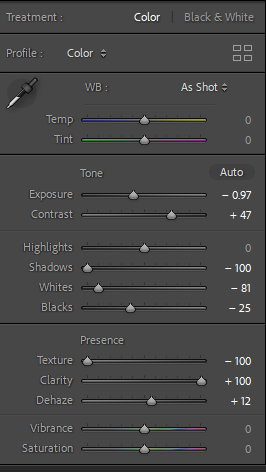
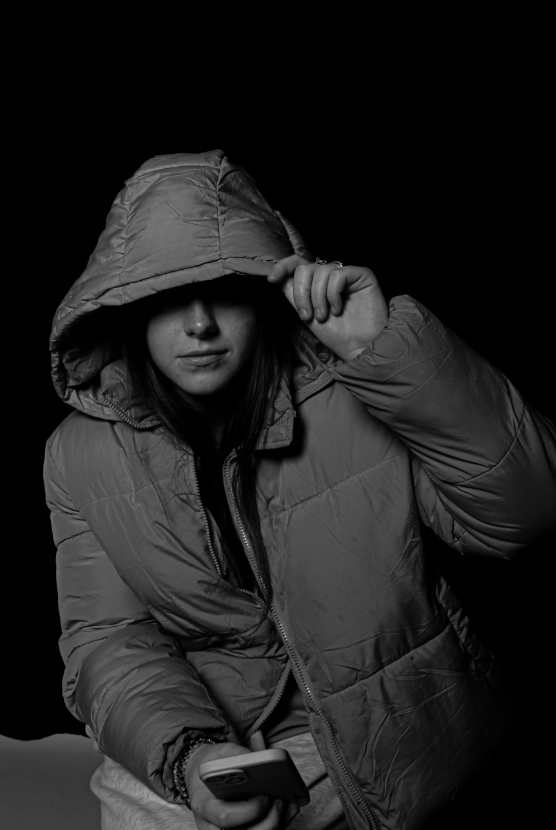
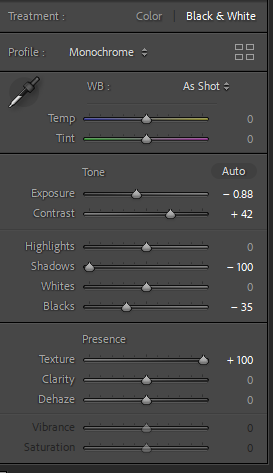
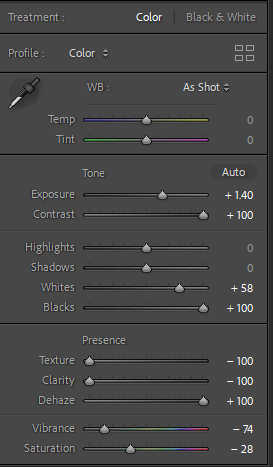
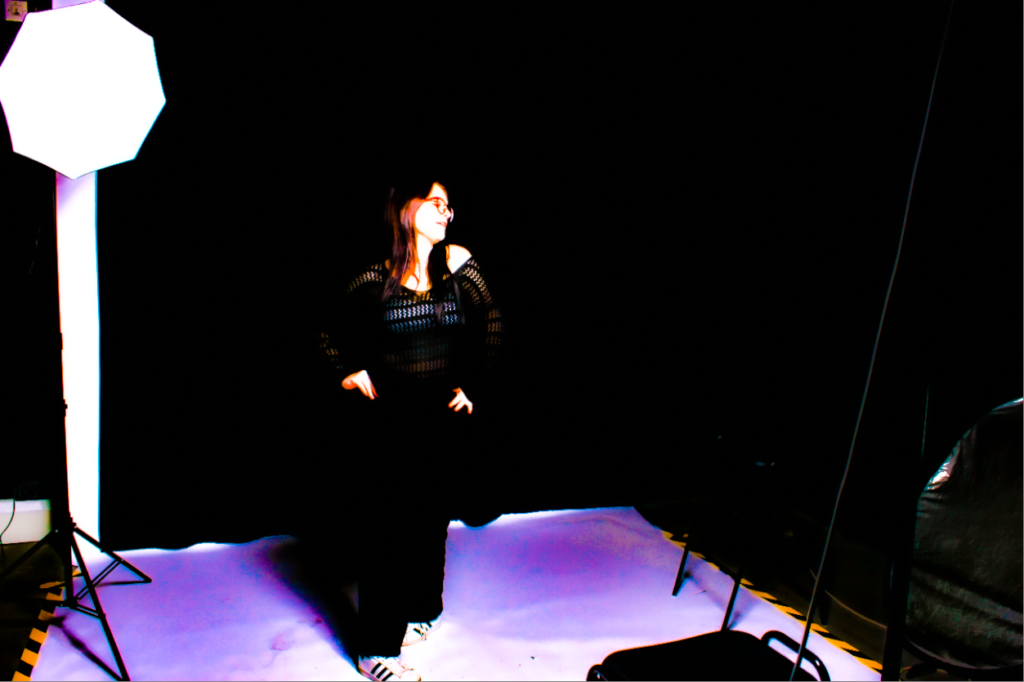
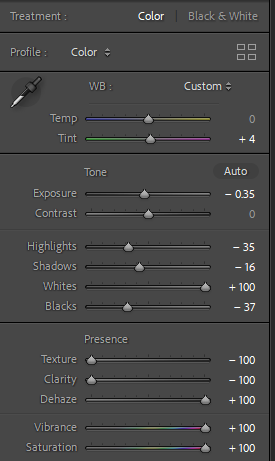
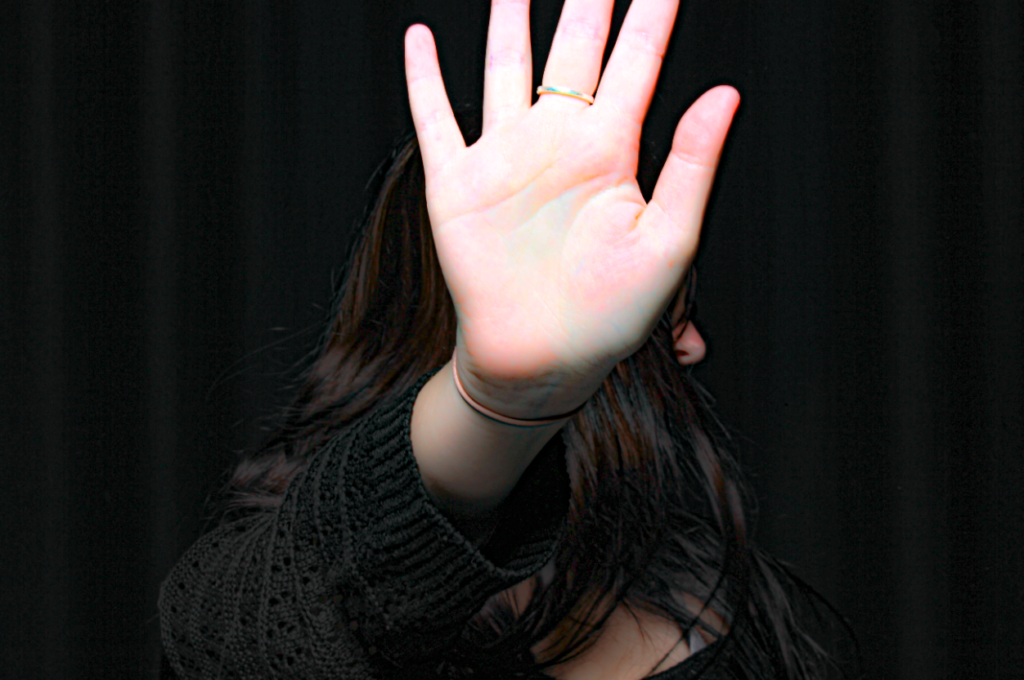
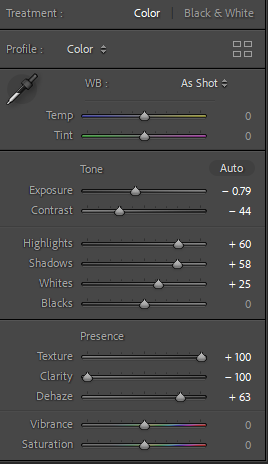
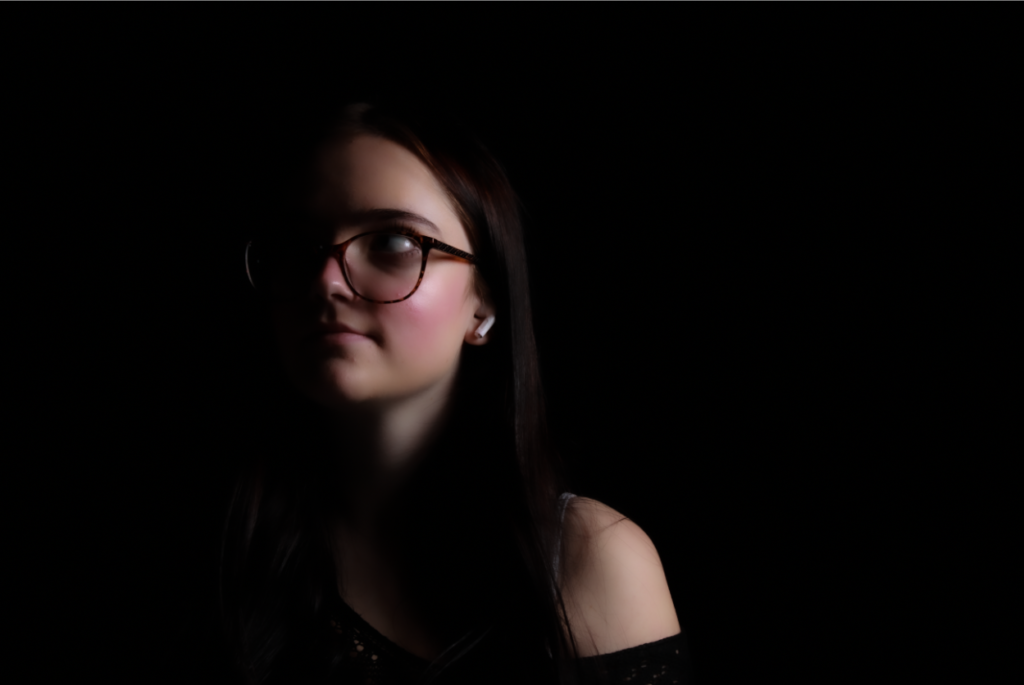
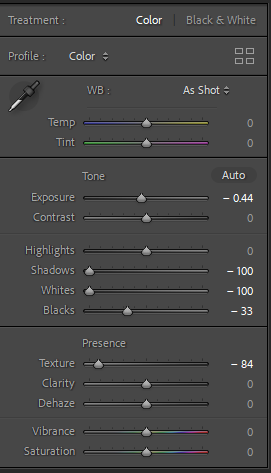
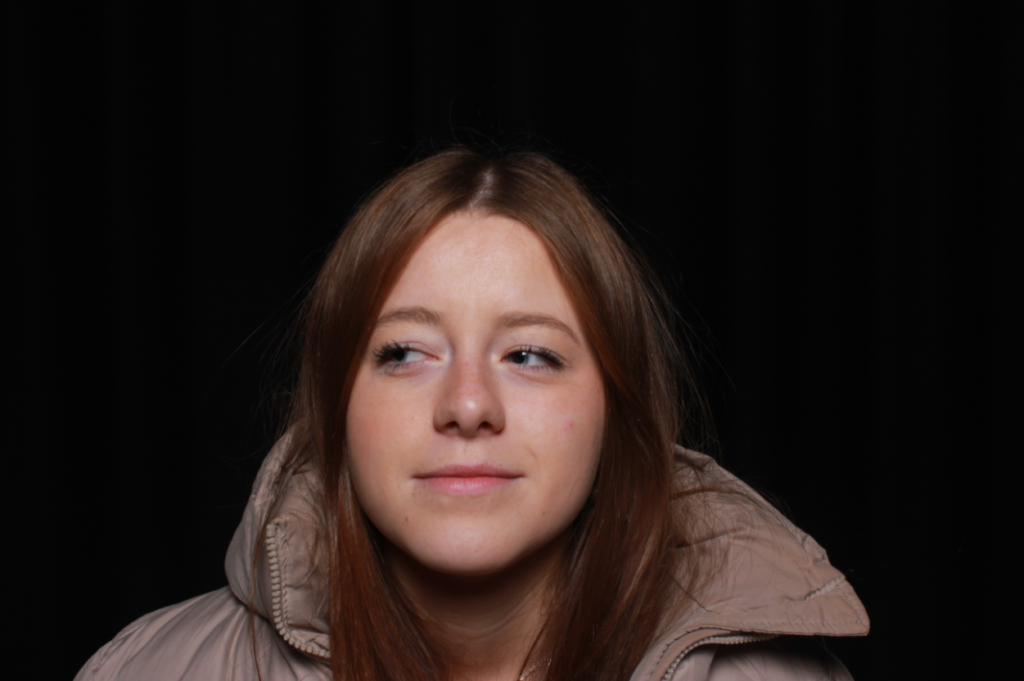
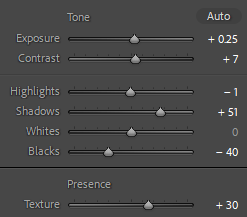
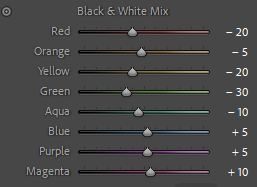
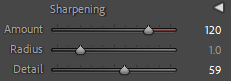
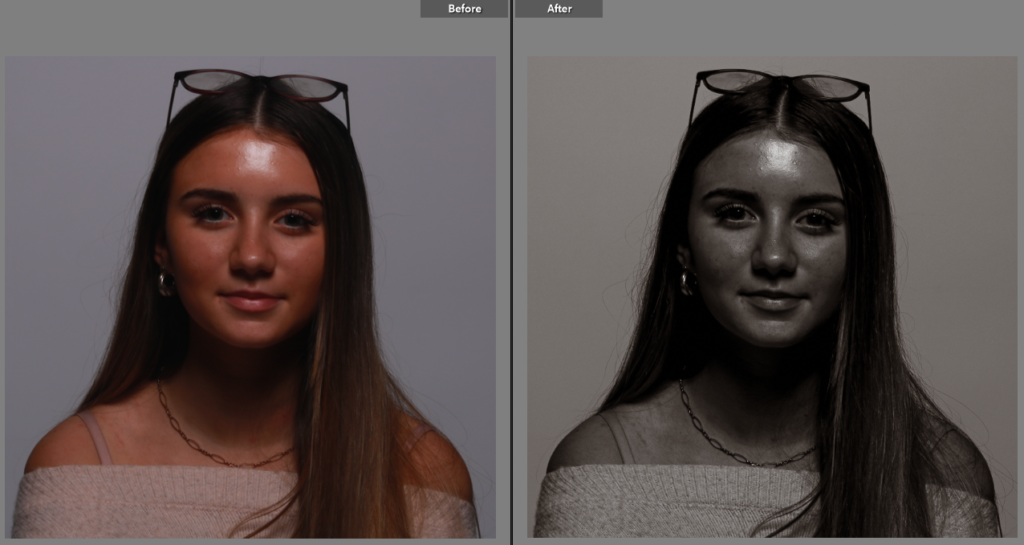
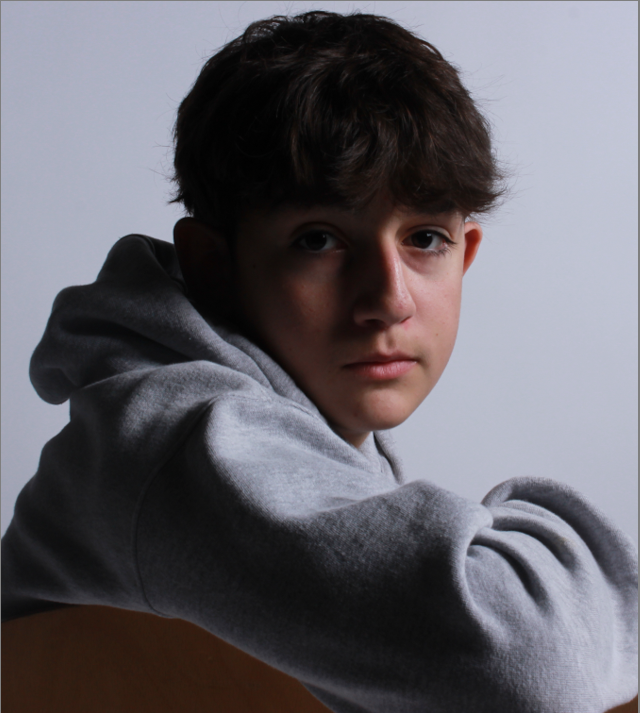
Chiaroscuro lighting means light dark lighting, where there is a bold contrast between the two. It is generally used to create dramatic images, which I think I have captured here, it adds a sense of mystery too the subject. I used one key light and then another light within the back, I also used a reflector in 3rd image. The first image is a contrast due to the shadow of the hood, and the darkness of the background contrasting with the bright light on the subjects face, this creates the effect of not actually being able to see the subjects face, which then creates a sense of mystery. As you can see I have heavily edited the second image, purely just because I think the idea of black vs white light reflecting is a bit boring, so I heavily saturated the image so that is what a more purple tone reflecting against the black background, I don’t necessarily think this creates a sense of mystery but it certainly creates a different vibe, one maybe of vibrance? I have included a screenshot of how I developed the image within lightroom. The last photo I have included shows a clear contrast between the light reflecting onto my hand and my dark hair/dark background. Yet again using something too cover the face to create a sense of mystery.
Rembrandt Lighting:
2.
3.
Evaluation:
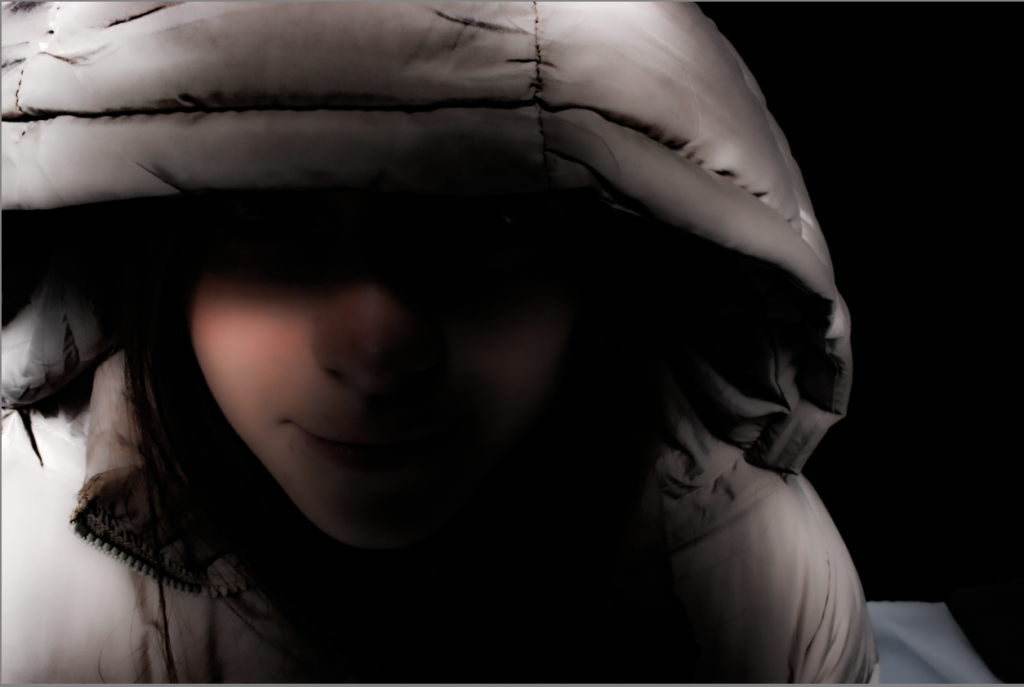
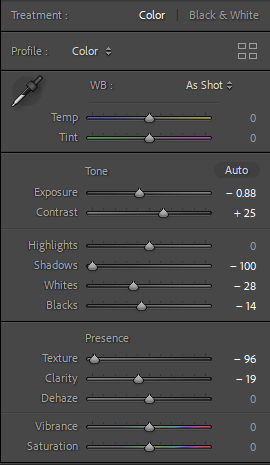
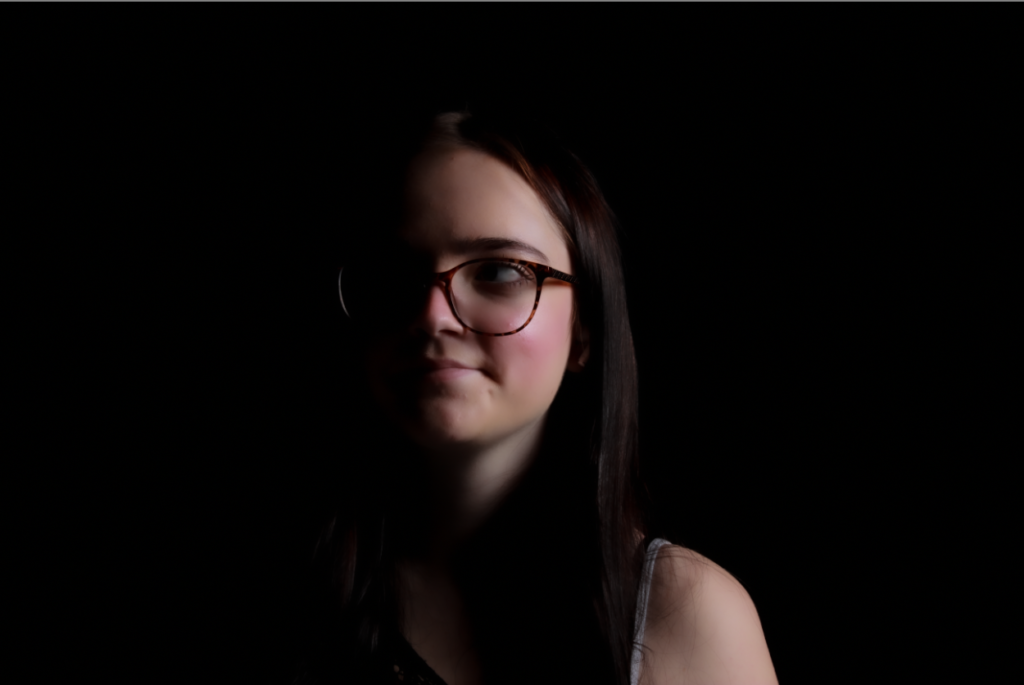
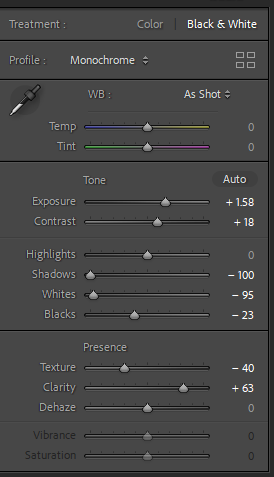
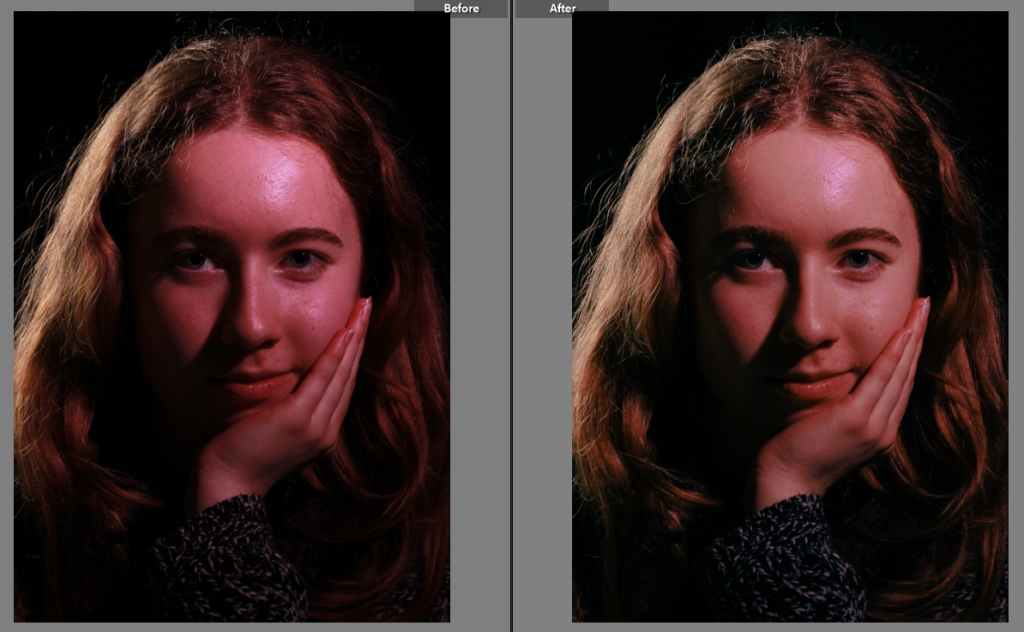
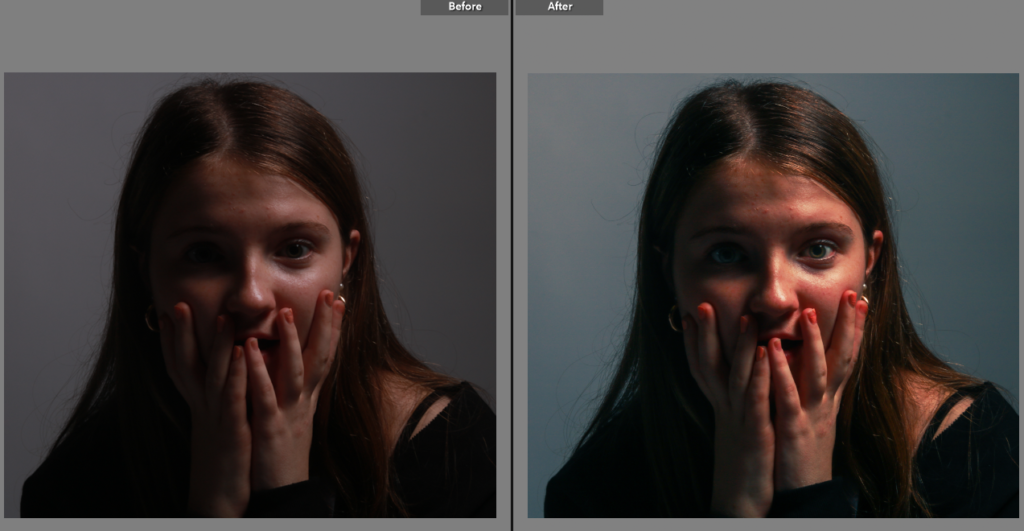
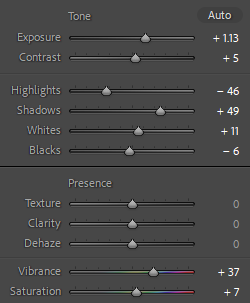
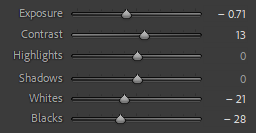
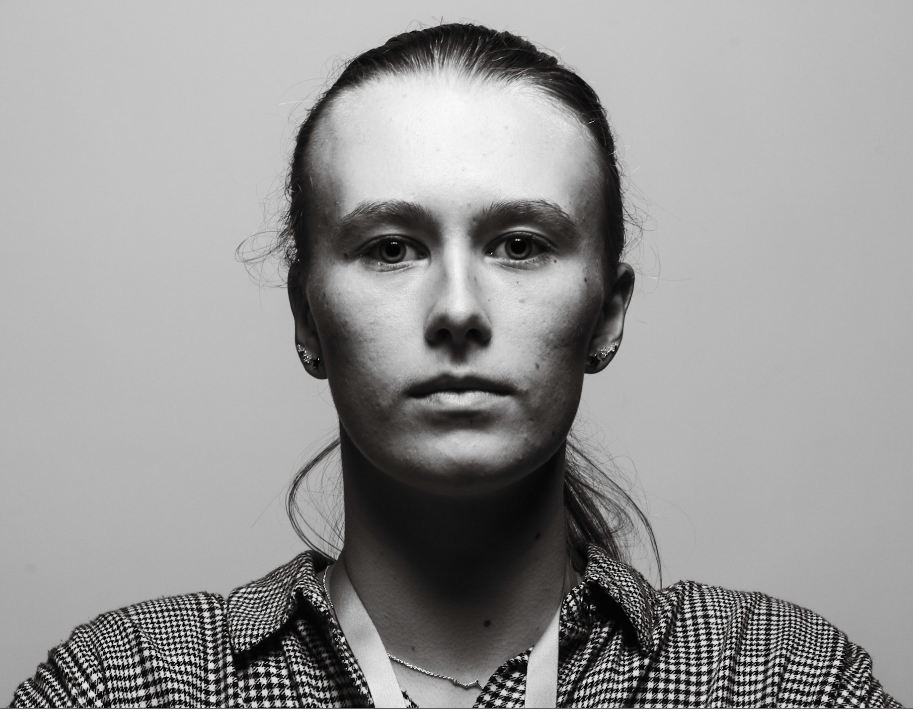
Rembrandt lighting is created when there is a small triangle of light on the subjects cheeks opposite the light source, this creates a more artistic effect. Although I didn’t quite manage to capture the triangle shadow I did still managed to capture a shadowed face. I used two lights, one main light and one background light, I didn’t use a reflector because I felt that the hard lighting was enough. I have managed to draw into the subjects eyes (or eye), which creates a more in depth look. The eyes are the main focal point in portraiture, due to how they can take on many forms and show emotion. This makes it a more appealing image as there is actually something to look at and focus on rather than just a random environment. It isn’t just general light on the face and it exposes the features of the face more. When shadowing half on the subjects face is obviously brings the focus to the highlighted half allowing a really focused photo. I used lightroom to edit the first two images to give a more untextured effect too almost make a blur into the shadows, this brings a big focus too the gloss of the face. I have included screenshots of how I edited the images in lightroom.
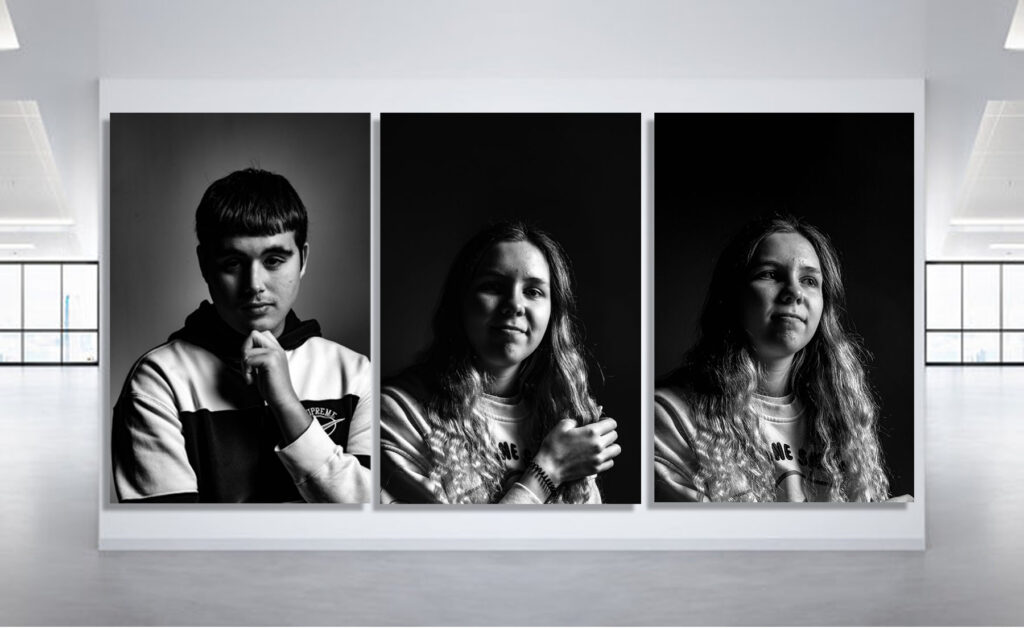
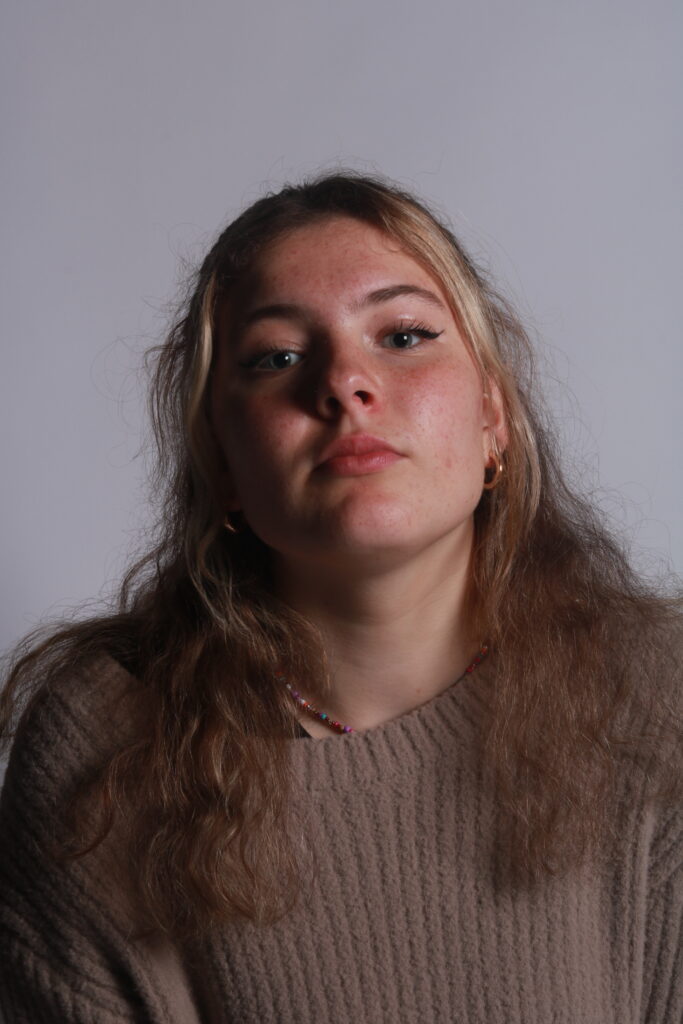
My Top Three Images:
1 ~
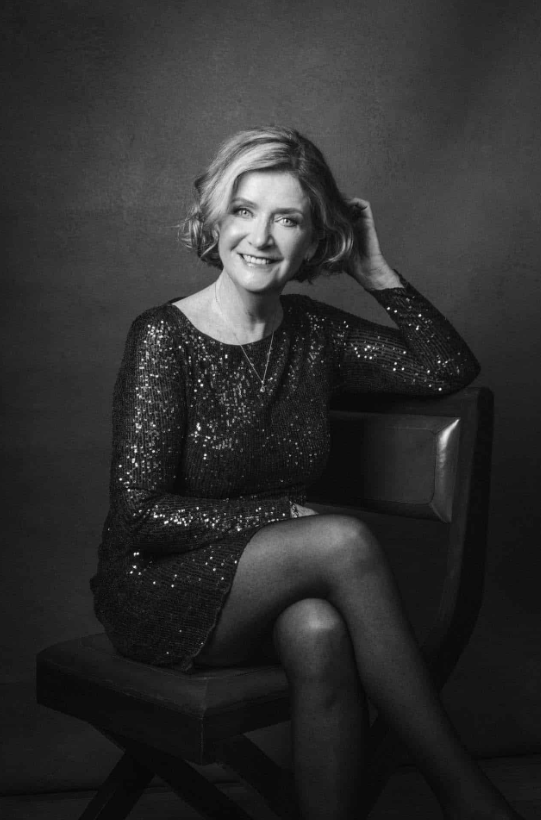
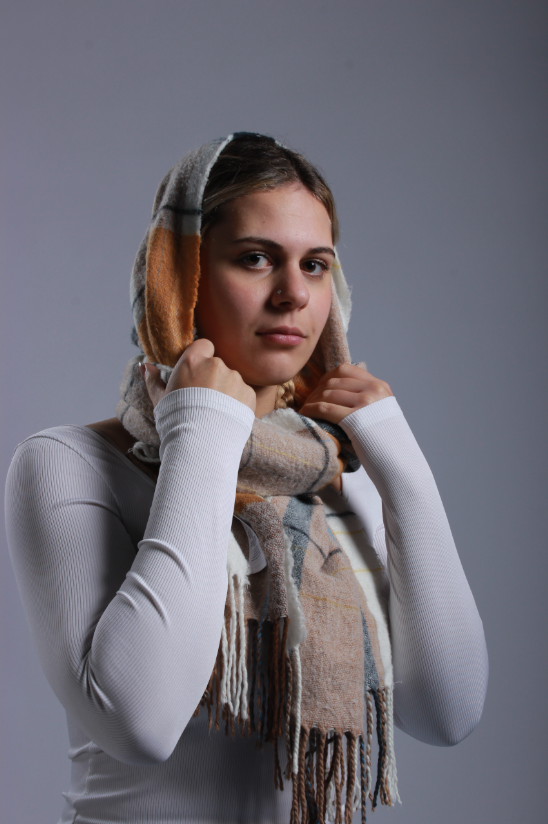
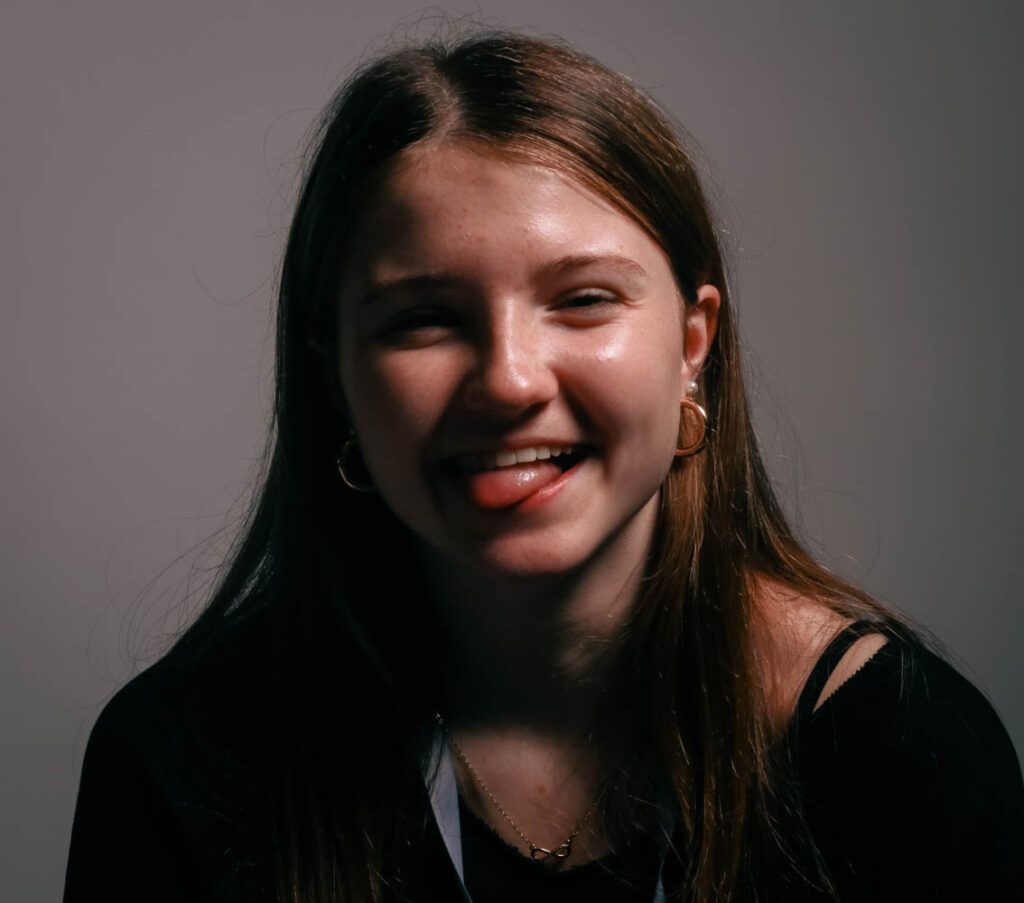
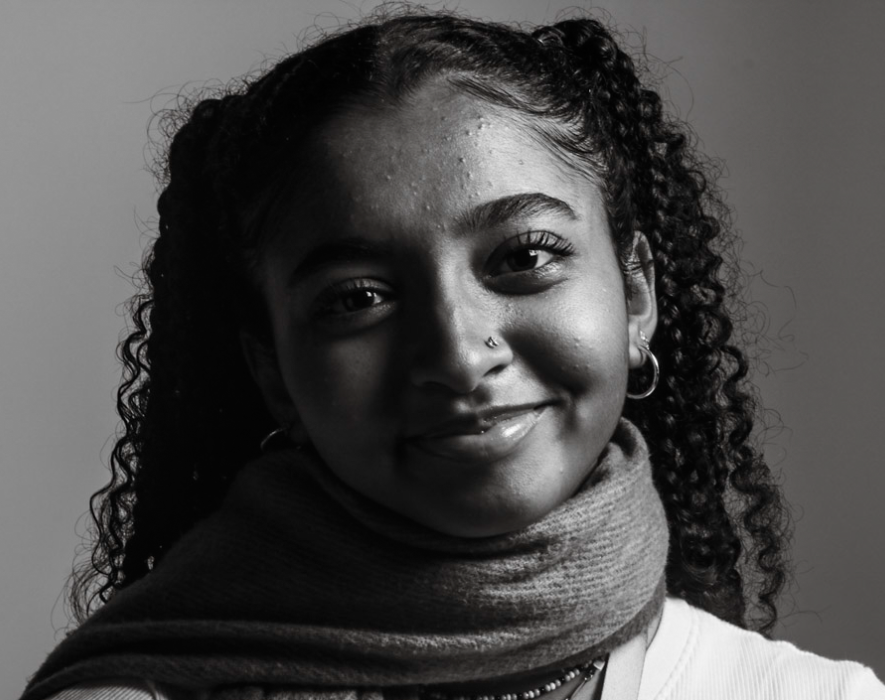
This is one of my top images due to the pose of the model, it allows many focal points, the image is bright and in focus and also has many different things too look at. The facial expression of the model also gives off a sense of their personality.
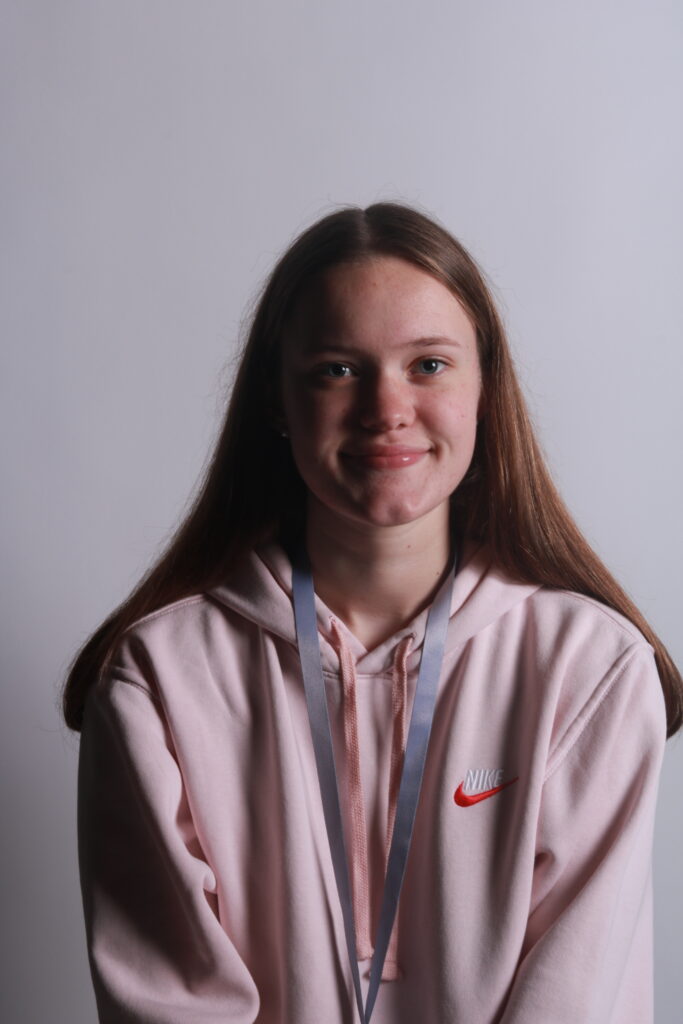
2~
I also chose this photo as one of my main images due to the models facial expression really showing off her personality. I also really like this image due to the main focus on the models face, this is due too they model having one main light on her and that contrasts with the black background.
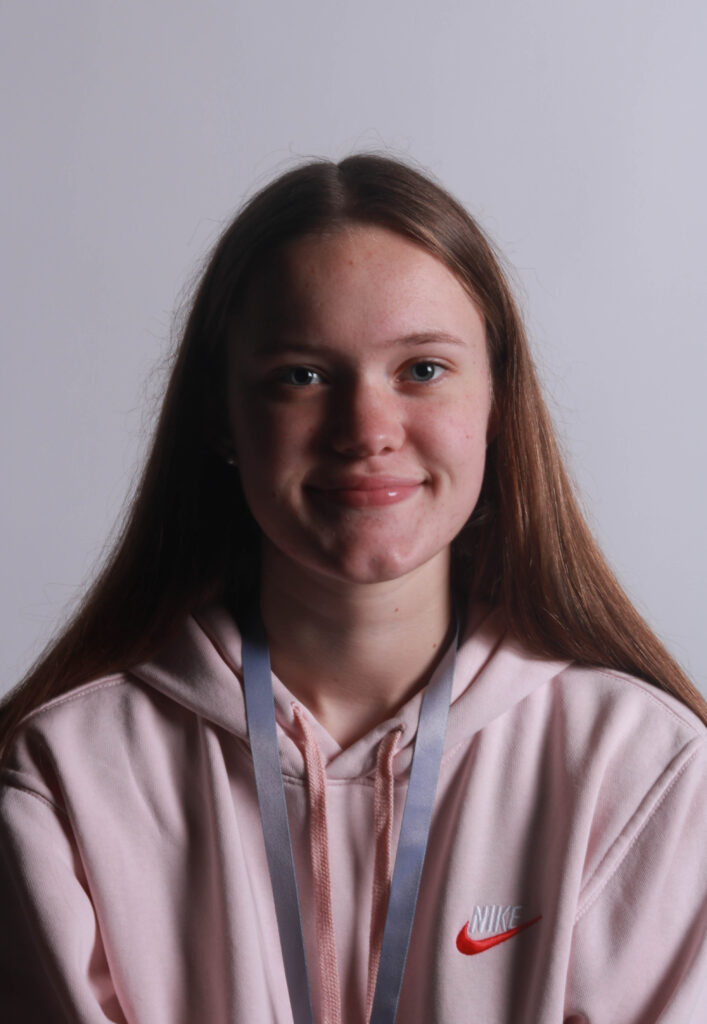
3~
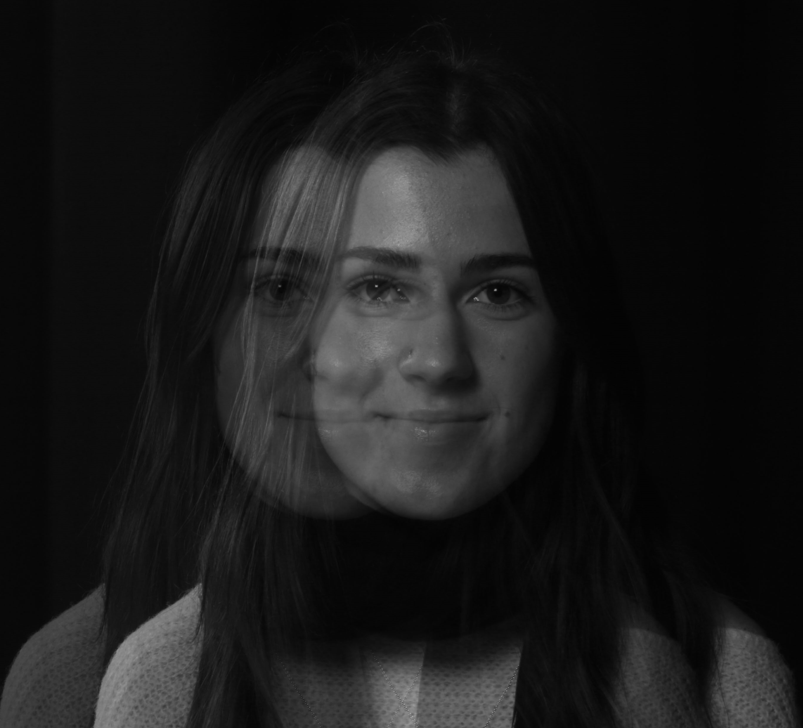
This was one of my favorite images due to the use of the smoothing tool and making the image so untextured creates a blend between the shadow’s and the models face. I personally think this looks really good and captures the attention of people looking at it.
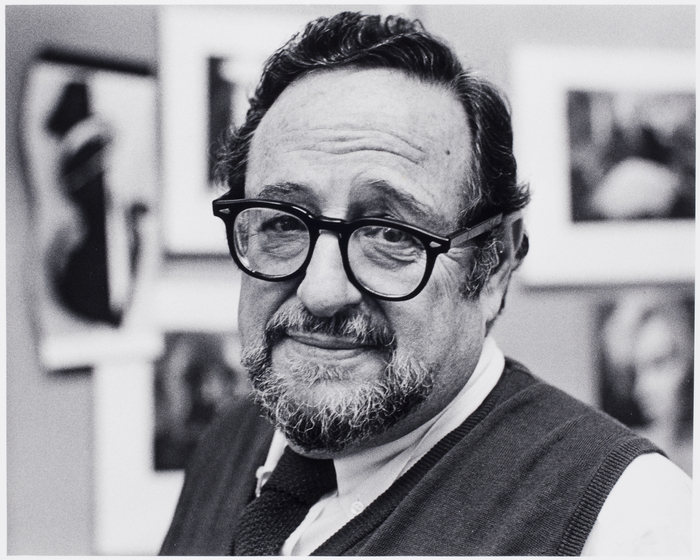
Arnold Newman was an American photographer born in New York 1918 and died in 2006. He created environmental Portraits. in 1946, Newman relocated to New York, opened Arnold Newman Studios and worked as a freelance photographer. He maintained that even if the subject is not known, or is already forgotten, the photograph itself must still excite and interest the viewer. Most of his work is black and white but he does have some images in colour.
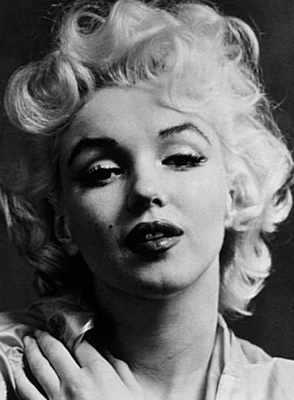
Throughout his career, Arnold Newman photographed a variety of different famous people, for example: Pablo Picasso, Frank Lloyd Wright, Golda Meir, Andy Warhol, Marilyn Monroe, Salvador Dalí and Bill Clinton. He found his vision in the empathy he felt for artists and their work.
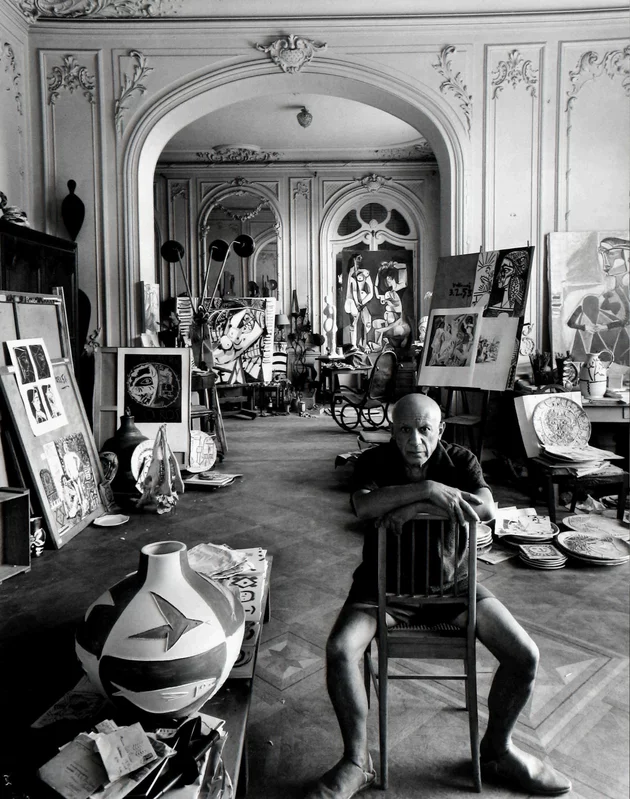
This photograph of Pablo Picasso is very messy but its like everything is perfectly placed to show Picassos day to day environment. The artwork around Picasso is probably his own work. It is telling a story about his life in paintings inside a photo. Arnold Newman’s work is very emotional.
We use studio lighting because it lets us to create a variety of photo lighting techniques, without the need for editing. Studio lighting also presents a professional look in photos, differing from the quality without studio lighting. Studio lighting can make a photograph like setting the mood, creating shadows and texture and more. Using studio lighting is much easier than using natural light or any other light.
1 point lighting:
1 point lighting is a lighting set up which uses one light source to light up the subject. The light is often positioned directly in front or behind the camera although, it is often positioned at a 45 degree angle to the subject. The light used for this set up is known as the key light.
2 Point Lighting:
2 point lighting consists of 2 different types of light, the key light and the fill light. The key light is placed to one side of the camera and illuminates the subject, creating shadows and the fill light is positioned directly opposite the key light to ‘fill in’ the shadows. This produces a more harmonised and authentic appearance.
3 Point Lighting:
3 point lighting uses of 3 lights which are placed in order to create a well balanced photograph while illuminating the subject. 3 point lighting includes a key light and fill light and it also has a backlight. The backlight is placed behind the subject to illuminate the sides of the subject and make it stand out from the background, rather than blending in.
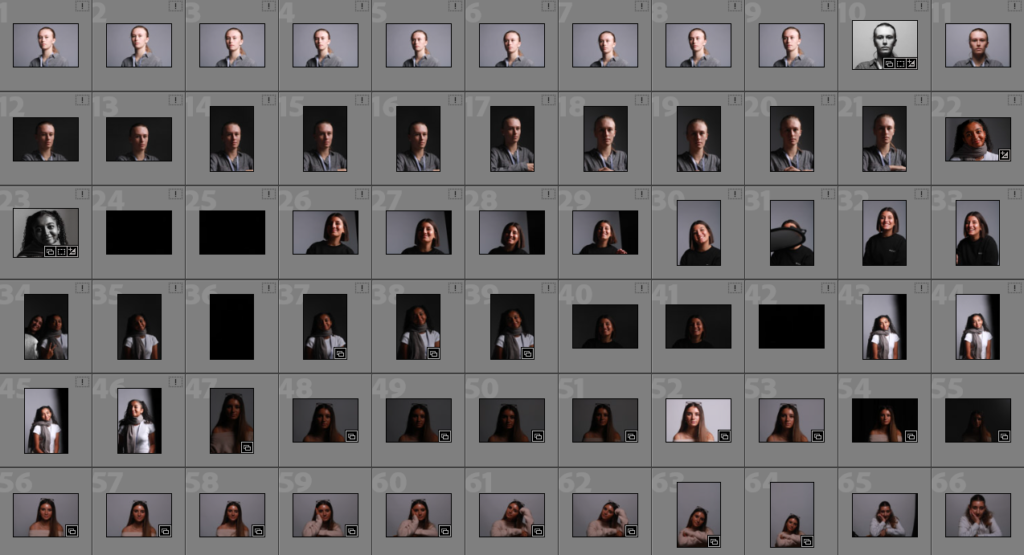
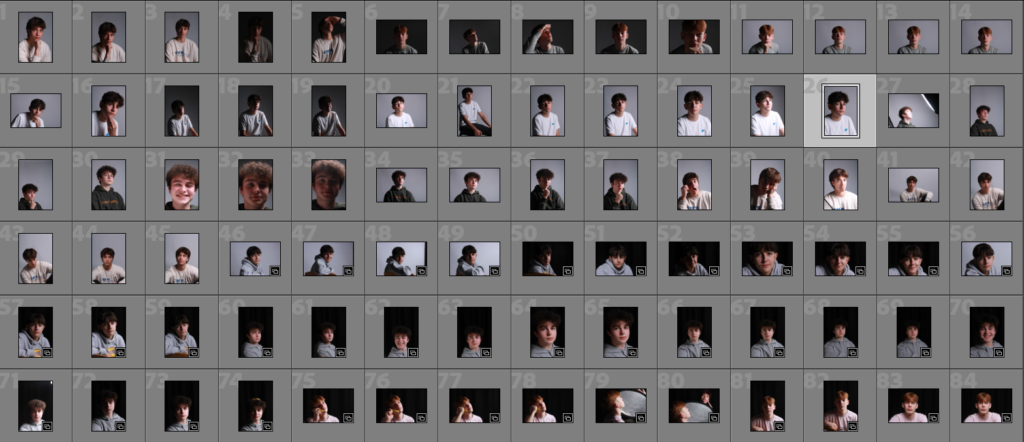
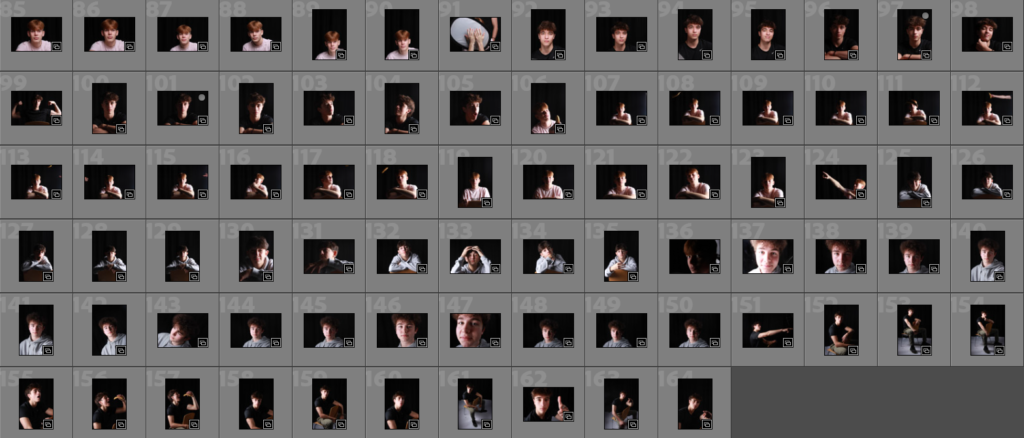
Here is my photoshoot from studio portraits where I took a total of 164 photos.
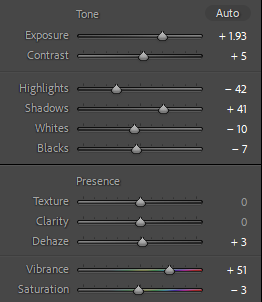
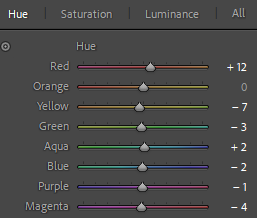
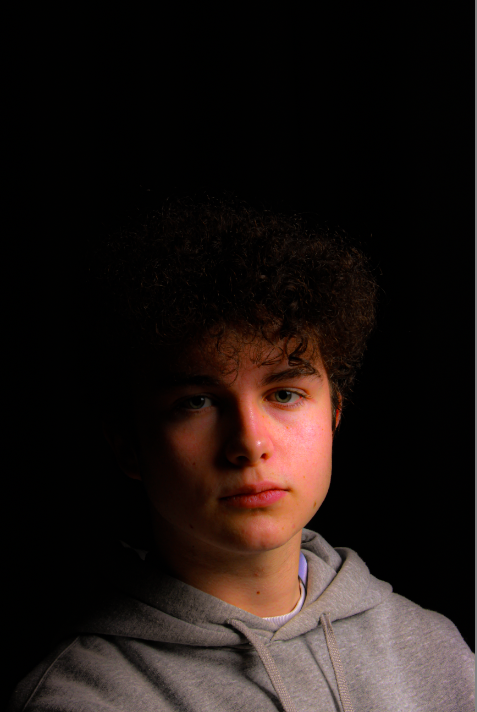
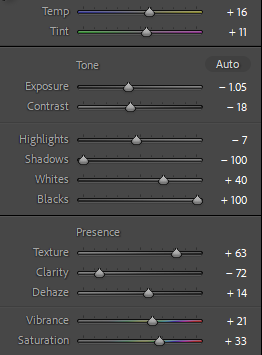
What I did in this photograph was Rembrandt, which is when you create a little triangle shape below the eye on the shaded side, (right eye). Also, I edited the photo by making him warmer using brighter saturated colours and using these edits:
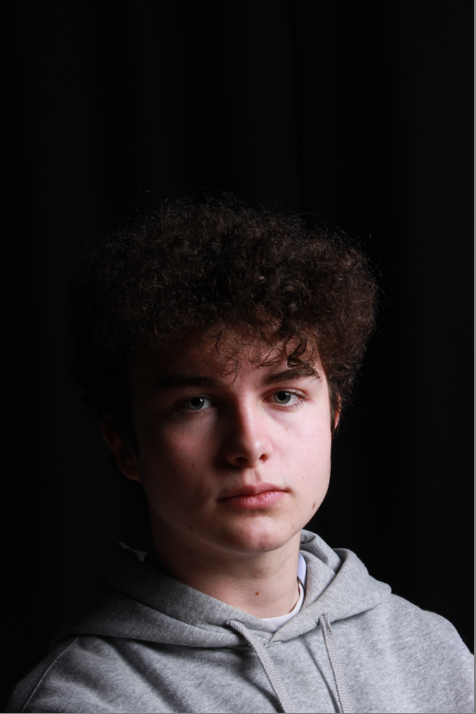
Another Rembrandt example I edited was this photo, but I didn’t need to edit it as much as it’s already good lighting and just had to lighten him up a little and bring out the triangle a little more.
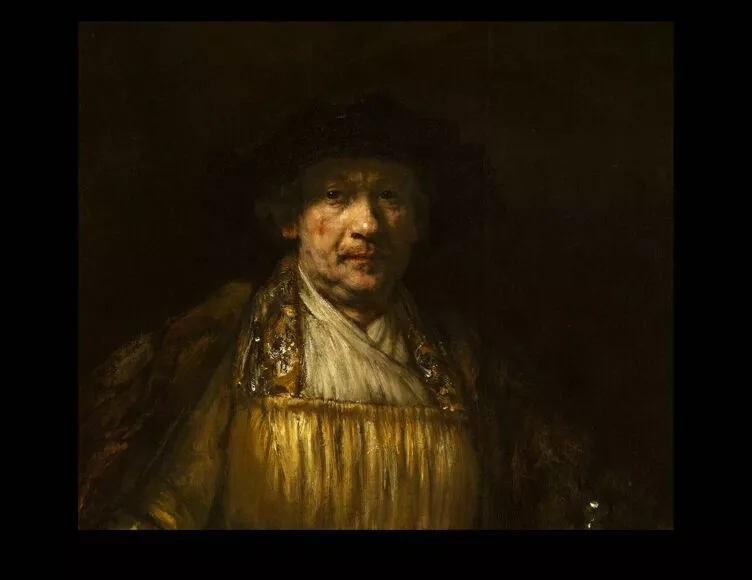
This is one of the common techniques used its inspired by the way Rembrandt Harmenszoon van Rijn (a famous Dutch painter) created his work he would seem to create the same lighting effect on his paintings where he would have an upside down triangle appear under the eyes of the model.
Just like this
Here is an example of how to create Rembrandt lighting it is easy enough to set up. What you need to do is
have your light source at 40-45 degrees higher than your model
try have just the models head and shoulders in the shot
There are many advantages to using this style of lighting the main being that it will draw attention to the models eyes which creates quite a captivating shot if that is what you are wanting from it. This is because the shapes seem to create these leading lines towards the models eyes.
Overall I think the photos have turned out good i think on all of these images I picked you are able to see a very clear shadow triangle underneath the eye and next to the nose which is the premise of Rembrandt images. I think it would have been better if I could have gotten more of these with the model in different poses.
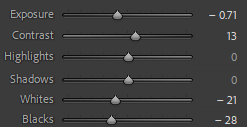
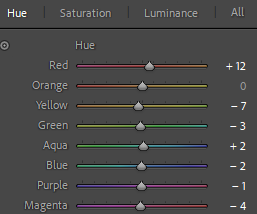
For this image I didn’t have too much editing o do I knew I wanted to crop the image so it was more even on both sides as the was a lot of blank space on the left side than on the right which I wanted to fix. I also tried to lighten to image slightly as I did feel like it was a little bit too dark.