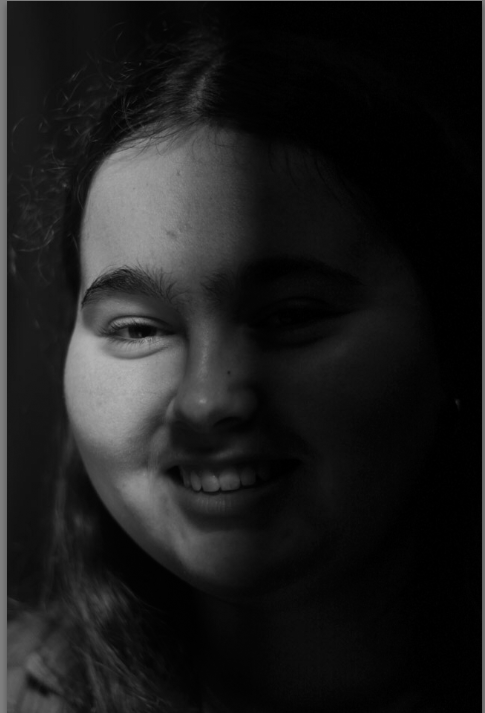
Who is Henry Mullins?
Henry Mullins, the renowned headshot photographer, was born on June 12, 1975, in Los Angeles, California. From an early age, he exhibited a passion for creativity and art, particularly in the field of photography. As a teenager, he would spend countless hours exploring his neighborhood with his trusty camera, capturing the essence of the people and places he encountered.
After high school, Mullins pursued his passion for photography by enrolling in the prestigious School of Visual Arts in New York City. Here, he honed his skills under the guidance of some of the industry’s most renowned photographers. Inspired by his professors and surrounded by the vibrant art scene, Mullins began to carve his own path in the world of photography. Upon graduating, Mullins moved back to his hometown of Los Angeles, where he established his studio and started his career as a headshot photographer.
He quickly gained a reputation for his unique artistic vision, attention to detail, and ability to capture the true essence of his subjects. Mullins had a natural talent for making his clients feel comfortable in front of the camera, resulting in stunning headshots that truly represented their personalities and capabilities.
Mullins’ work soon caught the attention of casting directors, agents, and actors alike. His photographs graced the portfolios and websites of numerous Hollywood celebrities, catapulting him to the top of his field. His ability to capture an actor’s true essence in a single frame earned him accolades and made him one of the most sought-after headshot photographers in the industry.
Throughout his career, Mullins collaborated with numerous acclaimed actors, directors, and production teams. Not only did he provide stunning headshots, but he also worked on set, capturing behind-the-scenes moments and promotional images for various films and television productions.
In addition to his commercial success, Mullins dedicated his time to giving back to the community. He conducted workshops and mentoring programs for aspiring photographers, serving as an inspiration for the next generation of talent. Mullins believed in nurturing young minds and encouraging them to unlock their artistic potential
Henry Mullins’ passion, dedication, and artistic eye revolutionized the world of headshot photography. His ability to showcase the true essence of his subjects made him a trusted collaborator for actors, models, and performers worldwide. Today, his legacy lives on through the countless aspiring photographers inspired by his work and the impact he made on the industry as a whole.
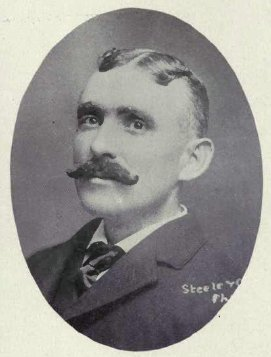
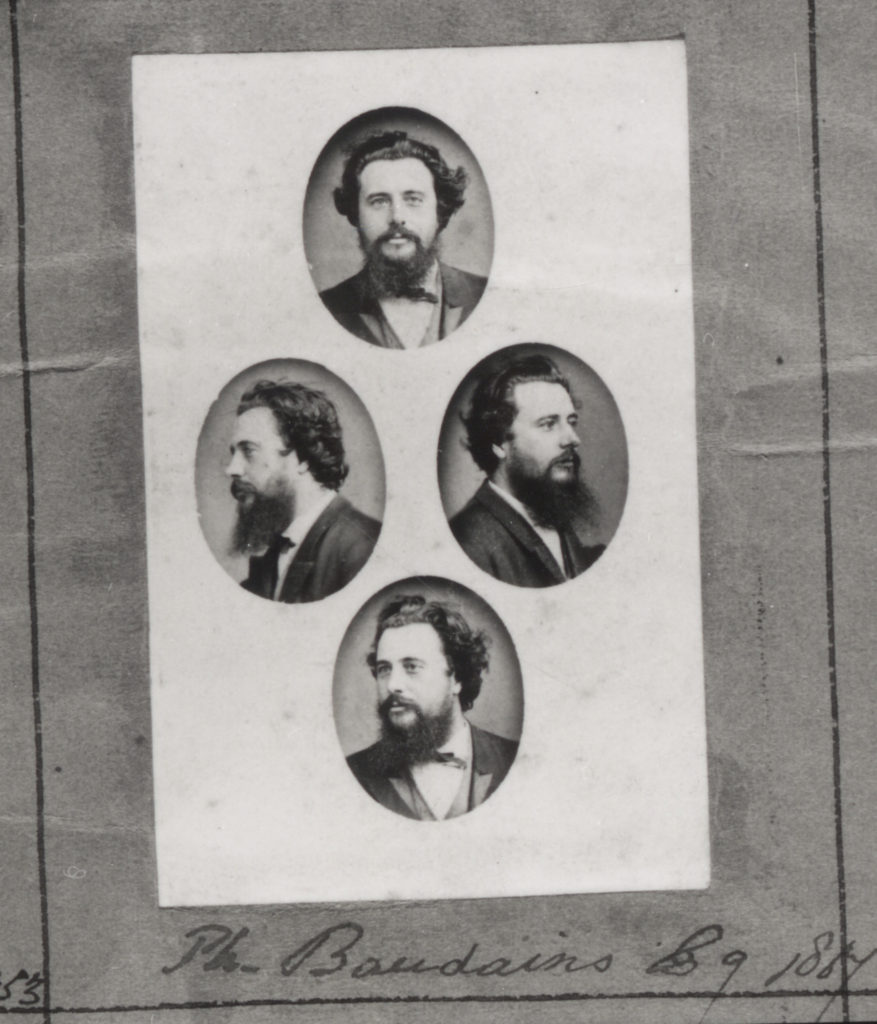
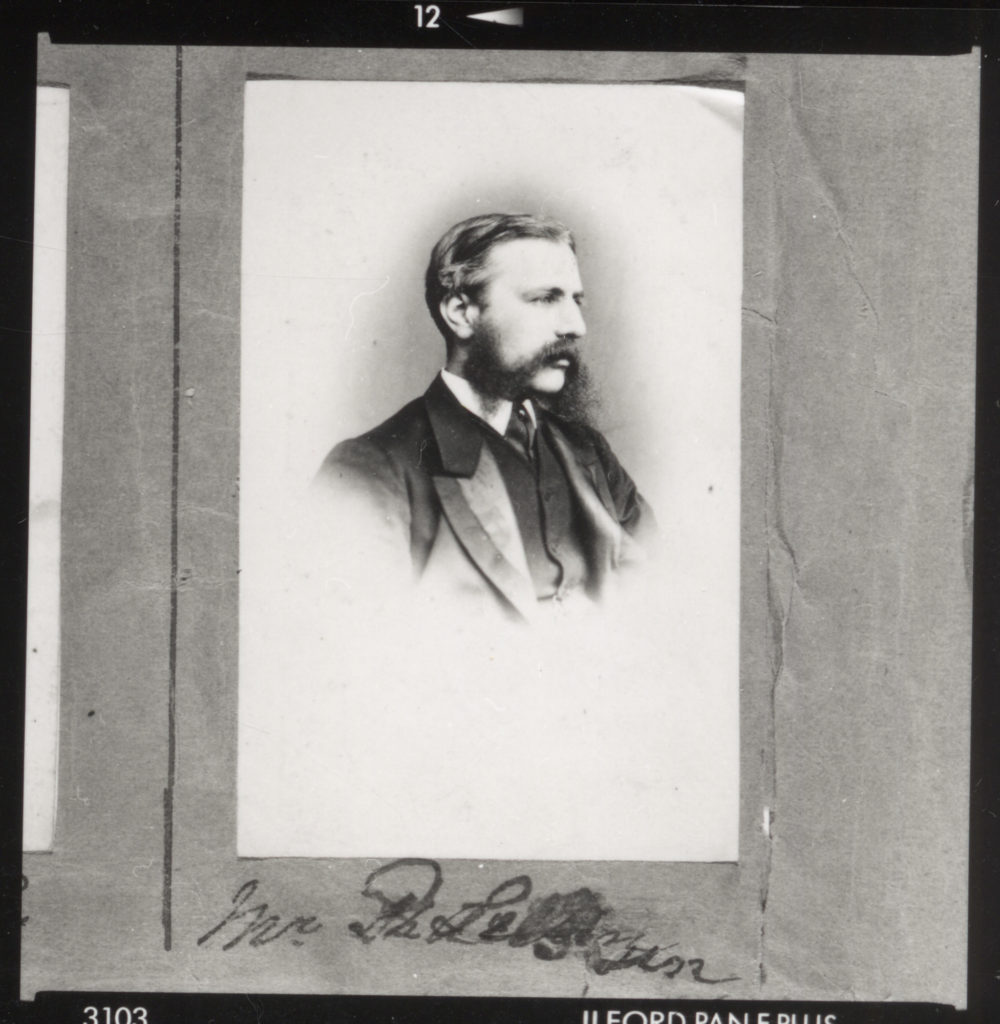
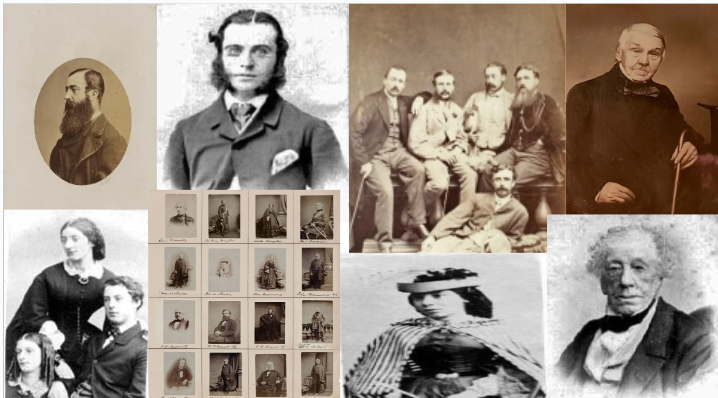
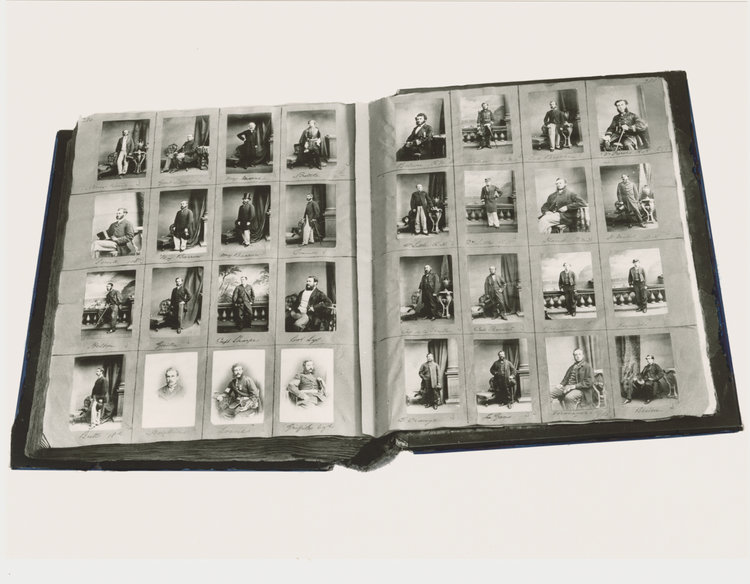
Henry Mullins, a highly prolific photographer, made an indelible mark on the Societe Jersiase Photo-Archive, amassing a collection of over 9,000 portraits of Jersey Island residents. The period in which he operated, from 1852 to 1873, coincided with a population of approximately 55,000. The surviving record of his work, found in his meticulously curated albums, reveals Mullins’ deliberate organization of his subjects according to their social standing, thus imbuing his portraits with a subtly political narrative.
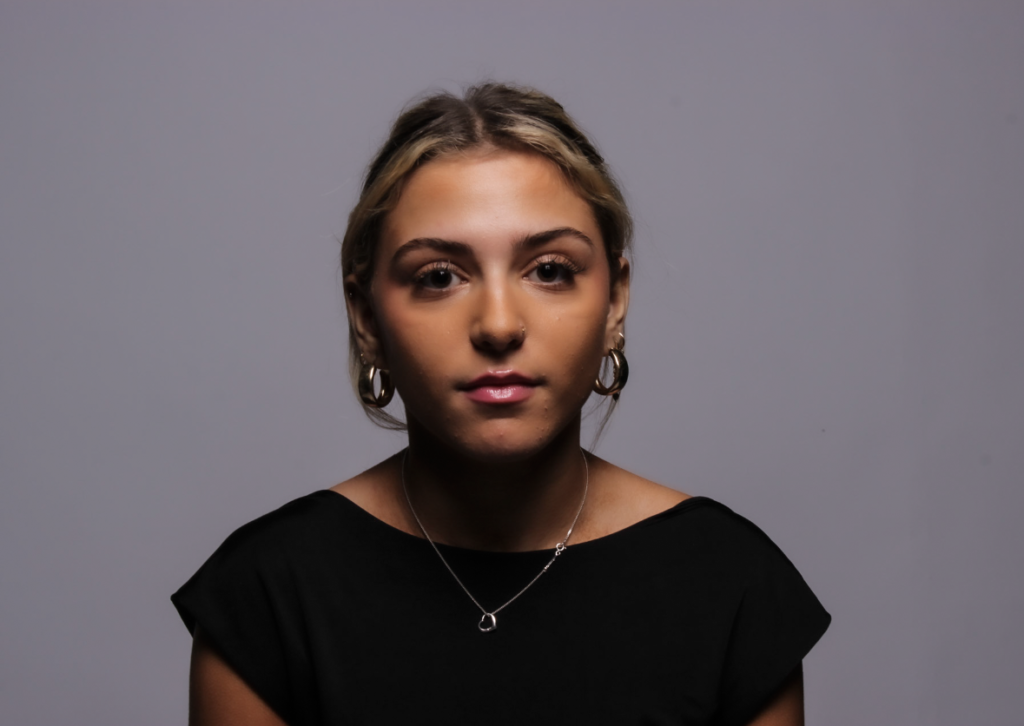
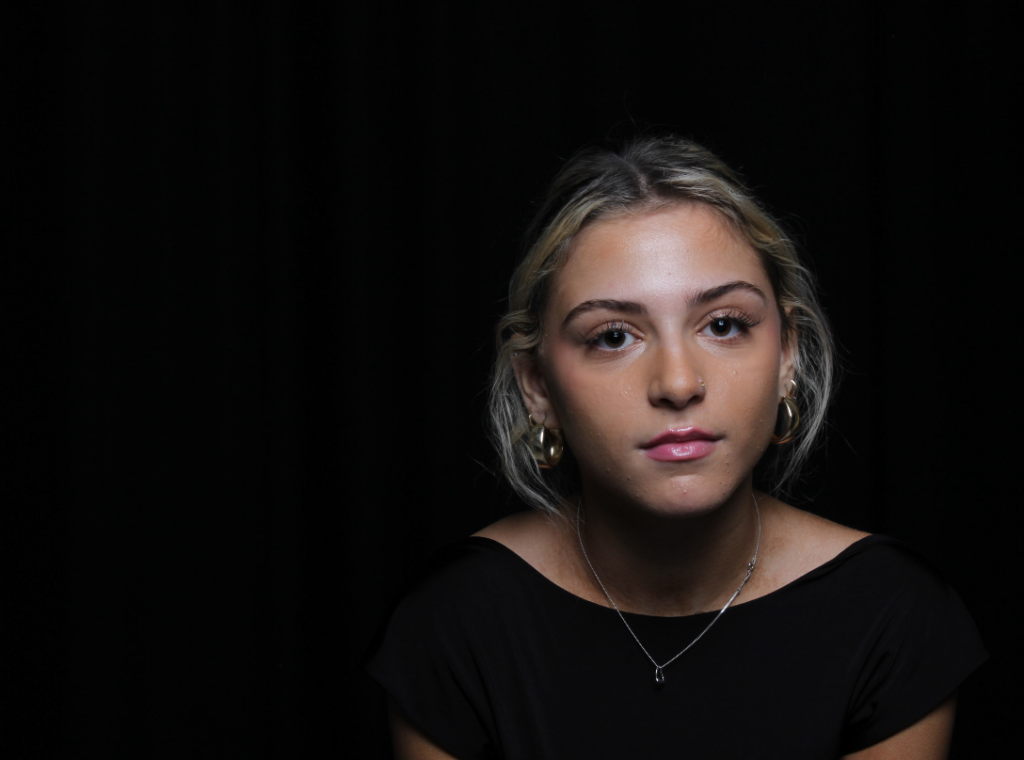
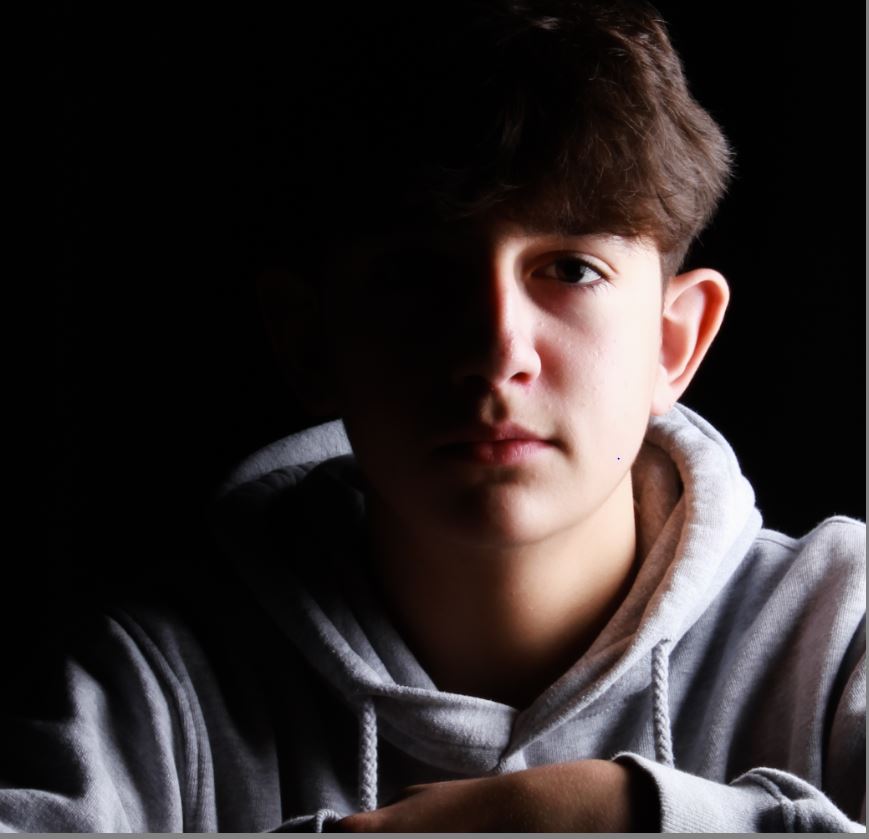
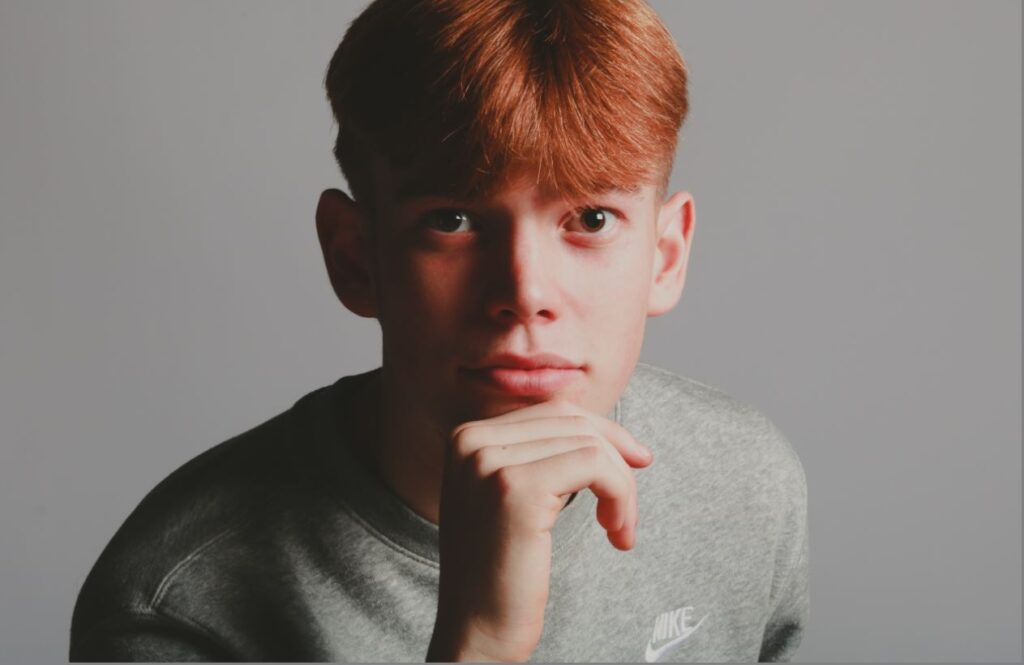
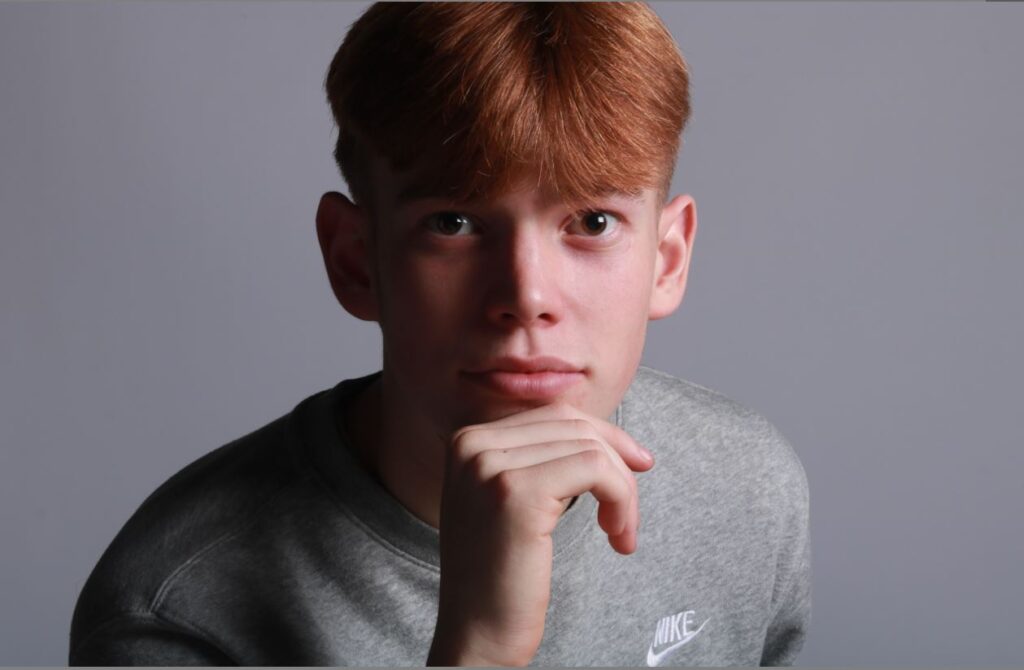
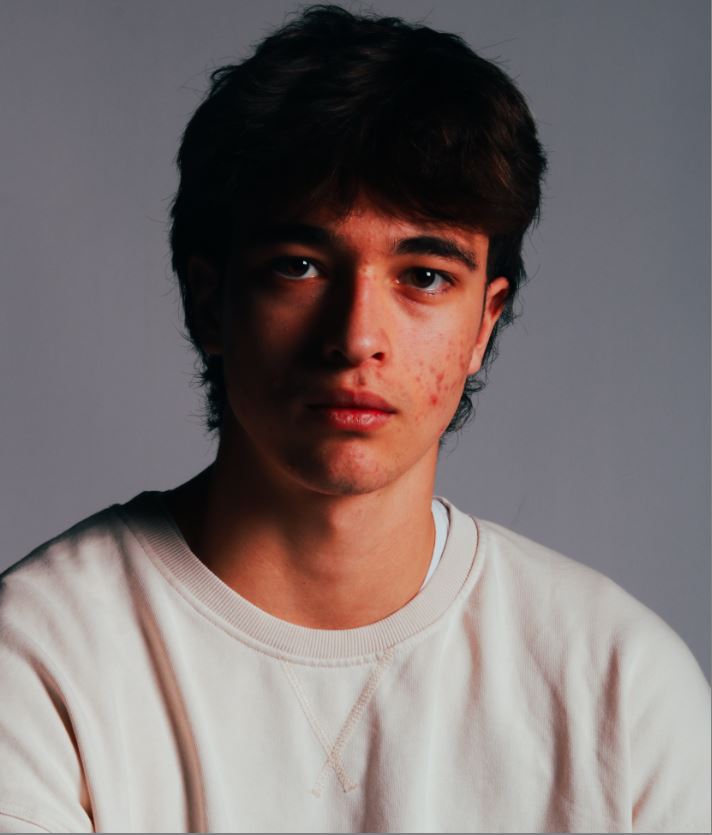
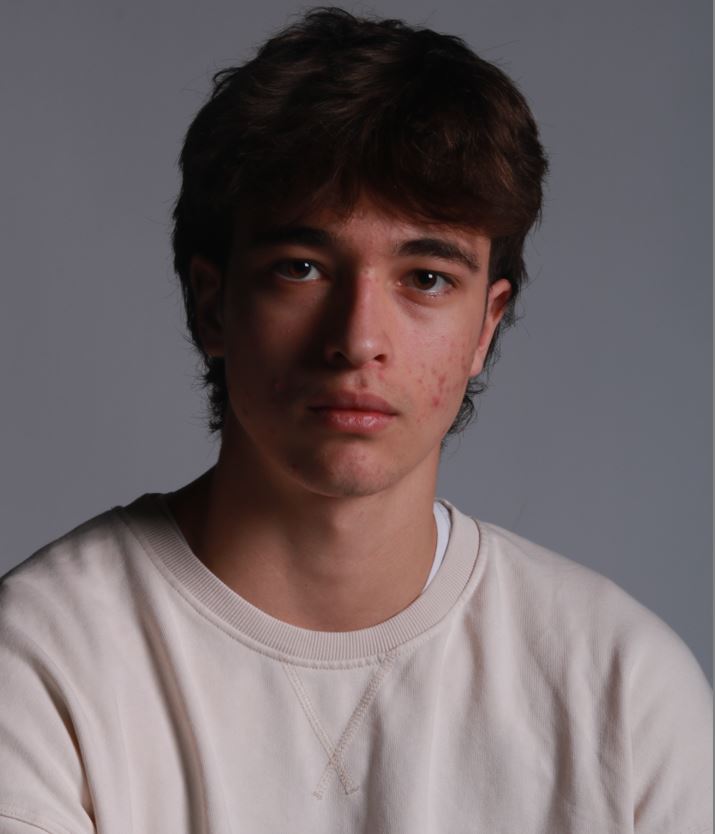
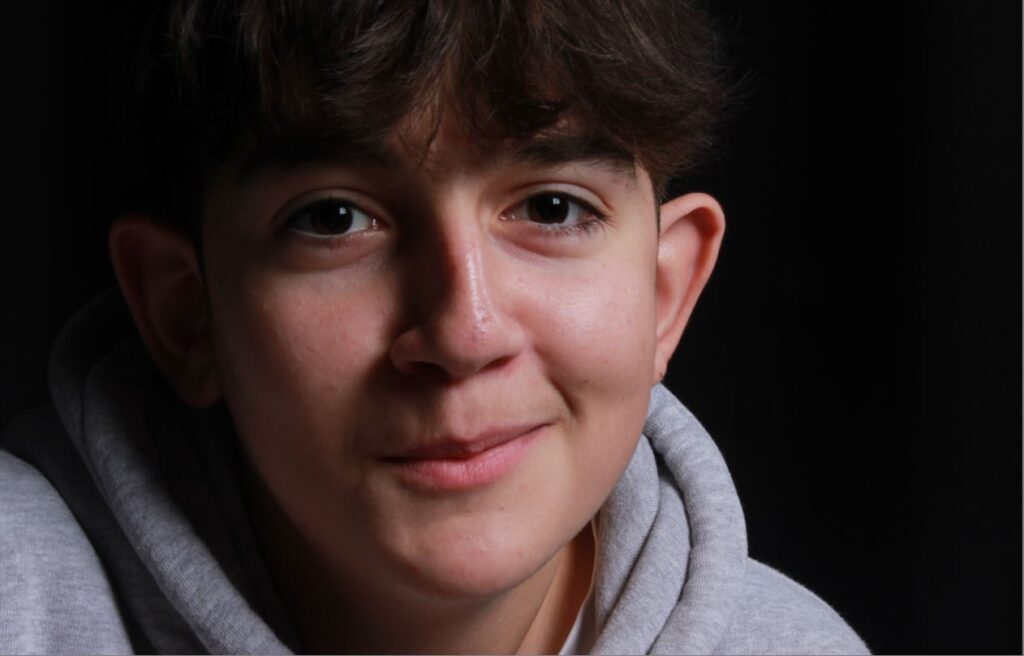
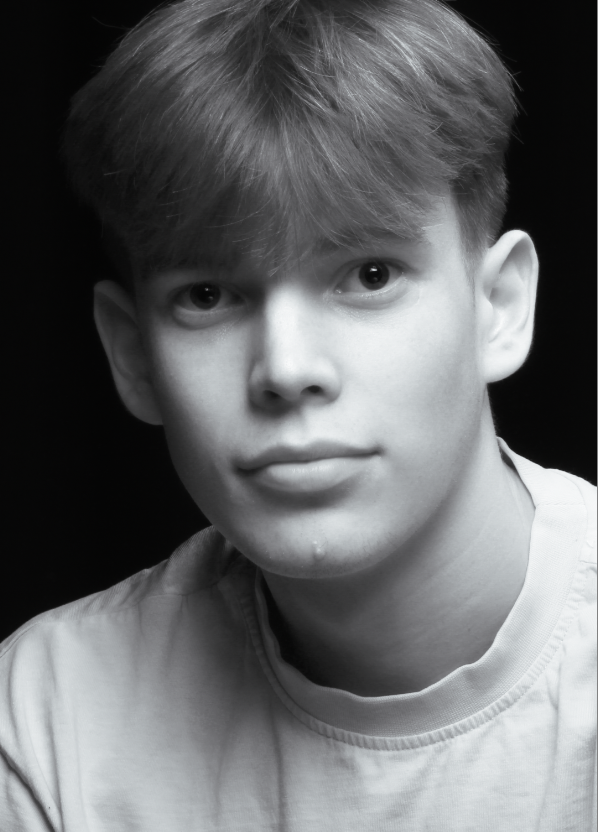
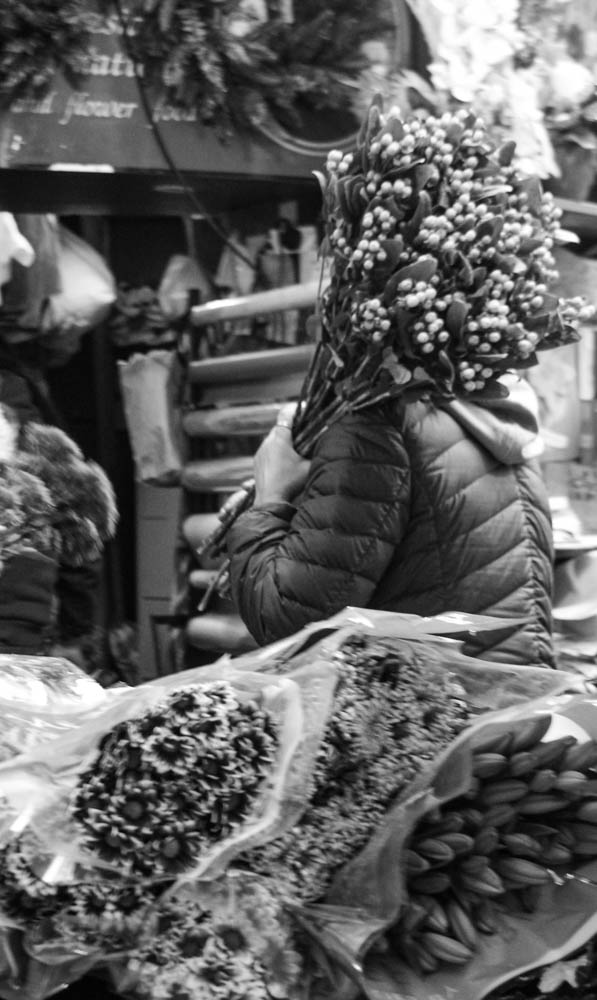
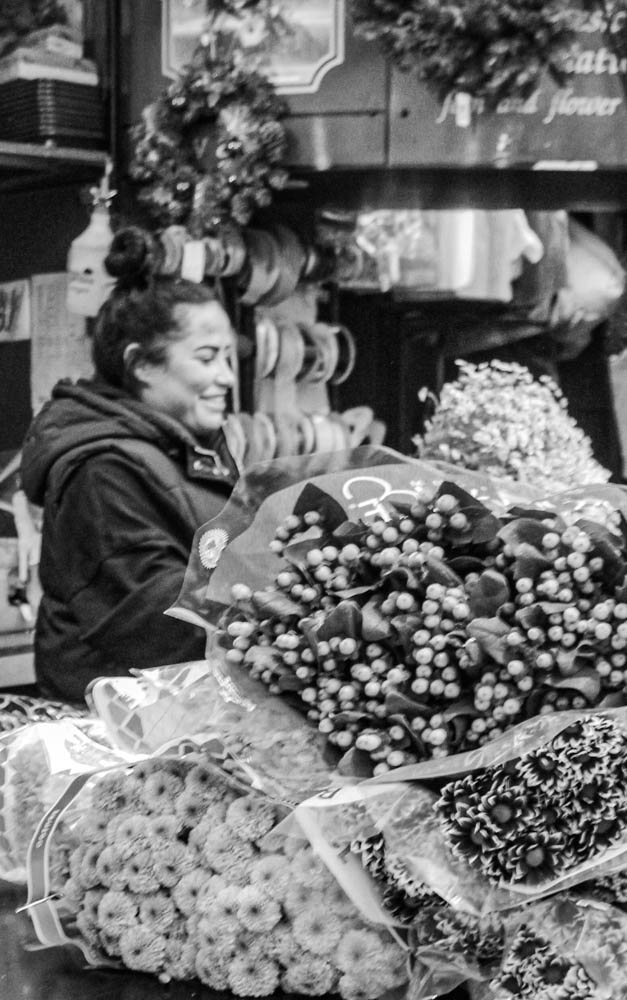
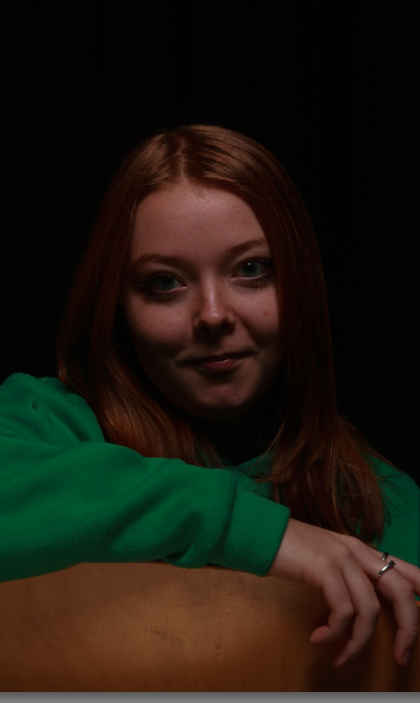
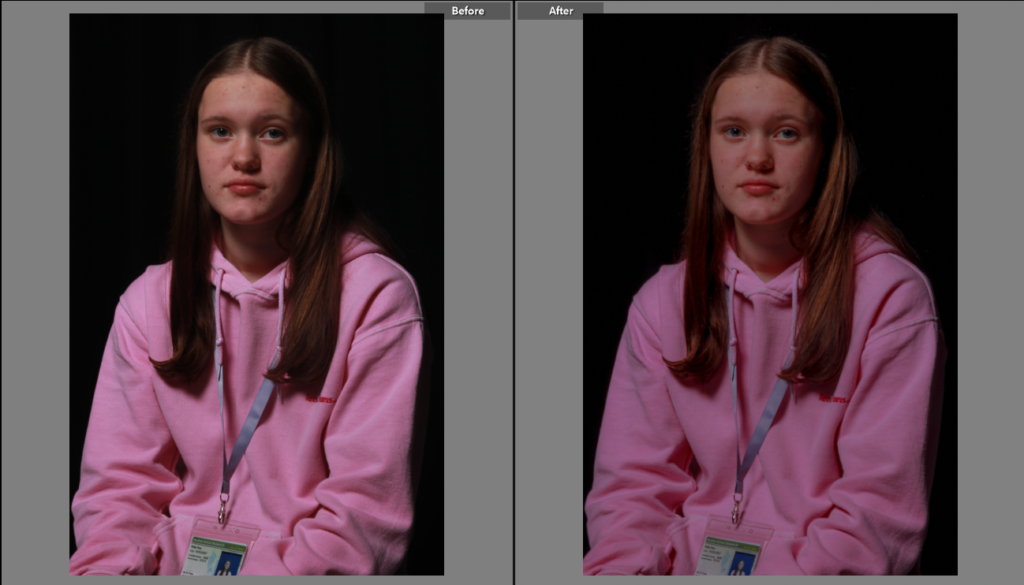
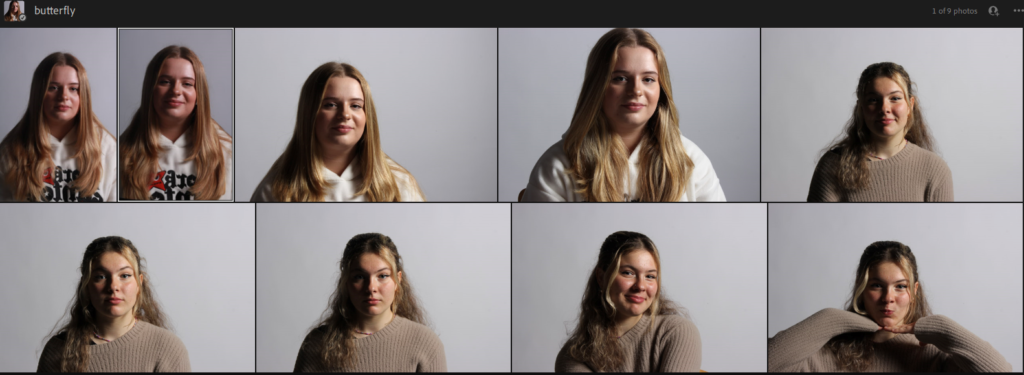
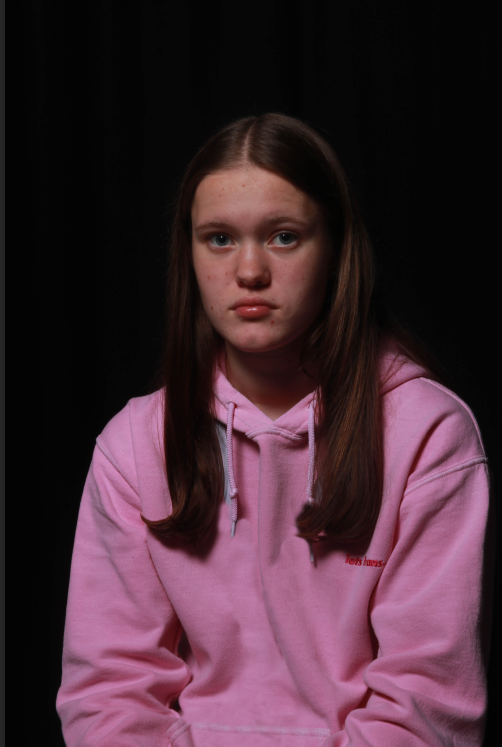
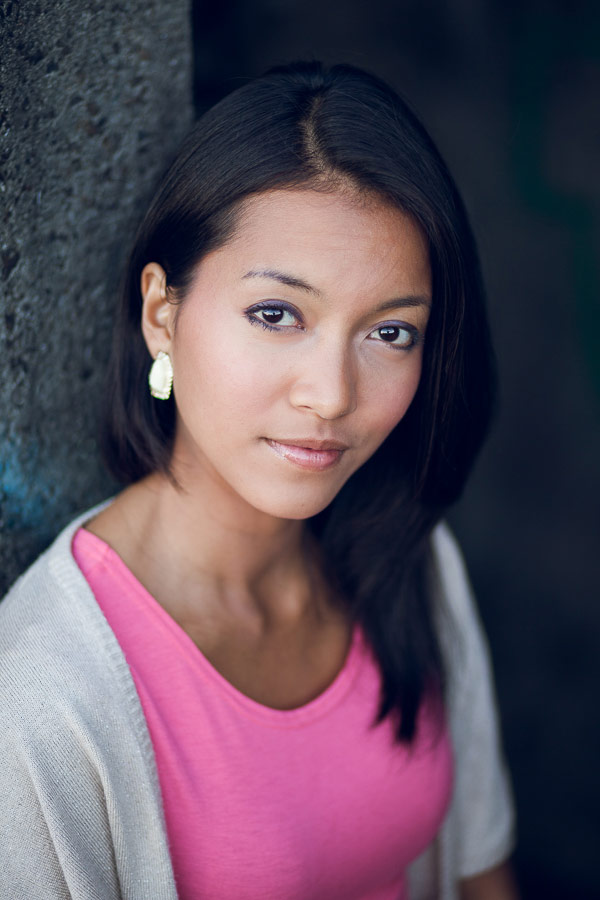
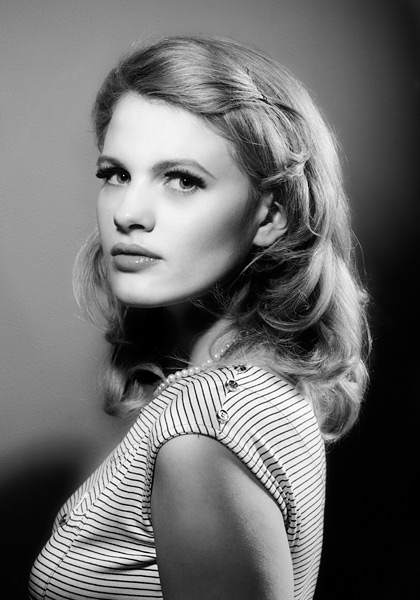
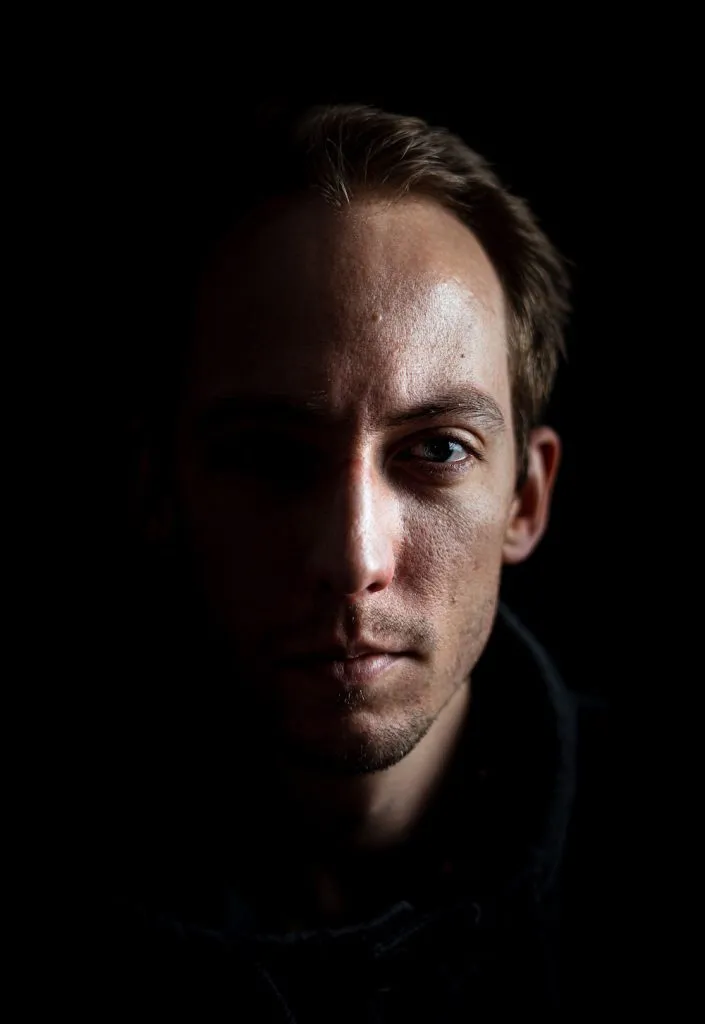
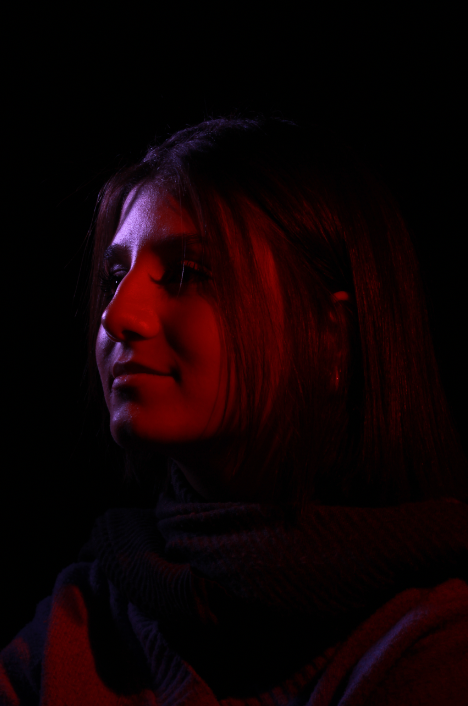
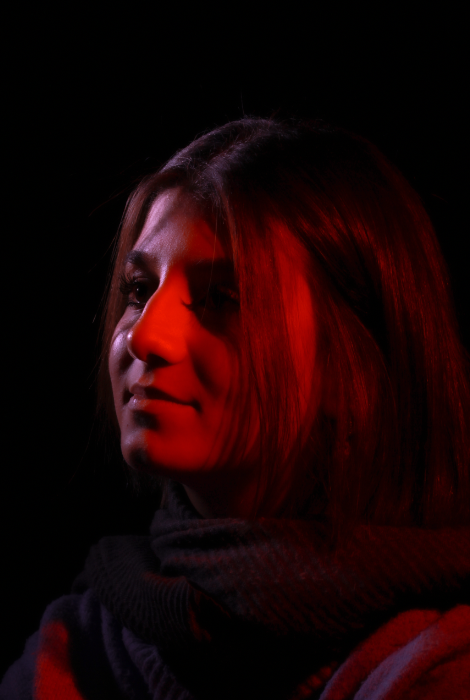
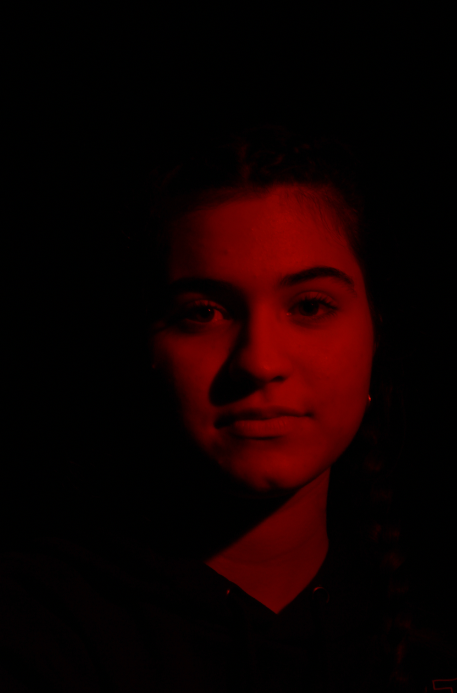
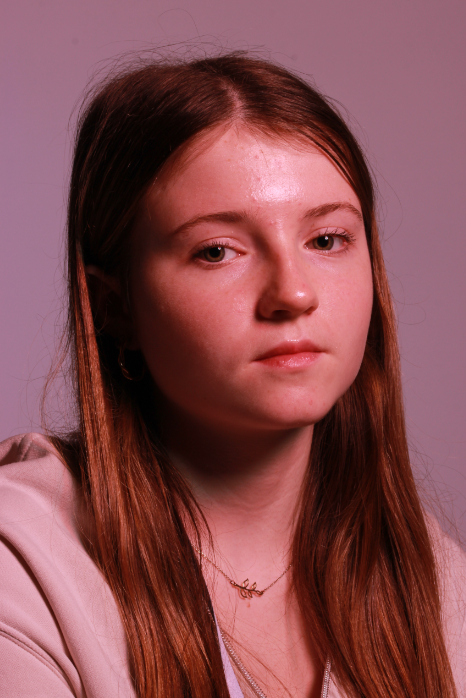
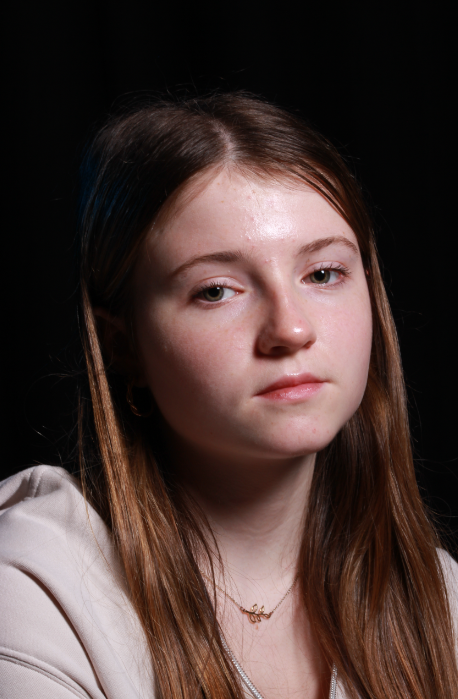
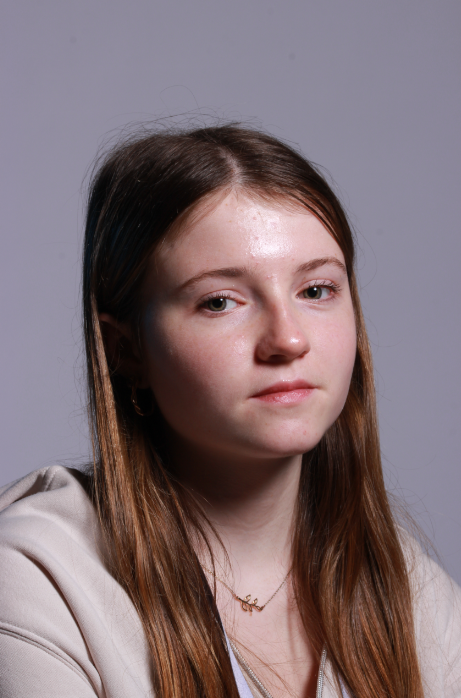
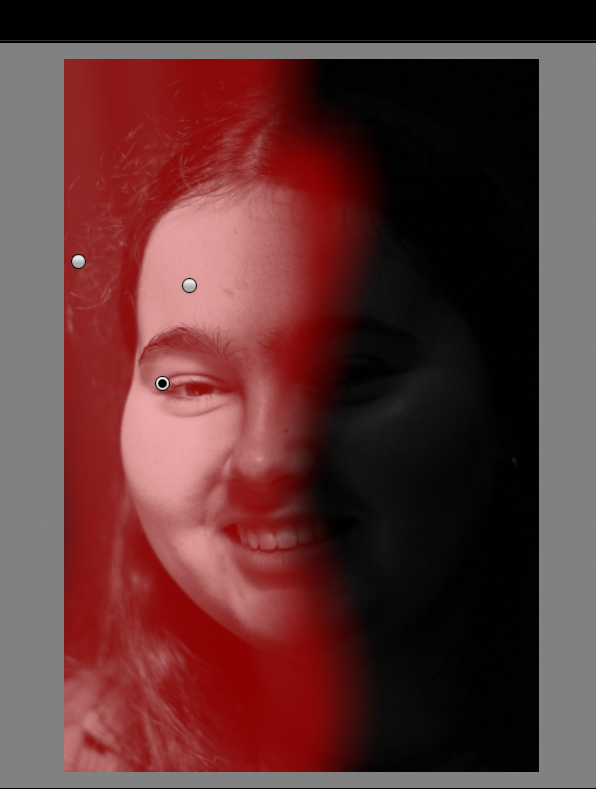
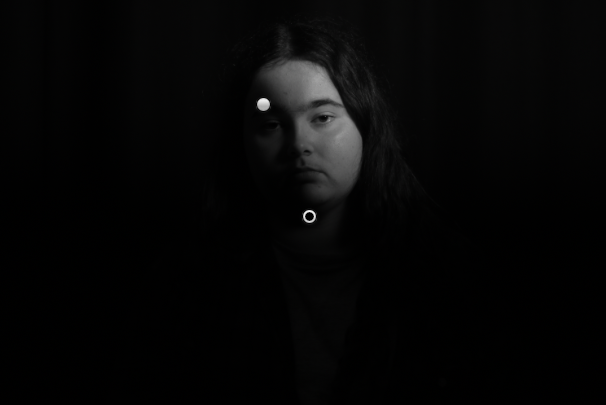
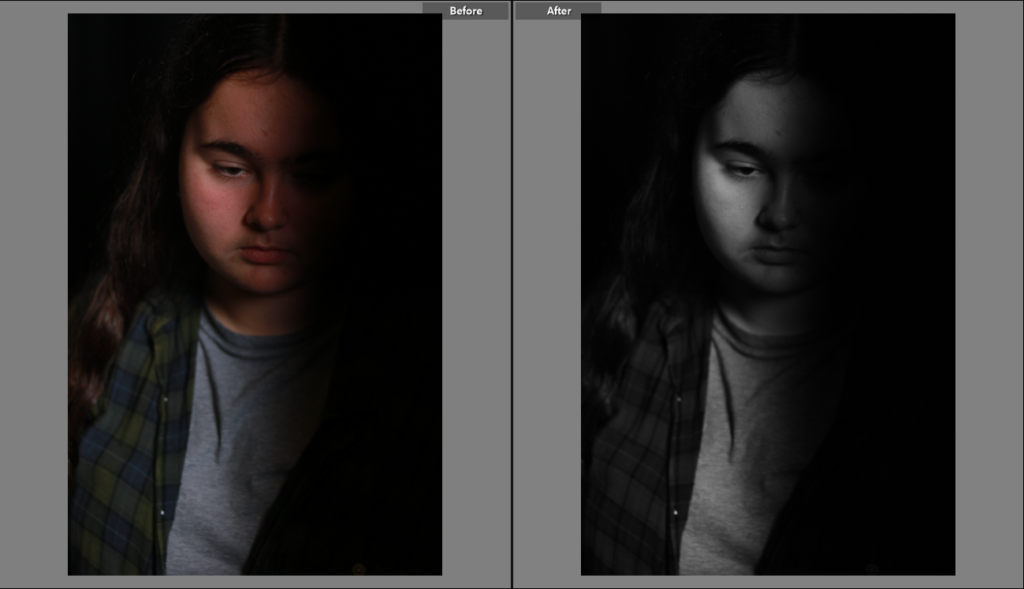
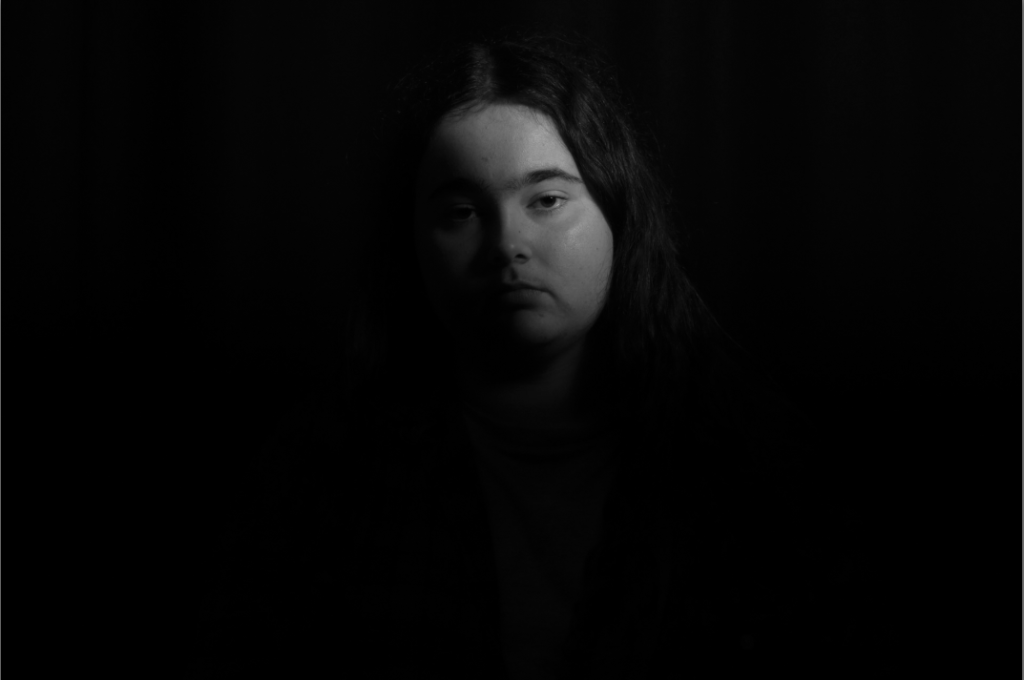
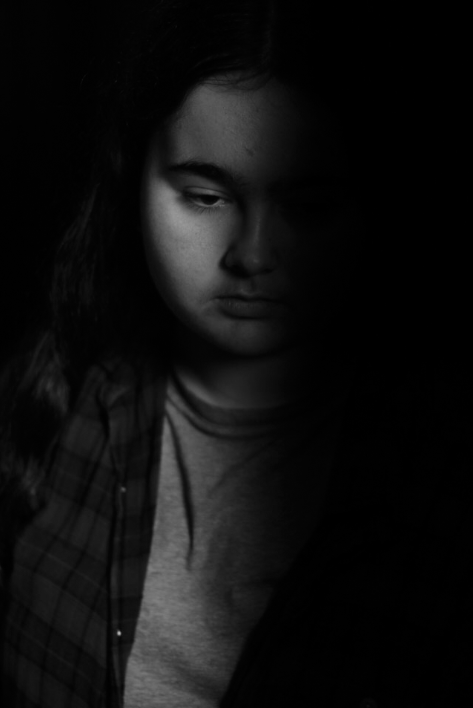
Henry Mullin’s famous Images;