Category Archives: Uncategorised

Filters

Author:
Category:

Studio lighting introduction

There is many different variants of light and how it can be shown, such as

  • intensity of the light
  • direction of the light
  • temperature of the light (and white balance on the camera)
  • making use of “the golden hour”
  • Using reflectors (silver / gold)

As the names imply, hard light is harsh and creates strong shadows, while soft light is more diffused and creates softer shadows. Hard light has more contrast and is usually brighter than soft light, while soft light is usually more even.

There are three types of styles; Rembrandt lightingbutterfly lighting, chiarascuro 

What is Rembrandt lighting style?

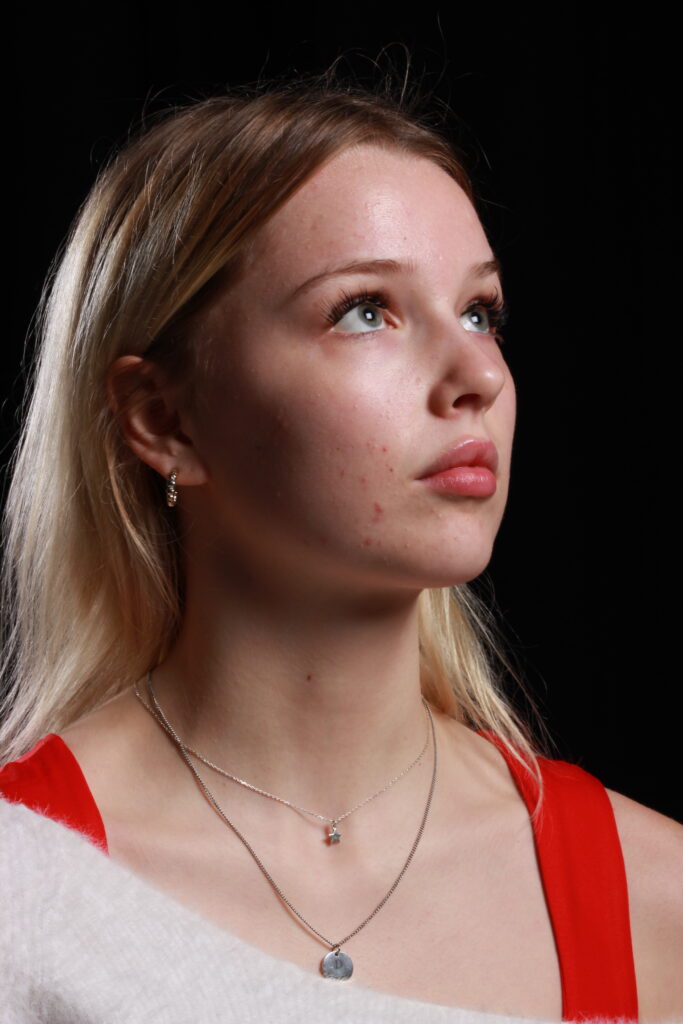
Rembrandt lighting is a technique using one light and one reflector or two separate lights. It’s a popular technique because it creates images that look both dramatic yet natural. It’s characterized by a lit-up triangle underneath the subject’s eye on the less illuminated area of the face

Rembrandt lighting is characterized by an illuminated triangle (also called “Rembrandt patch”) under the eye of the subject on the less illuminated side of the face. 

i.e.

What is the butterfly lighting?

Butterfly lighting is a portrait lighting pattern where the key light is placed above and directly centerd with a subject’s face. This creates a shadow under the nose that resembles a butterfly.

Butterfly lighting is a type of lighting pattern for studio portraiture. It is used for taking flattering, glamorous portrait photos. The lighting is soft on the face. It forms a butterfly-shaped shadow under the subject’s nose, which is the source of the name

Lighting: 

Butterfly lighting requires a key light that can be a flash unit or continuous. If continuos, it can be artificial or natural. In other words, you can use strobes, speedlights, LEDs or even the sun.

A butterfly lighting effect refers to the setup and not to the quality of light – it can be soft or hard light depending on the effect you want.

i.e.

Lastly..

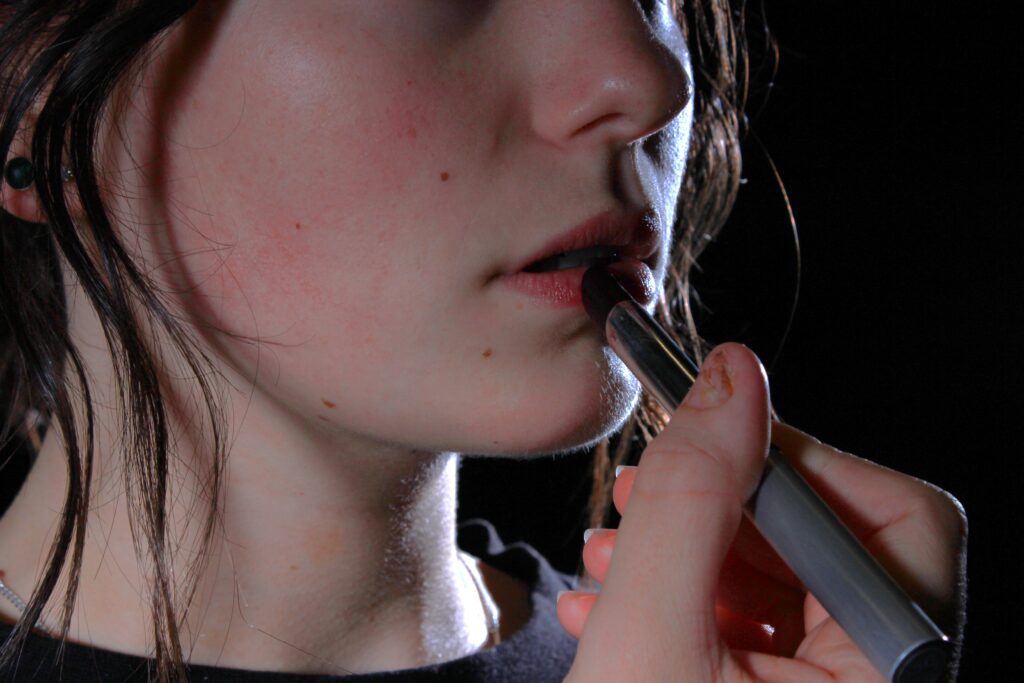
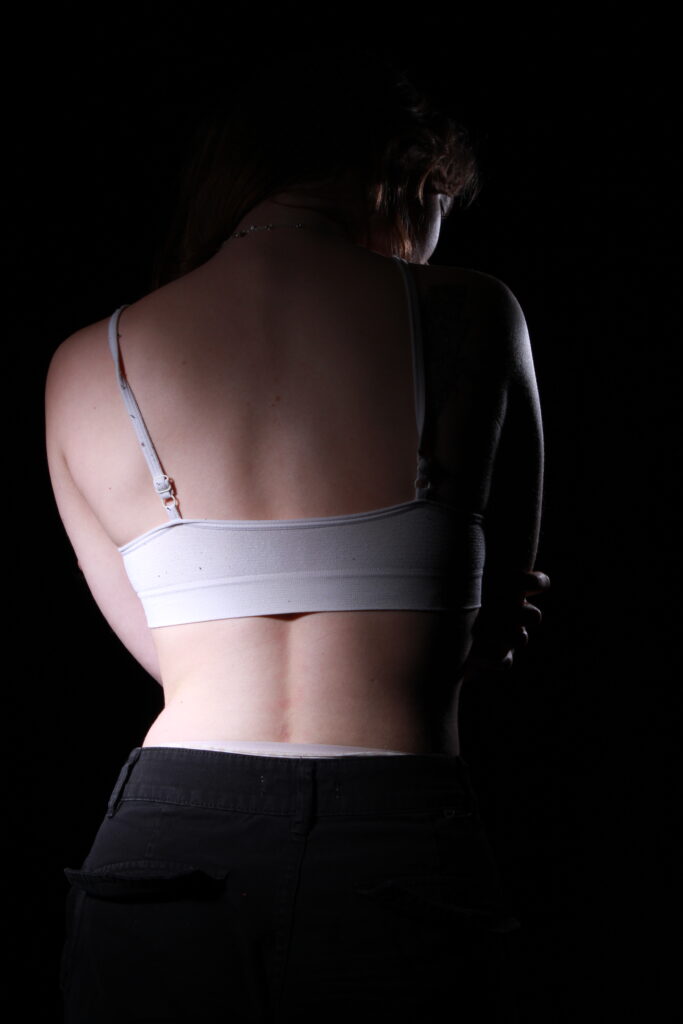
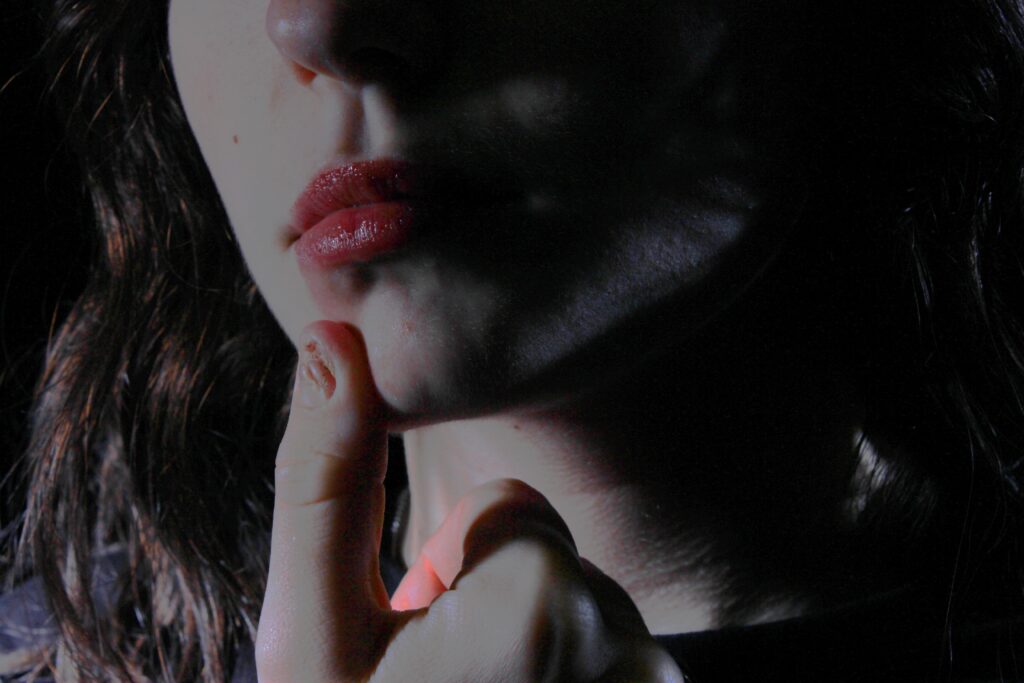
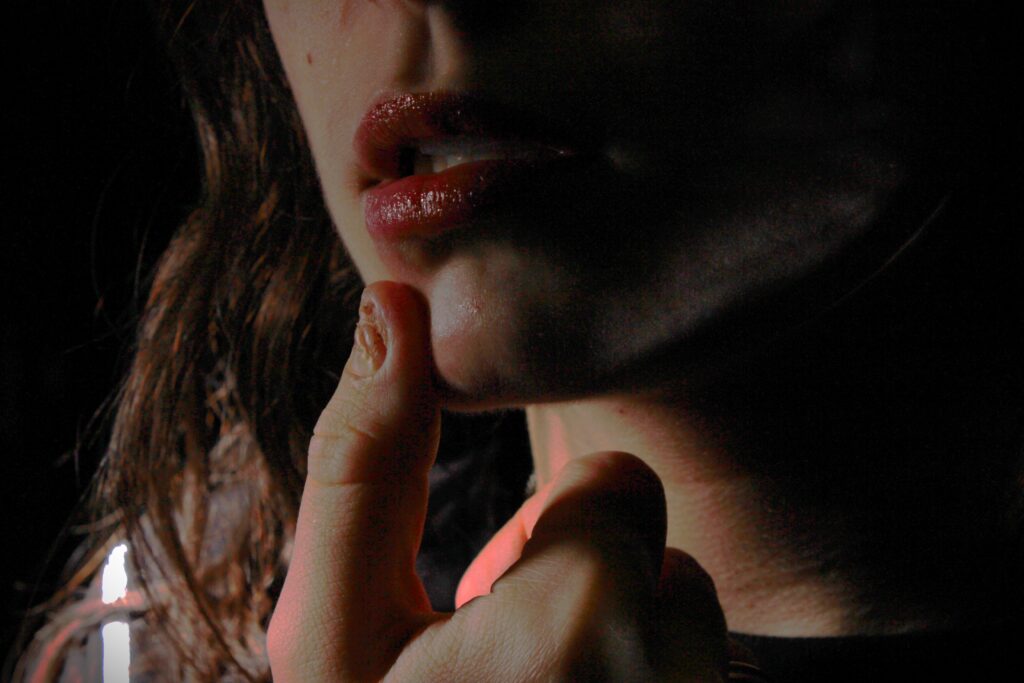
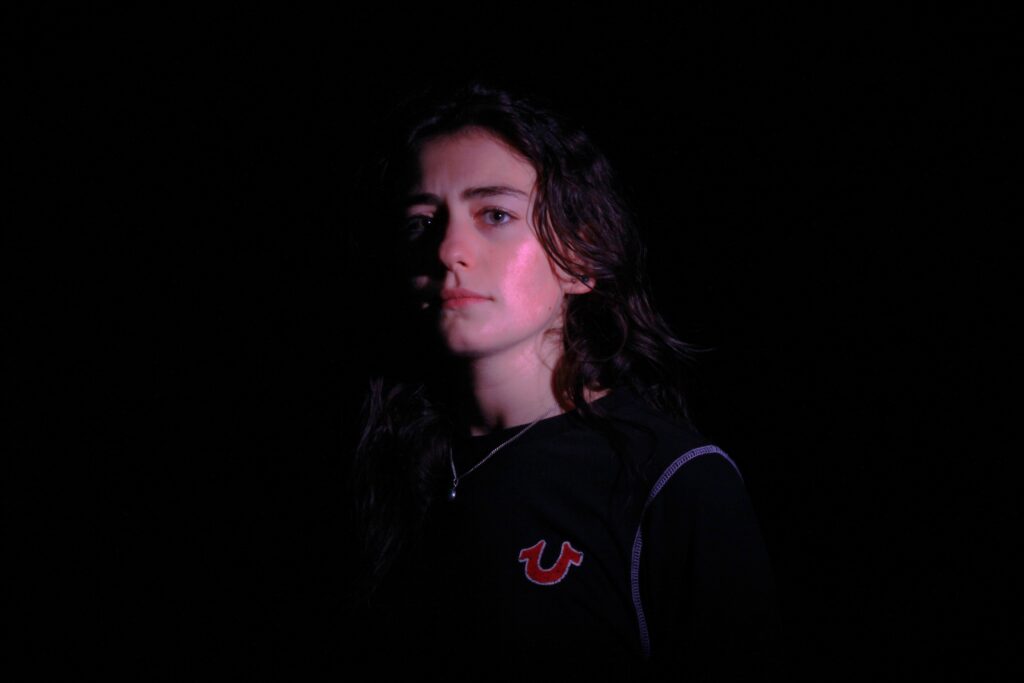
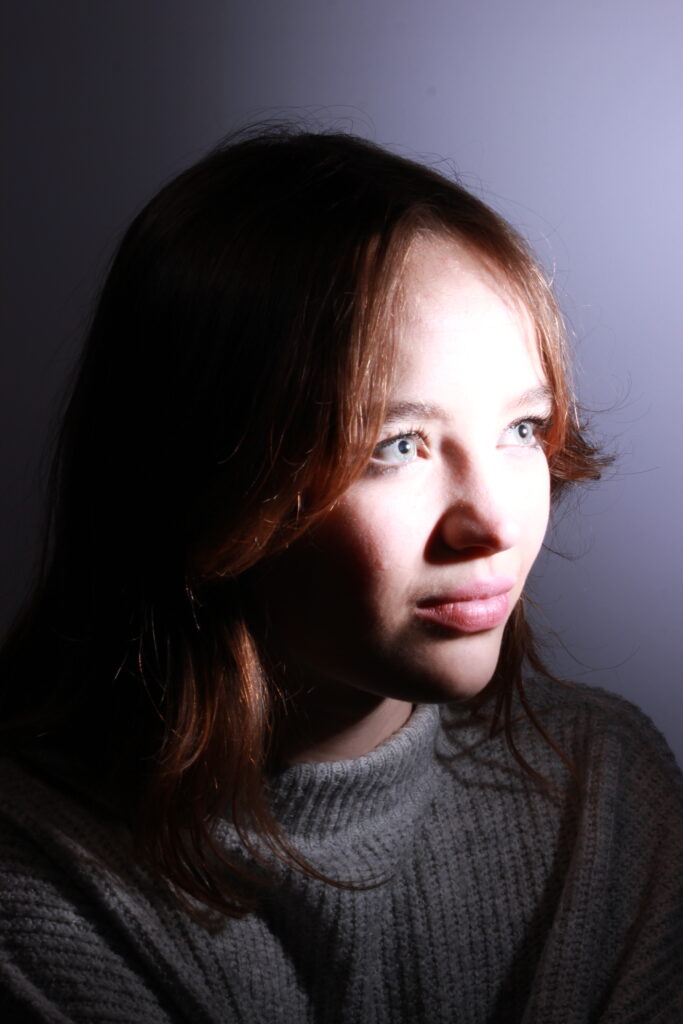
Chiaroscuro, in art, is the use of strong contrasts between light and dark, usually bold contrasts affecting a whole composition. It is also a technical term used by artists and art historians for the use of contrasts of light to achieve a sense of volume in modelling three-dimensional objects and figures.

Chiaroscuro is the treatment of light and shade in drawing and painting- it literally translates to light-dark.

i.e.

That is the set up.

You can use different kinds of lighting with flash..

flash “bouncing”
fill-in flash
TTL / Speedlight flash
remote / infra-red flash (studio lighting)
fast + slow synch flash
light painting c/w slow shutter speeds

Studio Lighting introduction-

There are three main types of studio lighting that is commonly used, Rembrandt lighting, Butterfly lighting and Chiaroscuro lighting.

Rembrandt lighting –

Rembrandt lighting is a technique that was taken from a famous painter from the 1600s Rembrandt Harmenszoon van Rijn. The technique is a way of lighting the face so that a small upside-down triangle of light appears on the cheek, just under the eye of the model in the photo.

This technique is most commonly known for the impact it had on Hollywood photos throughout the years, used in promotional photographs to show them in a dramatic and eye-catching way.

Using Rembrandt lighting you instantly create shadows and contrast in your photos. it also adds an element of drama and psychological depth to the model in the photo. It draws the viewers attention to the eye of the person in the photo since it acts like a photographic device. This is helpful because in portraiture the eyes are usually the main focal point and subject of the photo.

Lighting setup :

Light: Lighting styles are determined by the positioning of your light source.  Rembrandt lighting is created by the single light source being at a 40 to 45-degree angle and higher than the subject. Use cans use both flashlights and continuous lights.

Lens: Use a 35mm or 50mm if space is at a premium – or if you’re looking at including more of the subject than just the head and shoulders. A 50mm works really nicely for portraits and will give a nice depth of field if you’re shooting at a shallow aperture. But a 35mm will give you a wider point of view and is great to fit more of the body in of your subject.

Butterfly Lighting –

Butterfly lighting is a type of lighting technique primarily used in a studio setting. Its named ‘ butterfly ‘ because of the butterfly-shaped shadow that it creates just under the models nose. This happens because the lighting used in the shot, comes from above the face of the model. It can also commonly be called ‘paramount lighting’ or ‘glamour lighting’.

Butterfly lighting is used mostly for portraits, its a pattern that flatters everybody that its used on which makes it one of the most common lighting setups.

Lighting setup :

Lighting: Butterfly lighting requires a key light that can be a flash unit or continuous. If continuous, it can be artificial or natural. In other words, you can use strobes, speed lights, LEDs or even the sun.

A butterfly lighting effect refers to the setup and not to the quality of light – it can be soft or hard light depending on the effect you want.

Chiaroscuro –

Chiaroscuro is Italian for ( light/dark ) which is obvious for the photos it produces. There is a very obvious contrast of lighting in these photos, the shadows are very harsh and dark while the highlights are very bright and illuminating. This shows the bold contrast.

It first appeared in a 15th century painting in Italy and Flanders, but true Chiaroscuro was developed during the 16th century, in Mannerism and in Baroque art – dark subjects were dramatically lighted by a shaft of light from a single constricted and often unseen source. It was a compositional device seen of old ‘masters’ from that time.

Chiaroscuro is also often seen in Hollywood now too, usually in crime or thriller dramas to enhance the theme of unsettlement throughout the film.

Lighting Setup :

Chiaroscuro using one key light and a variation using a reflector that reflects light from the key light back onto the sitter, which gives the illusion of the light and dark contrast.

Introduction to Environmental Portraiture

What is Environmental portraiture?

An environmental portrait is a portrait executed in the subject’s usual environment, such as in their home or workplace, and typically illuminates the subject’s life and surroundings. The most common purpose of environmental photography is to inform and educate people about how their actions affect the environment.

Mood Board:

About Environmental Portraits:

A good environmental portrait is a photograph of a person that connects them with their natural surroundings. The photo will provide more of a story about the person than a formal portrait would. A portrait of a person in their natural environment adds depth to both them and the location.

Typology in photography:

A photographic typology is a single photograph or more commonly a body of photographic work, that shares a high level of consistency. This consistency is usually found within the subjects, environment, photographic process, and presentation or direction of the subject.

Environmental Portraits – Action Plan

Who am I taking photographs of?

I have decided that I will capture most of my photos of teachers around the school. This is because they each have a strong profession, and have specific duties to carry out in their job, making my photos look professional.

Where am I taking the photographs?

I am going around the school, to different classrooms and environments. I will capture different environments such as the canteen, classrooms and offices.

What am I taking photographs of?

For my photoshoot, I am going to make the main focus of my images the subject in each photo. I will ensure that the viewer’s eye will focus on the subject, and then move throughout the background. In order to do this, I will need to make the subject engage with the camera so the effect of telling a story is made.

Why am I taking these photographs?

I am carrying out this photoshoot in the school because it has perfect environments that tell stories about the subjects and their professions. In each photo or environment, the viewer gets to see what the subject’s job is really like, and how passionate they are towards it. By doing this, it also allows the viewer to feel closer to the subject.

Studio Lighting: Basics – George Blake

When using lighting you must think of the following when creating a desired outcome:

  • Intensity of the light
  • Direction of the light
  • Temperature of the Light (Warm or cold + white balance)
  • use of ” the golden hour”
  • Using reflectors (silver/gold)

Light can differentiate in many ways depending on how it is used for example…

And

White balance (WB) and colour temperature

Butterfly lighting

Butterfly lighting is a type of portrait lighting technique used primarily in a studio setting. Its name comes from the butterfly-shaped shadow that forms under the nose because the light comes from above the camera. You may also hear it called ‘paramount lighting’ or ‘glamour lighting’.

What is the butterfly lighting?

Description: Butterfly lighting is a portrait lighting pattern where the key light is placed above and directly centered with a subject’s face. This creates a shadow under the nose that resembles a butterfly. It’s also known as ‘Paramount lighting,’ named for classic Hollywood glamour photography.

What is the difference between paramount lighting and butterfly lighting?

Paramount lighting is when the light is placed directly in front of the subject at a slightly downward angle, creating a shadow directly beneath the subject’s nose. When the light is high enough, at times this will be called ‘butterfly lighting’ because the shadow under the nose may resemble the wings of a butterfly.

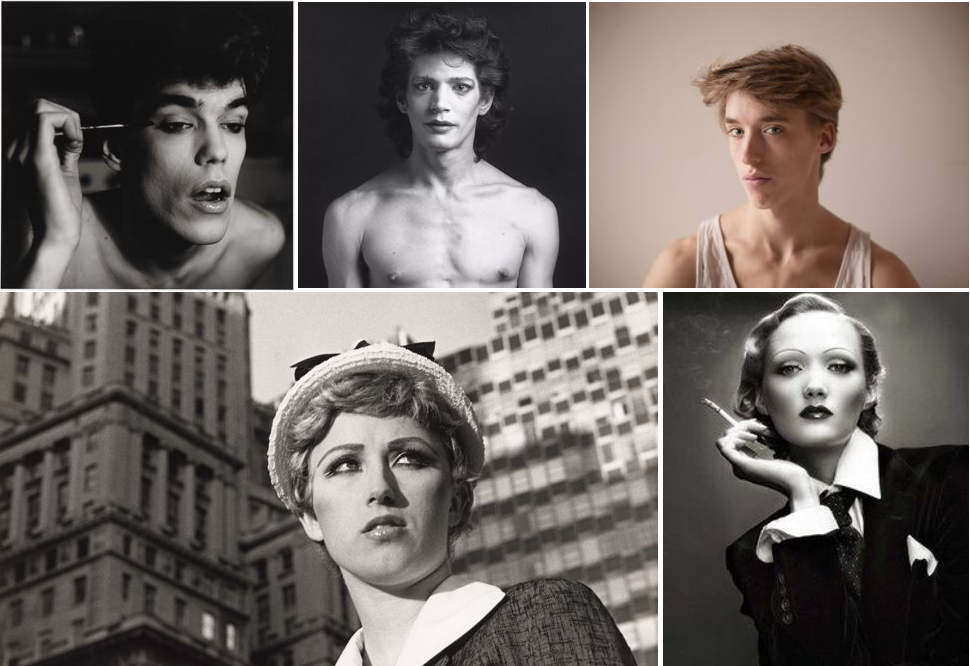
Butterfly lighting dates back to some of the earliest glamour shots. Specifically, Marlene Dietrich, a German silent film actress, who became a Hollywood star in the 1930s, was presented on film in a way that gave this look its name.Marie Magdalene “Marlene” Dietrich was a German and American actress and singer whose career spanned from the 1910s to the 1980s.

What camera is best for butterfly photography?

However, most photographers prefer a DSLR or mirrorless camera/lens combination. I have had good results with my older Canon 7D Mark II but I prefer my current Canon R5 mirrorless camera. This allows focus peaking in manual focus mode, which helps by highlighting the sharply focused edges in a conspicuous colour.

What is the best setting for butterfly photography?

To capture sharp images of fluttering or darting butterflies, a shutter speed of 1/400 and more is advisable. Beginners should better start shooting in S mode or shutter priority mode of the camera. After gathering some experience, they can shift to manual mode.

Why do photographers use butterfly lighting?

Butterfly light creates shadows under the cheeks and chin but adds lots of light to the other part of the face. This can help minimize a double chin and fills in shadows in wrinkles. It’s an easy way to give an older subject a brighter, more youthful appearance.

Marlene Dietrich

(1901-1992)

One of the most popular film and music stars of the 1930s and 1940s, Marlene Dietrich was known for her fashionable style and diverse portrayals of women. She was a firm advocate for the American war effort, contributing much of her time, energy and musical talents to aid the troops. The Actress and singer Marlene Dietrich was one of the most prominent political refugees of her generation, speaking out against Hitler and singing for the US troops in World War II. Actress and singer Marlene Dietrich was a living legend, famous for performances in movies such as “Blue Angel” and “Touch of Evil”.

Jimmy Nelson Artist Analysis

Jimmy Nelson is an environmental photographer who has travelled the world photographing a variety of different personalities, from places such as Afghanistan, El Salvador and Nigeria.

Photo- Jimmy Nelson- Kazakh - Mongolia

This is a photo taken by Jimmy Nelson in Mongolia, displaying the Kazakh people and the beautiful environment that they inhabit.

The photo is taken at about sunset, and Jimmy Nelson has positioned himself facing away from the sun, which creates a shaded effect on the vast mountains in the background of the shot. He has also used a wide aperture to capture the mountains. The photo looks like it was originally under exposed, meaning the shutter speed was too fast, but this could have been done on purpose so that, when editing the photo, Jimmy Nelson could turn the exposure up. The ISO could also have been in a higher range as well to compensate for the low lighting level.

This photo also has a distinct grey colour scheme, which gives the photo both a light and a dark tone, as the foreground is more dark and the background is more light. In the foreground, there is a rocky surface below the horse, which adds to the texture of the photo, and gives context as to how difficult the terrain is to traverse. The two men behind the main man who is the focus point of the shot, give the photo a nice pattern too. Generally, the composition of the shot is very well done.

In the photo, you can see there are three men on horses, each with a bird resting on their arms. These men are Kazakhs, living in the mountains in Mongolia, a place infamous for how difficult it is to traverse. Even in this photo you can see how rough and mountainous the landscape is. Clearly, these men have travelled far up to the top of the mountain that they stand on, which gives the photo power and mystery, it is almost like a demonstration of strength. Although, this is what day to day life is like for these men, and this photo is a very good example of environmental portraiture because it is a demonstration of how different their lives are to ours.

The work that Jimmy Nelson has created would have been a very difficult task. He would’ve had to hike up the mountain with the group of men who most likely don’t speak the same language as him. It is incredulous that Jimmy Nelson had willingly put himself through such an arduous trek just to capture the day to day life of the Kazakhs. It also might have been that this photo was not an idea, but more of a photo that is in the moment, a photo that was not planned but taken on the spot as Jimmy Nelson saw it.

This is a photo of a Maasai warrior in Tanzania, a country in the south east of Africa.

Once again, Jimmy Nelson is facing away from the sun and towards the shadows of the hills, except this time it is to capture the vast emptiness of the landscape behind the warrior. It is not clear what time of day this photo was taken, presumably around sunset. The image looks a little bit under exposed, which again could have been done so that Jimmy Nelson could manipulate the photo in photoshop. Also, Jimmy Nelson uses a wide aperture so that the baron landscape behind the man could be captured. The shutter speed would have been fast so that he could capture the warrior while he is walking, which could have been why the image looks slightly underexposed. The ISO on this photo would have been regular because the frame isn’t that dark and is quite bright in colour. The photo is both warm and cold, the warmth comes from the yellow colours coming from the clouds or the desert, but the coldness comes from the dullness and lack of vibrance in the shot.

The texture of the shot is mostly sandy and rocky, which is another representation of the difficulty of traversing these landscapes that Jimmy Nelson captures. The photo is very 3 dimensional as the wide depth of field displayed the vastness of the desert in the background and how far is goes. There is a very clear line between the sky and the land, which also demonstrates how far the land goes as well.

The photo was taken in 2010, although it is generally a timeless photo as tribes like the Maasai have been around for thousands of years and continue the same traditions as they did all those years ago. Even the weapons, such as the spear that the warrior wields, and the shield as well, most likely have been around for centuries. The man is wearing very traditional Maasai clothes and are very unusual and unlike the clothes generally worn in western culture. He is also wearing what appears to be a lions mane around his head, which is a very powerful statement and could be a sign of strength among the Maasai people.

Once again, this most likely was an in the moment shot, which is emphasised by the warriors lack of gaze at the camera and that he is in motion as the photo is being taken. This perfectly encapsulates the essence of environmental photography, to portray a persons life in one shot, and having the warrior unaware of the shot gives the photo a natural feel.

Overall, Jimmy Nelson is an incredible environmental photographer who goes through thick and thin to capture the beauty of the different cultures he finds himself in and the vast landscapes that they inhabit.

Photo-shoot action plan

Where am I taking photographs?

For my environmental portraits, I decided to photograph;

  • in a field
  • in my kitchen
  • in my brothers room
  • in my friends room
  • in my nans garage
  • in my nans living room
  • in my nans kitchen

Who I am photographing

I decided to take photos of;

  • my friend, I decided to take photos of her in her room as that’s where she spends most of her time.
  • my mum, i took pictures of her in my nans kitchen making tea as that’s normal for her.
  • my brother, I took pictures of him playing his play station as that’s all he does, and took pictures of him making food as hes old enough to look after himself.
  • my nan, I took pictures of her reading as its what she loves to do most.
  • Oil distributer, i took pictures of him as he came to fix my nans oil.

When am I conducting the shoot.

I carried out this shoot over October half term around jersey. This was best as I had lots of free time.

How are you going to produce your photos

  • A camera
  • Different lighting
  • Different camera settings
  • Props in the photos

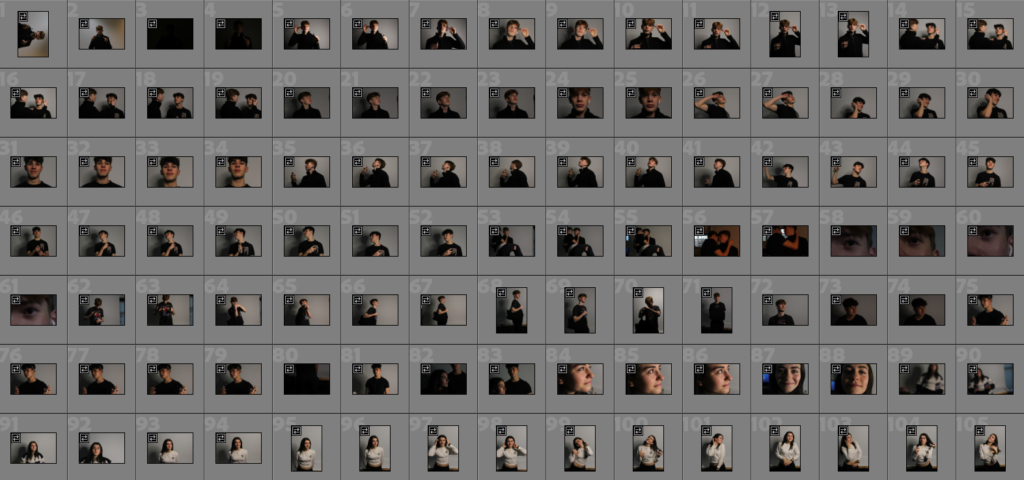
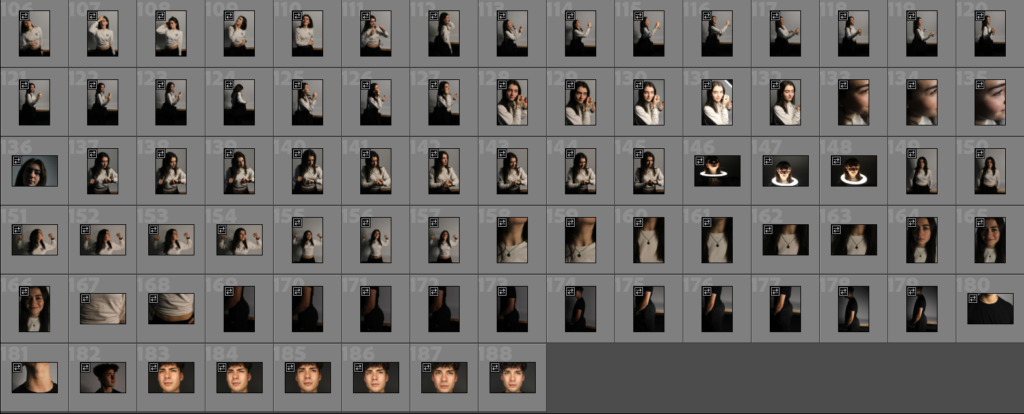
Contact sheets of all my photos