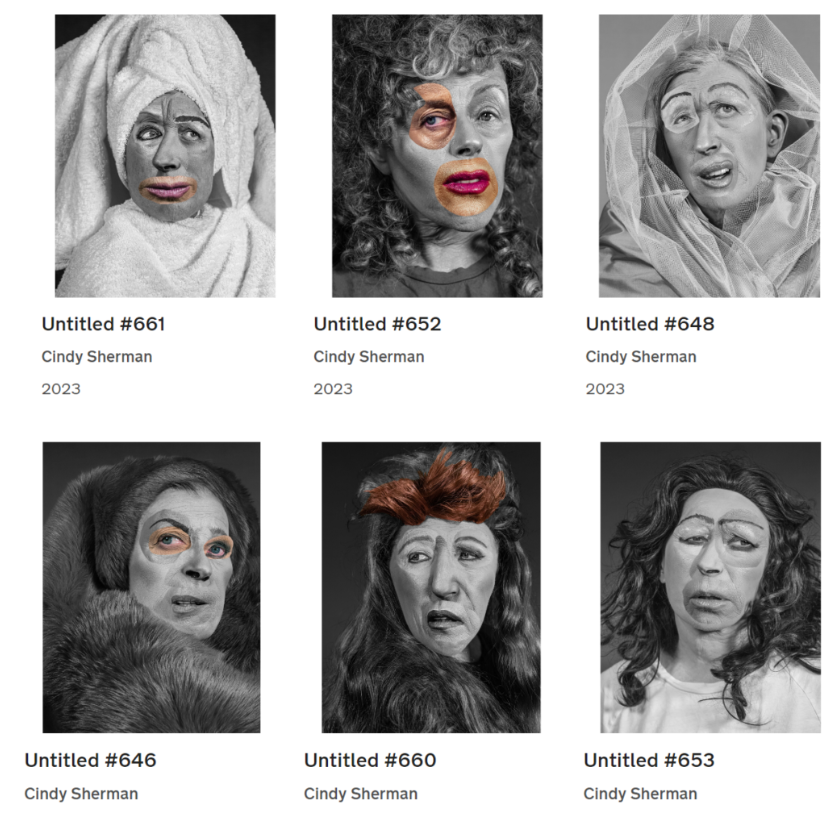
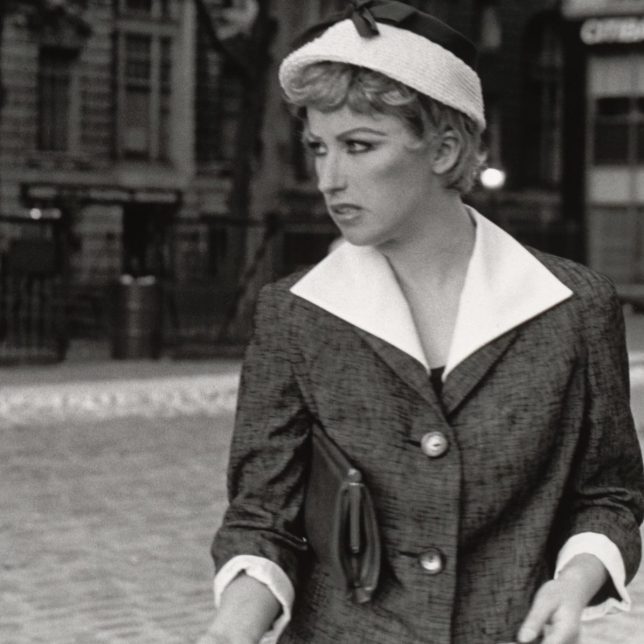
Cynthia Morris Sherman (better known as Cindy Sherman) is an American artist born on January 19th 1954, whose work consists primarily of photographic self-portraits, depicting herself in many different contexts and as various imagined characters. For 40 years, Sherman has probed the construction of identity, playing with the visual and cultural aspects of art, celebrity, gender and photography. She is among the most significant artists of the Pictures Generation. Sherman has continued to transform herself, displaying the diversity of human types and stereotypes in her images. She often works in series, improvising on themes such as centrefolds (1981) and society portraits (2008). Her history portraits (1981), portray her use of theatrical effects to embody different roles and her lack of attempt to disguise her efforts: often her wigs are slipping off, her prosthetics are peeling away, and her makeup is poorly blended. She highlights the artificiality of these fabrications, a metaphor for the artificiality of all identity construction.
For four decades, Cindy Sherman has probed the construction of identity, playing with the visual and cultural codes of art, celebrity, gender, and photography. Sherman was always interested in experimenting with different identities. As she has explained, “I wish I could treat every day as Halloween, and get dressed up and go out into the world as some eccentric character.” Sherman has continued to transform herself, displaying the diversity of human types and stereotypes in her images.
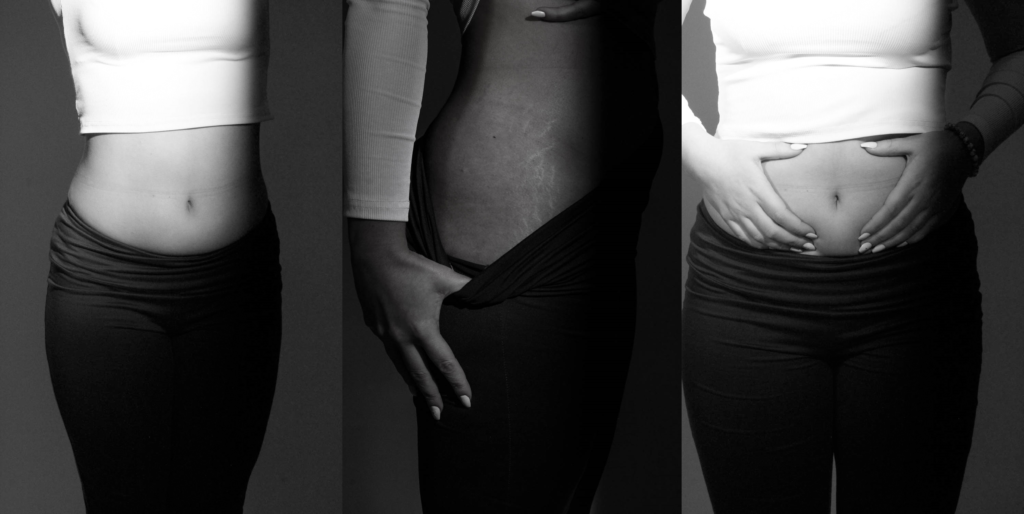
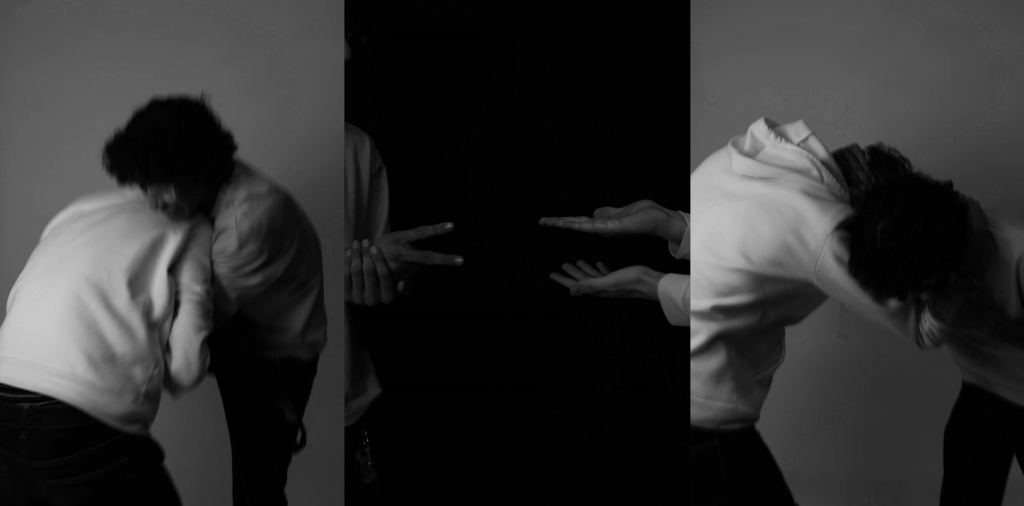
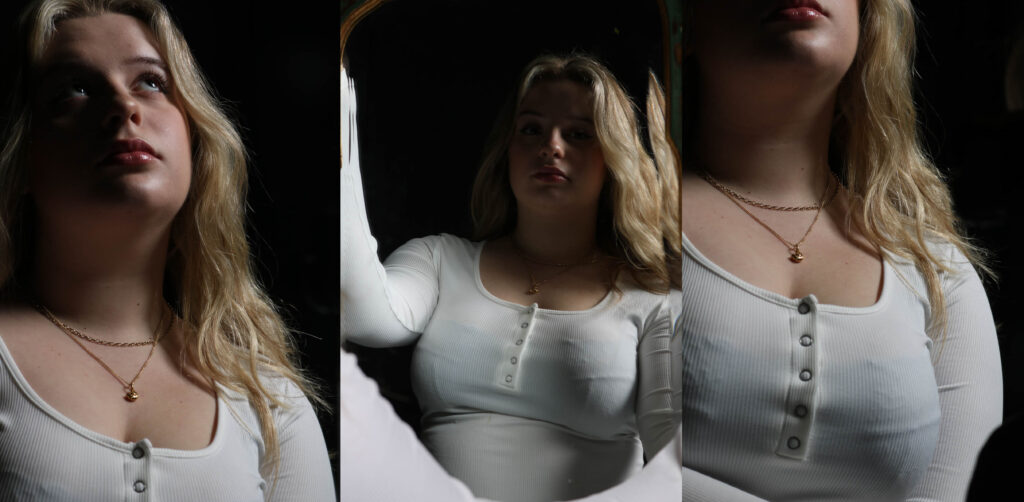
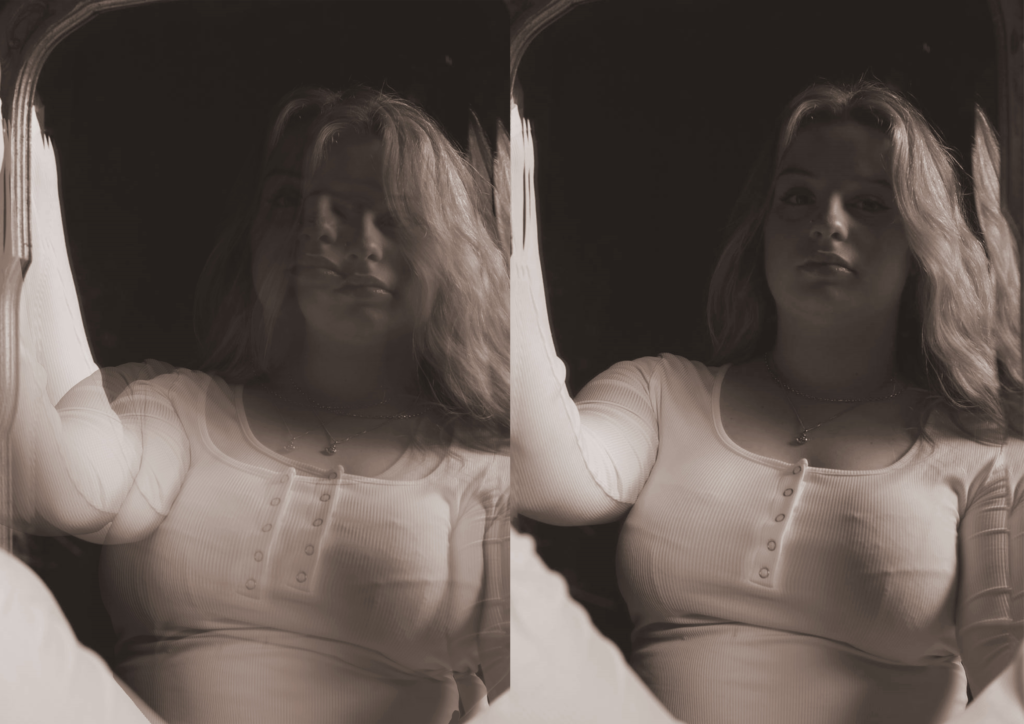
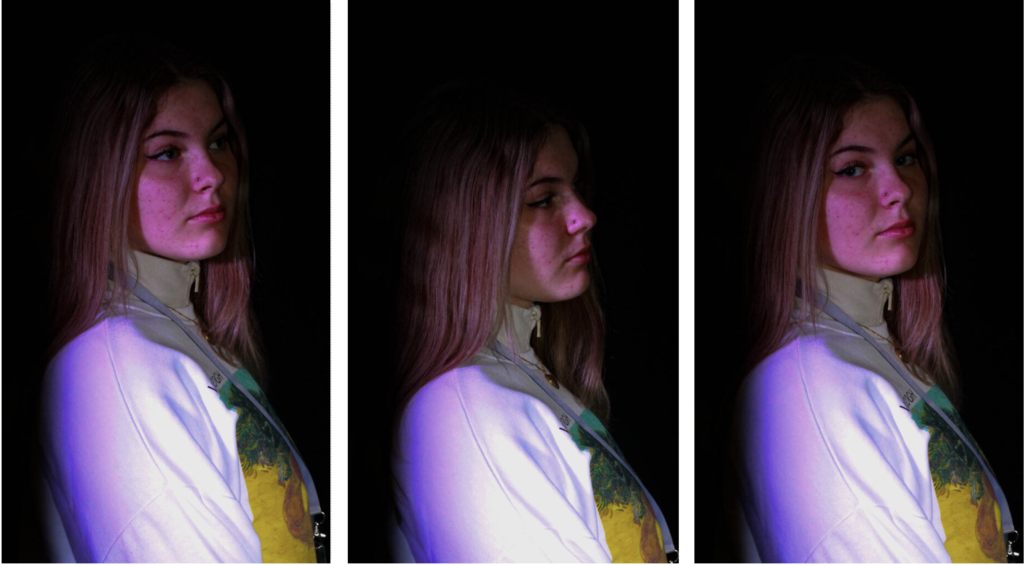
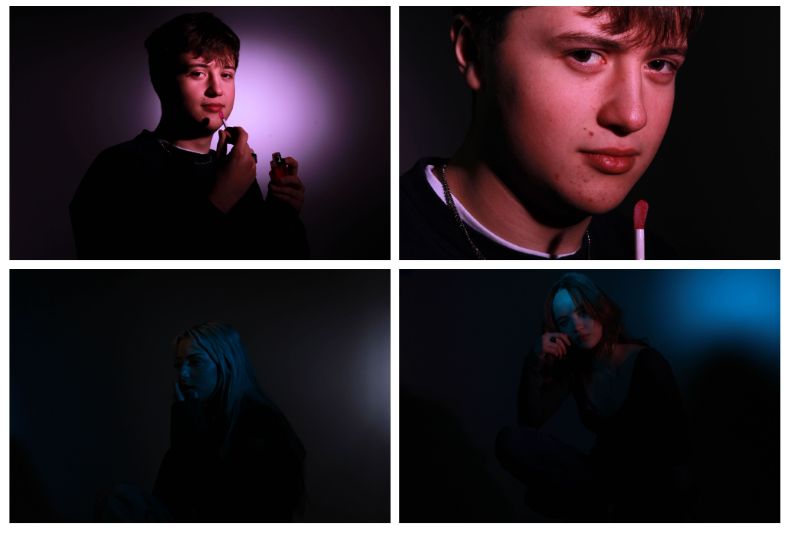
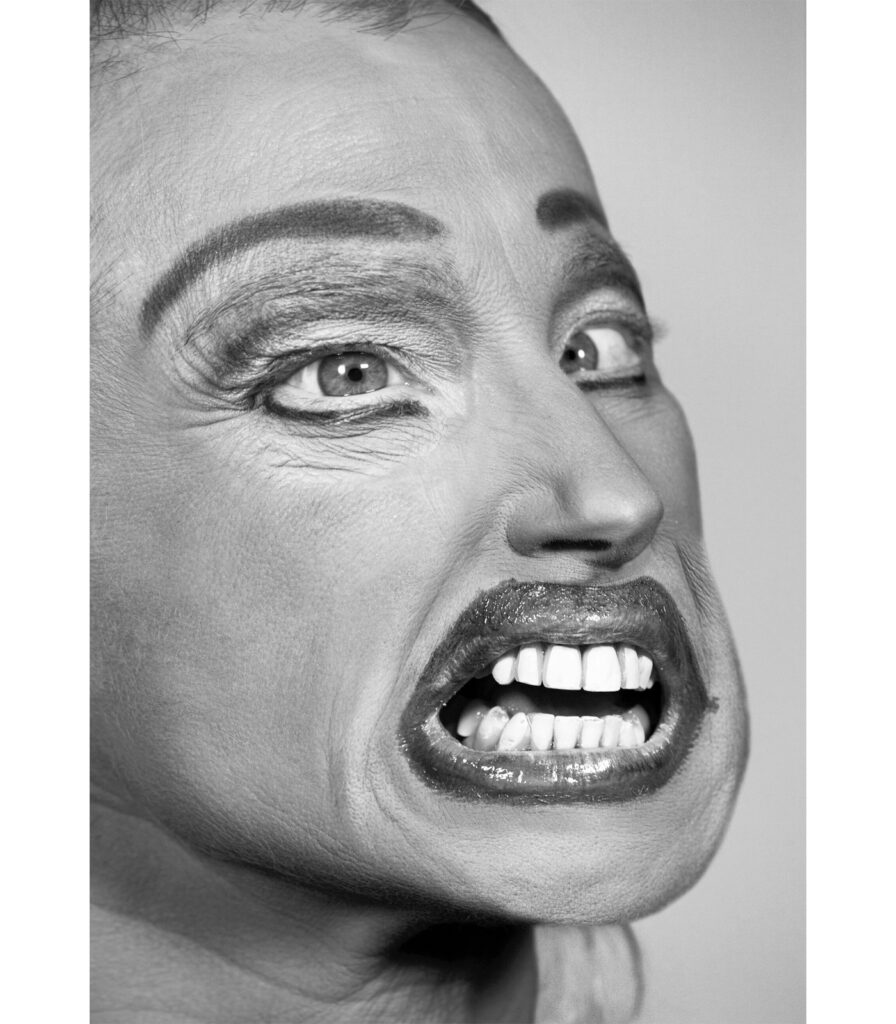
Image analysis:
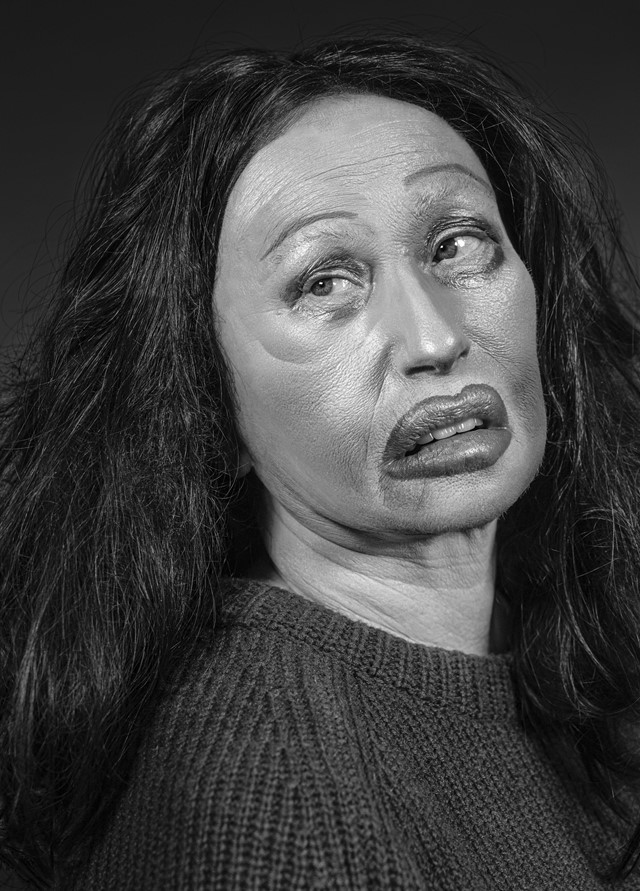
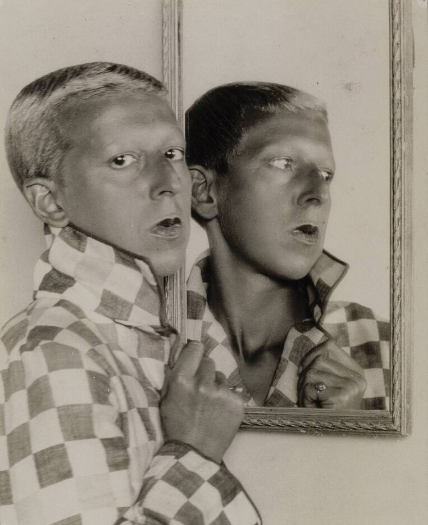
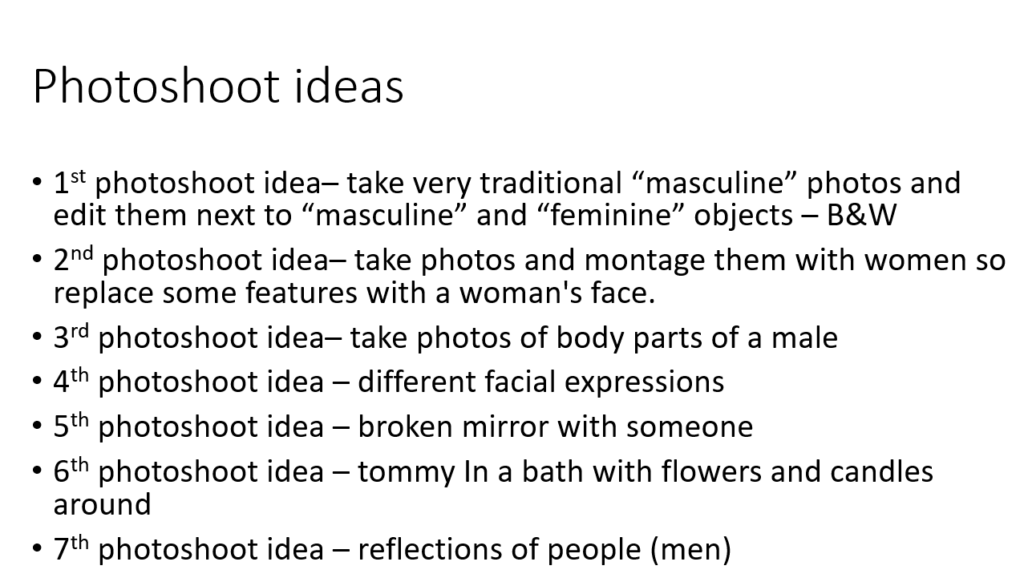
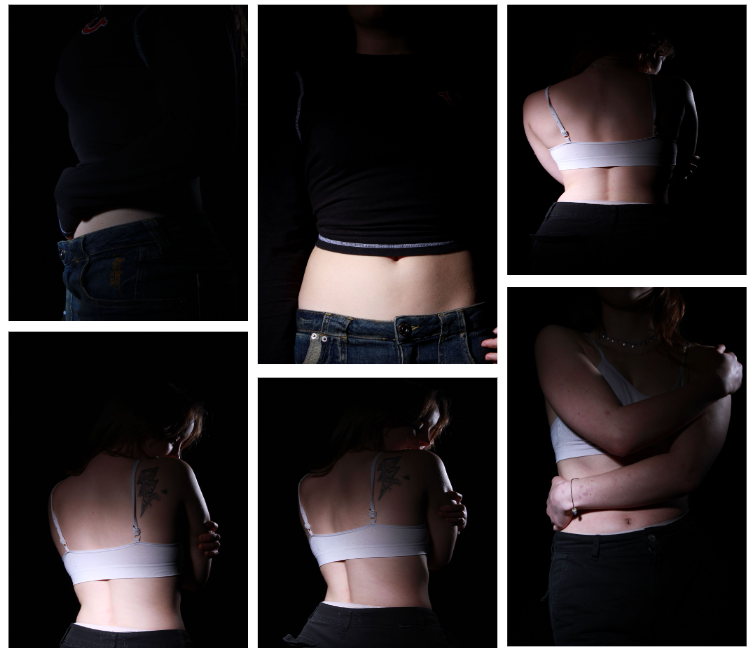
All of Sherman’s images incorporate a lack of femininity throughout them, as shown. One of the main aspects I noticed first was the deep contrast between the dull and dark colours surrounding the subject in the image. The background is black, allowing the face to stand out, along with the clothing she is wearing. These are effective because they do not allow the viewers eye to wonder throughout the image, rather we stay focused on the subject. Sherman regularly alters her appearance to the extreme, which makes her almost unrecognisable. For example, in this photo she has exaggerated her lips to the maximum, which I find interesting because I believe it symbolises femininity. She has also altered her eyes and eyebrows, making them very thin to the point they look fake. The use of this portrays a confused expression on her face. This is important because it gives the idea that perhaps Sherman is confused within her own identity, which leaves the viewer also questioning.
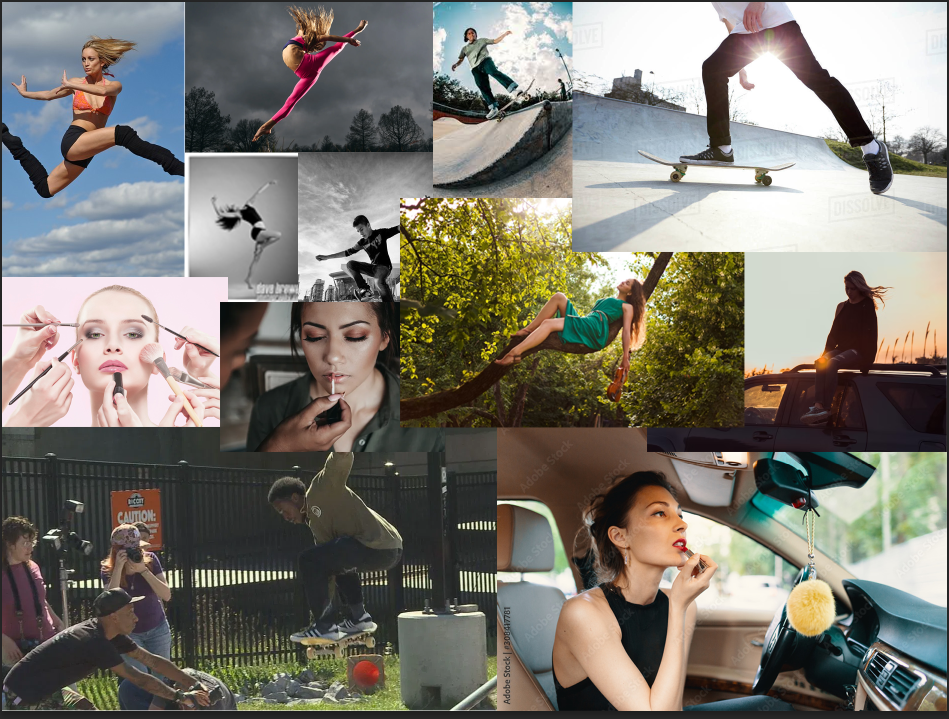
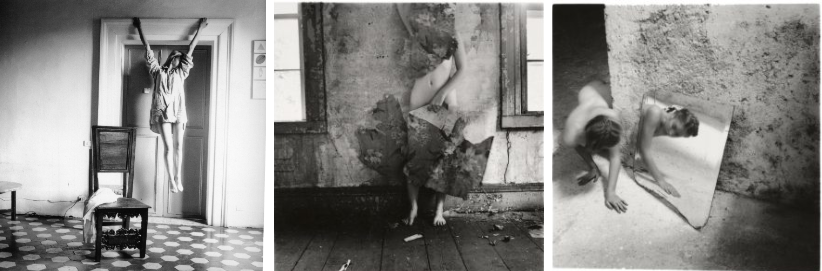
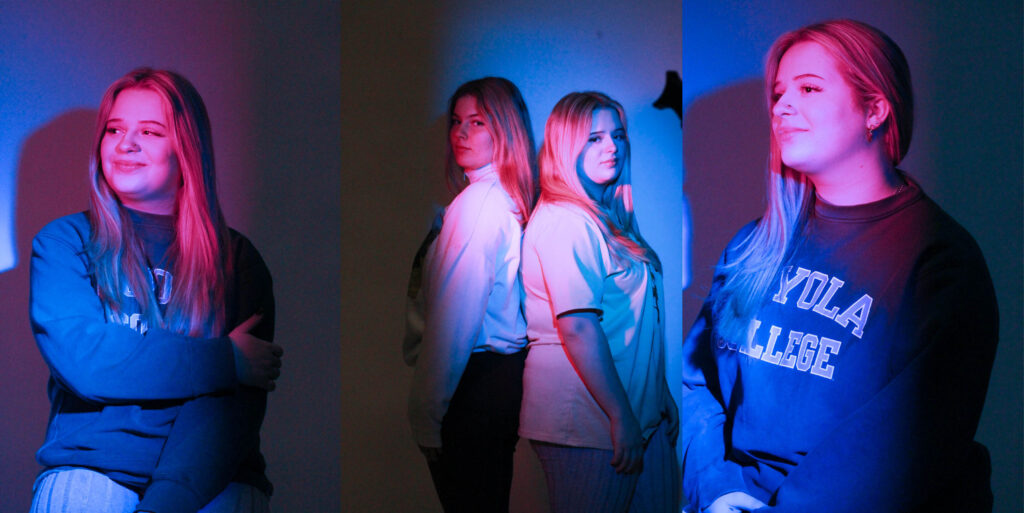
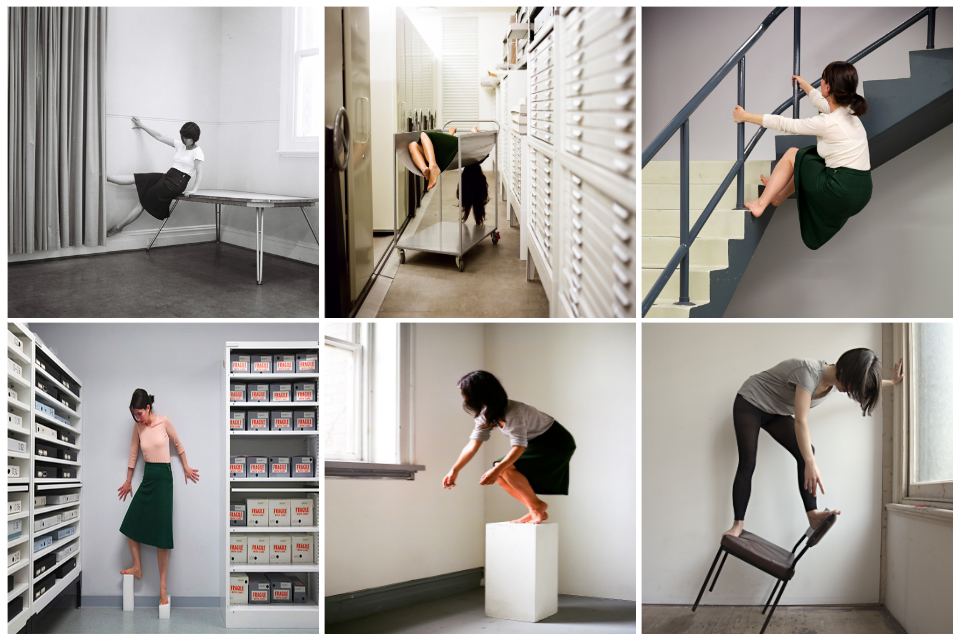
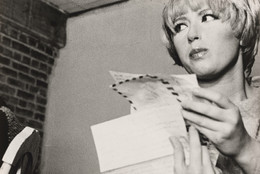
More of Sherman’s work:

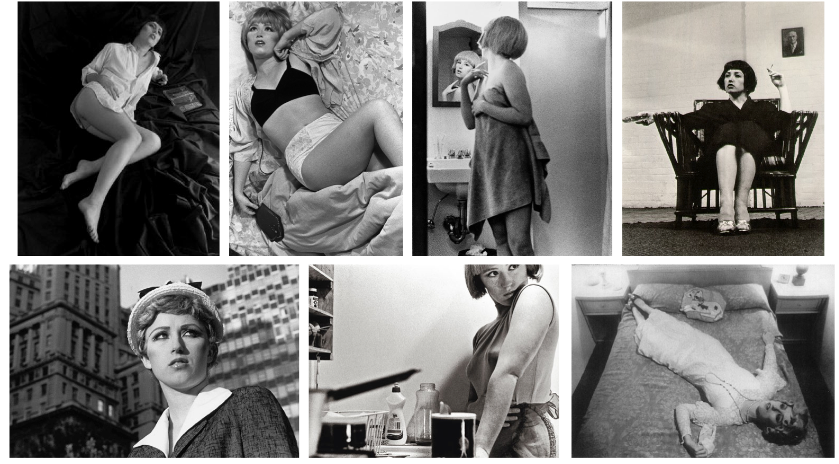
Some of Sherman’s most famous artwork: