Clare Rae is an extraordinary artist that was born in 1981 in Melbourne, Victoria (Australia)
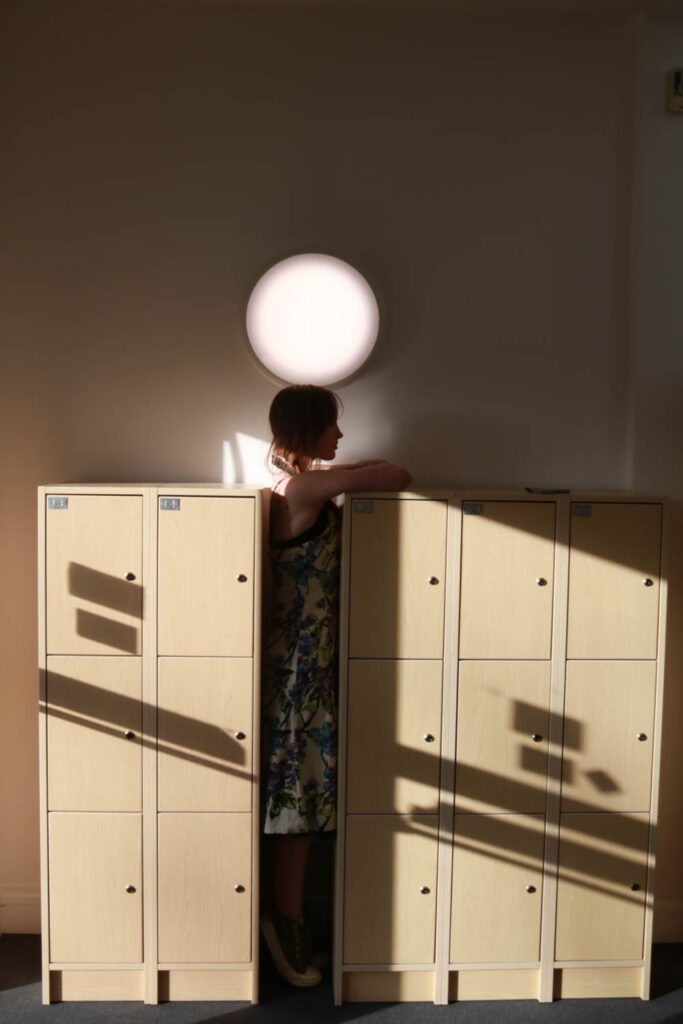
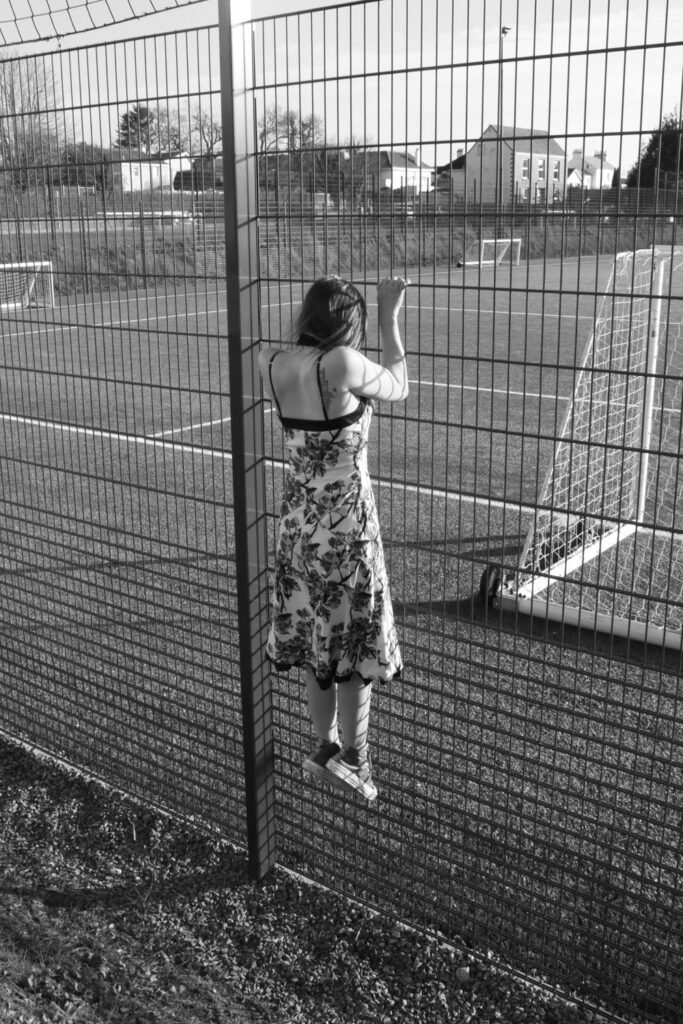
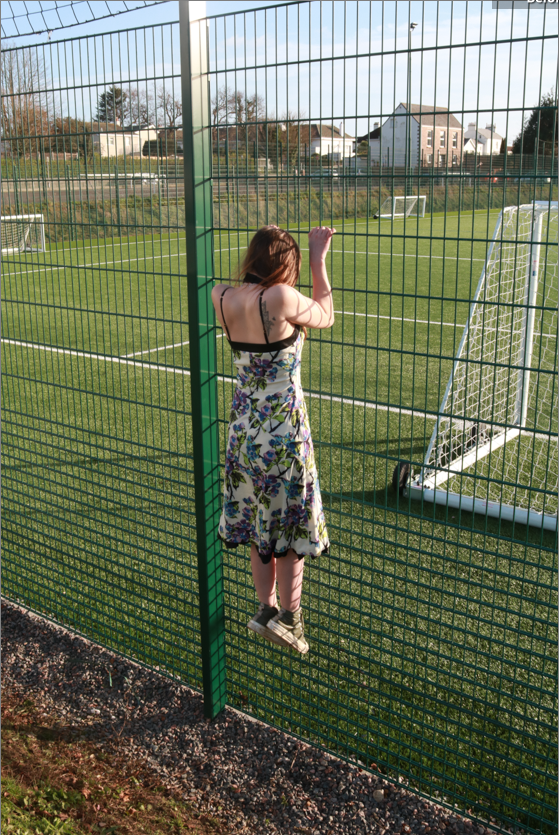
In her art, Clare often explore the ideas of gesture and performance to challenge and subvert dominant modes of representation. Her work is heavily influenced by the awkward experience of subjectivity and the female body, usually her tends to relate to her personally.
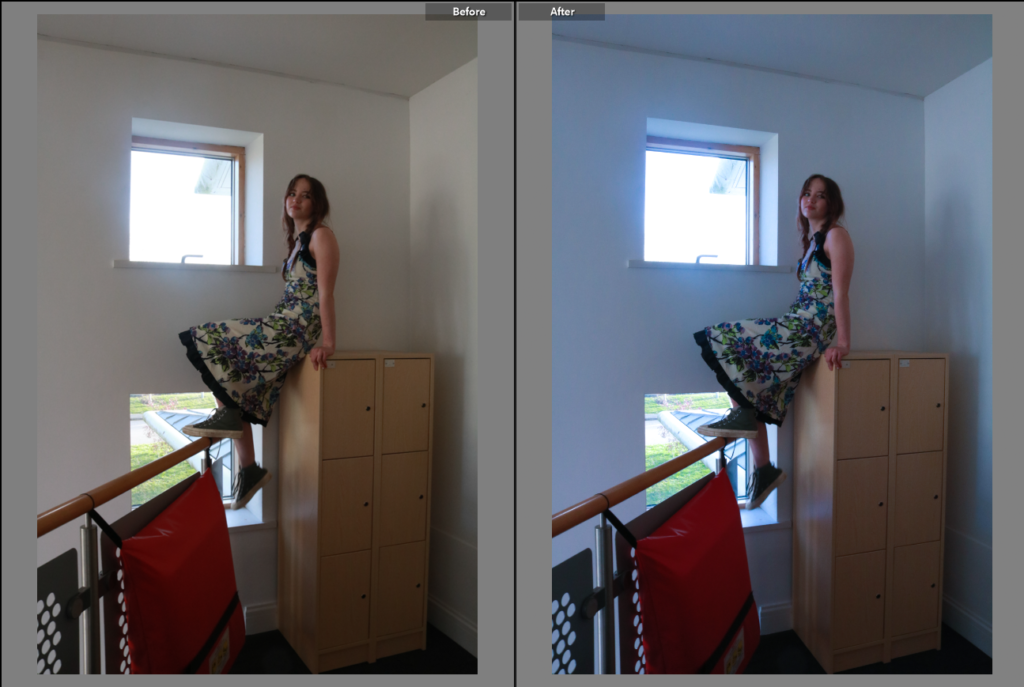
Her recent projects have shown this engaging act with the site of the photoshoot. Her camera often acts as a collaborator, that than a ‘mute’ witness, to the performer.
Due to her being so engaged in domestic and institutional spaces, Clare’s work has been seen and exhibited in locations like the Australian centre for contemporary art, national gallery of Victoria, Monash university, the Abbotsford Convent, Sutton Project Space and the Substation, Melbourne.
In 2020 Clare began a PhD at the Victorian College of the Arts, University of Melbourne.
She managed to complete a master of arts by research in 2014 at the Monash University where she earlier received a first class honours in fine art 2009 at RMIT University.
Her work is both held in public and private collections, nationally. These include, Art bank, The National Gallery of Victoria, Monash University, RMIT University.
Clare is a founding member of LAST collective:
Individual Exhibition she has done:
2018 Entre Nous CCA Galleries Jersey UK
Entre Nous Centre for Contemporary Photography AUS
2015 20+9+5 Sutton Project Space Melbourne
2014 Recent work Beam Contemporary, Melbourne 2013 Interact Sydney Contemporary Art Fair
2012 VIDEOS Beam Contemporary, Melbourne
2011 Light Weight Beam Contemporary, Melbourne 2010 Testing Beam Contemporary, Melbourne
2009 Climbing the Walls and Other Actions Centre for Contemporary Photography, Melbourne
The Chase Blindside ARI, Melbourne
Rise and Fall Bus Gallery, Melbourne
2008 Desire and the Other SEVENTH Gallery, Fitzroy
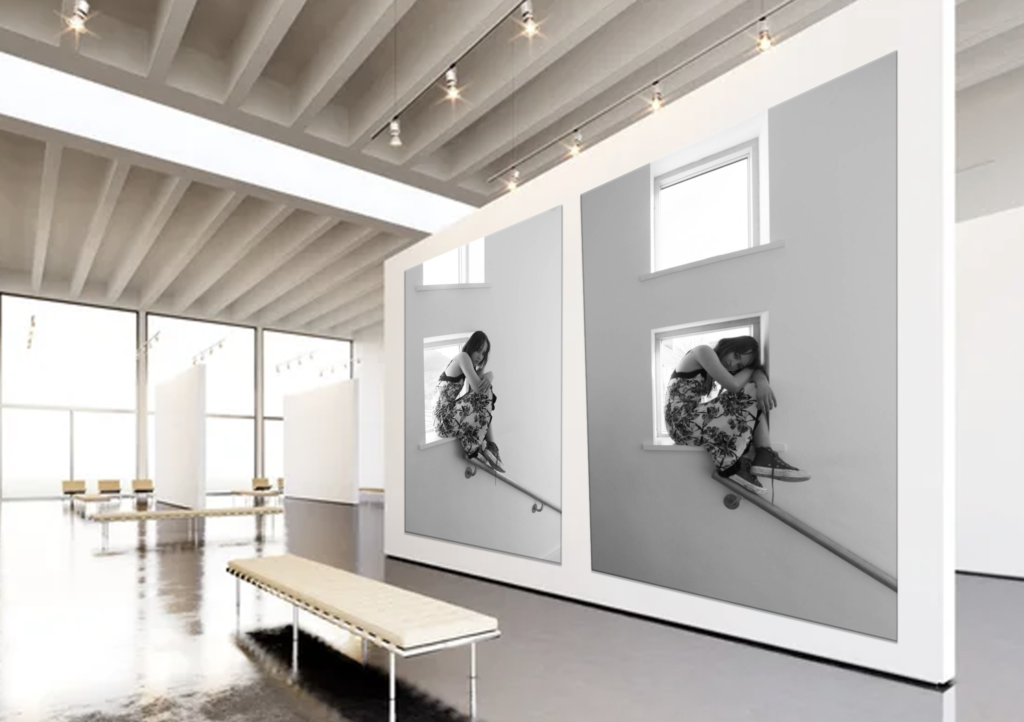
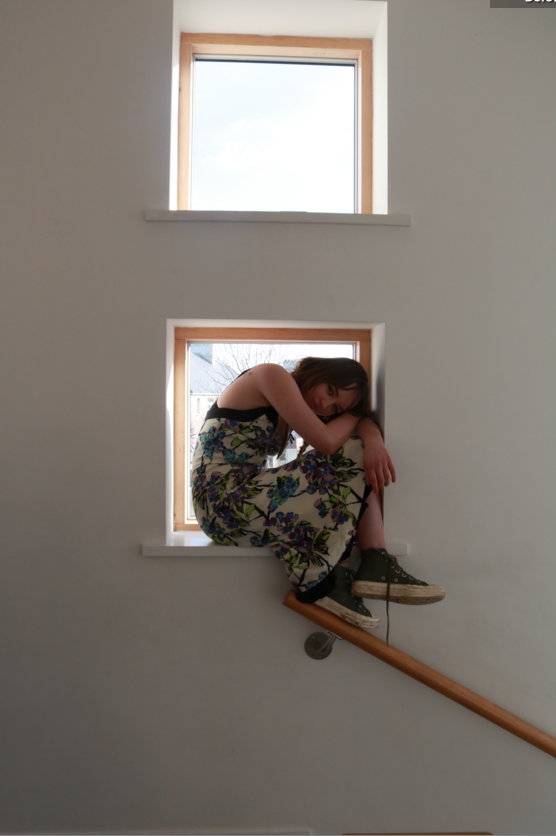
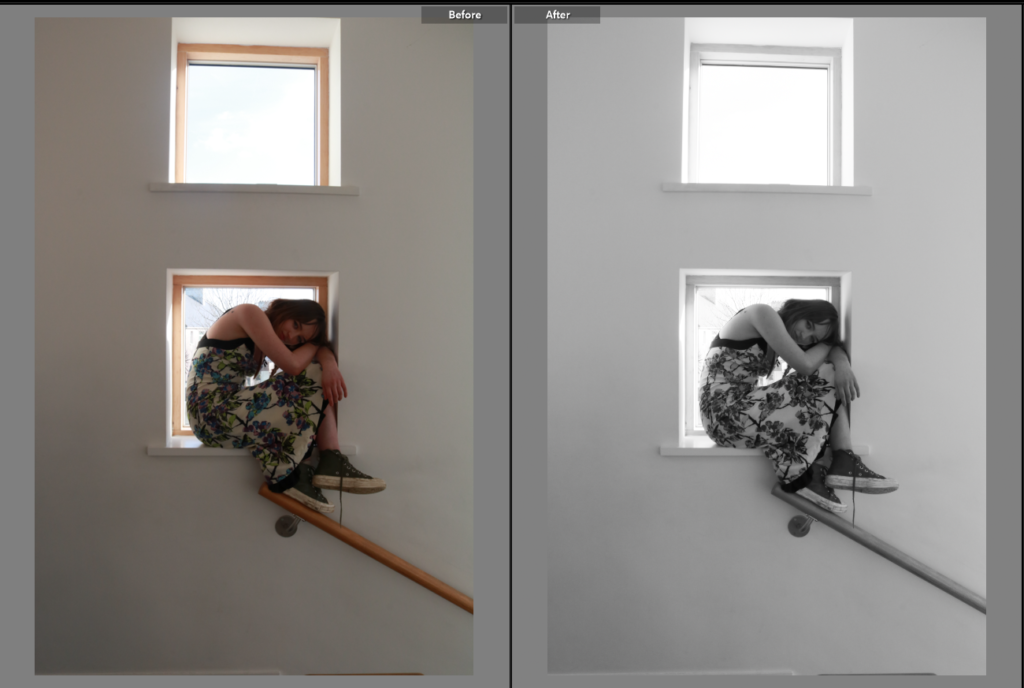
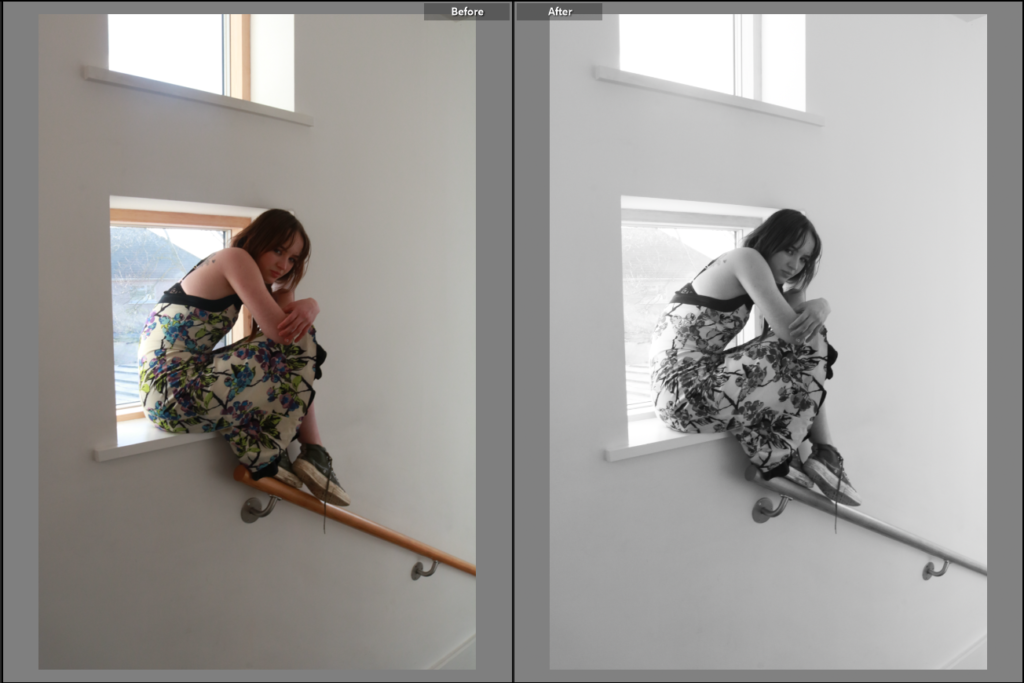
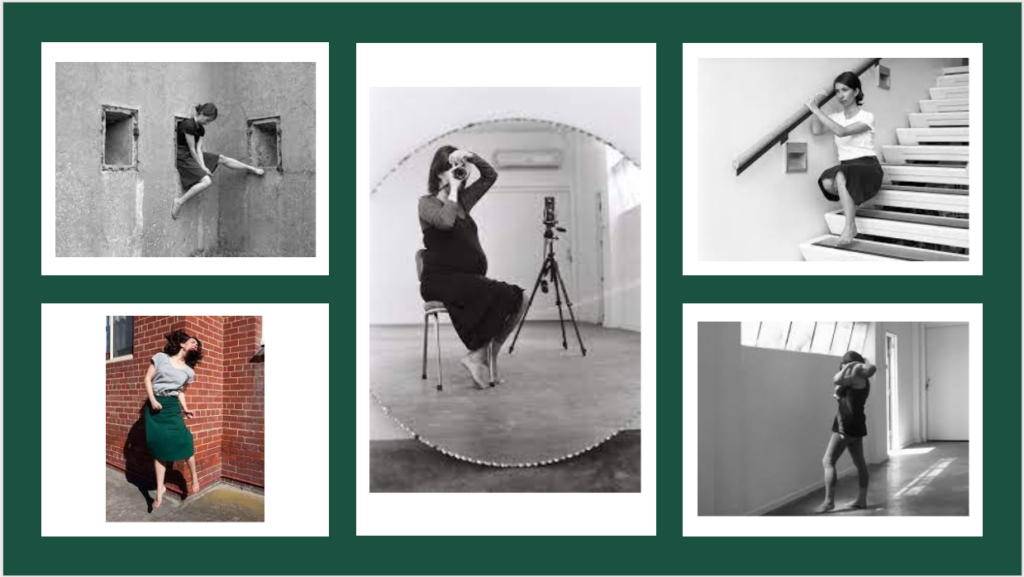
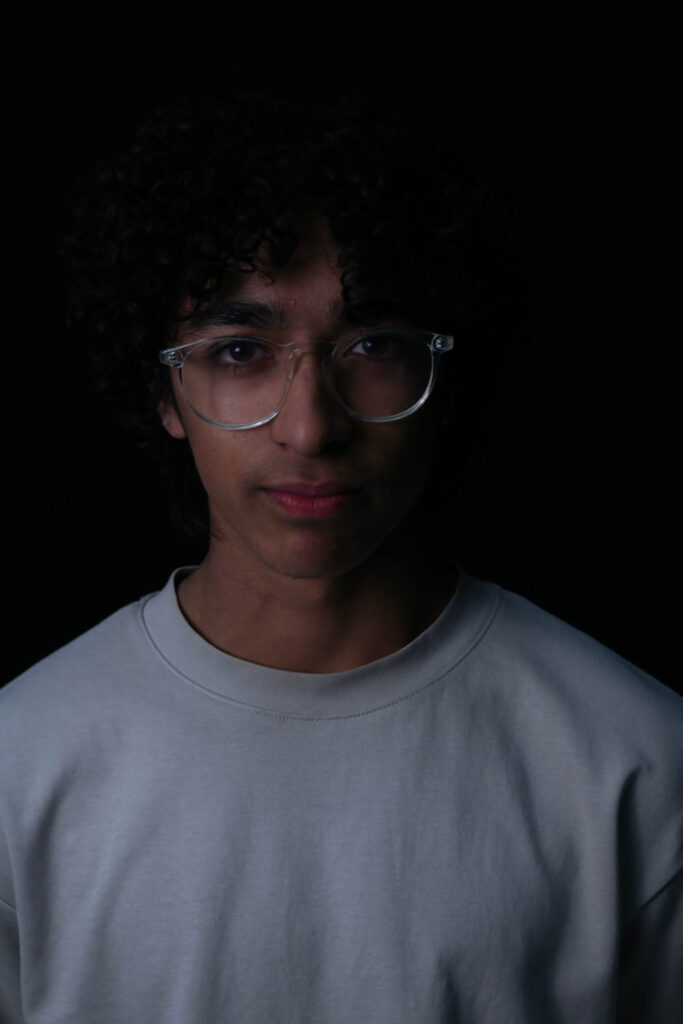
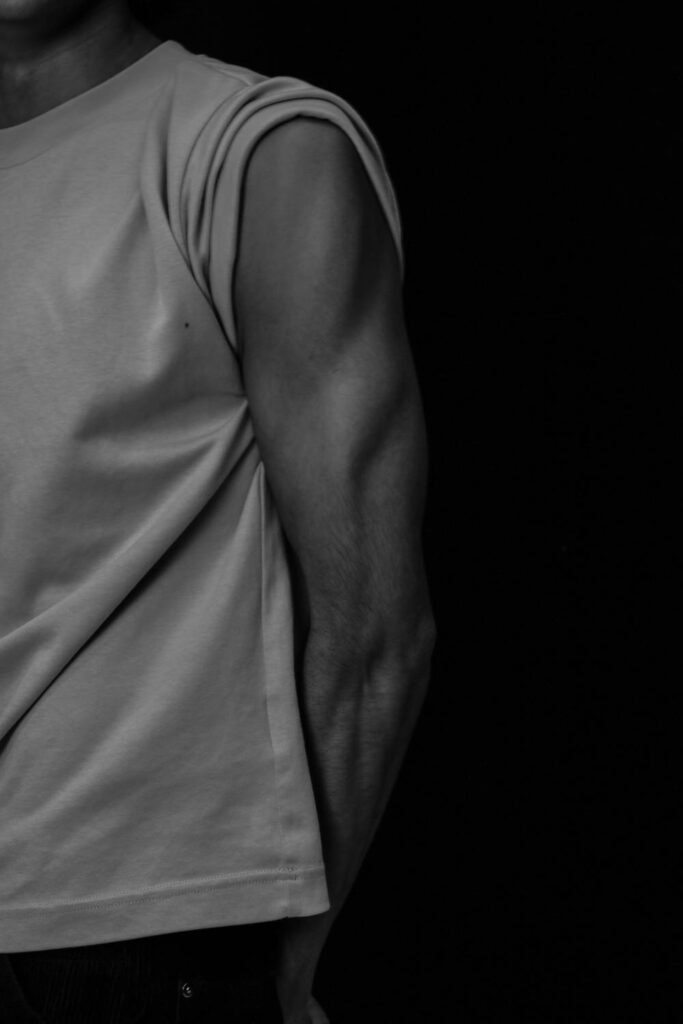
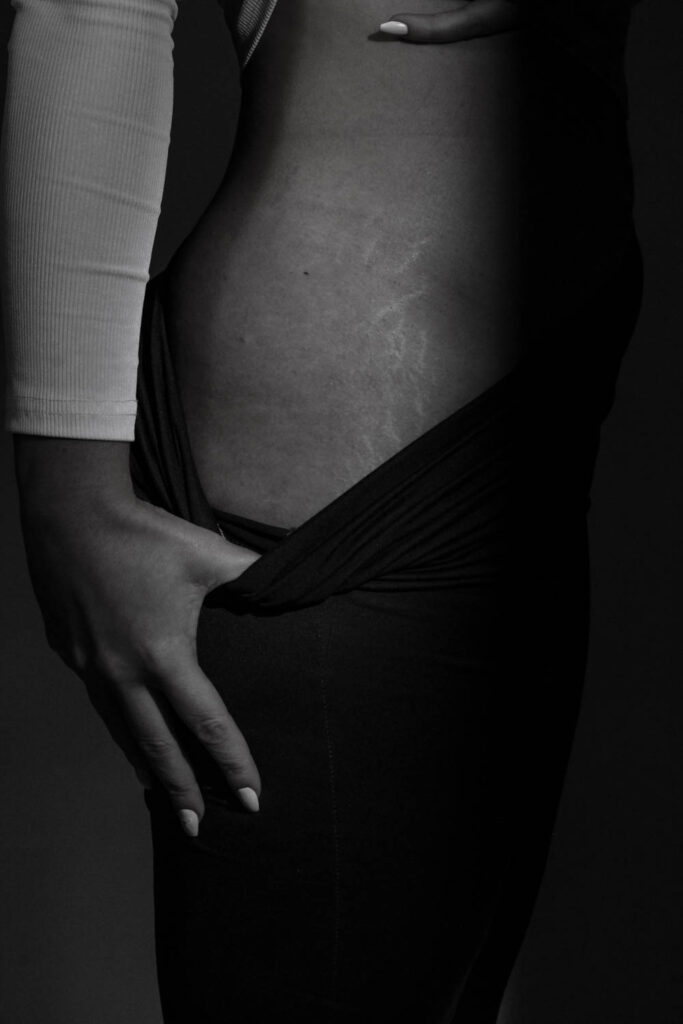
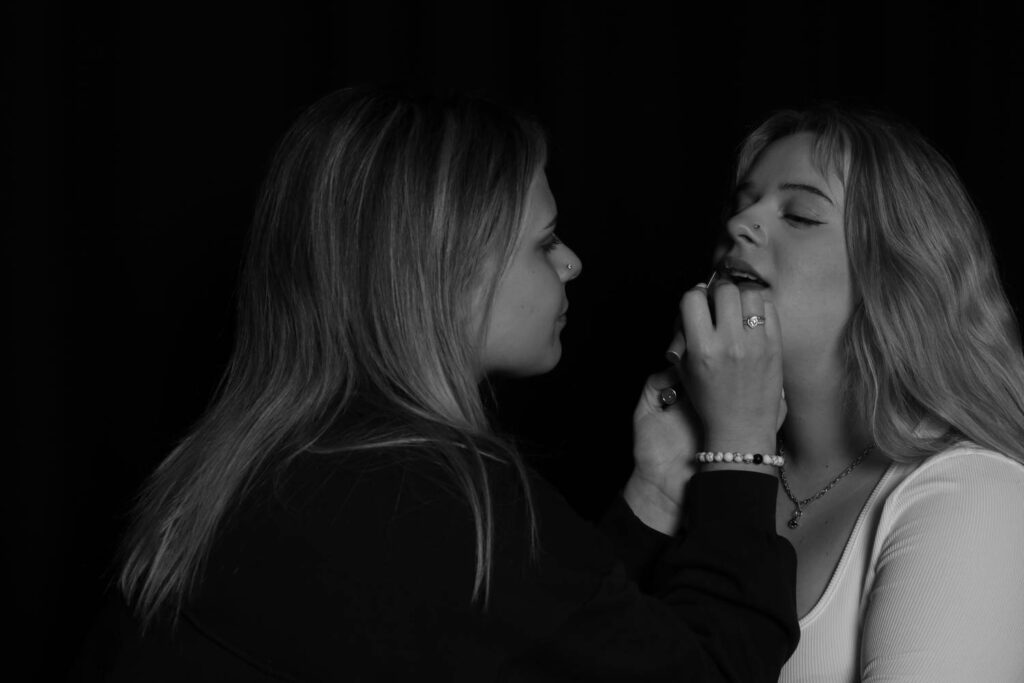
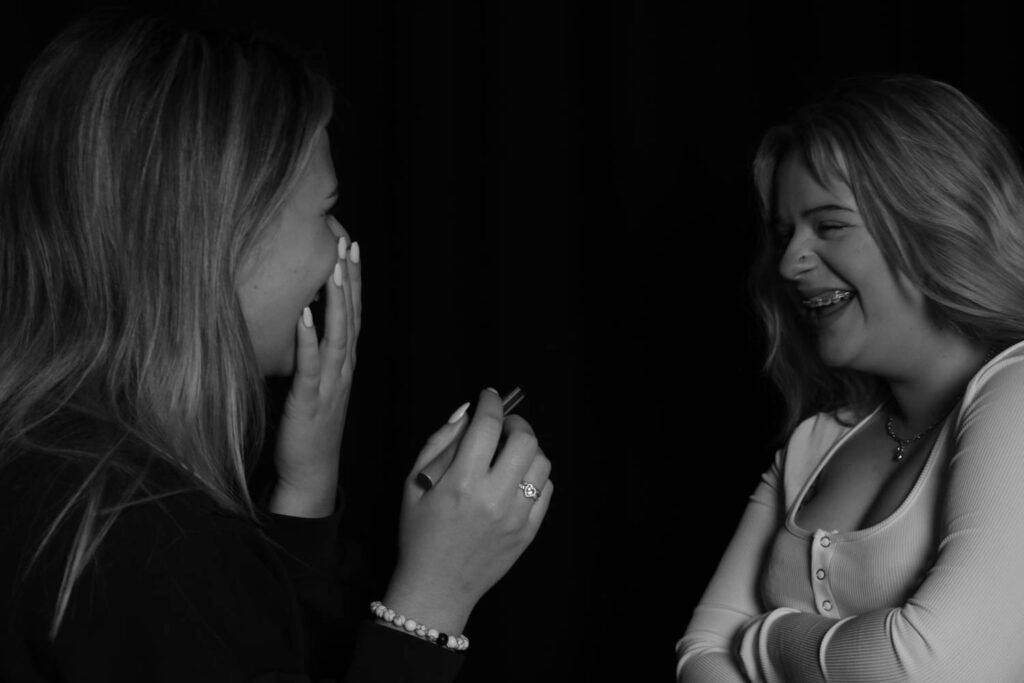
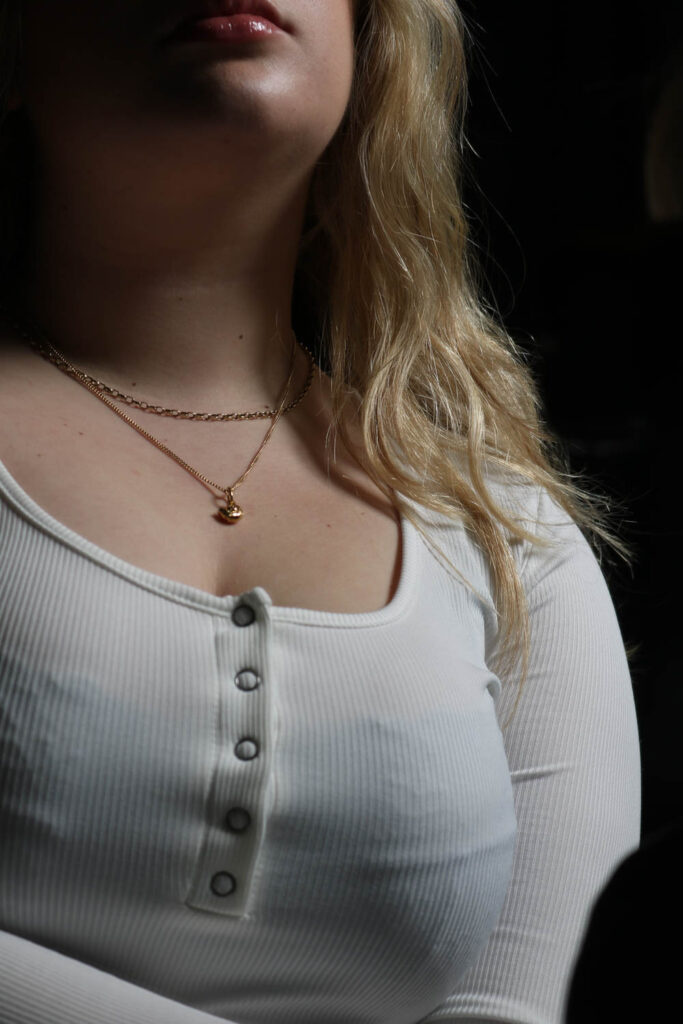
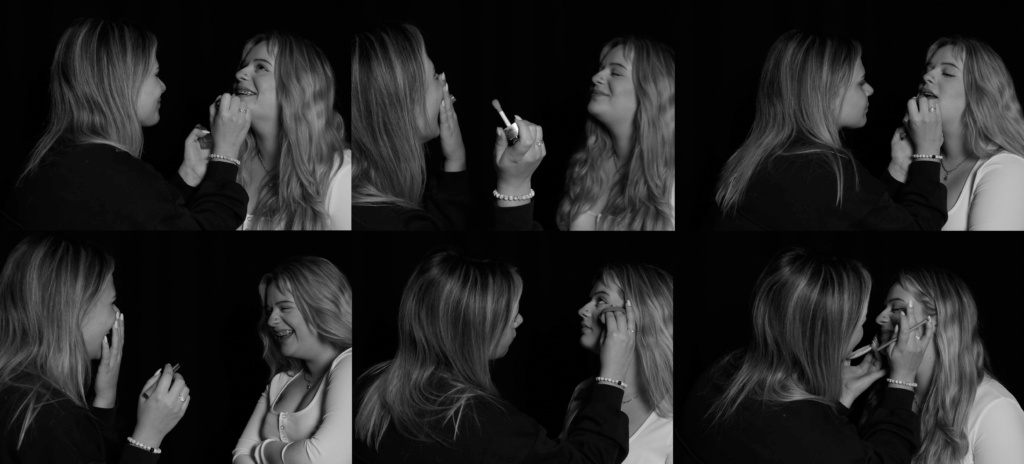
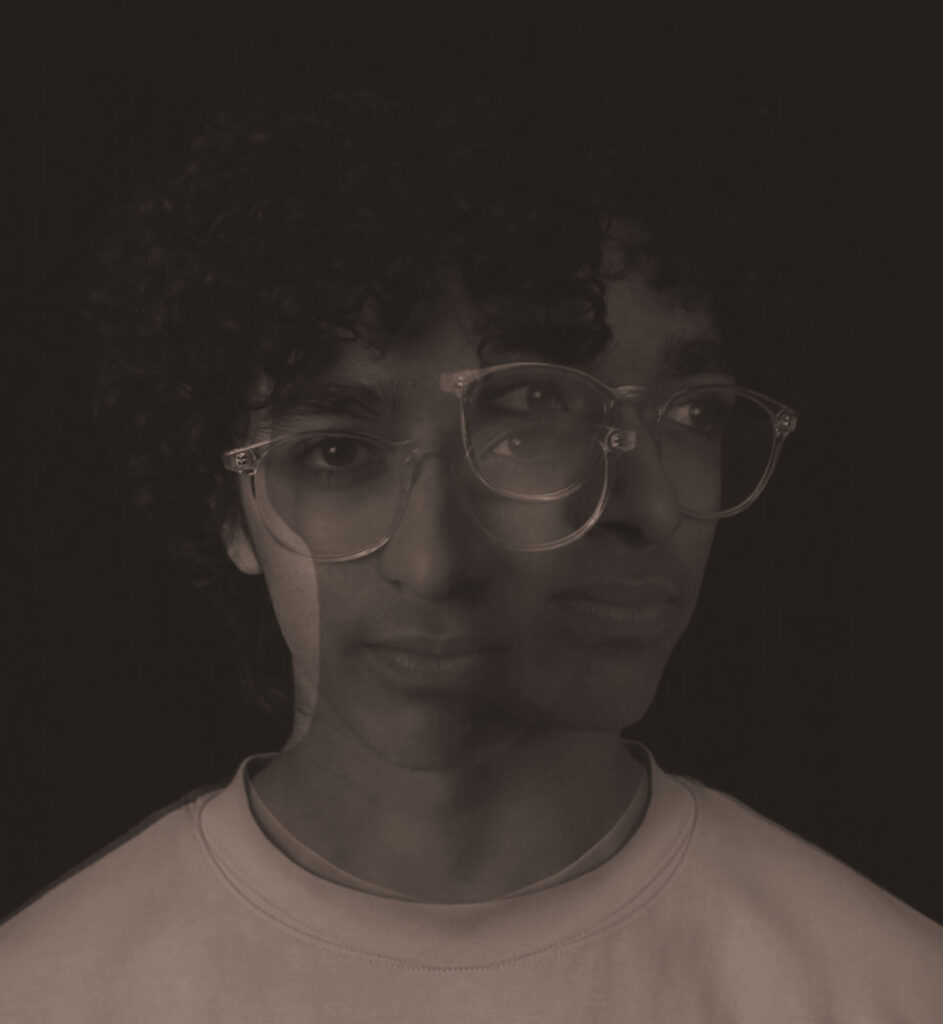
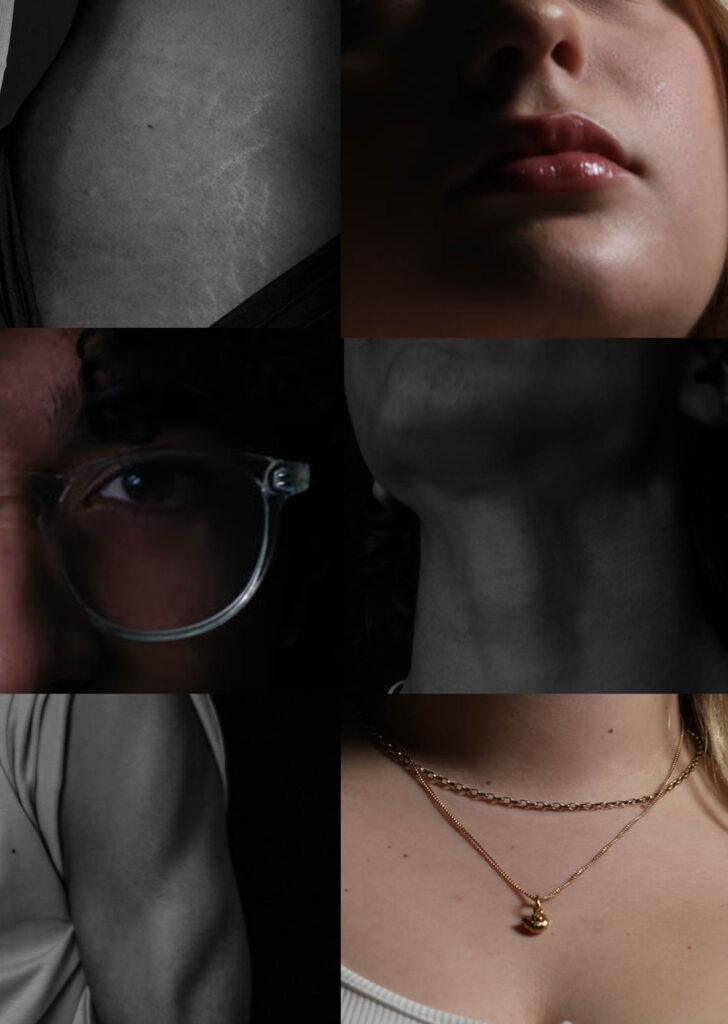
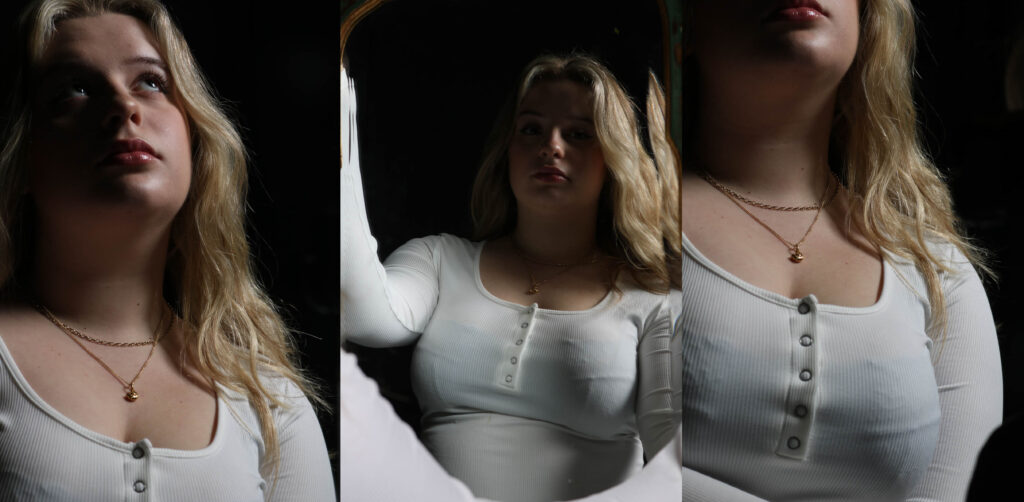
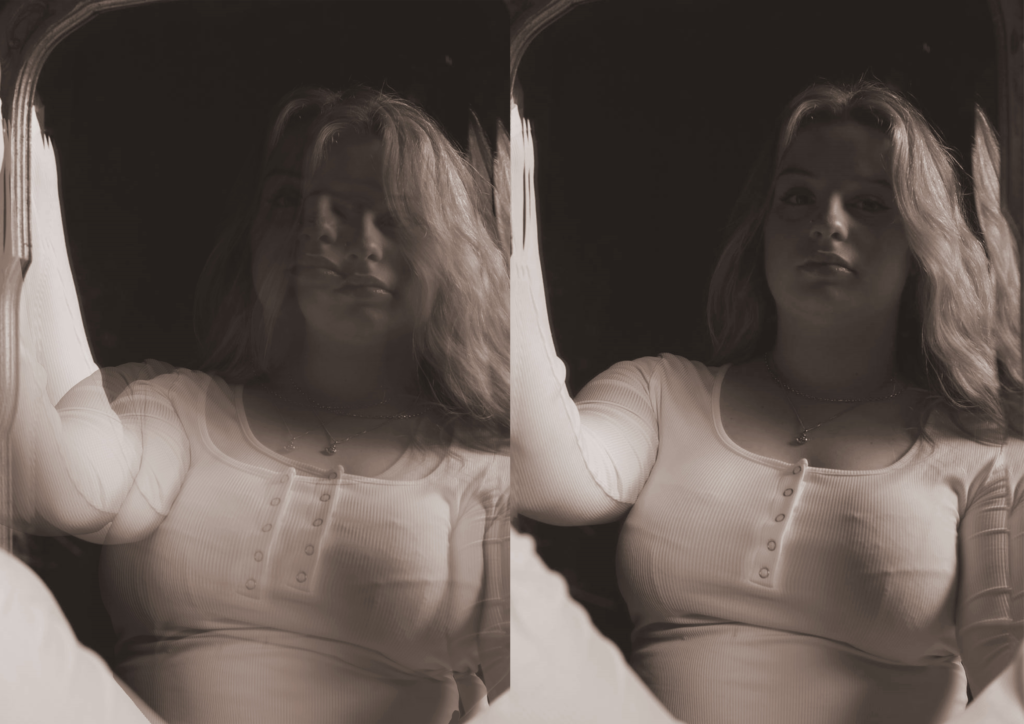
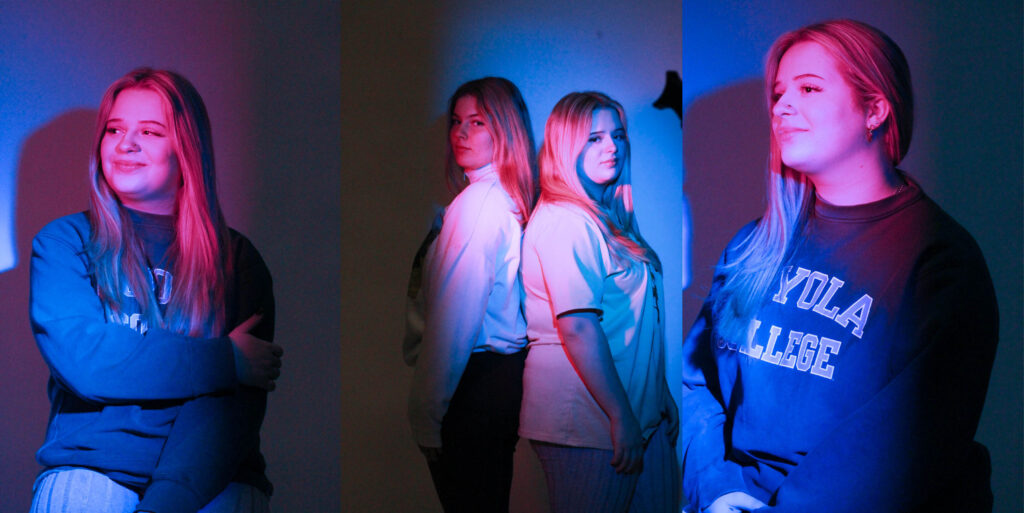
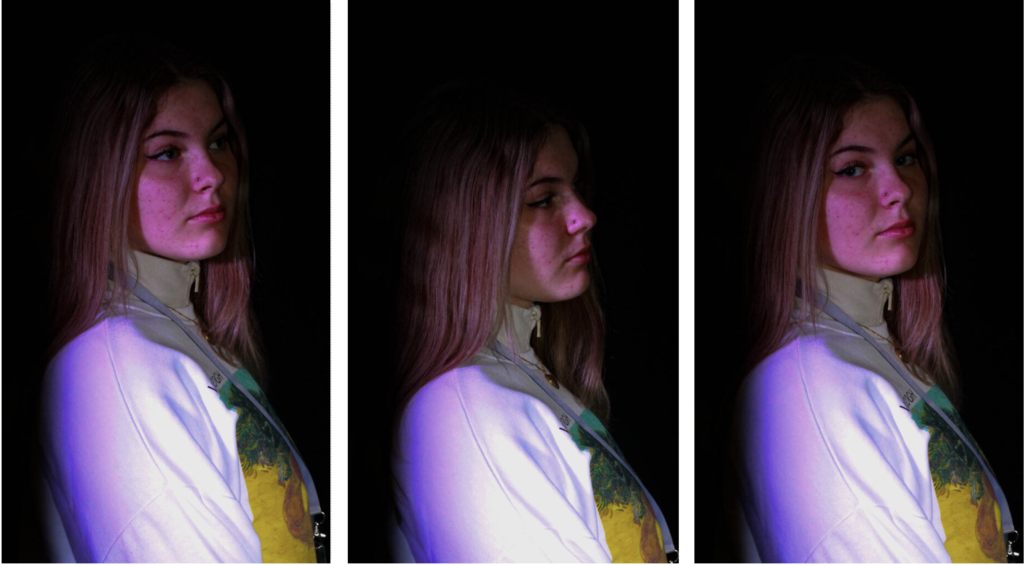
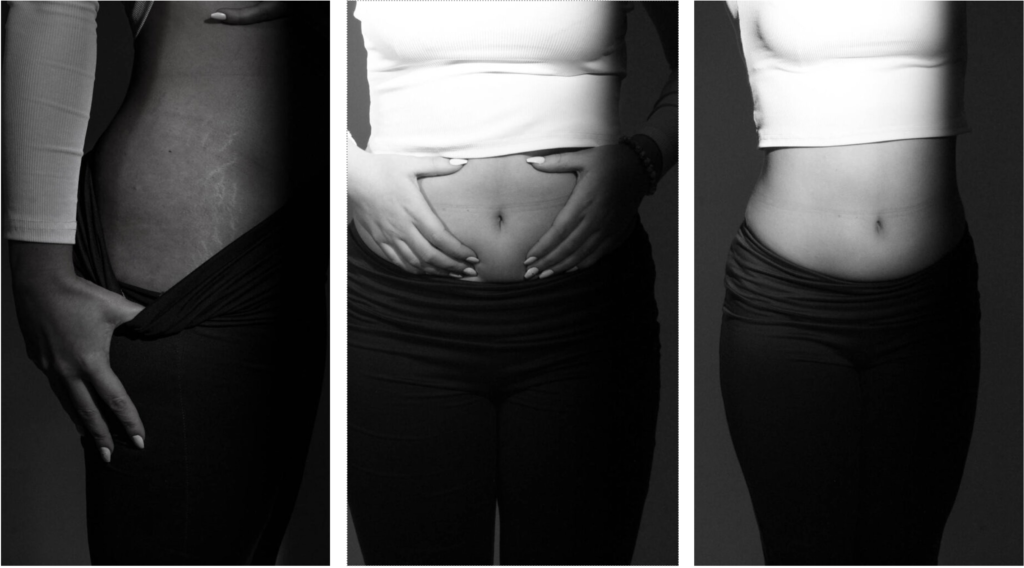
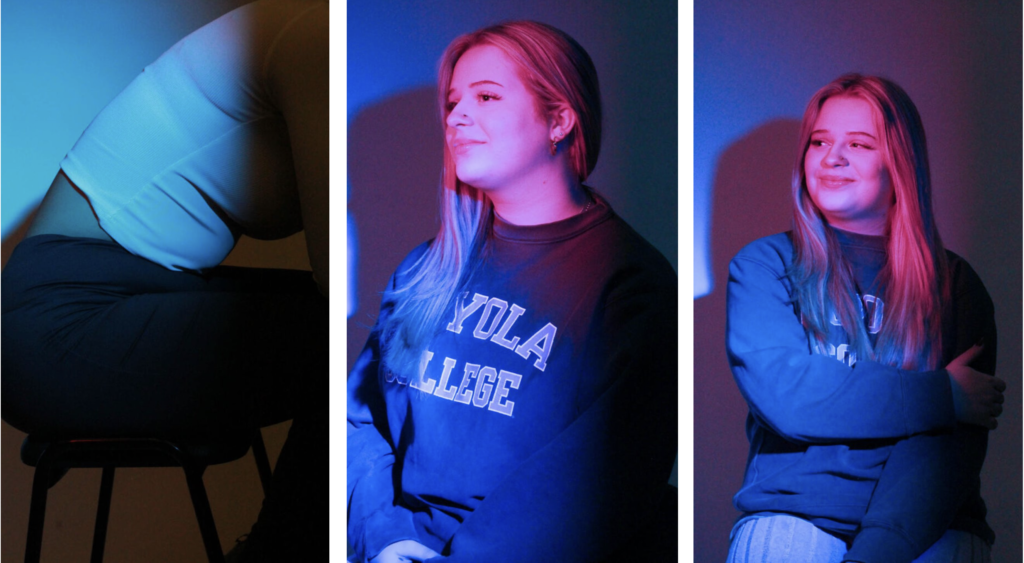
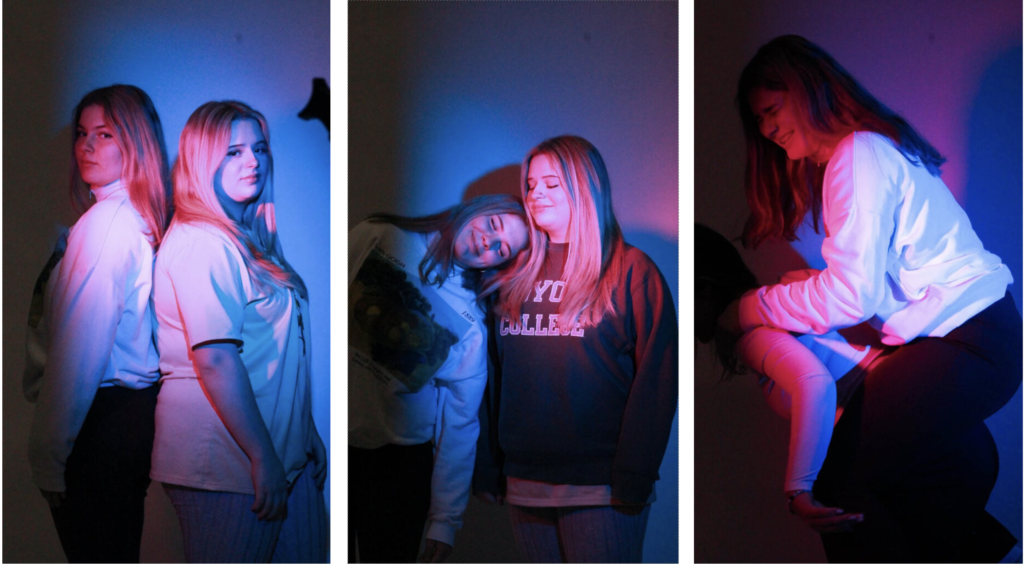
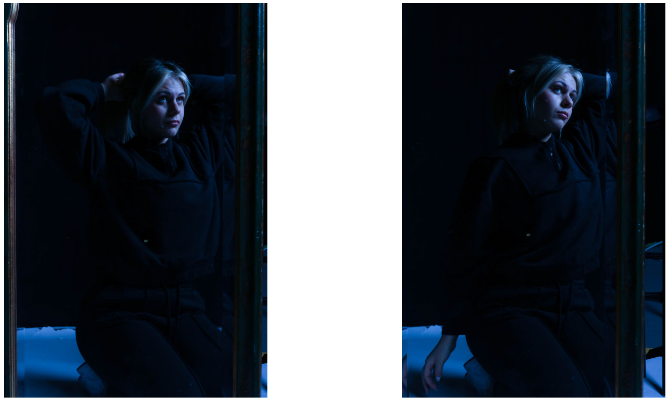
Mood board