All posts by vickie
Filters

Author:
Category:

Final outcomes and presentation-clare rae

Final outcomes:

Presentation:

Presentation 1:

Presentation 2:

Presentation 3:

Evaluation, critique and comparison.

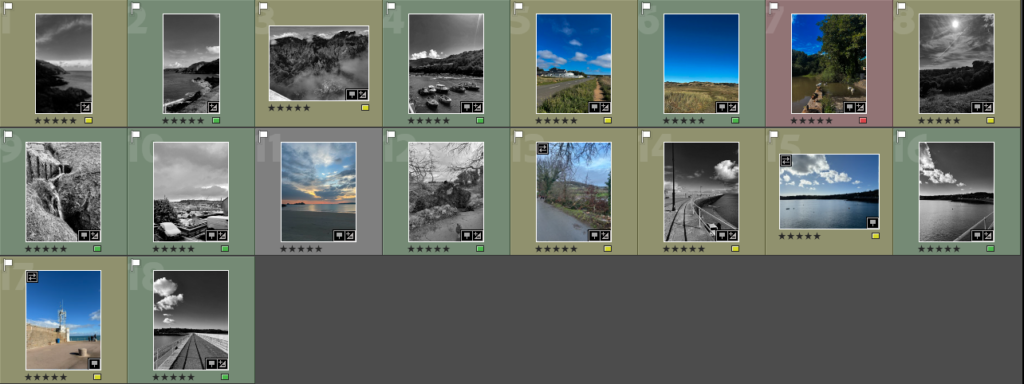
First of all, I think I really achieved that awkwardness Clare portrays in her photos. I did this by making the people who I am photographing in awkward and uncomfortable positions. By doing this, I was able to portray the ideas of performance and the gesture to interrogate and subvert domination modes of representation.

She uses her body to communicate word she is not able to say or doesn’t want to say directly. Her use of her body is a powerful message that implies that one can communicate without words. I think I successfully show this in my pictures. However in my pictures I wanted to show the awkwardness of being objectified. I was still using my subjects body to communicate my message but it was a different type of message.

The portrayal of a certain discomfort within my pictures due to objectification, can be taken personally or indirectly, just like Clare Rae. The use of her body to explore her own personal experiences is something that she makes apparent. I, however did not use myself in these pictures, which I should have, so that I could show how I was heavily influenced by Clare, herself.

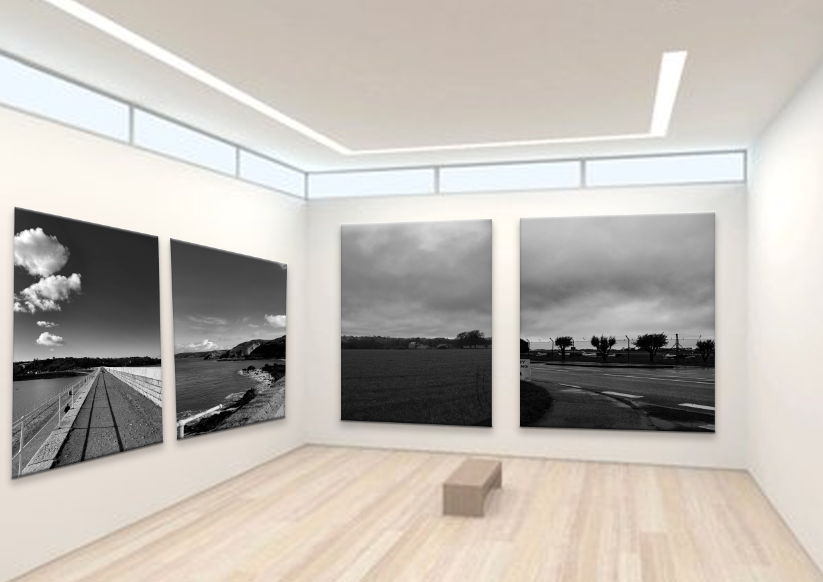
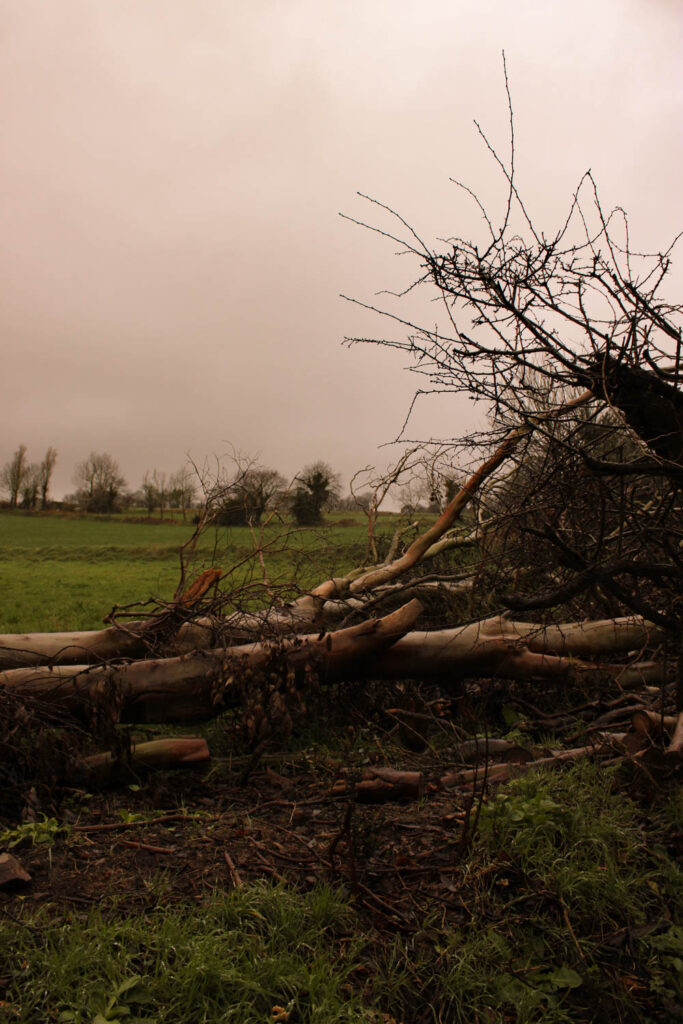
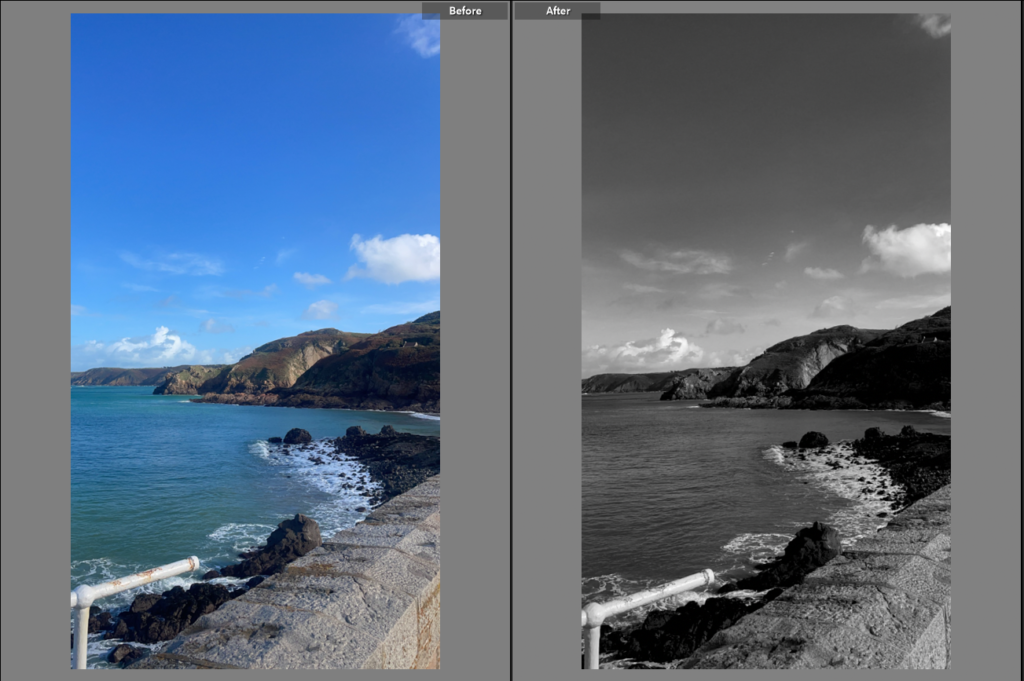
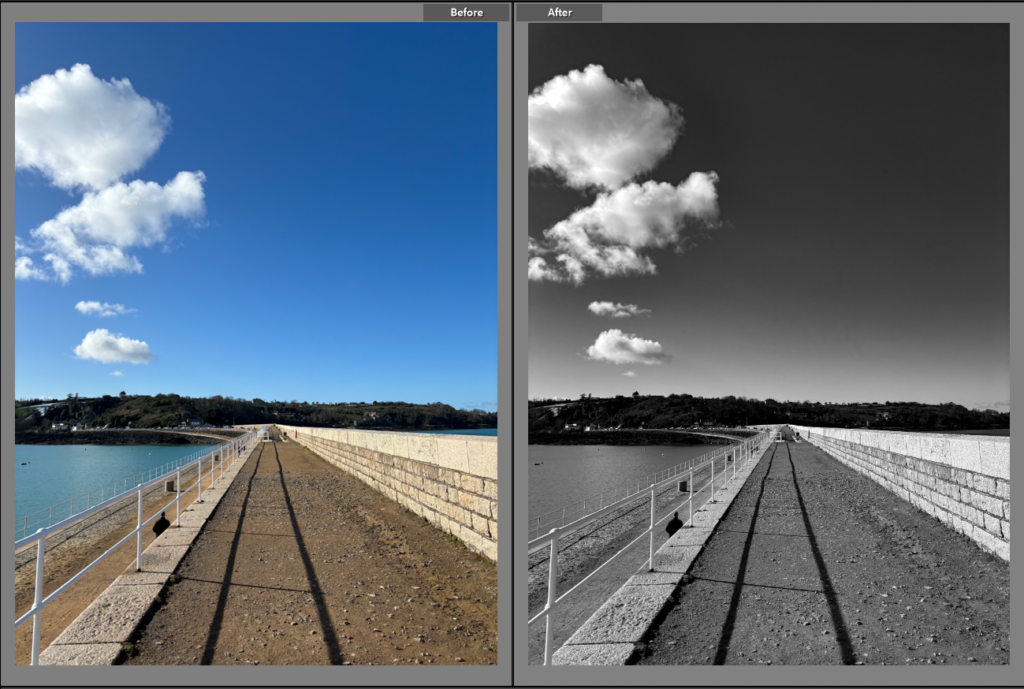
Furthermore, a way that I showed how heavily inspired I was by Clare Rae was producing a picture with similar settings and colours. As seen above, there is two pictures that shows a girl in a confined space just like what Clare did when she visited jersey and famously took a picture of her in a similar situation. That picture was in black and white so I also edited mine to black and white.

It also is evident that I have some coloured pictures and some black and white pictures, just like Clare Rae.

Overall, I think that my final products relates to Clare Rae’s work. I believe that, next time I should focus more on important details like, producing more pictures with a similar settings as hers and taking pictures of myself, like she does.

Chosen Photos from photoshoot and Editing process

Picture 1: (no editing)

Picture 2: (no editing)

Picture 3:

Editing Process:

This is how I edited this picture

Picture 4:

Editing process:

This is how I edited this picture

Picture 5:

Editing process:

This is how I edited this picture

Picture 6:

Editing process:

This is how I edited this picture

Picture 7

Editing process:

This is how I edited this picture

Picture 8:

Editing process:

This is how I edited this picture

Clare Rae

Clare Rae is an extraordinary artist that was born in 1981 in Melbourne, Victoria (Australia)

In her art, Clare often explore the ideas of gesture and performance to challenge and subvert dominant modes of representation. Her work is heavily influenced by the awkward experience of subjectivity and the female body, usually her tends to relate to her personally.

Her recent projects have shown this engaging act with the site of the photoshoot. Her camera often acts as a collaborator, that than a ‘mute’ witness, to the performer.

Due to her being so engaged in domestic and institutional spaces, Clare’s work has been seen and exhibited in locations like the Australian centre for contemporary art, national gallery of Victoria, Monash university, the Abbotsford Convent, Sutton Project Space and the Substation, Melbourne.

In 2020 Clare began a PhD at the Victorian College of the Arts, University of Melbourne.

She managed to complete a master of arts by research in 2014 at the Monash University where she earlier received a first class honours in fine art 2009 at RMIT University.

Her work is both held in public and private collections, nationally. These include, Art bank, The National Gallery of Victoria, Monash University, RMIT University.

Clare is a founding member of LAST collective:

Individual Exhibition she has done:

2018 Entre Nous CCA Galleries Jersey UK
Entre Nous Centre for Contemporary Photography AUS
2015 20+9+5 Sutton Project Space Melbourne
2014 Recent work Beam Contemporary, Melbourne 2013 Interact Sydney Contemporary Art Fair
2012 VIDEOS Beam Contemporary, Melbourne
2011 Light Weight Beam Contemporary, Melbourne 2010 Testing Beam Contemporary, Melbourne
2009 Climbing the Walls and Other Actions Centre for Contemporary Photography, Melbourne
The Chase Blindside ARI, Melbourne
Rise and Fall Bus Gallery, Melbourne
2008 Desire and the Other SEVENTH Gallery, Fitzroy

Mood board

Final outcomes and presentation.

Final outcomes:

Presentation of final outcomes:

Final outcome 1:

Final outcome 2:

Final outcomes 3:

Final outcome 4:

Final outcome 5:

Evaluation, Critique and Comparing:

I think that overall, my outcomes show inspiration from my case studies, (Claude Cahun and Shannon O’Donnell).

One of the outcomes that I particularly felt like, showed an inspiration from my case studies was final outcome 2. This outcome was massively influenced by Cahun’s work as it has that illusion that one of her most famous photoshoot had. She created that image by emerging two ‘loading’ pictures together and I created mine using the selection tool in Photoshop. I think that the tone on the photo is quite similar to the original picture she created and I think that it is evident what I was trying to replicate.

However, the pictures tone could have been more darker and I could’ve added texture to the picture. I could’ve also added a different background when I was taking the pictures as it would ensure that the picture would look a little more accurate.

Another picture that was motivated by Cahun’s work was outcome 3. This was my attempt to replicate the picture that Cahun took of her partner where her partner was using the mirror to look at the camera directly. I think that my outcome was okay. The tone to the picture could’ve had more texture and darker. My subject could’ve been standing instead of kneeling down and the mirror could’ve been hanging on a wall just like Cahun’s picture. The subject could’ve also been smiling a little.

However when it comes to meaning I think that outcome 3 shows the intention Claude had with that photoshoot. Claude’s intention was to intimidate viewers by having direct contact with the viewers. In her picture, her partner isn’t posed sexually like women were back then, and I think that I achieved that with my picture. My subject isn’t being sexualized and they aren’t cosplaying as this ‘damsel in distress’. My subject has a harsh tone on her face and is standing her ground, just like Cahun’s partner in the picture.

Two outcomes that were hugely influenced by my other case study, Shannon O’Donnell, is the outcomes, 4 and 1. Shannon has a diverse set of work where it consists of black and white and normal coloured pictures. I really liked how Shannon has pictures of different body parts or zoom ins of things. Especially in her project ‘That’s Not The Way The River Flows’.

I think that I managed to show the inspiration that I had from Shannon by zooming into body parts especially in outcome 4. I think that the use of black and white and coloured pictures in outcome 4 shows the inspiration I had from Shannon because I was able to show different coloured picture whilst also creating a collage of zoomed in body parts.

However, the fact that I put multiple pictures of zoomed in body parts into a collage is not quite accurate. Next time I will just leave the zoomed in pictures as they are.

Finally, I feel like outcome 1 could’ve been better. I think that it shows that inspiration of black and white that Shannon used in her pictures but it doesn’t have a variety of different perspectives or zoom ins like Shannon’s work. I think that the pictures in my final outcome are quite repetitive and I should’ve had zoom ins and different types of poses.

I think that overall I did okay. There is obviously things I need to improve in but I do think that I have some highs in my final outcomes and photoshoots.

Experimentation.

Experiment 1:

Editing process:

  • I opened Adobe Photoshop.
  • On the top left, I pressed file and open and then selected one of the pictures that I wanted to use. I left the picture as it was and then pressed file and open and chose my second picture.
  • With the second picture, on the left side I selected the object selection tool and pressed on the photo, precisely the subjects face. It selected the subjects face and then I pressed on it again so that it showed a pink outline.
  • After, I right clicked on my mouse and pressed layer via copy. it created a copy of the subjects face whilst still keeping the picture the same.
  • I pressed the move tool on the left side of the screen on photoshop.
  • I grabbed the copy of the subjects cut out face and dragged it to the top of the screen where it showed the first tab I opened which was the one where it had my first picture. The cut out was transferred to my first picture and I placed the cut out on the desired place.
  • As I placed my cut out on the first picture, it created one layers, one layer for the cut out so overall I had two layers.
  • In each layer minus the first later, I put the opacity to 48% and fill to 83% which is on the right bottom side of the screen to create a ghost like texture to the one cut outs.
  • I then I pressed on the background which is on the right bottom of the screen and pressed flatten image so that I could add some adjustments to the image.
  • On the right bottom side of the screen I pressed adjustments and pressed once on the Soft Sepia adjustment.
  • Then I cropped the image using the cropping tool.
  • Then I saved the image to a folder and that’s how I created this image.

Experiment 2:

Editing process:

  • I opened Adobe Lightroom.
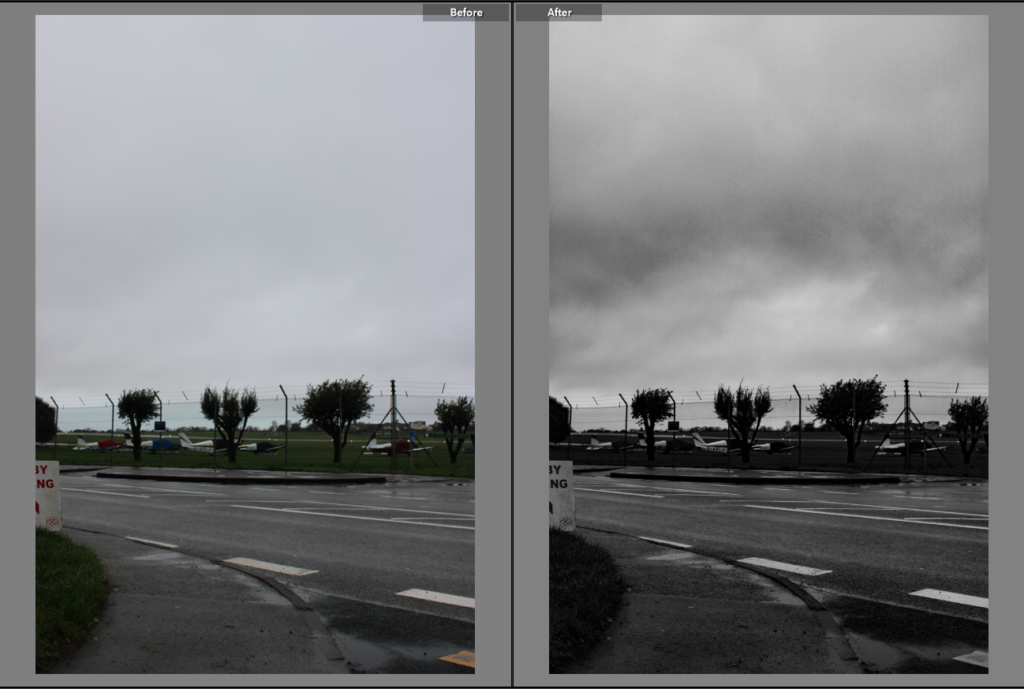
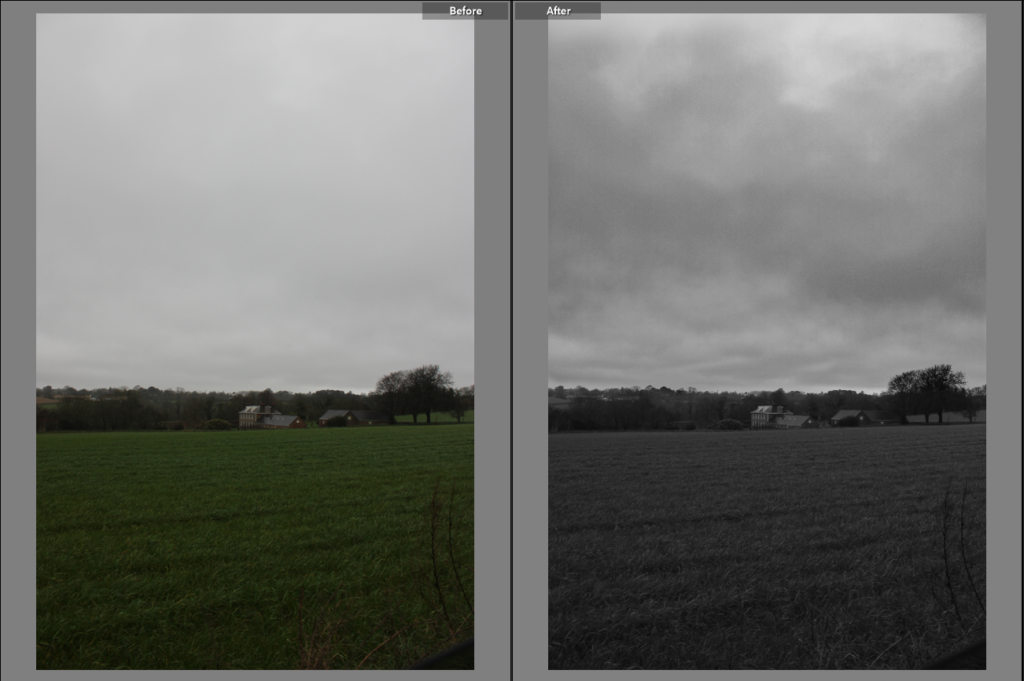
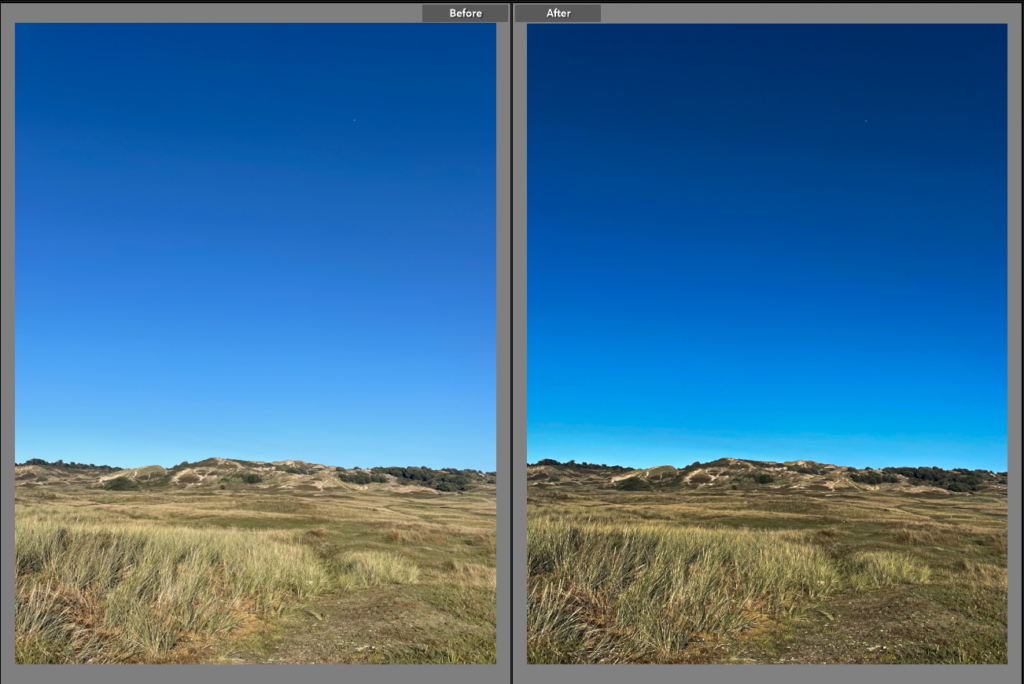
  • I selected three pictures that I wanted to edit and then selected in one of the picture, I decreased the exposure by -1.67, vibrancy by -100 and saturation -46, increased clarity by +37 and dehaze by +33
  • Then I did the same thing to the other two pictures.
  • After I pressed file and open in adobe photoshop and selected the three pictures I had just edited and positioned them the way I liked.
  • Then I cropped the image using the cropping tool.
  • Then I saved the image to a folder and that’s how I created this image.

Experiment 3:

Editing process:

  • I opened Adobe Lightroom.
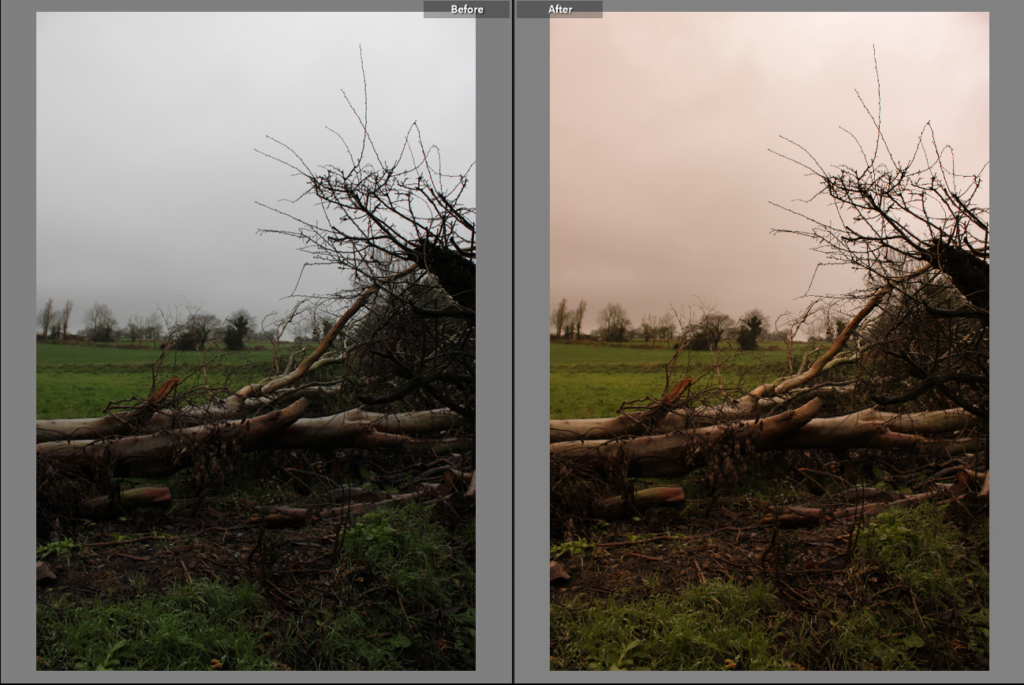
  • I selected three pictures that I wanted to edit and then selected in one of the picture, I decreased the Temperature by -26
  • Then I did the same thing to the other two pictures.
  • After I pressed file and open in adobe photoshop and selected the three pictures I had just edited and positioned them the way I liked.
  • Then I cropped the image using the cropping tool.
  • I then I pressed on the background which is on the right bottom of the screen and pressed flatten image so that I could add some adjustments to the image.
  • On the right bottom side of the screen I pressed adjustments and pressed once on the black and white (warm) adjustment.
  • Then I saved the image to a folder and that’s how I created this image.

Experiment 4:

Editing process:

  • I opened Adobe photoshop
  • I pressed file and open and selected the three pictures I chose and positioned them the way I liked.
  • Then I cropped the image using the cropping tool.
  • Then I saved the image to a folder and that’s how I created this image.

Experiment 5:

Editing process:

On the left side the picture was edited like,

  • I opened Adobe Photoshop.
  • On the top left, I pressed file and open and then selected one of the pictures that I wanted to use. I left the picture as it was and then pressed file and open and chose my second picture.
  • With the second picture, on the left side I selected the object selection tool and pressed on the photo, precisely the subjects face. It selected the subjects face and then I pressed on it again so that it showed a pink outline.
  • After, I right clicked on my mouse and pressed layer via copy. it created a copy of the subjects face whilst still keeping the picture the same.
  • I pressed the move tool on the left side of the screen on photoshop.
  • I grabbed the copy of the subjects cut out face and dragged it to the top of the screen where it showed the first tab I opened which was the one where it had my first picture. The cut out was transferred to my first picture and I placed the cut out on the desired place.
  • As I placed my cut out on the first picture, it created one layer, one layer for the cut out so overall I had two layers.
  • In each layer minus the first later, I put the opacity to 48% and fill to 83% which is on the right bottom side of the screen to create a ghost like texture to the one cut outs.
  • I then I pressed on the background which is on the right bottom of the screen and pressed flatten image so that I could add some adjustments to the image.
  • On the right bottom side of the screen I pressed adjustments and pressed once on the Soft Sepia adjustment.
  • Then I cropped the image using the cropping tool.
  • Then I saved the image to a folder and that’s how I created this image.

On the right side the picture was edited like,

  • I opened Adobe photoshop
  • I pressed file and open and selected another picture.
  • Then I grabbed the right and left picture and put it on another opened file in Photoshop and positioned them how I liked them.
  • I then I pressed on the background which is on the right bottom of the screen and pressed flatten image so that I could add some adjustments to the image.
  • On the right bottom side of the screen I pressed adjustments and pressed once on the Soft Sepia adjustment.
  • Then I cropped the image using the cropping tool.
  • Then I saved the image to a folder and that’s how I created this image.

Experiment 6:

Editing process:

  • I opened Adobe Lightroom.
  • I selected three pictures that I wanted to edit and I selected two pictures (left and right) and I decreased the temperature by -67, and then the last picture (middle picture) decreased the temperature by -37
  • After I pressed file and open in adobe photoshop and selected the three pictures I had just edited and positioned them the way I liked.
  • Then I cropped the image using the cropping tool.
  • Then I saved the image to a folder and that’s how I created this image.

Case Studies

Shannon O’Donnell

Background: Shannon is a talented individual who completed her A level studies and continued with a passion for photography and in fact has recently completed her BA (Hons), a degree in documentary photography at the university of South Wales. Her age and birth date is unknown as there is no evidence of that type of information.

During her 3-year degree, she developed a number of projects based around gender identities and constructions. Her work is quite known and in fact has a certain uniqueness and depth to it.

Shannon is an amazing artist. She approached her work with a performative approach where she explores the gendered experience which are both personal and within contemporary and historical capitalist Britain. Shannon has a variety of ways she shows her art, she presents her art through things like, audio, text, archival research, moving stills and of course photography. She was the former Digitisation and Outreach Coordinator at the Société Jersiaise Photographic Archive and current Digitisation and Cataloguing Officer at Jersey Heritage

Photo case study

Claude Cahun

Background Claude Cahun was born in 25th of October 1894, Lucy Schwob in Nantes, France into a wealthy jewish family. Cahun was incredible, not only was she an artist but she was a photographer and writer. She is best known for her unique self portraits where she creates a range of personas, some include, weight lifter, doll and aviator. Cahun explored and questioned gender, identity and subconscious of mind, particularly position of women. She did this through her art and in the way she spent her life.

Later, in her late teens/early twenties, Cahun had been looking for a gender neutral name. Soon she changed her name to Claude Cahun in 1918.

Claude, soon moved to Jersey Channel Island, with her lover, Marcel Moore and her stepsister. Suddenly she was imprisoned and sentenced to death in 1944, accused of activities in the resistance during the occupations. Luckily, Cahun survived and nearly reached to the point where she was forgotten until in the 1980s where she started to be recognised, once again for her art. Lots of Cahun and her lovers work was destroyed by the Nazis due to them requisitioning their home.

Unfortunately, Cahun died in 1954 from ill health. It was rumoured that her time in captivity in German might have been partially to blame for her death. Later, Cahun lover, Moore killed herself in 1972. Both Cahun and Moore are peacefully buried together in St Brelade’s churchyard.

Photo case study:

Photographers who explore femininity and masculinity through gender, identity and self.

Nan Goldin

Nan Goldin, full name Nancy Goldin who was born September 12, 1953 is an American photographer and activist. Her work regularly explores moments of intimacy, LGBT subcultures, and the opioid epidemic, and the HIV/AIDS crisis.

Nan is an outsider by instinct and said to be nocturnal by nature and someone who lives on the edge of society where she creates her own rules. She revealed herself and name in the 1980s, visually recording her own stubborn life, and the often promiscuous lives of her circle of friends, which it included characters like addicts, hustlers, transvestites and prostitutes. Because of this, she redefined photography.

Cindy Sherman

Cindy Sherman, real name Cynthia Morris Sherman, is an iconic self portrait photographer who famously became known due to her untitled film still, which was produced in 1977-80, where she put of guises and photographed herself in multiple different settings and resembled the mid 20th-century B movies.

She was always interested in identity as she stated that “I wish I could treat every day as halloween, and get dressed up and go out into the world as some eccentric character”

She probed the contractions of identity where she often played with visual and cultural codes of art, celebrity, gender and photography.

Shannon O’Donnell

Shannon is a women who completed A level studies and continued with a passion for photography and in fact has recently completed her BA (Hons), a degree in documentary photography at the university of South Wales.

During her 3-year degree she developed a number of projects based around gender identities and constructions.

Claude Cahun

Claude Cahun was born in 1894, Lucy Schwob in Nantes, France into a wealthy jewish family. Cahun was the whole package, she was an artist, photographer and writer. Till this day, she is known for her surreal self-portrait photography where she dressed up as different types of characters. Cahun explored and questioned gender, identity and subconscious of mind, particularly position of women. She did this through her art and in the way she spent her life.

Later, in her late teens/early twenties, Cahun had been looking for a gender neutral name. Soon she changed her name to Claude Cahun in 1918.