All posts by Tallulah Emery

Filters

Author:
Category:

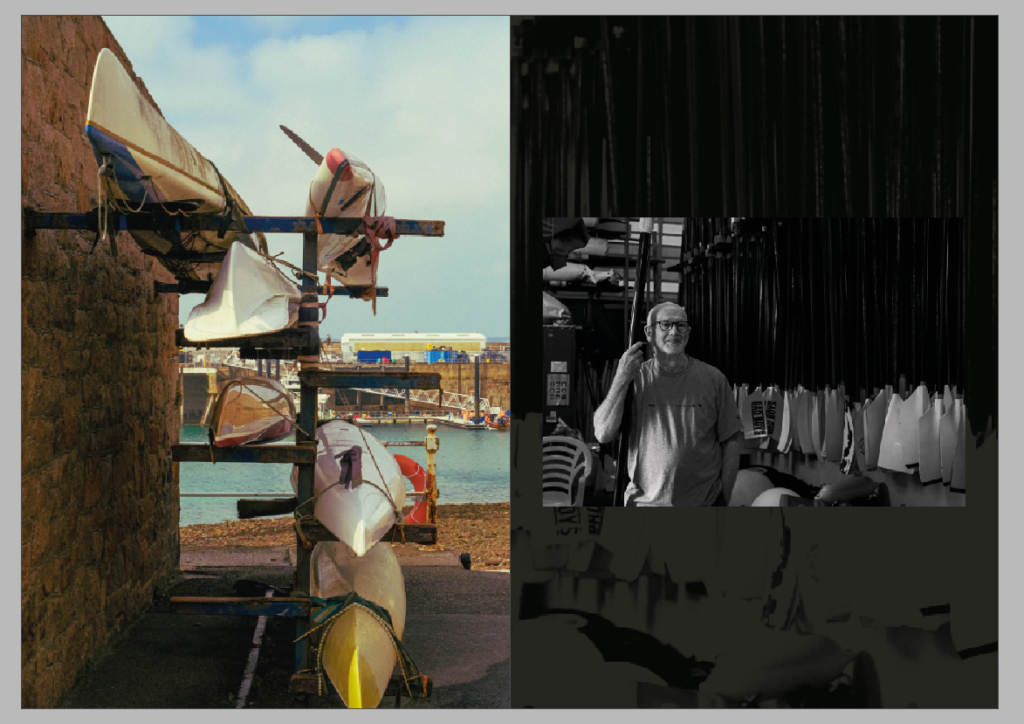
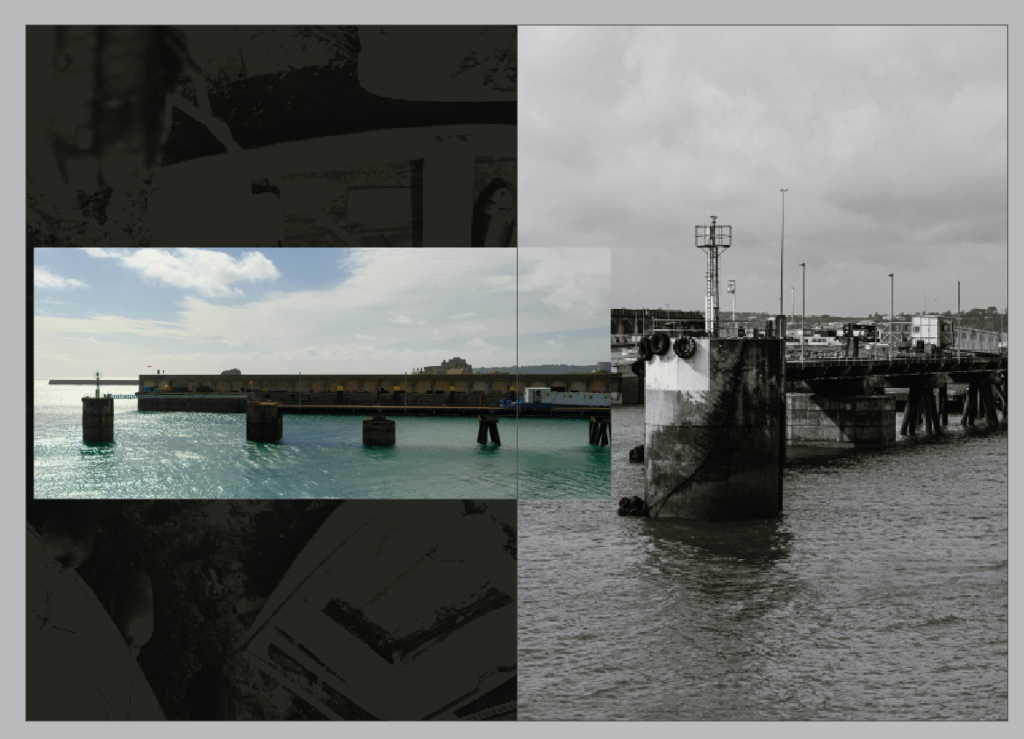
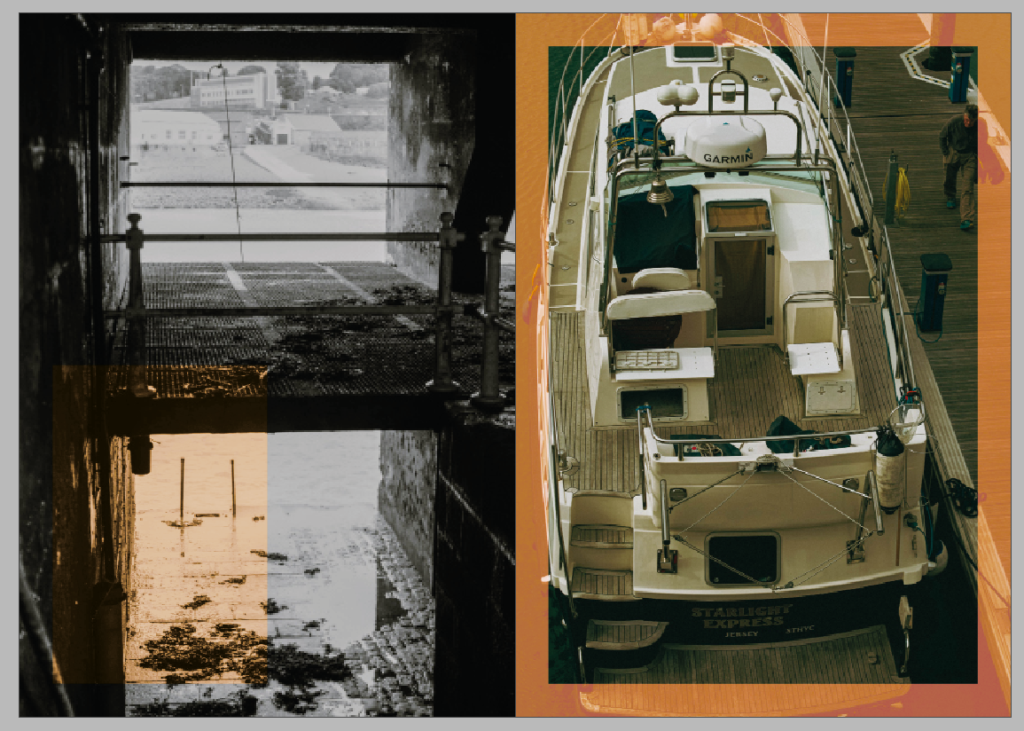
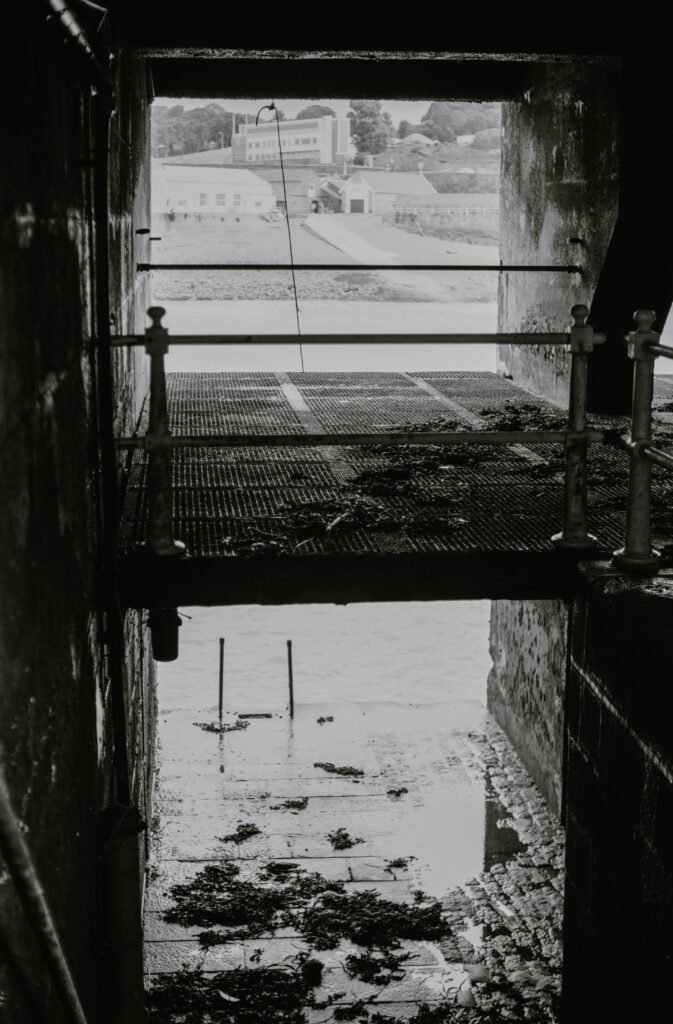
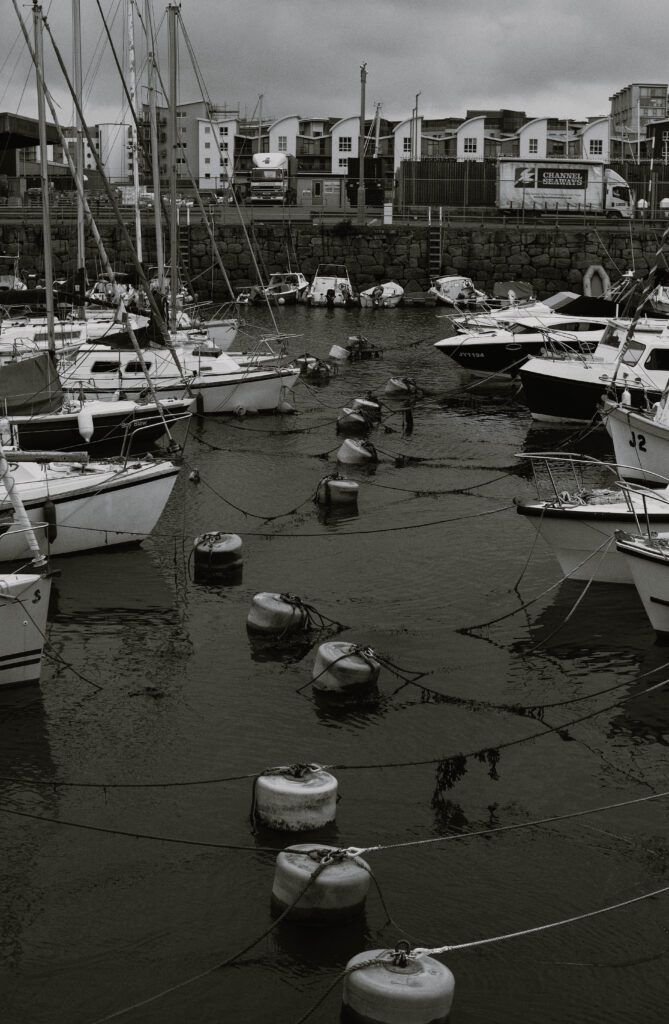
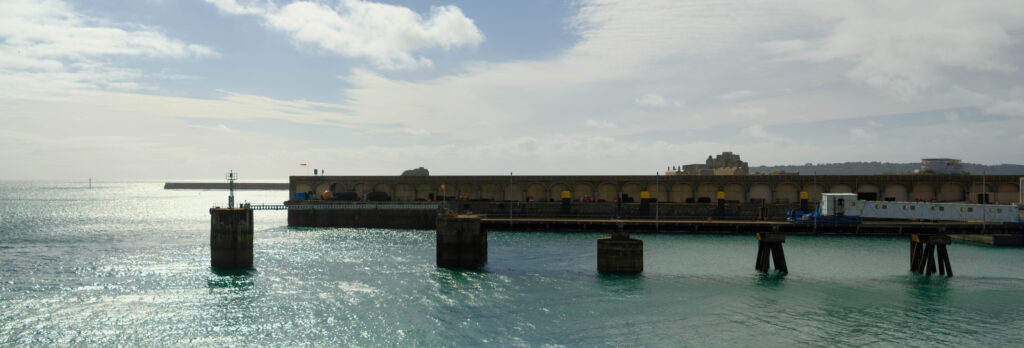
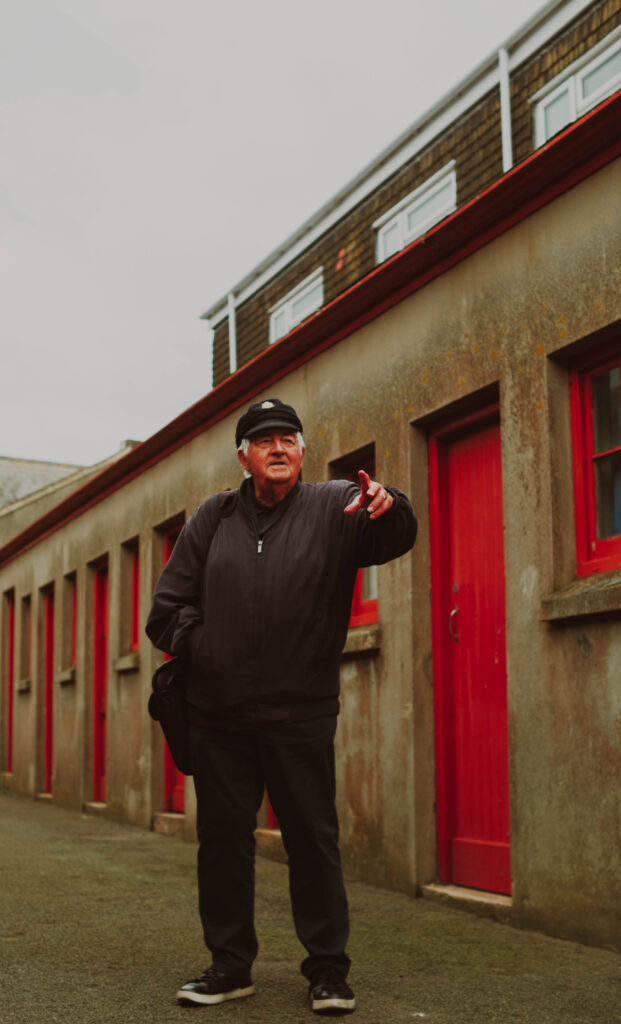
New Topographics Photoshoot

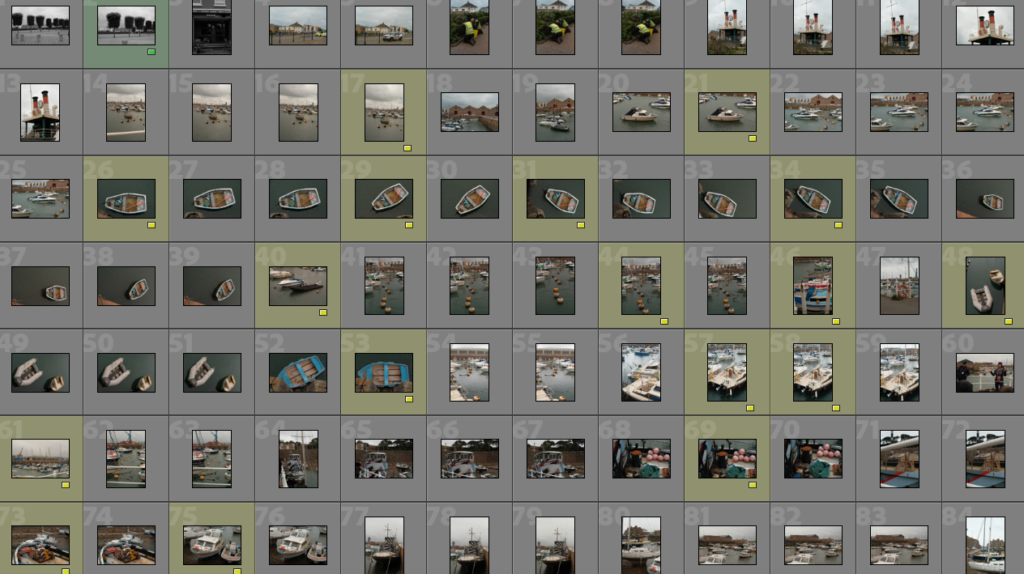
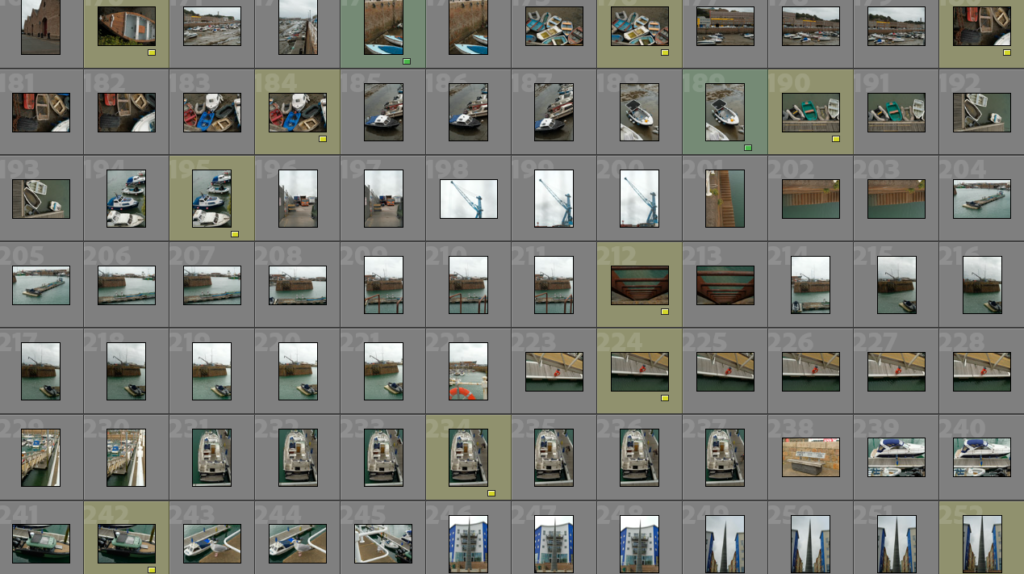
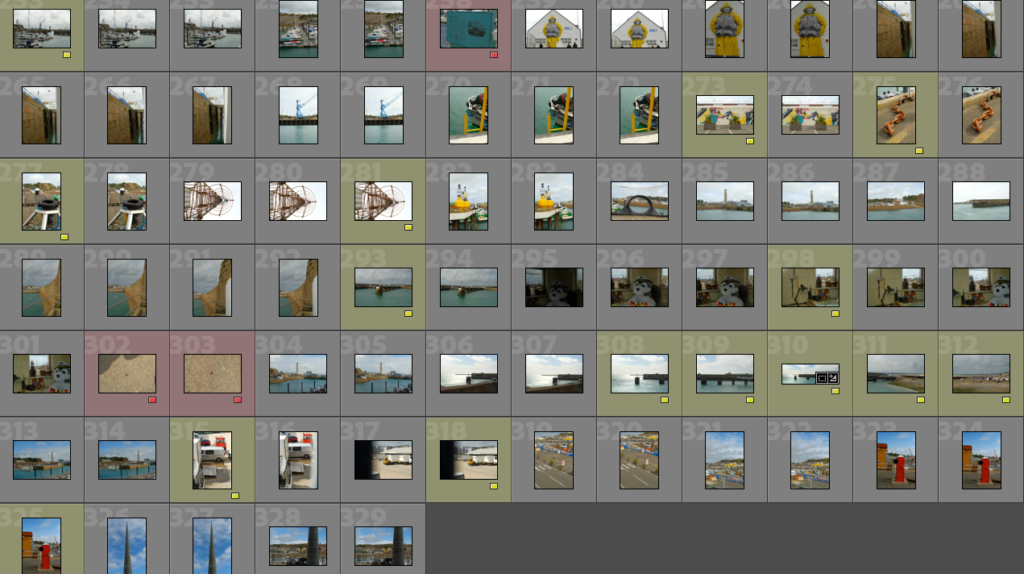
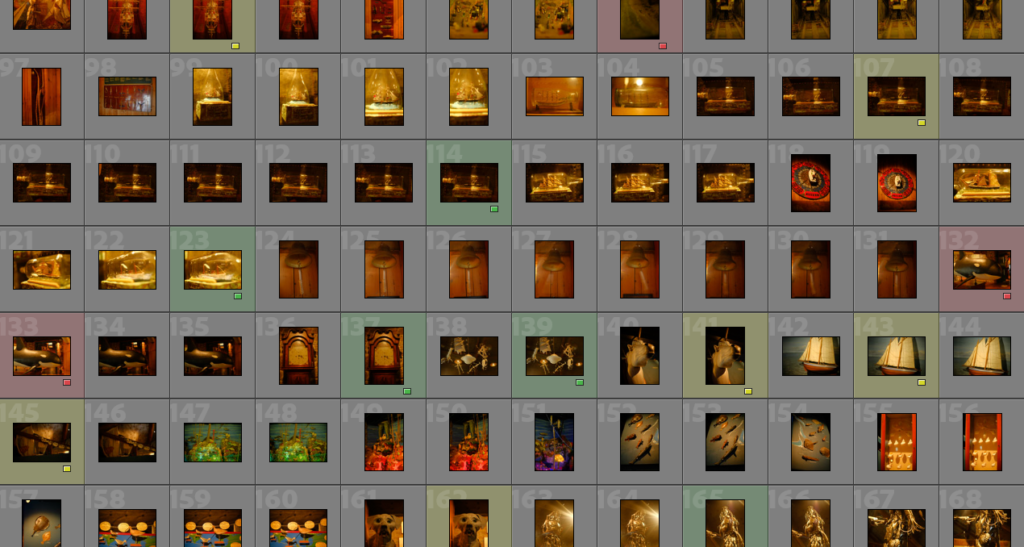
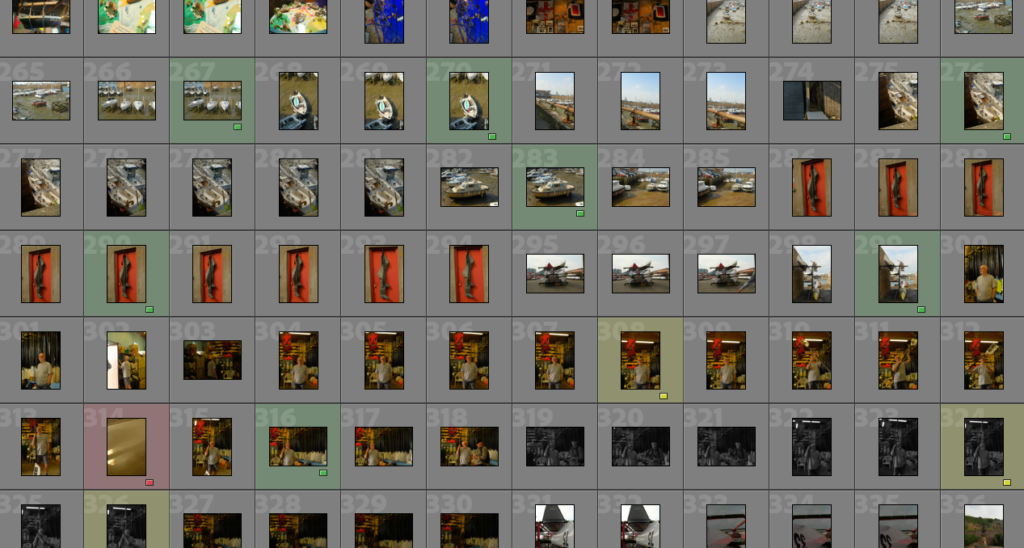
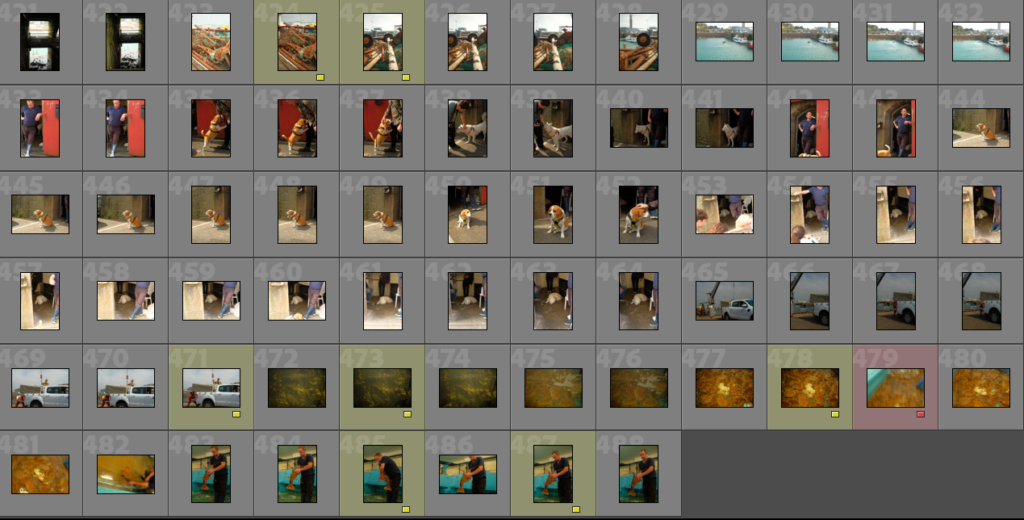
Contact Sheets


AEB/HDR merge – I set my cameras settings to Auto Exposure Bracketing to take this photo, and merged them together in Lightroom to make a HDR photo.

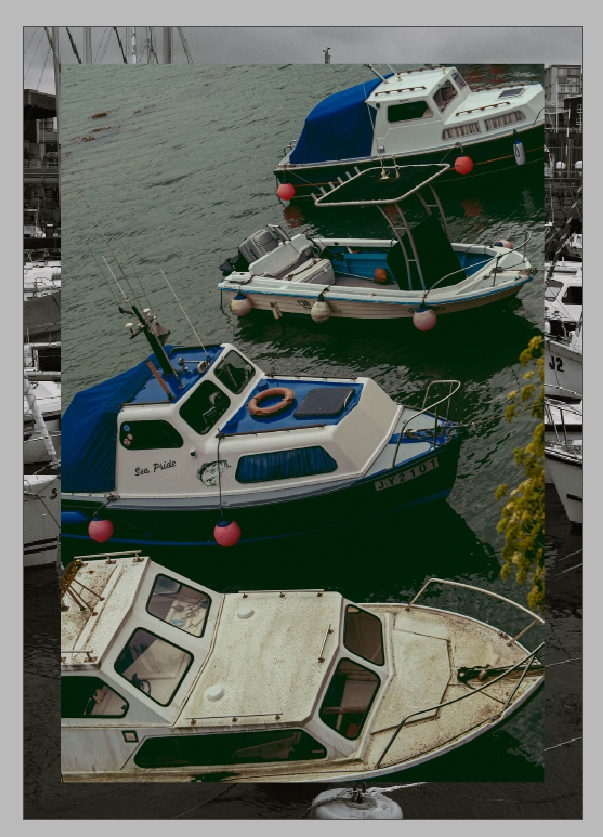
Panorama – I experimented with making two panoramas out of six landscape photos by merging them in Lightroom, I decided that I preferred the second panorama, which will be the one I am going to edit.


Edits

Edit 1

In black and white:

Before and After

Edit 2

In colour:

In black and white:

mask on rocks:

Before and After

Edit 3

In colour:

In black and white:

I chose to edit this photo because it features three different buildings with distinct architectural styles.

Before and After

Edit 4

Before and After

Edit 5

In colour:

In black and white:

Transform used to align image with grid:

B&W edits:

Edit 6

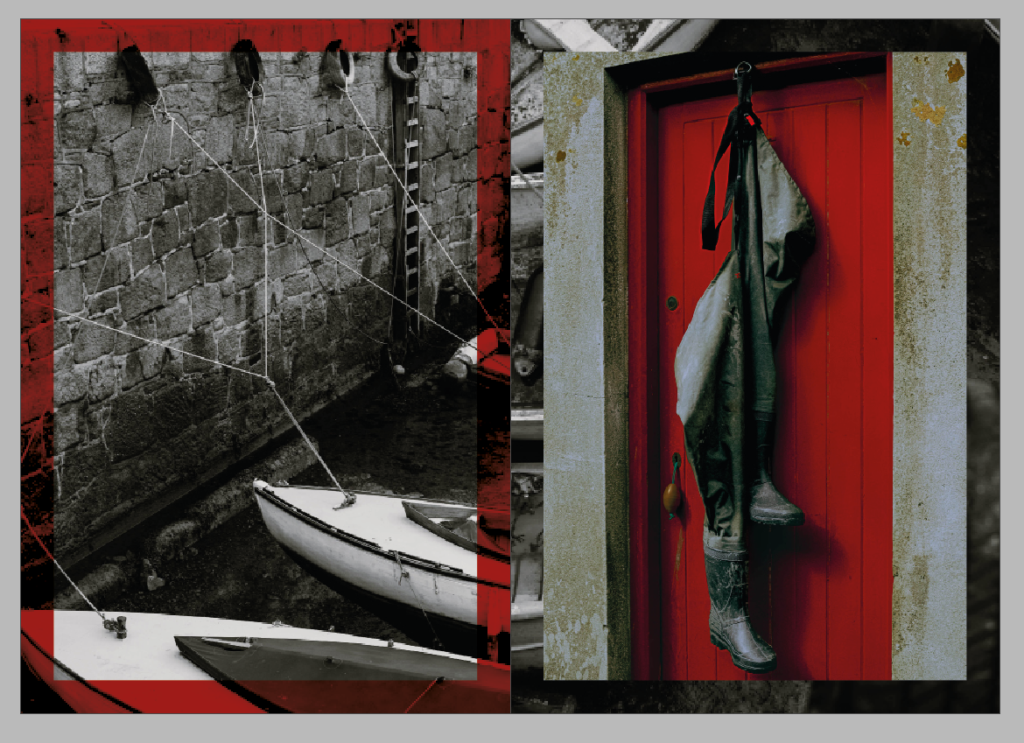
I am presenting this photo split up and cropped into two photos, because it offers two unique perspectives and a different shape of the same structure.

Before and After

Edit 7 & 8

Before and After

Romanticism Landscape Photos

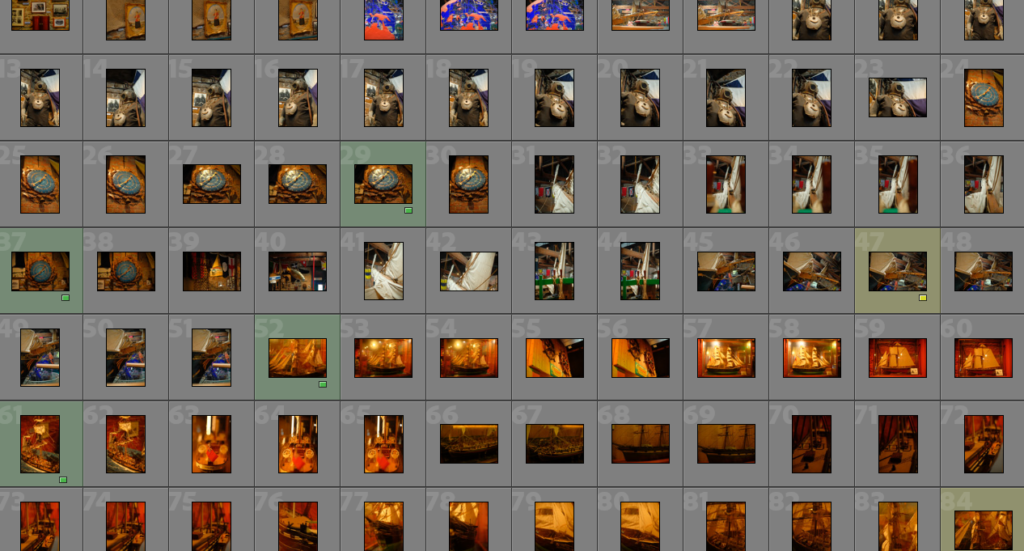
Contact Sheets

Photoshoot for Romanticism/Sublime, inspired by Ansel Adams

This image has an empty alt attribute; its file name is image-47-1024x463.png

Experimentation with Auto Exposure Bracketing:

Three photos I took at different exposures

HDR Merge:

Merged photo edited


Ansel Adams Best Photos/Edits

Edits

Edit 1

HDR Merge

-1
0
+1

Edit 2

HDR Merge

-1
0
+1

Edit 3

HDR Merge

-1
0
+1

Edit 4

HDR Merge

+1
0
-1

Edit 5

HDR Merge

+1
0
+1

Auto Exposure Bracketing

Auto Exposure Bracketing (AEB) is useful for capturing scenes with a high amount of contrast. When AEB is selected, the camera automatically takes three or more auto-bracketed shots each at a different exposure. Many digital cameras have an AEB option.
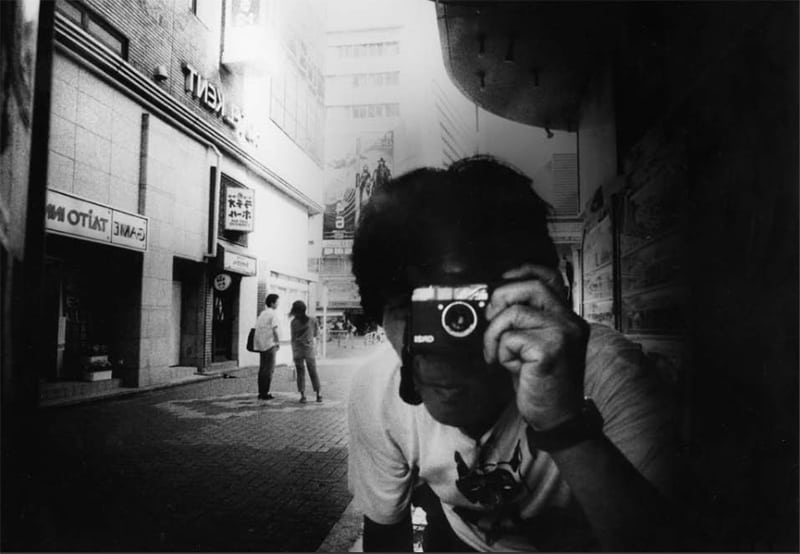
The most common method of using Auto Exposure Bracketing is to adjust the exposure to what appears best for the photo, and it will take three or more photos either side of the exposure you think is best, one slightly darker and one slightly lighter. Once combining the photos taken with different exposures, it creates a HDR photo, which is rich in detail in the parts of a photo that would be underexposed or overexposed by using the single exposure instead.

Below are examples of photos taken with Auto Exposure Bracketing (AEB) and merged to become High Dynamic Range (HDR) photos, allowing the details from every bracketed exposure shot to be seen:

Example with one of my landscape photos:

Three photos at different exposures

-1
0
+1

Merged HDR photo:

Research – Ansel Adams

Ansel Adams was an American landscape photographer and environmentalist born 20th February, 1902 and died 22nd April, 1984. He is mostly known known for his photography capturing black and white landscape images. Adams favoured sharp focus in photographs and advocated for photographers to use the full tonal range in their photographs by helping found ‘Group f/64’. He also developed the ‘Zone System’ with Fred Archer, which is a technique of determining optimal film exposure and development.

The camera equipment Ansel Adams used to take his most well known photos were with 8×10 and 4×5 view cameras. He also used other types of equipment such as 35mm and medium format roll film through less common formats (Polaroid type 55 and 7×17 panoramic cameras).

During Adams early childhood, he experienced the 1906 San Francisco earthquake, in which the aftershock led to him breaking and scarring his nose, with it remaining crooked for the rest of his life. He was interested in playing the piano at age 12 and taught himself to play and read music. Once visiting Yosemite National Park in 1916 with his family, his father gave him his first camera during the stay. Adams enjoyed the beauty of nature since he was a young age, and he would explore landscapes such as beaches and sea cliffs.

Zone System

Developed by Ansel Adams and Fred Archer, the Zone System is a photographic method of determining optimal film exposure and development. This system assigns numbers beginning from 0 and ending at 10 to different values of brightness. These brightness values typically include 0 representing pure black, 5 (V) representing middle grey, and 10 (X) representing pure white.

Visualisation

A principle of the Zone System is Visualisation, which is when a photographer manages to capture an evocative and eye-capturing photograph which involves the consideration by the photographer of where the camera is placed, which lens is used, and possibly the movement of the camera.

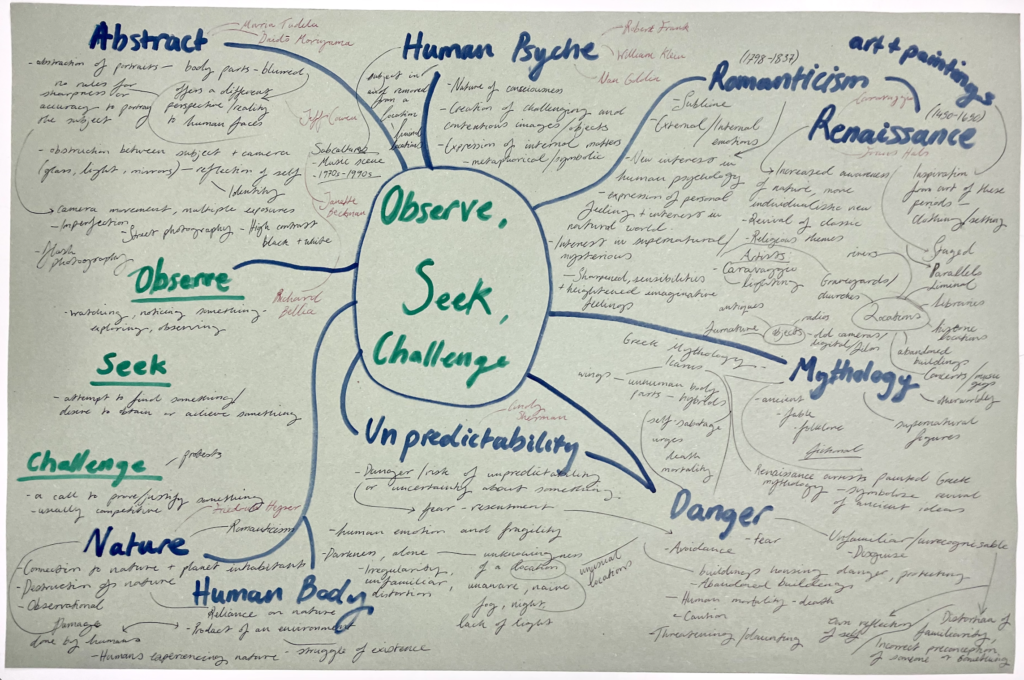
Romanticism / Sublime

What is Romanticism?

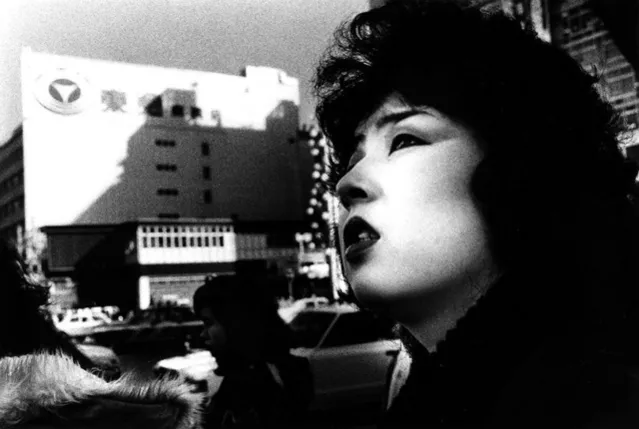
Romanticism is an artistic and intellectual movement which is characterised by its emphasis on emotion and individualism as well as glorifying nature and the past, preferring the medieval over classical. Romanticism began in Europe near the end of the 18th century in approximately 1770, during a time of war with the French Revolution, which fuelled it. The romantic movement was primarily a reaction against the scientific rationalisation of nature and a revolt against the restrained emotional nature and the overwhelming changes in society introduced by industrialisation. For most of the Western world, its peak was approximately 1800 to 1850.
The Raft of the Medusa by Théodore Géricault, 1819

A main characteristic of romanticism is the deepened appreciation towards nature. There is a range of romantic landscapes which portray and praise nature for its ferociousness and lack of mercy, or it being beautiful and serene.


What is the Sublime?

Caspar David Friedrich, 1818

Sublime is described by Edmund Burke as an artistic effect that is “the strongest passion”, and in all cases terror and fear is the ruling principle. Furthermore, the sublime is associated with evoking the feeling of the strongest emotion that the mind is capable of experiencing, usually surrounding nature, which inspires great awe and terror knowing you are smaller and insignificant in comparison and at the mercy of nature.

JMW Turner, 1842
JMW Turner, 1819

Origins of Landscape Photography

Landscape All the visible features of an area of land, landscape photography typically captures the presence of nature but can also focus on human-made features or disturbances.

Timeline of Landscape Photography

Joseph Nicéphore Niépce, 1826/1827
Louis Daguerre, 1839
Edward Steichen, 1904
Edward Weston, 1941
Ansel Adams, 1942
Andreas Feininger, 1945
Stephen Shore, 1979
Joel Sternfeld, 1987
William Eggleston, 2000

When did landscape photography originate?

Landscape photography originated between the years of 1826 and 1827, with a photograph which was taken by a French inventor named Joseph Nicéphore Niépce (1765-1833). This photograph, called “View from the Window at Le Gras”, was captured using a heliography process.

When did landscape emerge as a genre?

The tradition of depicting landscapes declined after the fall of the Roman Empire, and was viewed as a setting for religious and figural scenes only. However, during the Renaissance period in the 16th century, Landscape emerged as a genre in Western culture, where artists began viewing landscapes in their own right.

Nicolas Poussin

In a classical landscape, the positioning of an object was deliberate in order to create a harmonious and balanced composition. Classical landscapes emerged as a genre in the 17th century. A leading painter of the style of classical landscapes was Nicolas Poussin (1594-1665), a French painter who began painting landscapes in the late 1630s.
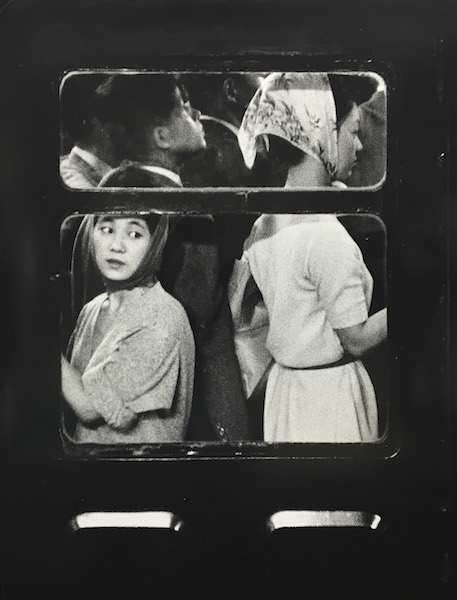
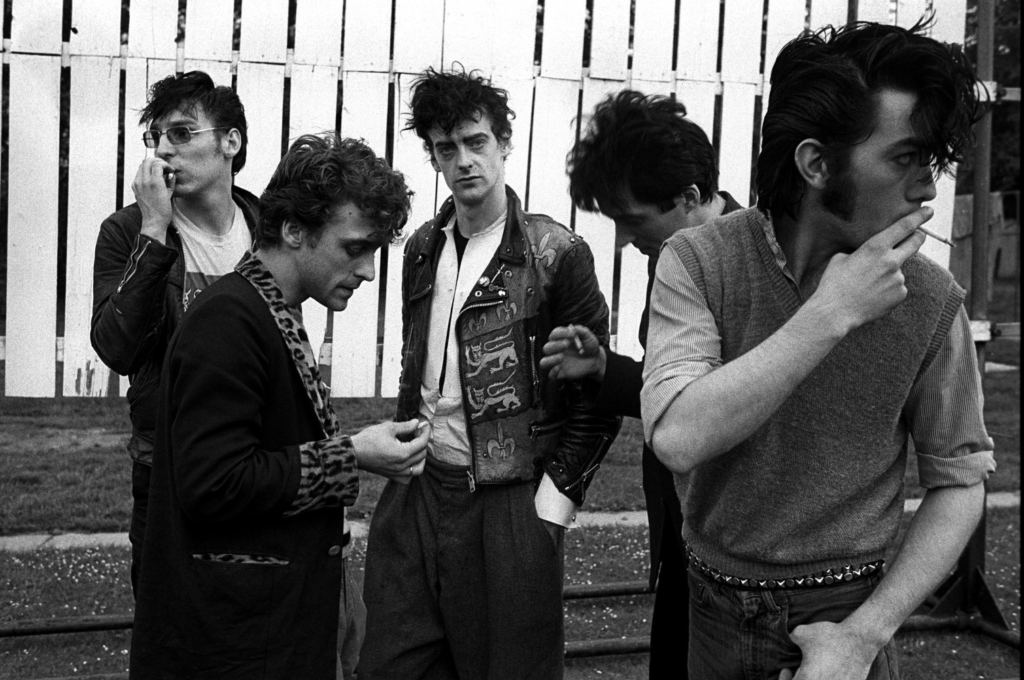
What prompted the rise of Landscape art during the late 18/19th century?

Thomas Gainsborough

Landscape painting eventually gained prominence in the late 18th/19th century with the rise of Romanticism. Landscapes provided inspiration for the Romantics in literature, music, and art. Often regarded as a precursor of Romanticism, Thomas Gainsborough is a painter whose landscapes are regarded as “moody” in atmosphere, and they shift the focus from the objective record of the world to the subjective feelings of the artist.

Masculinity & Femininity Final Images

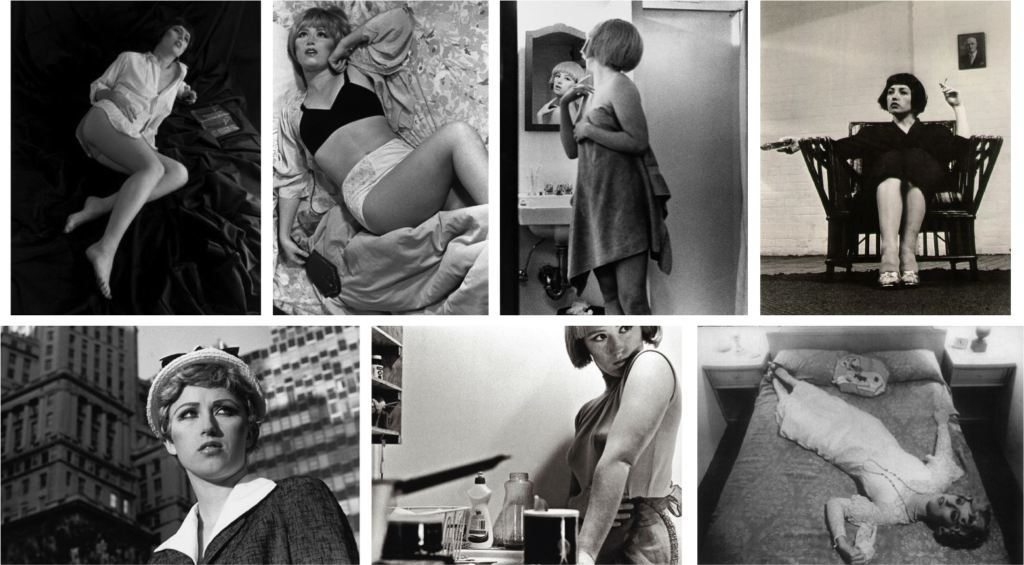
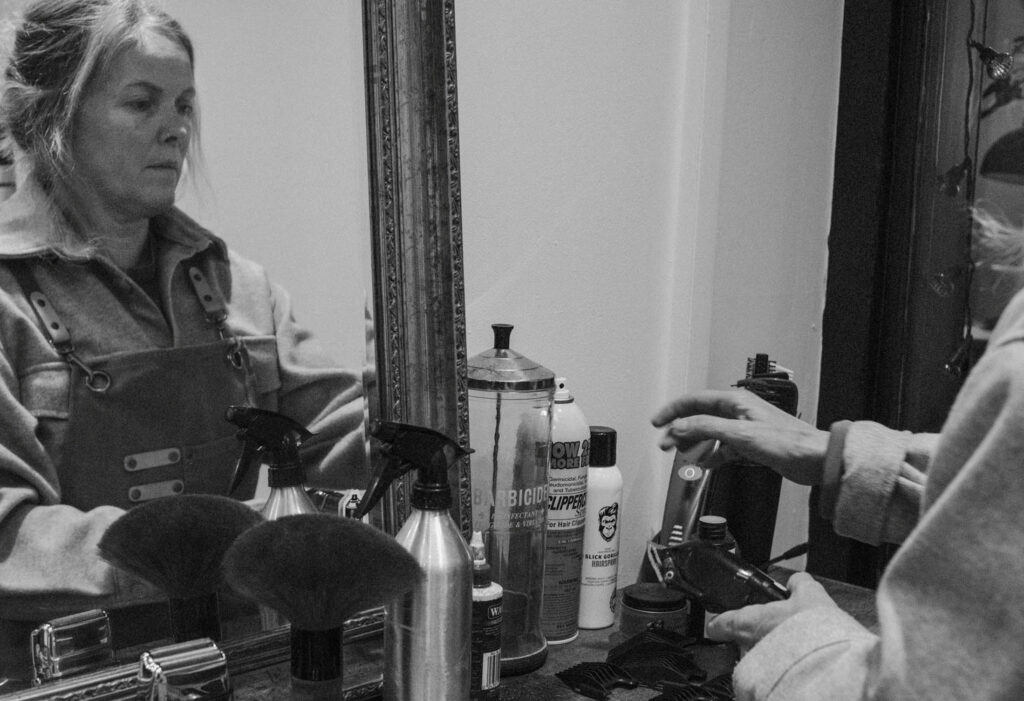
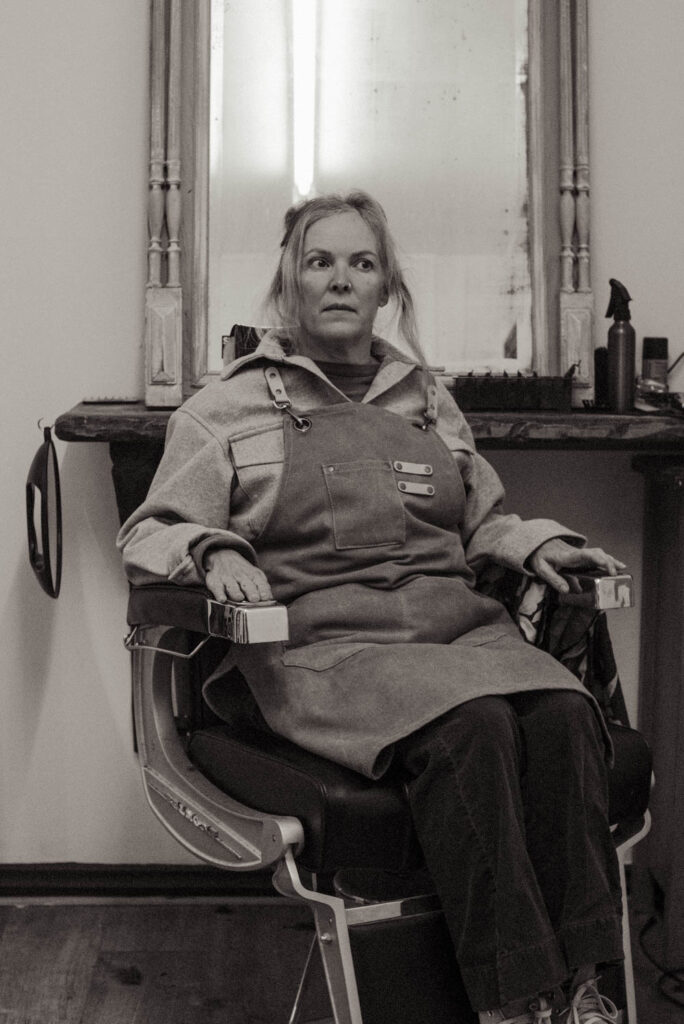
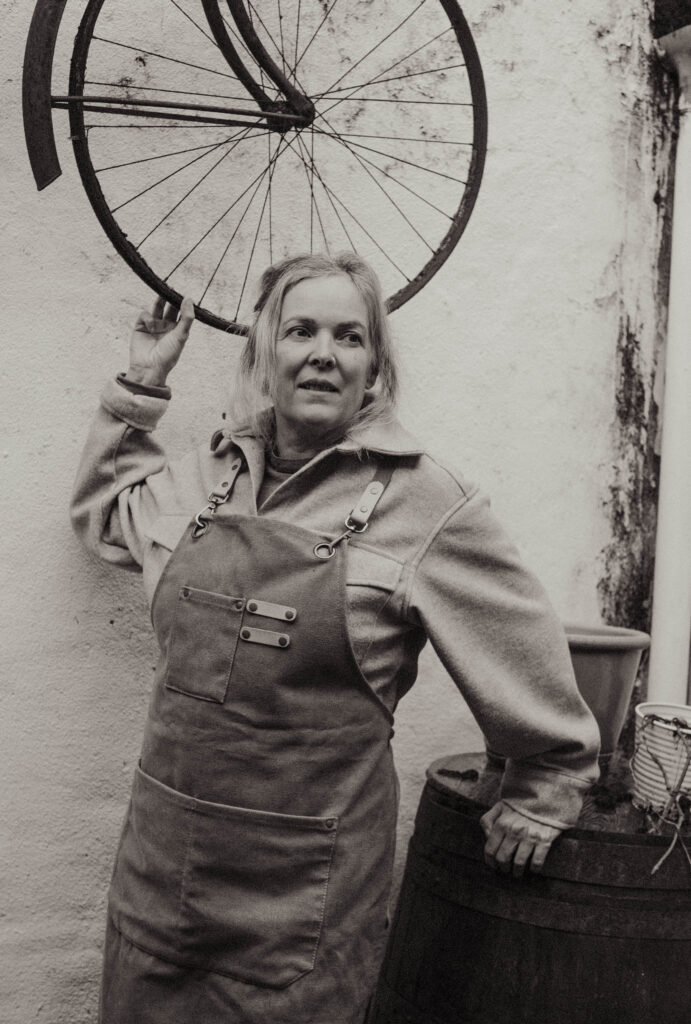
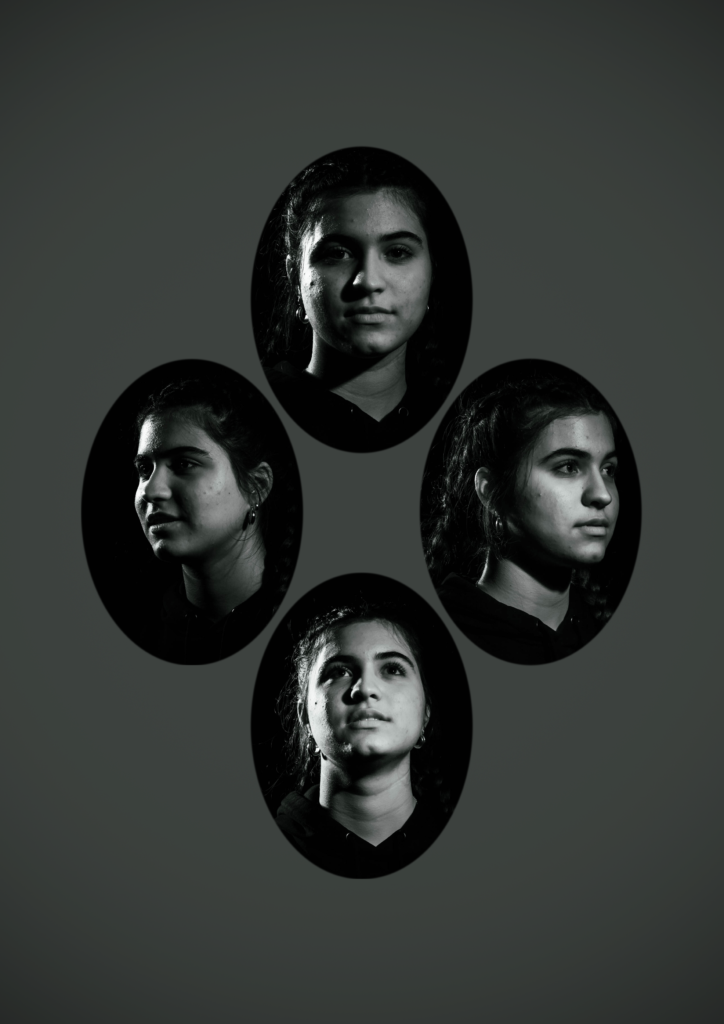
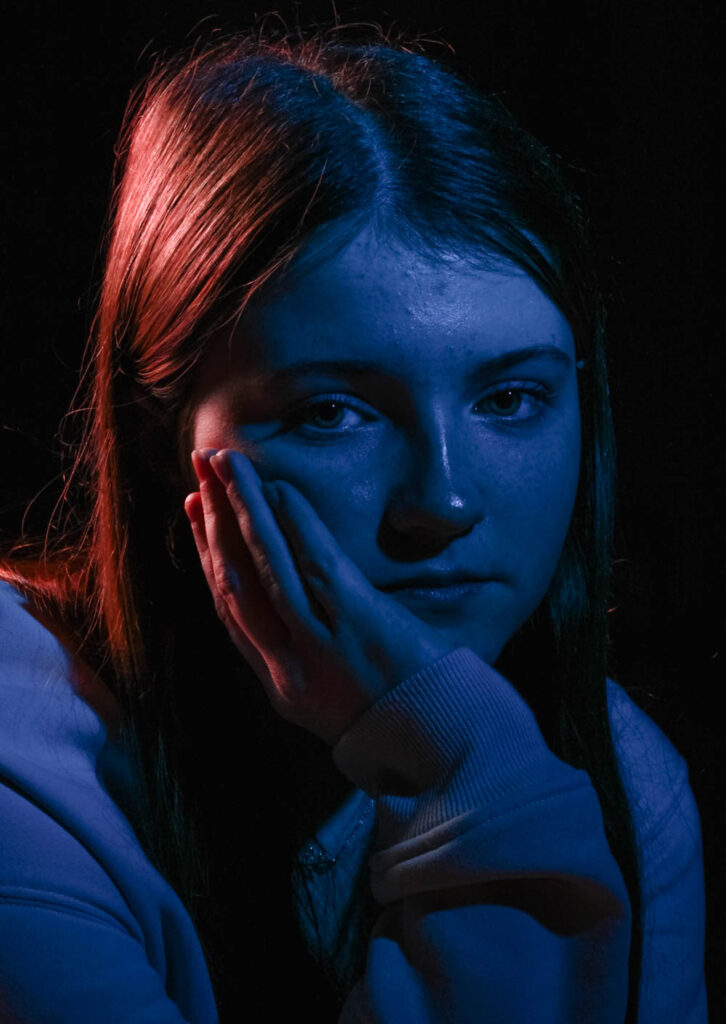
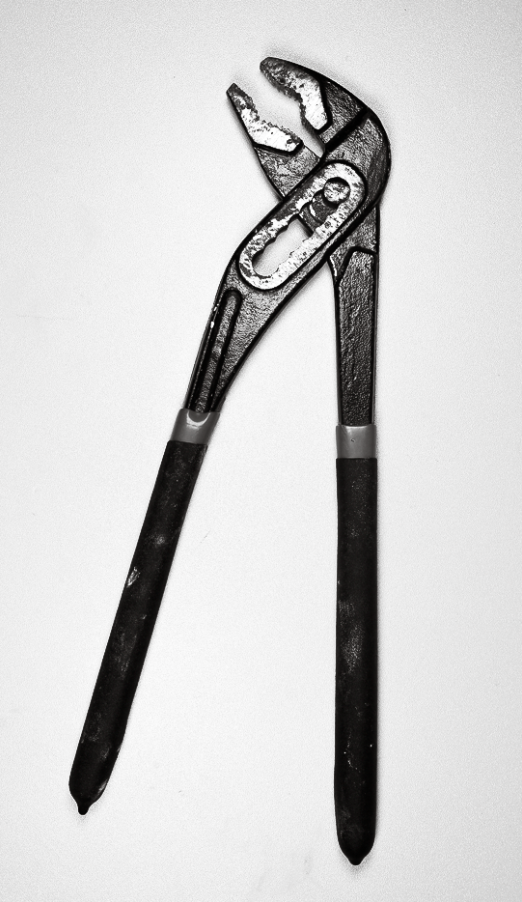
These are the photos from my Cindy Sherman inspired photoshoot that I have chosen and edited to be my final images:

My photos contrasted with Cindy Sherman’s photos:

Evaluation:

For this photoshoot, I decided to photograph my mother at her barber shop, and also wearing a barber apron. I chose this location with inspiration from Cindy Sherman because of how she challenged stereotypes of women being portrayed in media and films from the 50s and 60s, and I feel that this could be a more modern representation of a woman working and owning a business in a field of work which is usually more male dominated.

Critique: I feel like my planning for this photoshoot helped me understand the overall composition and staging in Sherman’s photos, and I was able to take inspiration from those. Deciding to take these photographs of my mother in her barber shop allowed me to tell a story through them, like Sherman did with her Untitled Film Stills. In my photos, both natural and artificial light was used, which I paid attention to and adjusted my settings accordingly for the different locations in and outside the building. However, In my contact sheets, I noticed some of my photos were underexposed, which I had to correct during editing by increasing the exposure or applying a mask on the subject’s face and then increasing the exposure or brightness.

Virtual Gallery

Diamond Cameo final image & Portrait final images

Virtual Gallery

Photoshoot Plan – Cindy Sherman

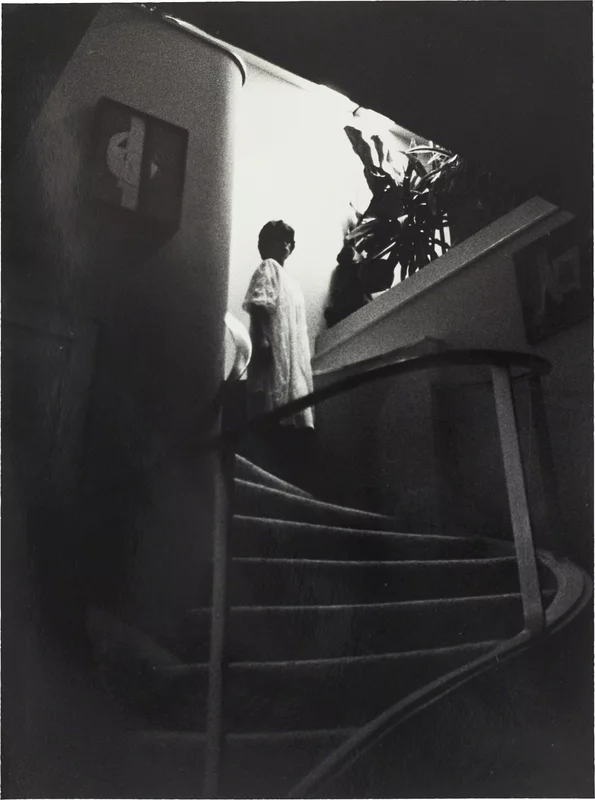
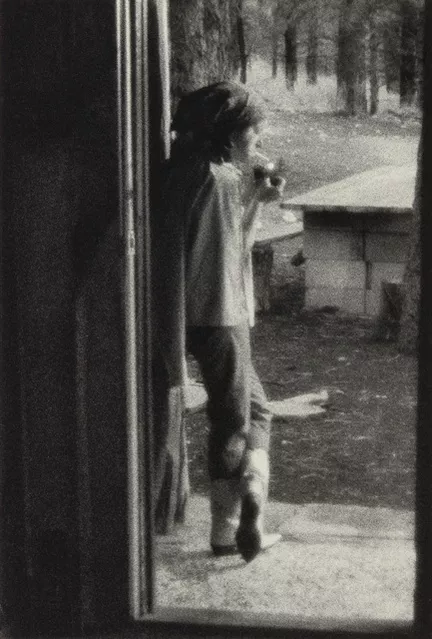
Photoshoot plan – inspired by Cindy Sherman’s ‘Untitled Film Stills’ (1977-1980)

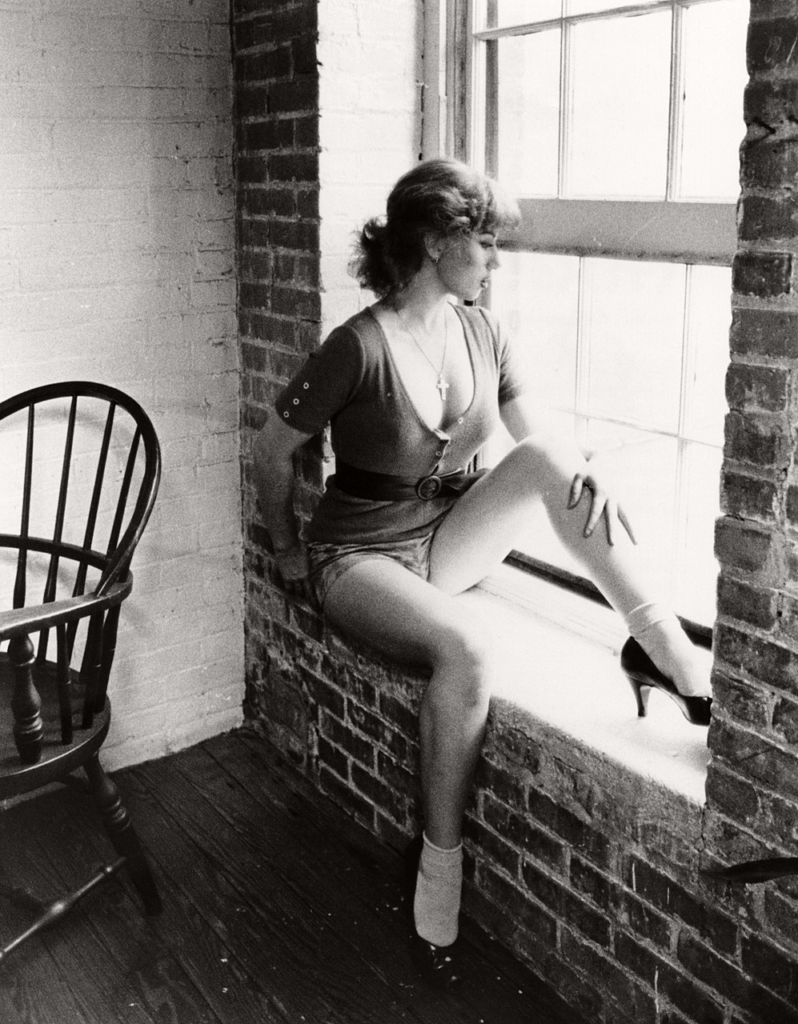
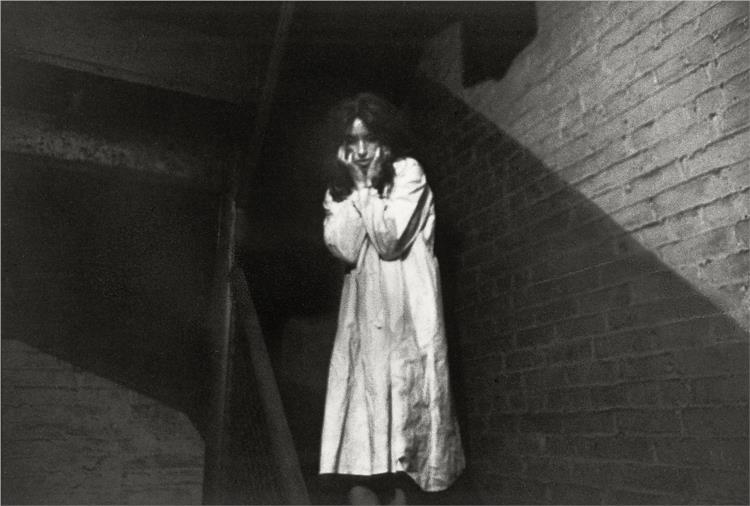
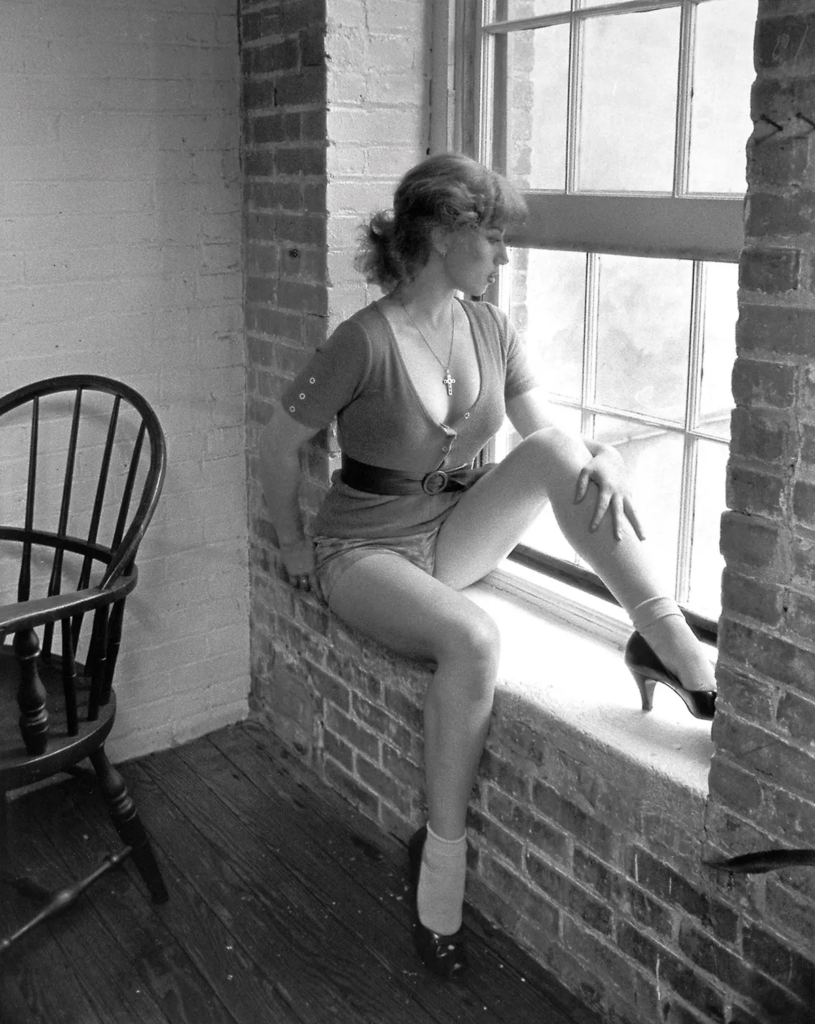
My first idea for this photoshoot is to take photos of someone else inside or outside at night, which are inspired by the portraits Sherman took of herself in her series of photographs called ‘Untitled Film Stills’. In some of these photos she took, she is outside and is also seen wearing clothing which contrasts against the environment she is in, for example, wearing a white dress with either dark interior walls or a dark night sky. I could also invert these colours for more variety in my photographs. I am inspired by these photographs Sherman took because of how this contrast makes the subject stand out whilst within different locations and landscapes.

For my photos to not be too underexposed if taken in a dark environment, the shutter speed has to be slower, with an ISO of around 800-3200, this will also make the image more grainy, and appear more like Sherman’s photographs. I might also use flash in some photographs, which I will have to change these settings, for example, lowering the ISO to around 200-400. These photos by Cindy Sherman have been taken from a distance, where the subject takes up less space in the composition with a large depth of field, so I will use a small aperture.


My second idea for this photoshoot is to take photos of someone else inside, either in a house or workplace, which are inspired by Cindy Sherman. I might also use some props for this photoshoot, for example, kitchenware or kitchen utensils within a typical kitchen setting, or equipment which is used within the job the who I am photographing works at. For clothing, the person I will be photographing could wear the attire which is usually worn at their workplace, which could depict how women are portrayed in media, as in Cindy Sherman’s case, she performed and challenged the different ways of how women are supposed to look and act to be considered typically female in film in the 1950s and 60s. She also exposes the artificially and culturally constructed idea of gender and femininity with her photos. For example, in Sherman’s photos where she is in the kitchen, she is often seen wearing an apron, which was prominent in films during that time.

For this photoshoot my camera settings will be different from the first photoshoot plan because there is more lighting and the photos might have less dark values. The ISO will probably be around 100-400, the shutter speed wont have to be too fast since the subject wont be moving much, and the depth of field/aperture will differ depending on the location and composition.
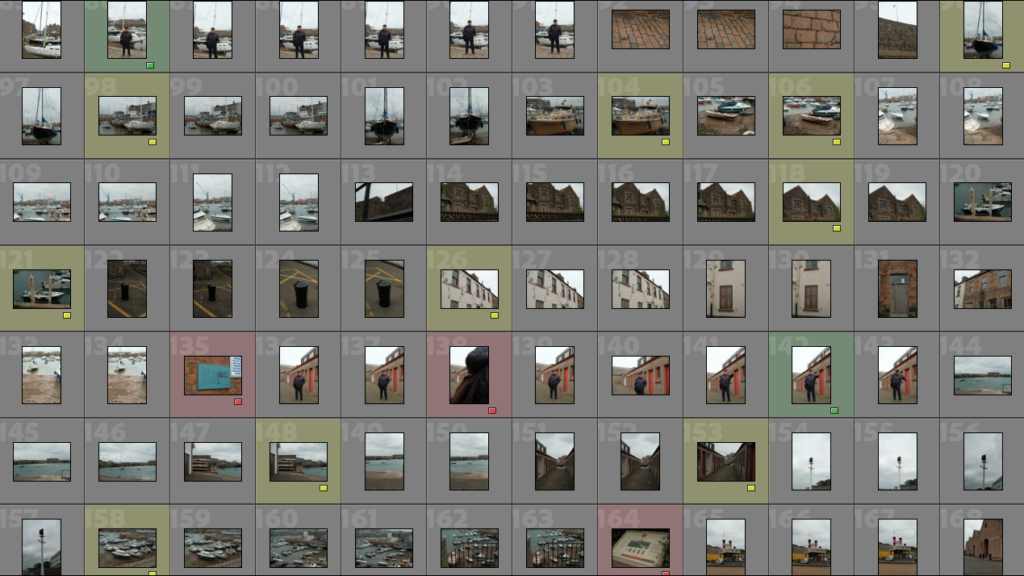

I will be using a Fujifilm digital camera to take these photos, which I feel will be able to replicate a similar look to Sherman’s photographs, using this camera I could also set the colour to greyscale, or change that during editing.

Research – Cindy Sherman

Cindy Sherman

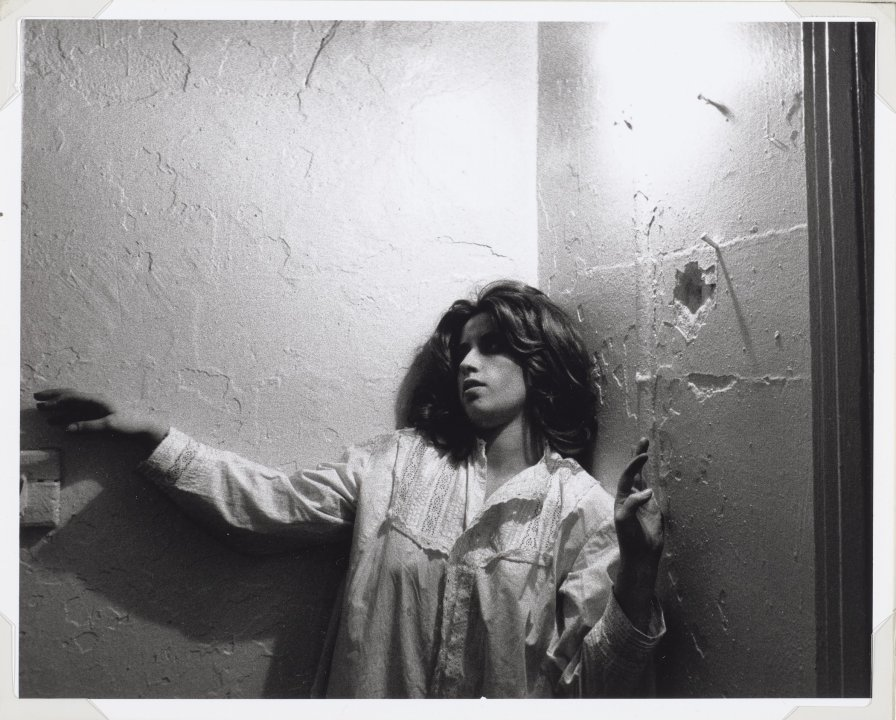
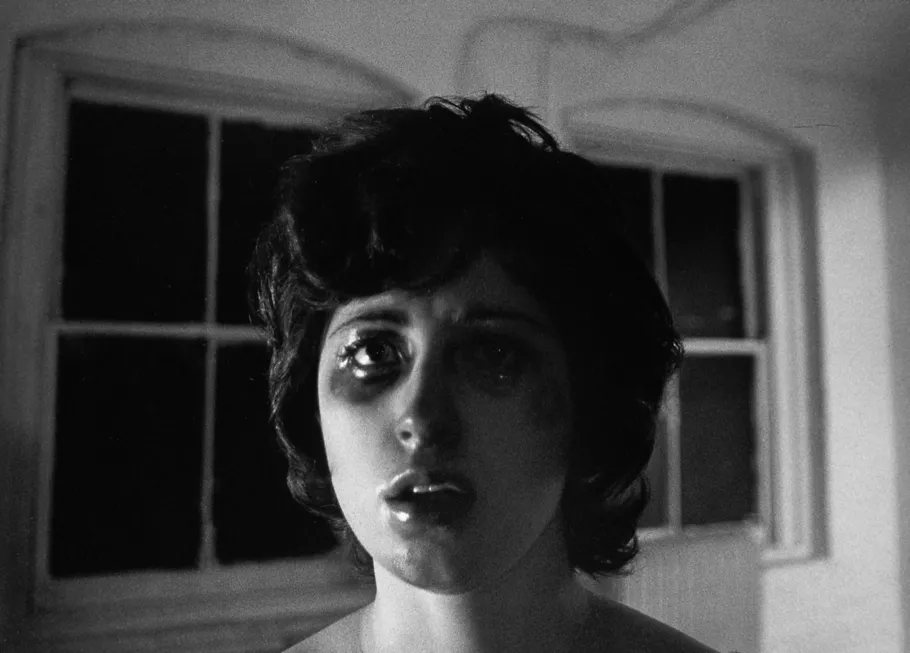
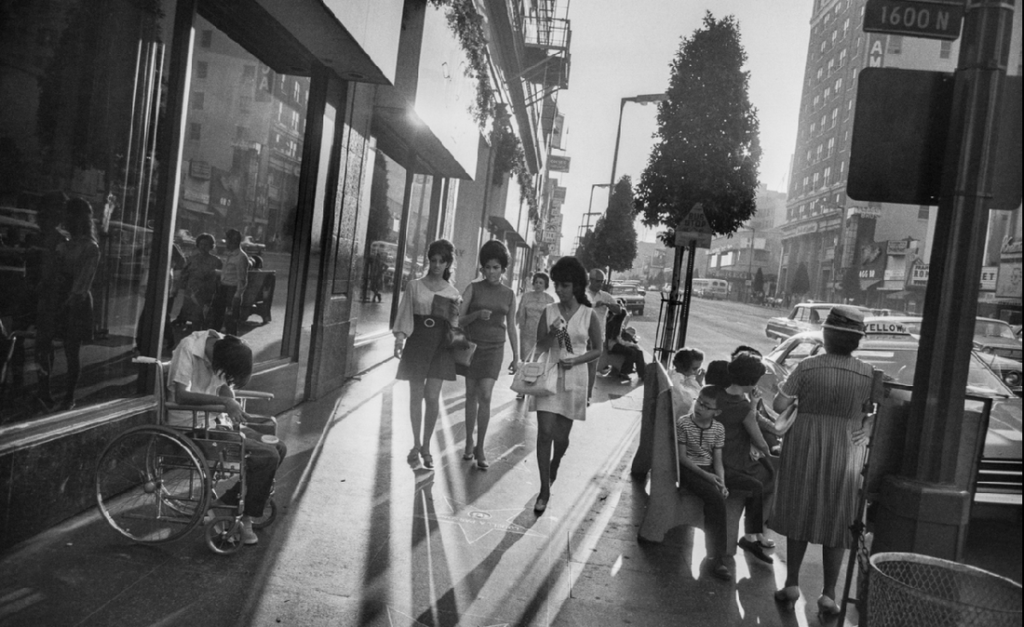
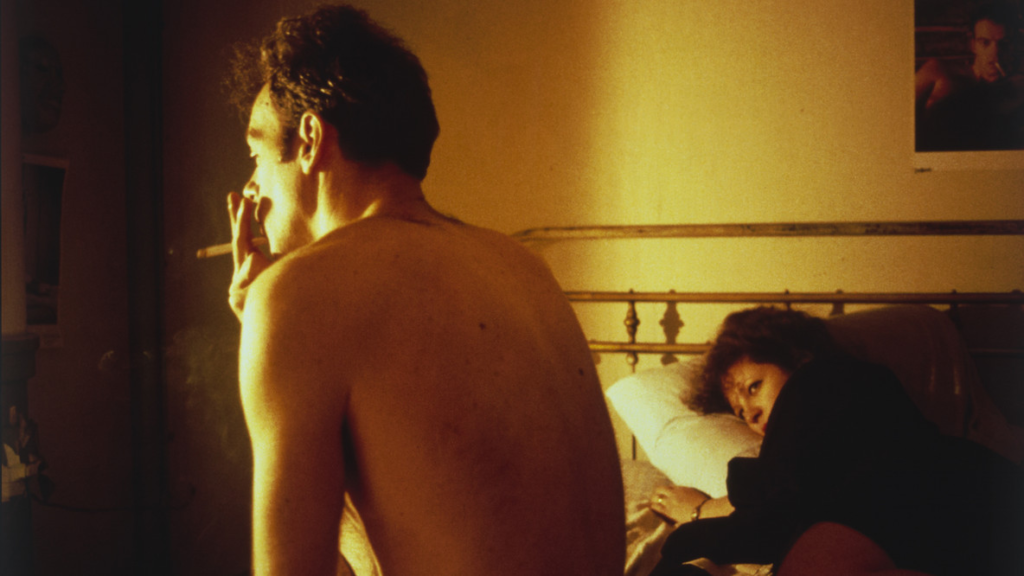
Cindy Sherman is an American photographer, born 19th January 1954 in Glen Ridge, New Jersey, United States, whose work consists primarily of photos which depict herself in many different contexts and as various different imagined characters. Sherman usually inserts herself into a dialogue about stereotypical portrayals of women in her photographs, which resemble scenes from 1950s and 1960s films.

Sherman has played with the visual and cultural codes of gender and photography. Shortly after moving to New York, she produced her Untitled Film Stills (1977-1980) starting when she was 23, where she dressed up as imaginary characters and photographed herself in various settings. These around 70 Film Stills immediately became a point of discussion for feminism, postmodernism, and representation, and still remain Sherman’s best-known works.

The Untitled Film Stills she produced seem to deliberately rely on female characters and caricatures in movies, and she used cinematic conventions to stage these photographs. Sherman was always interested in experimenting with different identities, she explained, “I feel I’m anonymous in my work. When I look at the pictures, I never see myself; they aren’t self-portraits. Sometimes I disappear.”

Image Analysis

This is a film photo by the photographer Cindy Sherman. There is one subject in this photograph. The focal point is Cindy Sherman by herself in the foreground sitting outside in a light dress on a tree branch and slightly to the right of the middle, which shows me the composition follows the rule of thirds. In this image, the lighting appears to be natural daylight on a cloudy day. The midground and background features a barren desert-like landscape, with occasionally a large rocky structure, stretching far into the distance. No aspects of the photo are overexposed or underexposed, and the contrast appears to be not too strong. The depth of field is sharp so I believe the aperture is f/11, as the background and midground is clear and not blurry. The shutter speed appears to be 1/125, and the image is slightly grainy, so I believe the ISO is around 6400.