All posts by Ruby Garcia

Filters

Author:
Category:

Response to Cole Ndelu

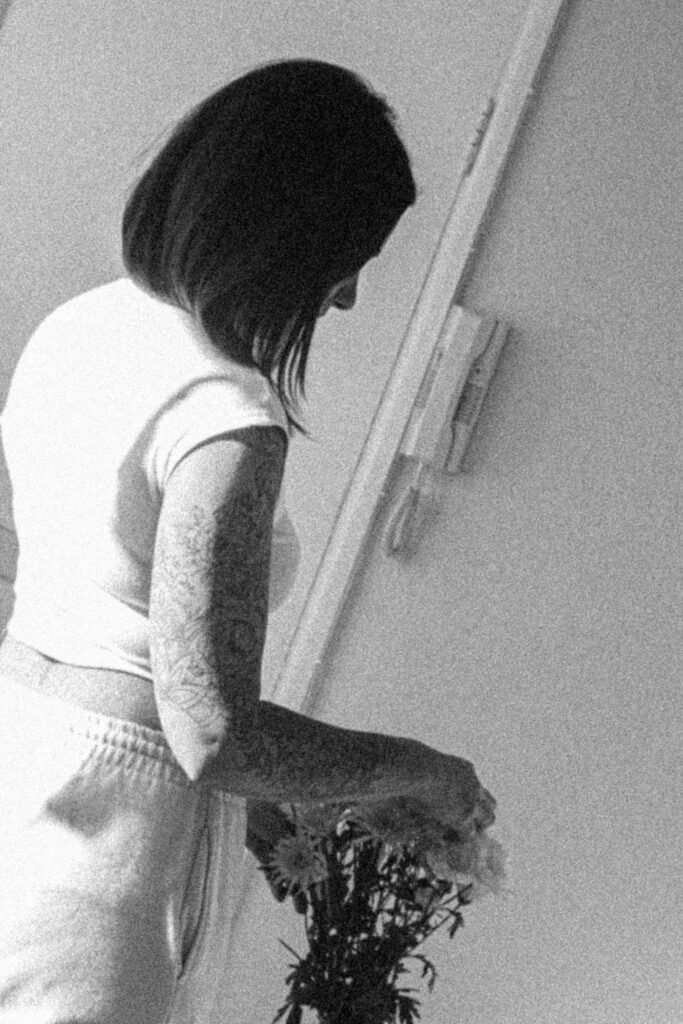
I chose to take photos in response to Cole Ndelu’s project ‘a study on femininity’. To respond to this I will take my photos in a home environment using a white curtain for the background as Ndelu also uses plain simple backgrounds in her photos. I chose to take photos of my family members holding things such as flowers and leaves in a similar way to Ndelu.

Photoshoot 1:

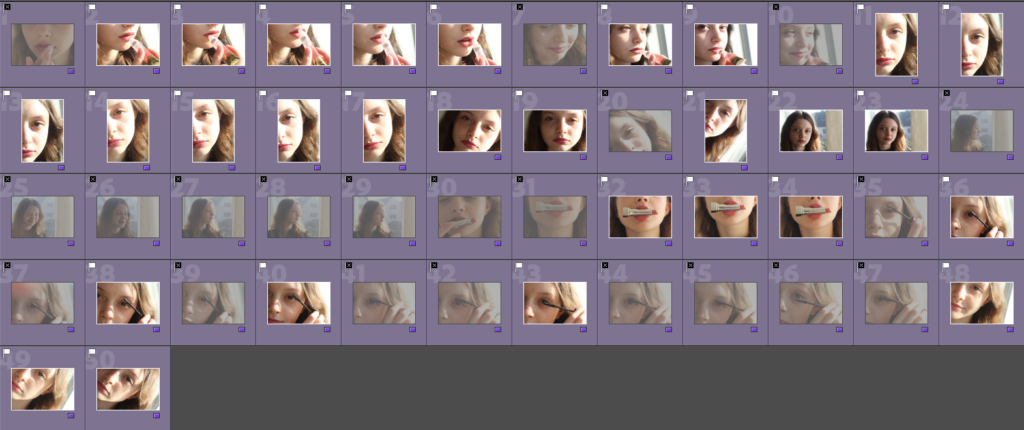
In this first photoshoot I took 43 photos using a mix of fake a real flowers as a prop. I chose to use similar poses to the ones used in Ndelu’s collection of photos.

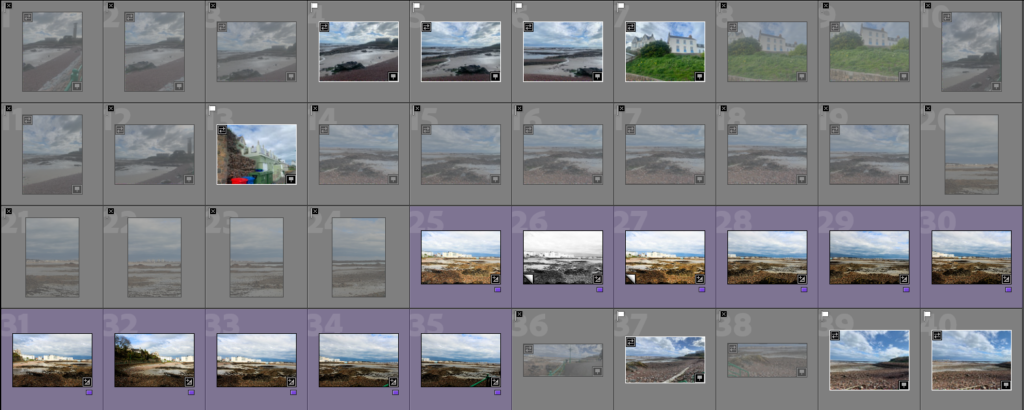
I went through my photos and flagged them with either a white flag, meaning the photo was good, or a black flag, meaning the photo wasn’t.

Best photos:

These are my best photos as they are clear and most similar the Ndelu’s work.

Editing photos:

 First edit:

Original photo before editing:

I found that the photo before editing was slightly too dull and I didn’t like the stray hairs as they showed up clearly against the white background and made the photo look less sharp. In this shoot artificial lighting was used.

To edit this photo I began by adjusting the exposure as I found the light was quite dull. I also increased some of the other lighting settings. Next I adjusted the colour settings as i wanted a more saturated warm photo similar to the photographers photos.

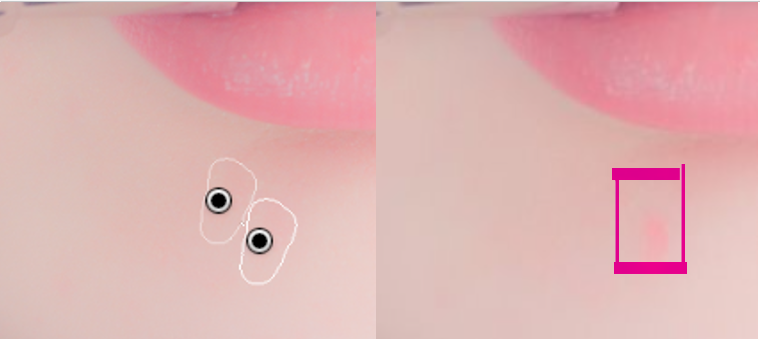
To improve the photo I removed some of the stray hairs from the top of the head as well as the hand using the healing tool in adobe Lightroom. This made the photo look sharper and cleaner.

Final outcome:

For my final edit I decided to use the vignette tool in order to draw the views eyes towards the centre of the photo where the models eye is. I also cropped the photo to remove the extra space around the model and the flowers. The flowers add a feminine aspect to the photo as they are widely associated with women due to their beauty. The flowers also add in an aspect of nature to the photo which is also associated with women and the stereotypical idea that they are meant to have a nurturing personality. The photo has more of a warm tone in comparison to the original version of it.

Edit 2

Original photo before editing:

I decided to experiment with this edit by adding a pink tint to it. I used the auto generated tone settings to see whether or not they improved the photo and they did. I also decreased the texture as I wanted this photo to have a smooth look. I added a light vignette to the photo so that the focus is brought to the centre of the photo where the flowers and model are.

To remove strands of hair and the creases in the eye I used the spot removal tool. This makes the photo look much neater than the original one.

Finally, I cropped the photo to get rid of the extra unneeded space from both sides of the photo.

Final outcome:

In this photo the model is holding a glass jar of white flowers, whilst editing I chose to leave the models hands in the photo as I think it gives a nurturing look to the photo which is a stereotypical aspect of a woman. I created a soft look to the photo by reducing the texture, I did this to enhance the nurturing sense of the photo as it makes the model look gentle and kind, which are stereotypical traits of women, rather than adding a sharp texture which wouldn’t give the same look. The pink tone to the photo shows colour stereotypes, women are associated with the colour pink whereas men as associated with blue. The composition of this photo has the model and the flowers in the centre causing them to be the only focus of the photo, there is also little background space which makes sure the viewers attention isn’t taken away from the main focus.

Photoshoot 2

In this shoot I used a different model in a different environment, I also used different flowers. I experimented with different poses in a similar way to Cole Ndelu. In this shoot natural lighting was used.

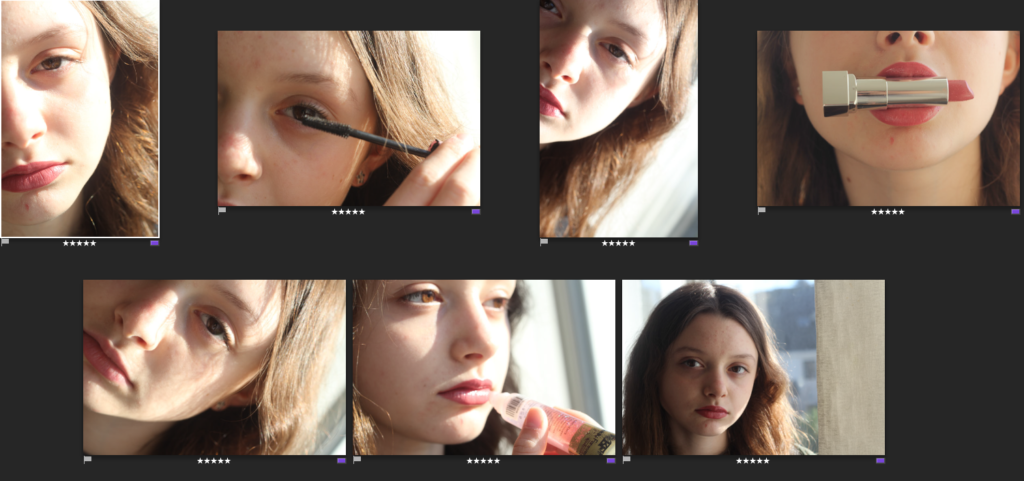
I again labelled my best shoots using either a white (good) or a black (bad) flag so that editing and selecting my final photos would be easier.

Best photos

Editing:

Original photo before editing:

Due to taking photos against the light the photo has a dull look to it so using adobe Lightroom I will improve this.

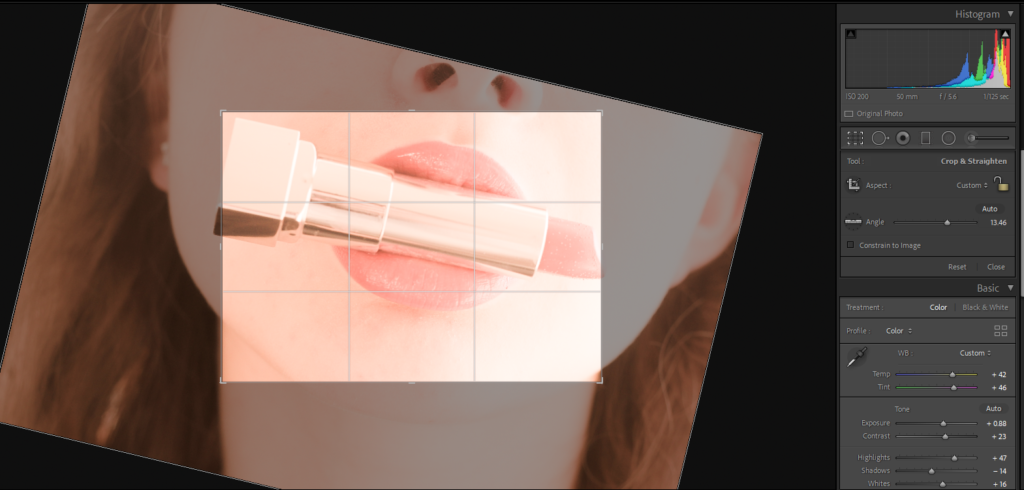
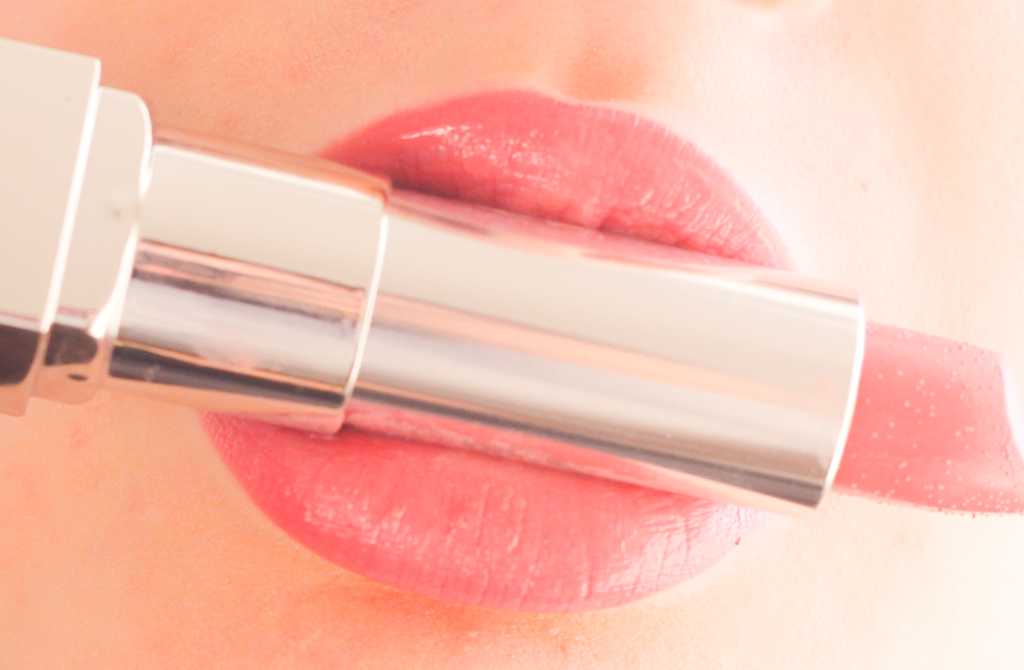
I made the photo sharper so that the details would stand out more. I also moved the highlights point towards a more pink tone so that the flower would stand out. By adjusting the saturation and vibrancy the photo appeared brighter and less dull. I also cropped it so that the attention was on the model rather than the background of the photo.

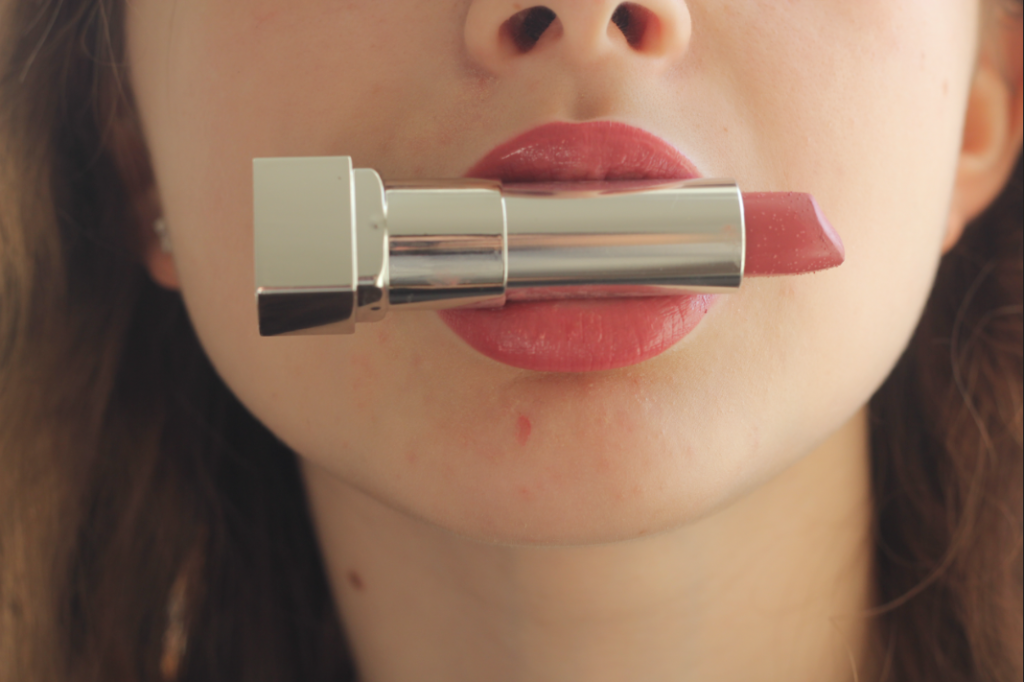
Final outcome:

Comparing my work to the photographers work:

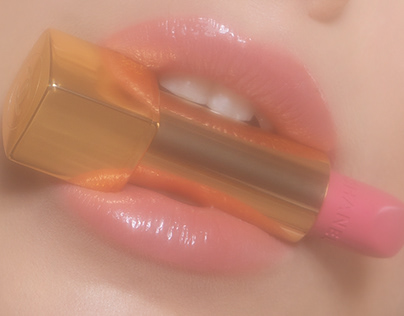
My photo is similar to Ndelu’s photo as they both have brightly coloured flowers in the model’s mouths. The models are posed in the same way in both mine and Ndelu’s photograph however in her photo the model is turned more towards the side, showing their side profile. Both photos support Ndelu’s aim of her photography which is to represent that both women and men can be as equally as beautiful.

Cole Ndelu

Cole Ndelu is an awarded conceptual portrait and fashion photographer who is based in Johannesburg, South Africa. She graduated during 2016 from the Stellenbosch Academy of design and photography with a degree in visual communication and a major in photography. Ndelu works mainly with photography however she also works with mediums such as text, sound, collage, and motion.

A study on femininity

The series ‘a study on femininity’ is a collection of images by Cole Ndelu which shows her beliefs towards going against the stereotypical associations of femininity. With this work she aims to disturb the norm and display the models, who are both male and female, as beautiful, resilient, and powerful.

“My series is aligned with what I consider to be the purpose of my work as an artist – which is to create work that celebrates and honours the marginalised.”

Analysis

In the photo there is a male with a yellow flower coming from his mouth. This challenges stereotypical masculinity as males are not often associated with things such as brightly coloured flowers, he is also wearing an earring which is often seen as a feminine piece of jewellery. The composition of the photo causes the model to be the main focus as he is in the centre of it. However, there is also some empty space surrounding him which contrasts with the shape of the model in various areas, especially the back. This photo clearly shows Cole Ndelu’s aim of her project ‘a study on femininity’ as it shows that a male can be just as beautiful as a female can.

Planning a response

In order to create a response to Cole Ndelu’s work I will need props such as flowers and leaves to recreate some of her photos from her project ‘A study on femininity’. I will take these photos outside of school using a camera. I am aiming to do two photoshoots based on Ndelu’s work with two different models and flowers.

Femininity vs masculinity

Masculinity is seen to be the trait which emphasises ambition, acquisition and wealth. Whereas femininity is seen to be the trait of caring and nurturing behaviours. However these days people challenge these older views using things such as social media and political movements. This has led to these views changing overtime meaning women can also be seen having those masculine traits and men can now be seen having those feminine traits. One large aspect which has challenged these views is photography from photographers such as Claude Cahun and Cole Ndelu.

In photography masculinity and femininity can be challenged for example by dressing a woman in a males suit it challenges the idea that women are able to wear masculine clothing. This is also challenged by men putting on makeup it shows that men can also be feminine like women.

Angela Marklew- Headshots

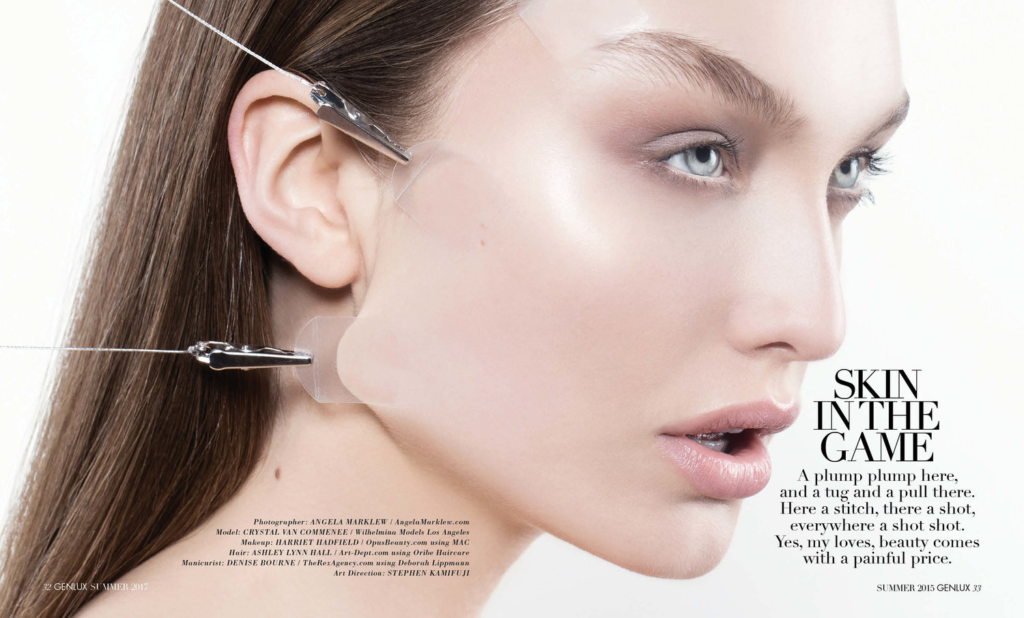
Angela Marklew is a photographer who mainly focuses on portraiture, in particular the headshots area of it. Marklew was born in Canada however she now takes residence in Los Angeles. Marklew takes multiple different types of portraiture photos however the ones which I particularly like are her coloured gels photographs. She also takes photos for beauty as well as advertising.

Analysis:

In this photo there is a woman holding an orange leaf, this implies it has been taken during the autumn time. Along with the orange leaf there is also orange makeup added to the model’s cheeks to enhance the colour and make the face stand out with the leaf. Angela Marklew’s photos often have a soft look to them which is demonstrated in this photo. this is created by using soft pastel colours rather than harsh bright ones which would stand out against each other too much. By removing majority of the background from the photo Marklew is able to make the model the main focus of the photo. This was also done by using a white background and a white shirt as this causes them to blend together rather than standing out and taking any focus away from the models face. There is a warm tone to this photo due to the warm orange and yellow tones in the leaf and the cheeks of the model as well as the hair colour.
Analysis 2:

This image has an empty alt attribute; its file name is image-1333-683x1024.png

This photo is also of a woman however it is not of her full face despite the face being the main focus. Due to half of the face being out of the photo an interesting composition is created. In contrast to the previous photo this one has more of a cooler tone due to the cool tone of pink used on the cheeks and the models blue eyes. This photo also has a soft look to it due to the way that the model blends into the background in the top right section of the photo.

Planning a response

To respond to Angela Marklew’s work I will be using coloured gels to create pictures inspired by her coloured gel photography. I will take these photos in the studio as I will need to use the lighting set up.

Introduction on Headshots

Headshots are a type of portraiture photography which are usually used for websites, press releases, publications and social media profiles. The term ‘Headshot’ just means that the photo is cropped in order to make a persons face the main focus of the photo rather than the space surrounding them. People use headshots usually to capture peoples individualism and personal brand.

Butterfly lighting

Butterfly lighting can be seen all the way back in the golden age of Hollywood. It was used mostly by Hollywood glamour photographers during the 1930s-1940s, it was used to capture the beauty of Hollywood stars such as Greta Garbo and Marlene Dietrich. Butterfly lighting creates a dramatic butterfly shaped shadow under the subjects nose. Another name for this is ‘paramount lighting’, named for the Hollywood studio and how they lit their most glamorous actresses. All that is required for a butterfly setup is a light source (preferably a soft box or umbrella) placed behind the photographer and slightly to one side. Then you can experiment with the position of the light to find the most flattering angle for your subjects face.

Examples of butterfly lighting:

My photoshoot

During my photoshoot I took over 100 photos all together and these are the successful butterfly lighting photos which all include the butterfly shaped shadow under the nose of the subject.

Best photos:

These photos are some of the most successful ones from my photoshoot as each of them have a clear butterfly shaped shadow under the nose.

Editing:

The edit before any editing is good however I am going to make it black and white to that the shadow stands out more.

After making the photo black and white by removing the saturation all the details stand out much more. I did this using picsart. The photo is also in good focus as all aspects are in focus and the background is plain making the subject stand out.

Rembrandt lighting

The term Rembrandt lighting is relatively new. The term was originally coined by 20th century filmmaker Cecil B. DeMille when he made the film The Virginia Warriors. As the story progressed, he borrowed several spotlights to recreate a lighting scheme in which the actors’ faces were half illuminated.

Rembrandt lighting is a technique using one light as well as a reflector or two separate lights. It is a popular as it gives an image a dramatic look as well as a natural look. it is recognisable through the lit-up triangle on the subjects unlit side of their face.

My photoshoot:

Best photos:

Editing:

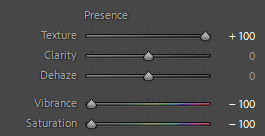
I chose to edit this photo as it has a clear Rembrandt lighting. I made slight changes to the tone of the photo to add a higher level of contrast so that the triangle would be enhanced. I then went on to removing the colour by decreasing the saturation and vibrancy to -100.

Before and after:

Next I cropped the photo to remove some of the background to ensure the model was the main focus of the photo rather than the space around.

Finally I increased the sharpness to cause the photo to be more detailed and sharper so that the shadows were more contrasted.

I decided to add vignette to the photo to draw the viewers eyes to the model.

Final edit:

I think this edit is successful as there is a clear triangle under the models left eye which shows that it is a Rembrandt inspired photo. I also think the black and white makes the highlights brighter and the shadows darker which enhances the contrast between them, this is especially useful for the triangle under the eye and it makes it clear. By cropping the photo and adding the vignette effect the focus of the photo is drawn to the centre, the model.

Exploring lighting

In photography lighting is one of the most important aspects for a good photo. However there are many different types of lighting and lighting techniques which people use depending on the photo and environment. For example studio lighting is a main type of lighting which photographers use, another is natural lighting provided by natural things for example the sun.

There is also hard light and soft light:

As you can see the hard light has much harsher and darker lines in comparison to the soft light.

Lighting in photography can also be used to create powerful shadows and silhouettes as shown above.

Single object photoshoot

Photoshoot plan:

To create photos inspired by Walker Evans I will be using tools as his photography of tools has inspired my to do so. I will use a manual camera setting to take the photos along with my own set up of a white card background to achieve a clear background similar to the one in Evans’ photography.

For my single object photoshoot I experimented with different coloured gels for the background of my photos in addition to the plain white background.

Best photos:

Editing:

To edit this photo I began by changing the WB so that the photo was more of a neutral tone. I also reduced the exposure as the photo was slightly over exposed. I then saved this as a pre-set to use on the rest of my photos.

I found this photo to be slightly too blurry so I increased the sharpness. This helped to make the photo less blurry as it sharpened the lines.

I applied the pre-set to the photo and I also cropped and rotated it slightly so that it was level.

I also applied the pre-set to this photo however I found that it was slightly on the cooler tone rather than a neutral one so I adjusted the temperature on the white balance.

To complete this edit I then rotated it so that the fork was exactly in the centre of the photo. This is my favourite photo as I like the way that the highlights hit the fork in the different areas.

I chose not to use the pre-set for this photo as it didn’t look good so instead I edited it by making the photo warmer toned as it was too cool and putting the contrast to the highest level as I found the photo a bit bury.

My final set of images

I chose to use these as my final set of images. I chose to set it out in this was as it is an example of typology photography. I used these three photos as they were my best and clearest ones. I edited each separately to enhance the quality and make them clearer and sharper so that the final product would be good quality. I chose to place the fork in the center as the background is slightly darker in comparison to the two other photos, the object used in that photo is also thinner than the others therefore placing it on the side would most likely take the focus away from it as it doesn’t stand out as much.

Typology Photography: A photographic typology is a single photograph or more commonly a body of photographic work, that shares a high level of consistency. This consistency is usually found within the subjects, environment, photographic process, and presentation or direction of the subject.

This is an example of typology as all the objects in the photo grid share a common aspect, they are all cameras.