All posts by Ruby Garcia

Filters

Author:
Category:

Henri Cartier Bresson

Introduction

Henri Cartier Bresson was born into a wealthy family in France and was introduced to forms of art at an early age. At first Bresson was drawn to painting, however once discovering photography he developed a larger passion for taking photographs. He viewed photography as an extension of drawing, as well as an extension of his eye.

Bresson felt as if a camera enabled him to connect with the world and in his earlier years he travelled extensively, visiting places from Europe to Africa, this enabled him to connect with the world and absorb various cultures.

Bresson captured the movement of people through the world. He was a humanist photographer who is often described as a master of candid photography, where the subject is often unaware the photo is being taken and they are not posing. Bresson looks for the perfect moment using his heart to find things which connect humanity. He described his approach to photography as hunting as he was constantly looking and waiting for the perfect moment to capture, like an animal searching for prey.

His camera:

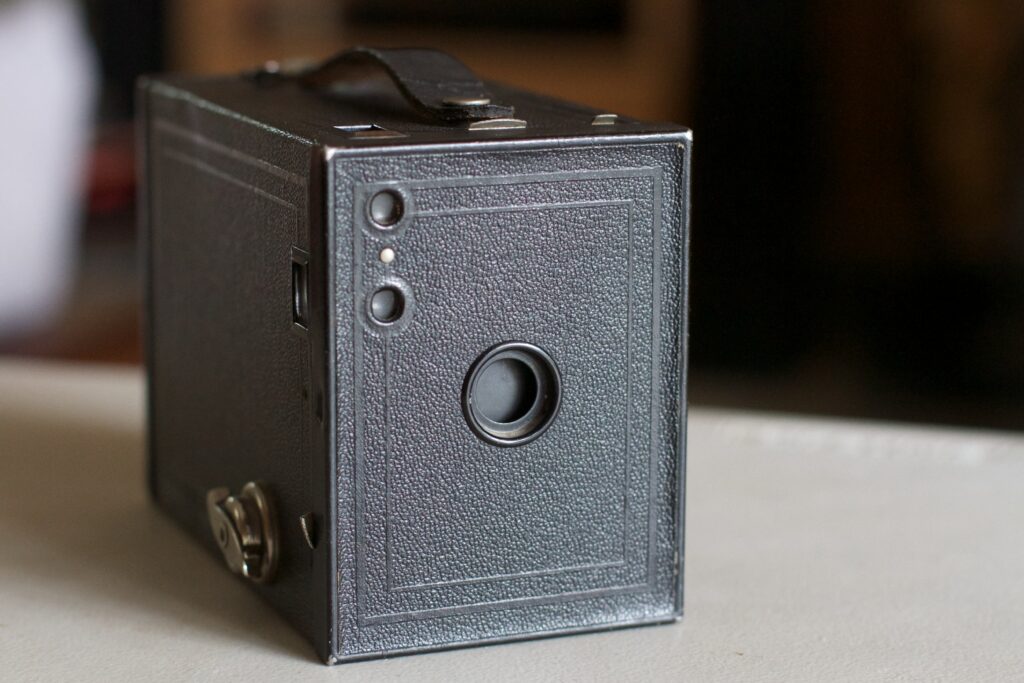
Henri Cartier Bresson was known for using a Leica rangefinder with a 50mm lens. Leica rangefinders were seen as a revolutionary tool, especially during Bresson’s time, and they were a huge step forward in the world of photography. These cameras were compact, reliable, and their design was more discreet compared to the other larger cameras of this era, this meant they were a great tool for Bresson as it enabled him to take more photos without the subject being aware. These cameras were an essential development for street photography as they had a quick and unobtrusive shooting style. Another reason why Bresson favoured the Leica rangefinder is due to their stealthy nature.

The Decisive Moment:

The Decisive Moment (Images à la Sauvette in French) is one of the greatest photography books ever published. It brings together photographs from the first twenty years of Henri Cartier-Bresson’s career. The book was published in 1952 by Verve, with an original cover by Matisse. It was the result of a collaboration between the photographer, the famous art critic and publisher Tériade, and the painter, at the peak of his career. The American version, published the same year by Simon and Schuster, was the first to introduce the now-famous expression “decisive moment.” It reveals the intrinsic duality of Henri Cartier-Bresson’s work, the combination of intimate interpretation with documentary observation, received tremendous critical acclaim within the art world and is considered a “bible for photographers,” in the words of photographer Robert Capa. It remains an essential reference for photographers to this day. The original book, now out of print, has become a collector’s item. Henri Cartier-Bresson aimed to make this classic photography book accessible again, in a smaller and practical format, at an affordable price.

Analysis:

This black and white image by Henri Cartier Bresson contains leading lines which guide the viewers eyes to the figure who is jumping. The silhouette of the figure in the reflection in the puddle creates a sense of balance with the tower that is in the background as they are in opposite corners and almost symmetrical. The outer frame contains a negative space which allows the detail within the inner frame to have space to breath.

Virtual Gallery – Final images of Anthropocene and Landscape

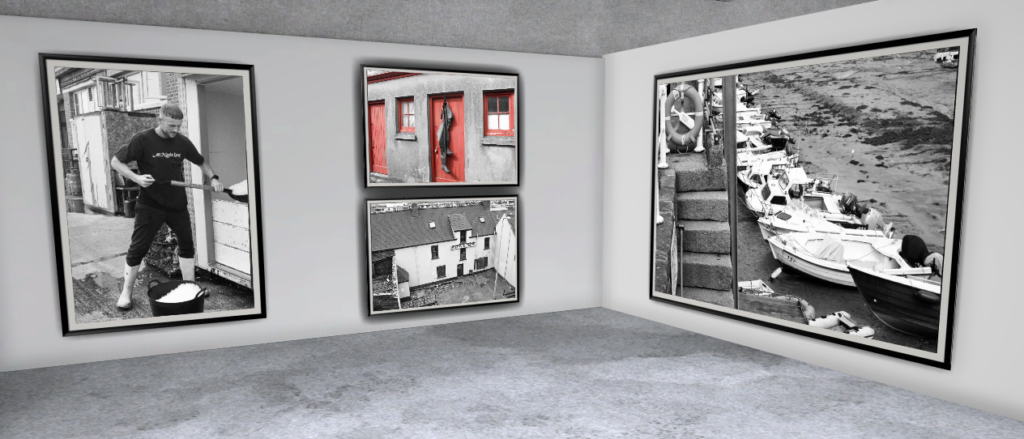
For my Virtual Gallery I chose to place my photos in separate sections depending on what type of photo they are. I placed the photos I took in response to Zed Nelson in one corner of the gallery and framed them with a black frame with a white background. I placed a wall between my Zed Nelson images and my Landscape images. I also framed them with the same options as I did with the Zed Nelson photos. For my Mandy Barker image I placed it alone on one wall as I feel due to its bright colours it should have space around it in order to allow it to stand out.

Link to Gallery:

Testing Layouts – Final Prints

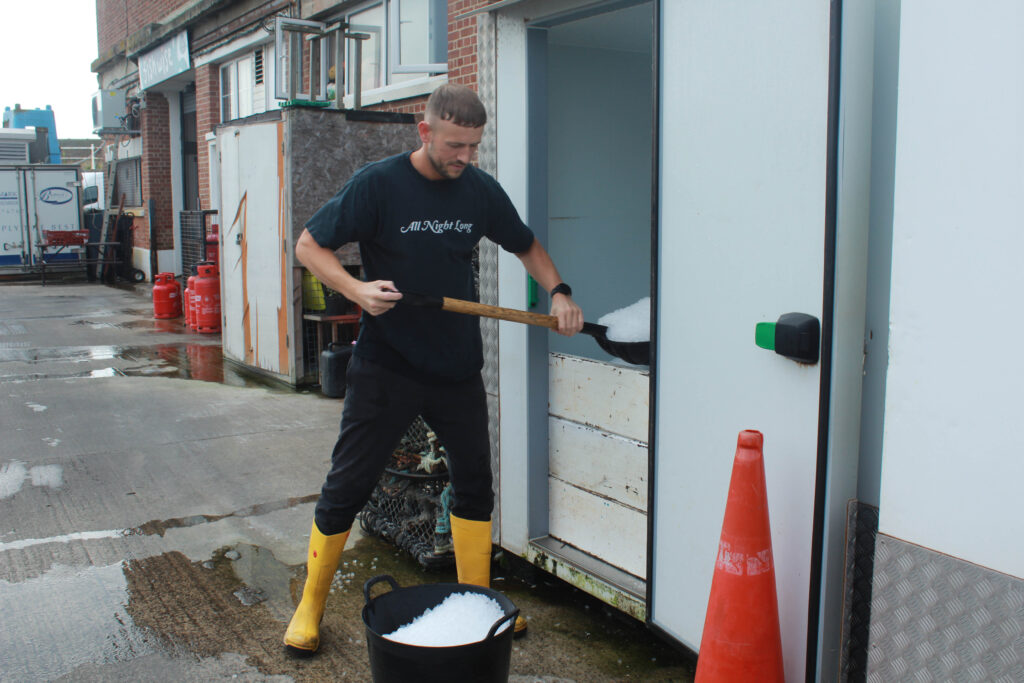
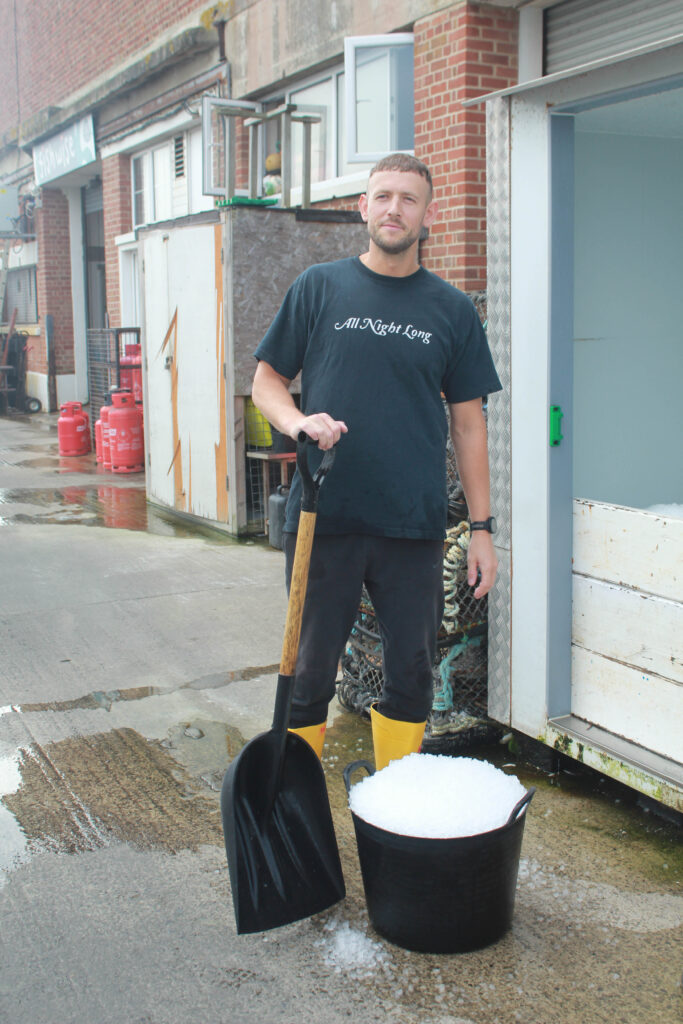
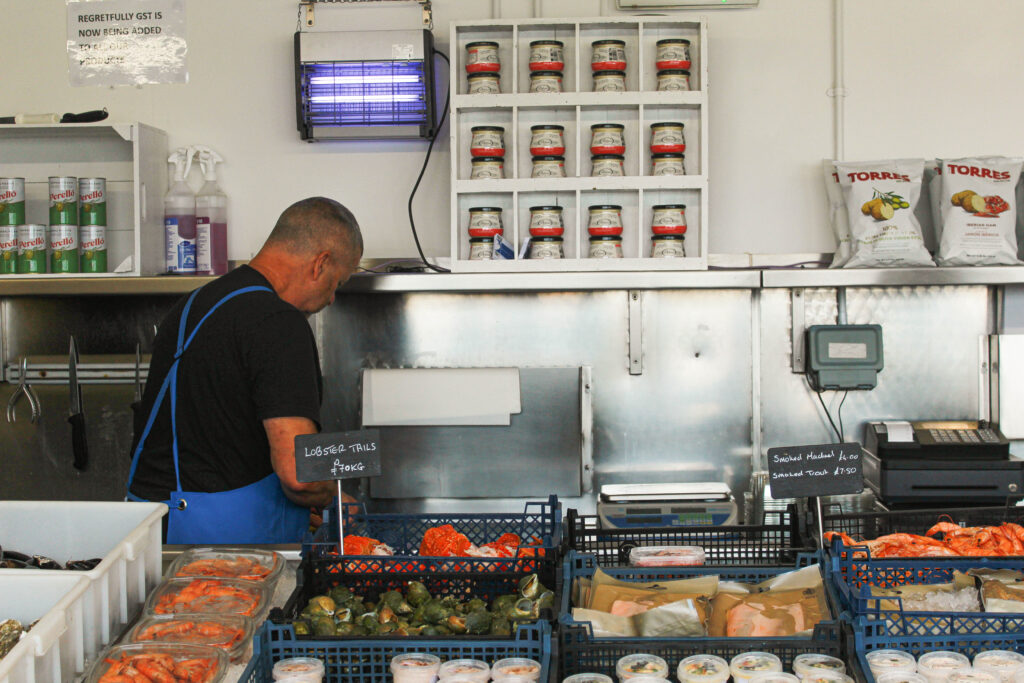
Dead-pan photoshoot:

I found that the middle photo was slightly too dark compared to the other two so I adjusted it to make it slightly brighter.

I chose to adjust this photo using the generative fill tool in photoshop to add some darker clouds so that it would fit in with the other photos

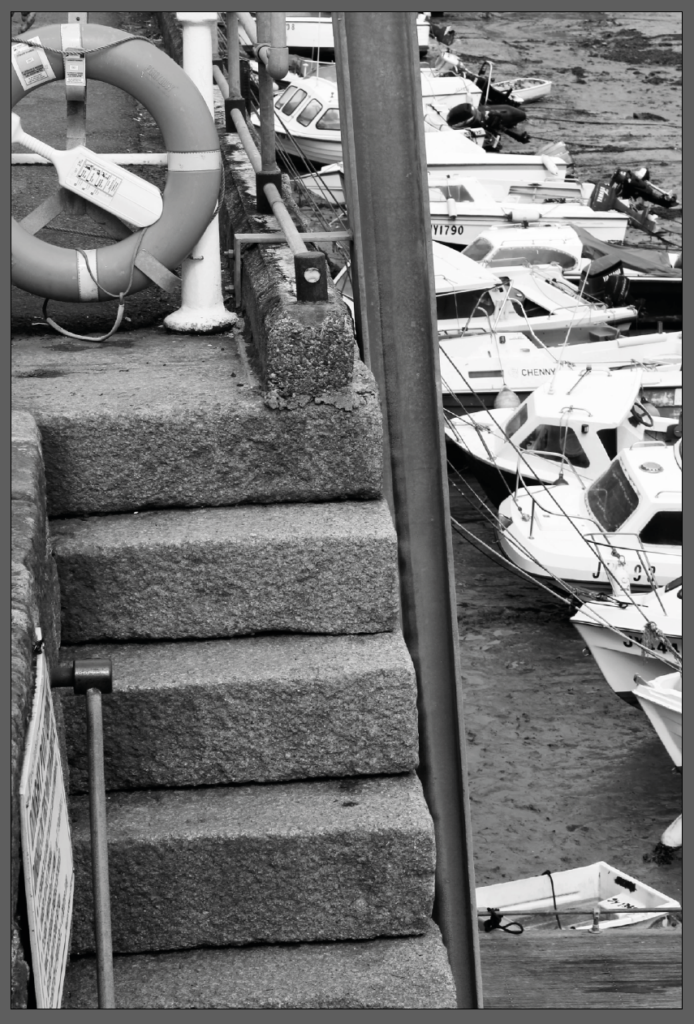
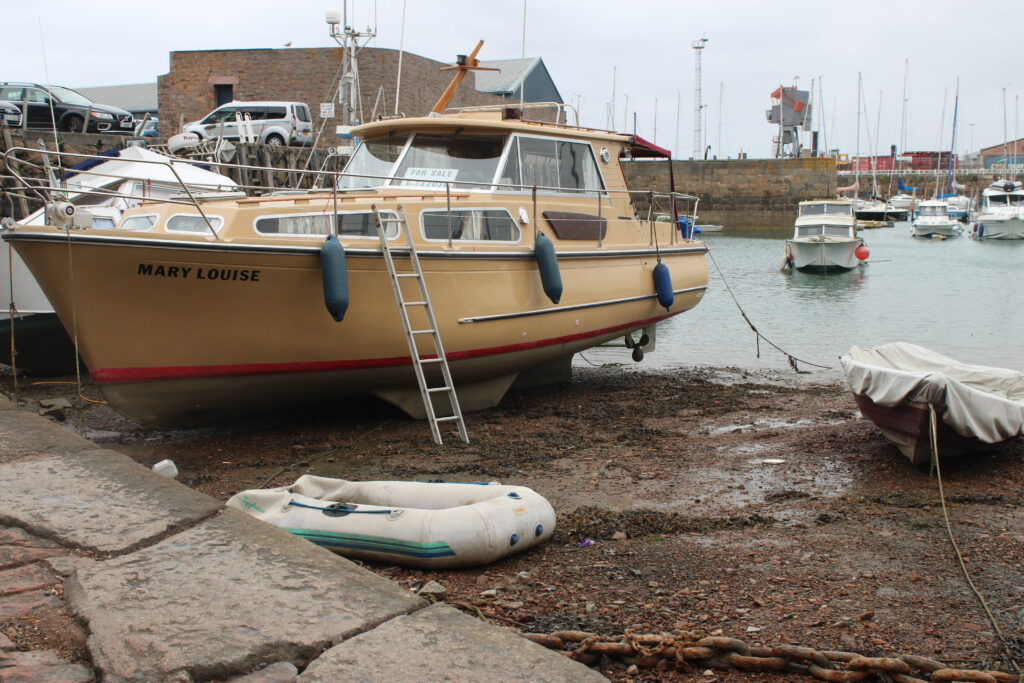
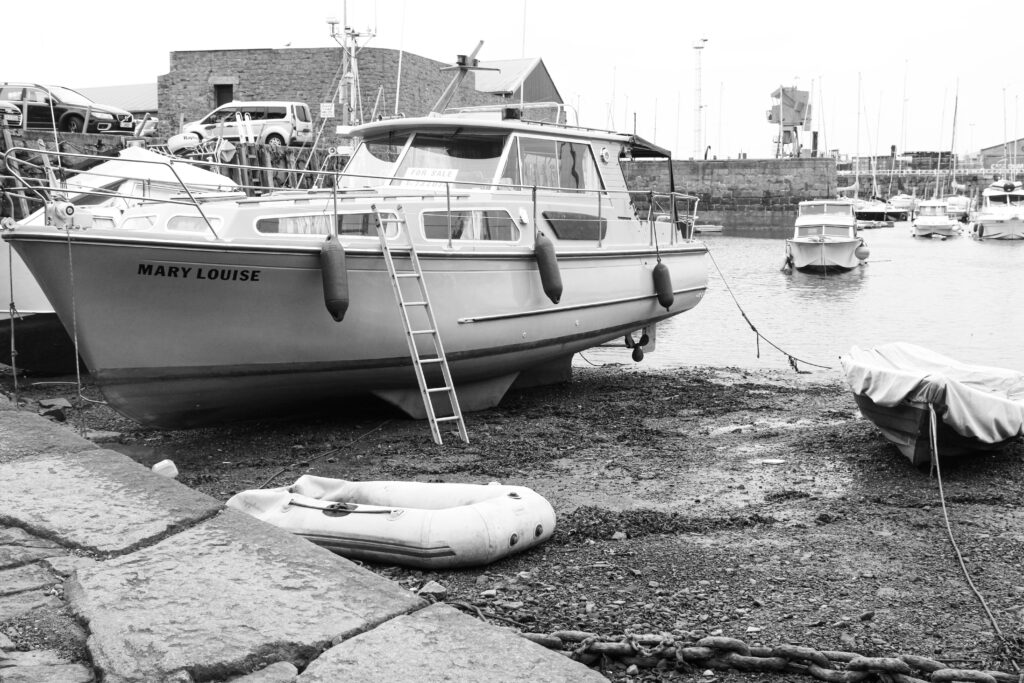
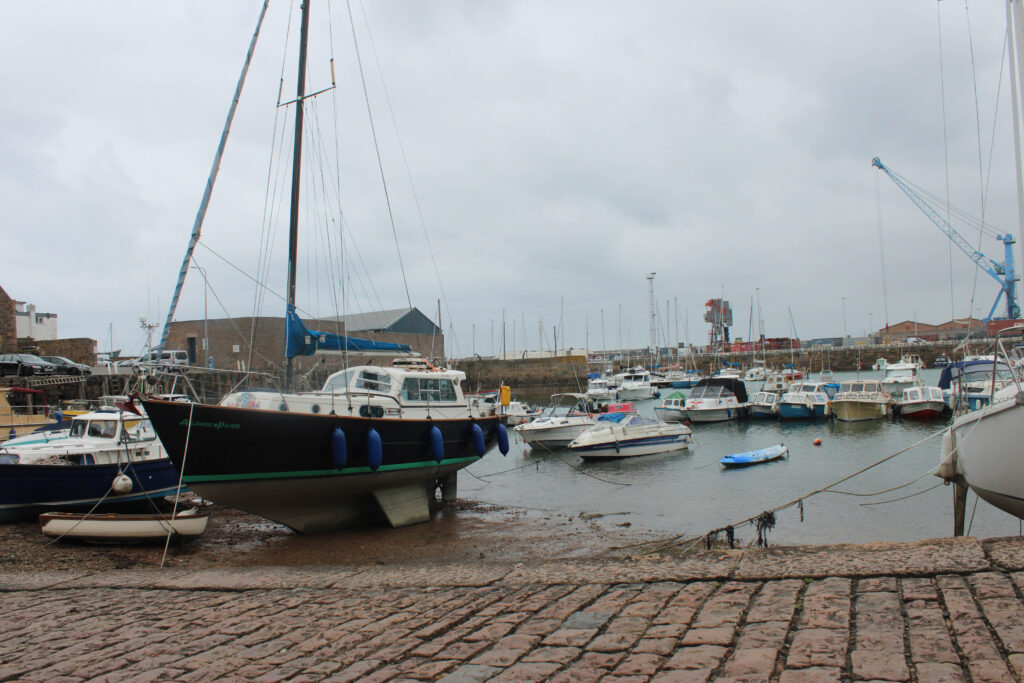
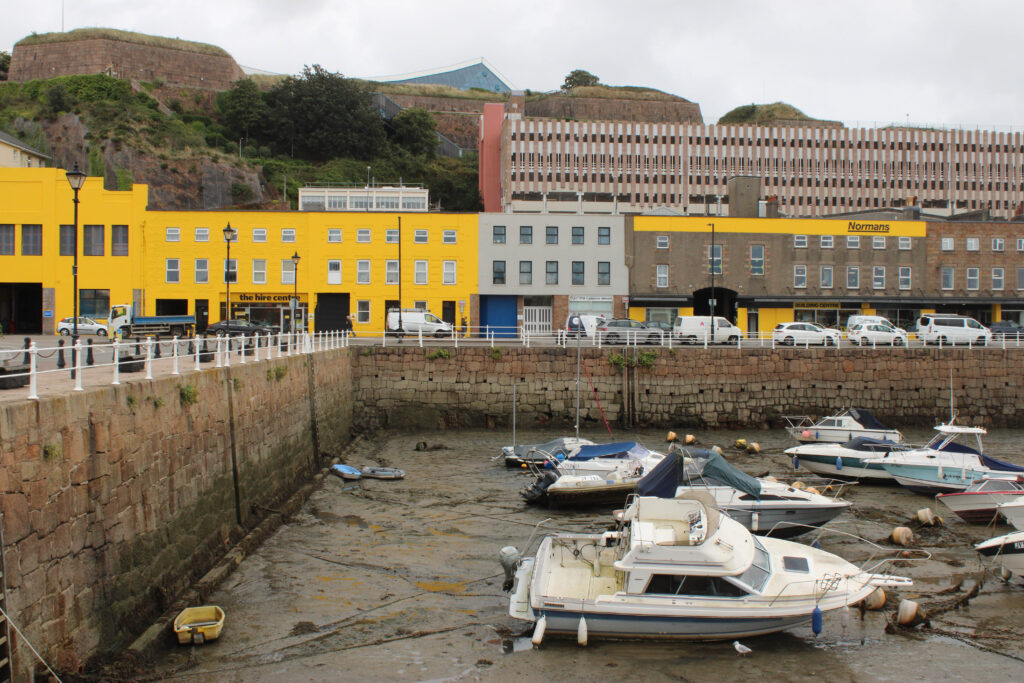
Havre des pas:

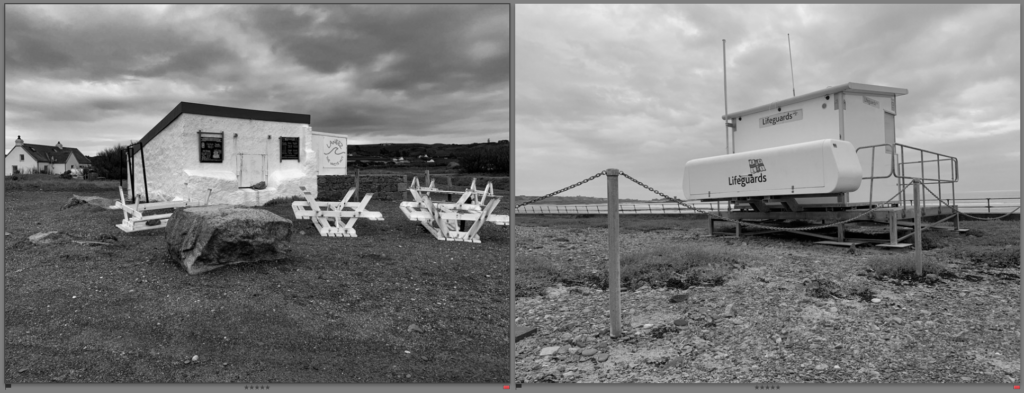
I’ve chosen to use these two photos as I think they are quite strong and they work well together.

Anthropocene: 5 hour exam

Plan: In my 5 hour exam I plan to create a selection of edits based on my response to the photographer Zed Nelson.

Selecting images:

I selected the images which I would like to edit by giving them a red colour label. I will experiment with adding blurry backgrounds and removing certain colours from the photos via photoshop.

Editing:

First edit:

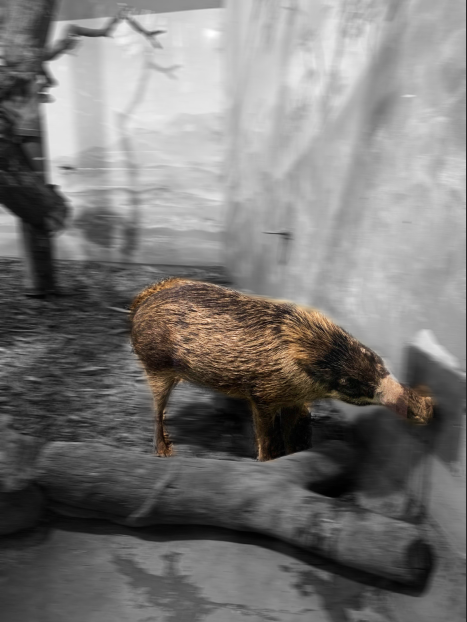
For this edit I wanted to make the snake black and white and the environment around it colourful. To do this I first made some adjustments to the original image by increasing the contrast to make everything stand out more as well as slightly increasing the brightness. Then I selected the snake using the quick selection tool and the I inverted the selection so that I had the background selected, I then pressed ‘Layer Via Copy’. Once I had copied the layer I moved onto adjusting the saturation of the first layer so that the snake would be black and white.

Finished product:

Next I wanted to experiment by making the subject vibrant and the background black and white.

Edit 1:

I like the way this image has turned out as the bright blue colour of the frog makes the image stand out. I did this by reducing the saturation of all the colours on the HSL/Colour option, except blue, and next I used the Adjustment brush to remove any remaining colour which may have been in the photo.

Edit 2:

Next I edited this one using the same method on Lightroom, except this time I didn’t remove the green tones.

I believe these images stand out more compared to the ones where the animal/subject is grey as these reptiles are often brightly coloured and it makes the photo stand out when there is one bright colour present contrasting with black and white.

Photoshop:

I also used this technique however I used photoshop, I found it much easier using Lightroom as selecting the animal in photoshop was quite challenging. I also feel like the edges of the animal in this one are not smooth unlike in Lightroom where the animals all have sharp defined edges.

Blurry backgrounds:

To create a blurred background I did the same steps to select the background however after copying the layer I instead selected motion blur so that the background was blurred. I like how it has turned out as the blurred black and white background makes the animal stand out and it creates an interesting image. It almost looks as if the animal is stuck there with everything else around it constantly moving which is how animals in zoos may feel with constantly having things change around them however they are always there.

Presenting final edits:

I chose these as my final images as I think they worked out the best and each photo stands out. I chose to put one of the frog photos on each side and to place the snake photo in the middle. I did this because the snake photo is a vertical image whereas the others are both horizontal. I added a drop shadow to each photo to make it look realistic I also used the perspective tool.

Zed Nelson: Evaluation and Presenting final images

Comparing my work with Nelson’s work:

I chose to compare these photos as they are both similar animals with similar colours within them. Both animals in the photos sort of look lost and isolated. They both display Anthropocene as they are both of animals who are kept in habitats rather than their natural environments due to humans putting them in there for entertainment which zoos provide people.

Testing layouts:

To create the background for my layouts I selected A4 and changed the background contents to black.

To then place each of the images onto the background I dragged that layer onto the background and adjusted it to fill one quarter of the image.

I prefer the second layout as I like the way the wood matches up with the other branch in the photo next to it on the bottom row as it makes the images flow more.

Zed Nelson: Editing

Before:

I wanted to remove the reflection of the phone from the photo without cropped it as I still wanted the background to be present.

To remove it I used the spot removal tool and found a similar area to replace it with.

I increased the contrast as I wanted the details to stand out in the photo. I decreased the vibrancy of the photo as I wanted it to suit the meaning behind the image and I don’t think a colourful photo would suit the meaning behind this photo in particular.

After:

In this photo there is a tortoise in the foreground eating from a bowl of food with quite an empty space around it. In the upper portion of this photo there is more detail such as the case of shells. Due to the lower portion being quite empty it allows the details in the upper half to be seen more. This photo shows the theme of Anthropocene as it shows a case of tortoise shells which have been farmed by humans, showing how humans have a harmful impact on animals.

Edit 2:

This photo was taken of money being dropped into a donations box for orangutans. I changed this photo to black and white as I think it makes the writing stand out more which is the main focus of the image. This shows Anthropocene as it shows how animals are now needing our help due to the impact humans have had on them for example deforestation and destroying their habitats.

Edit 3:

This image is of a pile of rubbish and toxic chemicals which were at the zoo. This shows Anthropocene as it shows that they have little care for the environment and this is even worse at the zoo as they are meant to be considerate of nature however doing this proves they are not concerned about it.

Other edits:

I also edited these and I plan to use some of these in my final images.

Edit 4:

In this photo there are too many things which are in the front which take focus away from the orangutan, I will therefore use AI to remove these objects such as the bucket and the tube.

I chose to remove the blue bucket from the image as it was taking the focus away from the orangutan. These are the options which the AI provided me with, I chose to use the first one as it looks the most realistic.

Final photo:

After removing somethings from the image I think that the orangutan is more in focus and is the main feature of the

Zed Nelson: Photoshoot

To respond to Zed Nelson I went to Jersey zoo to take photos of the animals and their environments in order to show the theme of Anthropocene. I managed to take over 200 photos and I have flagged them according to whether they are good or not. I have flagged the good ones with a white flag and the bad ones with a black flag.

Best Photos:

I have selected these as my best photos and these are the ones which I would like to edit.

Zed Nelson

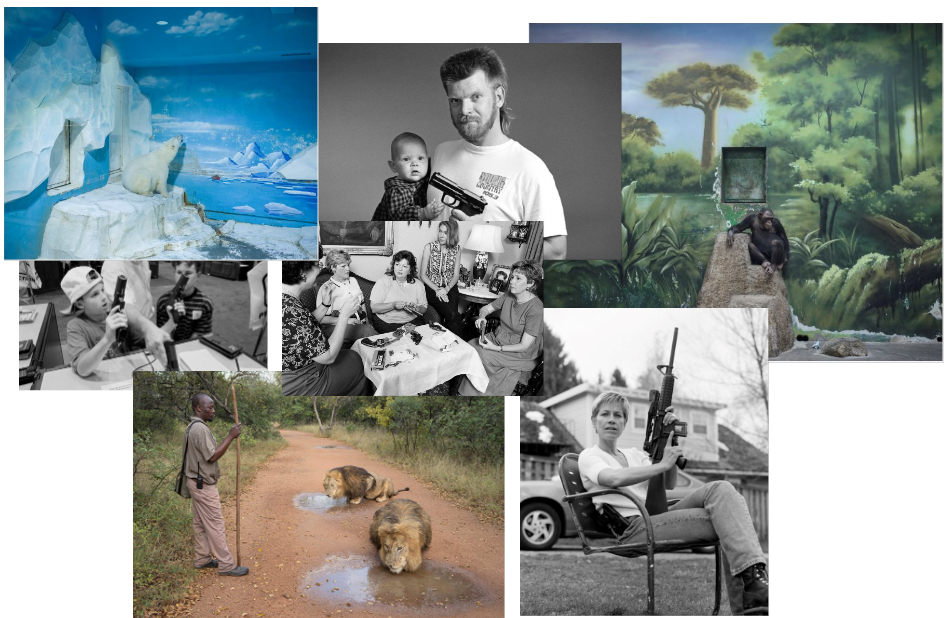
Zed Nelson is a documentary photographer and filmmaker based in London. Nelson is most known for this long-term projects which explore the contemporary society. He has published three books, Gun Nation, Love Me, and A Portrait of Hackney.

Nelson has been recognised by numerous photography awards, including the Visa d’Or (France), First Prize in the World Press Photo Competition (Netherlands), and the Alfred Eisenstaedt Award (USA). His work has been published and exhibited worldwide including solo shows in London Stockholm and New York. His work has also been exhibited at Tate Britain, ICA and the National Portrait Gallery, and is included in the permanent collection of the Victoria and Albert Museum, London.

In this photo there is a large group of people looking into the small, crowded aquarium. I believe this shows how people have put their entertainment before the lives and wellbeing of animals. You can see a large amount of animals in such a small space. This sort of thing can also be seen within zoos not just aquarium’s, therefore I will take photos in Jersey Zoo with the similar idea to this photo.

Response to Mandy Barker

To take these photos I collected rubbish in my house and took the photos with a black background so that I am able to merge the photos after editing to create a similar style photo to Mandy Barker.

I went through my photos and flagged ones which I liked before going through them all and rating ones 5 stars which I am planning to edit. I also added a black flag to the photos which haven’t worked out.

These photos are the ones which I am planning to edit in the style of Mandy Barker.

Once I used the lasso tool to select my image I went on to select the ‘Layer Via Copy’ option in order to only copy the area that I had selected.

Then to create a background for my piece I selected the A4 option under the print section. When creating my background I made sure to change the colour option to black to make sure my objects would merge nicely into the background.

To drag your different objects into your photo you must drag that layer away and then move the layer which has your object selected in it onto your background layer.

To create multiple layers of the same object you should click ‘Duplicate layer’ or press control J whilst the layer is selected. To give the illusion that some objects are further away you should reduce the opacity so that they are not as bright as the ones that are close.

Final Photo:

I think this is a successful image as it looks similar to Mandy Barker’s work. I also think it worked well with concentrating the rubbish in one line as it gives the image movement. Making the images in the background less bright, by reducing the opacity, caused them to look as if they are in the distance. I also added some which are medium sized to create more of an illusion that the images are dispersing as they get further into the distance. I like how there is a range of different colours in the piece as it makes it stand out more.

Mandy Barker

Mandy Barker (1964) is a British photographer who is most known for her work with marine plastic debris. Barker has worked alongside scientists in the hopes of bringing more awareness to the mass amount of plastic that is currently floating around in our oceans.

Mandy Barker grew up collecting shells and driftwood, she now collects plastic for her photography work. Barker creates eye capturing images through ugly facts of pollution and plastic waste. Barker is well known for her ‘SOUP’ series which is created from ‘Plastic soup’. This is made up from the plastic debris which is suspended in the ocean, this is only 30% of the plastic which enters the ocean, the other 70% sinks. Barker regularly takes part in world research expeditions to recover plastic which she then uses for her photography work. Originally Barker took photos of the plastic on the beach as she found it however she didn’t believe she was getting the recognition which she needed to make an impact. This led to her new style of working in which she collected plastic and took photos of it up against a black sheet to create beautiful images which would capture peoples attention and then get the message across.

“clean-ups are brilliant to remove the plastic that’s there, but we shouldn’t be needing to clean up. We should be stopping it from actually entering the ocean. That’s the most important thing.” Mandy Barker

Mandy barker uses her SOUP project to bring attention to the increasing concern on oceanic plastic. She does this through travelling the world, visiting beaches and collecting bits of plastic with a range of different sized objects from microplastics to commonplace objects such as toothbrushes and bottle caps. Back in her studio Barker then uses these objects to create large dizzying photographs. She thoughtfully arranges these objects and takes these photographs from various distances, composing these images with the aim to overwhelm as well as educate the public about the detrimental effects of marine plastic.

I have chosen to respond to Mandy Barker as I like how her work looks as it is full of bright colours and it creates an illusion that it is something that it is not. I also like the aim behind Barkers work which is to capture peoples eyes through the beauty of the image and then display them with the ugly truth which is how people have effected earth in a negative way. Barker’s work relates to the theme of Anthropocene to a high level as it shows exactly how people have negatively impacted the earth through littering and she does this through collecting all the litter and other debris that she can find and photographing it.

At a first glance this photo appears to be a beautiful brightly coloured image which almost looks like it has been taken from out of space or underwater. However when you look closely it is actually made up of many bottle caps which have been merged together using editing. This shows how many bottle caps Mandy Barker has come across during her time recovering plastic across beaches and shores. This photo shows Barkers aim with her photography, her aim is to catch peoples eyes with a beautiful image to then display them with the hard truth of Anthropocene and how people have had a bad impact on earth.

How will I respond?

To respond to Mandy Barker I will collect rubbish from around my house and I will then use a black background to photograph it. I will use a camera to take these photos. I will use rubbish collected from my house to show just how much rubbish people use daily.