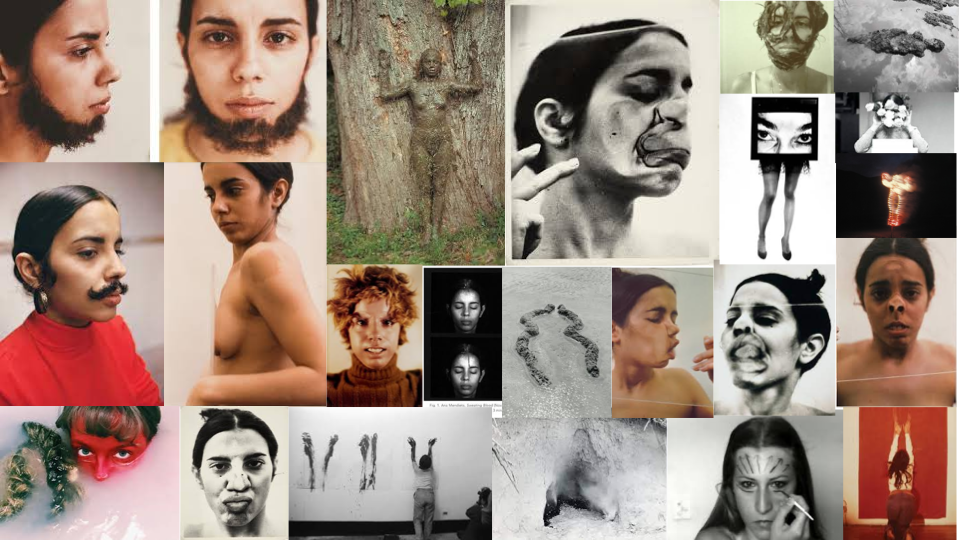
Ana Mendieta was a Cuban-American performance artist, sculptor, painter, and video artist who is best known for her “earth-body” artwork. She is considered one of the most influential Cuban-American artists of the post-World War II era. Born in Havana, Cuba, Mendieta left for the United States in 1961
she was born November 18th, 1948 in Havana Cuba and died September 8th 1985 at 38 in Greenwich village New York , her husband was accused of pushing her out of the 34th story apartment in Greenwich village but was acquitted of all murder charges.
As an immigrant Mendieta claimed she always felt a disconect to the US.
she created her work in the contemporary and modern art period and her work was revolutionary.
her sculptures were innovative and site specific, so the impact was intense along with her photography, it was challenging and controversial.
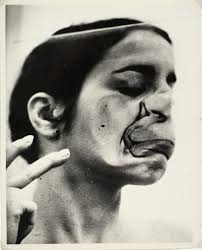
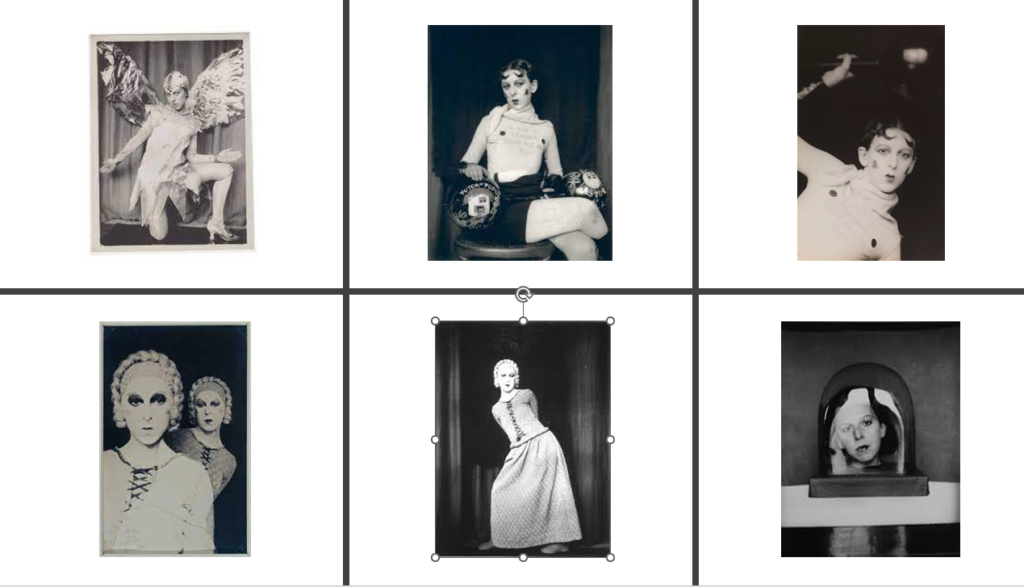
I particularly enjoy her series of images untitled ‘glass on body imprints’ they are a personal favourite because of the large range of photos each extremely individual and each convey a different emotional experience for the viewer, they all feel extremely intentional yet silly and unserious with a much darker undertone than apparent at first glance
This specific image is intended to convey violence but the whole series is intended to convey beauty and violence and when considering Ana Mendietas overall tendency to focus her photos intentions on feminism, it is not a stretch to consider whether these photos were taken in attempt to convey domestic violence. when considering this it is impossible not to take into account the accusations made towards her husband surrounding her death, although he was acquitted from charges relating her murder ( supposedly pushing her out of their apartment window ) it would not do her art justice not to speculate especially considering the nature of her photography and art.
when looking at this image it is impossible to ignore the way Mendieta has contorted her face against a sheet of glass, in doing this she was created so many interesting shapes as the focal point throughout this series of images.
Because Mendieta used glass in these photos it creates almost a 2D effect where her face meets the glass, this creates a sense of impact again linking back to her theme of violence, as if she’s been thrown and has collided with something.
her use of glass itself is an interesting choice especially considering the links back to domestic violence throughout her work.
in my personal opinion the use of glass is not as simple as the use of a clear surface, if that was the case plastic could be used. I believe the use of glass is a very clever metaphor from Mendieta. glass in itself is a strong substance and can be modified to protect from bullets, but when dropped at the wrong angle this supposedly strong substance can not only break but completely shatter.
it is also interesting to interpret this use of glass as symbolism for watching the world go by from an isolated position, using how people typically use glass for windows to create the thought provoking notion that she is watching from the inside and looking out unable to reach help with her personal situation despite the substance keeping her from it being completely see through, obvious when you look.
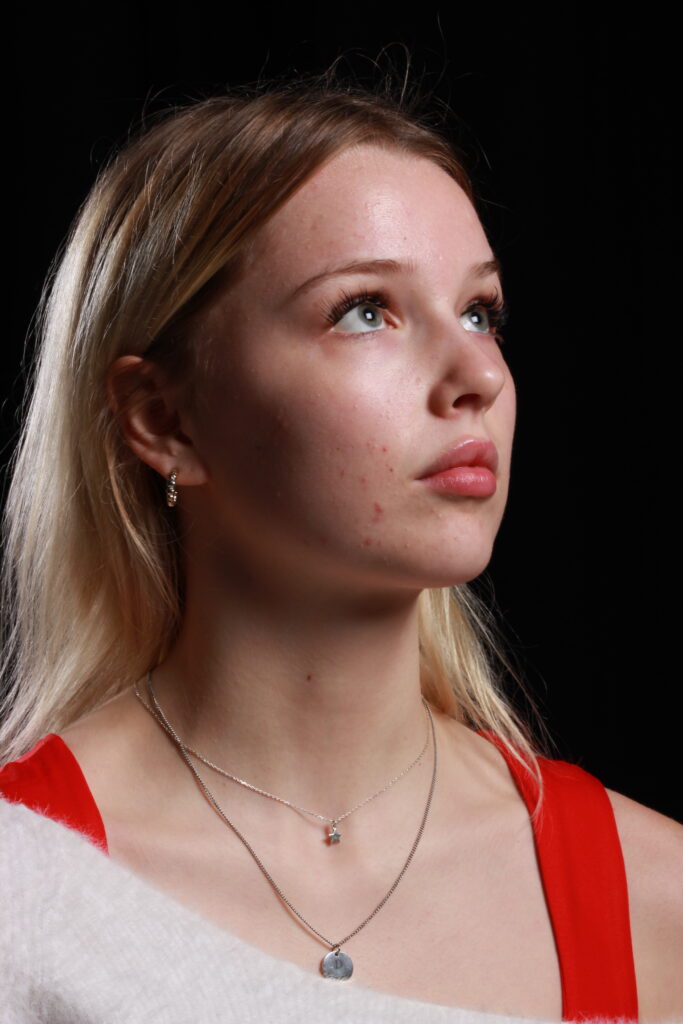
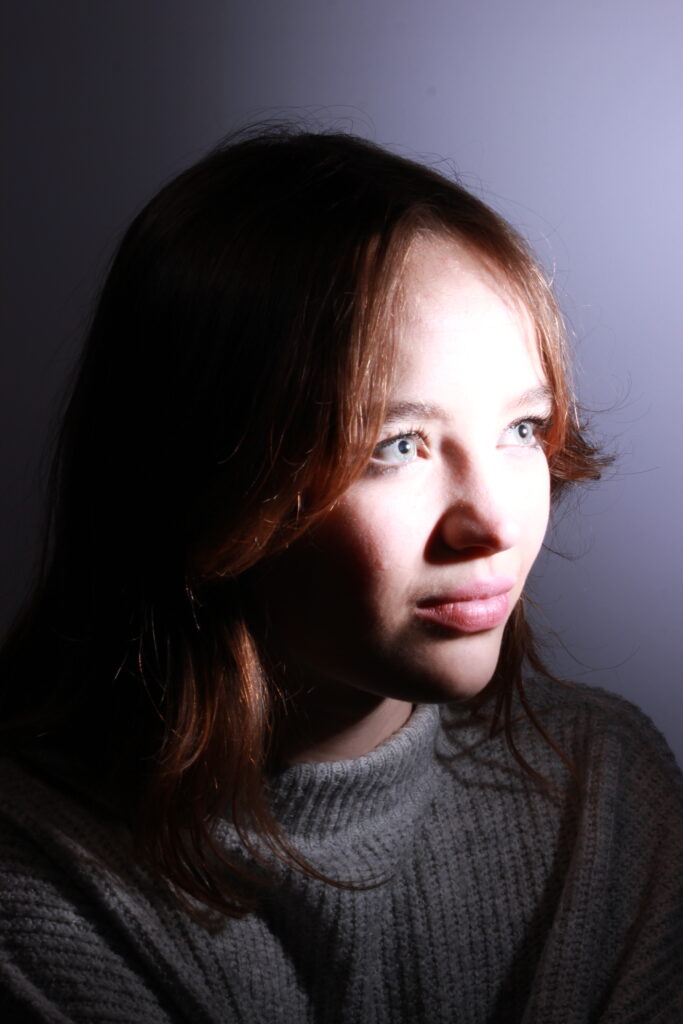
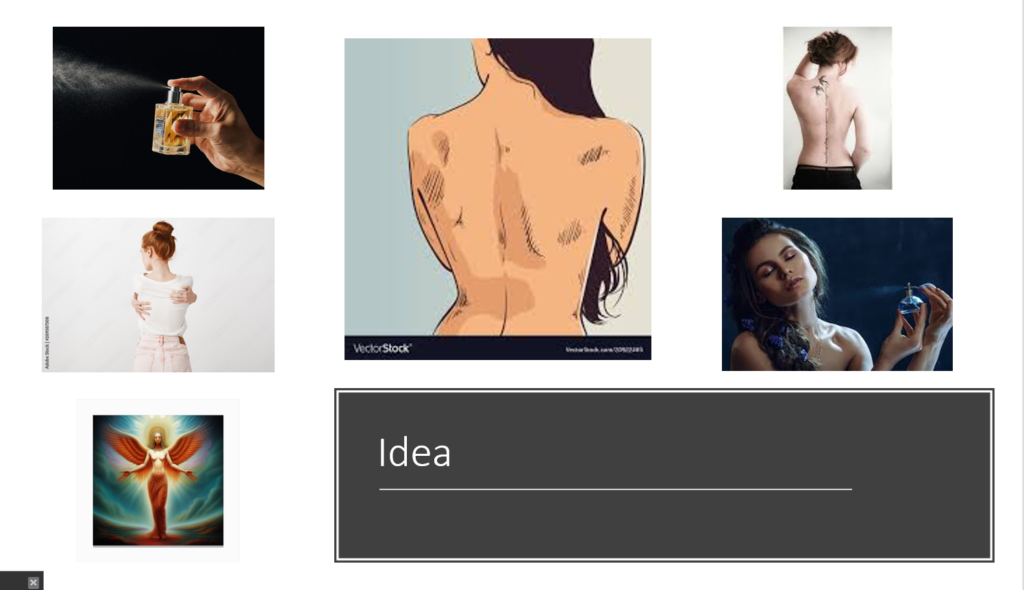
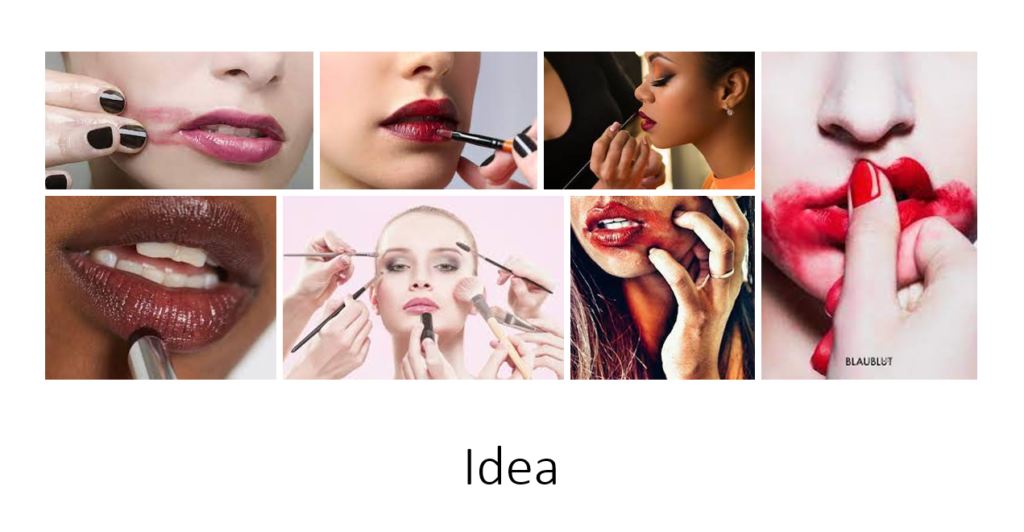
How does this relate to my work?
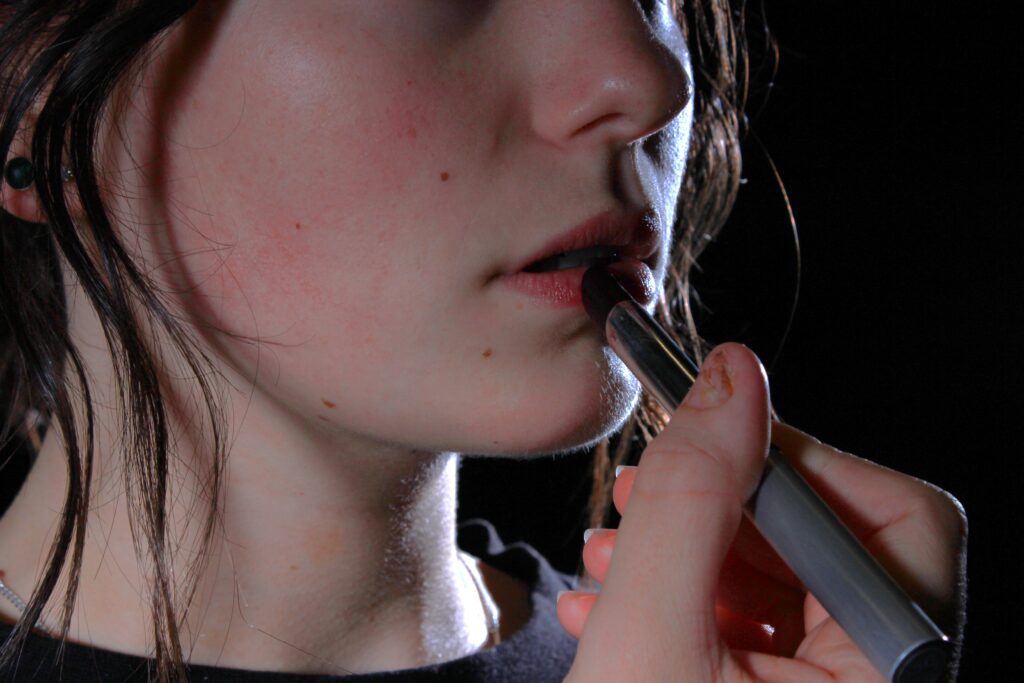
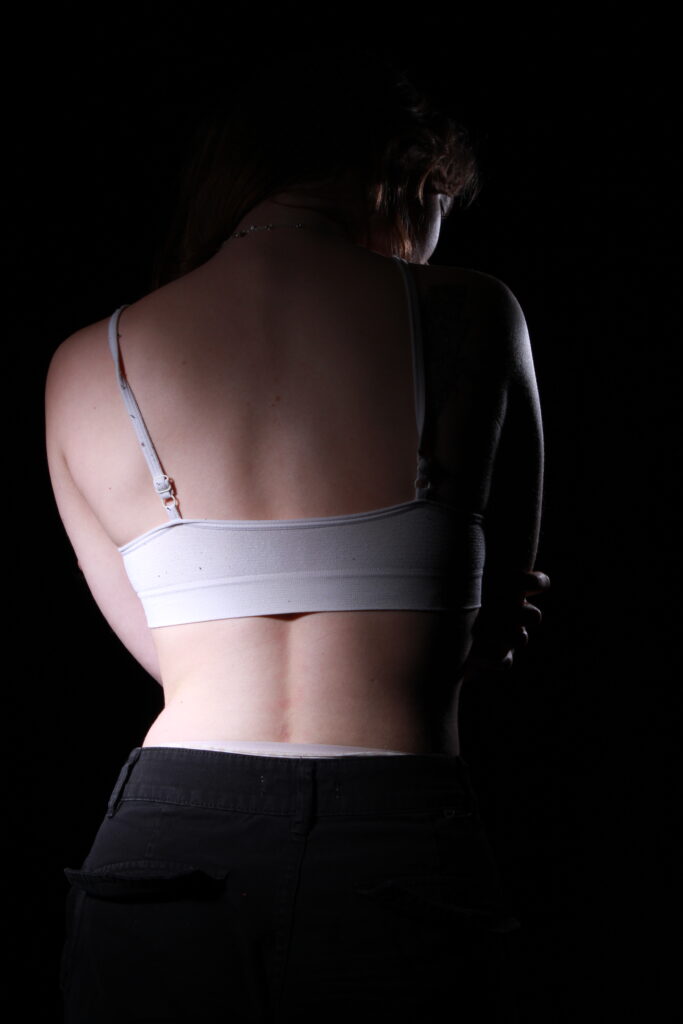
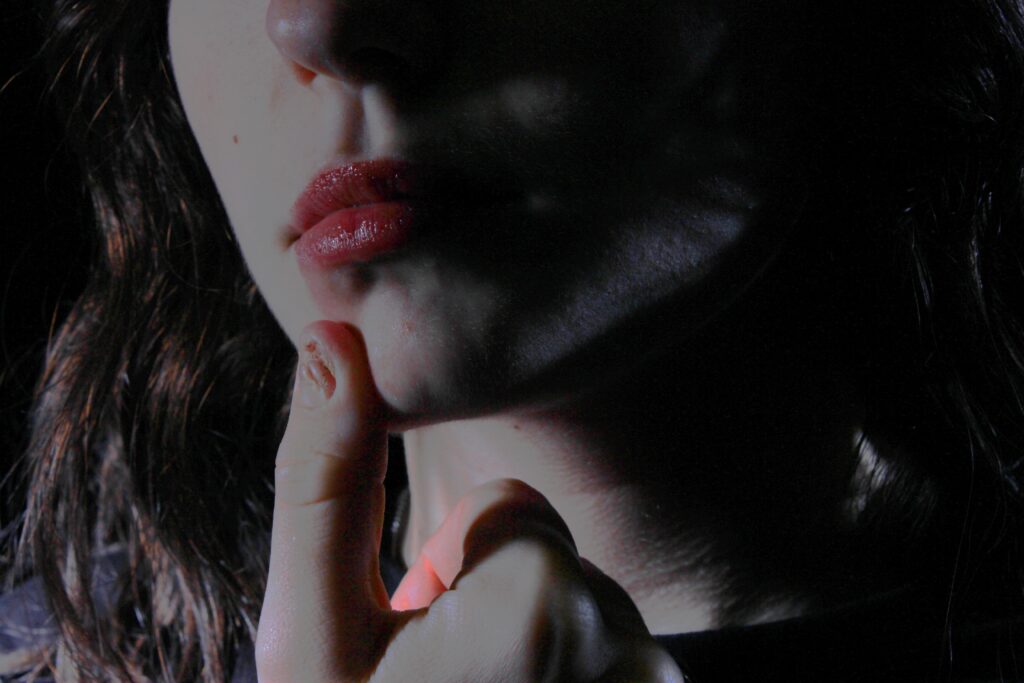
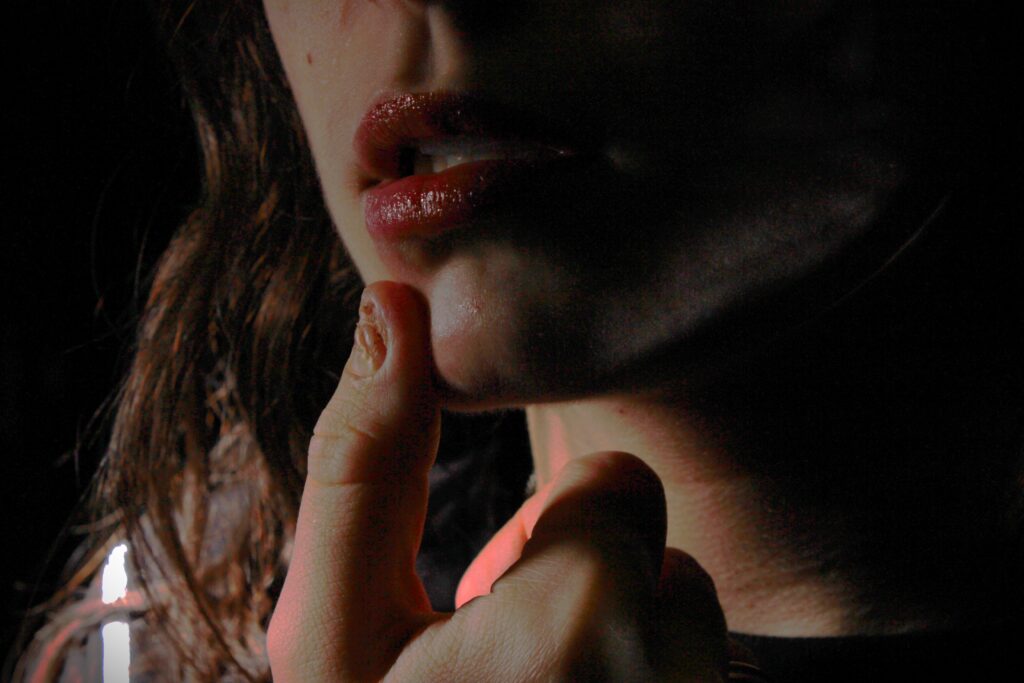
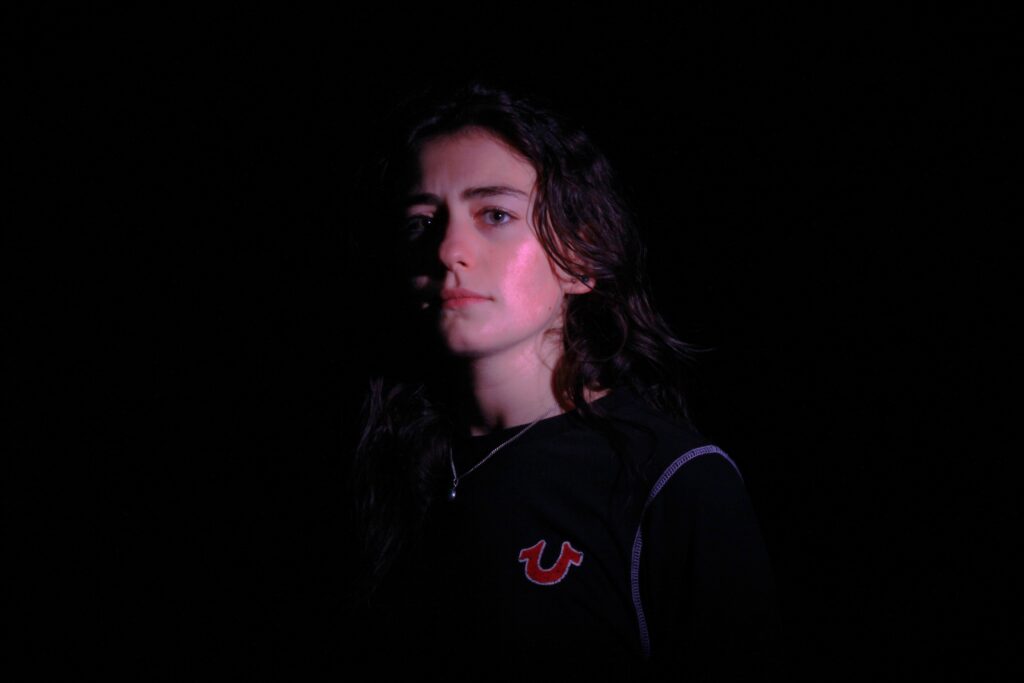
I decided to use Mendieta as a reference for my art because of the eccentric nature to her photography, she broke boundary’s during her time and was a force to be reckoned with in the art and photography world.
although her work is officially considered surrealism I believe her work leans towards the absurdist movement wit her being very ahead of her time in her beliefs and urgency in acting on her beliefs creating protest art that shook her generation and still effects us to this day, her images have not dulled with time and the impact of her work still holds strong and continues to be intense and insightful.
i want my images to hold that same intensity and they way she uses shapes, form and texture throughout all of her photography greatly inspires me, and I aim to do the same with my work in creating interesting shapes and use of form throughout my photo taking and editing process, along with this her beliefs and aims definitely align with mine when creating photos with intention.

