All posts by Leah Reddy

Filters

Author:
Category:

Diamond Cameo

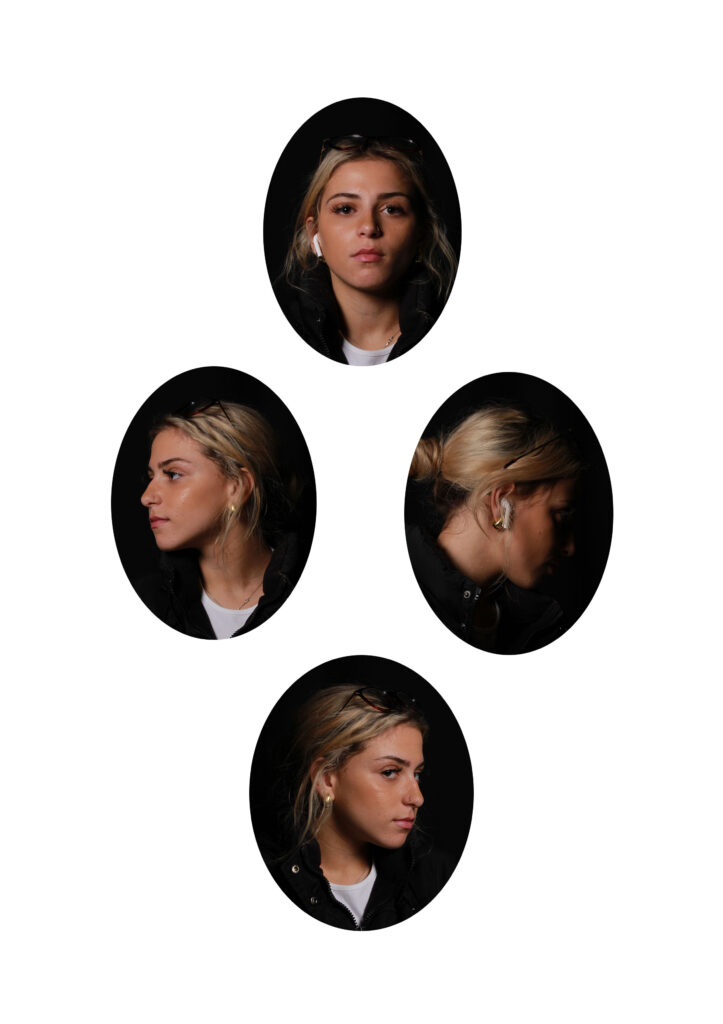
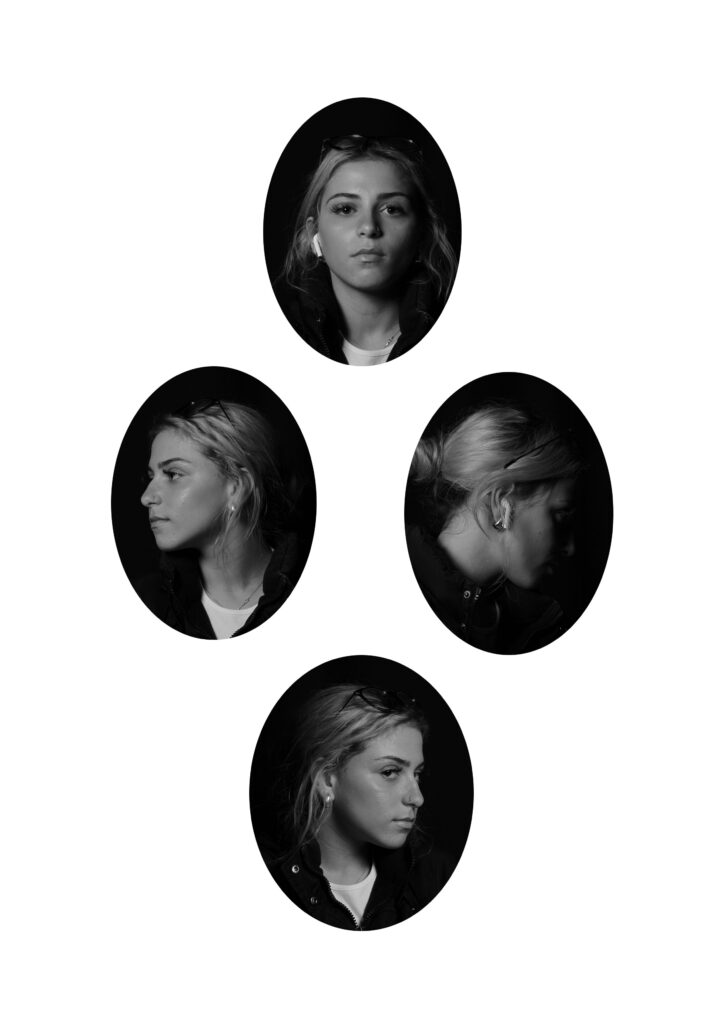
The Patent Diamond Cameo photograph was registered by F.R. Window of London in 1864. Four small oval portraits (1″ x 3/4“) were placed on a carte de visite in the shape of a diamond, each portrait being of the same person photographed in a different position. A special camera made by Dallmeyer was used in which the one glass negative was moved to a new position in the back of camera after each portrait had been taken, and when the paper print had been pasted on the card a special press was used to punch the four portraits up into a convex cameo shape.

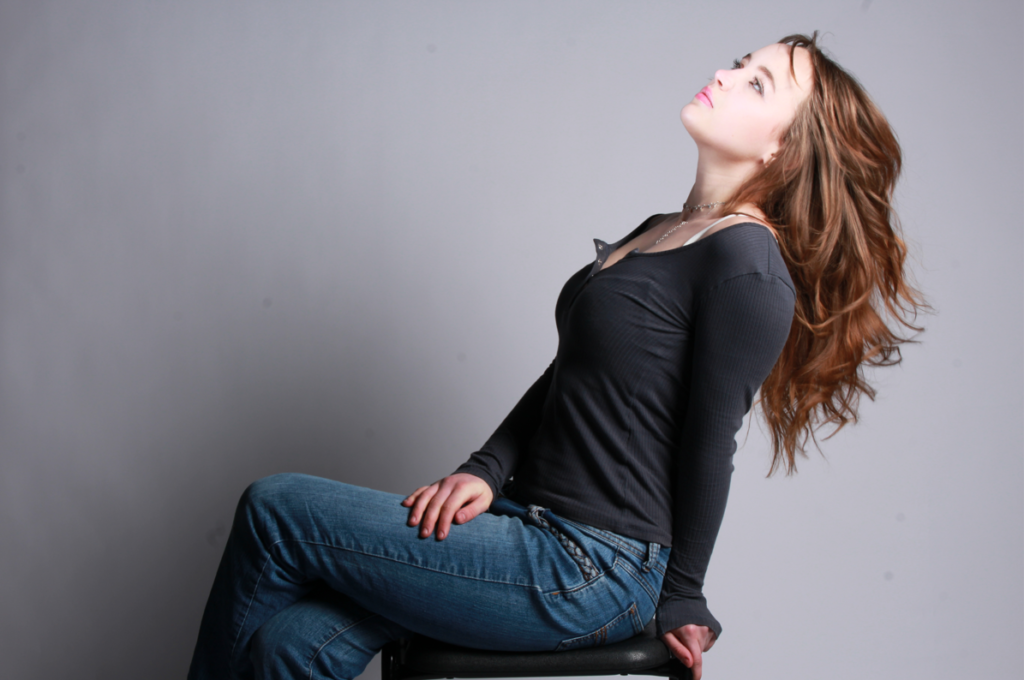
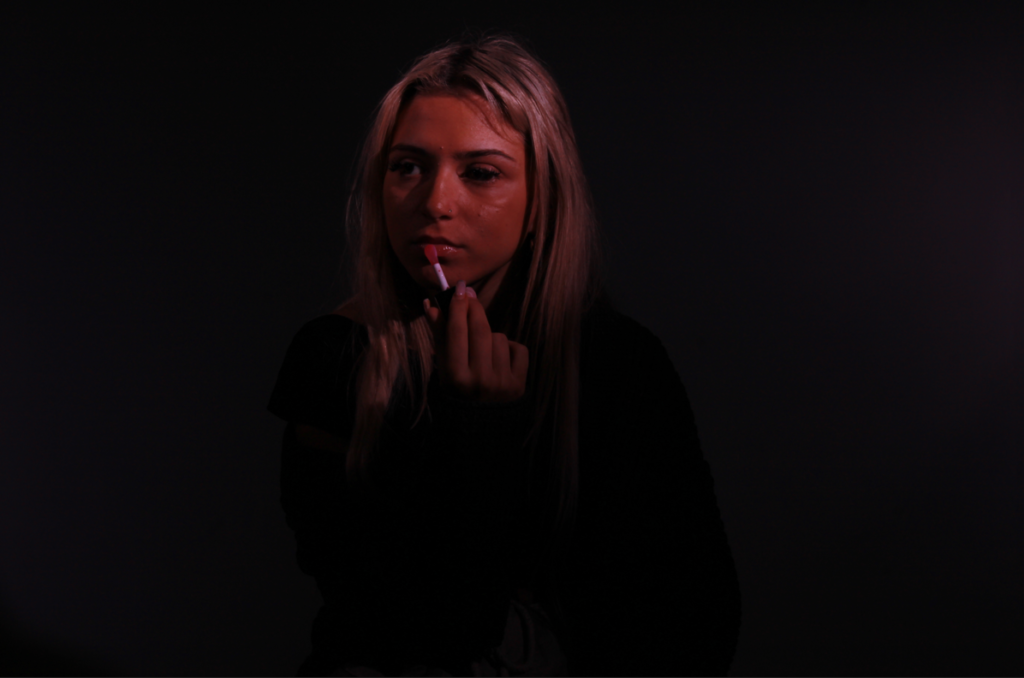
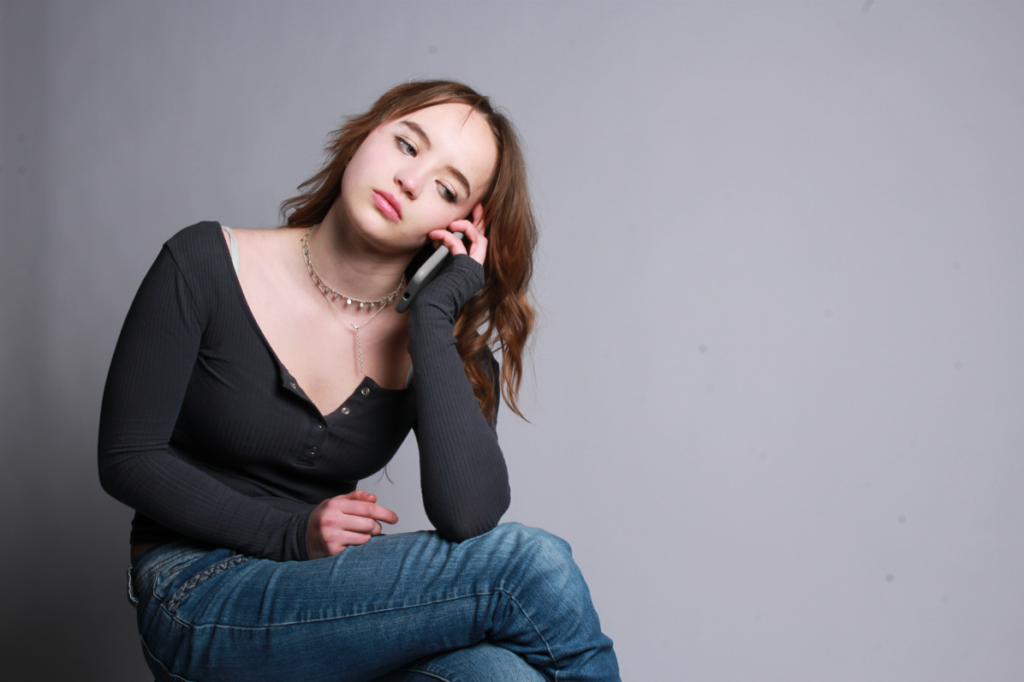
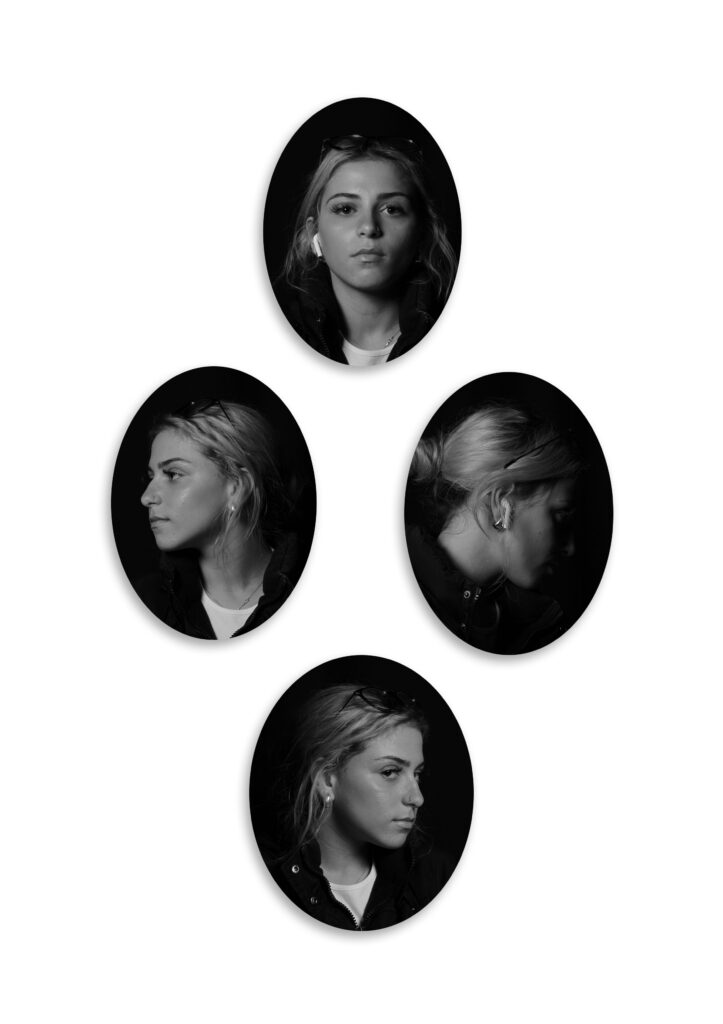
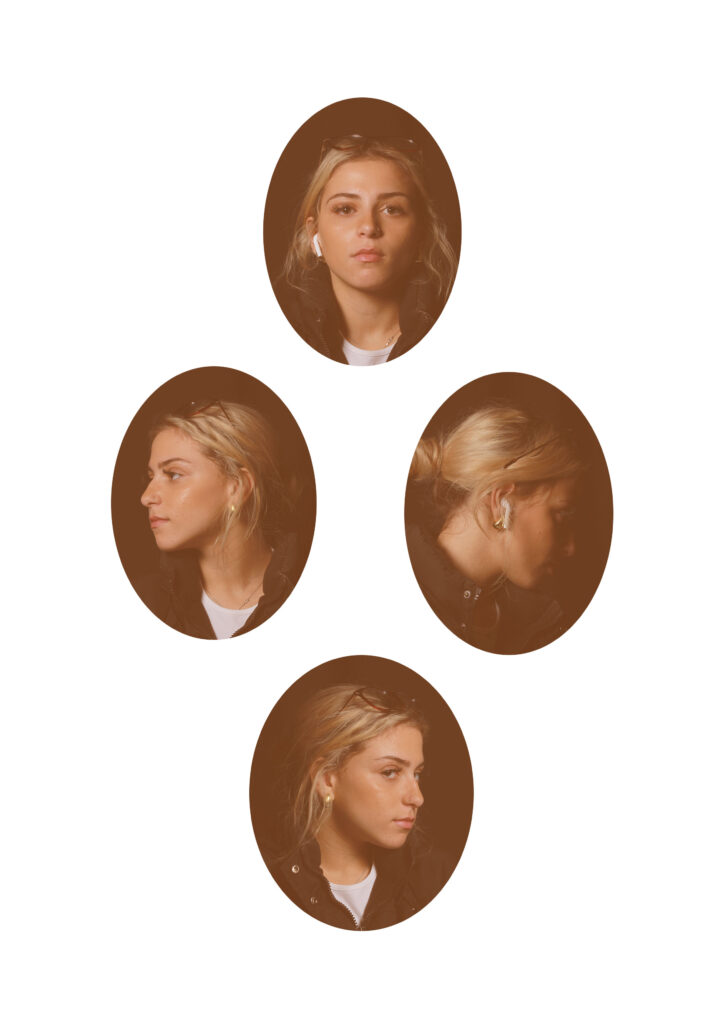
For my attempts of creating a diamond cameo, i used 4 different styles.

I started off just creating a simple diamond cameo, no edits, just the pictures. Then, I made them black and white to create another effect. After that, i added shadows to the picture. Finally, I changed the colour/filter of each picture to make it look older.

Headshots

Introduction- The term “headshot” or “head shot” just means that the portrait photo is cropped somewhere in the middle torso – so that the focus is on your face. A headshot is a form of digital photography that focuses solely on a person’s face. The subject’s face should be the main focus, and the framing should be done in a way that draws attention to the eyes and facial expressions.

Flash Lighting

In photography, flash lighting refers to either built-in flash units or devices that are external from the photographer’s camera that when used emit a strong artificial light for a designated period to light up a background or subject.

Shutter speed 1/200, ISO 200, flash power 1/4-1/32. You may have to adjust your flash setting up and down depending on the ambient light in the room. Once you are getting close to a correct exposure, leave it alone and only adjust your aperture.
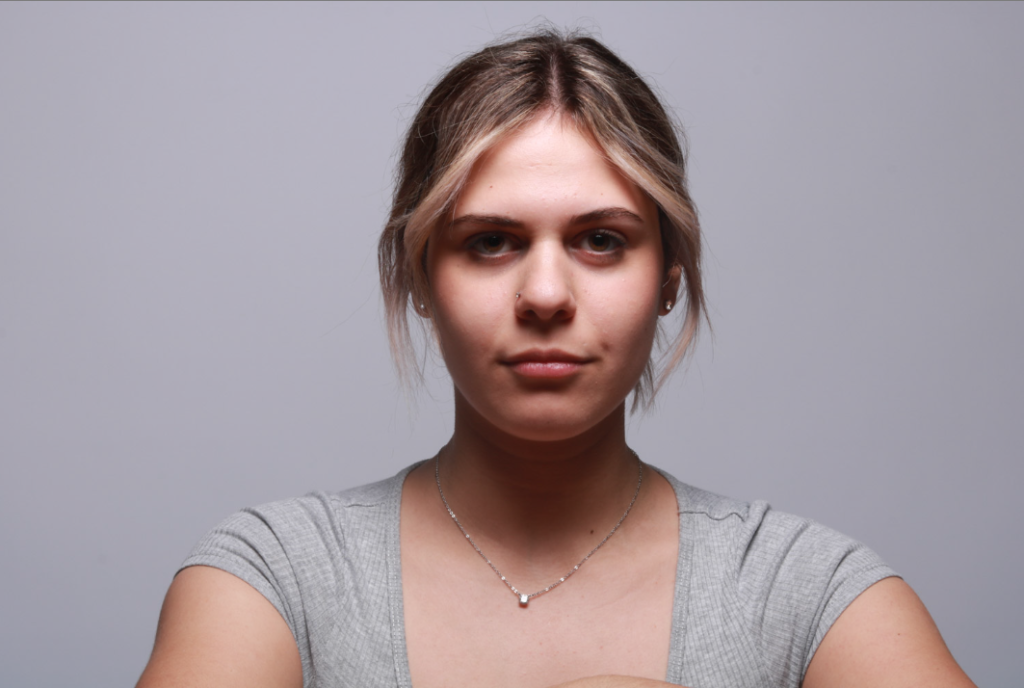
Continuous Lighting

Continuous lighting, such as LED panels, fluorescent tubes, or tungsten bulbs, is any source of light that stays on constantly. It has some advantages over flash lighting, like allowing you to see the effect of the light on your subject and background before you take the shot.

ISO: 400-1600 – depending on how many light sources Exposure: Manual 1/60-1/125 shutter-speed > f/4-f/8 aperture

Check settings before shooting.

What is the difference between flash and continuous lighting?

Flash offers more power and depth of field and is generally preferred by professional photography. Continuous can serve for both video and photo but they are generally less powerful but they give you more options when used with smartphones.

The deadpan aesthetic

The deadpan aesthetics is considered a technically perfect photograph which depicts a landscape, still life or a person by a direct centred composition. The photographs usually have a single central theme (a mining tower, face, mound of clay, etc.), the background is usually unimportant (which does not apply for more sociologically oriented concepts), ignored or is neutral and sterile.

Deadpan photography is a cool, detached, and unemotional presentation and, when used in a series, usually follows a pre-defined set of compositional and lighting rules.

Passport Photos

There are very strict instruction as to taking your passport/id pictures. These are:

  • eyes must be open and clearly visible, with no flash reflections and no ‘red eye’
  • facial expression must be neutral (neither frowning nor smiling), with the mouth closed
  • photos must show both edges of the face clearly
  • photos must show a full front view of face and shoulders, squared to the camera 
  • the face and shoulder image must be centred in the photo; the subject must not be looking over one shoulder (portrait style), or tilting their head to one side or backwards or forwards
  • there must be no hair across the eyes
  • hats or head coverings are not permitted except when worn for religious reasons and only if the full facial features are clearly visible
  • photos with shadows on the face are unacceptable
  • photos must reflect/represent natural skin tone

Typologies

The study of or study based on types. Its a system used for putting things into groups according to how they are similar. An example of a typology would be classification such as by age and health: young-healthy, young-sick, old-healthy, old-sick. Typological theorizing is the development of theories about configurations of variables that constitute theoretical types.

Upclose

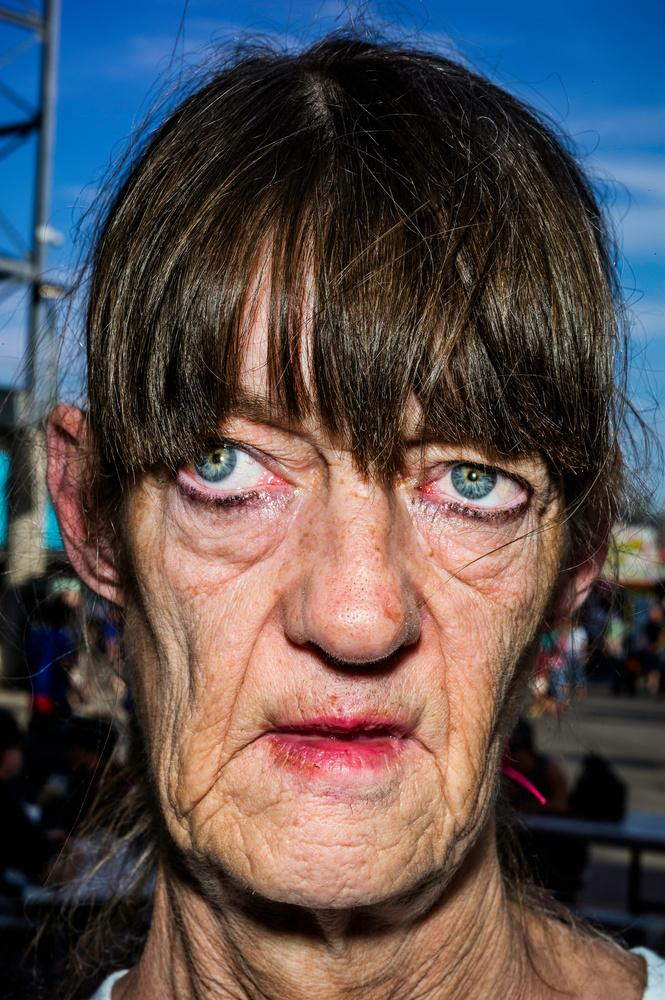
 The close-up shot is the best way to show detail. 

Bruce Gilden’s compositions are renowned for their dramatic use of light and shadow, reminiscent of Alex Webb, another master of color and complex light. Unlike Webb, however, Gilden often employs a flash, highlighting the minute details of his subjects and further enhancing the rawness of his photos.

Origin of photography

What is photography and its origin?

Photography was invented by Frenchman Nicéphore Niépce in 1822. The word “Photography” comes from the Greek, meaning to draw with light.

In 1826, Niépce succeeded in taking the first true camera photograph. He used a sheet of pewter coated with bitumen, which required an exposure time of at least 8 hours! The subject of this photograph hit close to home for Niépce; the view from his workroom in Saint-Loup-de-Varennes, France.

Niépce developed a technique called heliography, which he used to create the world’s oldest surviving photograph.

The origin of photography is significant because it created various aspects of human life. It showcases technological advancements, enables documentation and historical preservation, fosters artistic expression, facilitates communication and journalism, and has personal and social impact. Photography has transformed how we create, remember, communicate, and understand the world.

Edited portraits

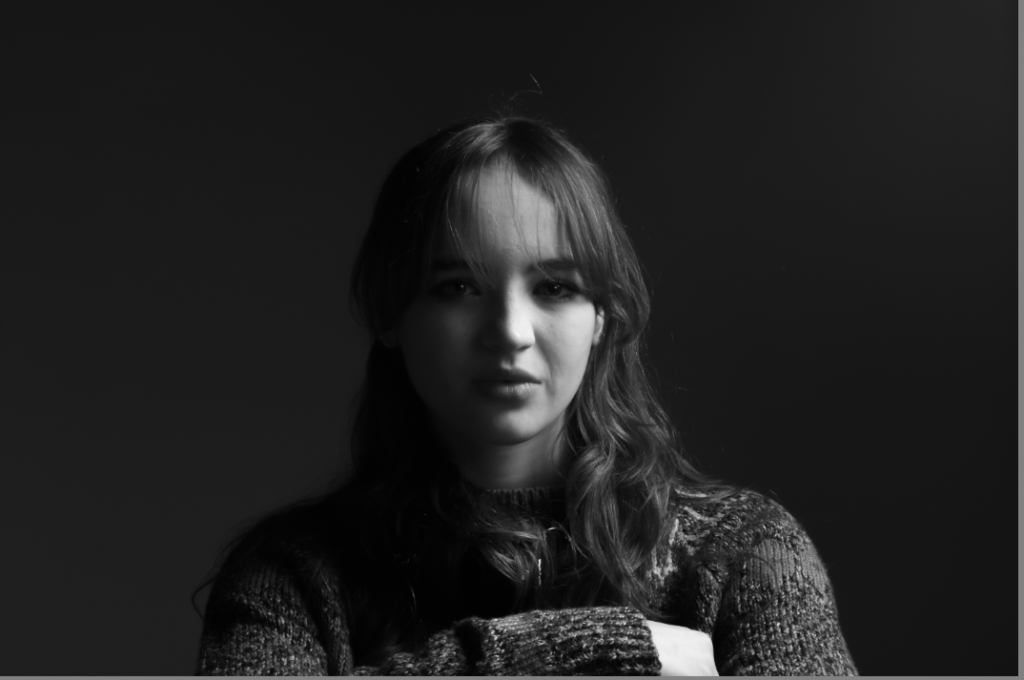
Chiaroscuro

Analysis: I took this picture and edited it with black and white to accompany the black backdrop. It creates a more dramatic but sombre effect.

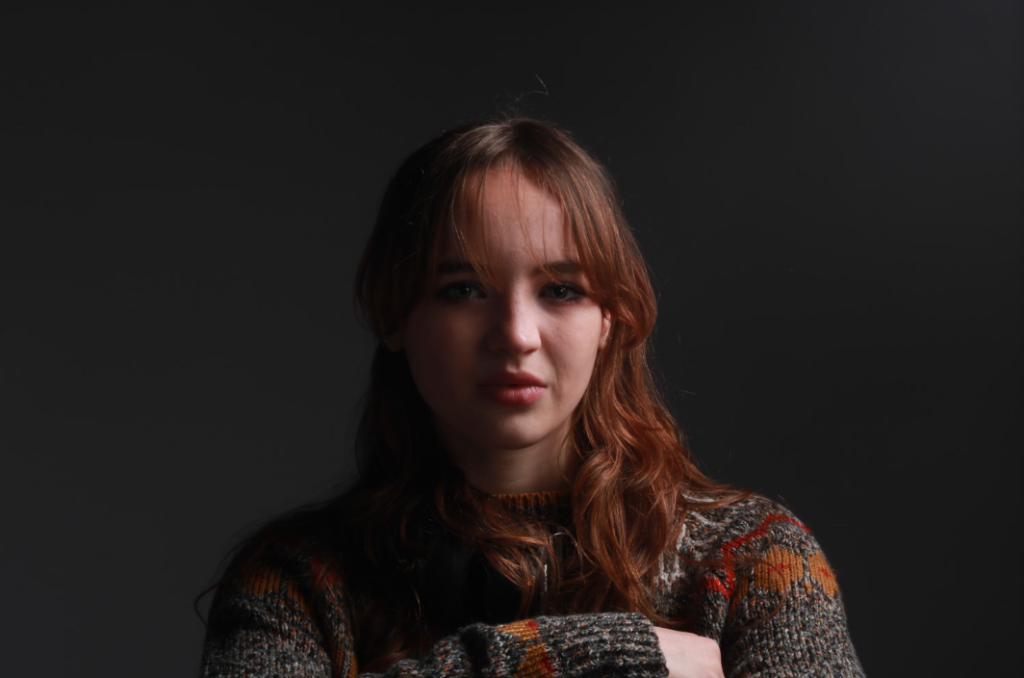
Rembrandt

Analysis: For this picture, I filtered it with artistic 06. I liked the colour it created around the face, and still keeping the black background.

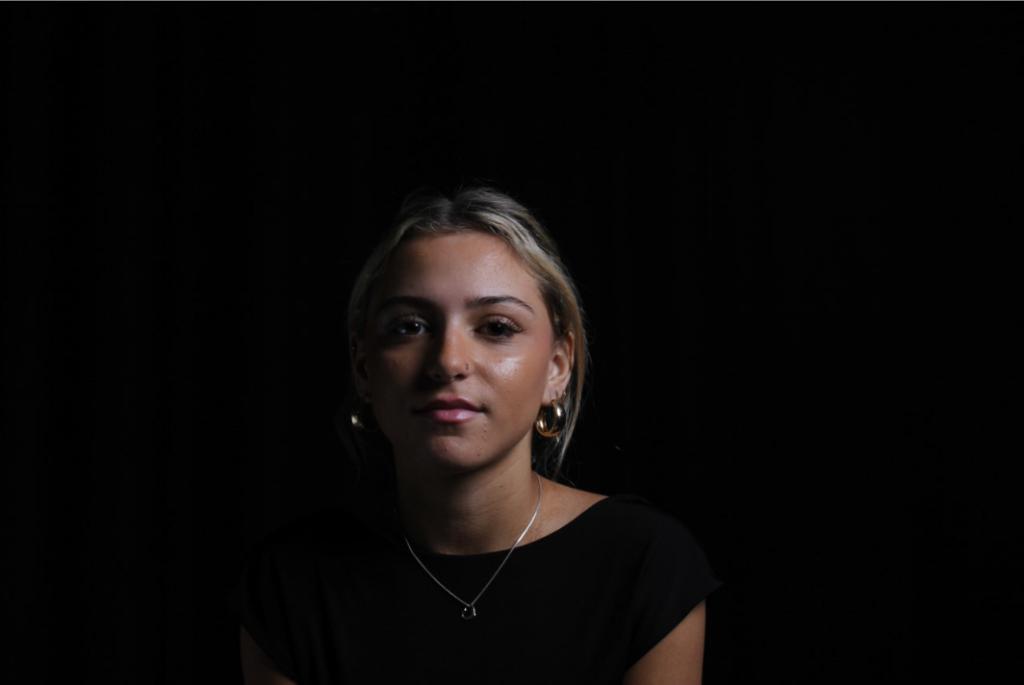
Butterfly

Analysis: Finally, with this picture I used the filter artistic 03. I liked the way it lightened up the face, but still kept the shadows in the necessary places.

Henry Mullins

Henry Mullins, a photographer in the circle of the first photography studio in Europe.

Henry Mullins started working at 230 Regent Street in London in the 1840s and moved to Jersey in July 1848, setting up a studio known as the Royal Saloon, at 7 Royal Square. Initially he was in partnership with a Mr Millward, about whom very little is known. By the following year he was working alone and he continued to work out of the same studio for another 26 years.

For a brief period in the 1860s he also worked in London, but judging by the collection of his photographs, he found plenty of willing sitters in the island prepared to pay half a guinea (promoted as “one half of that in London”) to have their portrait taken by him.

Cartes de visite

His speciality was cartes de visite and the photographic archive of La Société contains a massive collection of these. Their online archive contains 9600 images, but the majority of these are sets of up to 16 photographs taken at a single sitting. In those times even 10s 6d was a substantial sum to pay to have one’s photograph taken, and included among his subjects are many of the island’s affluent and influential people.

He was also popular with officers of the Royal Militia Island of Jersey, for whom it was very popular to have portraits taken, as well as of their wives and children, for the more senior and more affluent officers. The pictures of these officers show clearly the fashion for long hair, whiskers and beards in the mid-1800s. Indeed, so similar is their appearance and so stylised the portraits, it is very hard to detect much difference between a large number of officers of the same rank and social standing.

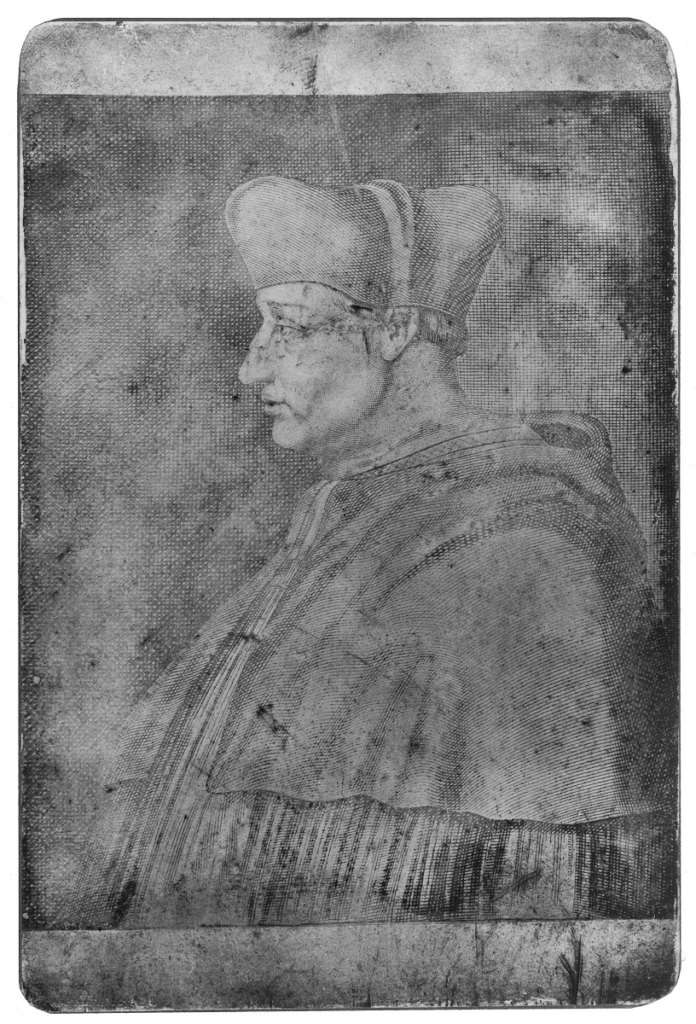
Diamond Cameo , a technique used under licence by Henry Mullins.

Philip Baudains

Diamond Cameo photography is four small oval portraits which were placed on a carte de visite in the shape of a diamond, each portrait being of the same person photographed in a different position.

 albumen print

 Albumen prints were the most common type of photographic print made during the nineteenth century. They are characterized by a smooth, shiny surface, which is the result of a coating of egg whites.

Studio Lightning

Why do we use studio lighting?

It improves the quality of your photos and can offer some creative assistance that can set your final product apart from others. They are a common sight in studios, and the variety of lights tell every one of them has a specific use for different kinds of photography. Using professional lighting equipment can give your photos a professional look that sets them apart from the rest. Also, It sets the mood, provides direction, shows dimension and texture, and creates the darkest shadows.

What is the fill lighting?

A fill light is responsible for exposing the details of a subject that fall in the shadows of the key light. It is the secondary light in the traditional 3 point lighting setup. The fill light is typically positioned opposite of the key light to literally fill in the shadows that the key light creates.

Butterfly Lighting

Butterfly lighting is a technique where the light source is placed directly above and slightly in front of the subject’s face, creating a small butterfly-shaped shadow under the nose. It can make the subject look thinner and their eyes appear larger. A butterfly lighting effect refers to the setup and not to the quality of light; it can be soft or hard light depending on the effect you want. This is one point lighting as only one light is used.

These are prime examples of butterfly lighting images.

This is the set up:

My take at butterfly lighting:

For these images, I think I did well getting the lighting in the right places making a butterfly effect under the nose and defining the cheek bones.

Rembrandt lighting

Rembrandt was known for his history paintings and portraits commissioned by patrons, but he also pushed forward the genre of self-portraiture. The Dutch Master didn’t let thoughts of anatomy override him, nor did he micromanage his strokes. Rembrandt made a stroke abstractly — as if he were not painting forms at all. As a result, the viewer sees the paint articulating as much information as possible. Because of this, Rembrandt’s work is very subtle.

Rembrandt lighting is a technique utilizing one light and one reflector or two separate lights. It’s a popular technique because it creates images that look both dramatic yet natural. Rembrandt made the pictures more tense and dramatic with sharp contrasts between light and dark. In portraiture, the eyes of your subject are mostly always the main point of focus in the image. The triangle of light, placed just below the eye on the shadow side of the face, will increase the emphasis and the viewer really will be ‘drawn in’ to your image.

This is the set up:

This is a professional picture using Rembrandt lighting.

As you can see, just below the eye, is a triangle shape. That is key in this style of lighting.

My take at Rembrandt lighting:

For this lighting technique, I found it a bit more difficult to get the lighting in the right place. It took several attempts, however i got there in the end.

Chiaroscuro lighting

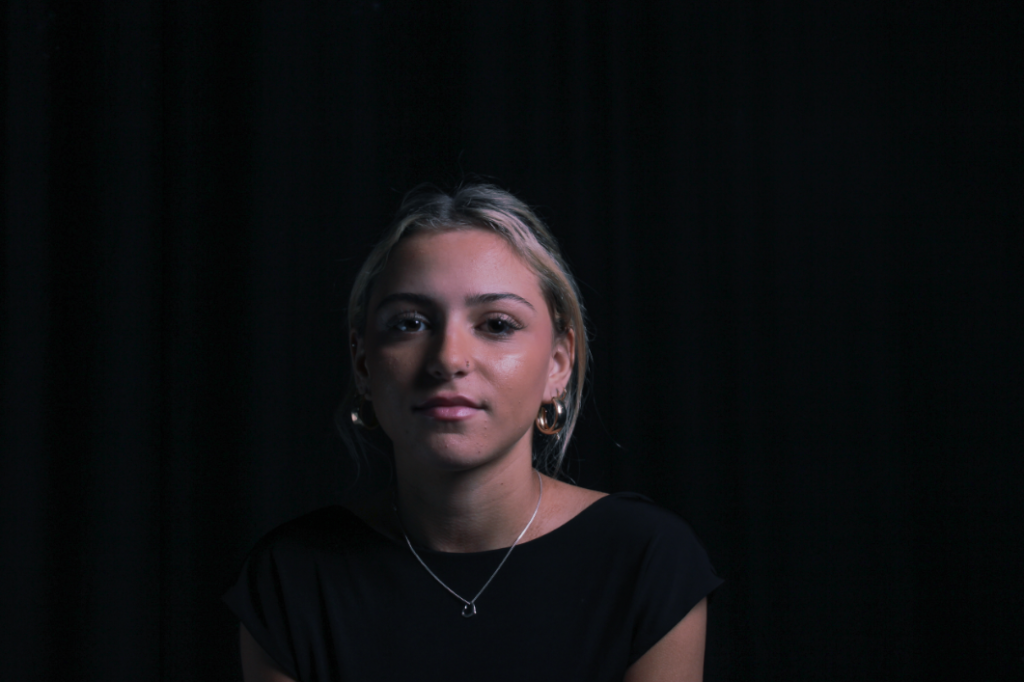
Chiaroscuro is a lighting technique that utilises a low lighting setup to achieve contrast between the subject and a dark background. It emphasises and illuminate important figures in a painting or drawing. Chiaroscuro using one key light and a variation using a reflector that reflects light from the key light back onto the sitter. The term chiaroscuro stems from the Italian words chiaro “clear” or “bright” and oscuro “obscure” or “dark”, and refers to the arrangement of light and shade in a work of art.

This is the set up:

These are professional pictures using the Chiaroscuro lighting technique:

One side of the models face, will always remain darker with more shadows.

My take at Chiaroscuro lighting:

I liked this lighting technique the most as in my opinion it was the easiest. I like how one side of the face is light, and the other half is dark.

Three Point lighting

Three-point lighting is the standard form of professional lighting in video production and still photography. It involves using three light sources placed in three different positions. I used a light positioned in front of the subject, a light slightly behind the subject, and a reflector positioned just in front but placed to the side of the subject.

1 point lighting only uses 1 light source (usually a key light), this could be a light facing someone in a studio, or if someone is outside, the light source would be the sun. It is important as without any lighting you won’t be able to see anything and the photo would just be darkness.

2 point lighting commonly uses 2 light sources or a light and a reflector. It is usually placed at a 45 degree angle from the subject and usually uses a main light and a fill light.

Environmental Portraits-edited images

Selected images

Green=good photos.

Yellow=okay photos.

I then edited my top 5 photos.

Edited photos

Before

After

Analysis- This is my favourite environmental portrait picture. The lighting compliments the whole picture. I like how she has a subtle glow to her face, but not too much that it makes the picture too white. I also like how the horse is right next to her face as it really represents the environmental portrait task.

Before

After

Analysis- For this picture I lightened it up and smoothed it out. I like the the picture has a soft touch. I also like how the lighting is quite low as it sets a sombre mood.

Before

After

Analysis- This photo shows my brother discussing measurements in the kitchen. I have turned the temp down to make the reflection of the lights less bright. I then put the tint up a fraction to warm the photo up a bit. I also put the exposure up to brighten it up. I moved the contrast down to calm the colours down so it wasn’t so bright.

Before

After

Analysis- I didn’t do much to this photo, but i dragged the whites to the very left to add more detail in to the image. I also moved the blacks all the way to the right to brighten up the darker parts of the photo.

Before

After

Analysis- I put the highlights down and the shadows up to make a nice blend and contrast of the colours on her face.

On the side of each edited image, it shows how i have edited them.

Arnold Newman

Arnold Newman was born March 3, 1918 in New York City. He studied art under a scholarship at the University of Miami, from 1936 to 1938. He died in New York City on June 6, 2006. Newman was generally acknowledged as the pioneer of the environmental portrait, he is also known for his still life and abstract photography, and he is considered as one of the most influential photographers of the 20th Century.

Newman began his career in photography in 1938 working at chain portrait studios in Philadelphia, and immediately began working in abstract and documentary photography on his own. Newman is often credited with being the first photographer to use so-called environmental portraiture, in which the photographer places the subject in a carefully controlled setting to capture the essence of the individual’s life and work.

Newman is often known well by being the photographer who articulated and who consistently employed the genre of environmental portraiture; a well known example being his portrait of Igor.

Arnold Newman, Igor Stravinsky 1946

Newman normally captured his subjects in their most familiar surroundings with representative visual elements showing their professions and personalities. Newman’s best-known images were in black and white, although he often photographed in colour. His 1946 black and white portrait of Igor Stravinsky seated at a grand piano became his signature image. It shows the reality of what Igor Stravinsky does. The image is simple but shows depth and feeling towards his interests. The most important parts to this image is him, and his piano. His facial expression is serious, which could suggest how seriously he takes playing the piano. The way the piano is much bigger than him, and the fact the lid of the piano looks like a music note, may suggest how much music plays a big part in his life. Black and white represents death and life.

This picture is also in black and white. The image is focused on his face with a blurred background making his facial expressions stand out. The use of shadows could represent hidden meaning. The contrast from shadow to light show the dark and light side of human life.

Photo-shoot action plan

Where am I taking photographs?

For my environmental portraits, I decided to photograph;

  • in a field
  • in my kitchen
  • in my brothers room
  • in my friends room
  • in my nans garage
  • in my nans living room
  • in my nans kitchen

Who I am photographing

I decided to take photos of;

  • my friend, I decided to take photos of her in her room as that’s where she spends most of her time.
  • my mum, i took pictures of her in my nans kitchen making tea as that’s normal for her.
  • my brother, I took pictures of him playing his play station as that’s all he does, and took pictures of him making food as hes old enough to look after himself.
  • my nan, I took pictures of her reading as its what she loves to do most.
  • Oil distributer, i took pictures of him as he came to fix my nans oil.

When am I conducting the shoot.

I carried out this shoot over October half term around jersey. This was best as I had lots of free time.

How are you going to produce your photos

  • A camera
  • Different lighting
  • Different camera settings
  • Props in the photos

Contact sheets of all my photos

Environmental Portraits

An environmental portrait is a portrait executed in the subject’s usual environment, such as in their home or workplace, and typically illuminates the subject’s life and surroundings. The term is most frequently used as a genre of photography.

It is a shot that captures a subject at work, at home, or in another important location. Good environmental portraits will tell strong stories of their subjects. Their immediate surroundings will give the viewer insight into where these people are, what they do, and who they are.

These are some examples of environmental portraits:

As with all photographs, the main photographic components of a portrait are light, composition, and moment. This creates a good environmental portrait.

Portraits tell us about an artists intentions and what they are trying to say about the model, e.g. thoughts, feelings, or what they are known for. They tell a story, but also hide secrets.

Environmental portraits can create a short biography by incorporating a constructed or real background of the subject’s life seamlessly into the photograph as there is no significant separation between person and place. The subject and environment depend on each other for meaning.

This is a mind map I have created for ideas on what makes a good environmental portrait. Adjust your camera settings, use ambient light, use a wide-angle lens, communicate with your subject, use props naturally, and focus on the essential details.

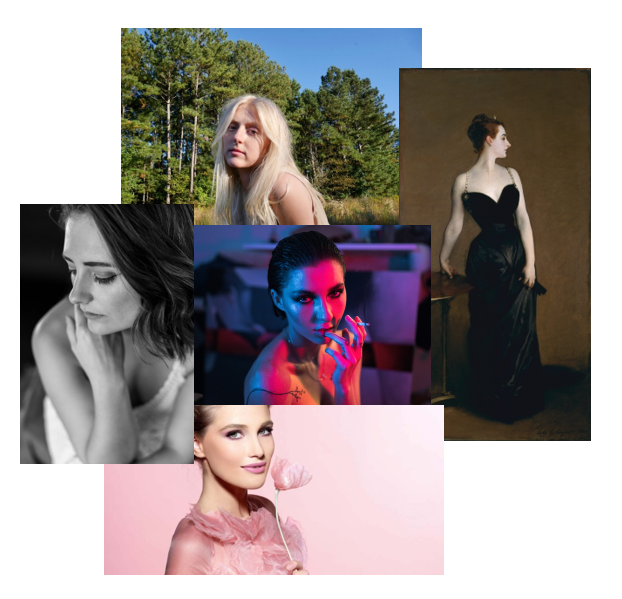
Here is a mood board of environmental portraits.