All posts by Lainey Peel

Filters

Author:
Category:

Henry Mullins- Diamond Cameo Editing

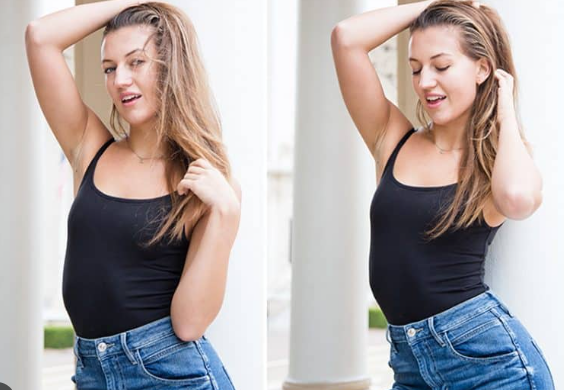
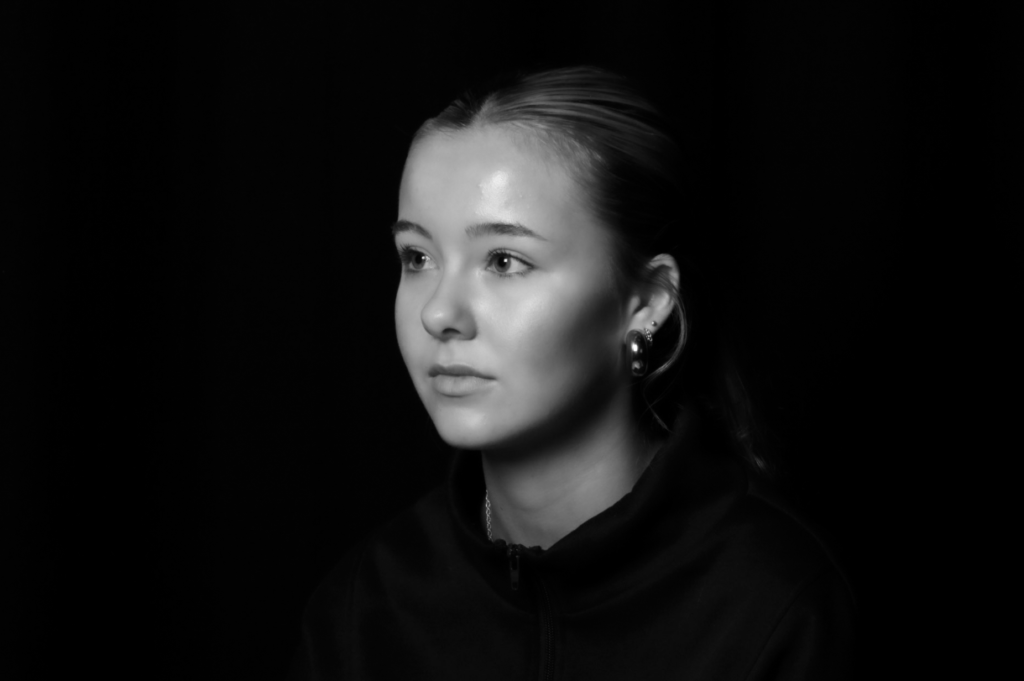
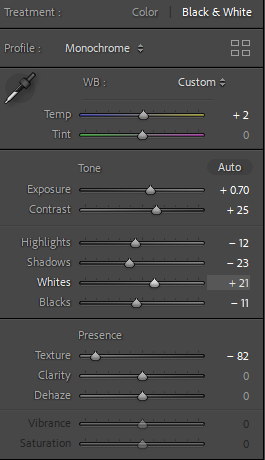
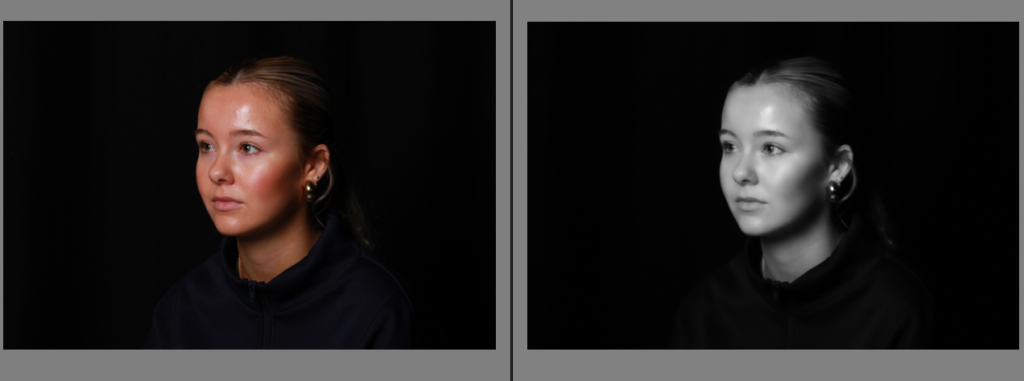
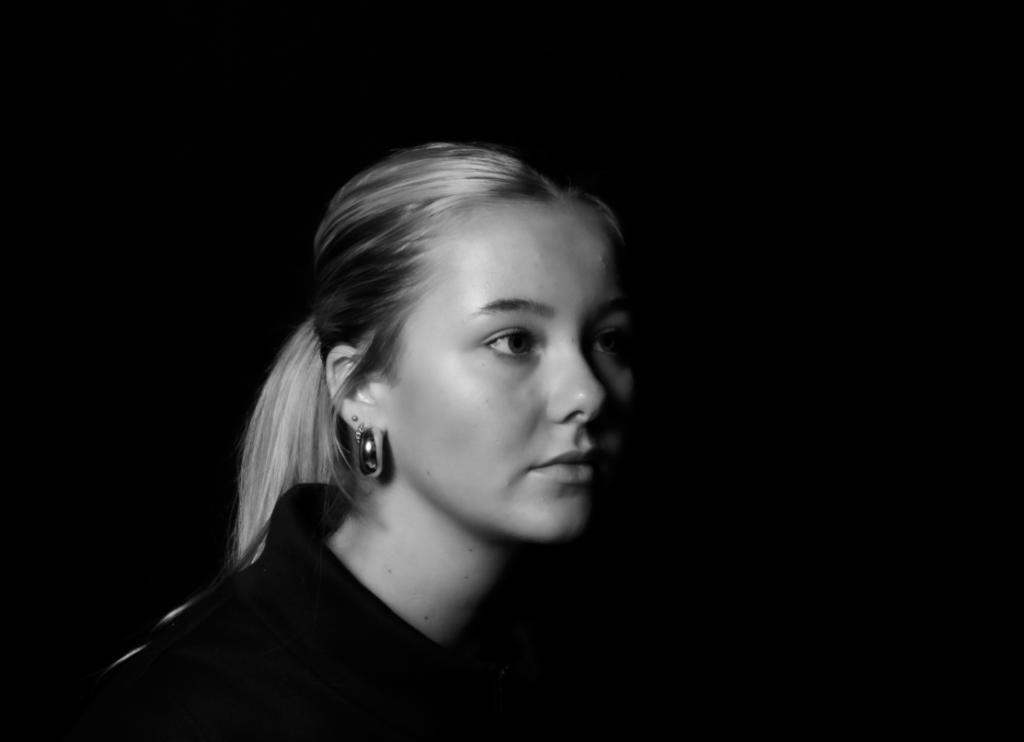
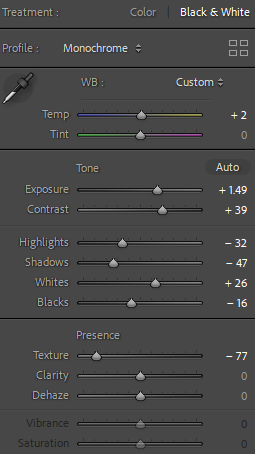
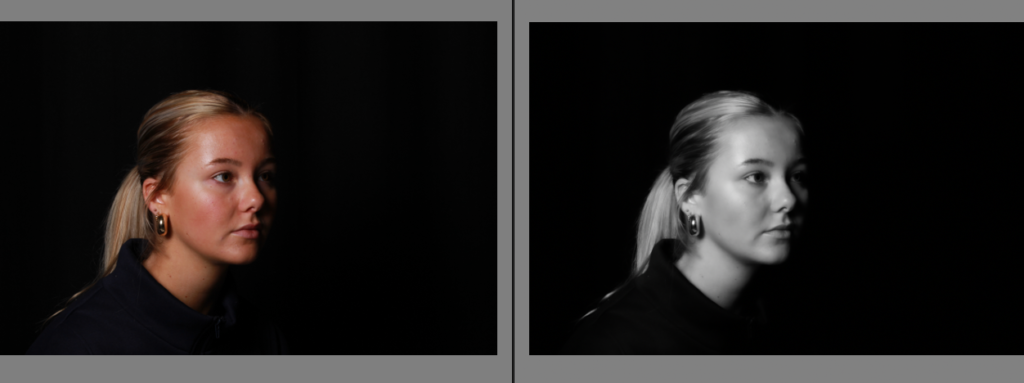
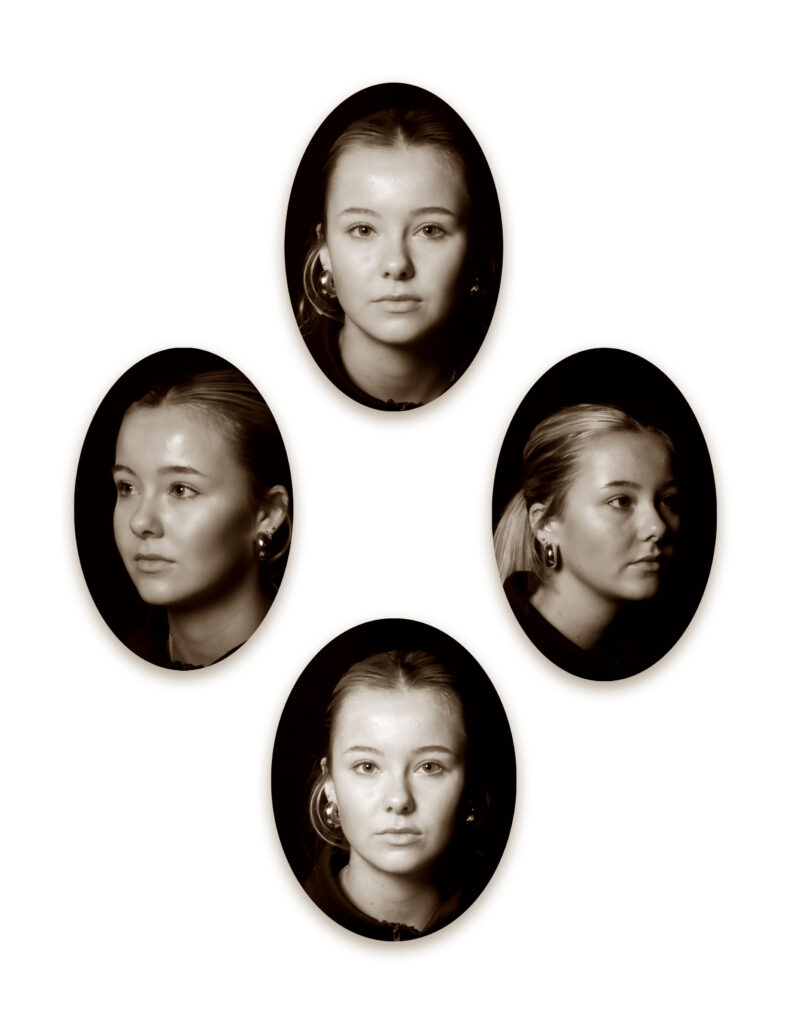
Within these images, we went down to the studio and experimented taking photos in all different angles to make it inspired from Henry Mullin’s diamond cameo technique which shows all angles in a photoshoot which creates the image to be unique and more appealing to the eye. In each image I increased the exposure and contrast to make the image brighter but keeping it contrasted with shadows to deepen the image. I decreased the highlights as the exposure already made it bright enough to the correct amount and emphasized it with increasing the shadows to deepen and add more value to the image itself. I decreased the texture to make the image look more professional and smoother to finalize the image. To make it more similar to Mullin’s work my next step was to actually put these images in an oval shape using Adobe Lightroom and place them on a blank space in a diamond layout to create and finalize this technique.

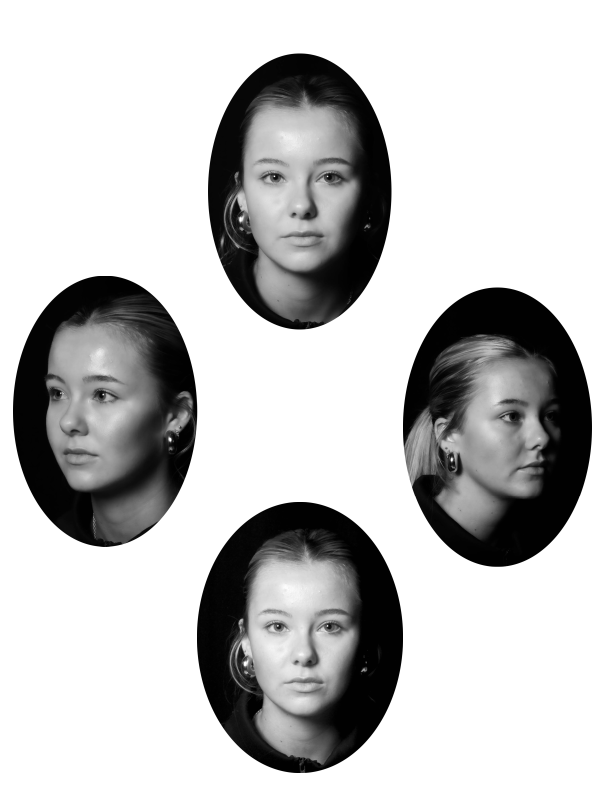
Next step: Put them in an oval shape in a diamond layout.

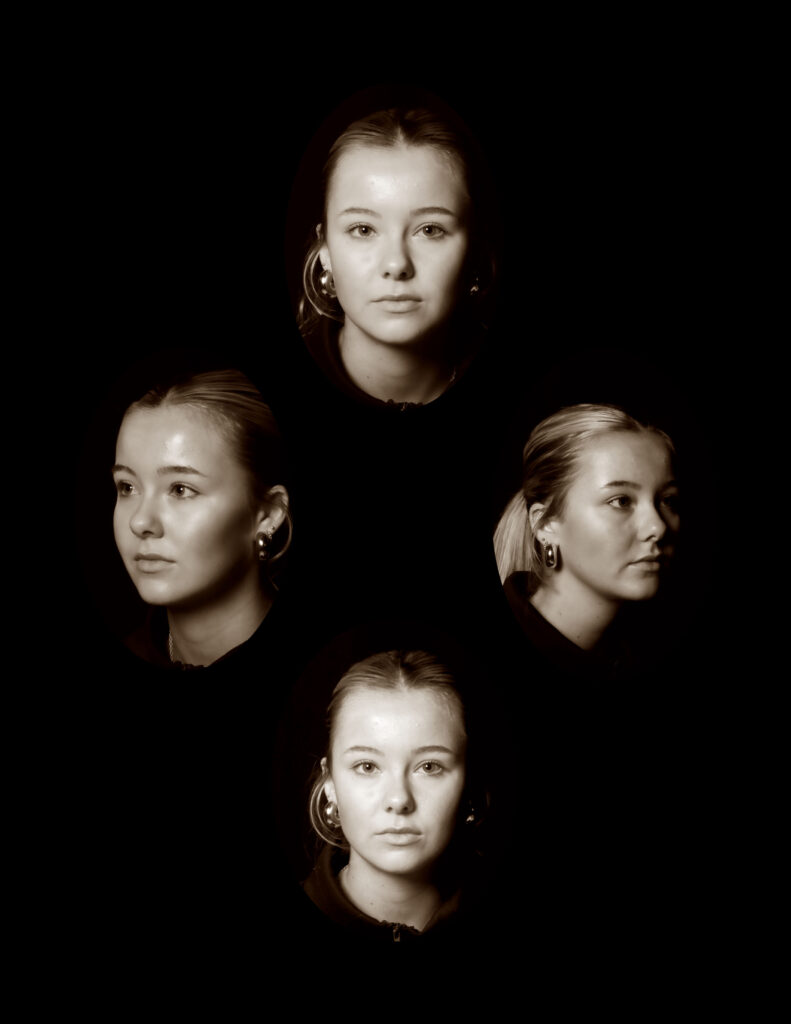
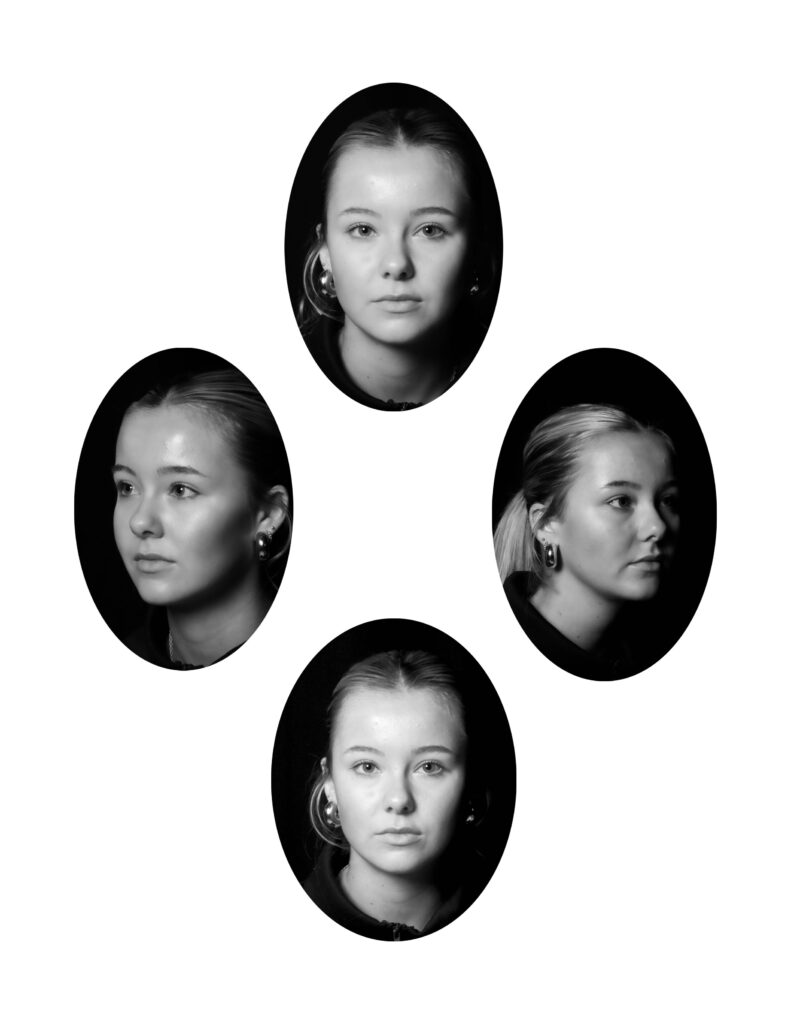
Different layout ideas-

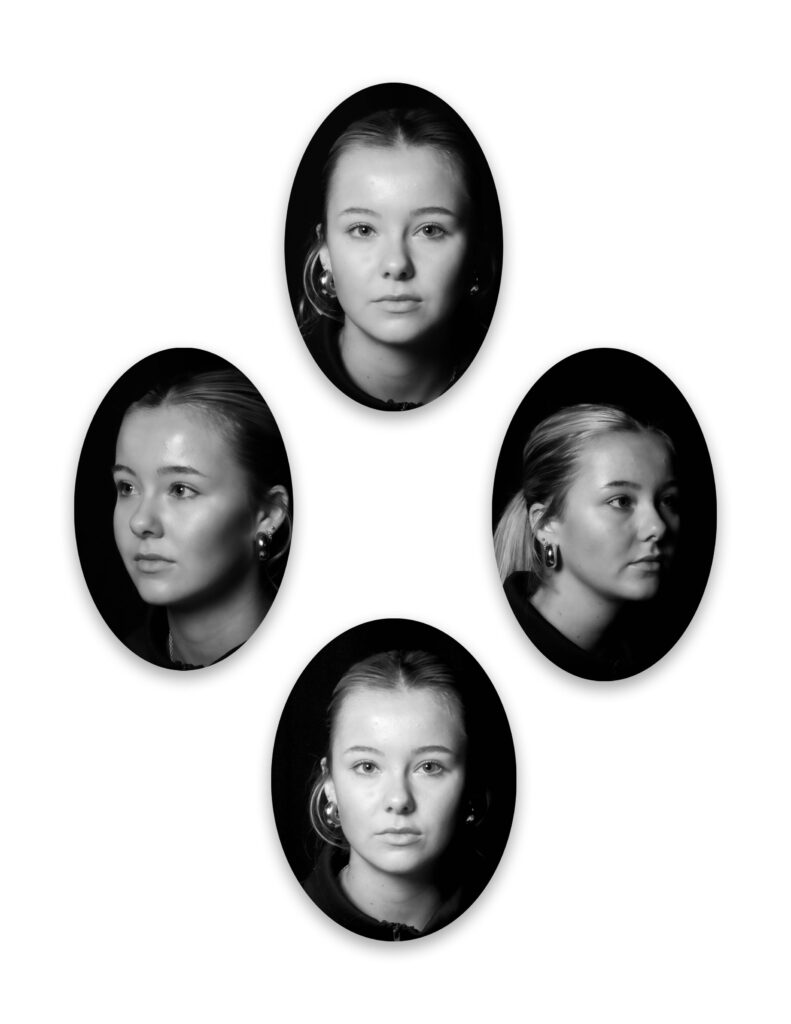
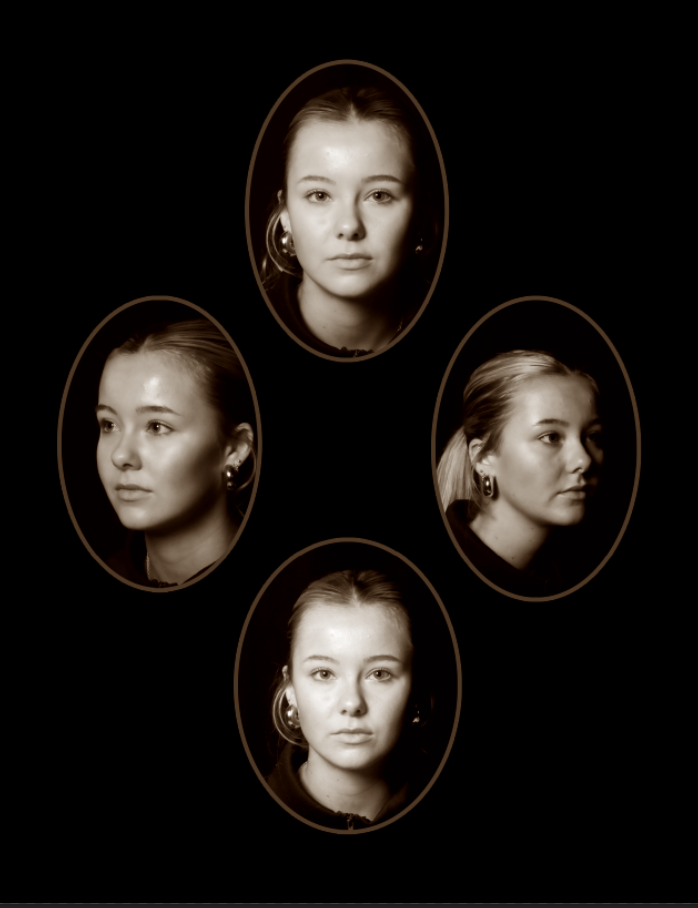
My Favourite-

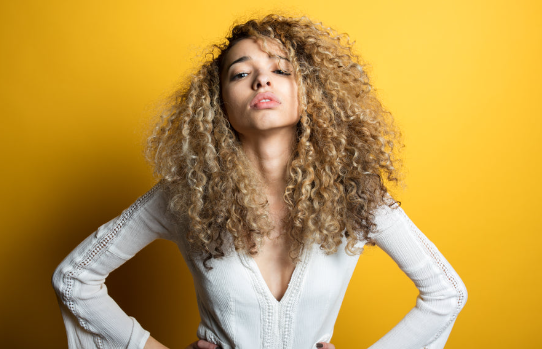
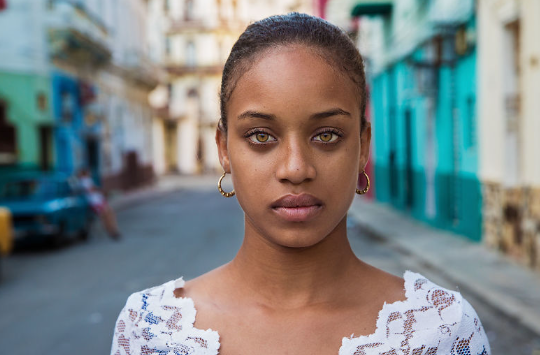
Inspirations from my photoshoot (Headshots)

In my headshots I am going to use a range of photographers to inspire my work so that I can make my images more appealing to viewers, more creative and look more professional.

Thomas Ruff: Artist Research

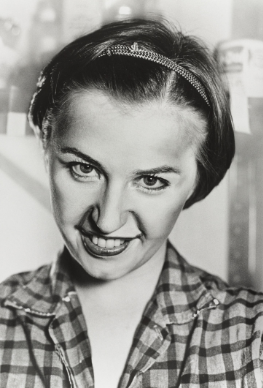
I would like to use inspiration from Thomas Ruff’s work as his images resemble a passport photo using the deadpan aesthetic. This would be the criteria for his subjects.

  • Eyes must be open and clearly visible, with no flash reflections and no ‘red eye’
  • Facial expression must be neutral (neither frowning nor smiling), with the mouth closed
  • Photos must show both edges of the face clearly
  • Photos must show a full front view of face and shoulders, squared to the camera 
  • The face and shoulder image must be centred in the photo; the subject must not be looking over one shoulder (portrait style), or tilting their head to one side or backwards or forwards
  • There must be no hair across the eyes
  • hats or head coverings are not permitted except when worn for religious reasons and only if the full facial features are clearly visible
  • Photos with shadows on the face are unacceptable
  • Photos must reflect/represent natural skin tone

I personally like this technique of headshots as they look extremely formal, very clean and you can see every part of their face without having to make the detailing photographers are pressured to do to make it unique which makes it bland but appealing as it is different. However, no facial expressions, no accessories and no background may make it difficult for the viewer to understand and read the model as who they are or what the image is about itself. Therefore, this technique is very controversial but I personally like its features no matter the value.

RUFF’S IMAGES

The Deadpan Aesthetic

The word “Deadpan”  can be traced to 1927 when Vanity Fair Magazine compounded the words dead and pan, a slang word for a face, and used it as a noun. In 1928 the New York Times used it as adjective to describe the work of Buster Keaton, however Thomas Ruff familiarised himself with this aesthetic i his work too.

Deadpan photography shows people in their natural state, emotionless and detached. These subjects are not posed, are not dressed up for the occasion, and seem completely honest. I really like this aspect because it gives a tone of authenticity to the work and broadcasts people in the real world truthfully.

This style originated in Germany and is descended from Neue Sachlichkeit, New Objectivity, a German art movement of the 1920s that influenced the photographer August Sander who systematically documented the people of the Weimar Republic.

Deadpan portraits are typically shot in a straightforward, uncontrived manner. The photographer does not use any special angles, lighting, or props to create an emotional or dramatic effect. Instead, the subject is simply captured as they are, in their natural environment.

In my work, I could use coloured gels to add more life and saturation into the image as my subjects will be emotionless.

Bruce Gilden:

Bruce Gilden is an American street photographer. He is best known for his candid close-up photographs of people on the streets of New York City, using a flashgun. He has had various books of his work published, has received the European Publishers Award for Photography and is a Guggenheim Fellow.

Bruce Gilden is one of the most iconic street photographers known for his confrontational and graphic images of a close-up subject. His work is around this due to being fascinated by the life on the streets and the complicated and captivating motion it involves in his childhood. His work has a high degree of intimacy and directness which have become signature in his work called FACE. Typically, people used are not the average person and have blemishes or look uncomfortable/awkward. Many people may say he is the most aggressive street photographer due to the rawness and realness of his images.

I like this aspect of his work because once again it documents the reality of life on the streets of places such as  America, Great Britain, and Colombia during 2012-14

Personally, I like these images as they keep natural and realistic without using texture to make them look smoother. This could link to social media effect and how society is not realistic whereas his photos remind everyone they are.

Gilden’s Images

Man Ray:

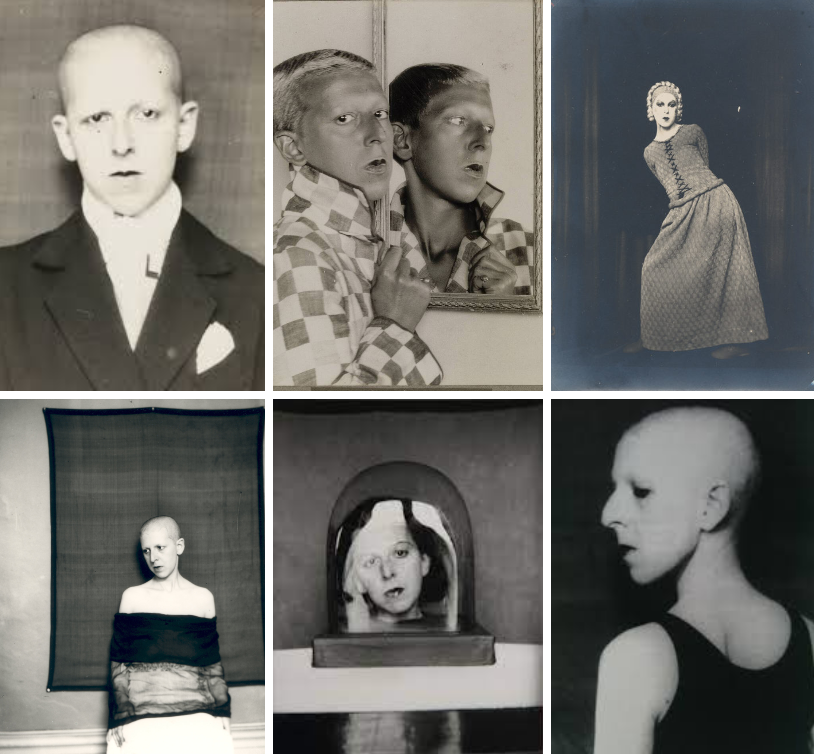
Man Ray took multi exposure photographs which is something that greatly intrigues me in my work as they provide a great sense of mystery to the viewer and have a large sense of detailing to eye catch the viewer. I also personally feel that the images this technique creates can resemble identity depending on how the subject is represented, such as this:

Usually, to take multi-exposure photographs you:

  1. Take your first photo. The camera shutter opens to expose the film to one image, then closes.
  2. Rewind the film and take your second photo.
  3. Develop both images in one photo

Henry Mullins – Artist Study

Henry Mullins started working at 230 Regent Street in London in the 1840s and moved to Jersey in July 1848, setting up a studio known as the Royal Saloon, at 7 Royal Square. Initially he was in partnership with a Mr Millward, about whom very little is known. By the following year he was working alone and he continued to work out of the same studio for another 26 years.

For a brief period in the 1860s he also worked in London, but judging by the collection of his photographs which is now held by La Société Jersiaise, he found plenty of willing sitters in the island prepared to pay half a guinea (promoted as “one half of that in London”) to have their portrait taken by him.

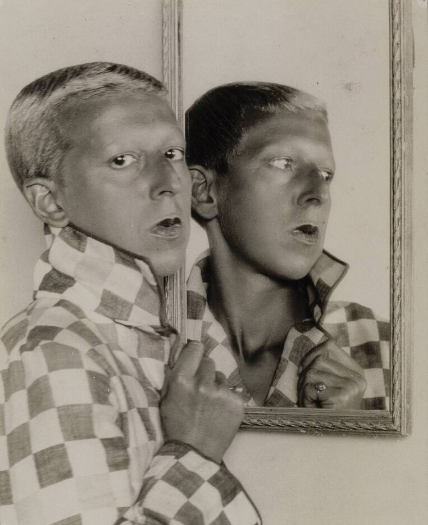
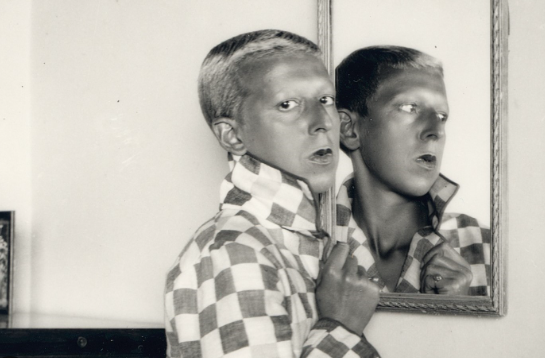
Multi Portrait technique-a technique used under licence by Henry Mullins

Henry Mullins, the renowned headshot photographer, was born on June 12, 1975, in Los Angeles, California. From an early age, he exhibited a passion for creativity and art, particularly in the field of photography. As a teenager, he would spend countless hours exploring his neighborhood with his trusty camera, capturing the essence of the people and places he encountered.

After high school, Mullins pursued his passion for photography by enrolling in the prestigious School of Visual Arts in New York City. Here, he honed his skills under the guidance of some of the industry’s most renowned photographers. Inspired by his professors and surrounded by the vibrant art scene, Mullins began to carve his own path in the world of photography. Upon graduating, Mullins moved back to his hometown of Los Angeles, where he established his studio and started his career as a headshot photographer.
He quickly gained a reputation for his unique artistic vision, attention to detail, and ability to capture the true essence of his subjects. Mullins had a natural talent for making his clients feel comfortable in front of the camera, resulting in stunning headshots that truly represented their personalities and capabilities.

Mullins’ work soon caught the attention of casting directors, agents, and actors alike. His photographs graced the portfolios and websites of numerous Hollywood celebrities, catapulting him to the top of his field. His ability to capture an actor’s true essence in a single frame earned him accolades and made him one of the most sought-after headshot photographers in the industry.

Throughout his career, Mullins collaborated with numerous acclaimed actors, directors, and production teams. Not only did he provide stunning headshots, but he also worked on set, capturing behind-the-scenes moments and promotional images for various films and television productions.

In addition to his commercial success, Mullins dedicated his time to giving back to the community. He conducted workshops and mentoring programs for aspiring photographers, serving as an inspiration for the next generation of talent. Mullins believed in nurturing young minds and encouraging them to unlock their artistic potential
Henry Mullins’ passion, dedication, and artistic eye revolutionized the world of headshot photography. His ability to showcase the true essence of his subjects made him a trusted collaborator for actors, models, and performers worldwide. Today, his legacy lives on through the countless aspiring photographers inspired by his work and the impact he made on the industry as a whole.
Henry Mullins, a highly prolific photographer, made an indelible mark on the Societe Jersiase Photo-Archive, amassing a collection of over 9,000 portraits of Jersey Island residents. The period in which he operated, from 1852 to 1873, coincided with a population of approximately 55,000. The surviving record of his work, found in his meticulously curated albums, reveals Mullins’ deliberate organization of his subjects according to their social standing, thus imbuing his portraits with a subtly political narrative.

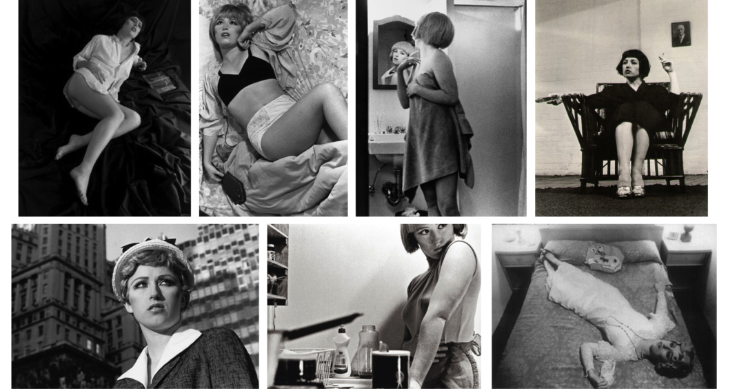
Henry Mullin’s famous Images:

Henry Mullins’ work of 19th century Jersey is highly politicised, taking images of Jersey political elite (E.g. The Bailiff, Lt Governor, Jurats, Deputies etc), mercantile families– involved in trade (Robin, Janvrin, Hemery, Nicolle etc.), military officers and professional classes such as doctors, bankers and advocates. He organised these images from the most powerful roles, to the lesser powerful.

MOODBOARD OF HIS WORK:

These images are only a small portion of the large amount of images he took, these images would then be placed into an album, presented as Cartes de visite:

Cartes de visite:

Mullins specialised in Cartes de visite, in which the photographic archive of La Société contains a large amount of these (online archive being 9600 images). The Cartes de visite small albumen print. This is described as the first commercial photographic print produced using egg whites to bind the photographic chemicals to the paper which is quite interesting as this is would be very rare to see now. Because the image emerges as a direct result of exposure to light, without the aid of a developing solution, an albumen print may be said to be a printed rather than a developed photograph. Usually, this consisted of a small thin photograph mounted onto a thicker piece of card, however Mullins placed is work into an album.

Many of these images contained the island’s most affluent and influential people, alongside officers of the Royal Militia Island of Jersey, for whom it was very popular to have portraits taken, as well as of their wives and children. The images of the officers document the change in generations as they do not look like the general person today, showing the fashion for long hair, whiskers and beards in the mid-1800s. Their appearance makes it difficult for the viewer to differentiate who is who as they were styled almost identically during this time.

Diamond Cameo:

This layout of final images is called a Diamond cameo due to the diamond-like shape produced by the placement of oval images. I like this technique as it is more unique and more appealing and eye catching to the eye as you can see all format and possible sides of his face allowing you to see every detail rather than a normal layout of images put together.

Camera Handling Skills

In photography, I use a DLSR Canon camera to take photos, because it ensures they all have good quality and there are various different ways I can adjust my images. This camera is extremely beneficial for photography as it allows me to change the shutter speed, ISO and aperture.

  • The shutter speed is the length of time from the moment the shutter opens and this then allows light into the camera. A fast shutter speed will create a short exposure, whereas as a slower shutter speed will create a long exposure. This is because the shutter is open for a longer period of time which allows more light into the camera.
  • The aperture is the opening of the lens’s diagram through which light passes through. Having a smaller aperture creates a sharper image.
  • The ISO ( International standard organization) is an image sensitivity in a numerical value. Having a higher ISO can lower the quality of your photo and degrade is which will cause your photos to be grainy or “noisy”.

We used this app to begin experimenting with different apertures, shutter speeds and ISO, which was helpful because it allowed us to decide which ones look best for each specific photo. We then could apply these skills to when we actually use the cameras, which saves time and we could identify which ones would benefit the photos most.

Aperture

Aperture controls the size of the lens opening which allows light into your camera.

Opening the lens more or having a low f-stop number (e.g. f/1.4) blurs the background/foreground around your subject. This is known as a shallow depth of field.

Keeping the lens more closed or having a high f-stop number (e.g. f/16) keeps the photo sharp throughout. This is known as a wide depth of field.

Shutter Speed

Shutter Speed is the amount of time the shutter is open to expose the image sensor to light.

Slow shutter speeds expose more light to the image sensor so still objects will have more detail and moving objects will appear to have more motion/be blurry.

Faster shutter speeds means less light is exposed to the image sensor and moving objects appear more still.

ISO

The ISO of a camera selects how much light the image sensor detects.

Too much light on a sunny day can cause overexposed shots so a lower ISO would be preferred.

Too little light in a shady room or day can cause grainy images.

The general rule is to use the lowest ISO possible to get the most detail possible.

Exposure Meter

The Exposure Meter is your final check before you snap a shot. It shows you how well your aperture, ISO and shutter speed are working together.

It is used as a guide to show exposure.

White Balance

White balance is the ratio of blue light to red light in an image which refers to the concept of colour temperature.

White balance is measured is Kelvin(K). Higher values of Kelvin contain more blue light whereas lower values of Kelvin contain more red light.

Chiaroscuro lighting

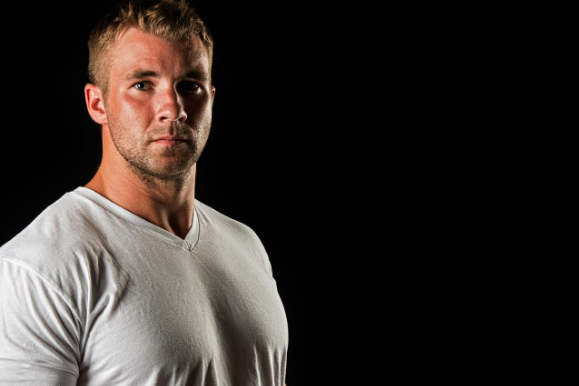
Chiaroscuro lighting is a high-contrasting light technique that utilises a low-key lighting set up to achieve contrast between the subject and the dark background. Window light is the most accessible for this technique, as it focuses on only half of the models face being seen. By using window light, the photographer is able to enhance the exposure to avoid any distraction in the background of the photo. This helps keep the spotlight on the model. The window must be the only source of light when using this technique, if there is other background lighting then the focus will drift from the model into the background.

This technique is mainly used in film to create striking images or evoke a certain feeling. The contrast between light and shade can help frame a subject more effectively. Drawing viewers eyes to things they would not usually focus on in the image. Chiaroscuro is a high-contrast lighting technique. Chiaroscuro uses a low key lighting setup, where a key light is used as the sole light source to achieve dark backgrounds with starkly lit subjects.

Chiaroscuro simply means is ‘ the use of strong contrasts between light and dark, usually bold contrasts affecting a whole composition. ‘

Chiaroscuro provides a sense of drama and intensity that remains striking today

Examples of Chiaroscuro Lighting:

Lighting set up:

For this effect, you light across your subject in one direction, and here we lit the background in the reverse direction. Ideally, the subject should go to black on the unlit side and the same for the background. Chiaroscuro lighting typically involves using a single, strong light source positioned at an angle to the subject. This directional light creates dramatic shadows and highlights.

Light – Chiaroscuro mainly uses one key light, and a variation using a reflector which helps deepen the contrast between the shadows.

My own photoshoots-

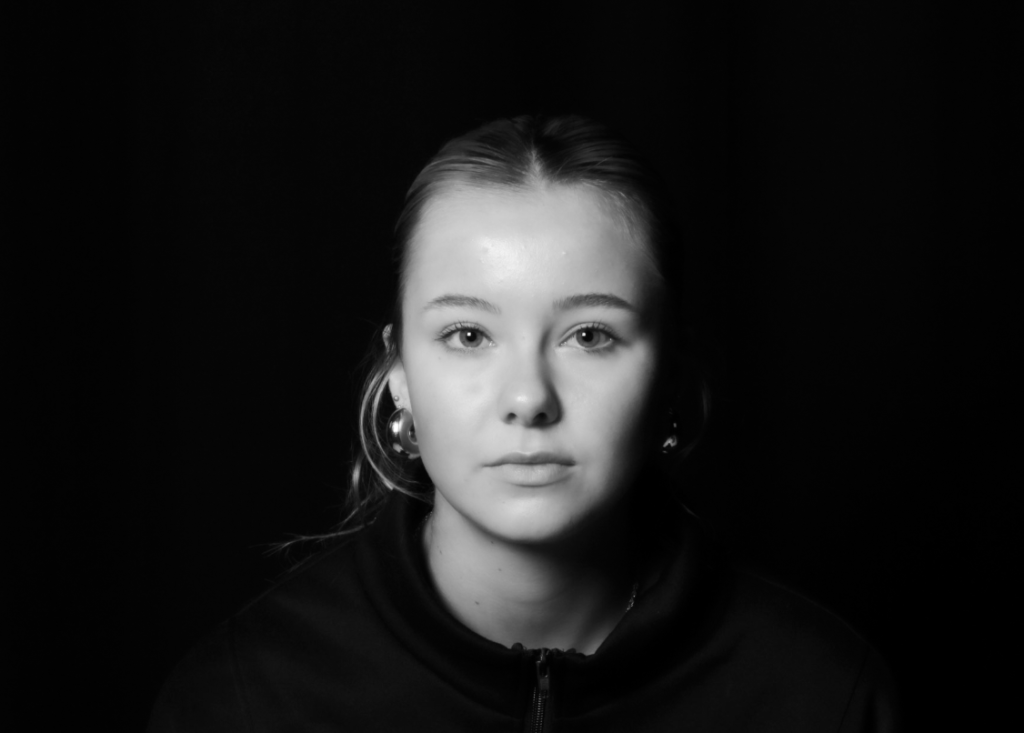
Overall, I am happy with these outcomes. They are definitely my most preferred out of all three styles of lightings as I personally think we have got the closest to the correct lighting in this style. We experimented with a black and white backdrop as shown and not just a head shot but personally my favourite is with a black backdrop as the shadows blend in with the background which creates a unique effect and looks more professional. I edited the images to create more depth of the shadows but still keeping it light and bright. One benefit of this technique is if the model prefers one side of their face and also creates a dramatic significant effect. One side of their face is almost gone from the shadows but definitely black drops are my favourite which links to the famous work above as they have also used black backgrounds.

Butterfly Technique Lighting

Butterfly lighting is a lighting pattern used in portrait photography where the key light is placed above and pointing down on the subject’s face. This creates a dramatic shadow under the nose and chin that looks like a butterfly. One of the most famous photographers to use butterfly lighting was George Hurrell, who was known for his dramatic portraits of Hollywood stars, and since, the technique has grown more popular.

This creates a shadow under the nose that resembles a butterfly. It’s also known as ‘Paramount lighting,’ named for classic Hollywood glamour photography.

Some benefits of butterfly lighting is-

  • It’s Perfect for Portraits. Butterfly lighting is often used in portrait photography, especially in headshots. …
  • Create Different Moods. …
  • Easy to Set Up. …
  • It’s a Natural Look. …
  • It’s Versatile.

Butterfly lighting is primarily used in a studio setting. It is named “butterfly” because of the butterfly shaped shadow that it creates just under the models nose. This occurs because of the lighting in the shot, comes from above the models head. Butterfly lighting is mostly used for portraits, as it is flattering on everybody.

Lighting set up:

Light – Butterfly lighting requires a key light that can be a flash unit, or continuous. If continuous, it can be artificial or natural, meaning you have a lot more choice in which lighting you think would benefit your photos a lot more. Butterfly lighting can be varied, soft or hard depending on the objective of the image.

Lens – The most popular lens used for butterfly lighting is between a 50 – 85mm lens. This helps the photo because it allows a larger depth of field.

My own photoshoots-

Within these photos, we placed the light in a 45 degree angle above the subject in order to attempt to get the shadow underneath the subjects nose. We attempted to get that strong eye catching deep shadow however we used a reflector in the set up which as shown above there is a significant better result without the reflector. I have therefore learnt for future photoshoots using this technique in order to improve and result in a better outcome without a reflector would be better. However within these images, I either increased or decreased the exposure depending on how exposed and bright the image was so it has the correct amount of brightness. I increased the contrast on both images so the image was more detailed and had high depth in the shadows which is needed for this lighting style. To emphasize this, I decreased the shadows just to add more eye catching and significance to the image but contrasted that with increasing the highlights so the image wasn’t too dark or dull as the contrast had been increased. Finally, I increased the whites and decreased the blacks so it had a perfect mix and balance of both. Overall I decreased the texture so the image looked a lot smoother therefore making the outcome look a lot more professional.

Rembrandt Lighting

Rembrandt lighting is a technique that was taken from a famous painter in the 1600s, Rembrandt Harmenszoon van Rijn. It’s a popular technique because it creates images that look both dramatic yet natural. This technique is a way of lighting the face so that a small upside-down triangle of light appears just under the models eye, on the less illuminated side of their face. It is a simple, effective photography lighting setup that’s flattering to a wide variety of faces, and is easy to master quickly. It’s possible to achieve this using just your camera and a single light source, which is why its so popular. Rembrandt lighting is a technique utilizing one light and one reflector or two separate lights

The technique is very popular because it is capable of producing images which appear both natural and compelling with a minimum of equipment. Rembrandt lighting is characterized by an illuminated triangle (also called “Rembrandt patch”

The Rembrandt lighting technique is mostly known for dimension and depth it adds to portraiture. By using it you instantly create shadows and contrast in your photos. It also adds an element of drama, which is effective in photography because it draws the viewer’s attention immediately.

Here are some examples of Rembrandt lighting

My own photoshoots-

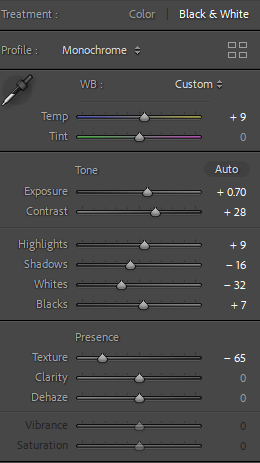
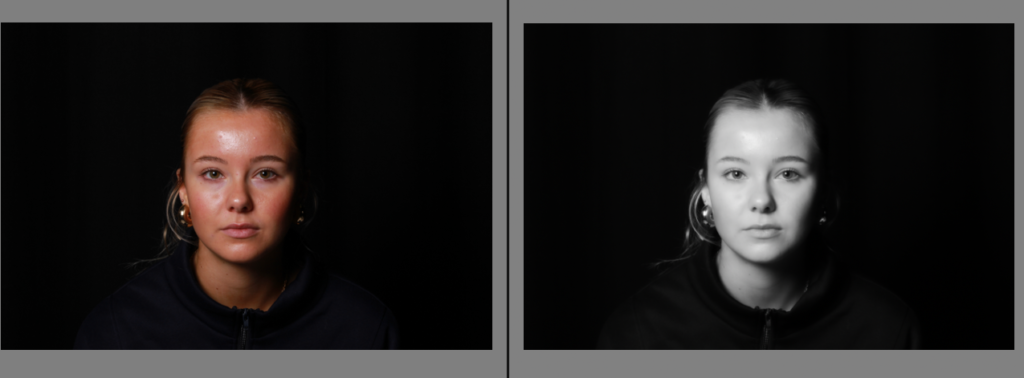
As shown, I firstly increased the temperature to give it a warmer look to make it look less dull and bland to make it more professional, I then decreased the exposure to deepen the upside down triangle leading to it to relate to the Rembrandt lighting. However increased the contrast so the shadow had more depth. I increased the white and highlights so the image had the correct amount of light leading it to be not too dark but with the correct depth of dark shadows to emphasize the triangle. Lastly, decreased the texture so the image looked smoother and more professional, and finally decreased the shadows to emphasize the shadows and Rembrandt’s shadows are emphasized.

I then put it in black and white so it connected to Rembrandts lighting theme as majority of famous and known photographs are in black and white and also really emphasize the triangle as in colour that is generally more eye catching than the triangle therefore meaning in black and white the triangle is a large factor to only focus on.

Lighting set up-

Light – lighting styles are determined by the position of your light source. Rembrandt lighting is created by the single light source being at a 40 – 45 degree angle and higher than the subject. Both flashlights and continuous lights can be used for this technique.

Lens – a 35mm or 50mm lens will work the best for this technique if your space is at a premium. Or, if you’ re looking at including more of the subject than just the head and shoulders. A 50mm works very nicely for portraits, and will give a nice depth of field if you’re shooting with a shallow aperture. However, a 35mm will give you a wider perspective, meaning you can include more of the background in a photo. However, this is usually not needed in portraits as we want to focus on the subject.

Edited Environmental Portraits

Within this photo, I personally like it as it has a successful background to make environmental portraits by the outfit and props behind her to make her significantly blend in with the background. I did some experimenting and increased the temp however kept the tint the same. The original photo on exposure was too high so I decreased the exposure until it had the correct amount. I then continued to decrease highlights as if I decreased my shadows next it would significantly deepen the depth of shadows which shown successful, however this image originally has natural lighting whereas forced lighting in a certain area would emphasise these shadows. Lastly, I put it in black and white to create an effect of vintage and nostalgia and the original image was too colourful in my opinion.

Firstly, I edited the colour one to create a warmer temperature and lowered the exposure ever so slightly so the image wasn’t as exposed and bright. Decreased the shadows to deepen them but contrasted it with increased the highlights to make it not too dark. I then put it in black and white to see if I liked the possibility of it being in that colour however I definitely preferred it in colour as the image itself and surroundings are very bright and colourful and I think that adds to the image and ultimately creates environmental portrait so the viewer has more of an understanding of the environment behind her.

Personally, I couldn’t decide which one I preferred as I think the colourful image is more eye-catching however the black and white reduces all the tones especially the green tone but the colourful image does help the viewer see the props and background to actually understand what environment relates to him as a person.

I definitely prefer this image in black and white as he gives off old energy which links to the nostalgic theme and black and white significantly adds a vintage vibe. I decreased the exposure to make it less bright and exposed and contrasted it with increasing the contrast so the image had more definition and decreased the shadows too deepen them as its in black and white and finalised it by adding some texture so the image had more definition and looked more realistic.

I flagged and made my images green to make it easier for me to quickly reach my best images in my environmental portrait collection and therefore be able to see what to do next to improve or do the same for my next project to be able to be more successful.

Environmental portrait photoshoot-

Photo shoot 1:

Photoshoot 2:

Photoshoot 3:

Photoshoot 4:

Photoshoot 5:

Photoshoot 6:

Photoshoot 7:


For this photoshoot, we went around the school to experiment in taking our environmental portraits because the background effect of education and learning significantly added the effect to make it a successful environmental portrait. We tried to get each adult or teacher to make eye interaction with the camera to make it fit in the theme of environmental portraits. This gave us the opportunity to investigate how to make the subject the main focus in the image however the background is definitely a large factor to add to the image, either way one without the other would not make a successful environmental portrait. Overall this photoshoot deepened my understanding of environmental portraits and how props and backgrounds can deepen and add more value to the image itself. My favourite photoshoot is probably photoshoot 2 and the last 2 images of photoshoot 5 as the background is emphasizing and overpowering the main subject as the photo is in full frame meaning the effect of the props are significant. My least favourite is photoshoot 7 as they isn’t really a good background to make the image full, there isn’t much eye catching features apart from him as the main subject. However, if I look at the photo on another aspect that may possibly be the aim. Another least favourite are the last few photos of photoshoot 3 as they are slightly out of focused and also saturated and made him look shiny. Although, a way to reduce this is editing in light room which may change my opinion on this photoshoot.