Themes:
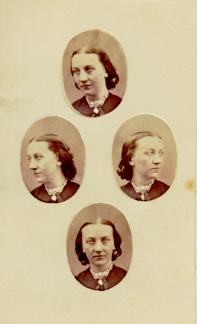
Femininity: Femininity is a set of attributes, behaviours, and roles generally associated with women and girls. Femininity are socially constructed gender profiles, like masculinity is, and there is also some evidence that some behaviours can be influenced by both cultural factors and biological factors. Femininity is usually associated with characteristics such as empathy, nurturing, gracefulness and kindness, often including qualities like emotional intelligence, supportive, communication and collaborativeness. Women were often valued for their looks and not their actions, for example, having soft, clear facial features, curvy figures and bright eyes. Historically, the only things women were supposed to be were housewives and mothers to their children, and women that were forced into working environments outside of their household were viewed negatively by society.

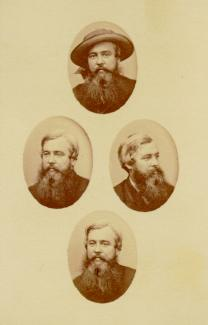
Masculinity: Masculinity is typically the social expectations of being a man. It is a set of attributes, roles or behaviours which are associated with males, such as physical strength, authority, power and independence. Regardless of biological sex, anyone may exhibit masculine traits. Masculinity can be influenced through other people and socially constructed, but there is also evidence that some behaviours considered masculine are influenced by both cultural factors and biological factors. In the early 1900s, men were usually relate to politics or working jobs outside of the household. At the beginning of the 20th century, average families had only one income-earner, the male. Men were the leader and dominant spouse in the household. In addition, the government entirely consisted of men; they ran the entire country because they had the power to.

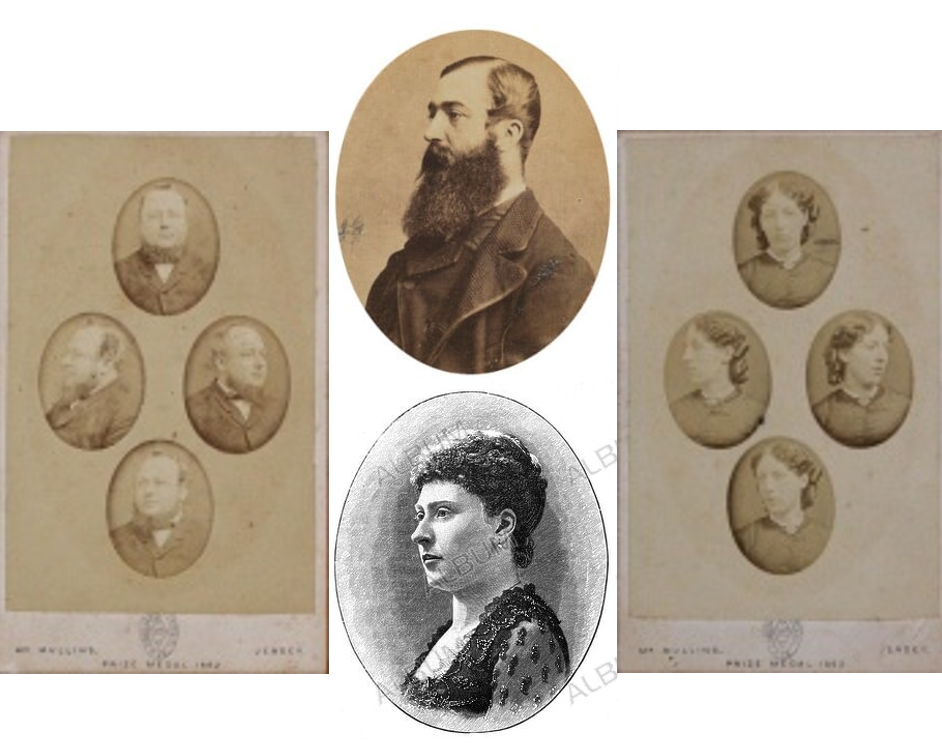
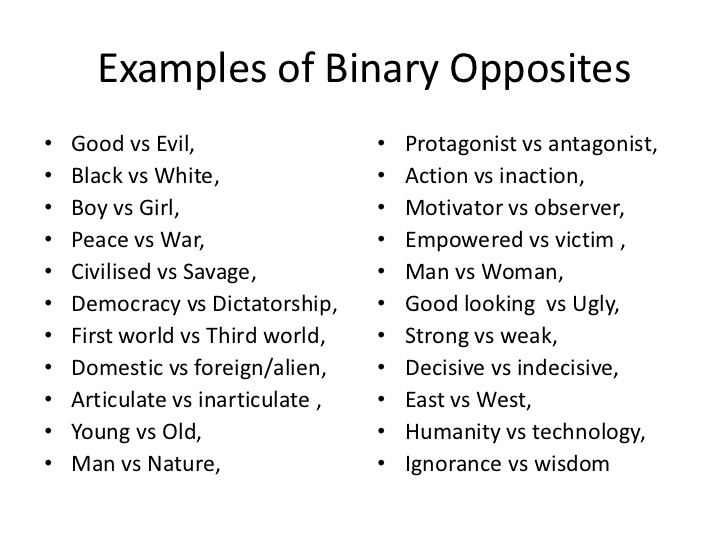
Binary Opposition: The themes of ‘Femininity and masculinity’ are a binary opposite, which is a pair of related terms or concepts that are opposite in meaning.

Common stereotypes of men:
- Self Sufficiency: Men should be independent and figure things out on their own without help from someone else.
- Physical Attractiveness: Male characters are likely to be shown as unusually muscular or good looking in the media.
- Heterosexuality and Homophobia: “…men should avoid being gay or perceived as being gay.”
- Acting Tough: Men on television are less likely to show emotions compared to the female characters, including empathy.
- Aggression and control: Men should use violence and the power they hold to gain respect and should always have the final say about decisions in a relationship.
Common stereotypes of women:
For women, there are usually only four basic kinds of gender stereotypes.
- Personality traits: Women are often expected to be accommodating and emotional, while men are usually expected to be self-confident and aggressive.
- Domestic behaviours: Some people expect that women will take care of the children, cook, and clean the home, while men take care of finances, work on the car, and do the home repairs.
- Occupations: Some people are quick to assume that teachers and nurses are women, and that pilots, doctors, and engineers are men.
- Physical appearance: For example, women are expected to be thin and graceful, while men are expected to be tall and muscular. Men and women are also expected to dress and groom in ways that are stereotypical to their gender (men wearing pants and short hairstyles, women wearing dresses and make-up.
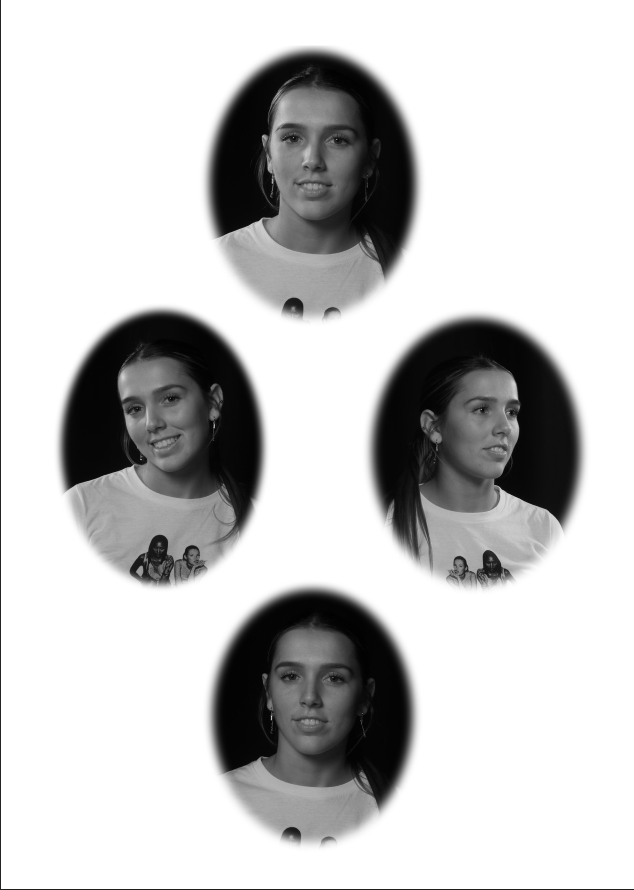
Nowadays in the 20th century, women finally feel accepted and equal in society and can be whoever they want. Lots of women feel as if they don’t fit into the ‘feminine’ category for them, so they now have the freedom and opportunity to be comfortable as a transgender male.