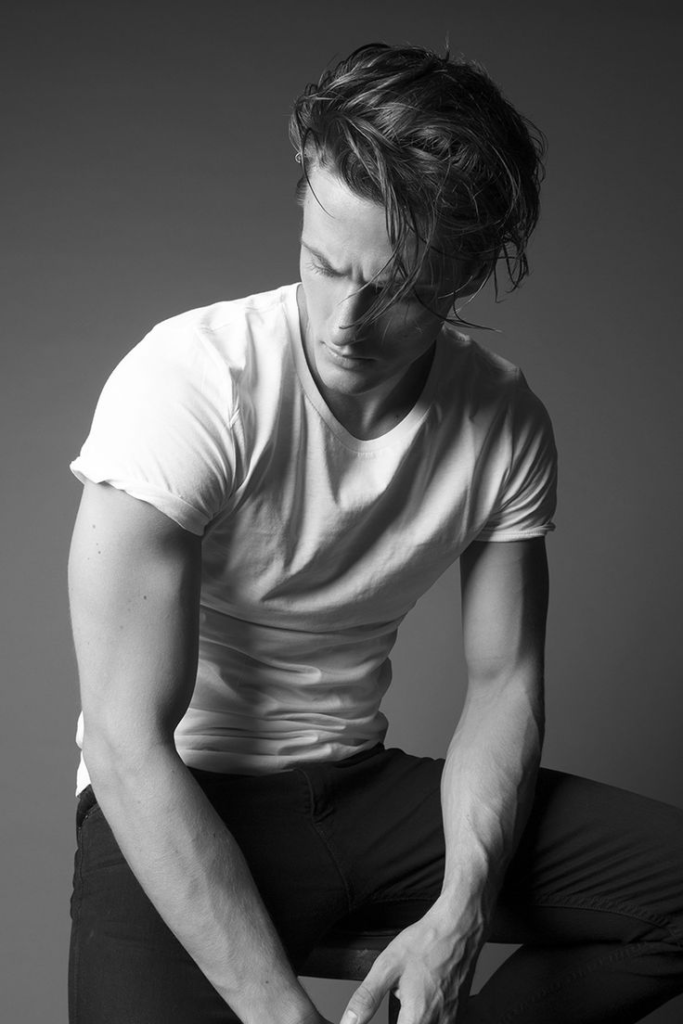
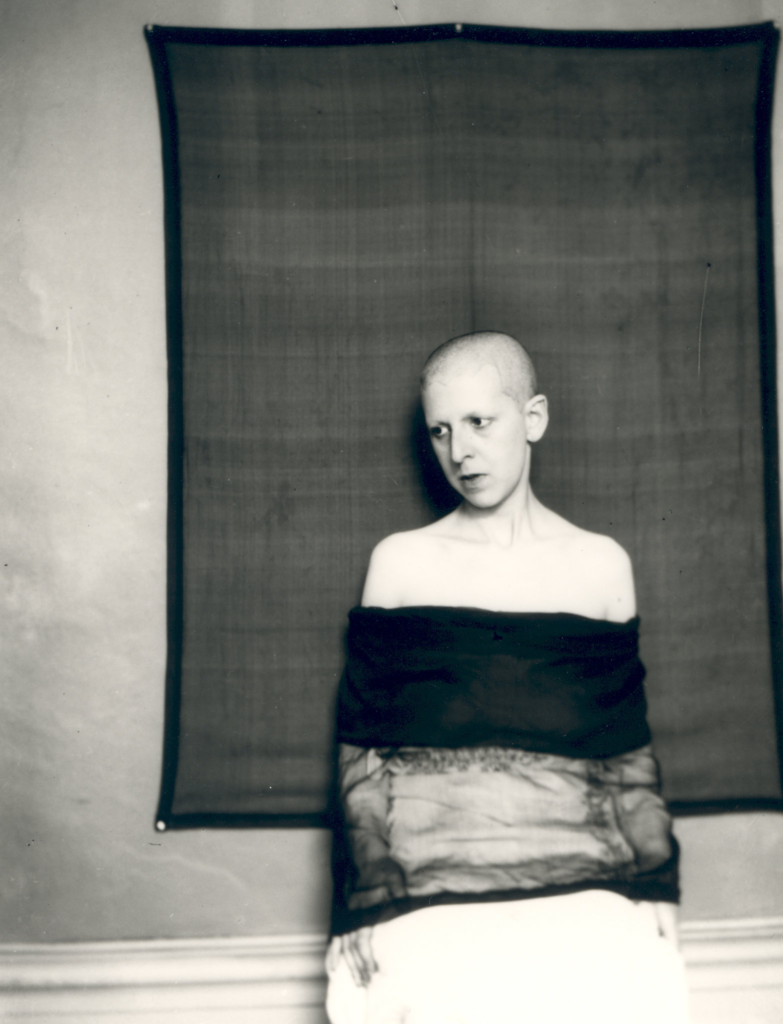
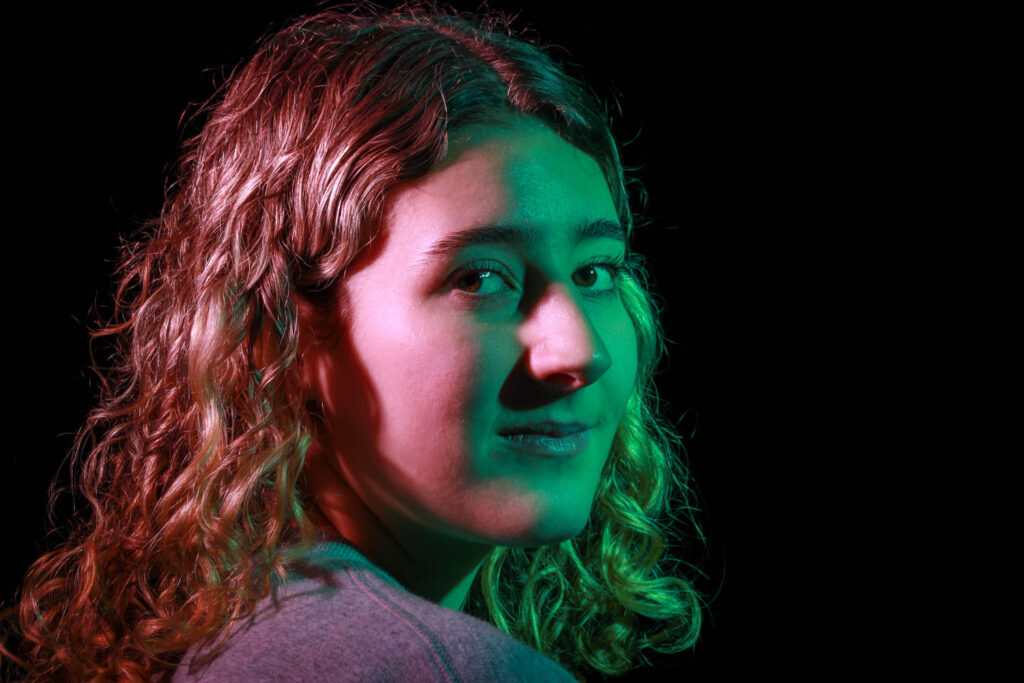
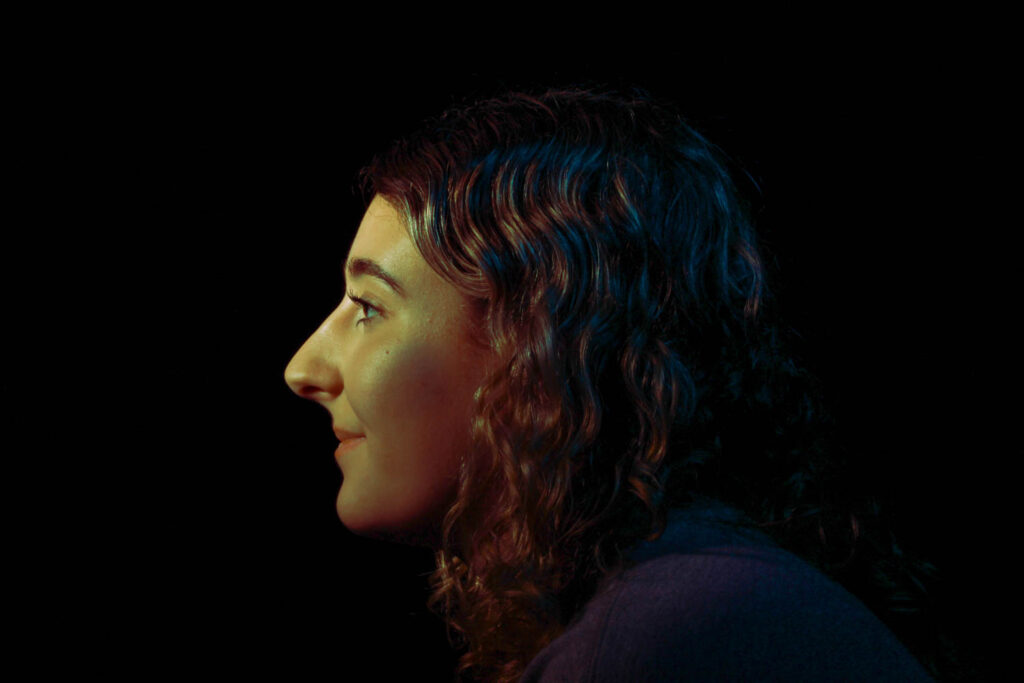
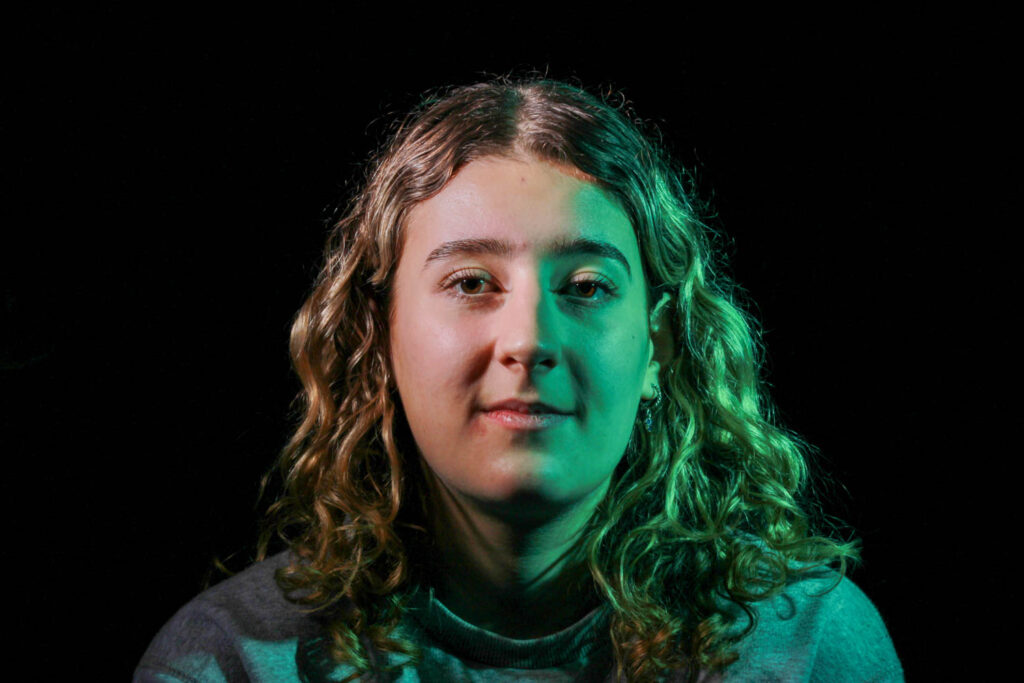
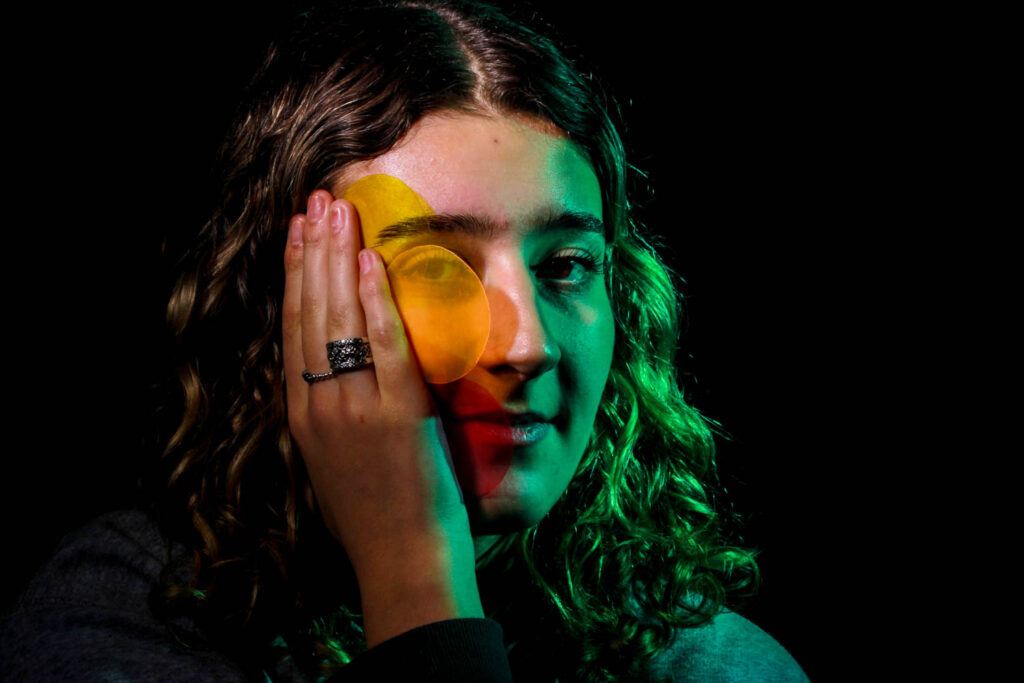
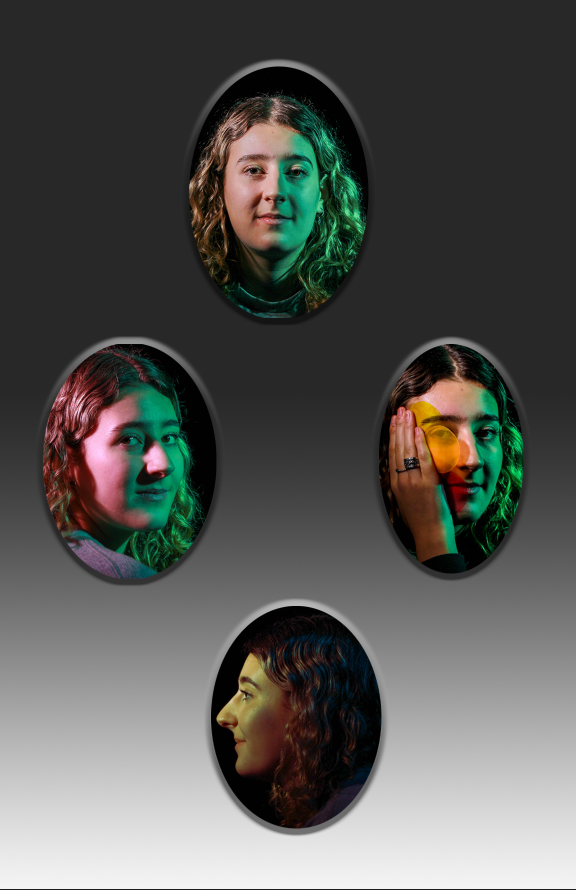
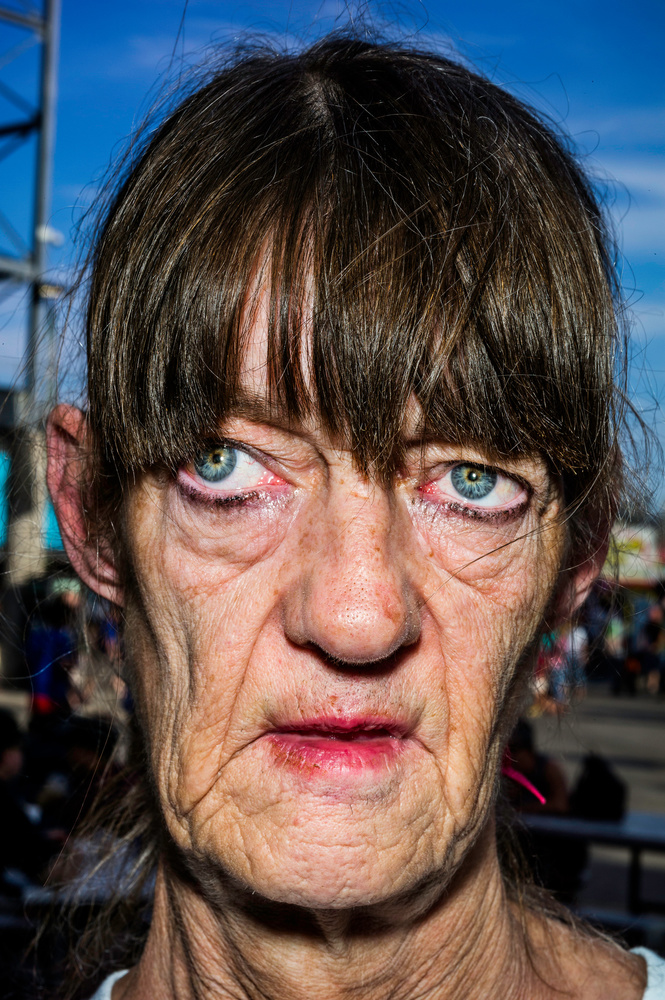
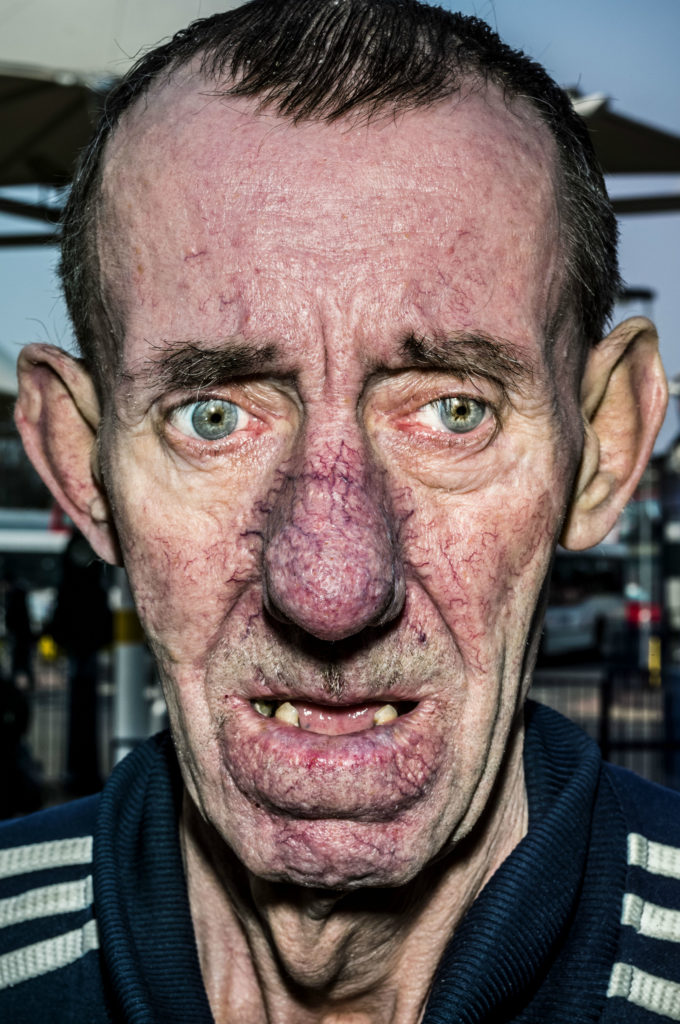
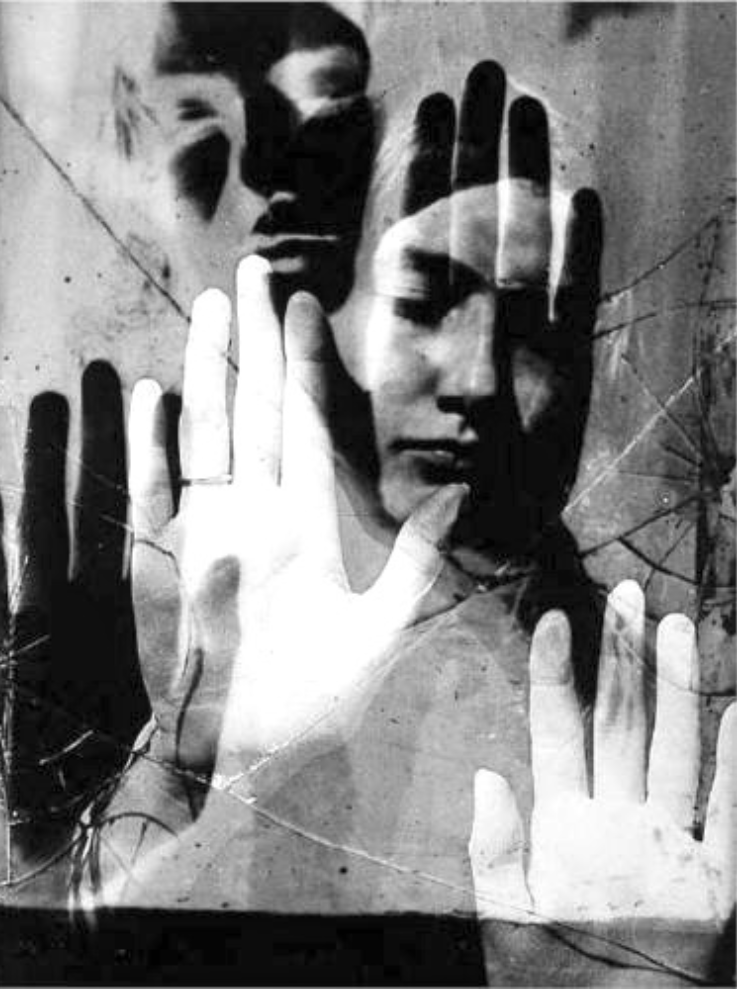
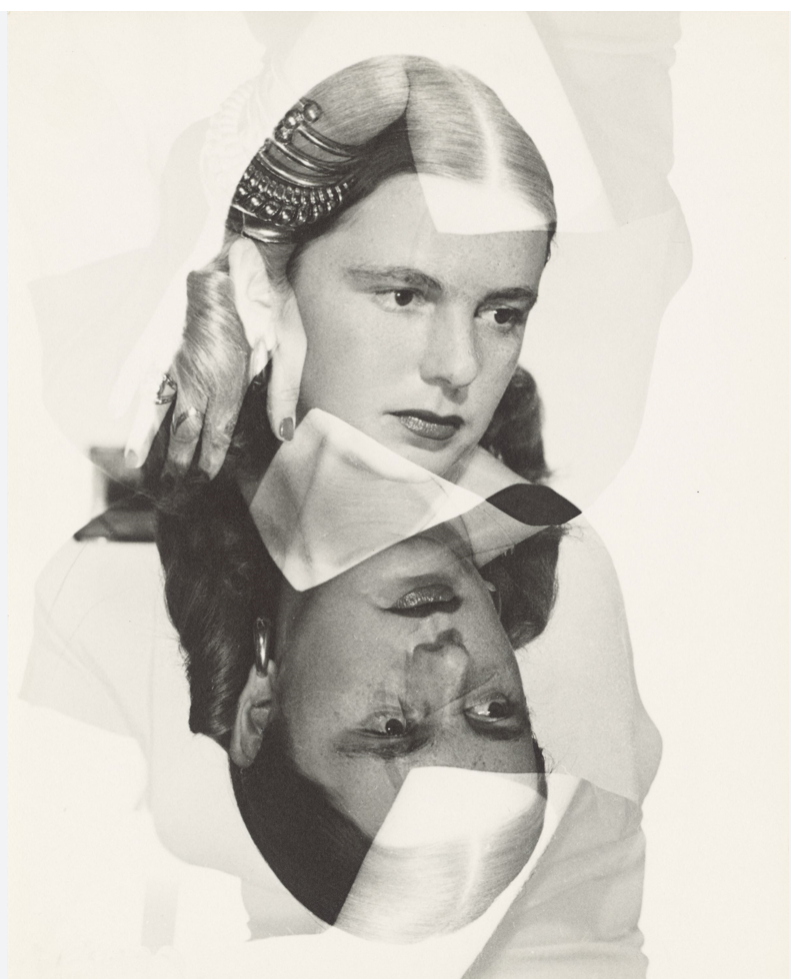
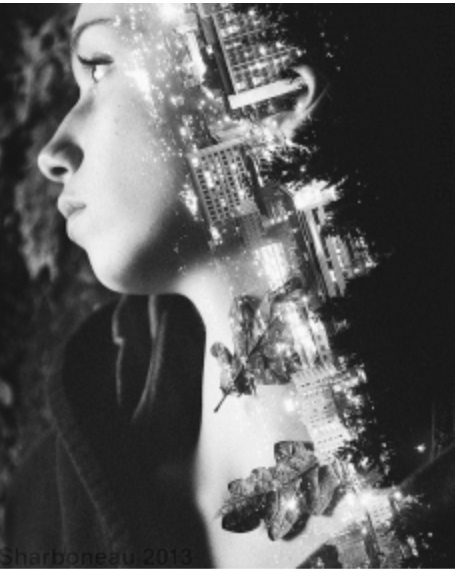
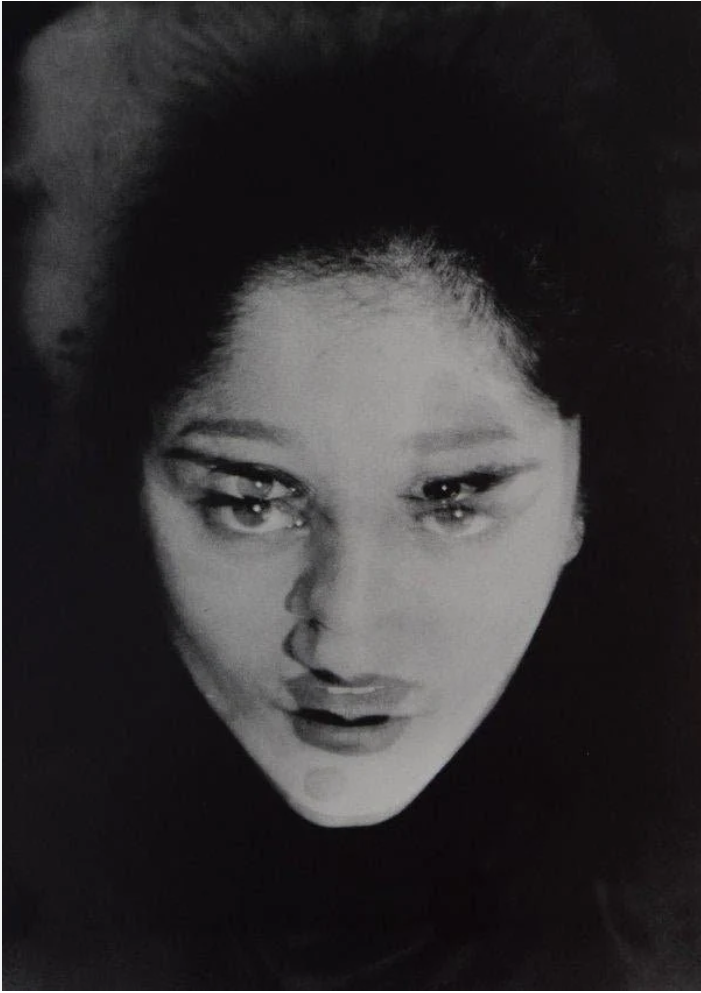
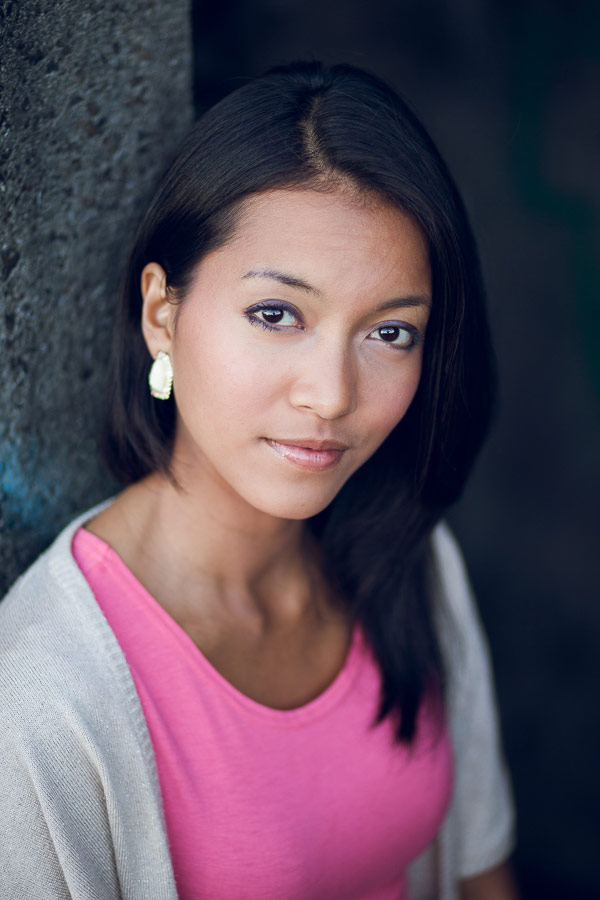
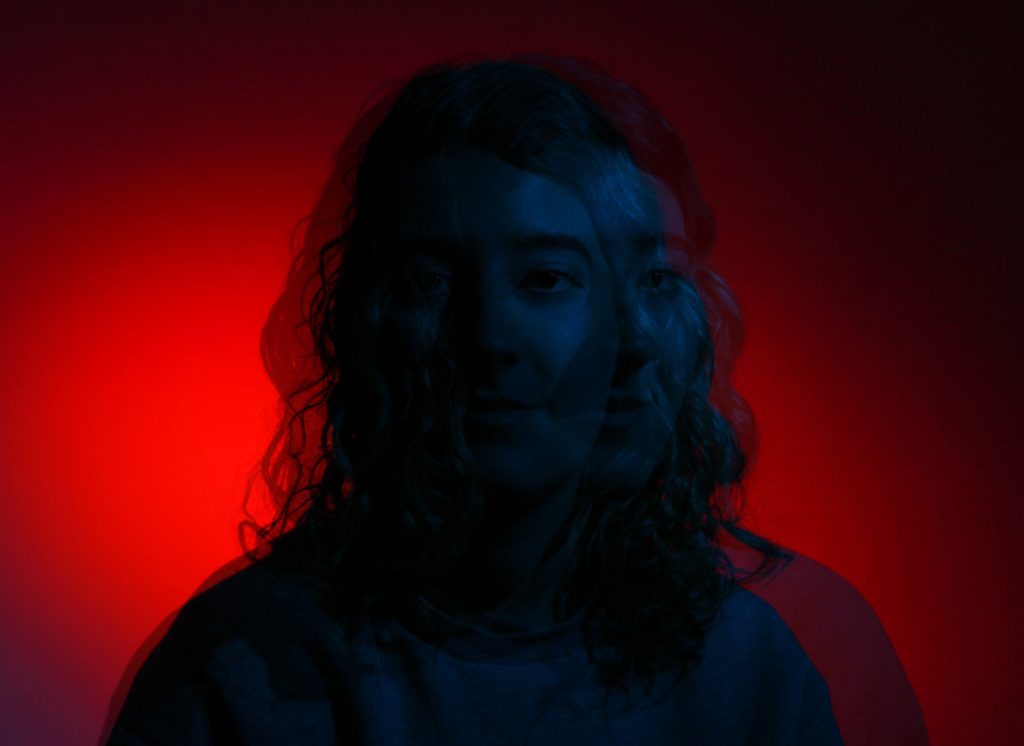
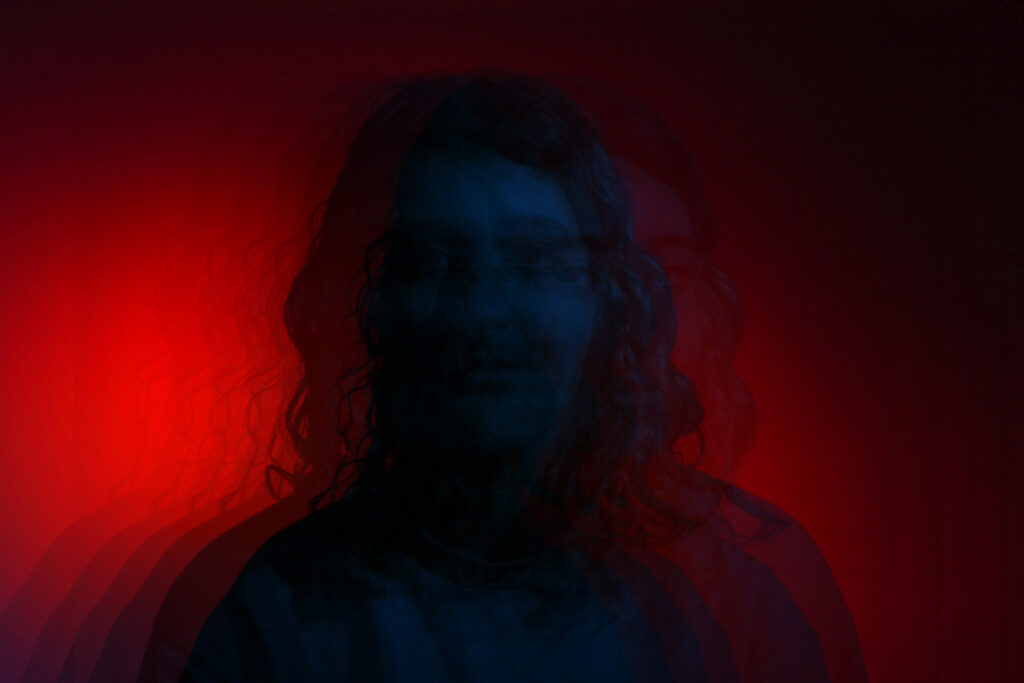
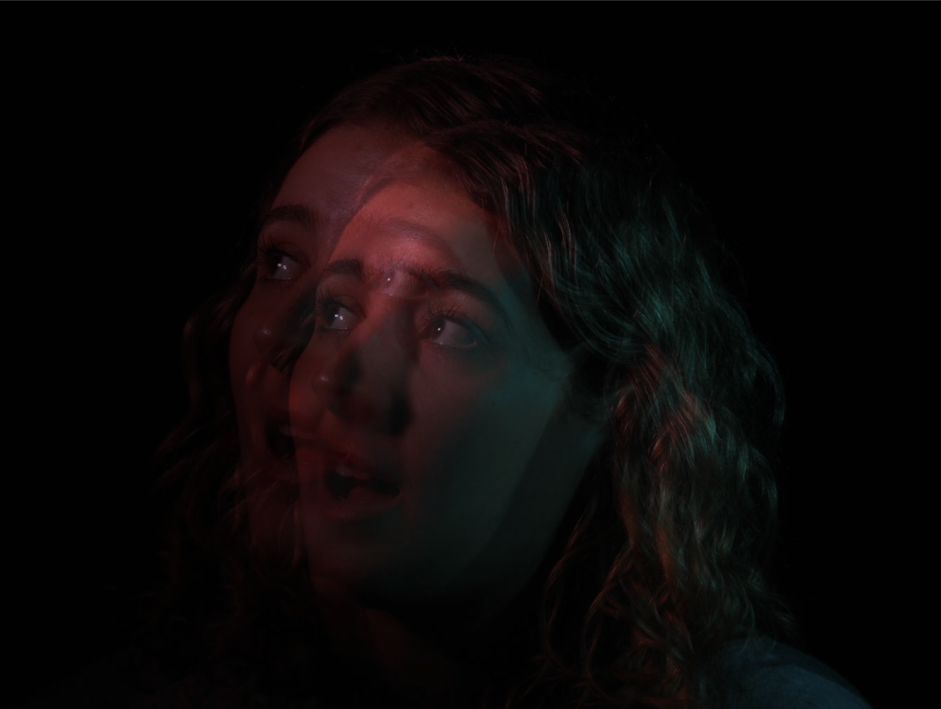
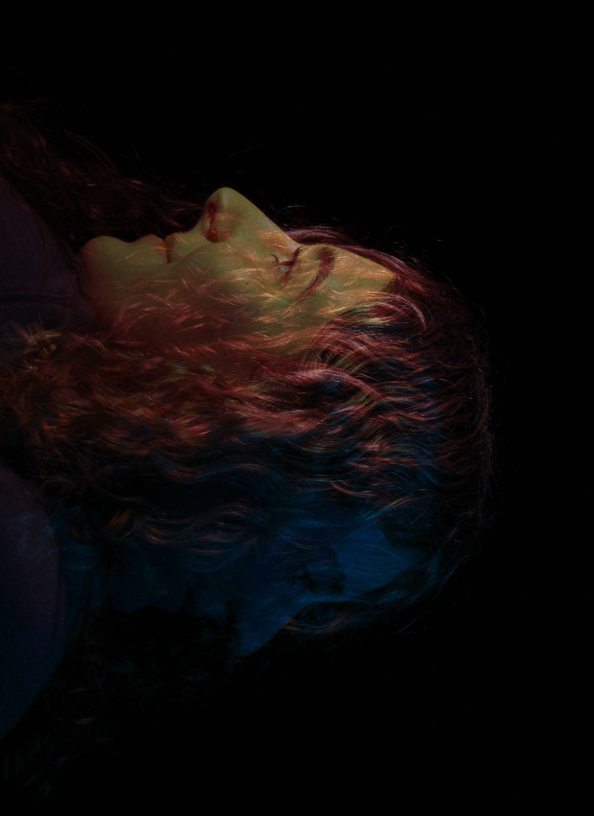
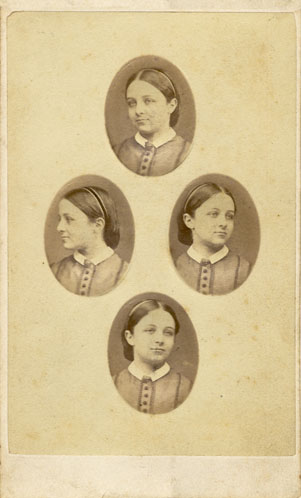
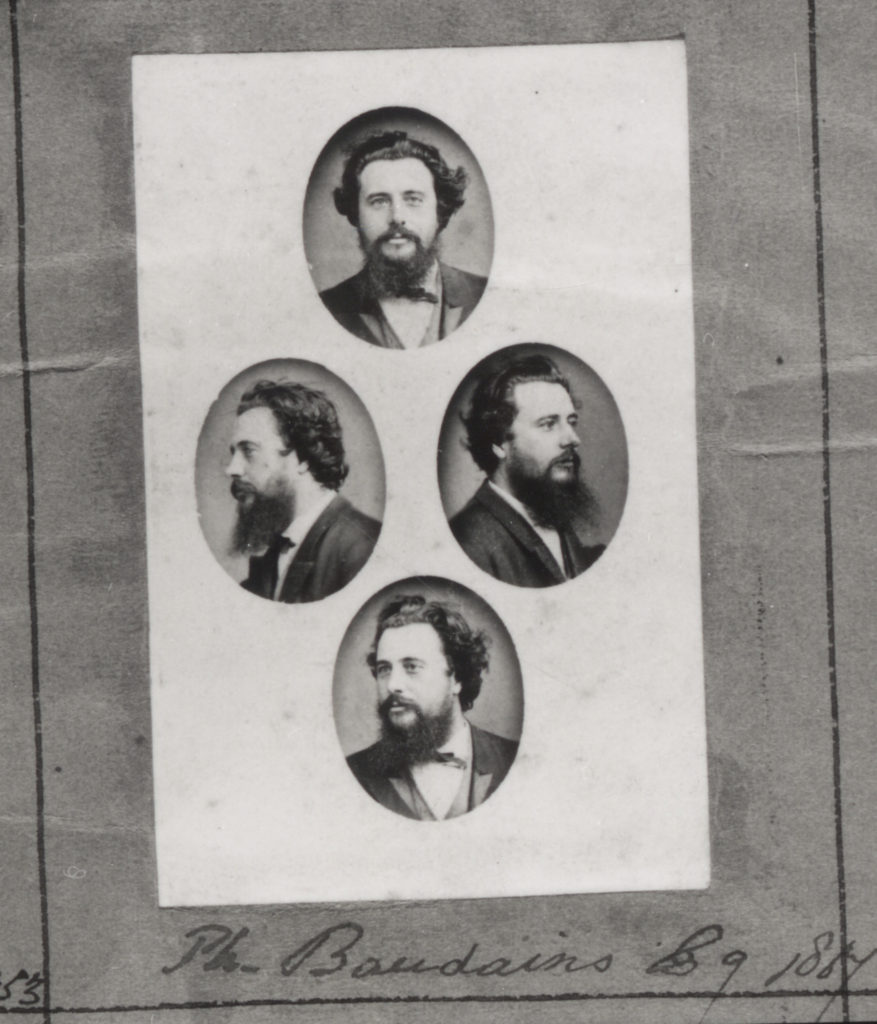
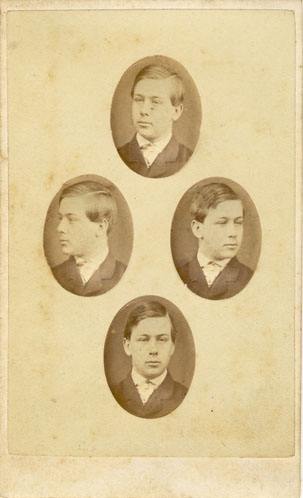
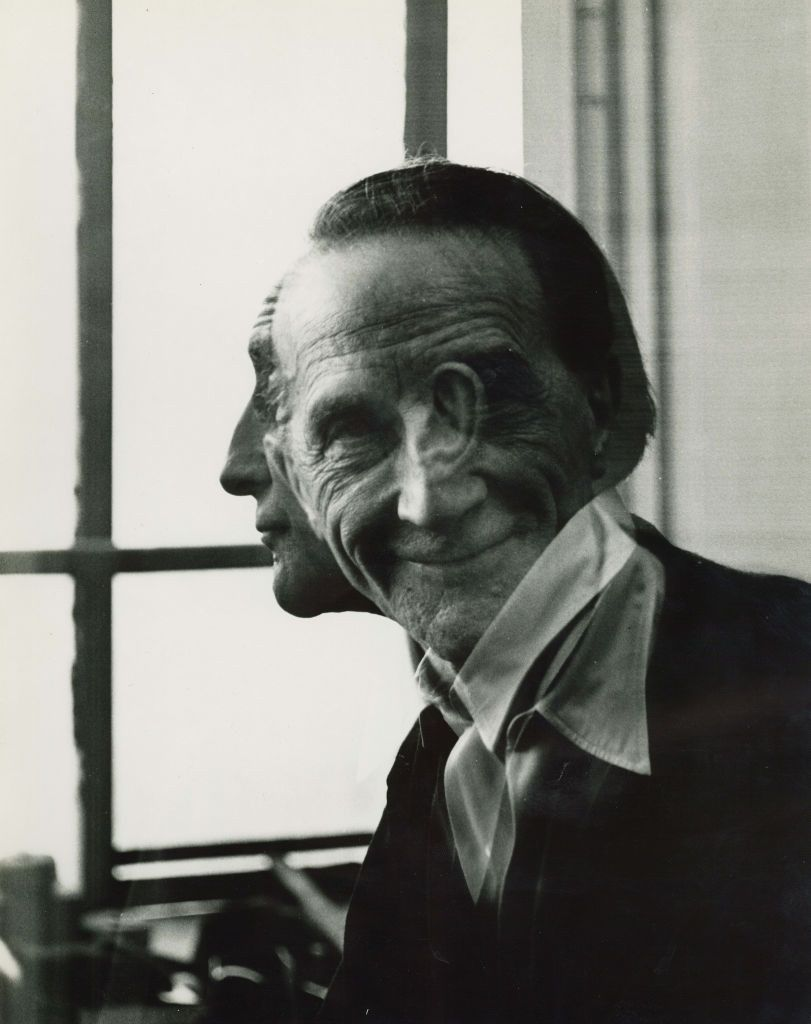
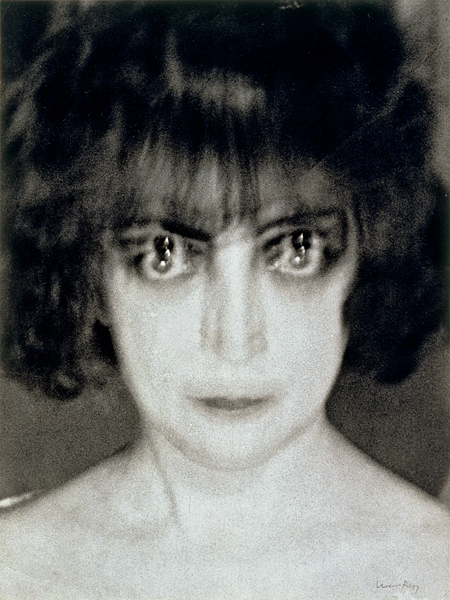
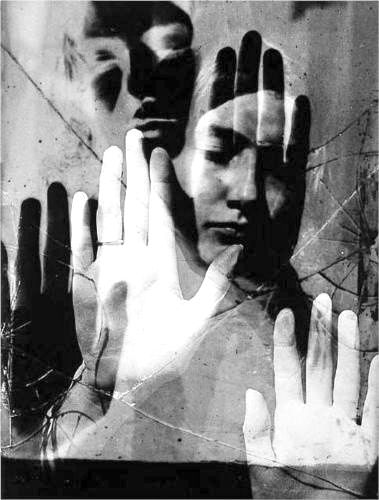
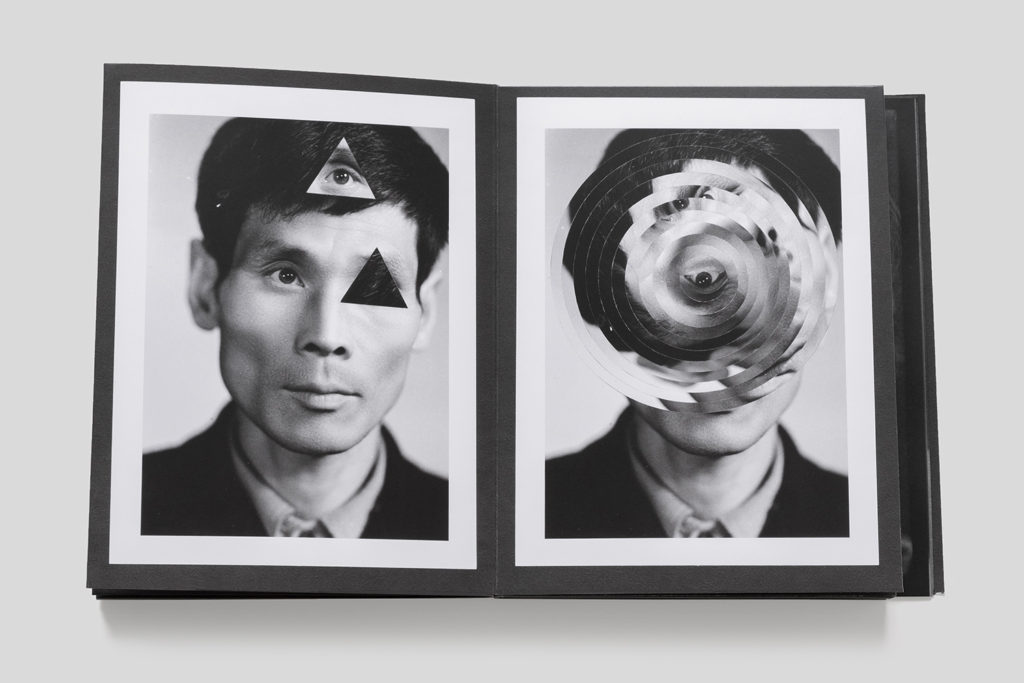
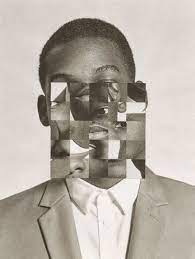
‘Chiaroscuro’ is an Italian term for lightdark as this lighting technique creates a bold contrast between light and dark. This can also be defined as a high-contrast lighting technique that utilises a low-key lighting setup to achieve contrast between the subject and a dark background. This form actually originated in paintings during the 15th century in Italy and Holland (Flanders), yet this was truly developed a century later in Mannerism and Baroque art.
Today, it is prominently used in film-making due to the striking and dramatic images this technique produces. This form of lighting adds a sense of mystery to the characteristics of the subject, making their features become framed and draw attention to the viewers eye in places they would not normally see.
Caravaggio and Rembrandt used this in their paintings where dark subjects would be dramatically shined on by a shaft of light.
In film, this is typically referred to ‘film noir’ (French for black film). This was used to describe stylish Hollywood crime dramas, particularly those that emphasize moral ambiguity and sexual motivation, lasting from the early 1940s to the late 1950s. This is associated to German Expressionist cinematography due to the low-key, black and white visual that it produces. The drama and mystery that the lighting unfolds reflected the aims of the Hollywood crime dramas.
THE SET UP:
In photography, these are produced by using one key light and a variation using a reflector that reflects light from the key light back onto the sitter. The reflectors colour can be changed to produce a different tone onto the subject.
Using flash, there are a range of possibilities as, depending on how you want the images produced, you can create images in low or high lighting scenarios through:
flash “bouncing”
fill-in flash
TTL / speedlight flash
remote / infra-red flash (studio lighting)
fast + slow synch flash
light painting c/w slow shutter speeds
For example, flash “bouncing” softens the effects and creates a larger fill area. This must be done on white walls or ceilings as the flash is directed either to the side or above the subject.
Butterfly lighting is another technique of lighting in portraiture. It gains its name from the dark shadows surrounding the cheekbones on the face alongside the butterfly-shaped shadow underneath the nose. You may also hear it called ‘paramount lighting’ or ‘glamour lighting’ as this can be seen to be used within cinema or fashion magazines for example. This type of lighting is extremely flattering to the face, from the shadows underneath the cheekbones making the apples of the cheeks highlight and stand out more, which explains why it is used in these instances.
Used especially to photograph Hollywood classics, this technique can make the eyes look larger and the subject look slimmer.
The butterfly lighting was first used by Josef von Sternberg in the 1930s. He was a Hollywood director who is most known for his work with Marlene Dietrich. Sternberg used butterfly lighting to create a sense of mystery and allure around Dietrich’s character. This kick started butterfly lighting’s use in portraiture.
THE SET UP
Butterfly lighting requires a key light that can be a flash unit or continuous. If continuous, it can be artificial or natural. In other words, you can use strobes, speed lights, LEDs or even the sun so it is a very flexible form of lighting. As long as the light is coming from behind the photographer, above the subjects head then it will produce these results. The subject must be towards the light to capture this effect.
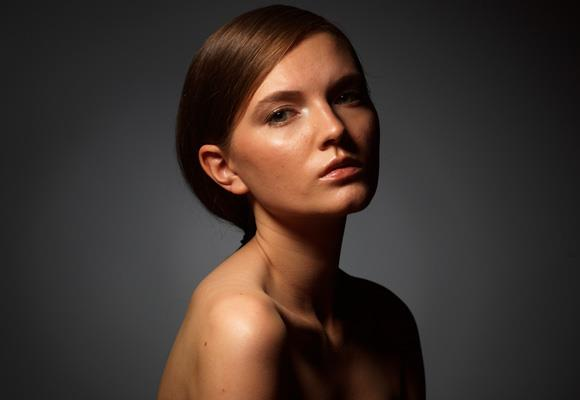
This technique can produce hard or soft light depending on how you want your results. To create soft light, you can use modifiers such as a beauty dish. This distributes the light evenly across the face and smooths the skin alongside any imperfections. Alternatives to this is a soft box or an umbrella. However, if you wish to create hard light you can either leave the light source as it is or even use grid spots to direct it to create different effects to make it even more creative.
Once you have decided what you are aiming for, you can use reflectors in order to bounce the light back up and soften the shadows under the chin/nose so they aren’t extremely harsh. By placing the reflector of your choice under the subjects face, you can identify whether the shadows are still too strong and move it closer, or further away if they are too weak and experiment with it.
The colour of the reflector will achieve different effects as it can change the tone of the subject’s face. For example, a white one will create a neutral tone whilst the gold one will give a warming overcast.
There are three main types of lighting: Rembrandt, Butterfly and Chiaruscuro. They each include different forms of direction, intensity and temperature of lighting which alters the size and shape onto the subject. Also, different toned reflectors can be used to change the temperature or direction of the light.
REMBRANDT LIGHTING
Rembrandt lighting is typically used in portrait photography and gained it’s name from Rembrandt Harmenszoon van Rijn, the great Dutch painter.
It consists of using one light and one reflector (or two lights), instantly creating shadows and contrast. This specific technique creates a triangular shape under the subjects eye which increases the emphasis of drama to the viewer. This draws them in because the eyes are the main focal point in portraiture and something that can take on many forms and show emotion.
This makes a more appealing image as it has a creative side to it – it isn’t just general light on the face and exposes the features of the face more.
The set up used.
Creating a Rembrandt lighting set up:
The lighting depends on its position to the subject. In this case, it must be 40 to 45-degree angle and higher than the subject. Flashlights and continuous lights are the correct ones to use.
Depending on how much of your subject you are aiming to shoot, you should use a 35mm or 50mm if you’re looking at including more of the subject than just the head and shoulders. However, 50mm will give a nice depth of field.
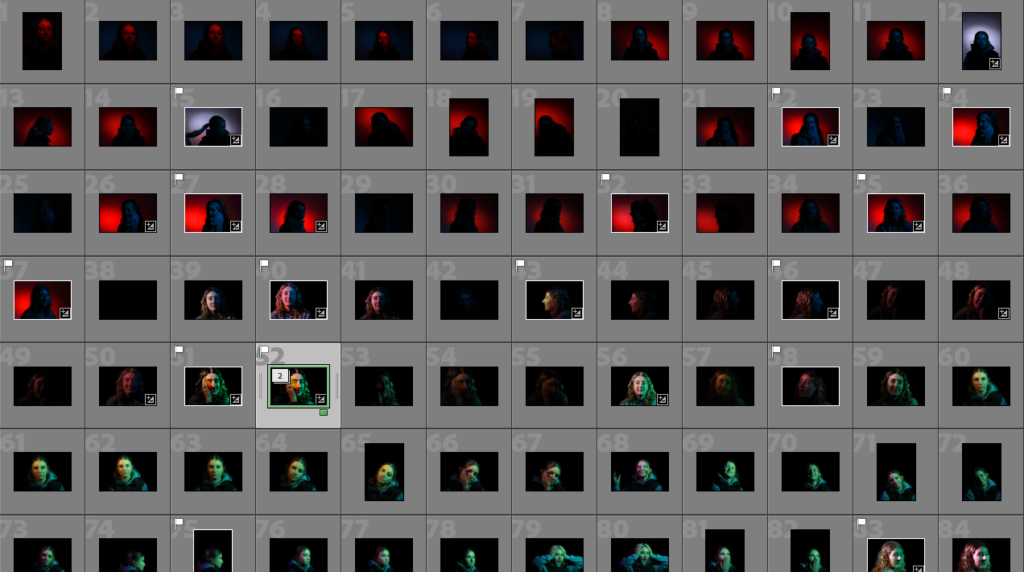
I identified my best images out of my photoshoot and colour coded them on the basis of which ones I was definite on using and the ones I was unsure about. When I had similar images that I struggled to decide between, I compared them closely and then flagged the one I believed had more detail and had a more aesthetic composition.
This was my favourite image. It looks very candid and natural as she is mid-laugh which tells a lot about her character. I had many photos similar to this image but I felt the way her hair was blowing looked best like this. She is holding books in her hand which tells us she is still in education, and the smile suggests she is enjoying her time. I wanted to photograph her like this as it is a place she comes to everyday to spend time with her friends at school which is an important aspect of her life. I put this image into black and white because I think it looks a lot better this way.
Similarly, I like this image for the same reasons, but I increased the saturation to enhance the colours around her as I feel that the bright green compliments her hair and the environment around her. I used natural lighting as this was outside on a bright day as I thought it would look best. I used my mobile phone to take these images as it was in the moment.
The leaves all coming together and overlooking her and in a twisted way behind her adds more to the image and fills up the background which I really like. Because she is wearing black, the colour of the nature brings more life into the image. I feel that this makes her stand out more because she is the only part of the image that is more dulled down, showing contrast. The bench she’s sitting on has a lot of texture due to the brown paint being rubbed off which shows how many other people sit here on a day-to-day basis, maybe even with her.
This image has a relaxed expression and posture, she almost seems bored. I think this reflects her outlook onto school as a place she finds boring as she would rather be out with her friends instead. I really like the way she is sat on the stairs and leaning over because it’s quite unique. The background has been blurred as she is the focal point of the image. The blue that she is wearing stands out from the neutral and plain colours as it is contrasted.
I took this image of a science teacher at school. She’s smiling which tells me that she really enjoys taking part in experiments but also teaching younger people who may aspire to have a job like her in the future. She has set out test tubes and beakers with different colours inside for her students to learn as she demonstrates the experiment in the image. I wanted to photograph her because she is in an environment which could inspire people of younger ages to have a job like this in the future.
You can see the colourful posters on the wall which she uses to engage her students in her lessons. As she is wearing a lab coat, this gives the image authority and tells us that she knows what she is doing. The equipment spread across the table gives the image texture and details to search around the image with, jumping out from the off-white walls which makes them appear more.
I used vignette on the corners of the image as I felt that this will point her out more to the viewer. I like the way she is towards the side of the image as we get a large perspective on the view of the classroom.
I really like these three images I took of a family member at work. She is an occupational health worker where each day, she has people of all backgrounds, lifestyles and jobs come and see her. She analyses whether they are fit for work or not, checking their hearing, lungs, blood pressure, etc. She works very hard to make sure people feel comfortable during this regardless of who they are. When she is not doing these tests, she is on the computer in meetings, setting up clinics or emailing.
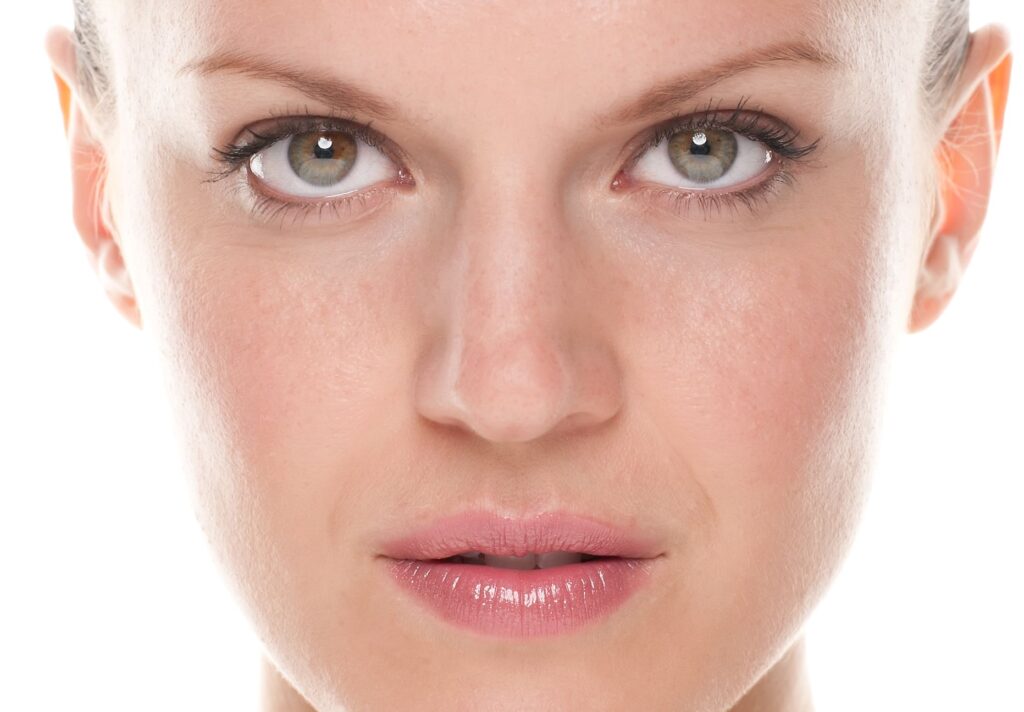
I wanted to photograph her because I feel like she plays a very important role in other peoples lives which goes unnoticed, so I wanted to capture that.
The way she is wearing a mask, gloves and a plastic apron shows that she is experienced in this and is prepared, knowing exactly what she is doing. The shifted keyboard on the desk behind her tells me that she has been busy typing, organising all the appointments. I also feel that in the 2nd image, the use of the yellow disposal tub makes the photo more interesting because we can see exactly what it is she does when she is mid-preparation. You can see in the background there are many cabinets and file cupboards in dull cupboards which don’t look enticing at all, suggesting that is the worst part of the work as they have all colour taken out of them in comparison to the rest of the room which is more saturated.

August Sander was a German portrait and documentary photographer born on 17th of November 1876.
August Sander became invested in environmental portraiture during the 20th century. He lived in a large town in Germany and strived to complete a goal of taking images of every person who lived there. Although this is an almost impossible task due to the huge population, he managed to captured hundreds of people from different backgrounds, social status and occupations. This documented the German society’s ways of life in-between the two World Wars, revealing how each person had a different story to tell whilst living in a Nazi-powered country.
In a society where social status was crucial, he took images of upper class, middle and working class – this showed the relationship that each had with one another and the comparisons/differences they shared. He categorised each image in order of class and profession in typological studies. His work inspired many other photographers after him notably Bernd and Hills Becher.
Typology:
A Typology is:
a set of images made with a common subject or idea in mind, repeated through out the set.
August Sander had roots in this form in 1929 with his series of portraits ‘The Face of Our Time’. This was later continued by Bernd and Hills Becher who had been heavily influenced by Sander. They began documenting German industrial architecture in 1959. The couple described their subjects as ‘buildings where anonymity is accepted to be the style’.
Each image had been replicated as it was shot from the exact same angle and distance from the same building, documenting how the building would change over time going unnoticed. This not only makes the viewer become more considerate of their surroundings, but question the subject’s reasoning/place in the world.
August Sander’s work:
August Sander’s environmental portraiture was usually containing the subject’s full body and portrayed in black and white. The subject usually had a neutral expression in their workplace, people such as farmers, architects, nuns, gypsies and plenty more. This shown all sides of the German society where he lived.
Pastrycook 1928 August Sander 1876-1964 ARTIST ROOMS Tate and National Galleries of Scotland. Lent by Anthony d’Offay 2010 http://www.tate.org.uk/art/work/AL00033
Analysis of his work:
This image of a disabled miner caught my eye immediately. I feel that the solemn look the subject has on his face depicts how he must have a difficult life due to his injury which causes the viewer to feel sympathy. I feel that this image is extremely powerful because this image was taken in between the 2 World Wars which suggests that the injury is war-inflicted. The image has been put into grey-scale which may reflect on how it was an extremely difficult and gloomy life to lead/area to live in due to the war. Although he is sharply and cleanly dressed wearing what appears to be a thick winters coat and black tailored trousers, he appears to be of low status and be rather poor as this wouldn’t be a well paid job. He has to use crutches while continuing to struggle to do his job, with his equipment around his neck. There is full focus on the subject in the image as the background is softened due to a shallow depth of field telling us that a large aperture was used. You can see the nature in the background is wild in front of a quite industrial-looking building. All the stone around him is piled up with dirt, shoved into the cracks of each stone which makes the bricks on the ground look more 2D. You can see his shadow behind him in the natural light of the day. The subject is positioned centrally. This image contributes nicely to his aim of photographing as many people in his town in Germany that he could as this subject would represent the people who fought for others in the war, now having to struggle to get by, telling a story about his life that goes unnoticed.
I also liked this image as it has three subject’s instead of one making the image more full. This contrasts to the last image as they appear to have high wealth and status as in this time period, the richest would only be able to afford these items. I think this is a very important image because it shows the difference in presentation of classes during the World War period. It appears to be during winter as the ground looks as if there is snow on it as they walk through the countryside yet the subject’s are the main focus due to the short depth of field used. The black suits on, black top hats and canes make the image flatter and smoother as the black all blends into one, however the snow that the stand on is combined with the grass underneath, giving a rough and crunchy feel to the image. Their neutral and lifeless expressions go nicely with the black and white tone of the image as it gives the impression of power and high status which was rare to see in this period. Natural light has been used as this is in the countryside, using a large aperture has given a short depth of field as the main focus of the image is sharply on the subject’s with the background softened. This contributes to Sander’s aim because these people are quite clearly the upper class of society and are being put on display, in which the predominantly poor section of society will be able to look to and picture a life like that.
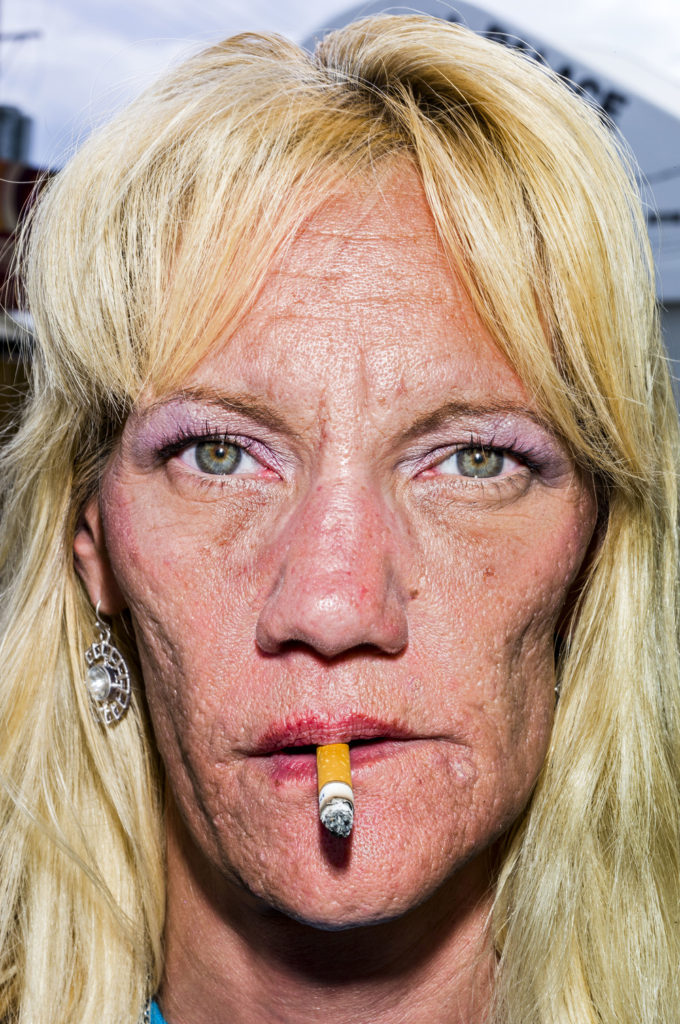
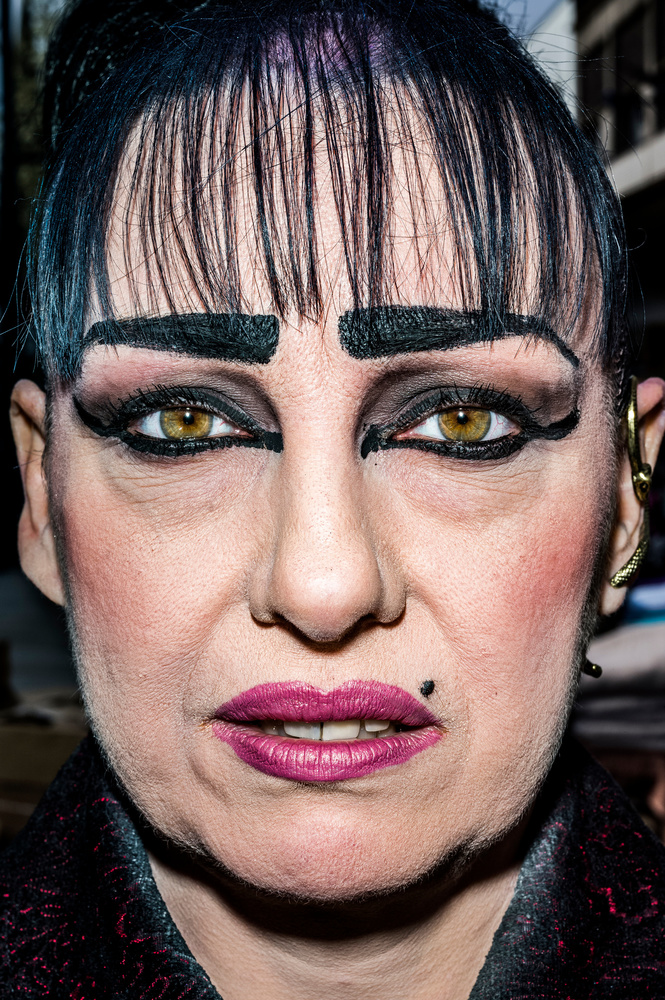
a form of photography where it involves a person engaging with the camera whilst they are in an everyday surrounding, a place they are connected to.
The image produced tells a strong story about the subjects life, for example their occupation, heritage, home country, social class, etc. It acts as a form of ‘photo essay’ as the comfort of their natural area adds more context to the individuals image and what kind of life they lead. One of the main attributions of environmental portraiture is the expressions and poses that are captured which adds drama to the image, making it more captivating. This can reveal/conceal an individuals personality and the position they are at in an image can tell us about their traits and their attitude towards life.
The history of Environmental Portraiture:
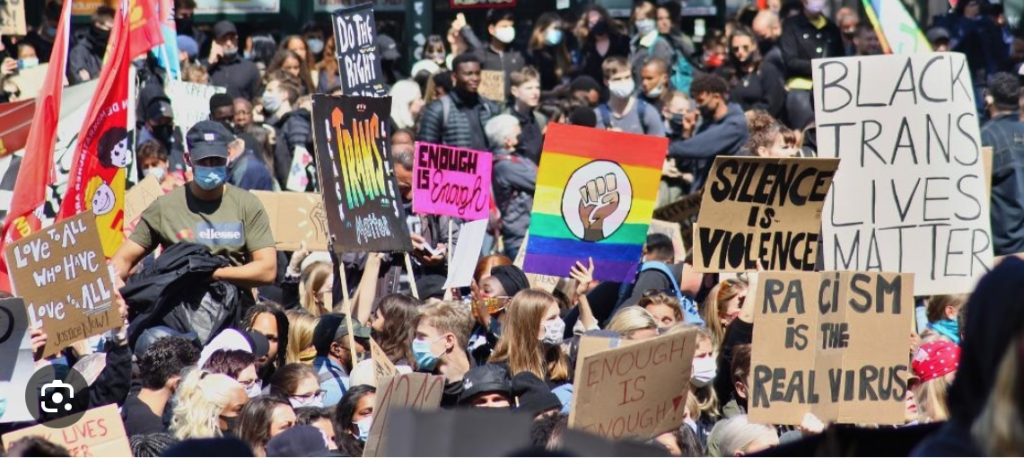
Environmental portraiture originated in the 20th century, from the revolutionary Arnold Newman. During an era of traditional portrait photography, Newman pushed the boundaries of the regular and stepped outside of the box. In a time where social classes were extremely cared for, Newman aspired to photograph people of all occupations and social class. He stated that “it is what they are, not who they are, that fascinates me”.
One of Newman’s most famous photographs pictures a Russian composer sitting at a grand piano by the name of Igor Stravinsky. In this portrait, the object of the subjects profession nearly fills the image entirely, while Stravinsky himself takes a seat in the corner, pushed aside by it.
With the almost exhausted look on the subjects face, this makes the image more enticing. We can interpret that this is a reflection of the tiring job the subject has and the contrast of this job back then and now. Also, this can appear to the viewer that the piano is taking up almost the entire image centre stage as its such a huge feature in the subjects life and shows the high level of passion he has for this career, making it more enhanced and a higher level of importance.
I rated, flagged and colour-coded each image in my photoshoot as it would give me a better perspective on which ones were the best and which were worse. It also let me see how much detail was in each image compared to the similar ones.
I flagged these images as red because a lot of them had an exposure that was too high/too low and didn’t give a lot of focus onto the actual object. However, in some of the images, they were blurred and lacked the detail that I wanted to resemble from Walker Evans’ work.
Then I edited my favourite images in Lightroom:
In my first image, I really liked the way the scissors reflected the light off of the metal. This gave it highlights to stand out more and catch attention. This also meant that the detail in the scissors was more visible. I increased the temperature to give the photograph more life, to then also increase the vibrancy and saturation.
In this image, I increased the sharpness slightly so that the chips and marks in the tool were more visible. Then, I made it warmer and used the adjustment brush to make the highlights pop. I really like how this made the image come to life more. I think this worked well because the parts of the tool which have been used are able to tell a story, just like Walker Evans did.
Finally, in this last image I used the auto button as a quick fix. This brightened the image as it slightly raised the exposure which meant that the details on the tool could be seen more. Then, I warmed up the image again to give the same effect that Walker Evans intended.
In these three images, I angled the lighting to be right above the tool and took a birds eye image. I think that this worked extremely well because it gives a glowing effect around the object which draws to the viewers eye more. I also thinks it draws the details out more where you can see how the tool has been used over a long period of time. I feel that the images look best with a warmer tone rather than a cooler, as it makes the image resemble Walker Evans more. Alongside that, I also feel that it makes the image look brighter and stand out more, otherwise it may blend in as it is just a single object.
In this photo I have used the adjustment brush to emphasize the highlights on the tool. Then, I increased the temperature as Walker Evans has a slightly warmer tone to his images which I wanted to recreate. I feel that the way I have angled this tool makes the image more interesting as it includes formalism elements – line. I photographed it in a different way to the three images above so that this would be more visible as I feel that it makes the viewers eyes look around more and follow the curved lines.
In this image, all I needed to do was enhance the lighting so it was more warm toned and lighter. This made the details and old markings more visible, showing its age. I liked the way this object has curved lines alongside straight because it makes the image more dynamic and allows me to include formalism elements- line. I think that this angle of lighting worked well because it captured the depth of the marks too alongside any dust or debris.
Show examples of still life painting and photography
Include specific artist references and choose one image for analysis using matrix
Provide a chronological timeline of still life photography
Then Answer
What is Vanitas?
What is Memento Mori?
What kind of metaphors and symbols are used in still life and why
What is still life?
Still life is a genre of photography that focuses on capturing a group of inanimate objects. These objects can be natural or man-made. They are photographed or painted. Edouard Manet once called still life “the touchstone of painting.”
The term “still life” is derived from the Dutch word stilleven, which became prominent during the 16th century. During this time, still life became recognized as a genre.
Each object symbolizes something, whether that is wealth, poverty, love, etc..
Still life originally began with Netherlandish painting of the 16th and 17th centuries and then developed into a genre of photography.
Examples of still life paintings:
Examples of still life photography:
These images are from photographers:
Paulette Tavormina
Laura Letinsky
Pieter Claesz
Mat Collishaw
Mat Collishaw:
Mat Collishaws work may appear to be strange, but the real meaning makes the images even more daunting.
Each piece is inspired from prisoners last meals on death row. This makes an eerie atmosphere, not only because of the negative space created by the dark background. There is low light on the images, so it creates dark shadows around the food so you can just about see it with details on the main areas. Even the colour of the food which would normally be vibrant has become dull and appears to look older than it is, reflecting the meaning behind the images. The bag has been torn open to which may reflect the violence behind this prisoners act.
A timeline of still life photography:
What is Vanitas?
the Latin for vanity, in the sense of emptiness or a worthless action.
Vanitas are a form of still life artwork which includes at least 3 symbolic objects. They are designed to remind the viewer of their mortality, death and how worthless of worldly goods are compared to living a moral life. They caution the viewer to be careful about placing too much importance in the pleasures of this life with objects of wealth as they could become an obstacle on the path to salvation and happiness.
Vanitas generally feature:
Skulls,
Books,
Playing cards,
Maps,
Wilting flowers,
Goblets of wine,
Jewellery,
Hourglasses,
Recently extinguished candles.
What is Memento Mori?
a Latin phrase meaning “remember you must die.”
Memento Mori is an artwork formed to remind the viewer of their mortality and of the shortness and fragility of human life. This ties in with Vanitas as they both want the viewer to be aware that expensive objects that show wealth, status and power are worthless and unnecessary in life and shouldn’t be concentrated on in the so little time we have.
This reminder is motivating the viewer to use their limited time wisely.
I colour-coded, rated and flagged my first photoshoot down to my best and worst images. Then I edited my favourites to make the details in them more emphasized.
I increased the exposure on this image to make the main focal points brighter and catch the viewers eye. I used the flashlight to create a cool toned image and then enhanced it when editing to make it a cooler temperature. I highlighted certain areas to make them stand out more.
Aperture = f/11
Shutter speed = 1/125 sec
ISO = 100
Focal length = 53 mm
I changed the angle in this image to create a birds eye view. I touched up any imperfections that I could find and changed the temperature again to create a cooler toned image. I highlighted certain objects to make them attract the eye more.
Aperture = f/11
Shutter speed = 1/125 sec
ISO = 100
Focal length = 53 mm
In this image, I used some of my own jewellery that I wear everyday. I increased the temperature of the image to make it warmer because I felt that it would complement the gold more and make it brighter. I highlighted the parts that reflected the light to enhance them more.