All posts by Kate Mullins

Filters

Author:
Category:

Photoshop edits –

I wanted to try and change up how I was editing my photos by using a different platform to edit so I decided to use photoshop to change my style a little and to give variety to my editing skills.

Still Life photos –

Before editing :

After editing :

As you can see, I decided to add a red hue to the lighting through photoshop, making the lighting more of a focus point in the photo.

This was the first edit I have done on photoshop but for the next one I want to try and create something more exciting.

formalism –

before editing :

after editing :

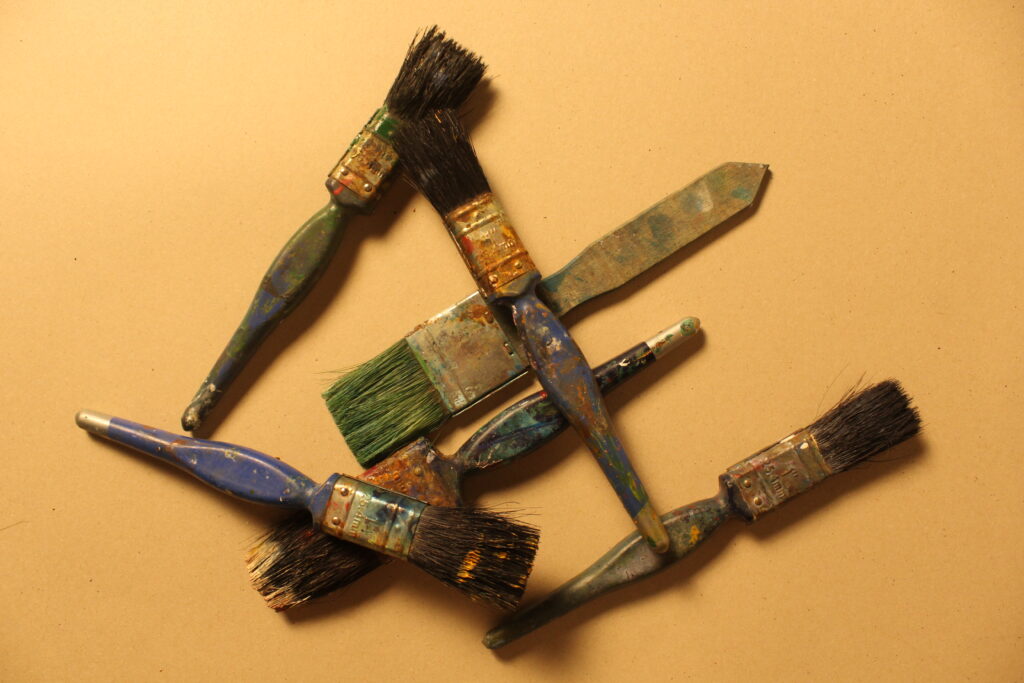
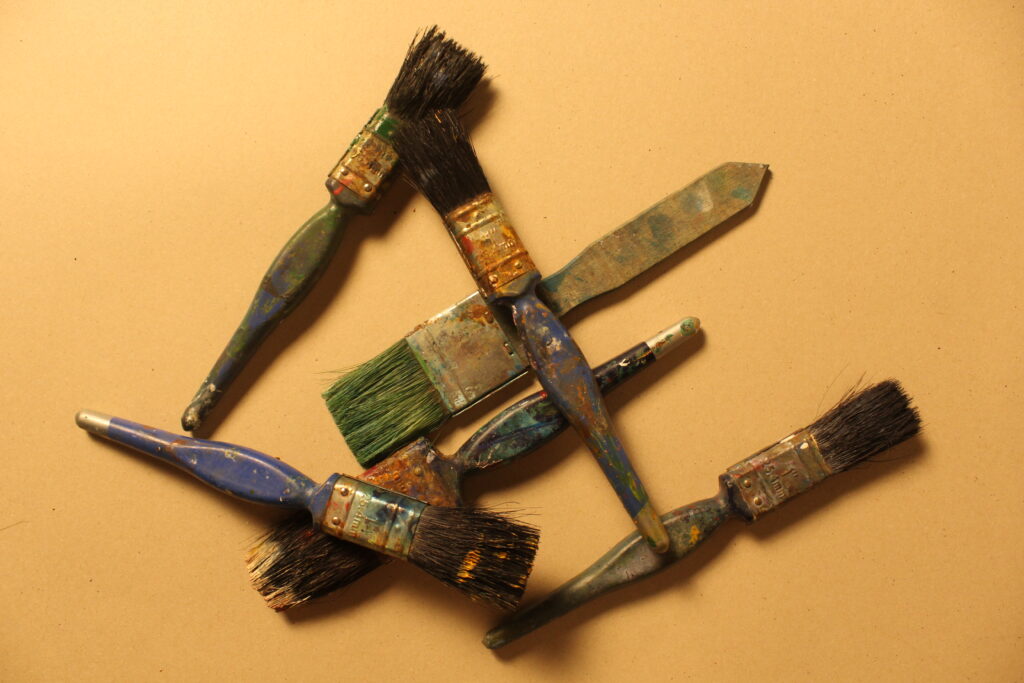
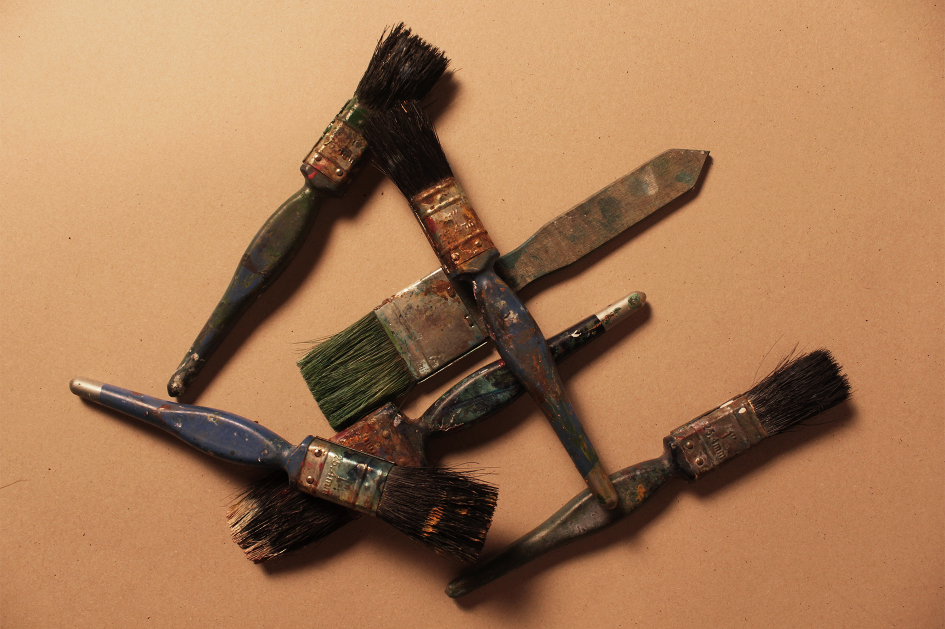
For this photo I decided to change the hue of the background to more of a colder orangey brown to almost give it a vintage look trying to stay on the theme of nostalgia.

I wanted to also bring clarity to the photo, to help show finer details that may have been unclear in the first initial shot. This also brought more dimension to the paint brushes in the photo which in affect enhanced the shadows created in the photo.

single object photos :

before editing :

after editing :

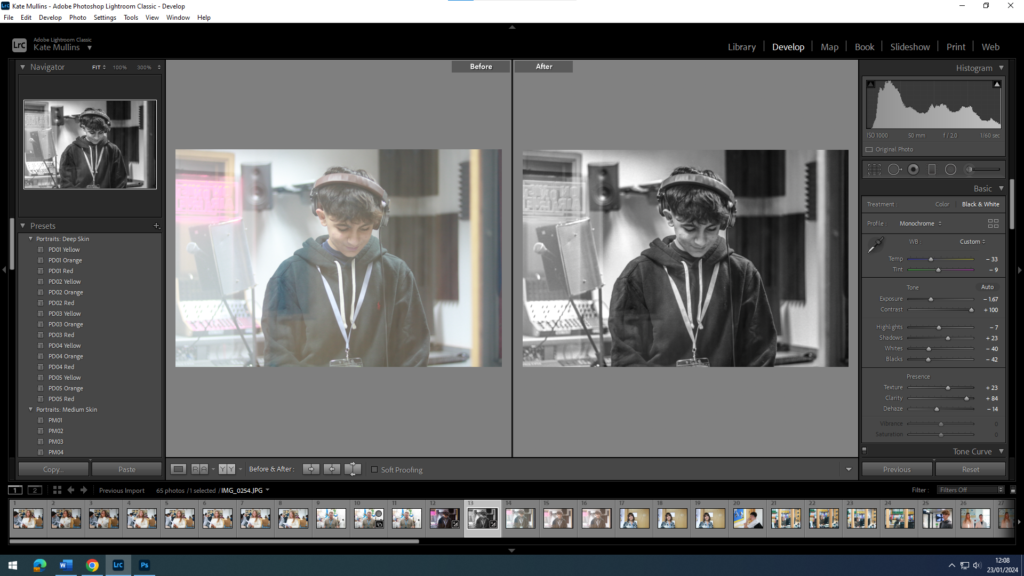
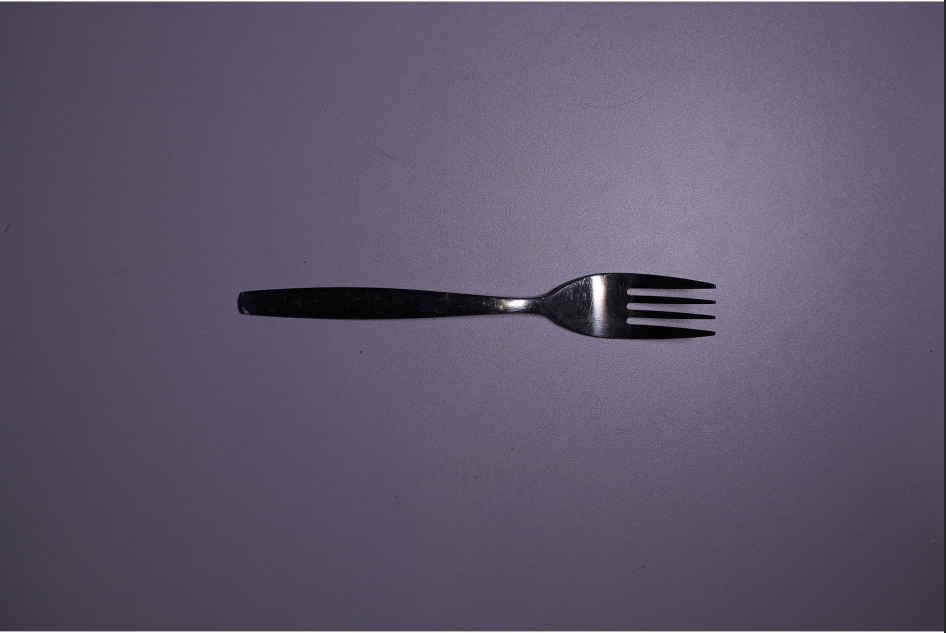
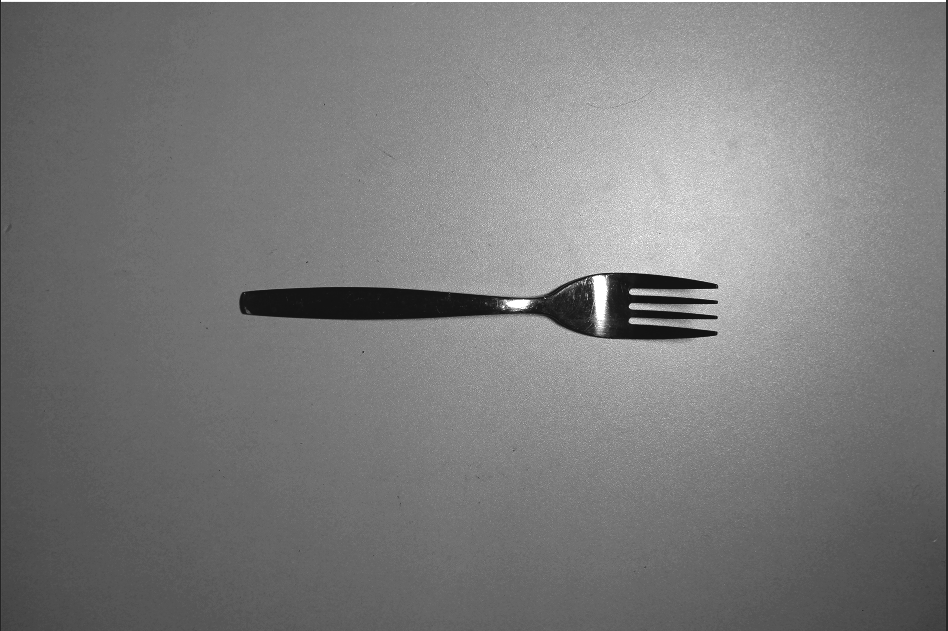
I wanted to take a different approach with this photo changing the colours to black and white.

I did this to enhance the highlights that are shown on the object ( fork ). The exposure was also changed to make sure that the photo didn’t look gloomy or too dark, I wanted it to be as clear as possible but still keeping the black and white effect.

On this photo, the clarity was also heightened to help the viewer see the smaller details of the object in the photo. With the clarity being heightened it made the darkness of the shadows creep back but that was sorted with slight gamma control on the exposure.

Black and white photo interpretations –

I wanted to give some variety to the photos I have already edited by using inspiration from Walker Evans to show the black and white effects he used in his work.

still life –

The objects I used for this image definitely gave me the feeling of nostalgia and age, so I wanted to accentuate that by giving it a black and white feeling to it. I lowered the contrast and reduced the vibrancy by changing the shadows and highlights to give the black and white effect.

I also put a mask over the photo to make the black and white feel more retro and older. I wanted to change the warm lighting used in the original photo without using one of my cool lighted photos, so I did this by adding this mask over the photo.

For this photo, I did somewhat the same thing as the Still Life photo but instead of heightening and lowering the shadows and highlights, I found a more prominent black and white mask to go over the photo.

I did however change the clarity of the photo making it slightly higher to give the photo some definition. After adding the mask, I was playing around with the highlights and lowlights again and decided to heighten the highlights slightly just to make the photo a little bit lighter.

Edits and development –

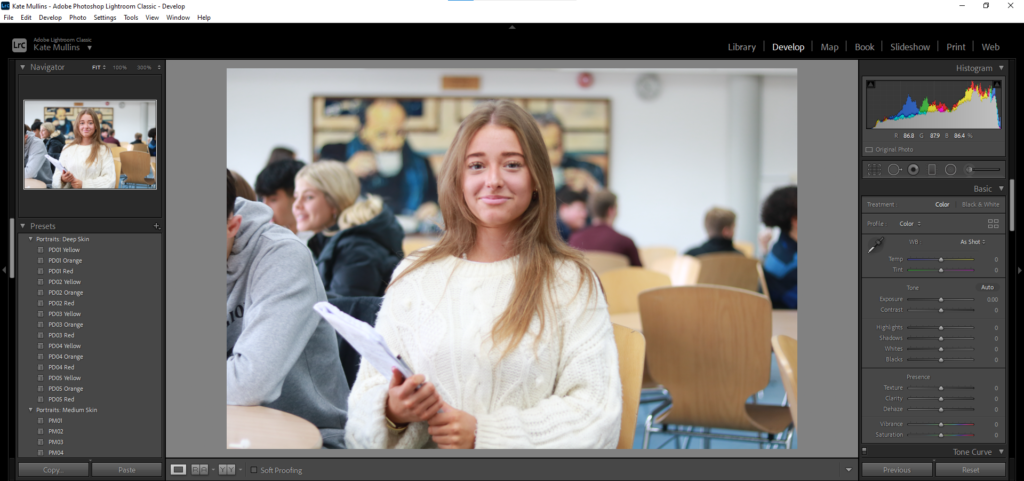
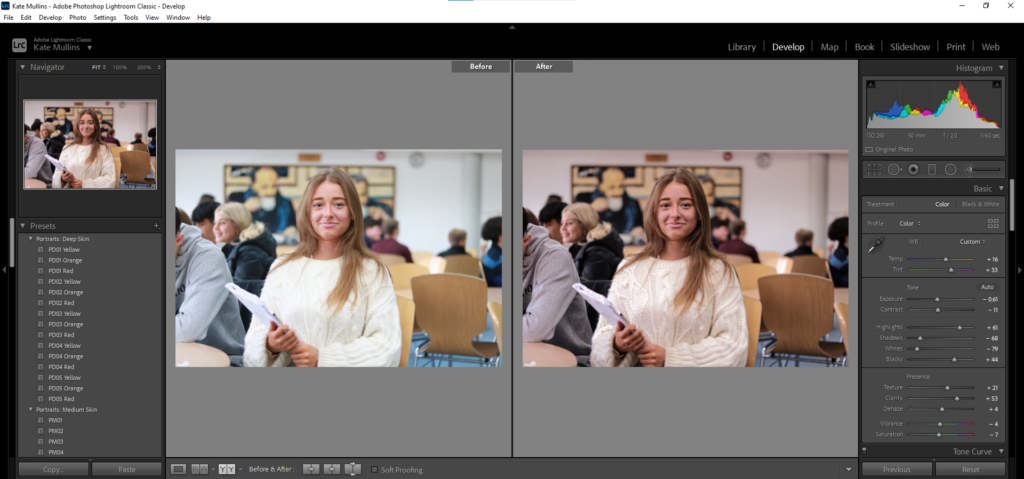
For my Formalism work I wanted to interpret what I saw in Walker Evan’s work where he used tools and almost ‘handy’ objects. I took a variety of photos and moved them to light-room to edit them slightly, just to change how the lighting effected the photo in certain ones.

Here are some examples :

before :

after editing :

before :

after editing :

before :

after editing :

I edited the last two slightly differently adding more saturation to make the photos bright and more contrasting, while on the other one, I lowered the saturation to almost make the photos look more gloomy and dark.

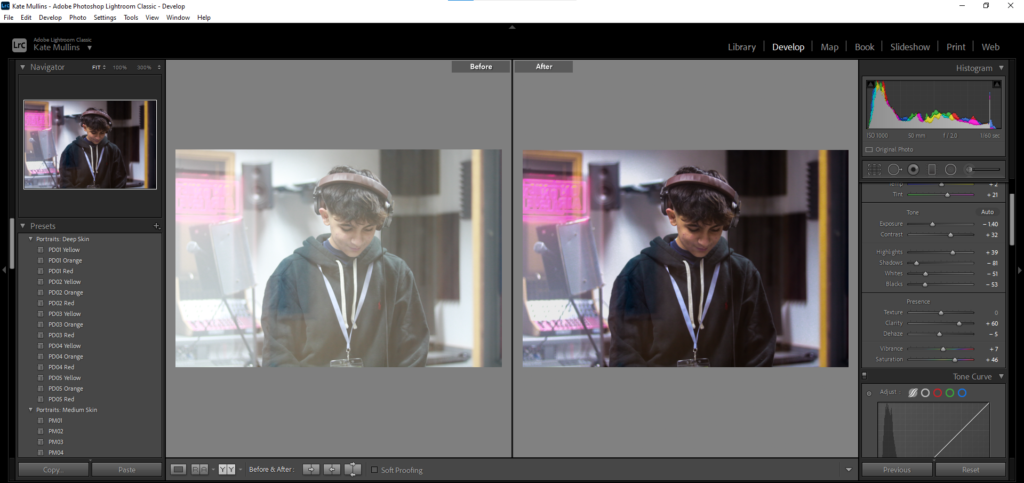
For this photo, the original photo was slightly unclear so while I was editing, I increased the exposure and clarity on the photo to make it more clear while also adding highlights and shadows to give the photo more dimension making the photo looking almost more ‘clean’ and clear.

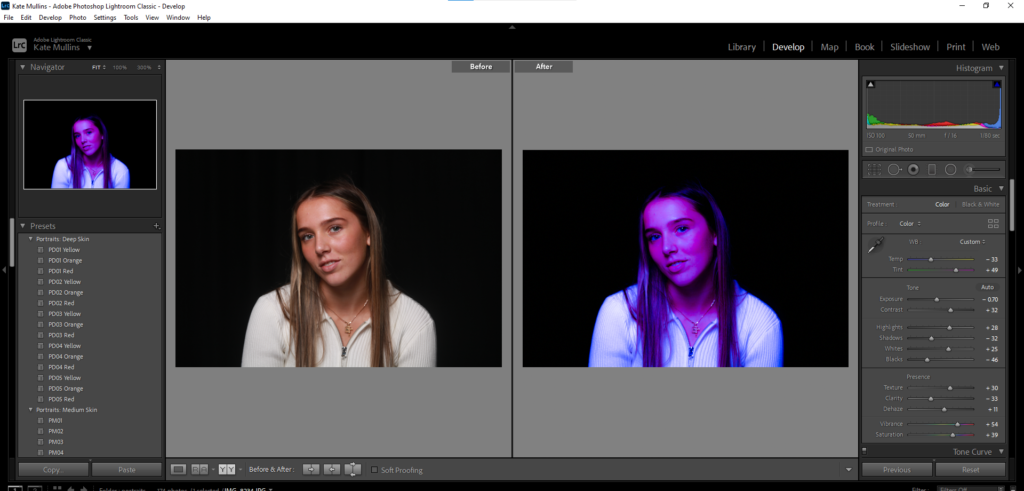
This photo was very dark before editing so I wanted to add better lighting that wasn’t produced in the studio. I also increased the saturation on the picture to give more clarity and to make the background colour ( purple ) more intense.

The use of brightening the photo was to make it more appealing to the viewer and more aesthetically pleasing as well. As you can see the shadows in the corner of the photo show depth and still give the kind of ominous feeling to the photo which I want to include in the photos I take as my own personal touch to them.

Overall :

overall, with help from teachers, I managed to improve the way I edited. At the beginning, I wanted to intentionally make the photos darker and less contrasting but towards the end I manged to keep the almost shadowy darkness but still adding highlights and keeping the picture bright and clear.

Single Object Photoshoots –

first photoshoot :

For this photoshoot I wanted to use inspiration from Walker Evans and how he photographs single objects using different lighting and shadows.

As you can see the quality of some of the photos are not the best but that is going to happen with every photoshoot. I changed the perspective of the photo after every few I took just to give some variation.

The lighting was also changed as well as lighting techniques to give different shadows and ‘feelings’ to each photo.

second photoshoot :

This photoshoot was not very successful. The lighting and angles were not good or flattering and the photo quality was a bit dodgy too.

With the last photo in the shoot I tried too change the lighting slightly to make the photo brighter and more clear but overall, the photos were not great.

third photoshoot :

For this photoshoot, I managed to get the lighting a bit better and include in one of the photos, more then one object to give the photo dimension.

I like the shadows created and the almost glass like look to the metal that was created through the lighting. I focused again on the inspiration from Walker Evans for the single object photos, changing the perspective and placement of the objects.

fourth photoshoot :

This final photoshoot was the most successful. The lighting was working perfectly for the type of photos I wanted and the two different backgrounds used gave a kind of contrast to the paintbrushes and other objects I used.

I used two different perspectives for this photoshoot:

  • birds eye view
  • free hand photo

The birds eye view was used with a set of equipment to hold the camera above to get a clear, stable photo, while the free hand photos are seen as more ‘ wobbly ‘ and ‘ unstable ‘.

The use of free hand doesn’t change the quality of the photos however if I used the equipment the photos would have been to a better standard.

My use of warm lighting accentuated the idea of the tools being worn down and obviously used.

Introduction to Formalism –

Formalism is the aspect of looking into the form and style of art pieces. It focuses on the visual aspects and its relationship with the visual world, how we interpret them, and the mood that the piece might set.

Walker Evans

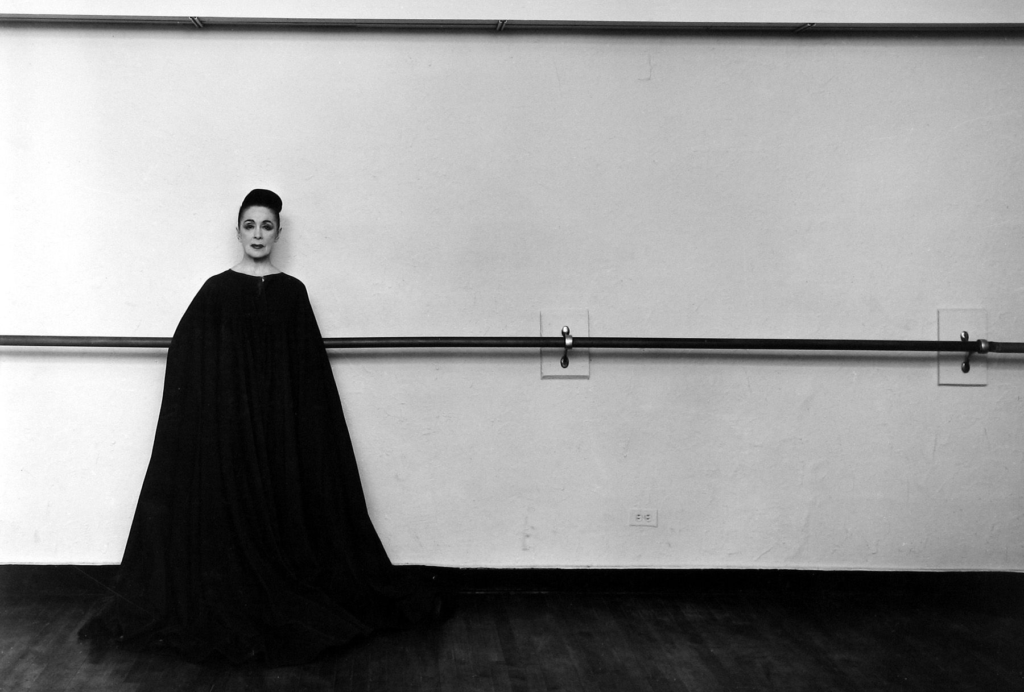
Walker Evans’ was a photographer in the early 1900s who was born on the 3rd of November 1903. His photography is very ‘simple’. He used only black and white shades to accentuate shadows and depth in his work. He uses low light in his work which helps create the shadows he accentuates. The repetition of the use of tools in these photos bring an almost ‘angry’ mood to the pieces. The spacious area the photos have been taken in give a calming feeling to the art because of almost the freeness of the tools.

Darren Harvey-Regan-

Darren Harvey was born in 1974 in the UK. His photography has a different ‘vibe’ as the colours used in the photo to the left show that his work uses a lot of brighter colours or more light involved to make the picture lighter almost making it look soft. Especially in this photo the linework is very jagged making the photo seem harsh which contrasts the idea of it being a ‘soft’ feeling picture.

The differences –

Harvey and Evans have very similar but different styles of photography in the way that shadowing is very important to show depth and dimension in the photos but because of the time difference of technology between the photos have an obvious clarity and quality difference.

Still Life Editing-

what is still life?

By definition, still life is a painting or drawing of an arrangement of objects, usually flowers fruit or random objects depending on what the artist is trying to show.

my interpretation of still life:

before :

after editing :

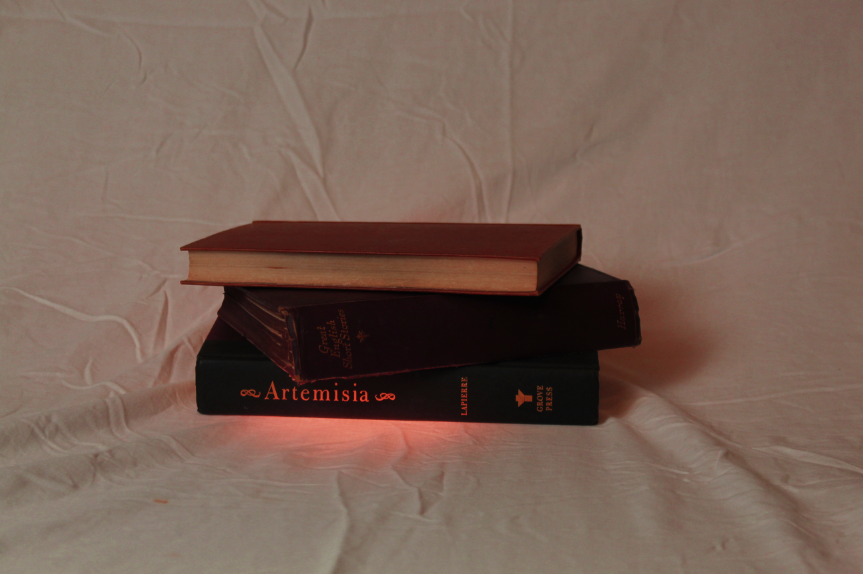
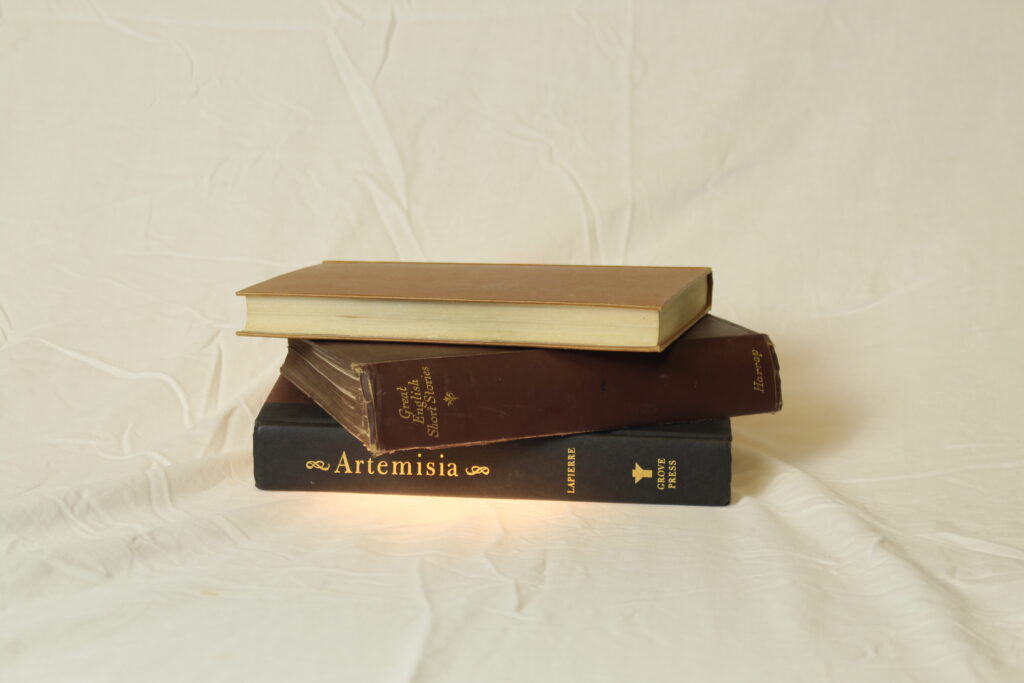
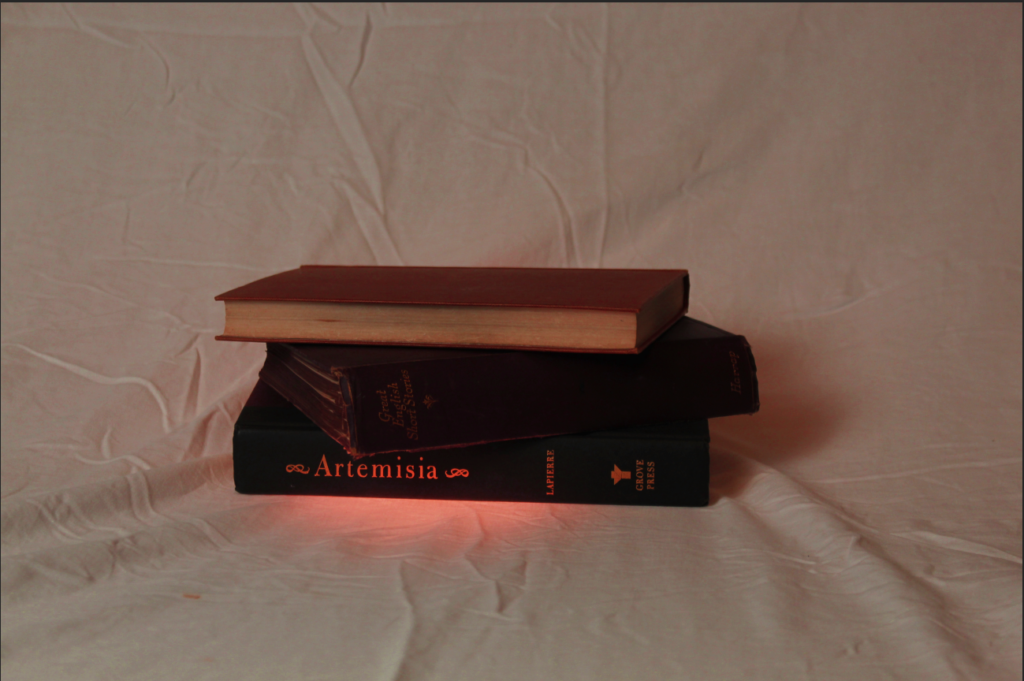
For this photo, I stacked 3 ‘old’ books in almost a careless looking way to give the sense of ease. I used a small spotlight to almost give the illusion of a glowing sensation from underneath the books to bring some light into the photo.

The original photo was a lot brighter overall because of the large lights that were used in the studio, so to improve the quality, I lowered the brightness of the photo and heightened the saturation where the spotlight hit to give an ominous effect.

After going over some feedback I decided to re-edit the photo bringing more light and clarity to it. I kept the spotlight bright and slightly added highlight to the spotlight to enhance the light and let it light up the book.

before :

after editing :

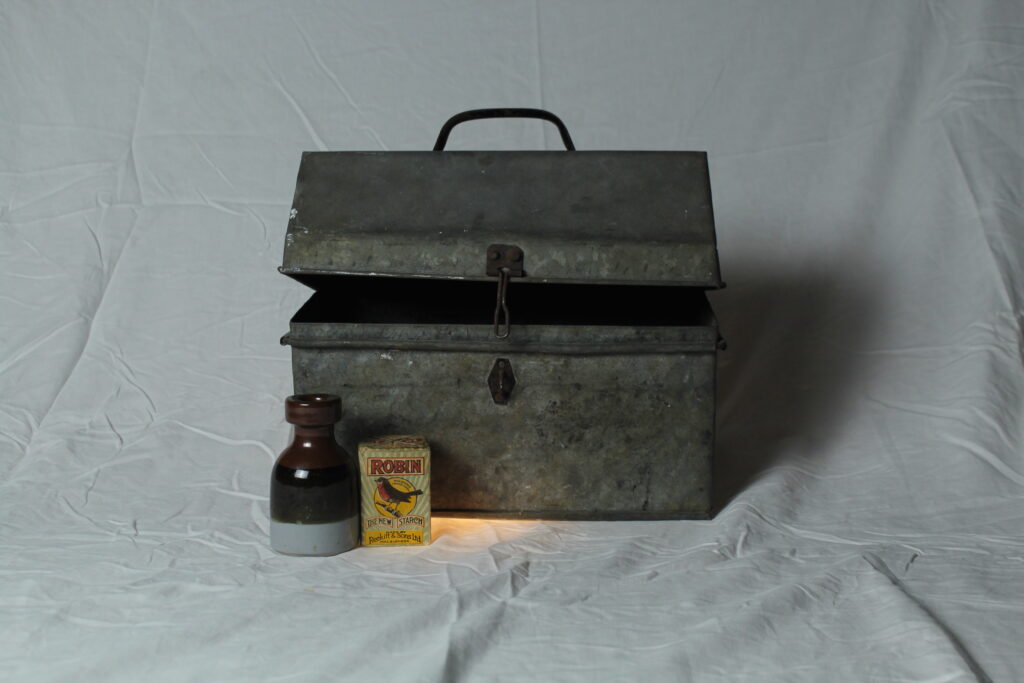
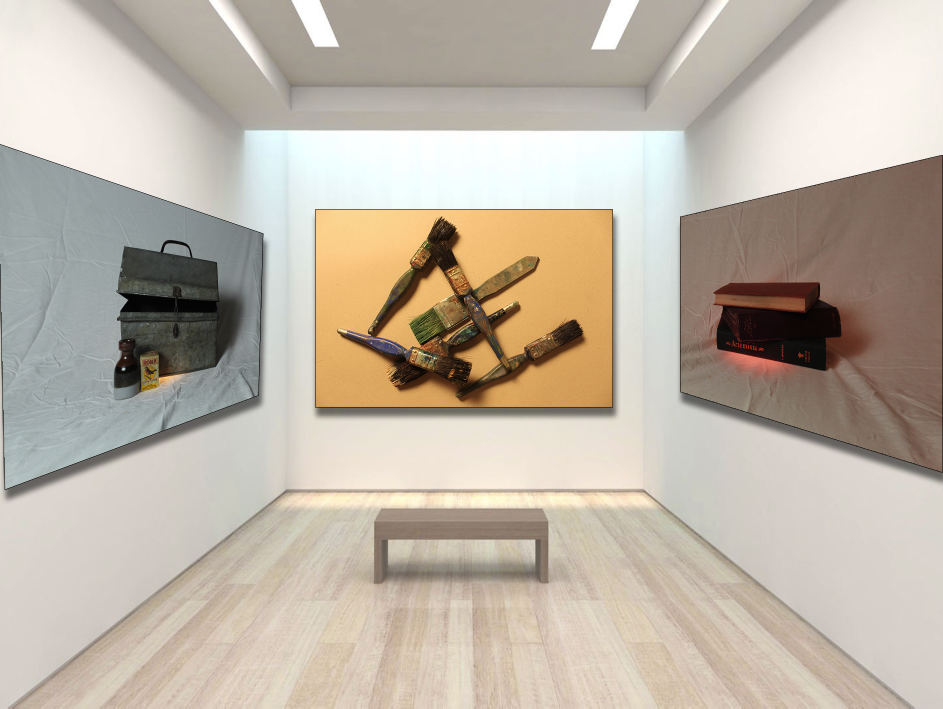
For this photo, the original, seemed too gloomy and didn’t have the right light to shadow ratio that I wanted. So on light room, and decided to reduce the brightness and add more depth to she shadows.

I made sure highlights and important parts of my image were highlighted like the ceramic pot just to give the picture some dimension and something for the viewer to focus on since its ‘so dark’.

I did make the photo of the tool box brighter then the original just to make the photo more clear an visible. Now I’m looking at it again, I do need to brighten the photo a lot so that you can actually clearly see the photo and the objects in the photo.

I revisited the photo again and decided to add more light again to make the photo brighter and more clear. I kept the shadows and darkness of the photo but still added the brightness.

If I could retake the photo, I would remove the warm spotlight because it clashes with the cold light on the main lighting and doesn’t compliment the photo how I wanted it too.

Still Life photoshoots –

first photoshoot:

This was the first photoshoot I’ve done and I tried to vary the lighting so they would be somewhat different to each other.

I brought in some objects that reminded me of the theme of nostalgia such as the incense and dream catcher which remind me a lot of my childhood because I always had incense burning in my house and constantly had dreamcatchers above my bed.

second photoshoot :

For my second photoshoot I wanted to focus a lot more on the theme of nostalgia and use the lighting techniques and ideas talked about in lesson.

I took a considerably more photos then the first shoot to give myself more options to edit because with the first shoot I only had 3 photos to choose from. I took some photos using the tripod and some others by hand to get different angles and options.

third and final photoshoot :

This photoshoot I would say is my best one, because it has multiple different colour lighting used from warm light to colder light because I wanted to see what kind of light would look better for the silver box in the photo.

I also had the warm spotlight in the cold lighted photos to give some contrast in the lighting. I also changed the ISO on the camera too, so that I could see what kind of light I needed to produce the most impressive photos.
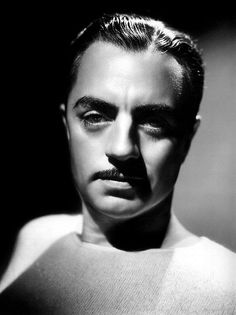
Canon simulator photos –

I took a variety of photos on the simulator but changed the aperture and ISO and the shutter speed to gather different types of photos. The last photo was my best one because the shutter speed was so high it captured the moving wheel on the plane perfectly almost making it look like a still life photo.
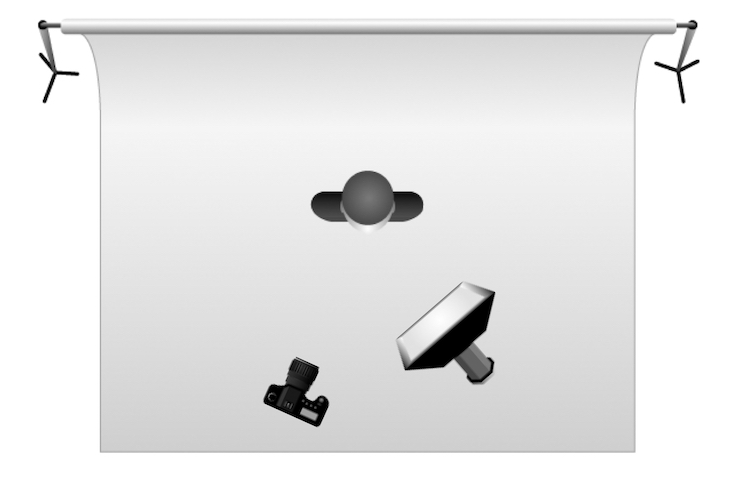
The other photos show that the quality of the shots were not good because the aperture and ISO were off moving the ‘dial’ the anything but 0. The photos are blurry and the light isn’t captured properly making the quality bad overall.

Introduction to Still Life –

Photography – Monday 11th September 2023

Still life quiz –

Q1. Where and when did still life originate?

  • The early 1600s from Dutch and Northern European paintings

Q2. What does colonialism mean?

  • Control by one power over a dependent area or people

Q3. How did colonialism impact the still life?

  • It introduced new materials and techniques.

Q4. what do you see in early still life paintings?
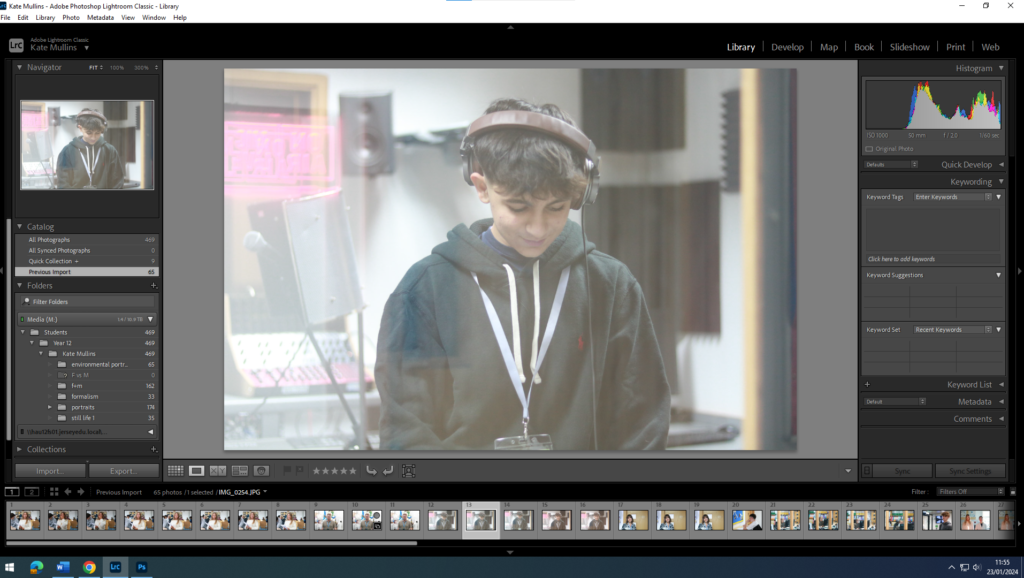
  • Variety of foods, flowers and occasionally skulls.

Q5. What could they symbolize?

  • They could symbolize wealth and power in some cases and others maybe death, and lack of time which is shown in the paintings with skulls and or hourglasses.

History and theory of still life

what is still life?

By definition, still life is a piece of artwork that shows inanimate objects from the natural or man-made world.

There are 4 different types of still life artwork: flowers, banquet or breakfast, animals and symbolic pieces. They each have different meanings and interpretations behind them.

Still life does not include people as objects within the work which does make the theme of still life easier to follow in photography because of the control you have.

The first generally considered still life photo or artwork that was made, was by a man called Jacopo De’Barbari in 1504.

Some of the key elements of still life are:

  • composition
  • shape
  • form
  • perspective
  • light and dark pattern

These things are the essence of the resulting image. Still life photos or artworks can almost be perceived as anything and that is the beauty of the style.

Introduction to Photography quiz –

Q1: What is the etymology (origin & history) of the word photography? 

20sec 

Writing with light. 

Capturing light. 

Painting with light. 

Filming light. 

Q2: What year was the first photograph made in camera? 
 

20sec 

1739 (Joseph Wright) 

1839 (Louis-Jacques-Mandé Daguerre) 

1826 (Joseph Nicéphore Niépce) 

1904 (Salvadore Dali) 


Q3: When did the first photograph of a human appear? 
 

20sec 

1874 (Julia Margeret Cameron) 

1838 (Louis-Jacques-Mandé Daguerre) 

1856 (Henry Mullins) 

1939 (Ropert Capa) 
 

Q4: Who made the first ‘selfie’ 

20sec 

Kim Kardashian (2015) 

Robert Cornelius (1839) 

Cindy Sherman (1980) 

Claude Cahun (1927) 

Q5: When did the first colour photograph appear? 

20sec 

20sec 

1907 (Lumière brothers) 

1961 (Andy Warhol) 

1935 (Kodachrome) 

1861 (James Clerk Maxwell) 
 

Q6: What do we mean by the word genre? 

20sec 

A study of an artwork 

A depiction in art 

A style or category of art 

A creative process in art 


Q7: What do we mean by the genre of still-life? 

20sec 

In image where a person is sitting still and not moving. 

An arrangement of flowers. 

A picture of food. 

An image that shows inanimate objects from the natural or man-made world. 

 
Q8: What was the main purpose of the Pictorialist movement? 
 

A person standing next to a tree

Description automatically generated20sec 

To capture moving objects 

To record reality 

To affirm photography as an art form 

To be scientific 

Q9: How do we describe the term documentary photography? 
 

Timeline

Description automatically generated30sec 

Capture images that truthfully portray people, places and events. 

Staging images for maximum effect. 

Provide in-depth information about a subject over a long period time. 

An interpretation of reality as witnessed by the photographer. 

 
Q10: What is exposure in photography? 
 

20sec 

To expose hidden elements in our society. 

To record fast moving objects. 

To capture bright light. 

The amount of light that reaches your camera’s sensor. 

Q11: What controls exposure on your camera? 

Diagram

Description automatically generated30sec 

Depth of field, composition, distance to subject. 

Aperture, focal length, ISO. 

Aperture, shutter speed, ISO. 

Shutter speed, distance to subject, depth of field. 

 
Q12: What control on our camera records moving objects? 
 

20sec 

Aperture 

White balance 

Shutter 

ISO 

 
Q13: How do we explain depth of field? 

How much of your image is in focus. 

To photograph from a high vantage point. 

A view across a field. 

A deadpan approach to image making. 

 
Q14: What factors affect Depth of Field? 

30sec 

Shutter speed, distance from camera to subject, and sensitivity to light. 

Lens aperture, distance from camera to subject, and lens focal length. 

Lens focal length shutter speed and lens aperture. 

Sensitivity to light, shutter speed and lens focal length. 

Q15: What is composition in photography? 

20sec 

Capturing the quality of light. 

A piece of music with different instruments. 

Staging a portrait with props. 

The arrangement of visual elements within the frame. 

Q16: What is your understanding of aesthetics in art? 

30sec 

Concerned with the nature of beauty and taste. 

It is subjective and in the eye of the beholder. 

Aesthetic qualities refer to the way and artwork looks and feels. 

Making a critical judgement based on observation and understanding. 

Q17: What are contextual studies in photography? 

30sec 

To provide historial, cultural and theoterical understanding of images. 

Consider factors outside of the image, as well as inside the frame. 

To give an opinion without any research. 

To seek a definite answer. 

 
Q18: How many images are captured on average every day worldwide? 
 

20sec 

1.5 billion 

4.7 billion 

800 million 

6.9 billion 

Q19: Which portrait is the most reproduced in the world? 
Graphical user interface, application

Description automatically generated 
 

Mona Lisa 

Lady Gaga 

Ernesto ‘Che’ Guevara 

The Queen (Elizabeth II)