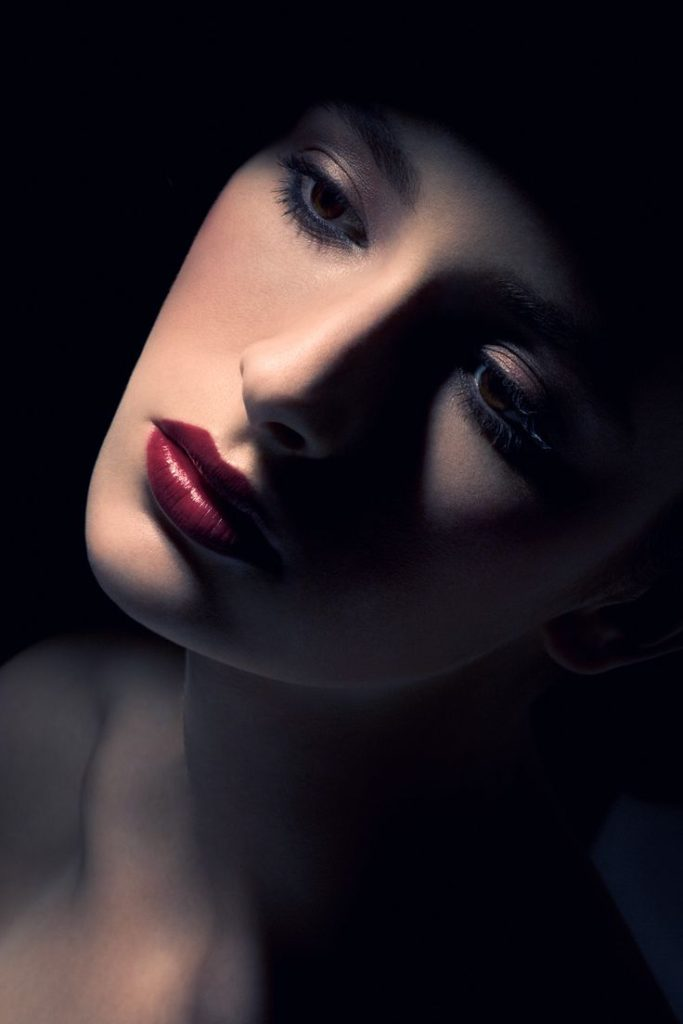
All posts by Jessica-Mary Patrick

Filters

Author:
Category:

Headshots

Photoshoot- Edits

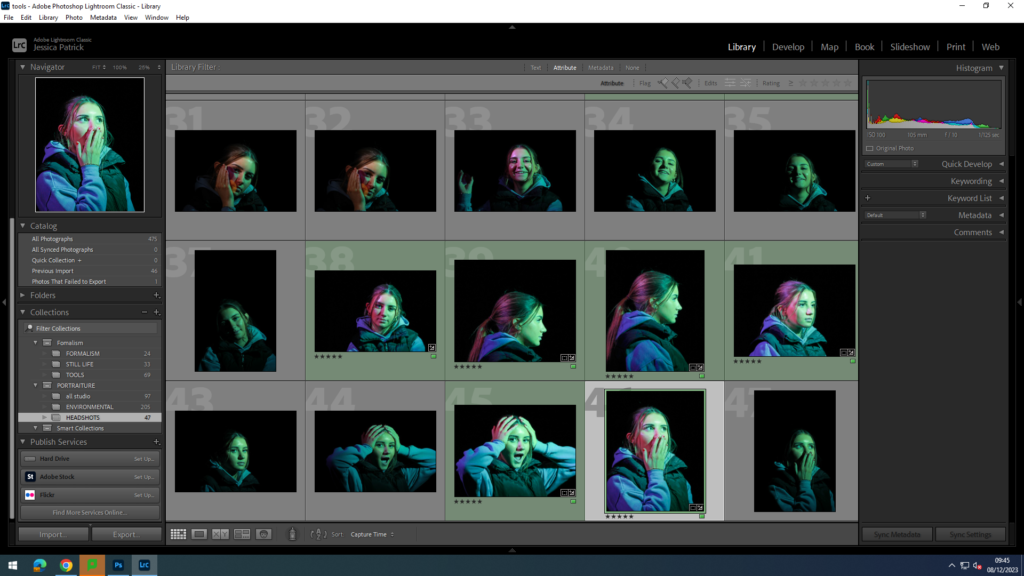
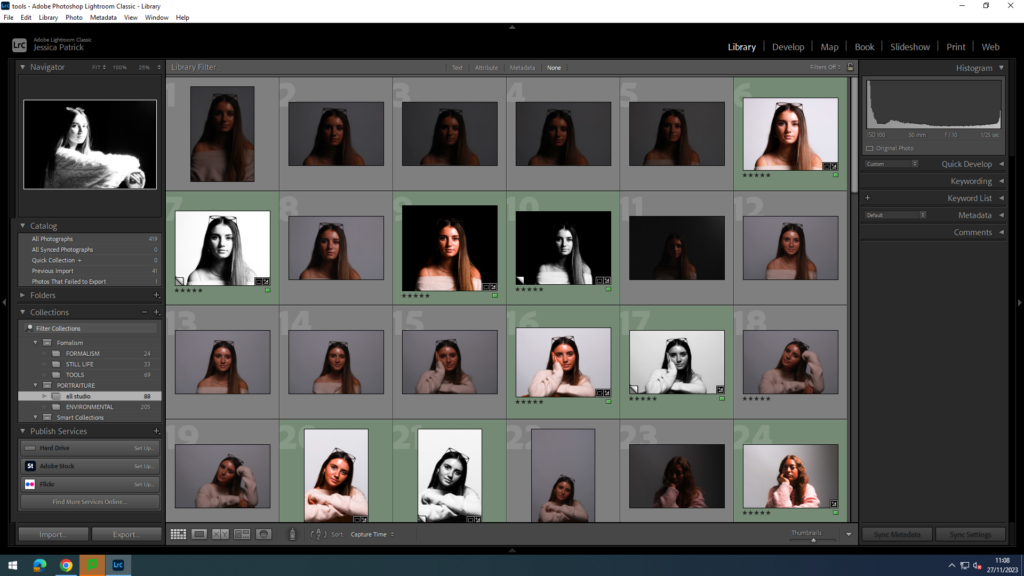
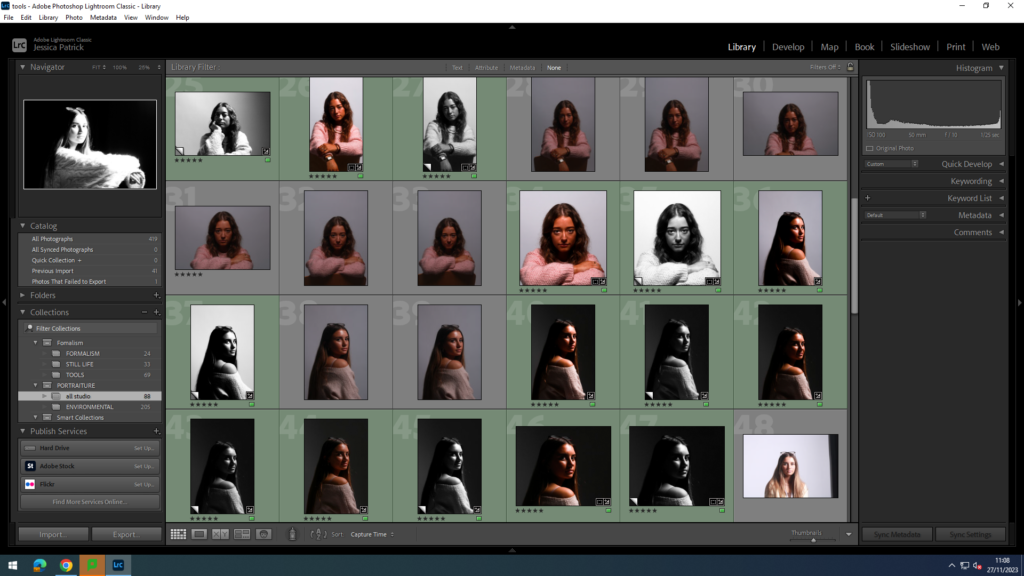
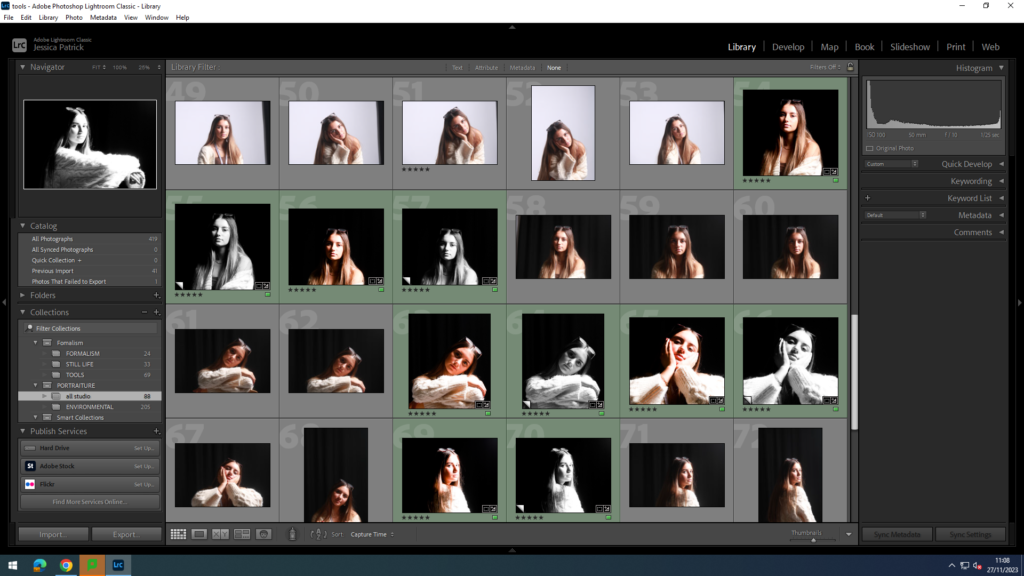
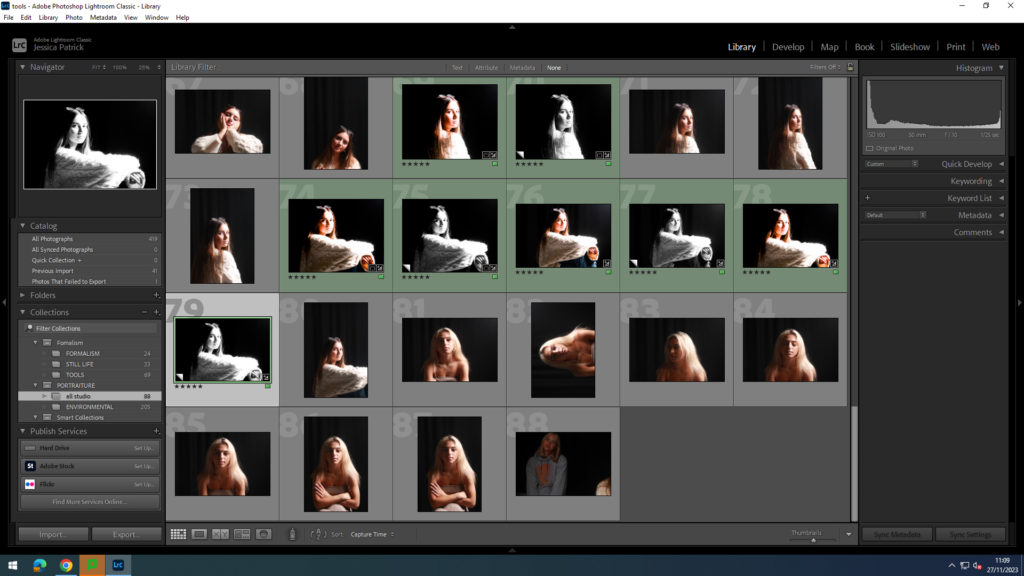
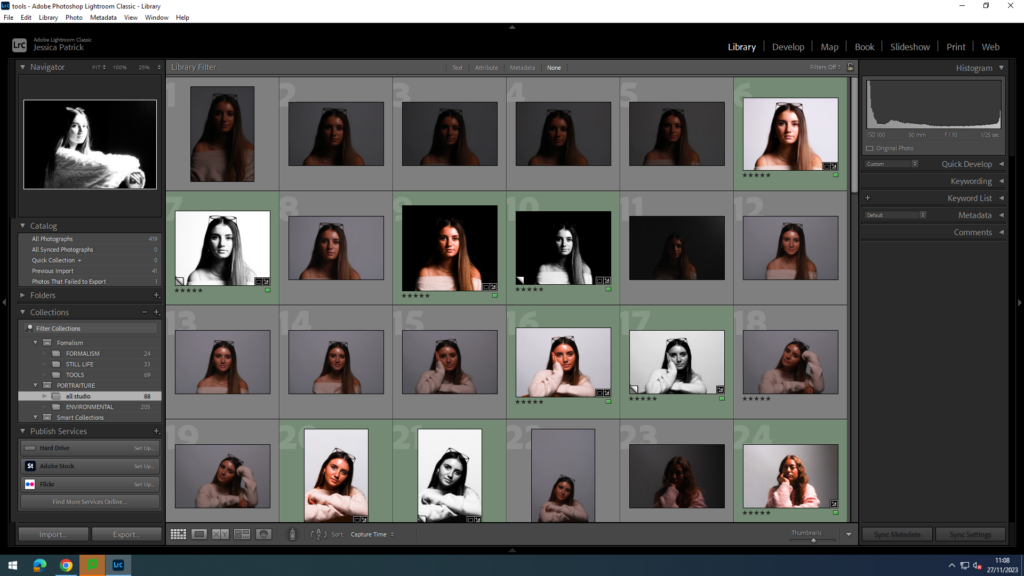
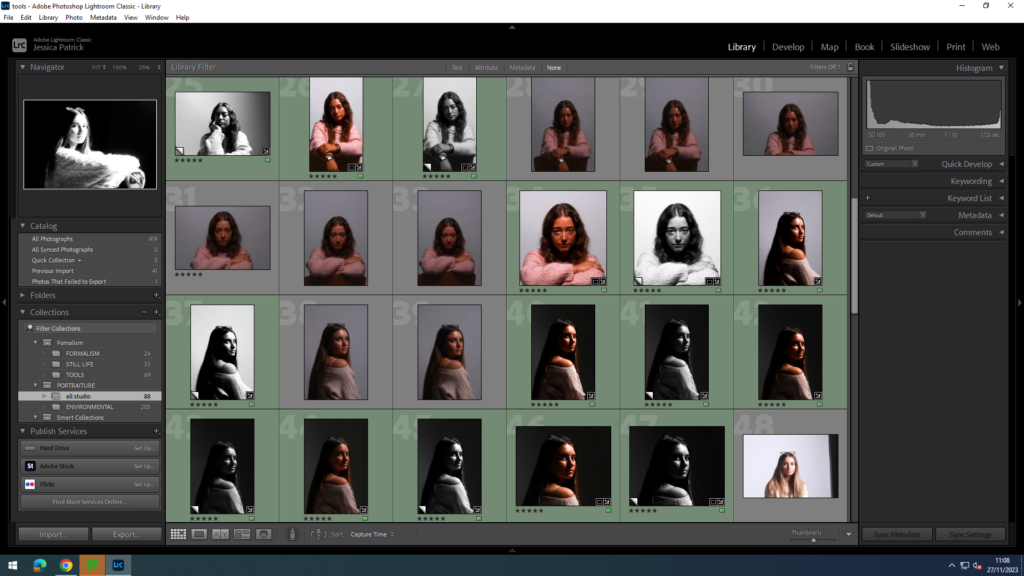
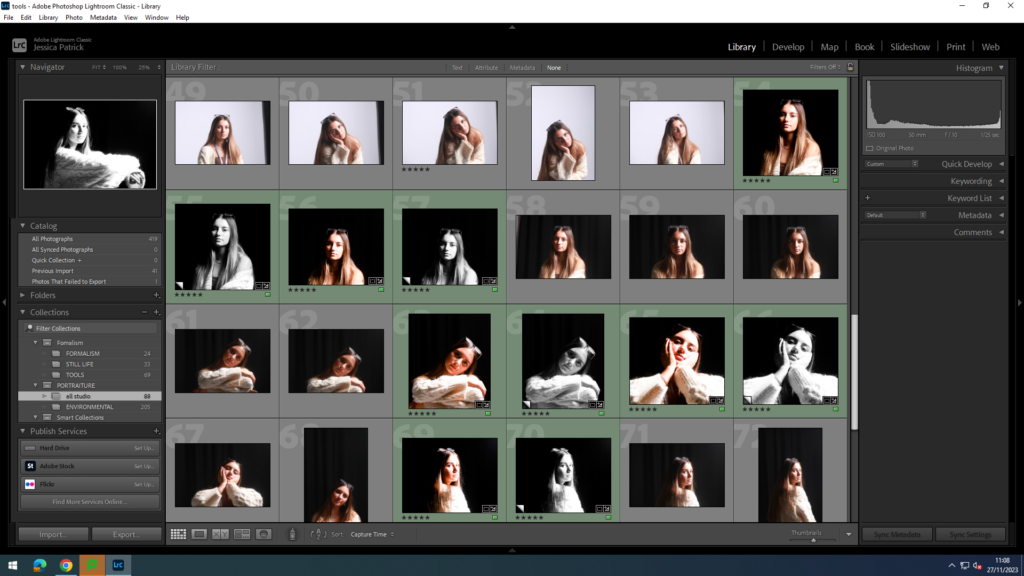
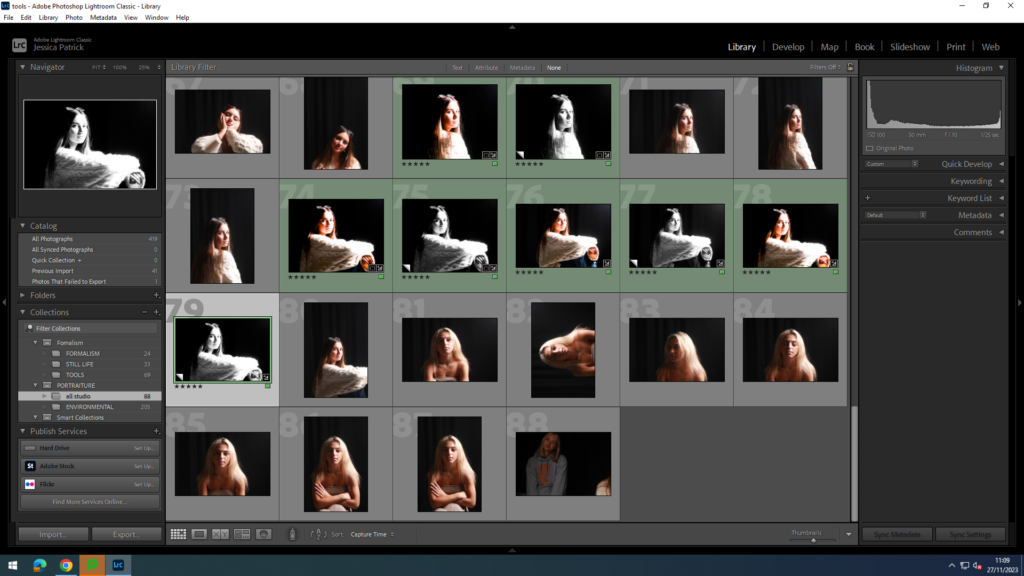
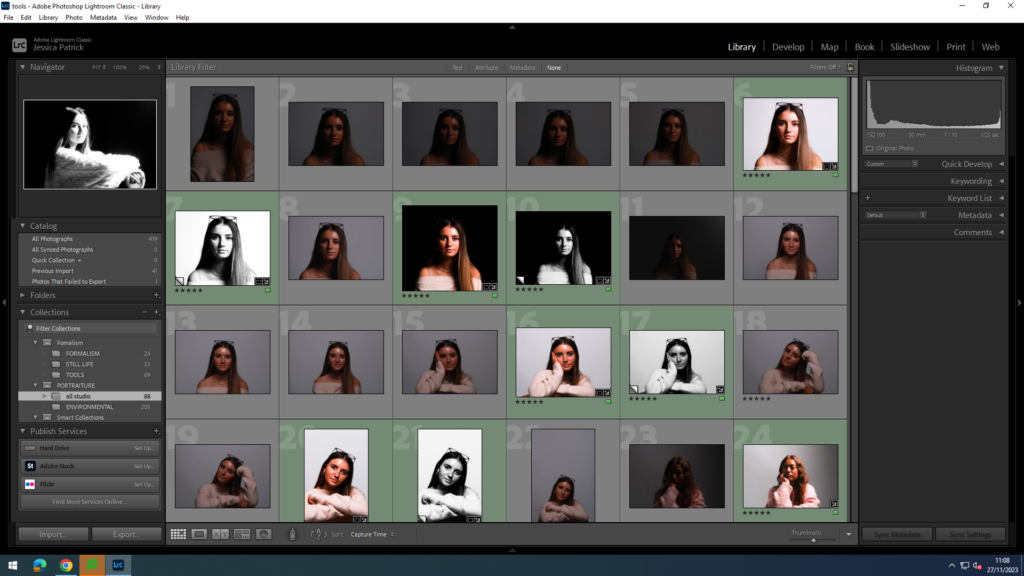
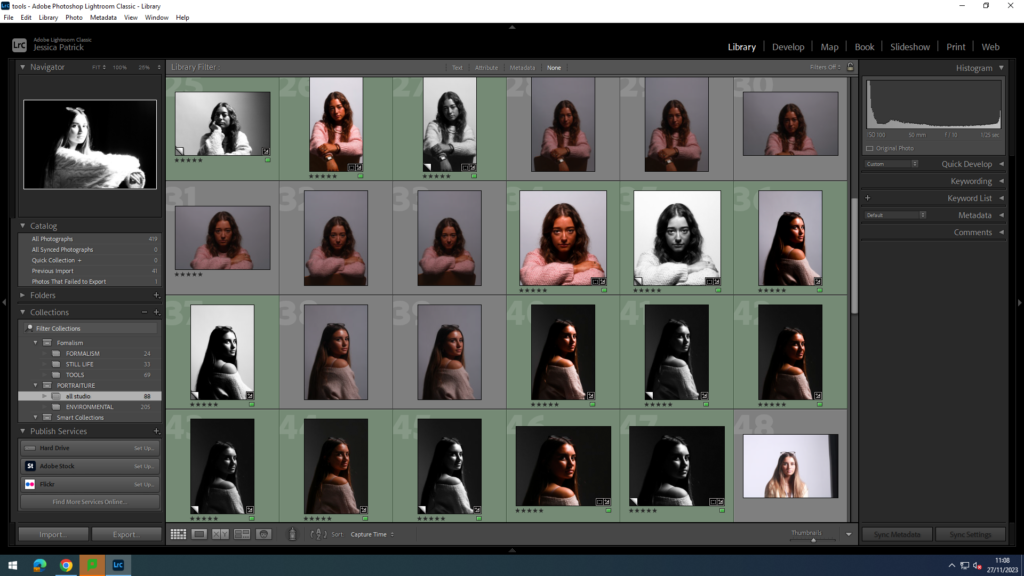
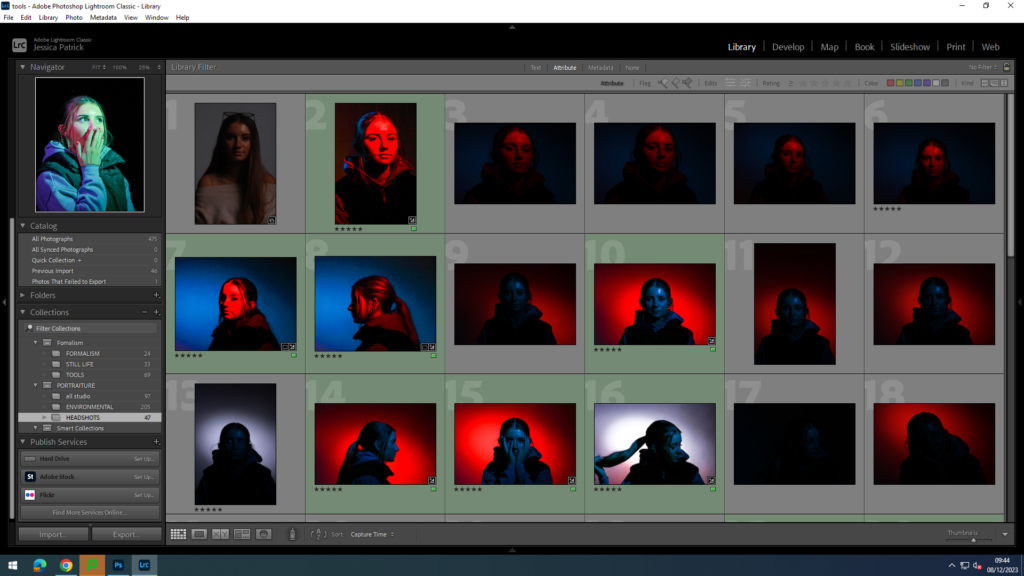
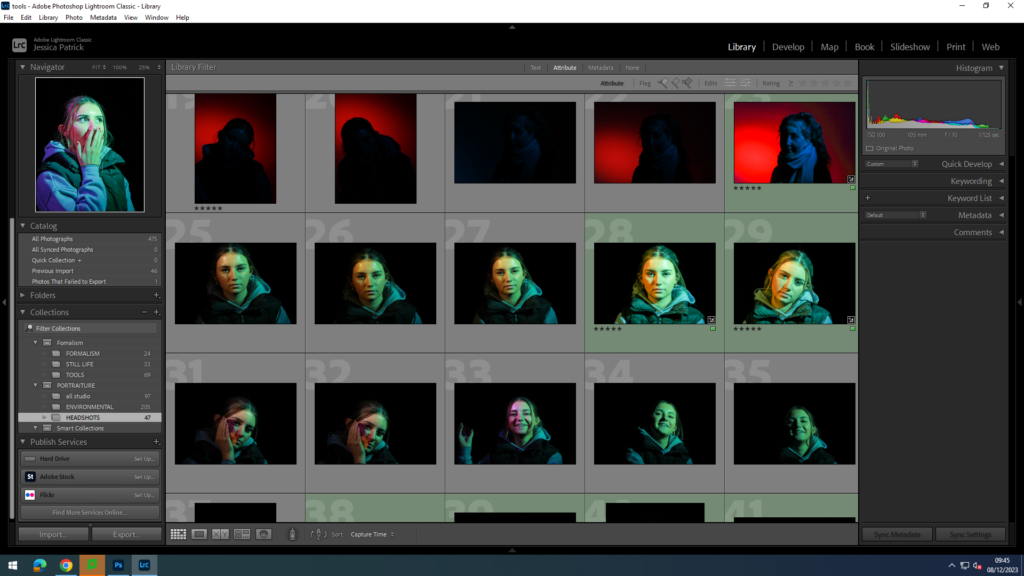
The photographs that are highlighted green are the photos I have chosen to edit, because they use a variety of lighting, positioning and poses.
Set Up

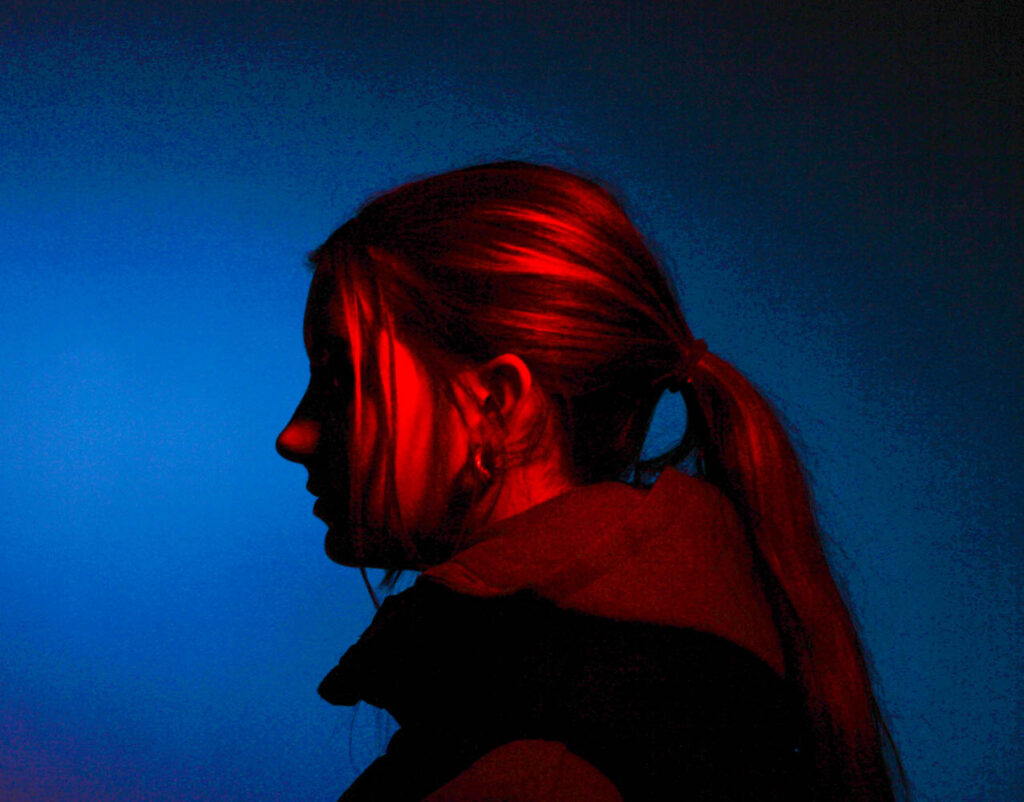
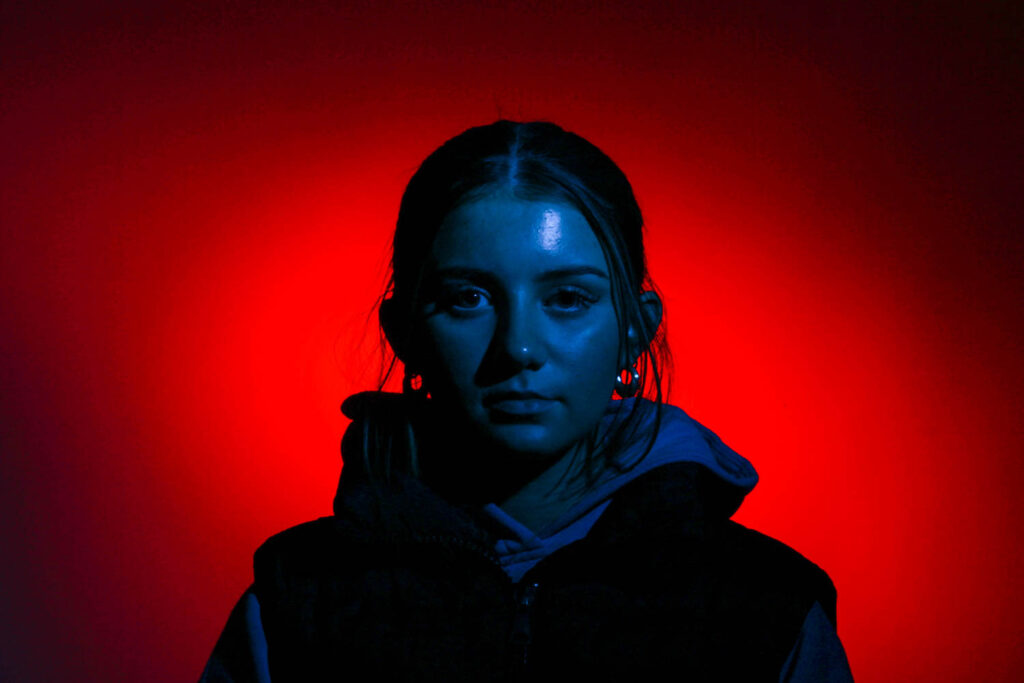
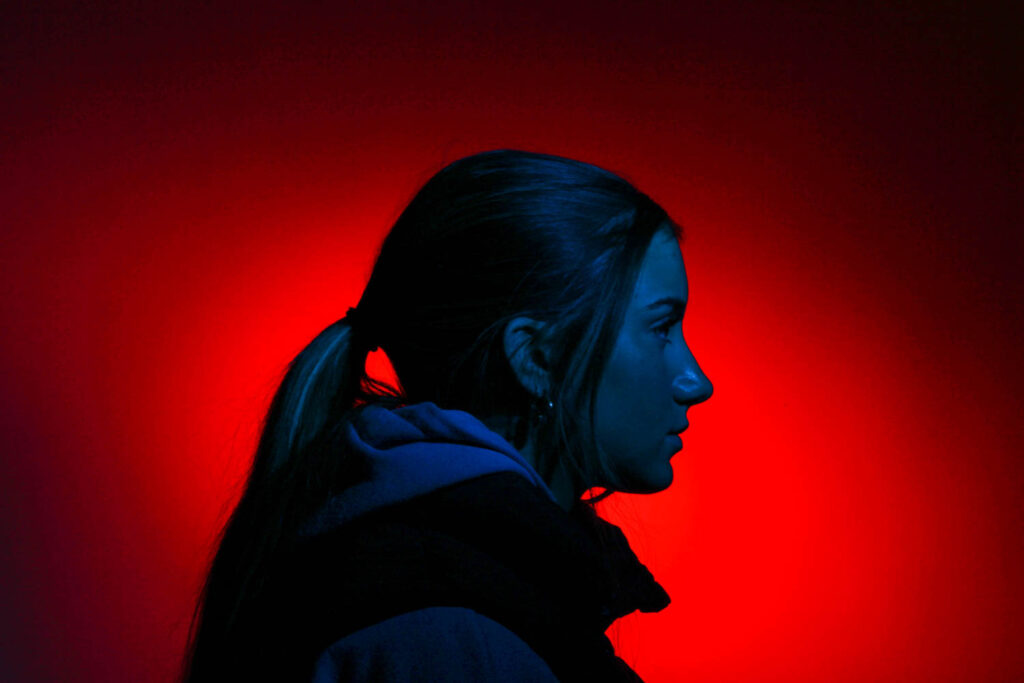
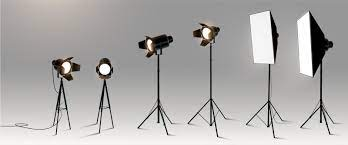
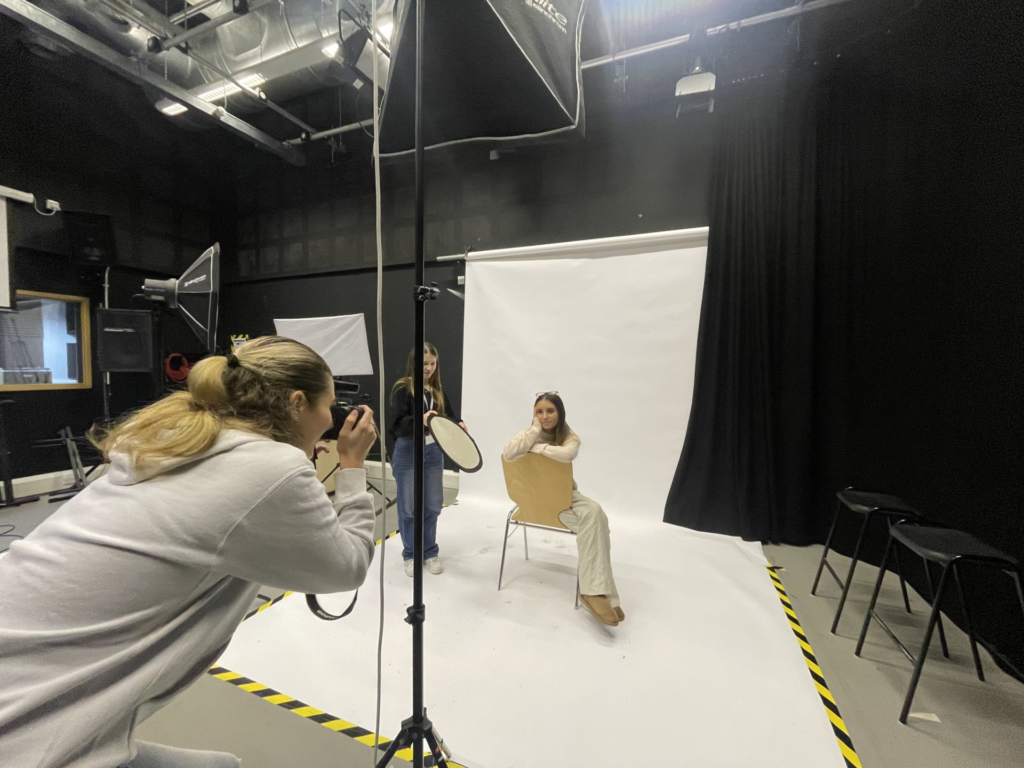
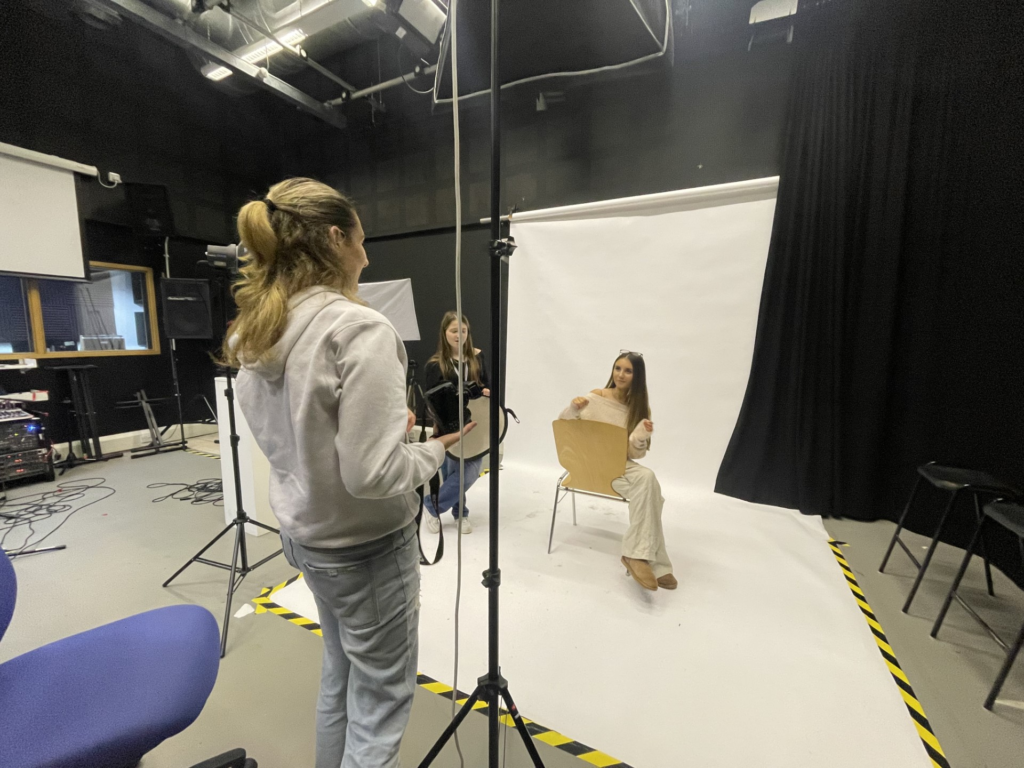
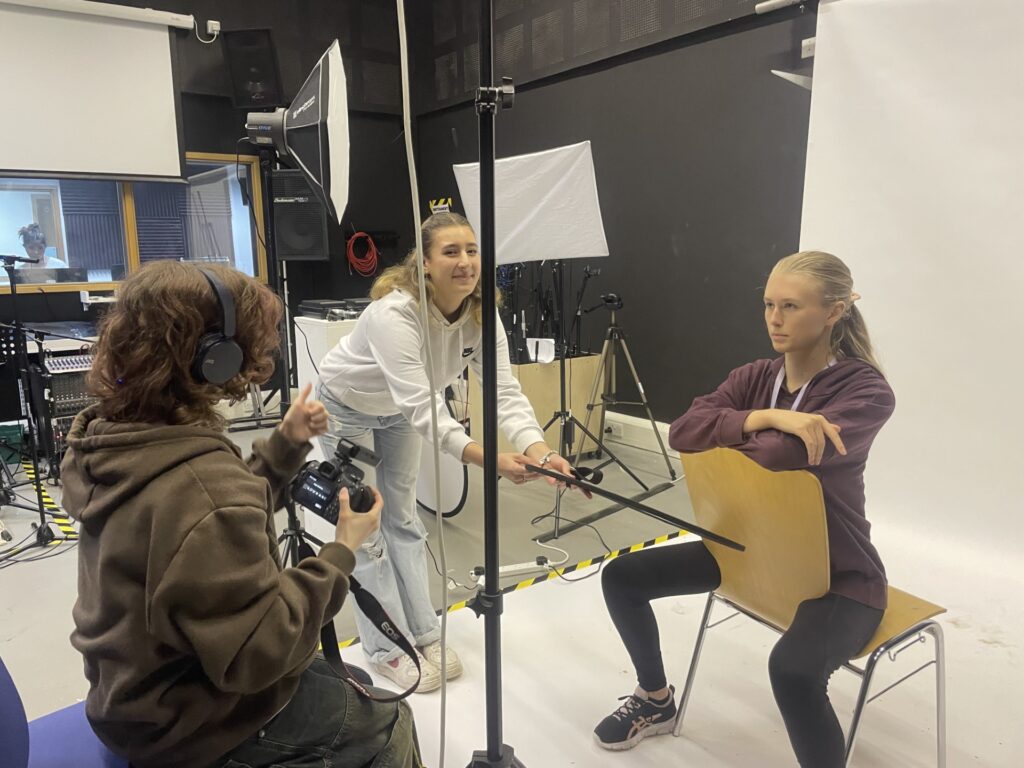
There were multiple different set ups for the different types of lighting used. However, the same two studio lights were used. One light was a honey comb light, while the other had a snout. The snout directs the light to a specific place, whereas the honey comb light creates a strong spot light effect. I also used coloured disks and sheets to create different coloured lighting.

Split lighting-

For the split coloured lighting the light with the snout was on the right side of the model with a coloured disk inside it and the honeycomb light was on the left of the model with a coloured sheet help over it. Both lights were to the side of the camera at a 45 degree angle, but the snout light was slightly closer the the model, as it is a less powerful and bright light.

Spotlight behind-

To create the coloured spot light behind the model. while the model is a different colour, the snout light needs to be behind the model on her left pointing at a 45 degree angle onto the background wall. Whereas, the honeycomb light needs to be on the right of the model in line with the camera on a 45 degree angle directly onto the model. The snout light has a coloured disk inside and the honey comb light has a coloured sheet held in front of it.

Editing- Diamond Cameo

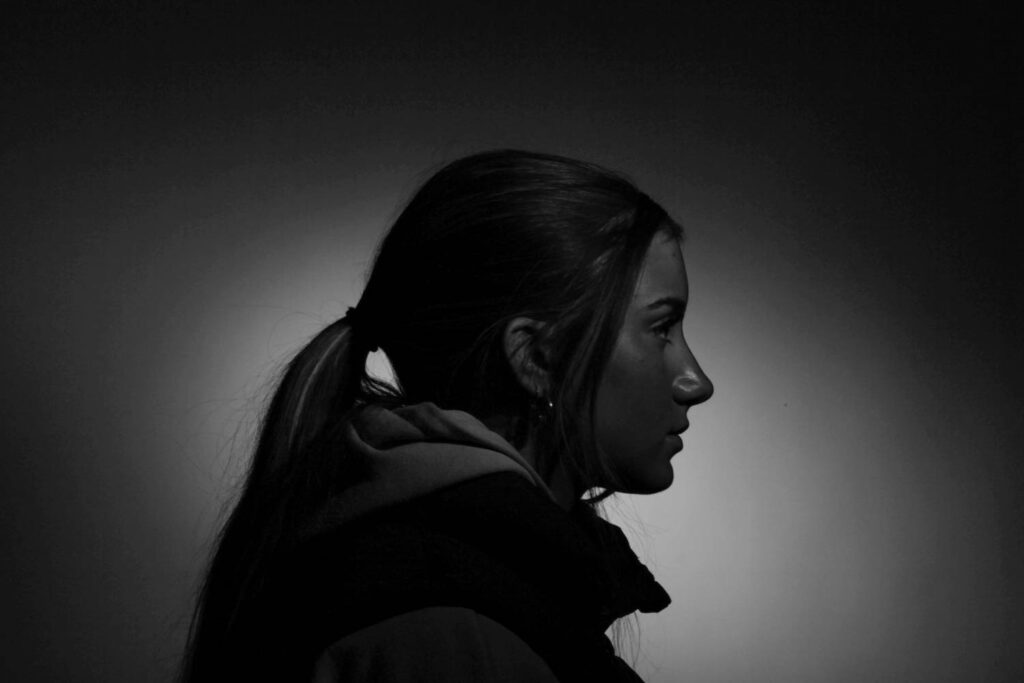
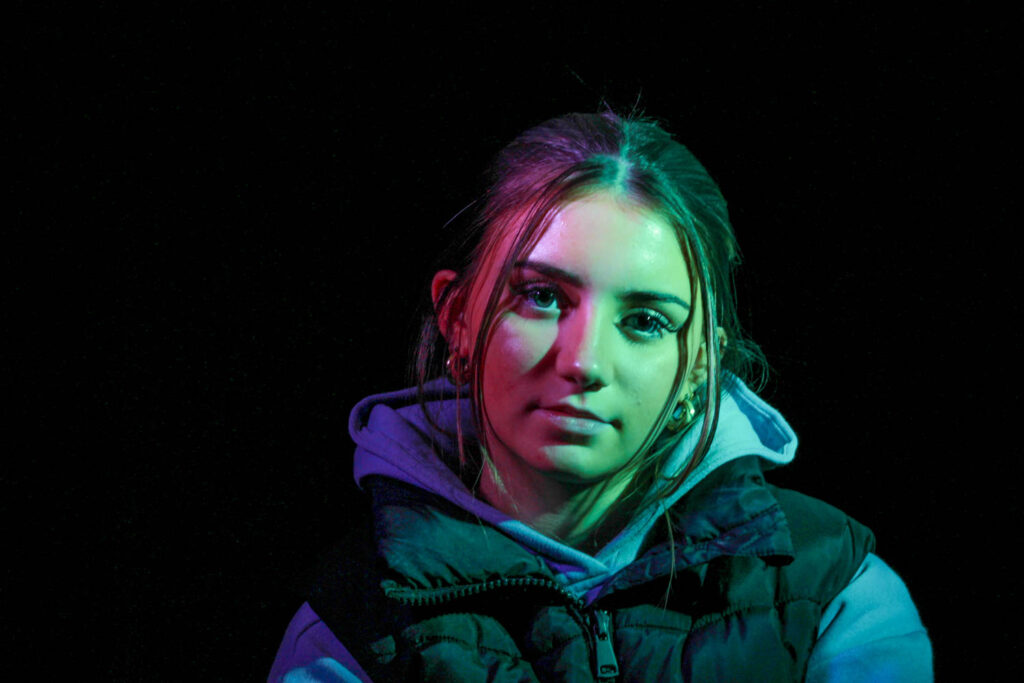
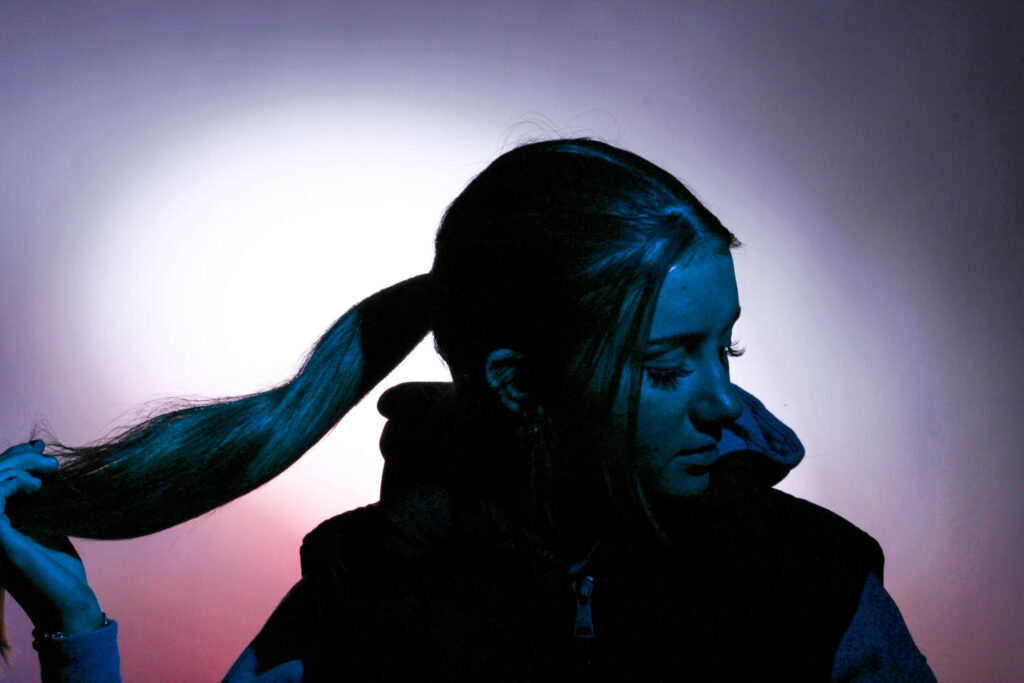
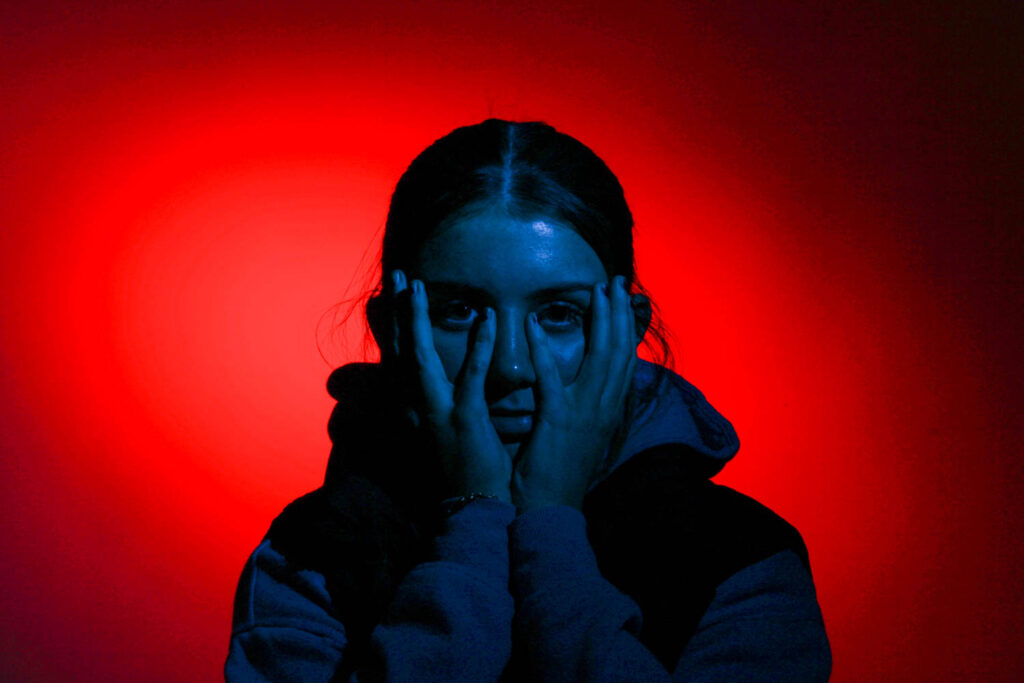
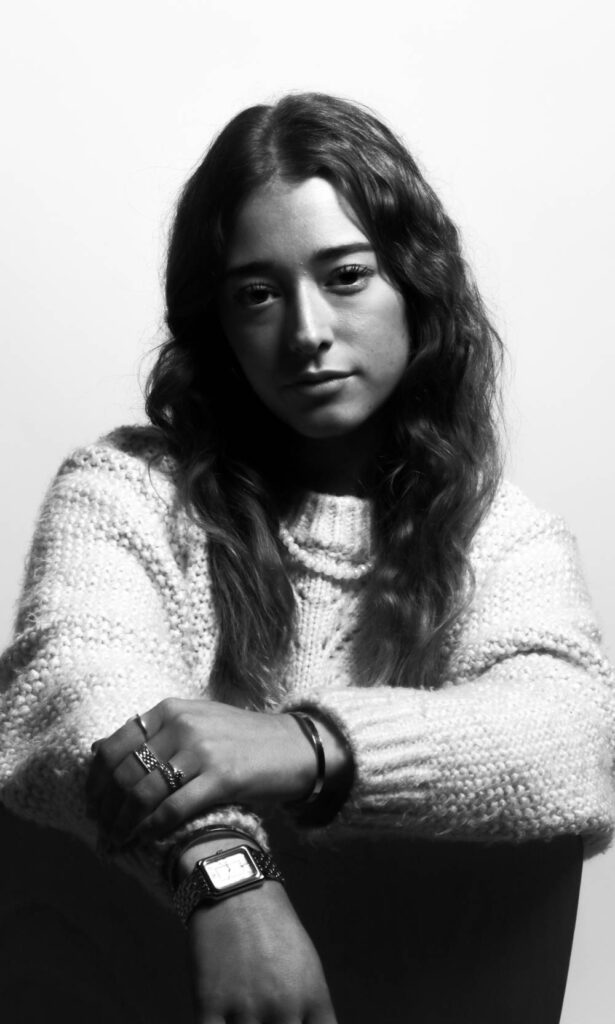
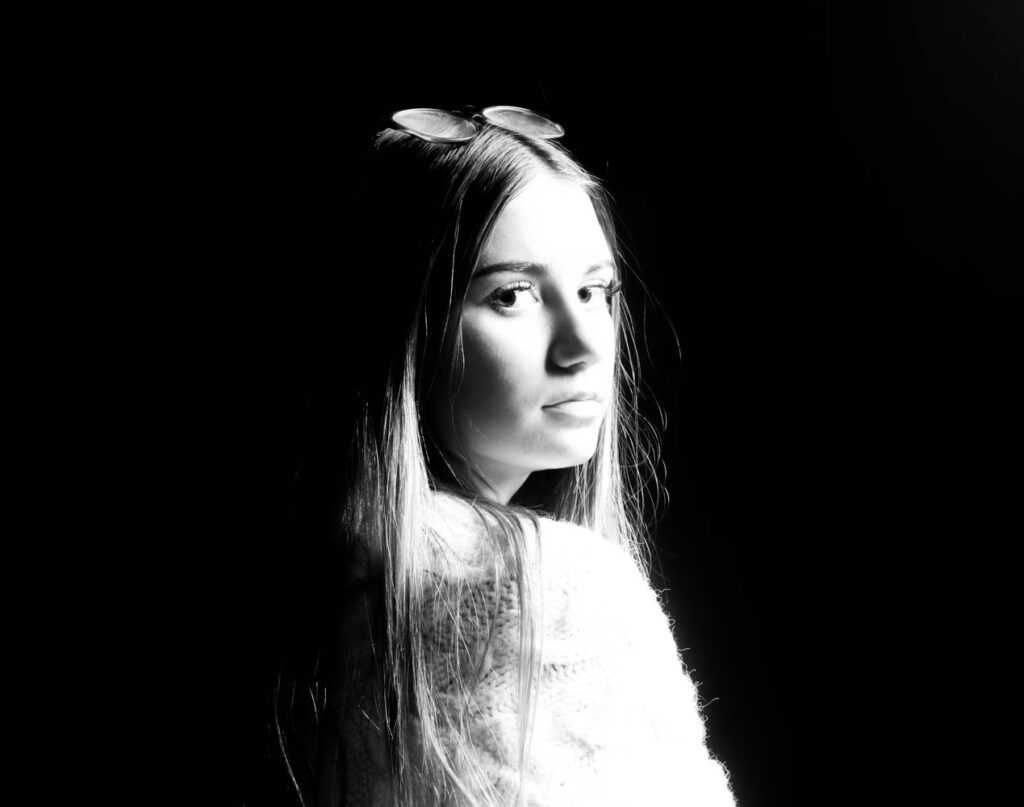
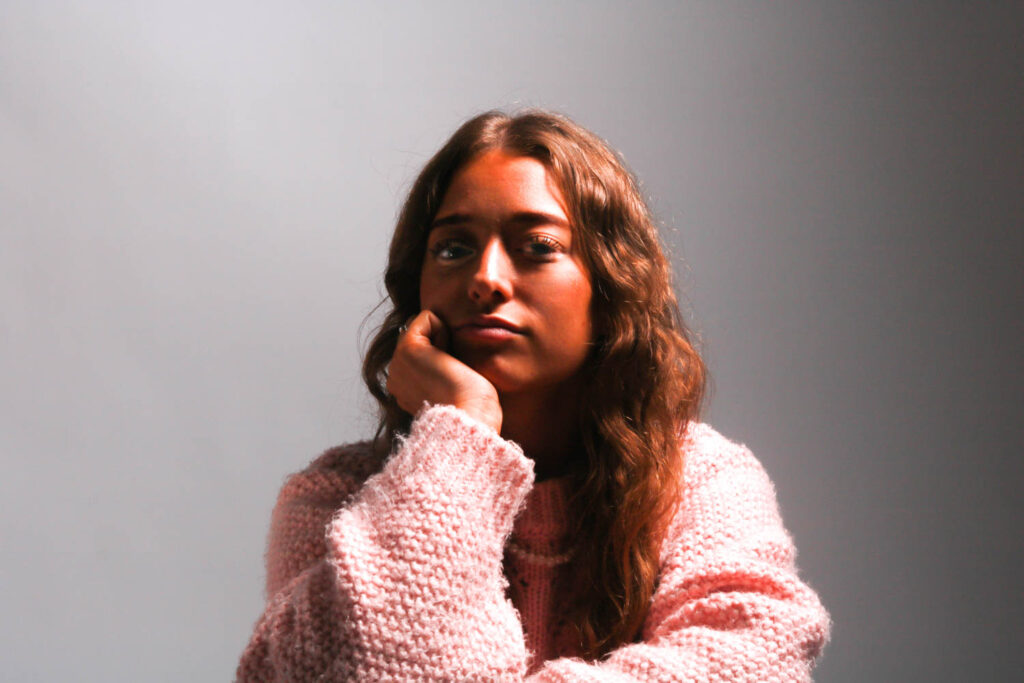
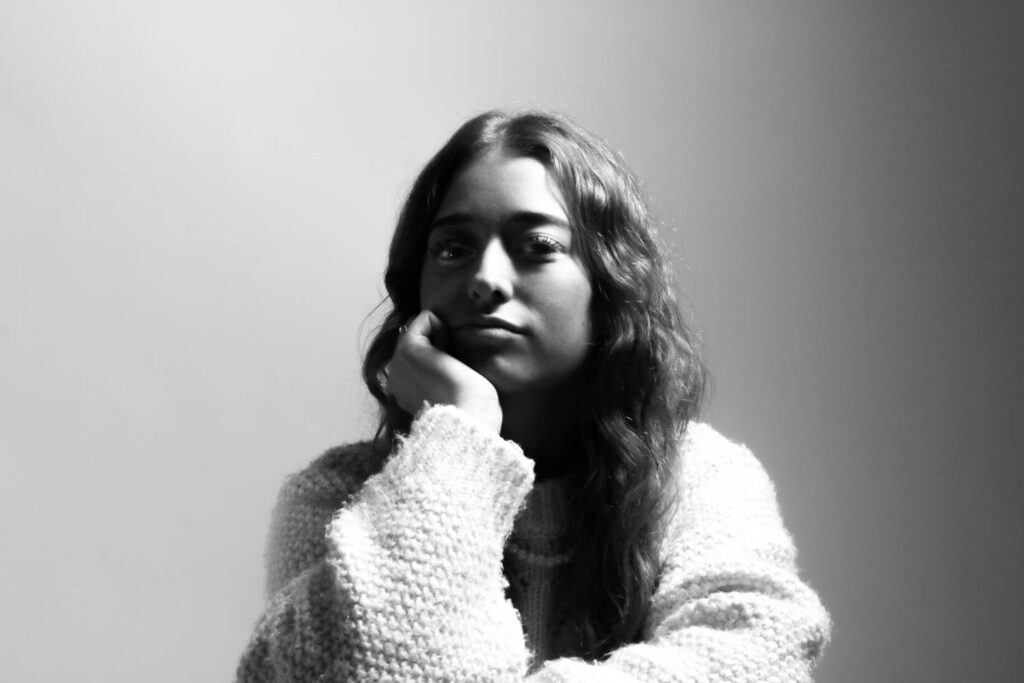
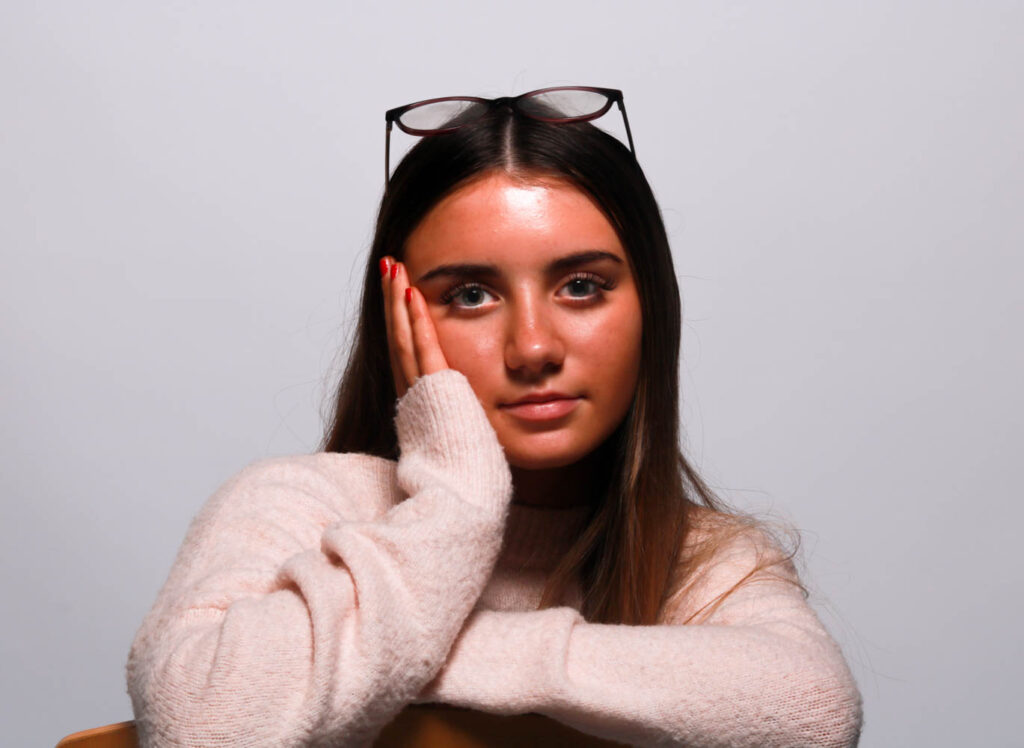
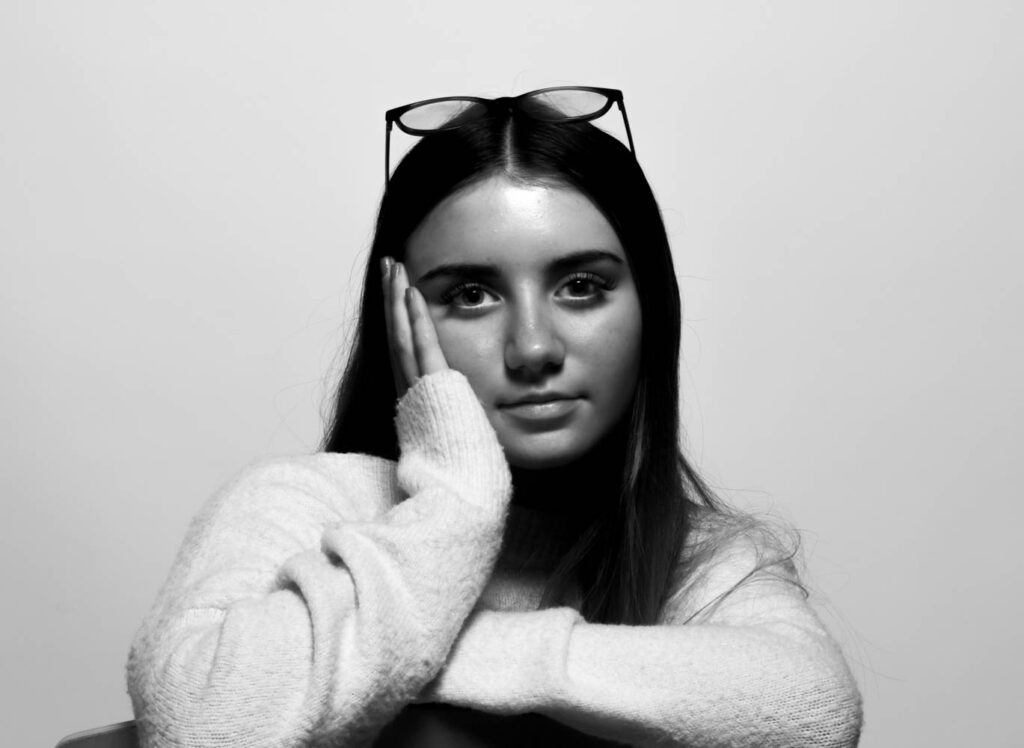
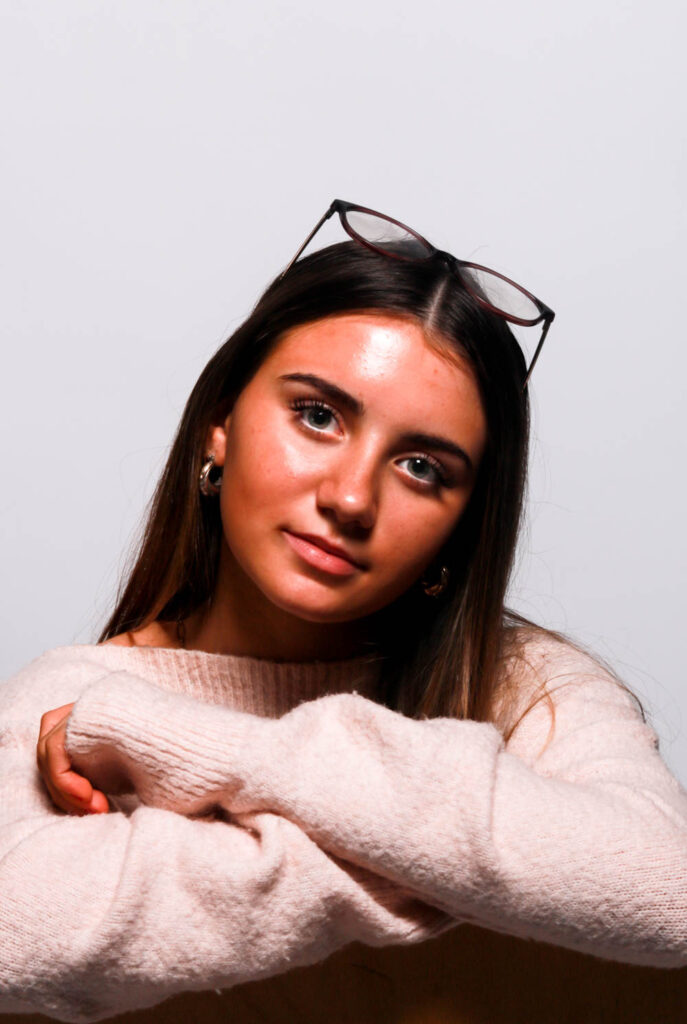
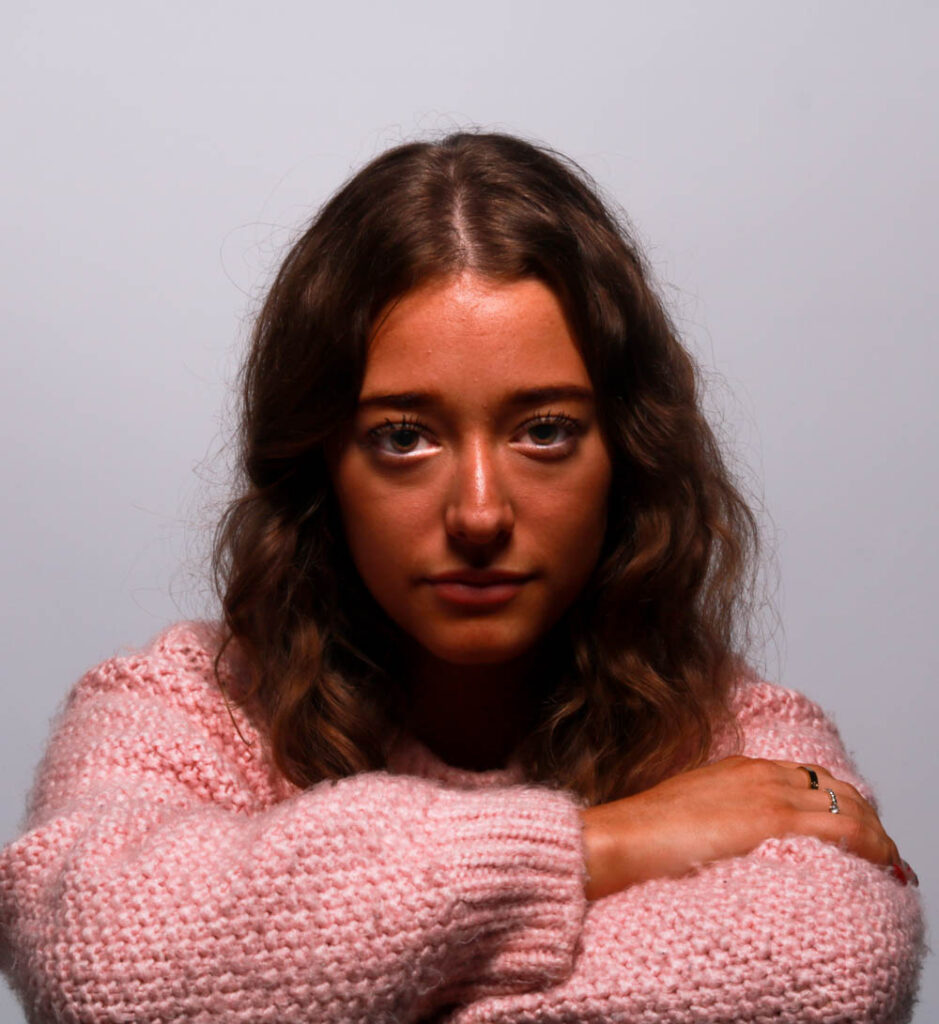
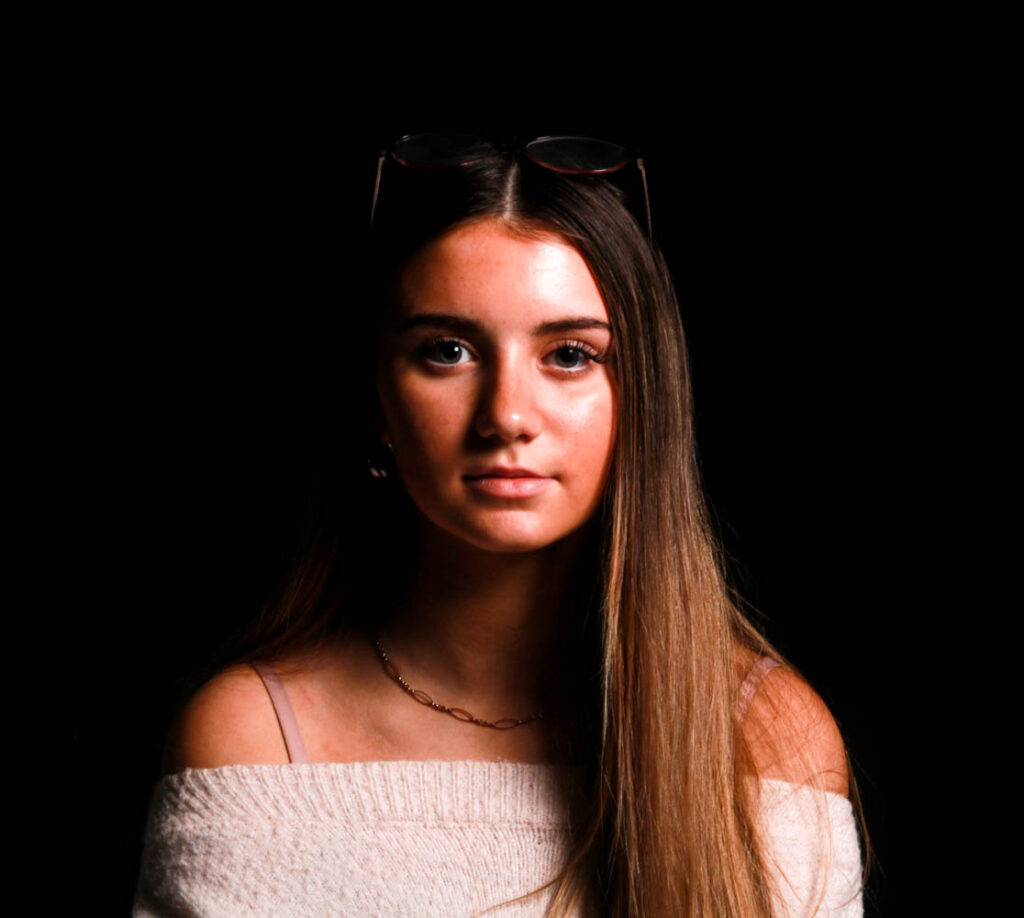
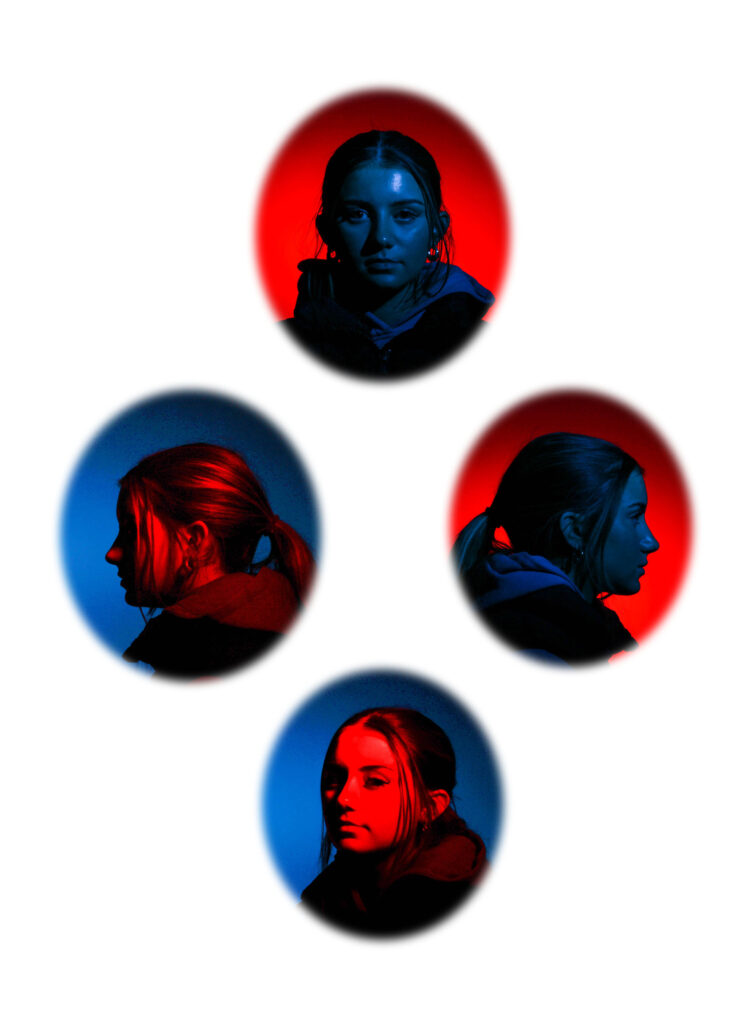
I chose to edit these 4 photos, so I would be able to create a Diamond Cameo with them, as they include all the positions/ angles needed for it.
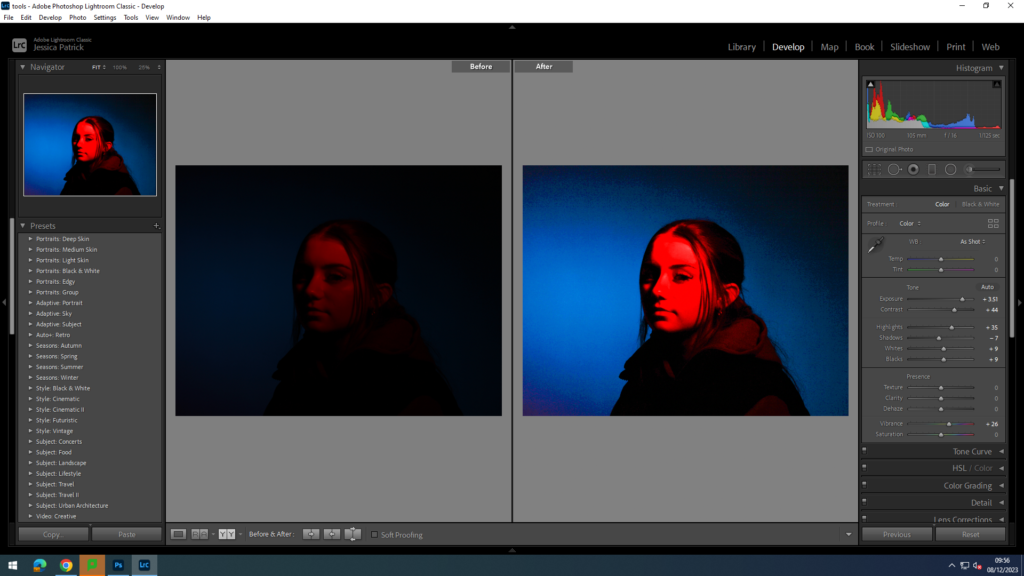
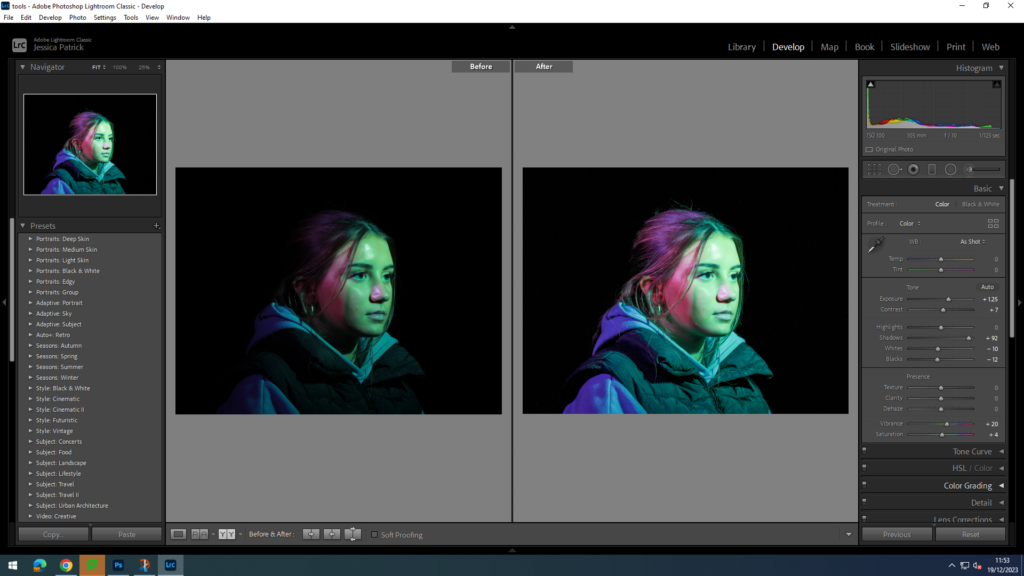
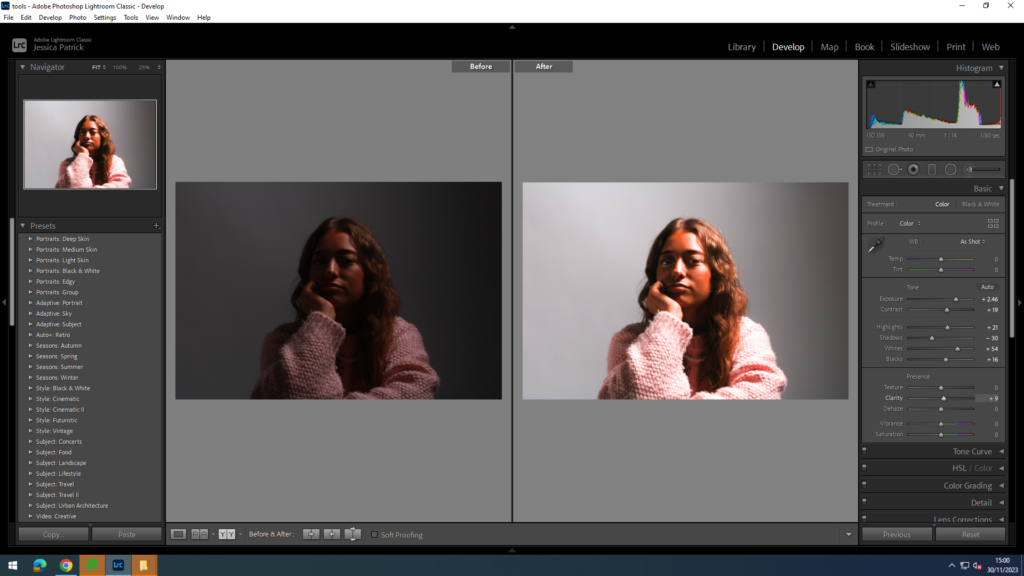
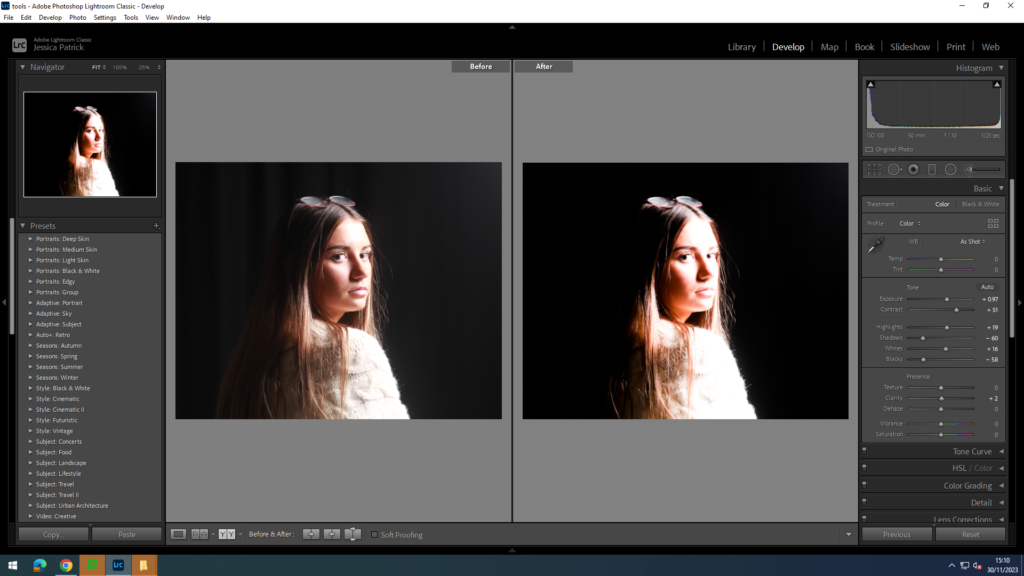
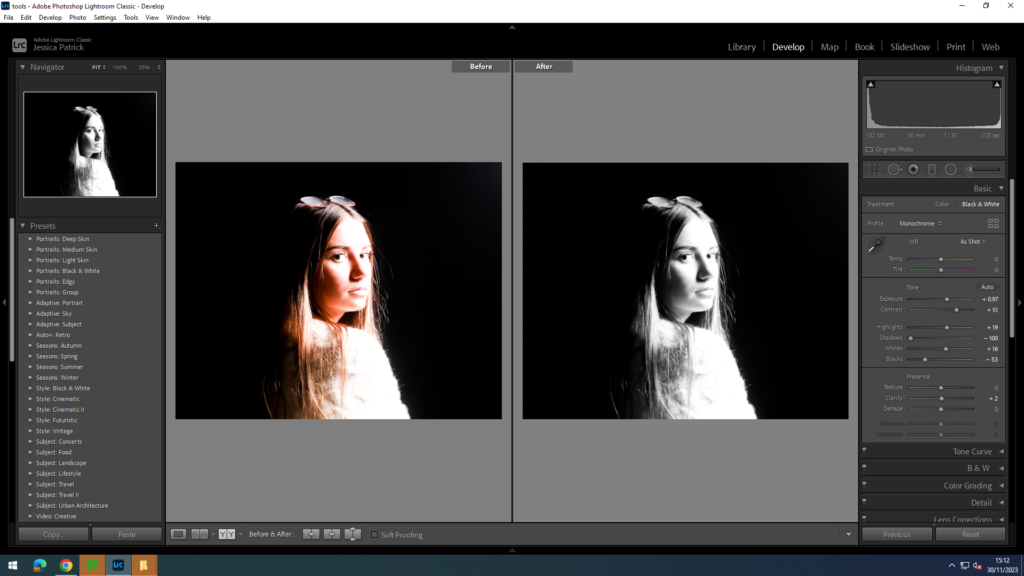
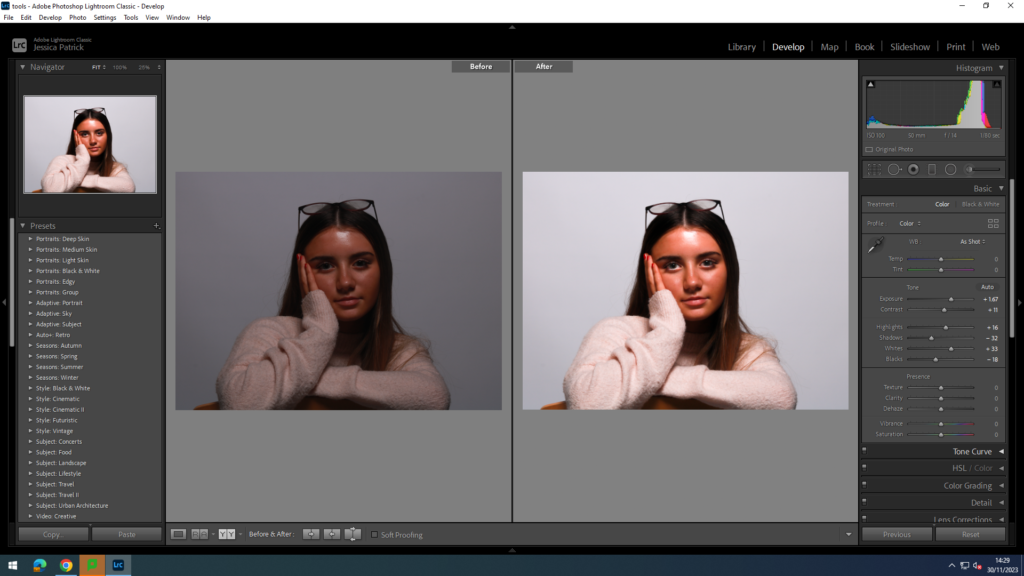
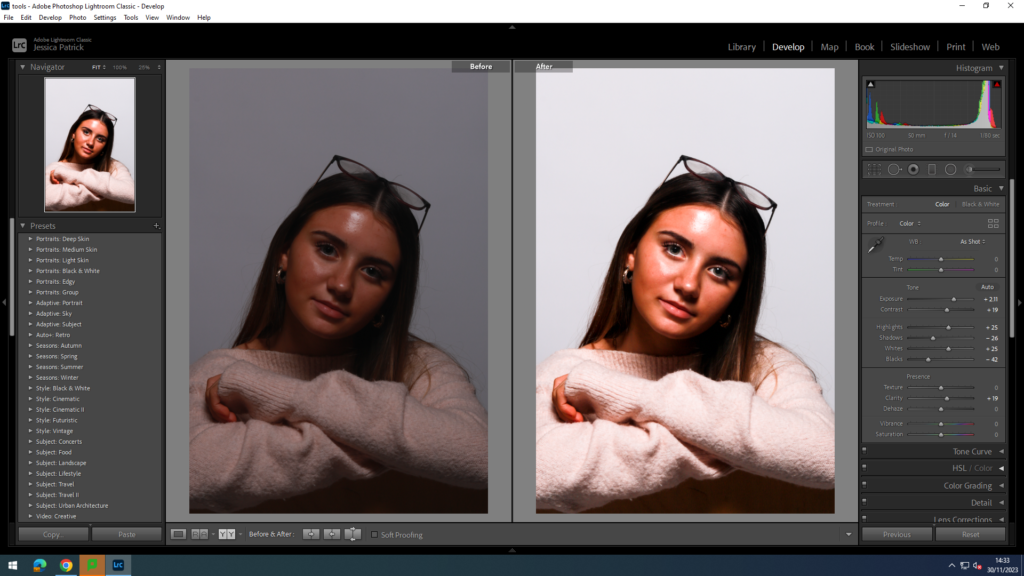
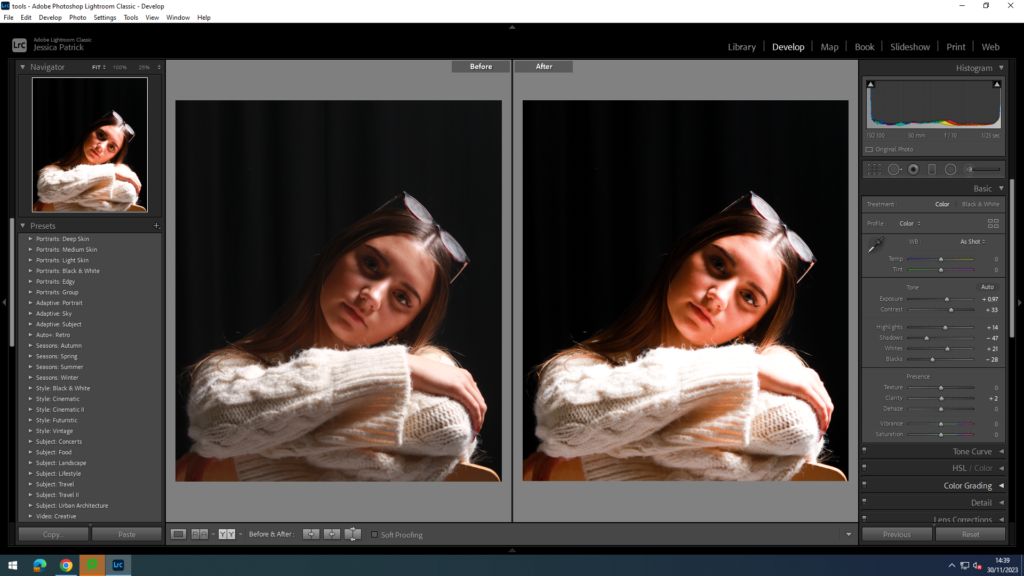
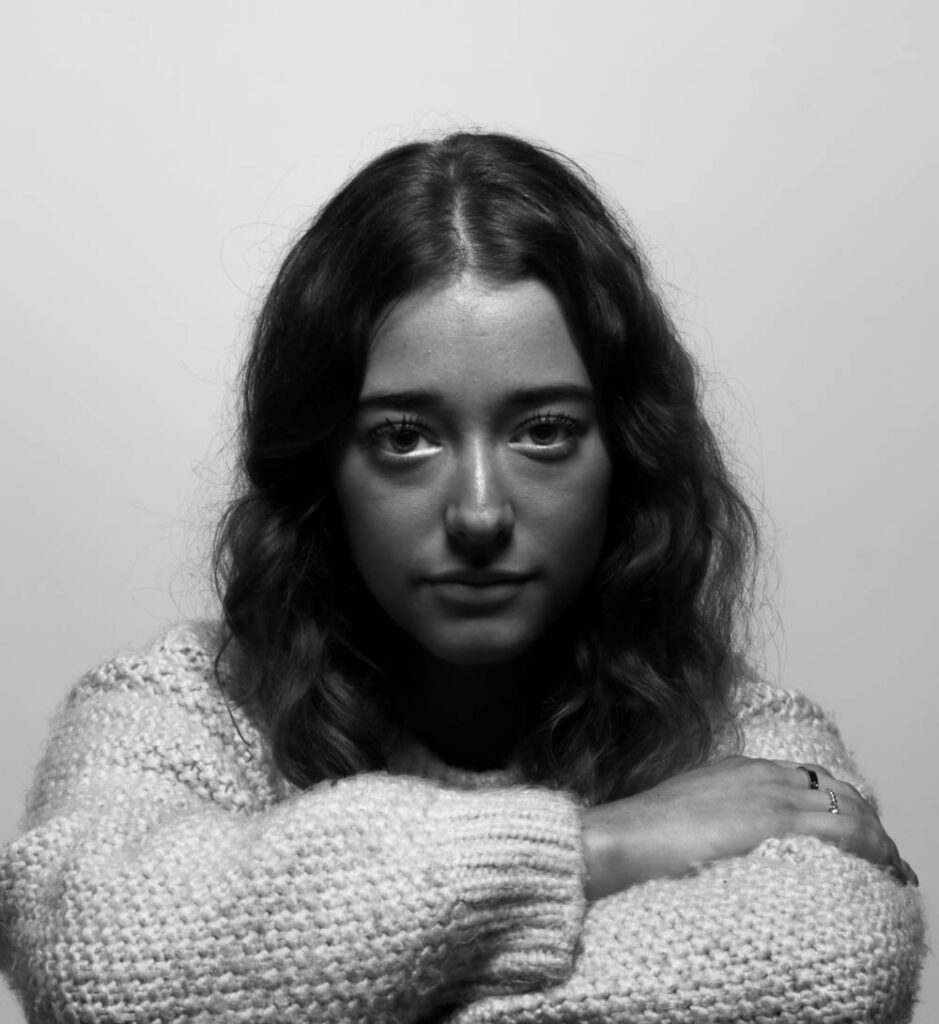
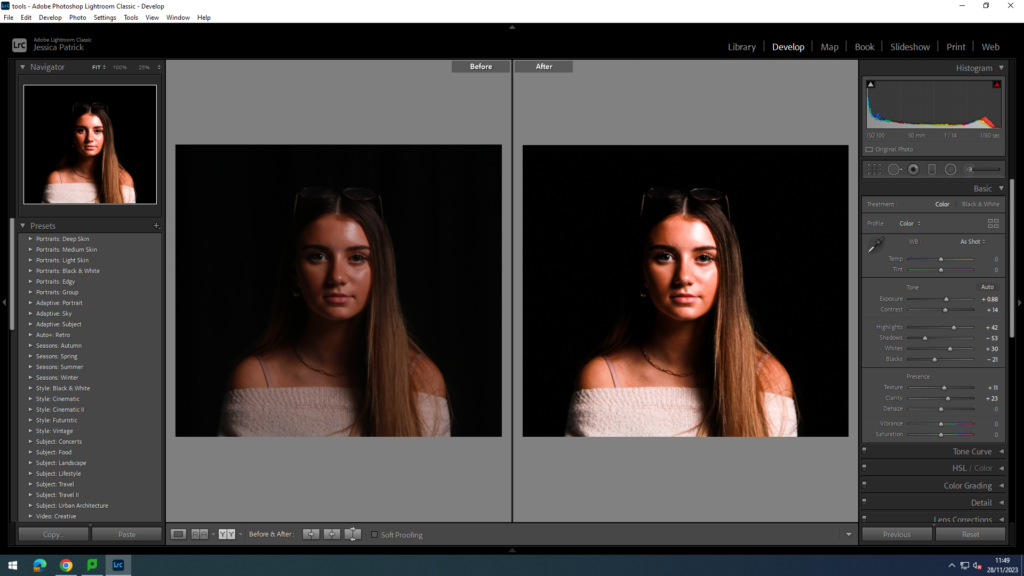
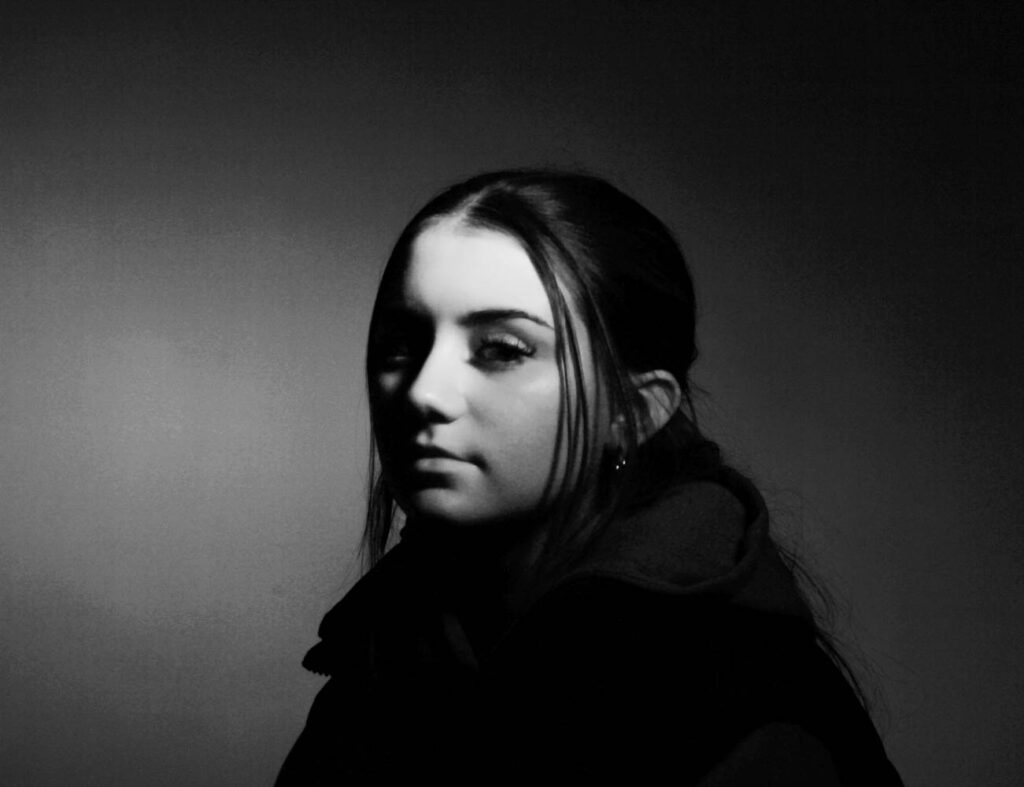
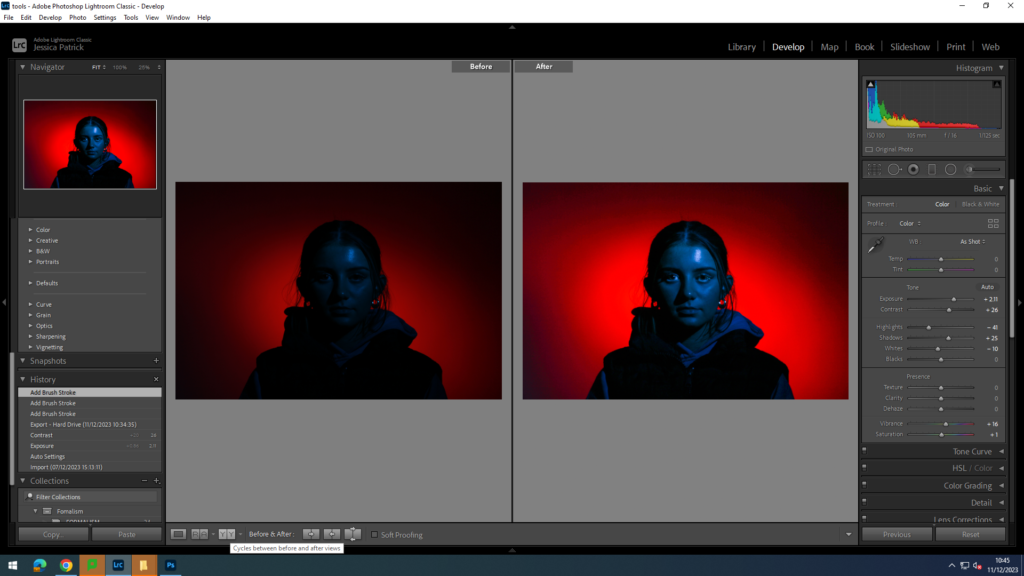
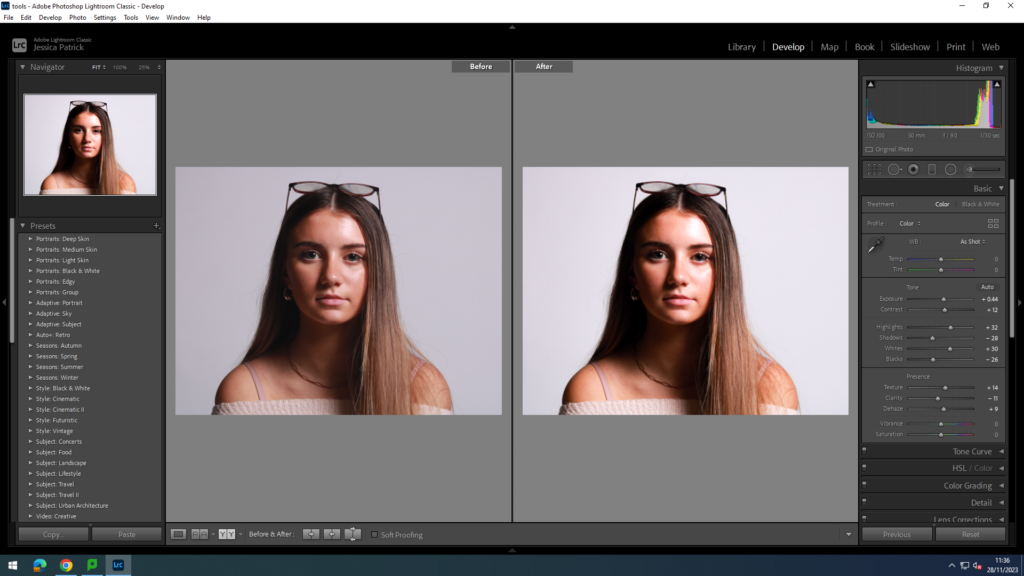
I edited this first photograph to increase the exposure, so the image would be less dark. I did this by increasing the exposure, contrast, highlights, whites, blacks and vibrancy, while decreasing the shadows.
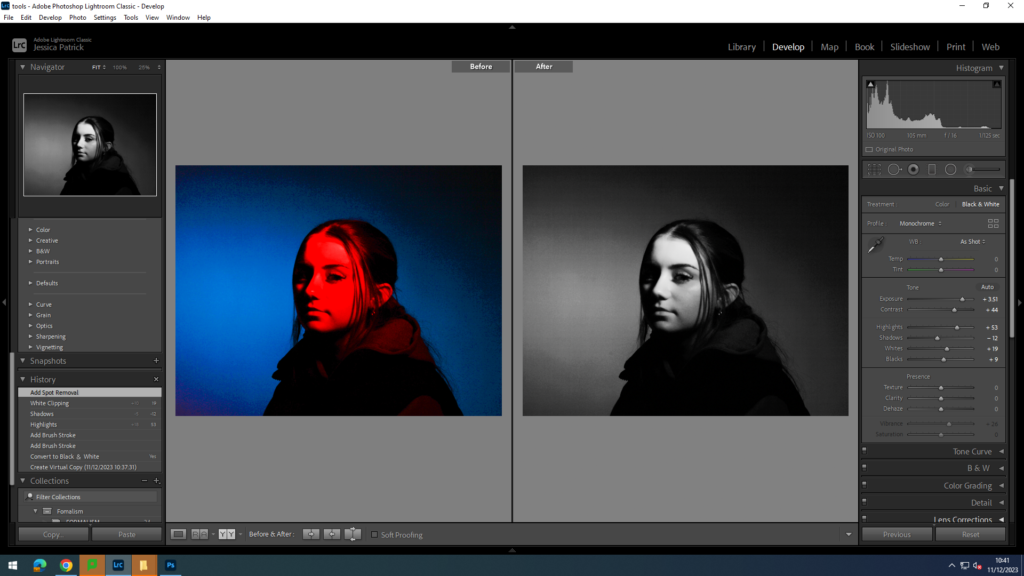
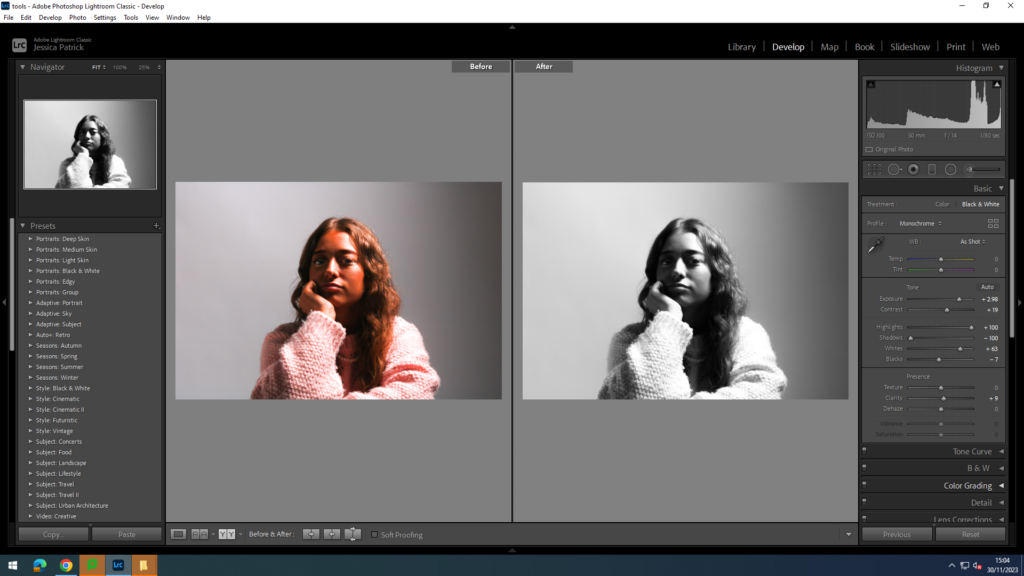
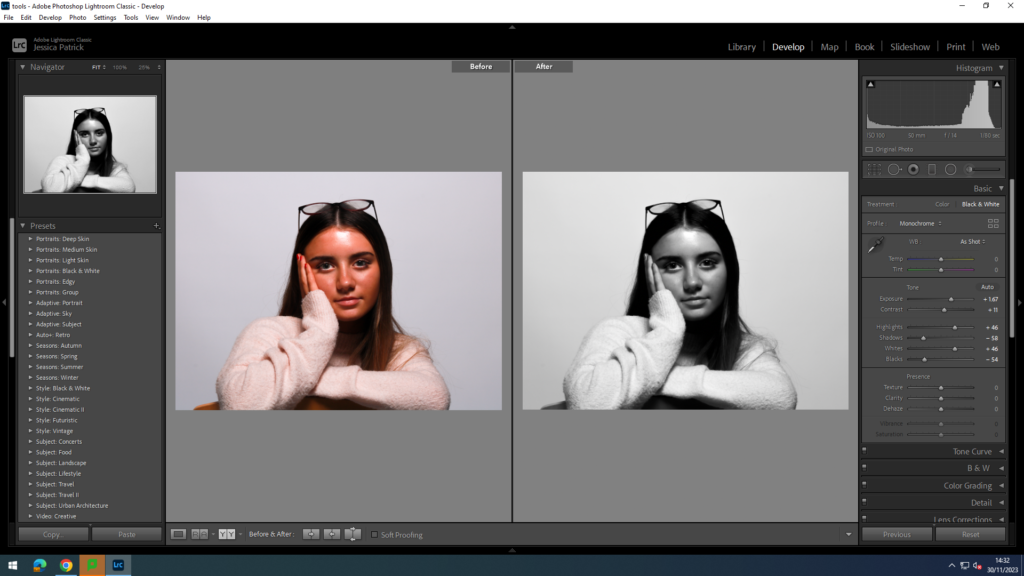
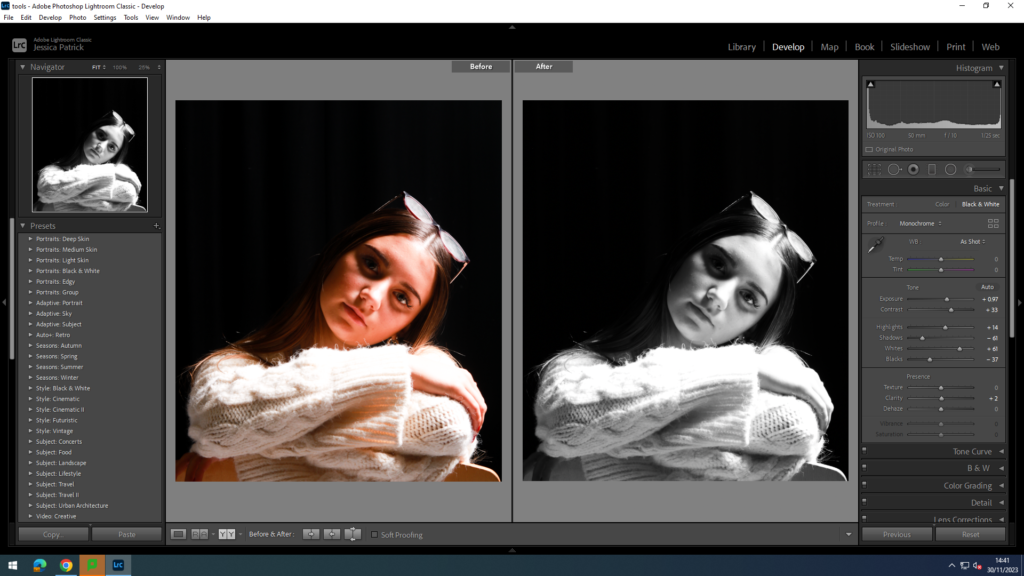
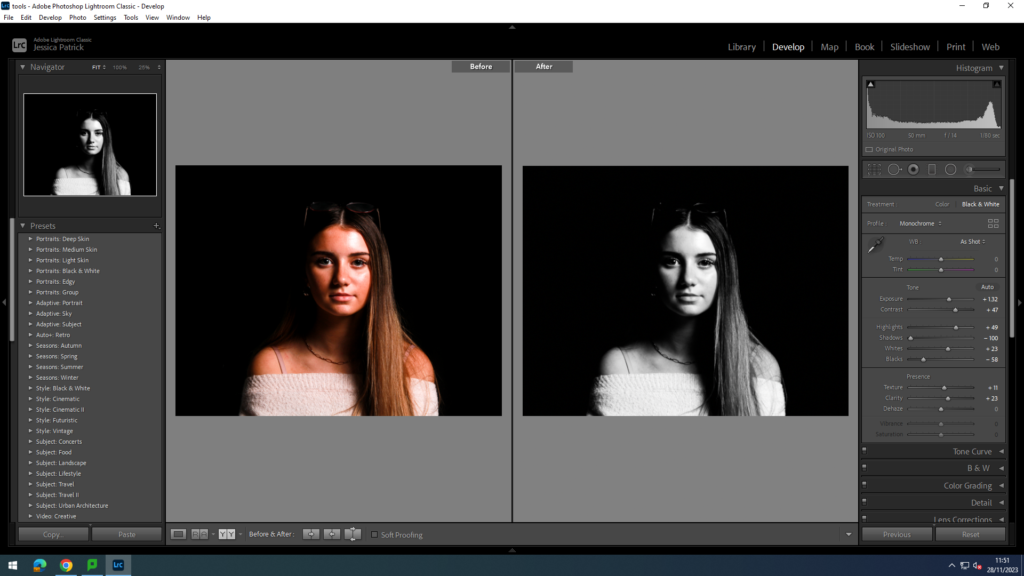
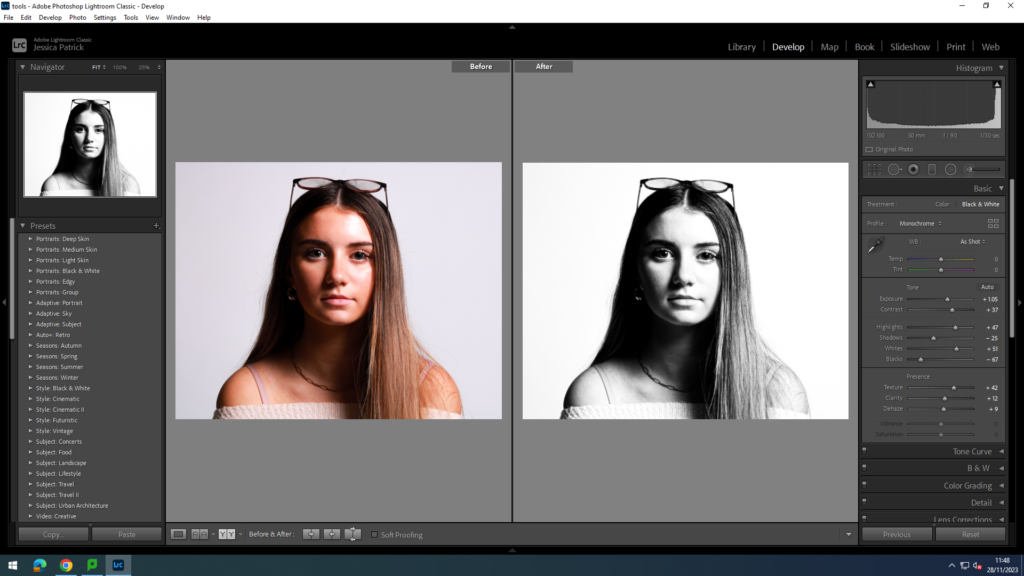
I also created a black and white version of the edited photograph, by creating a virtual copy of the edited photo. I also used a spot removal tool to get rid of any blemishes.
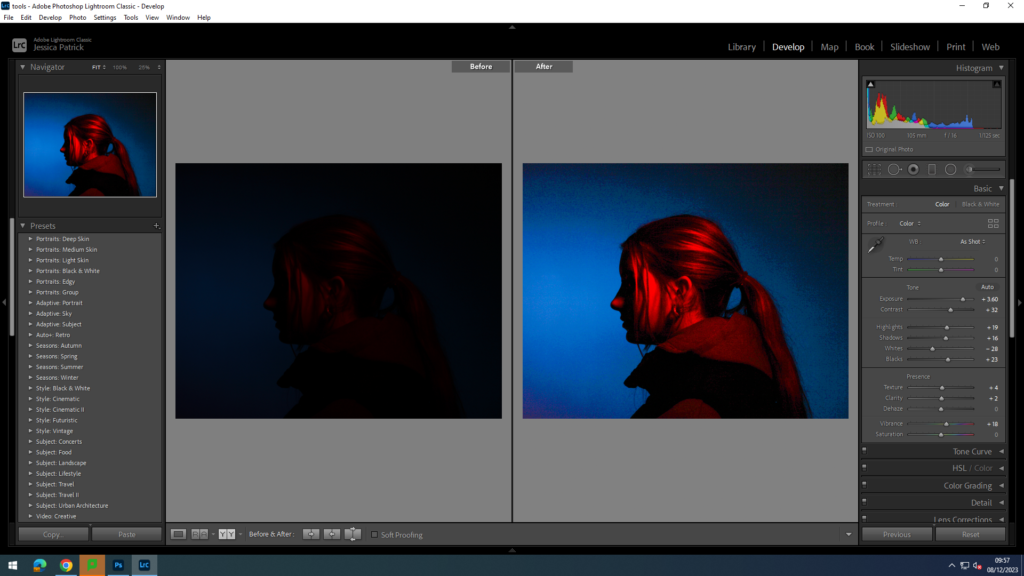
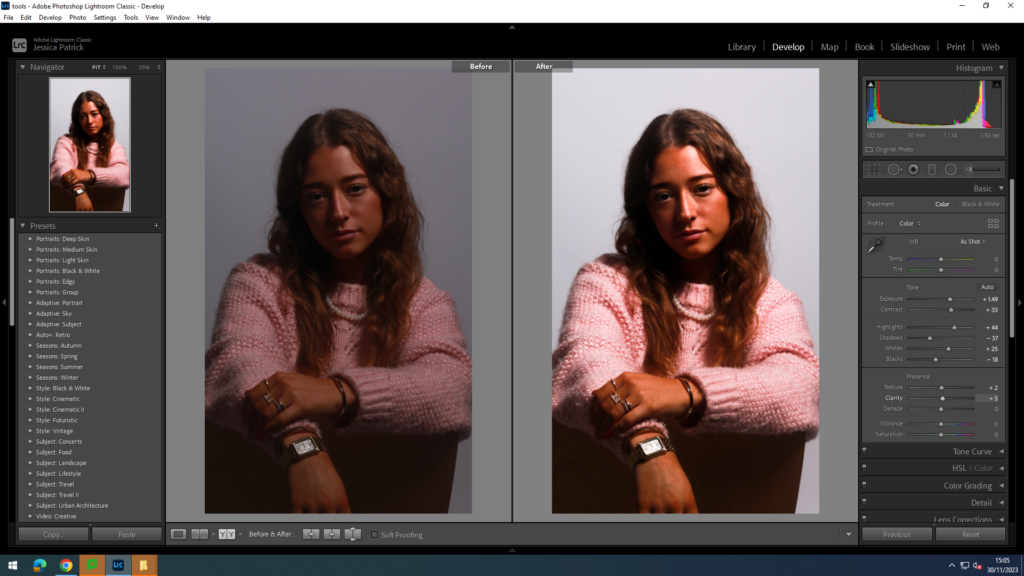
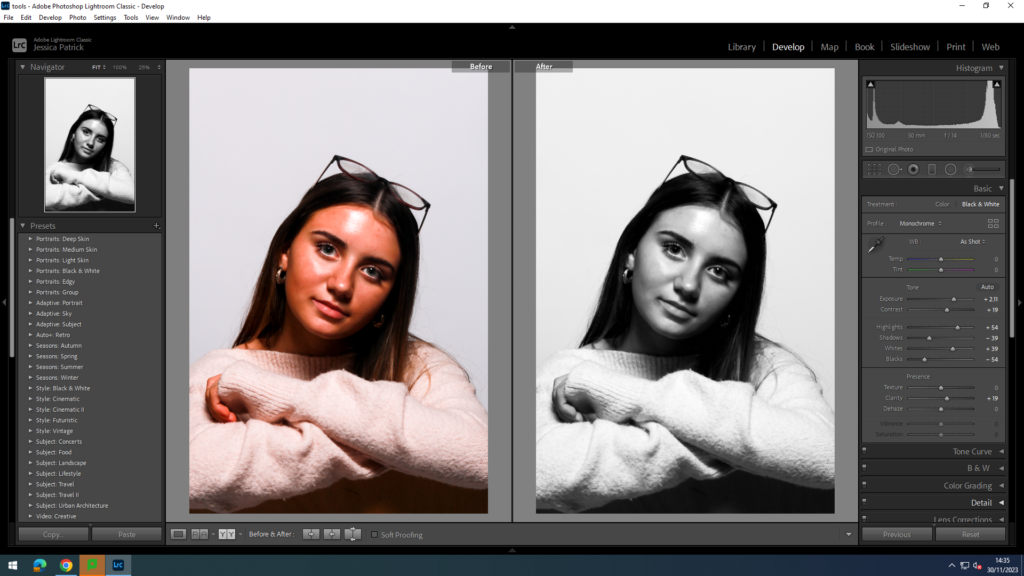
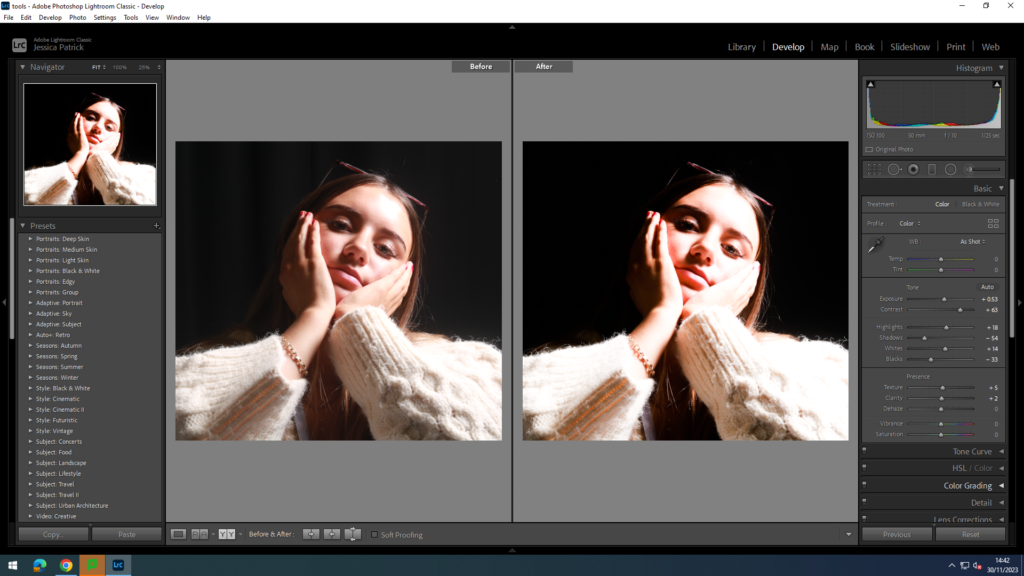
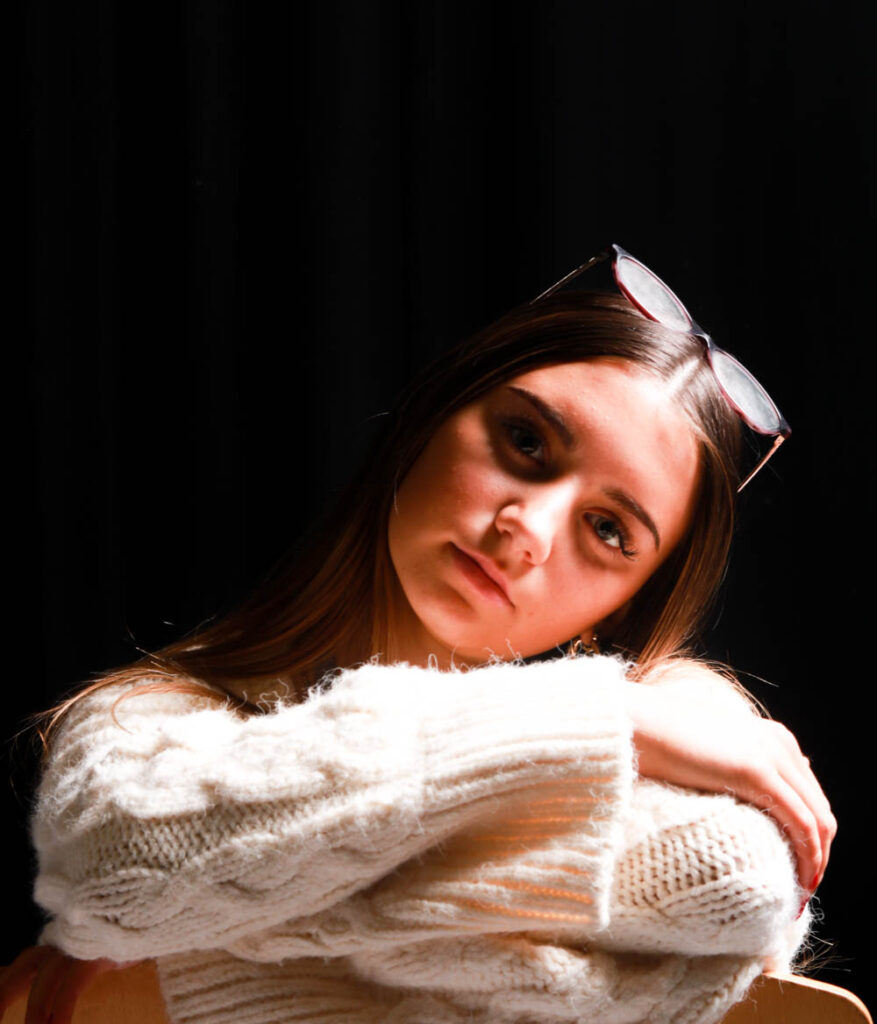
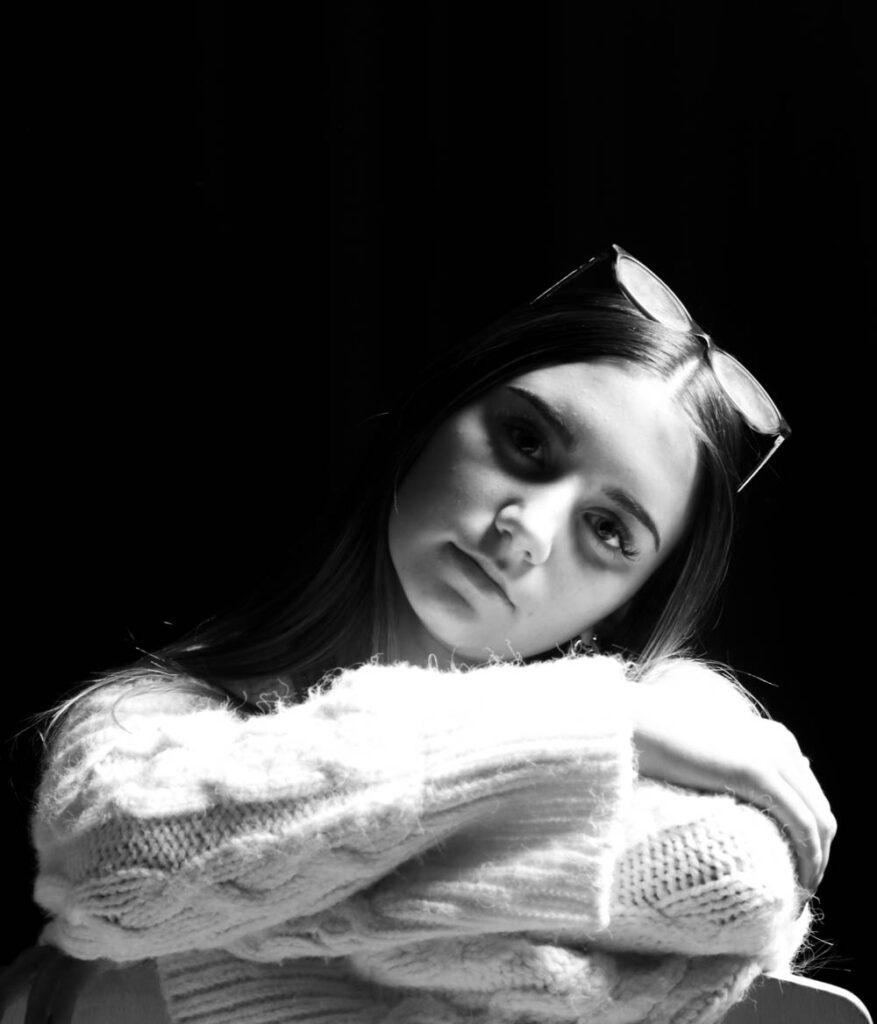
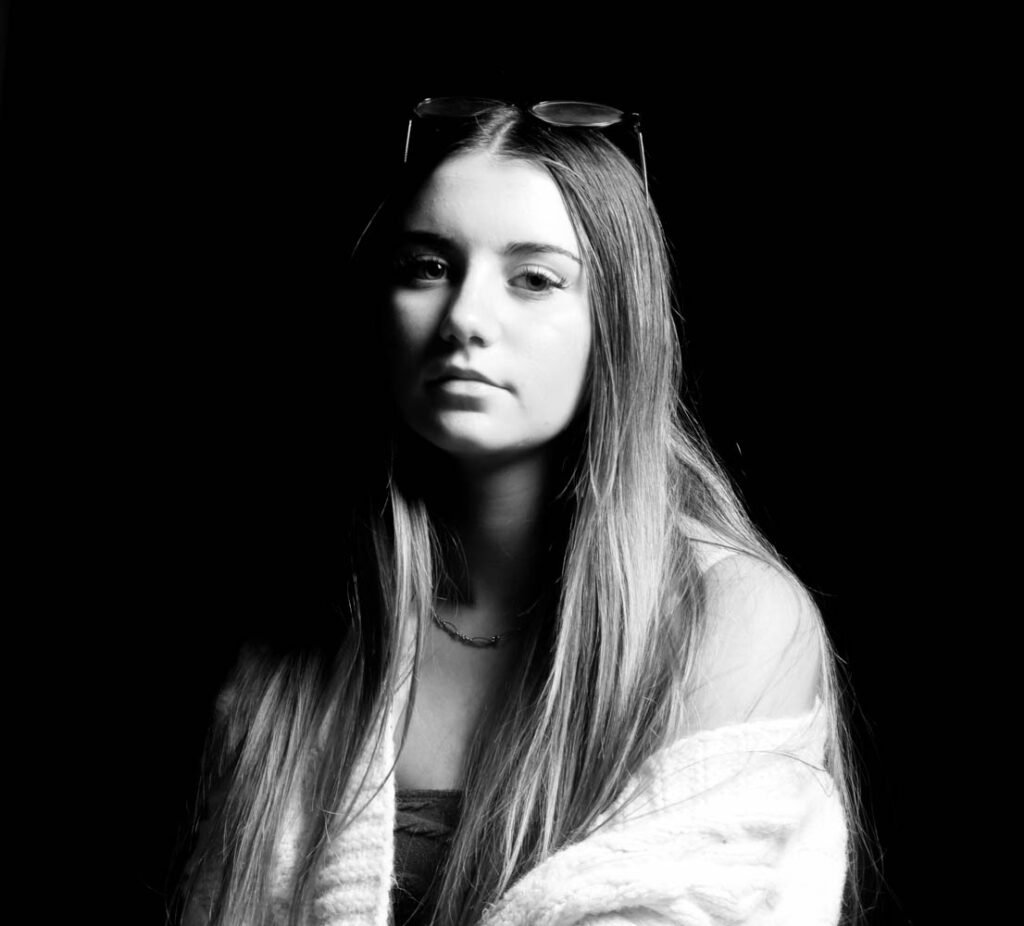
I edited this photo to also increase the exposure, so the image would be lighter. I did this by increasing the exposure, contrast, highlights, shadows, texture, clarity and vibrancy, while decreasing the blacks and whites.
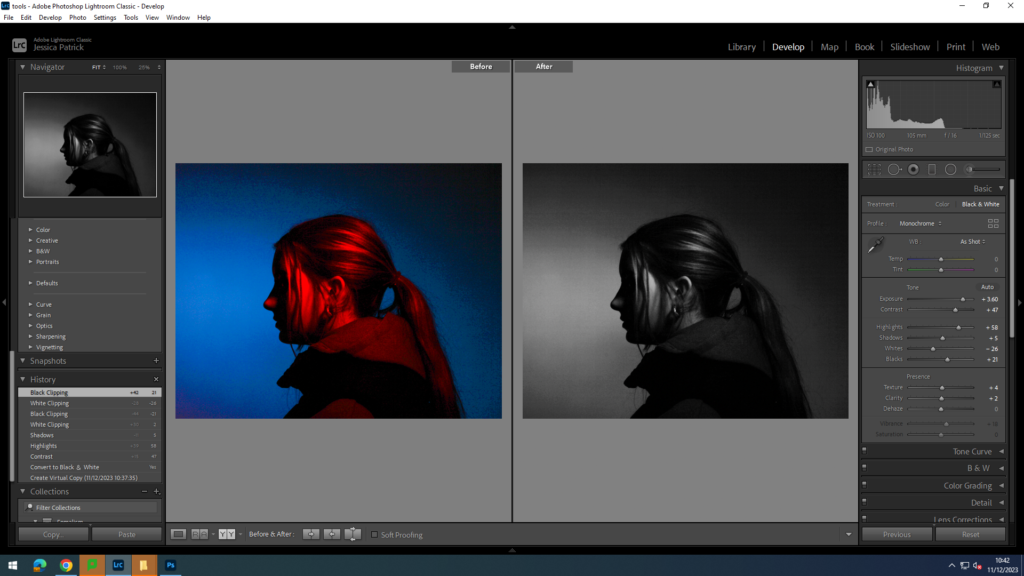
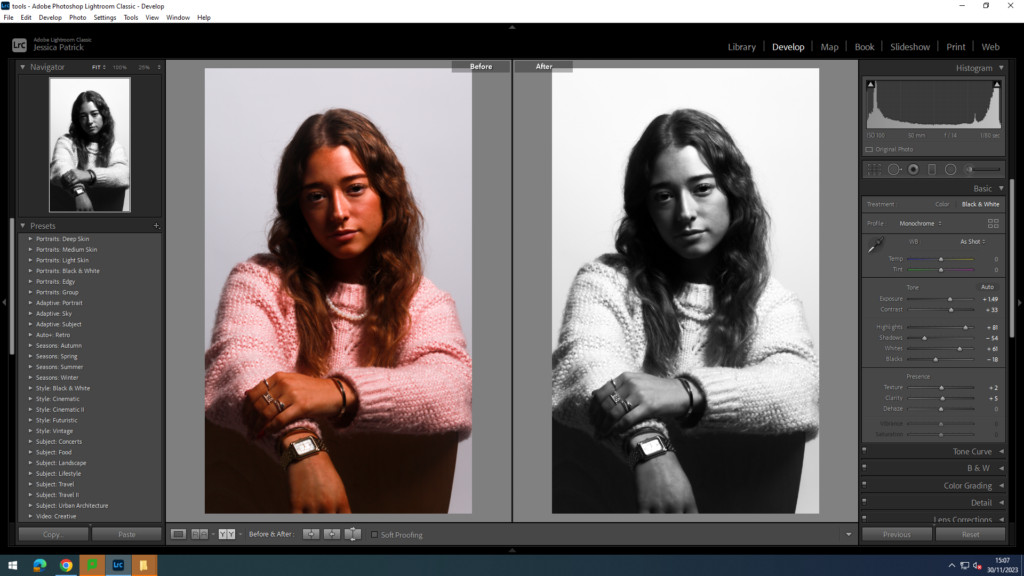
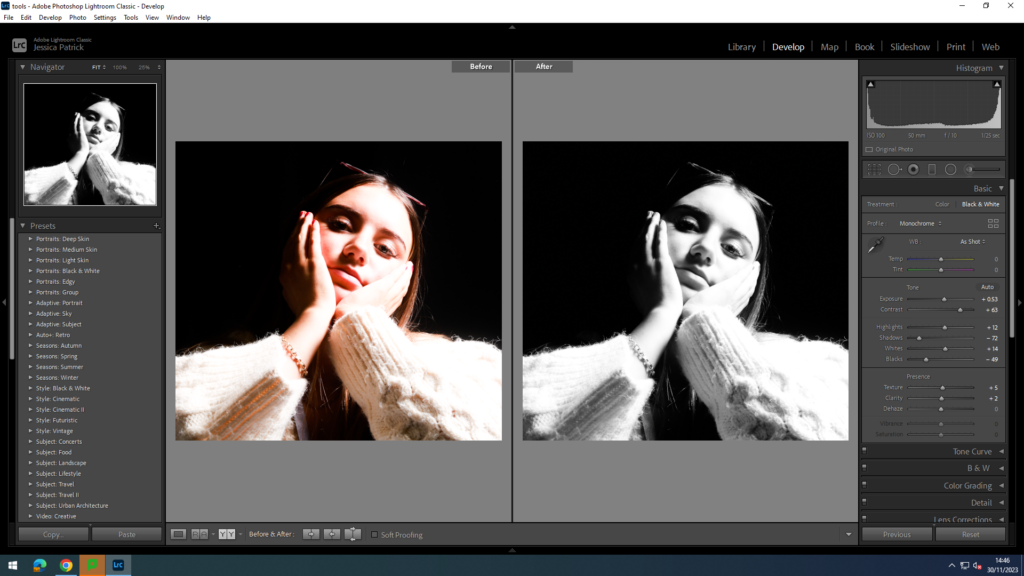
I also made a virtual copy of the edited photograph and made a black and white version.
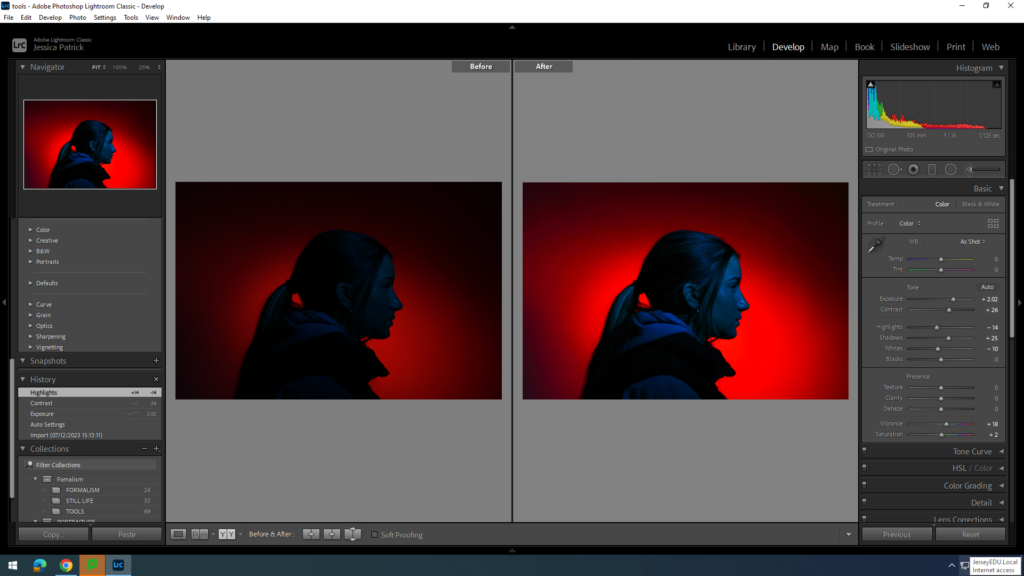
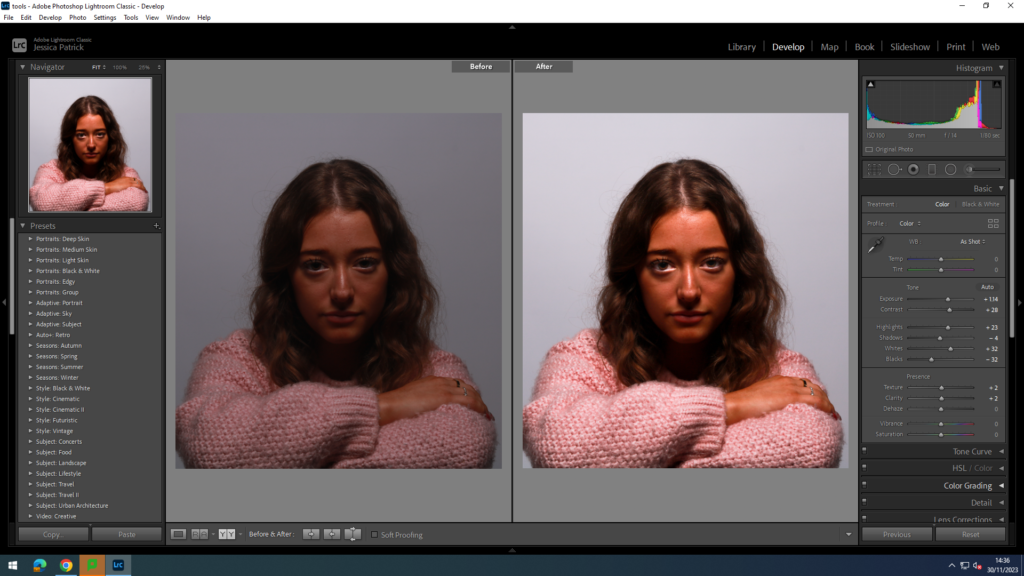
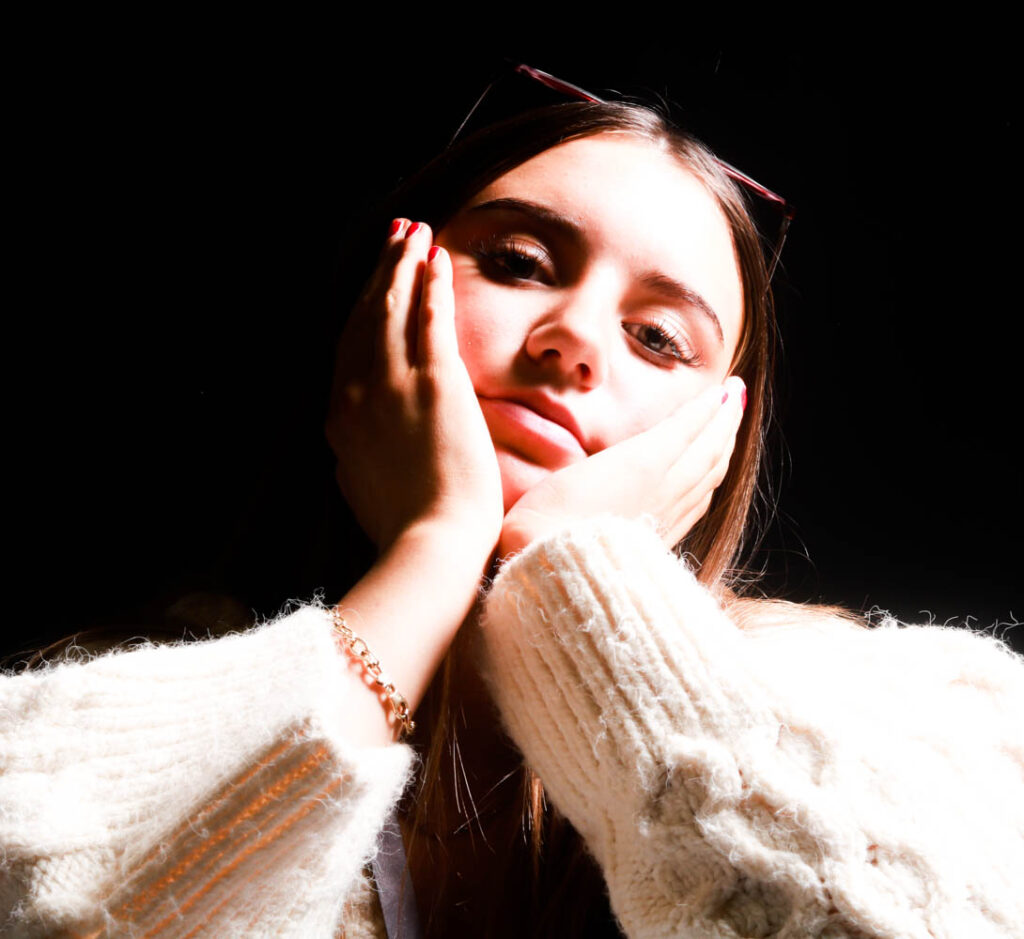
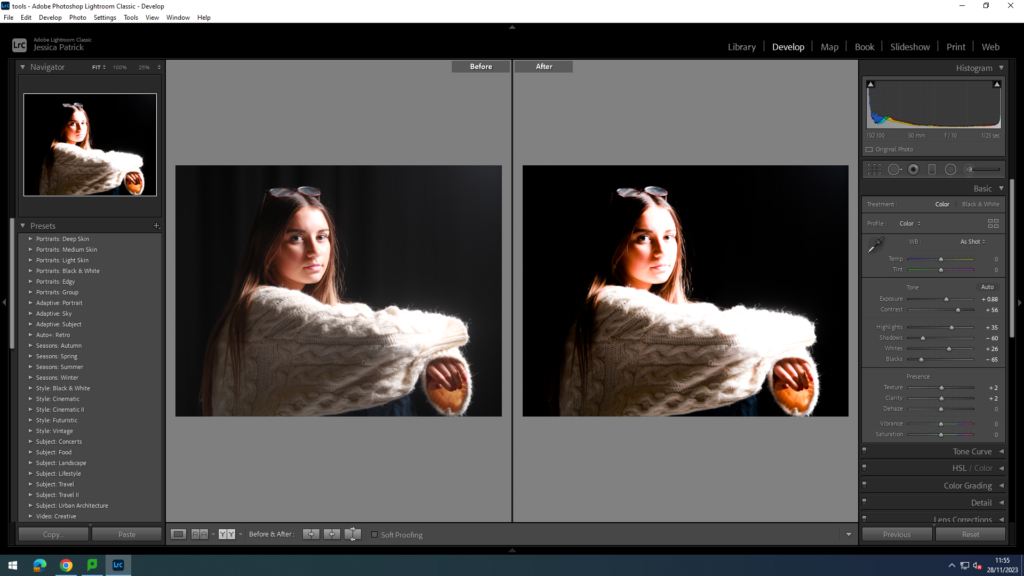
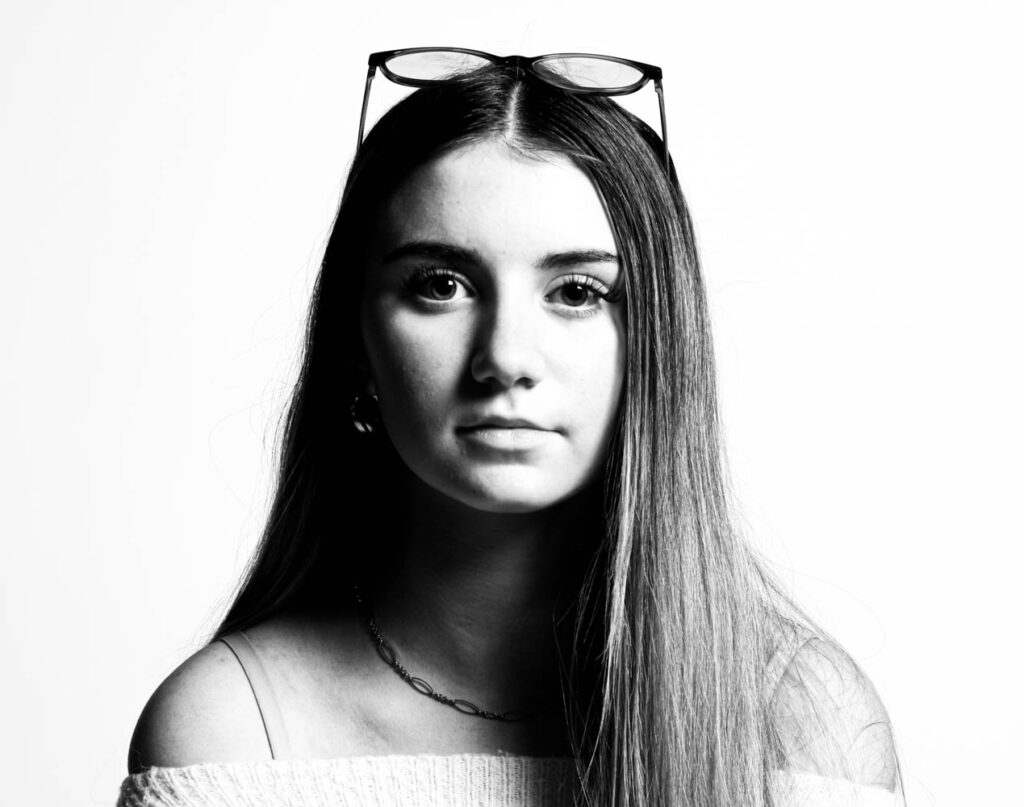
I edited this photo to make it brighter, so the model is more visible. I did this by increasing the exposure, contrast, shadows, vibrancy and saturation, while decreasing the whites and highlights.
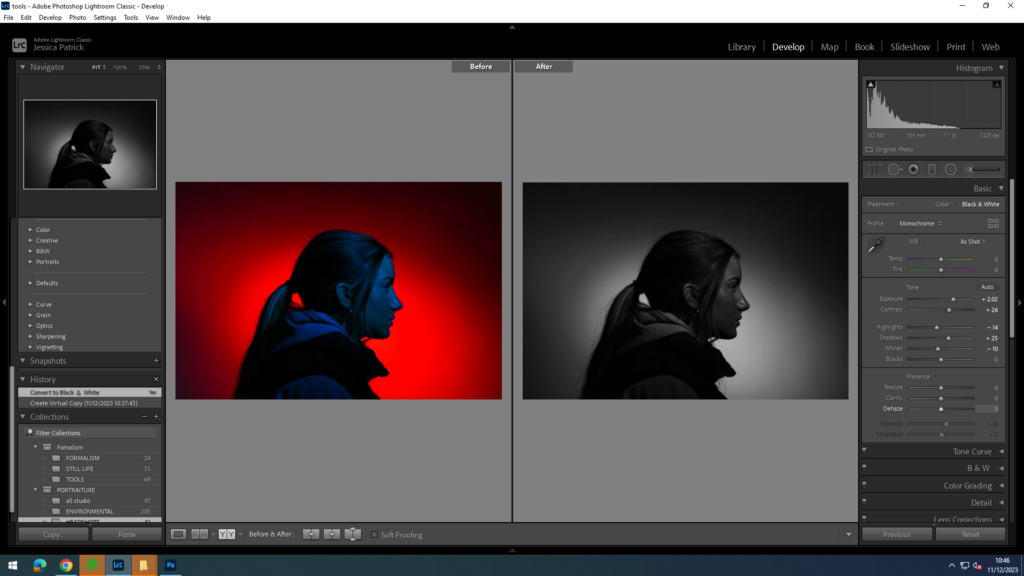
I also made a virtual copy of the edited photograph, so I could create a black and white version.
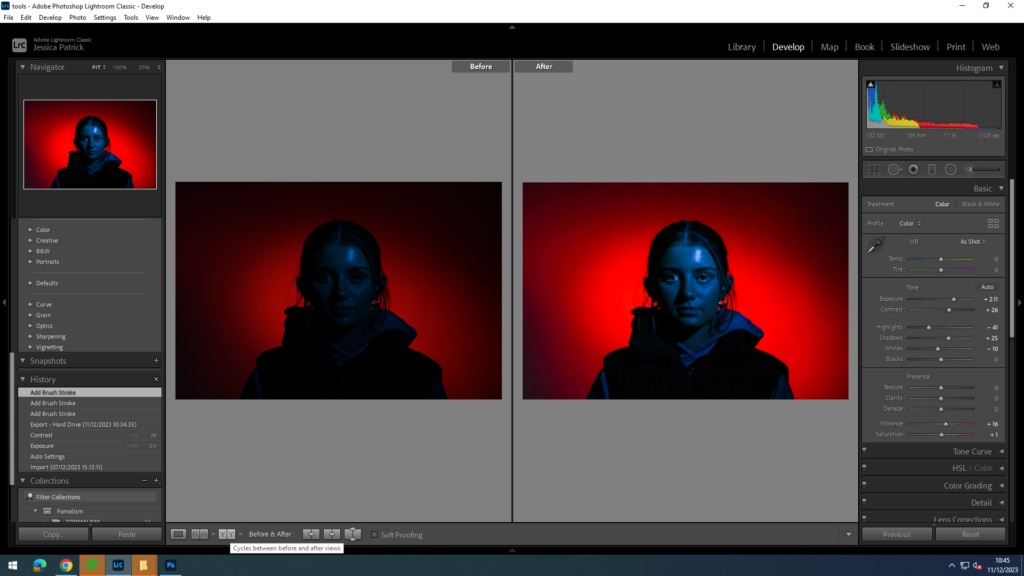
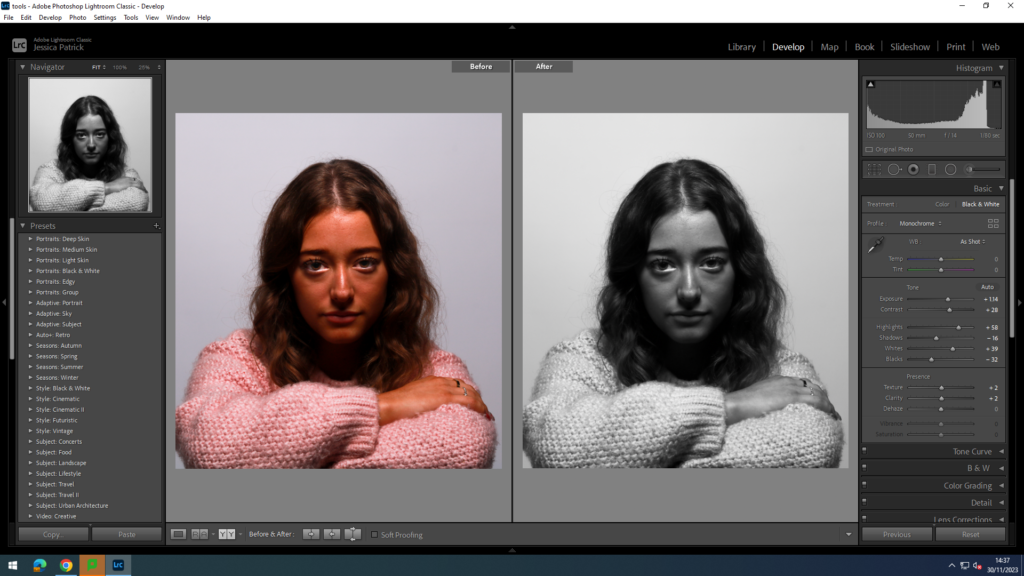
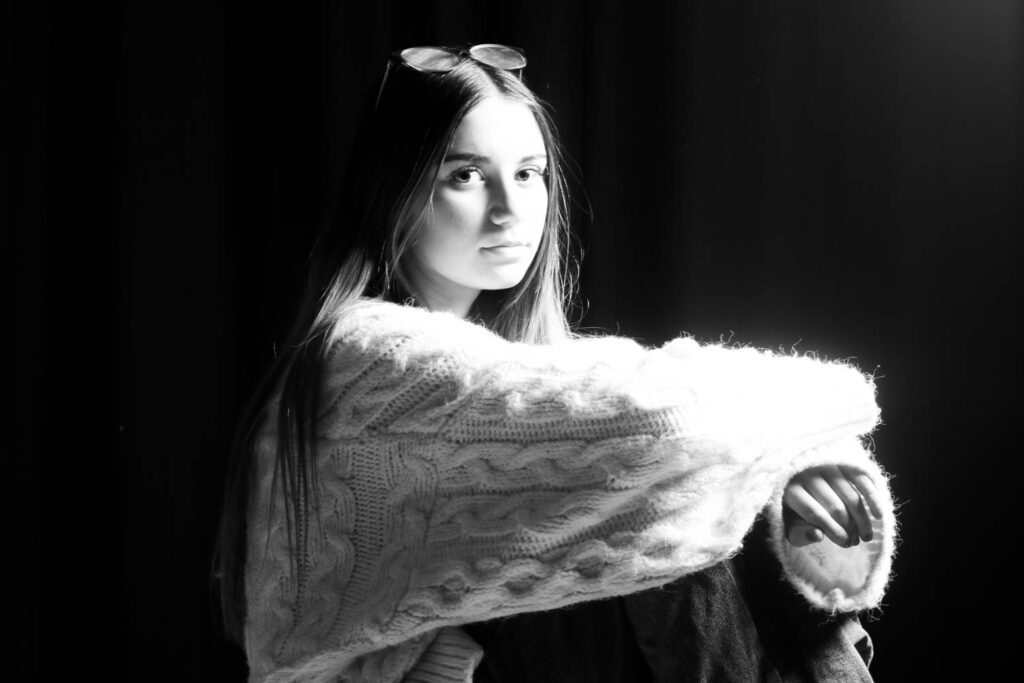
I edited this photo to increase the exposure and to make it brighter. I did this by increasing the exposure, contrast, shadows, vibrancy and saturation, while decreasing the highlights and whites. I also used an eye brightening tool, so the eyes stand out more.
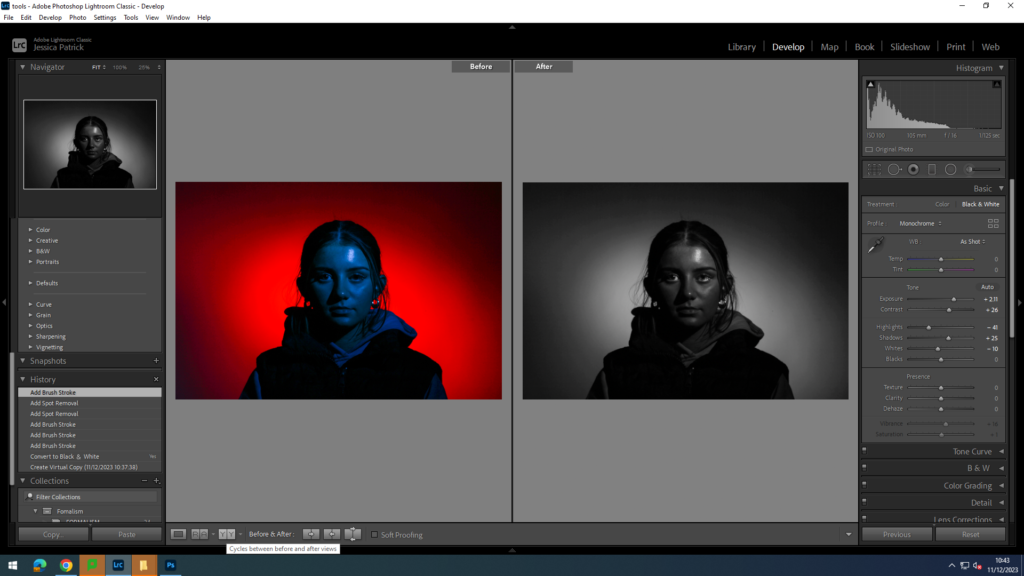
I also made a black and white version of the edited photograph by making a virtual copy. I also used a spot correction tool to get rid of any blemishes.

Final 4 Coloured Images for Diamond Cameo
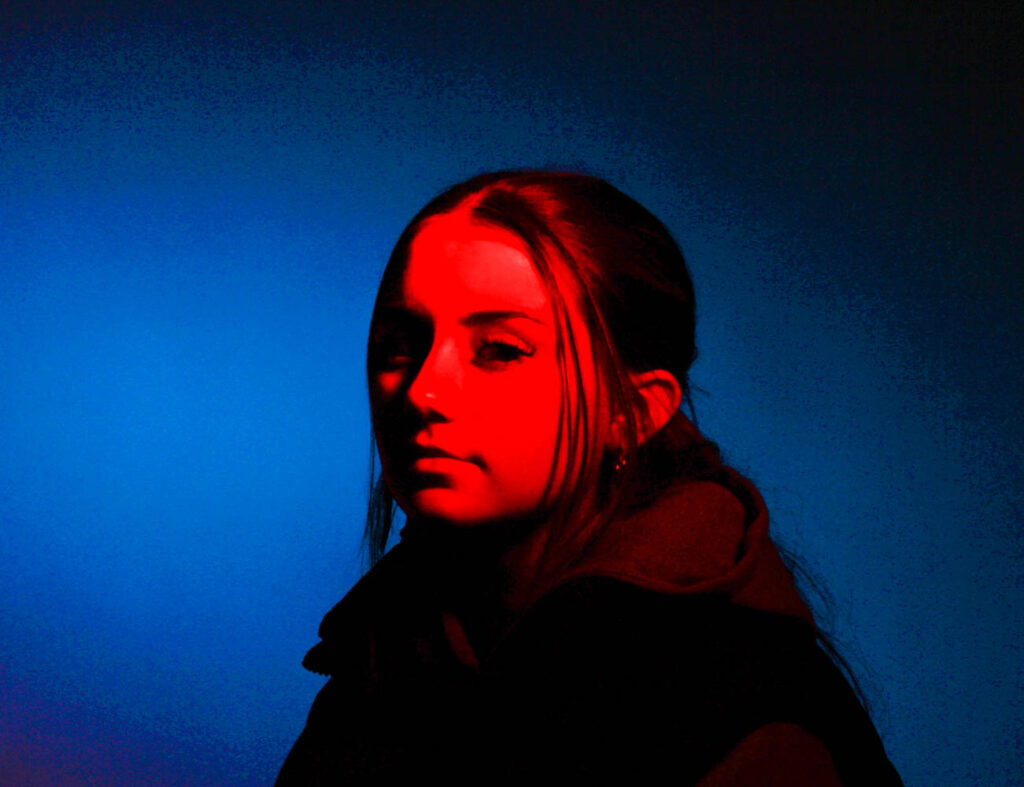
Final 4 B&W Images for Diamond Cameo
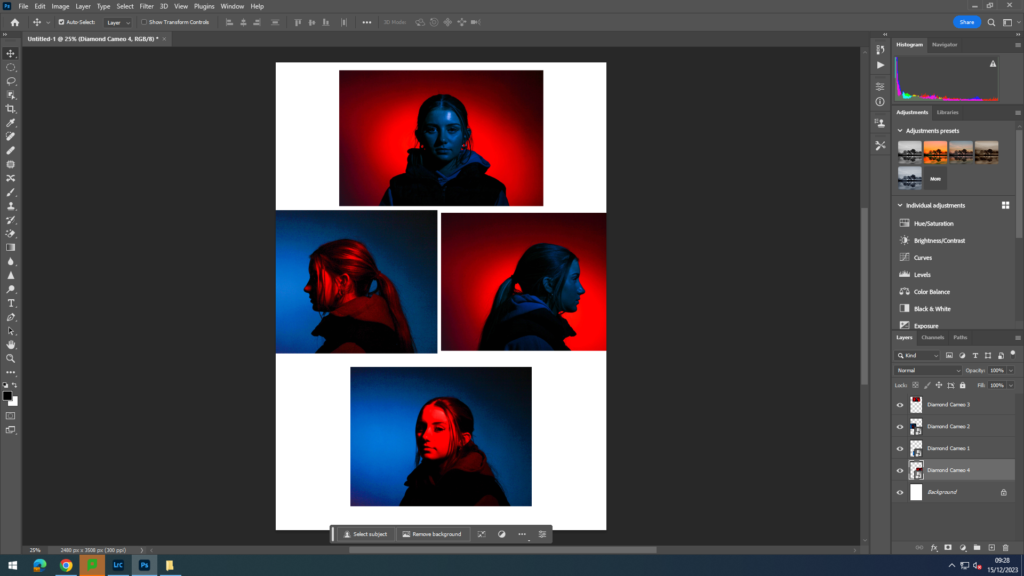
Photoshop- Diamond Cameo
This is my first attempt of creating a diamond cameo on photoshop. Firstly, I imported my four photos which I wanted to use for my diamond cameo onto a background on photoshop. I then selected them all together to resize them to fit the background perfectly. Then, I positioned my four layers where I want them.
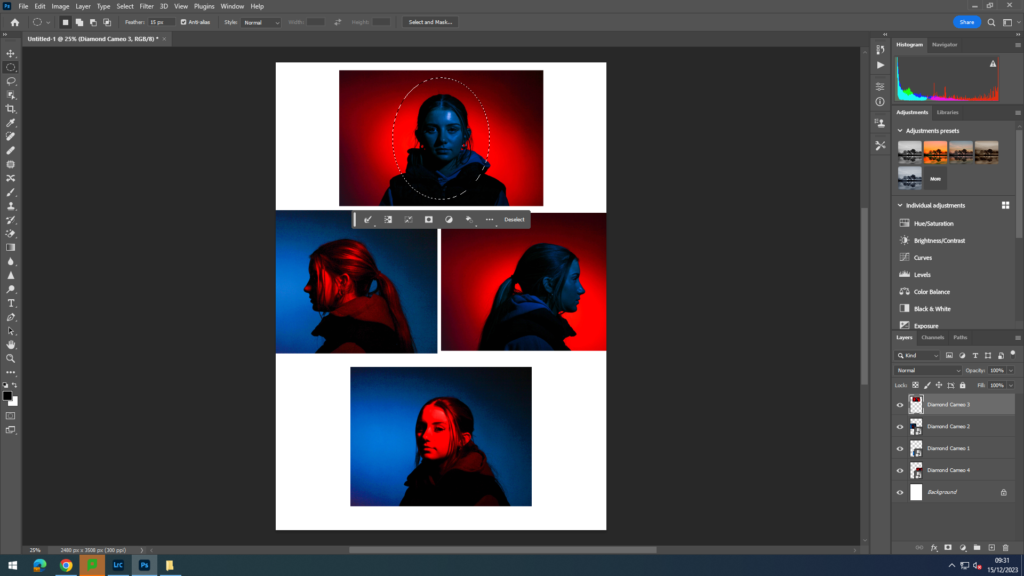
Then I select a layer and select the elliptical marque tool and select the feather at 15, so the edges of my ovals fade in and aren’t sharp ovals. Then, I cut out my desired size and shape oval on the selected layer and right click in the oval click layer via copy to create a copy of the oval cut out.
Next, I delete the selected layer without the cut out oval and then repeat this for all the four layers.
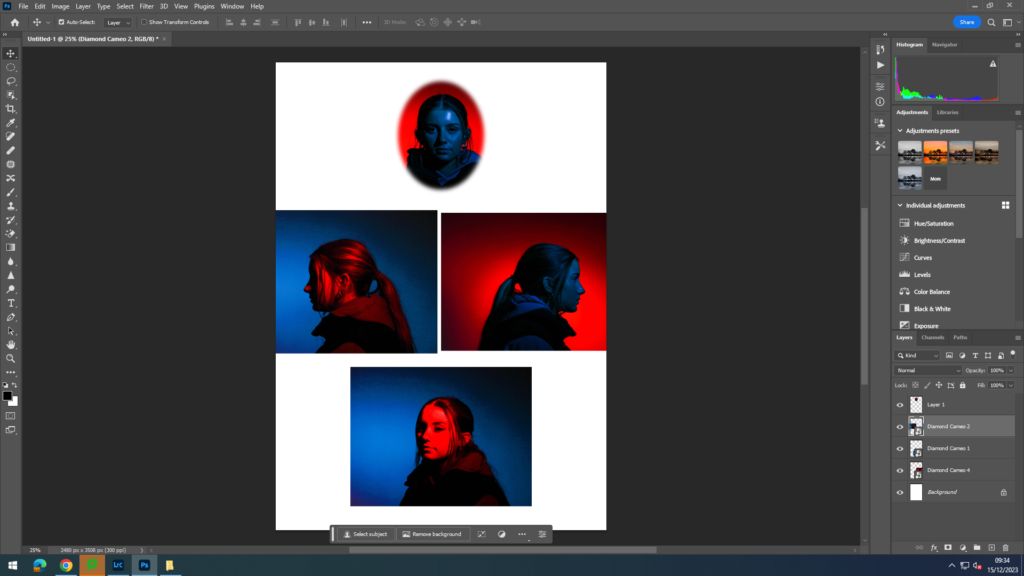
Next, I experimented with my diamond cameo, by changing the background to black by using the gradient tool to fill in the background with black paint. I also experimented with giving my diamond cameo an older look, so I could try and replicate a Henry Mullins diamond cameo.
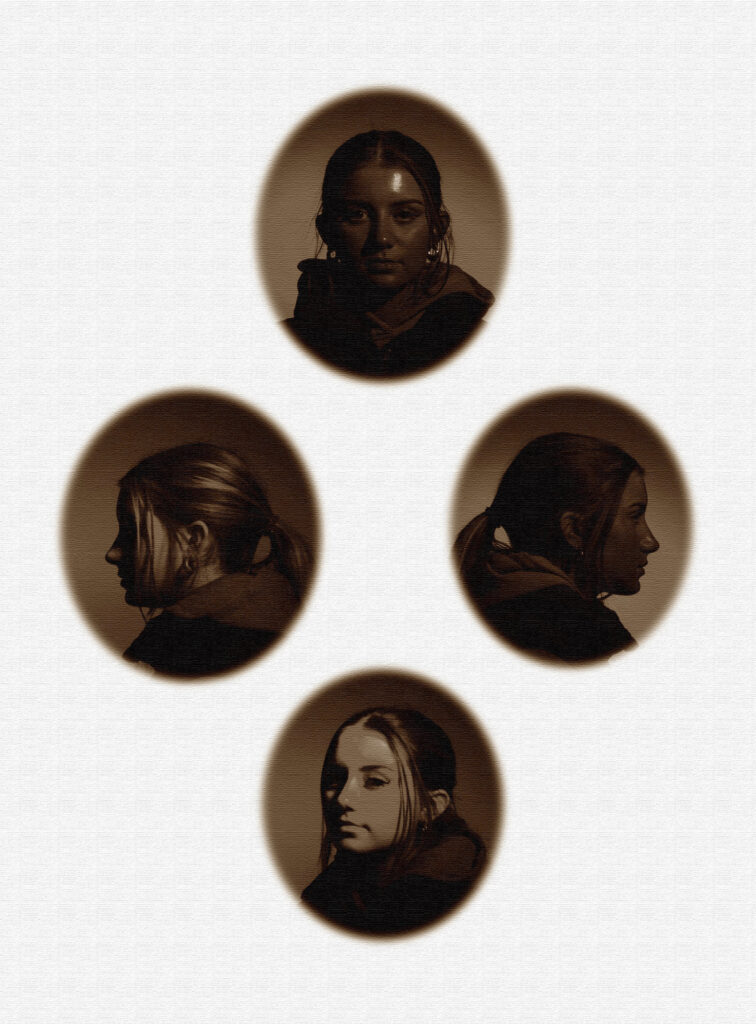
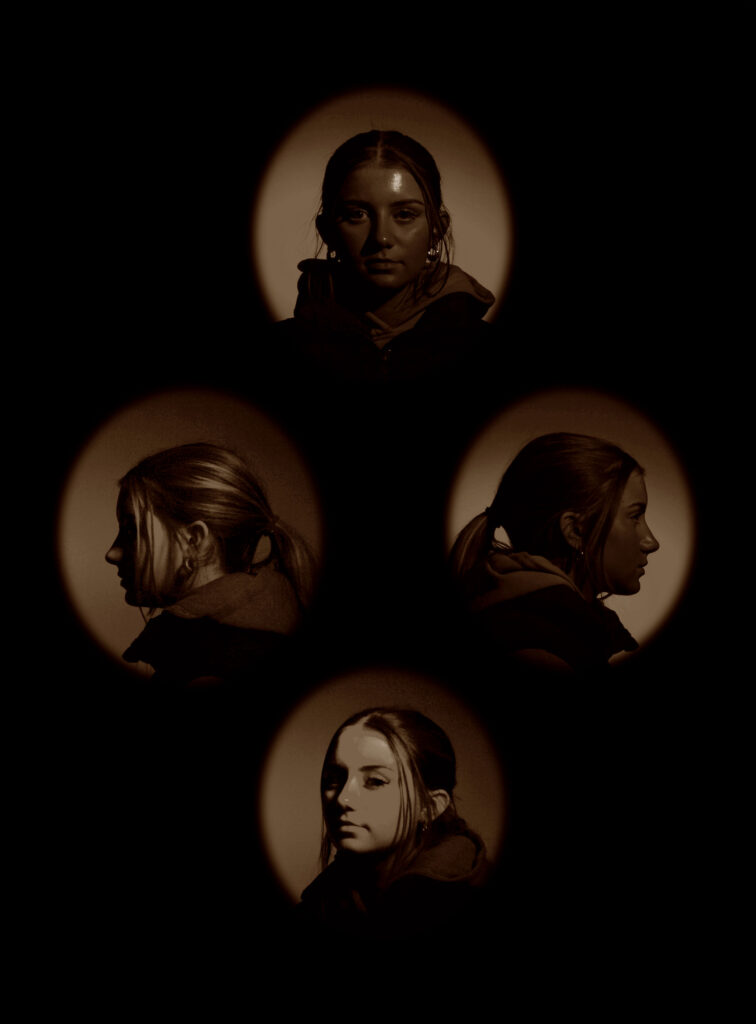
I made an older looking diamond cameo like Henry Mullins by using the filters on the top right of my screen and changing how harsh or light I want them.
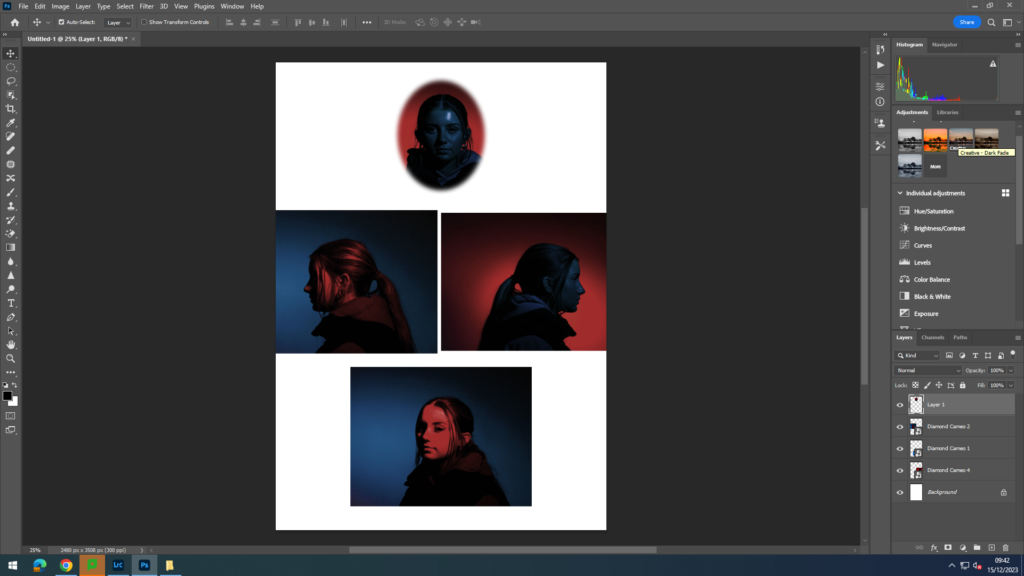
Double Multi-Exposure

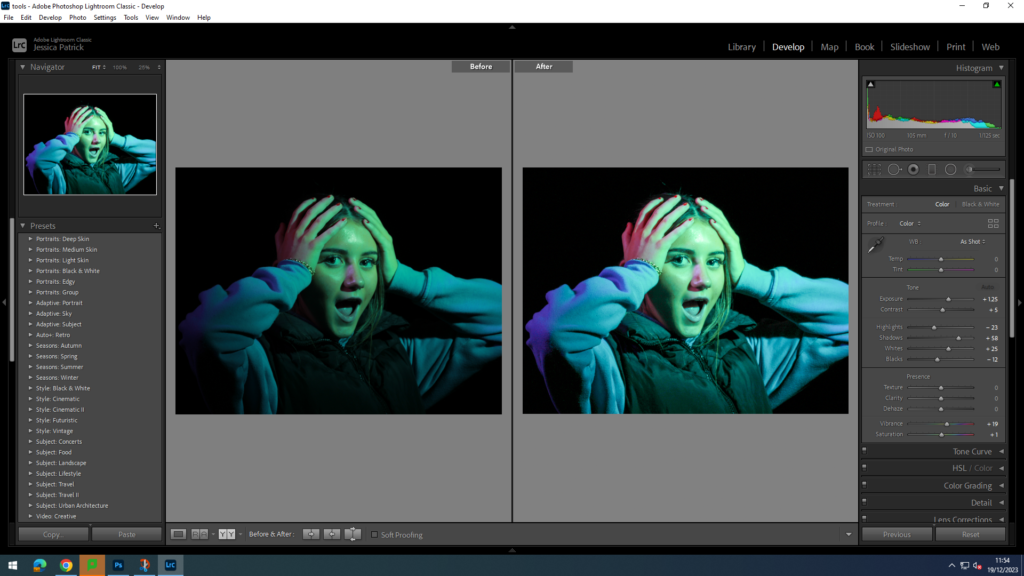
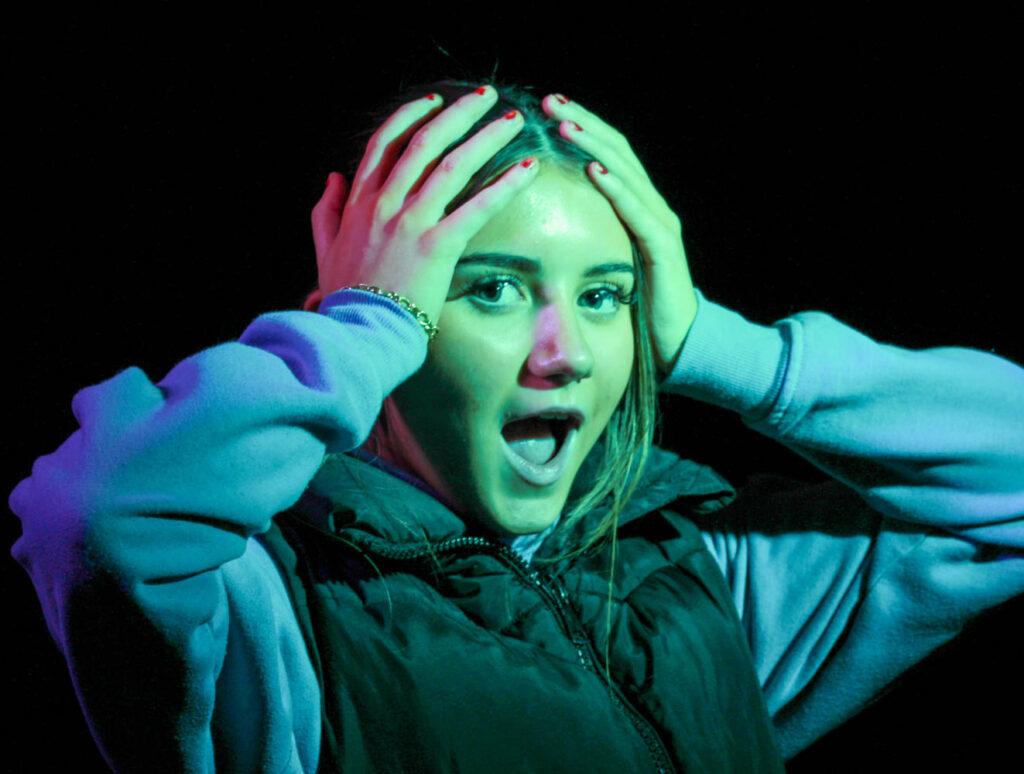
These are the two images I am going to be using for my Multi-exposure photographs, because they are similar, but also have a very obvious difference, which is how the model is using her hands to pose.
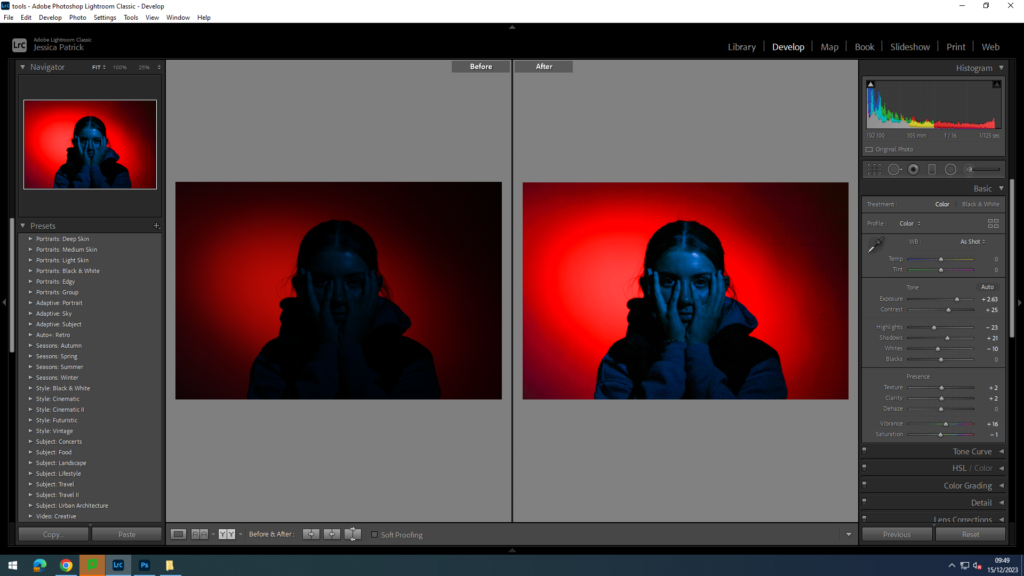
I edited this photos to make them brighter and have a greater exposure. I did this by increasing the exposure, contrast, shadows, vibrancy, texture, clarity and saturation, while decreasing the whites and highlights.

This is my first attempt of a double multi- exposure photograph. I created this on photoshop, by firstly layering my two chosen images on a plain background. I select one of my layers then adjust the opacity of the one layer, so it is more transparent. Then I position the more transparent layer on top of my opaque layer where I want it.

Juxtaposition

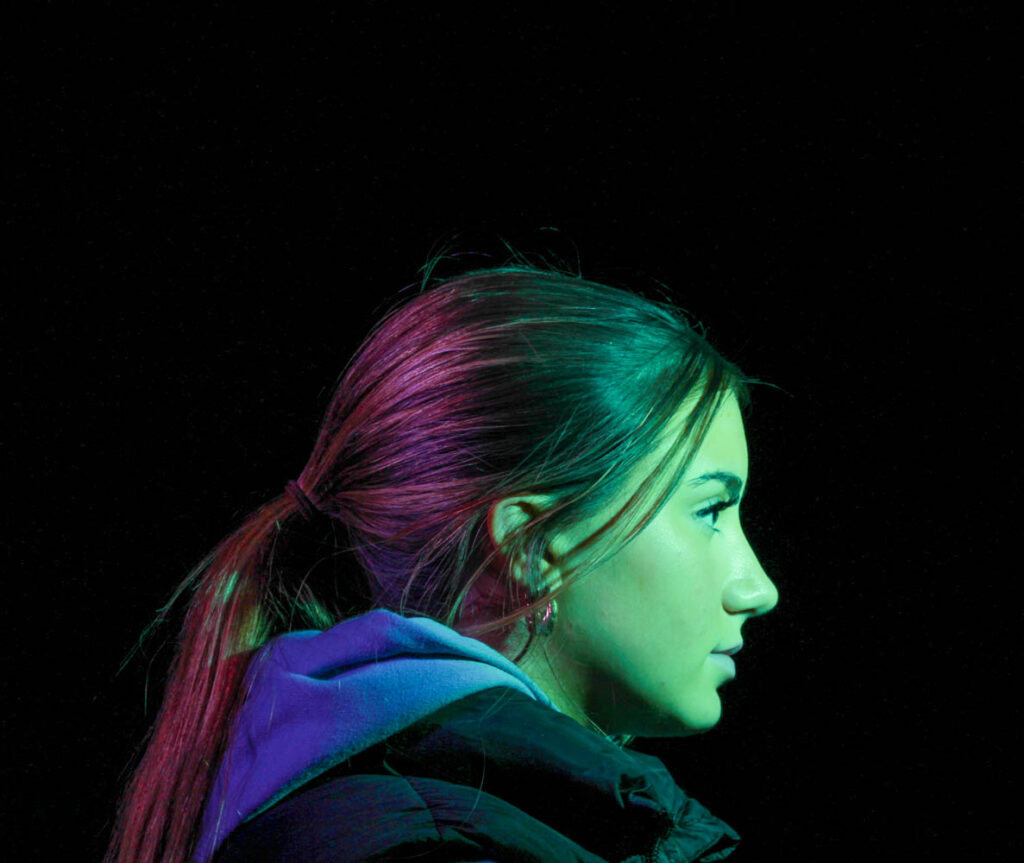
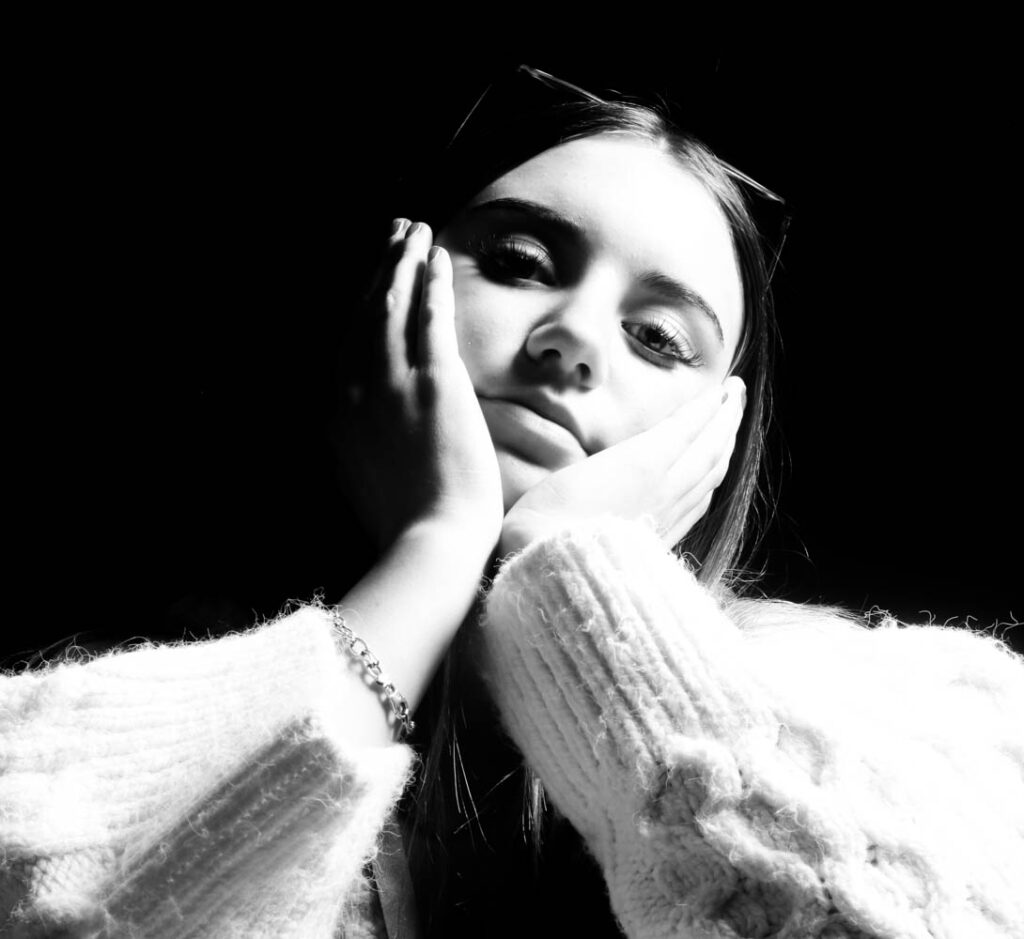
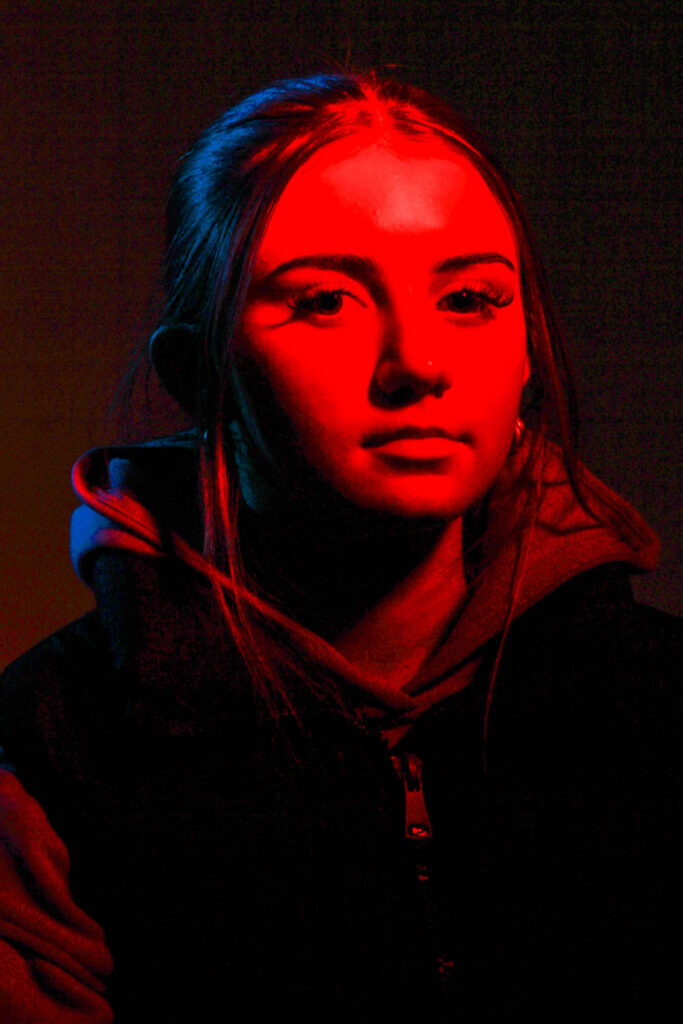
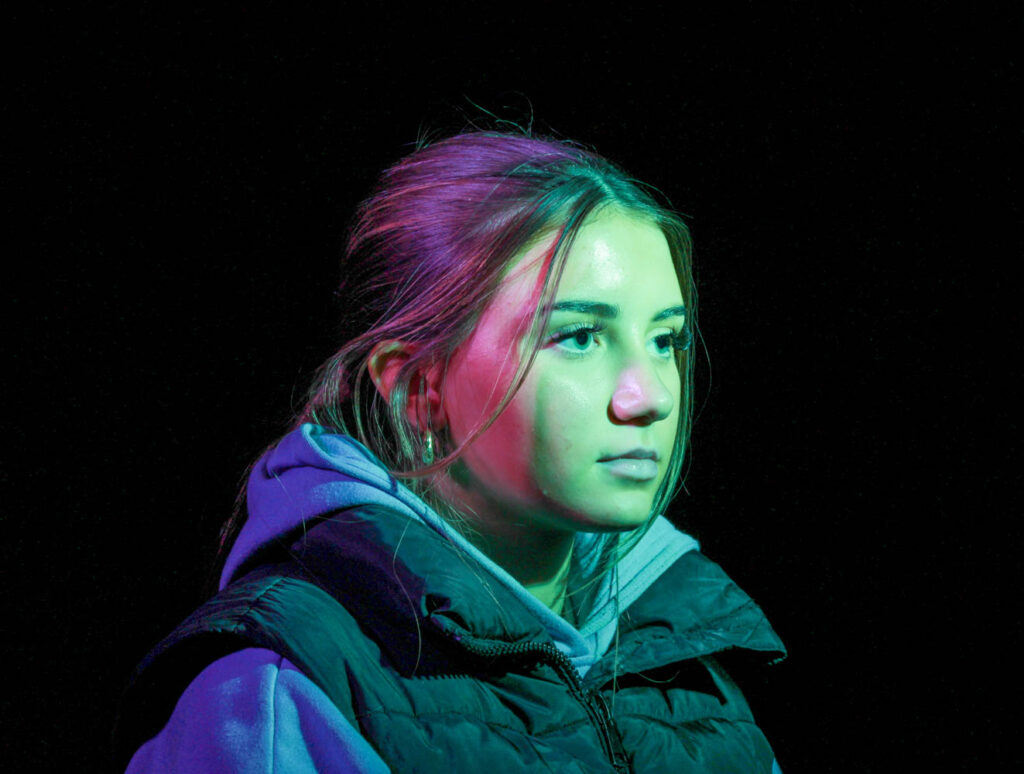
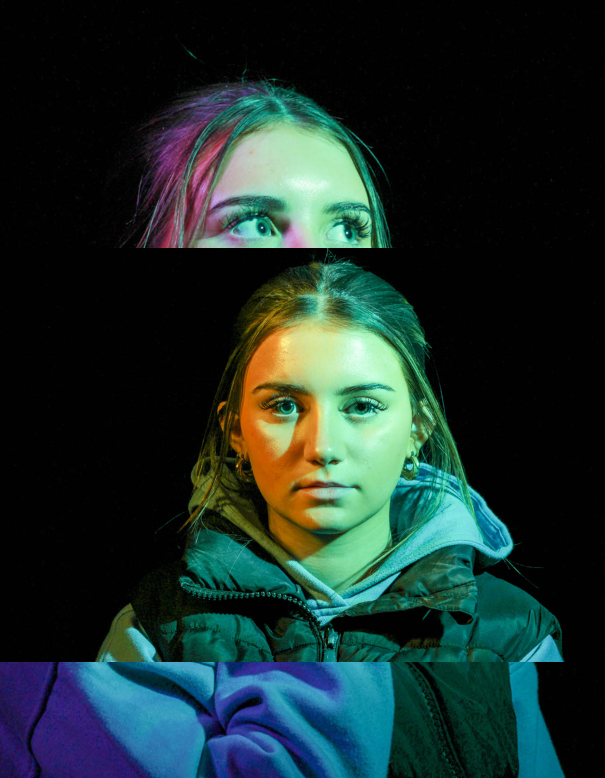
This is the photo I have chosen to edit for my juxtaposition photos, because it has a good composition and is a close up head shot.
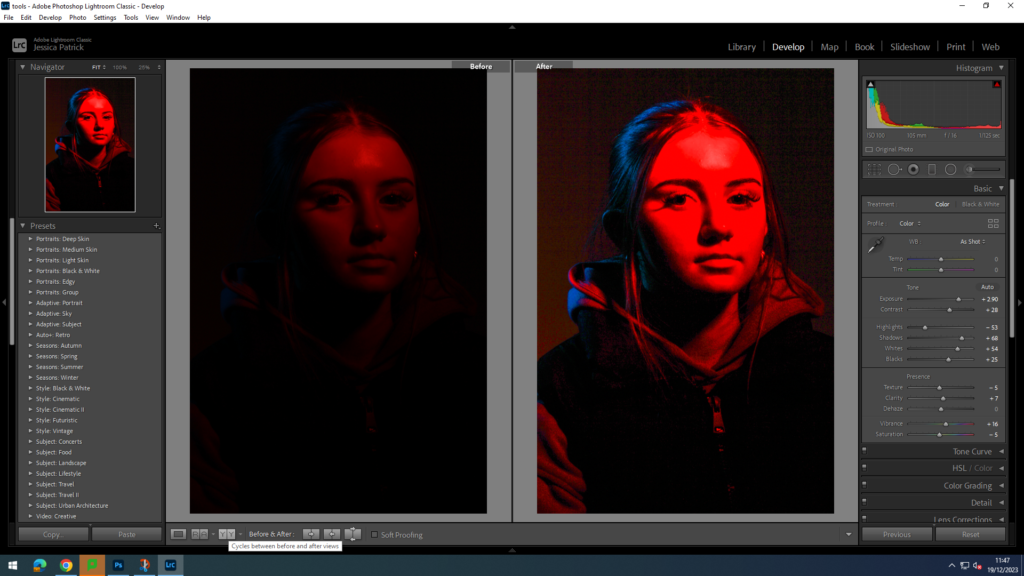
I edited this photo to make it brighter and have a higher exposure, so the model would be more visible and so the image would be less dark. I did this by increasing the exposure, contrast, shadows, whites, blacks, texture, clarity and vibrancy, while decreasing the highlights and saturation.
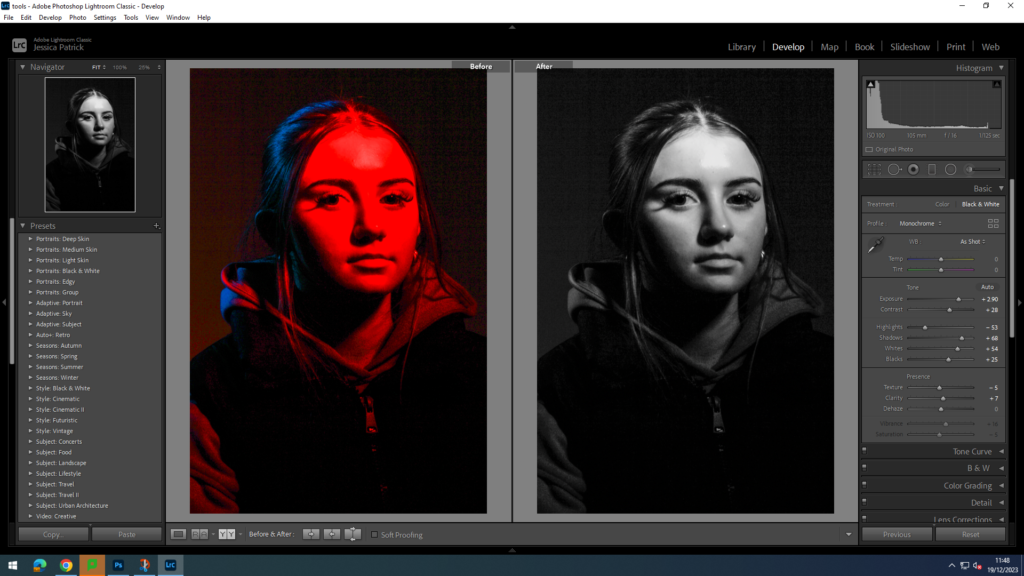
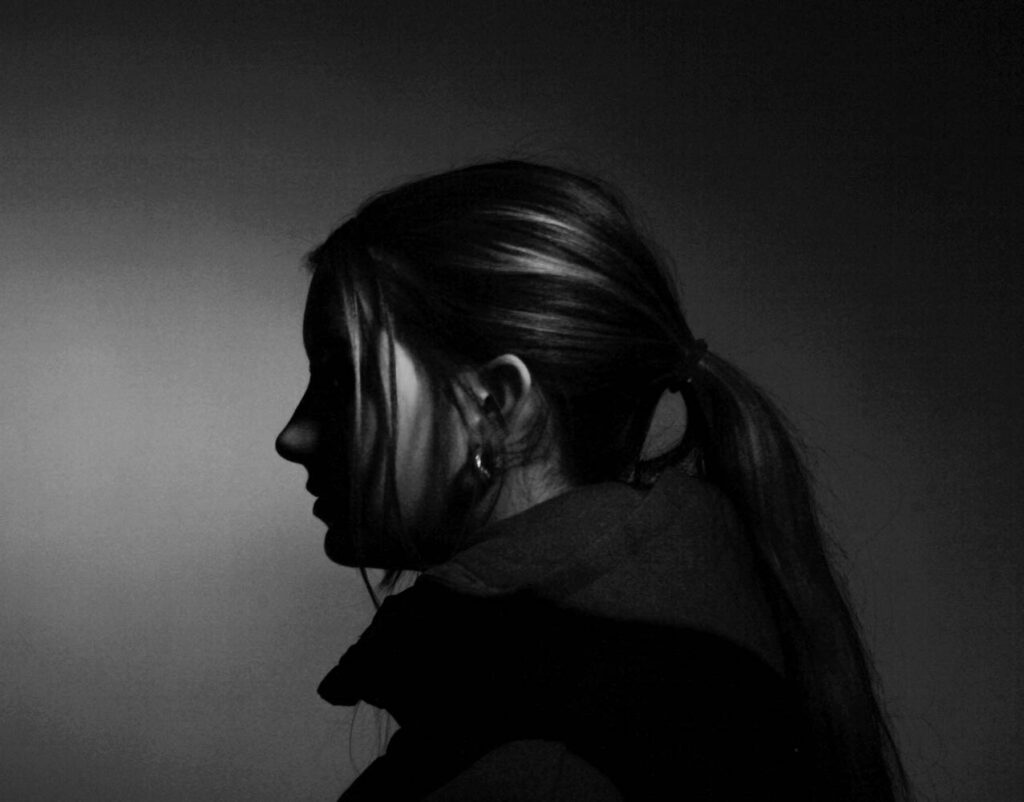
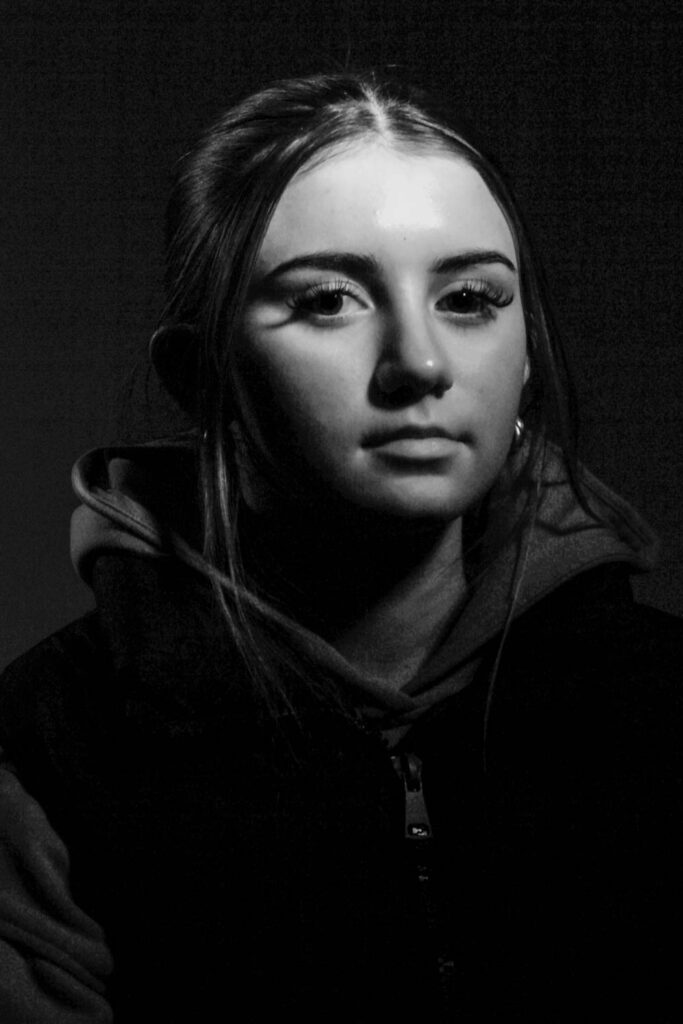
I then made a virtual copy of the edited photograph and created a black and white version for my juxtaposition.
Sequence/ Grid

These are the images I have chosen to edit, because they are my top 9 photographs. This is because they have the best compositions, poses, lighting and editing skills.
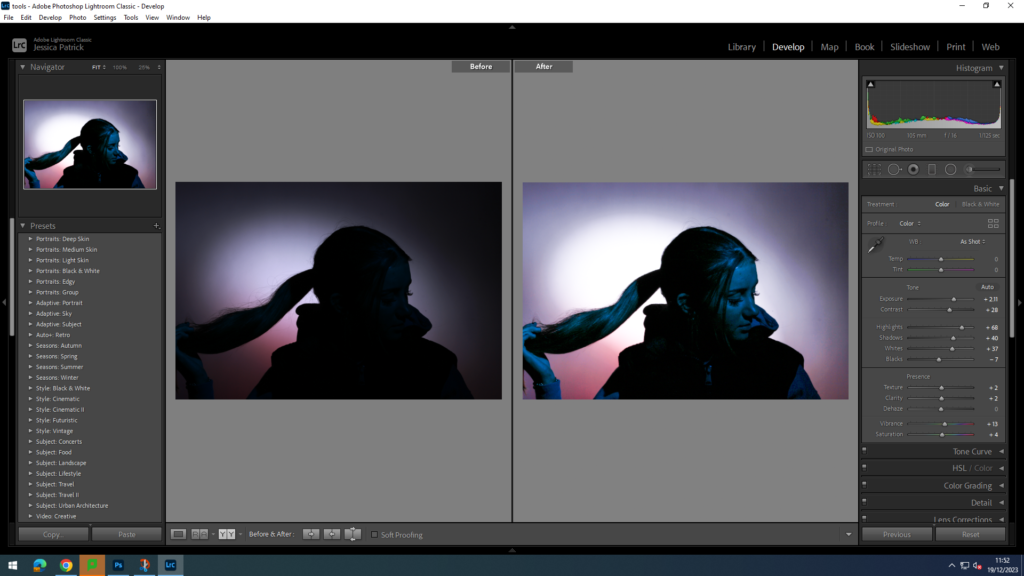
I edited this image to make the models face brighter and for the image to have more exposure, so the model was more visible. I did this by increasing the exposure, contrast, highlights, shadows, texture, clarity, vibrancy and saturation, while decreasing the blacks.
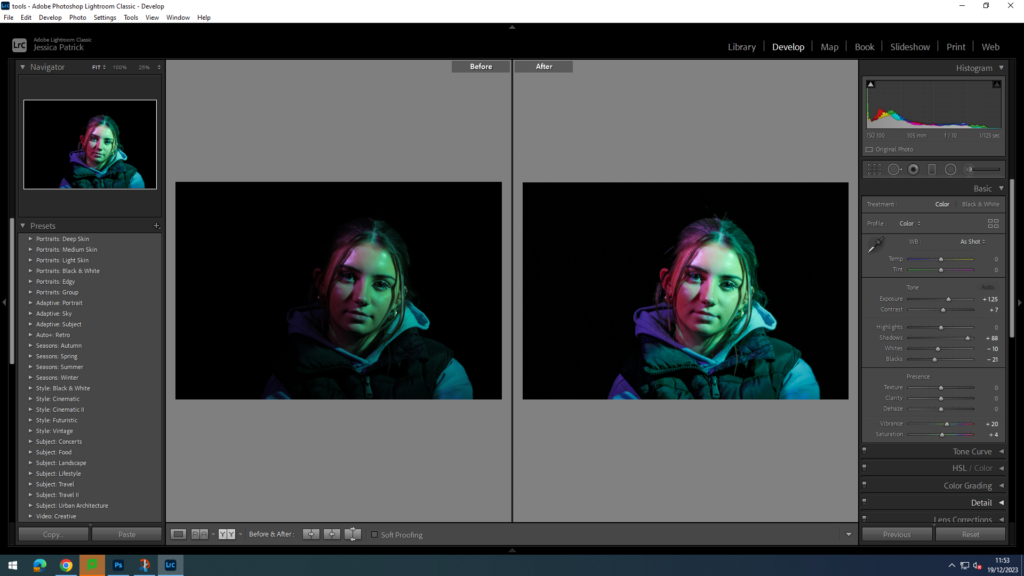
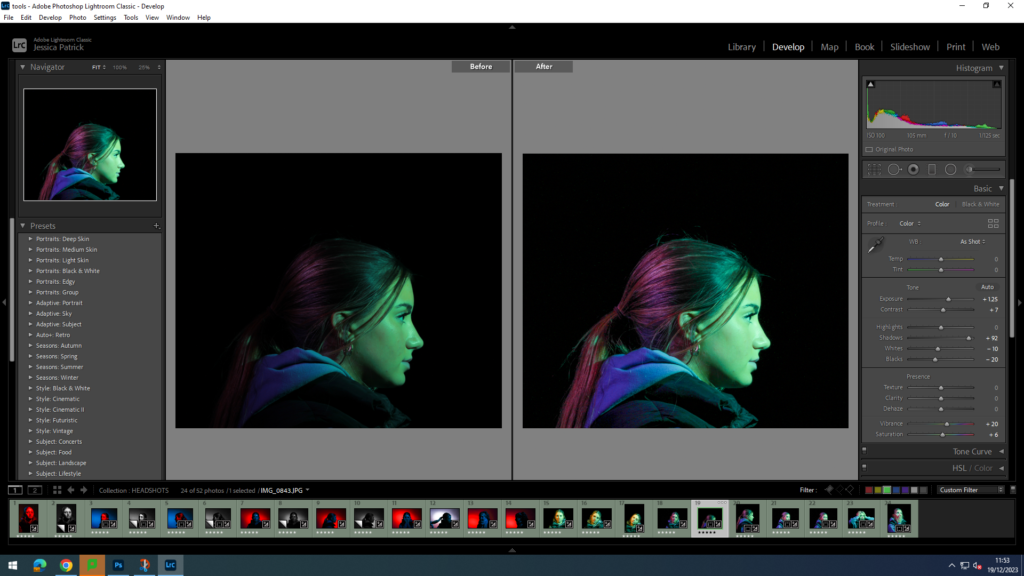
I edited all these images to make them brighter, so the colours used to photograph with pop more and are more vibrant and colourful. I did this by increasing the exposure, contrast, shadows, whites, vibrancy and saturation on them all, while also decreasing the highlights and blacks. I also used the brightening tool on the models eyes in all of these images, so the eyes would pop and stand out more.
Montage

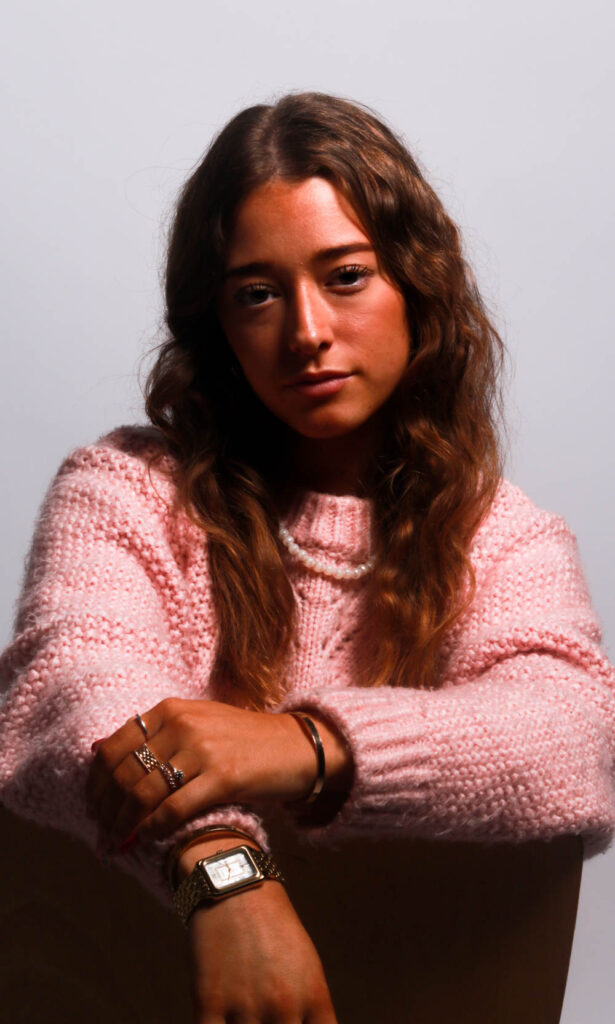
These are the two images I have chosen to edit and use to create my montage, because they have the best composition, poses and lighting.
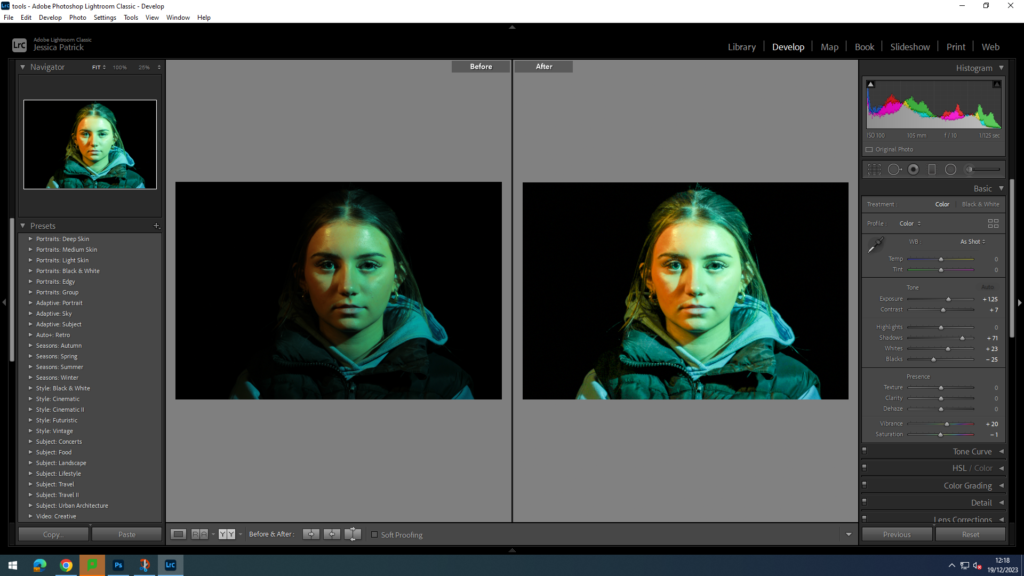
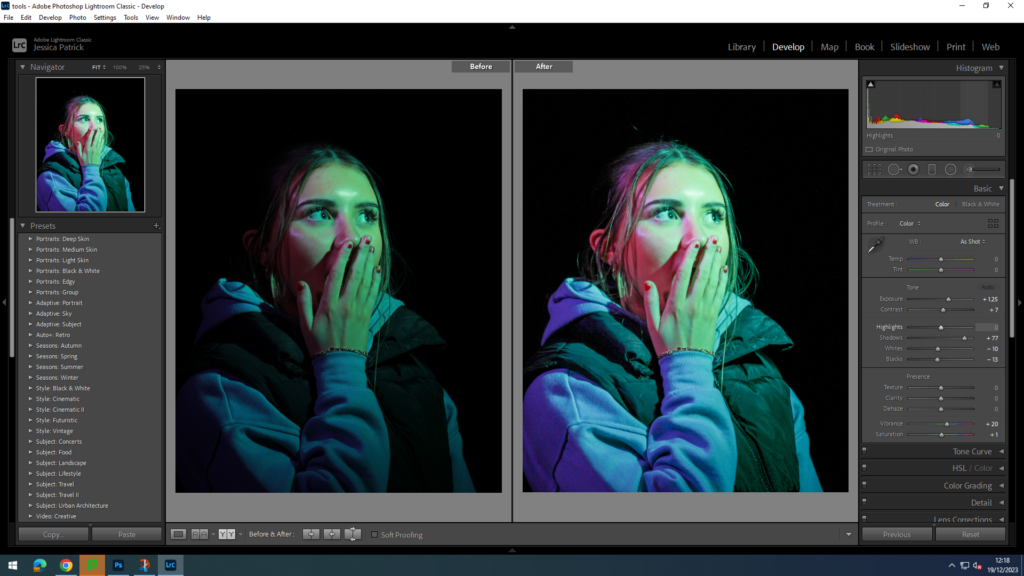
I edited these photographs to make them more vibrant, so the colours pop more. I did this by increasing the exposure, contrast, shadows, vibrancy and saturation on both, while decreasing the whites and blacks. I also used the brightening tool to brighten the eyes of the model, so they stand out more.
Photoshoot Plan

Headshots

Diamond Cameo-

In my photoshoot I am going to produce some Diamond Cameo photographs of my models. I will do this by taking four separate portraits of my models and editing them onto the same document in photoshop.

Double/ Multi-exposure-

Double or multiple exposures are an illusion created by layering images over the top of each other. This can be achieved in the camera settings, or on Adobe Photoshop by creating LAYERS and then using BLENDING OPTIONS and OPACITY CONTROL. Artist have used these techniques to explore surrealist Ideas and evoke dream-like imagery, or imagery that explores time / time lapse.

Juxtaposition-

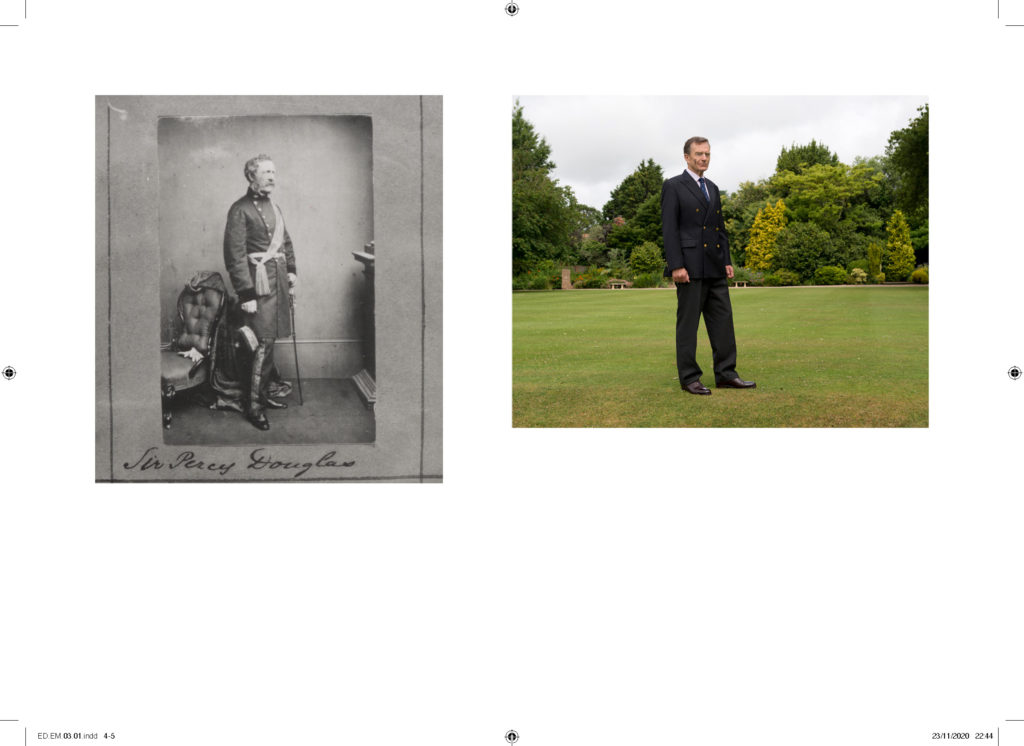
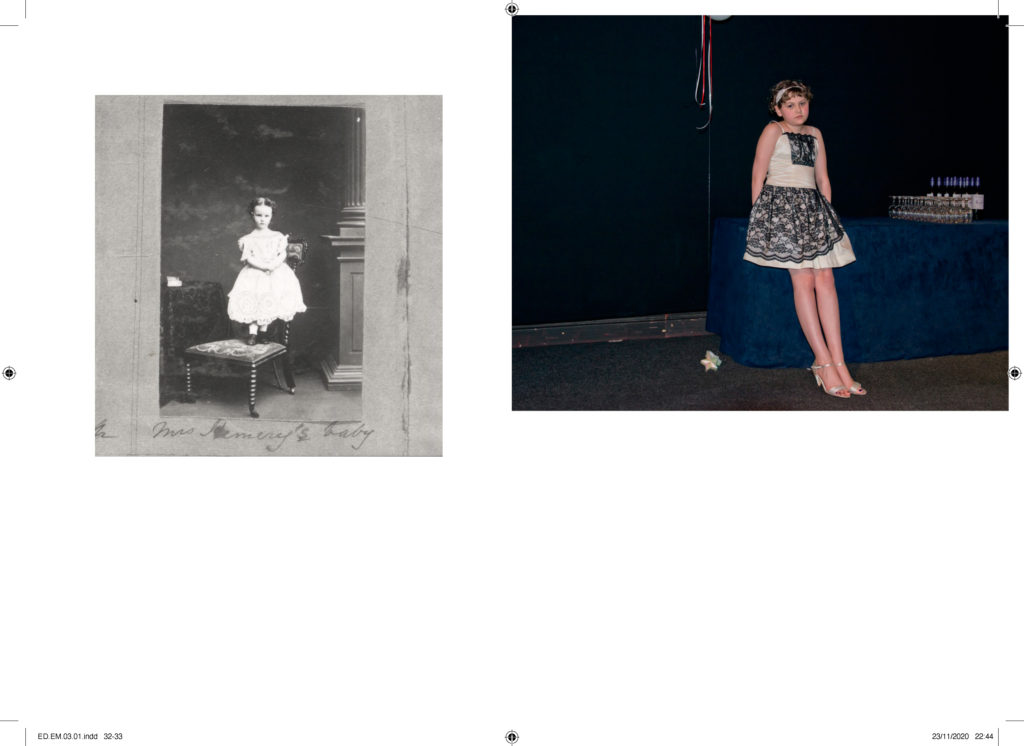
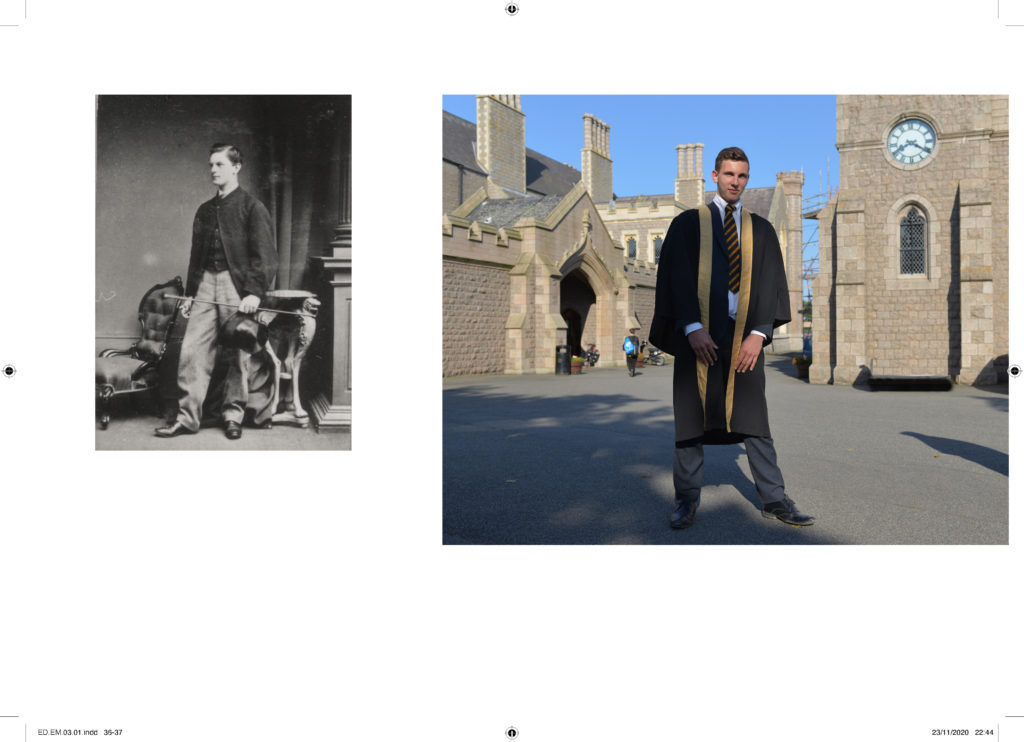
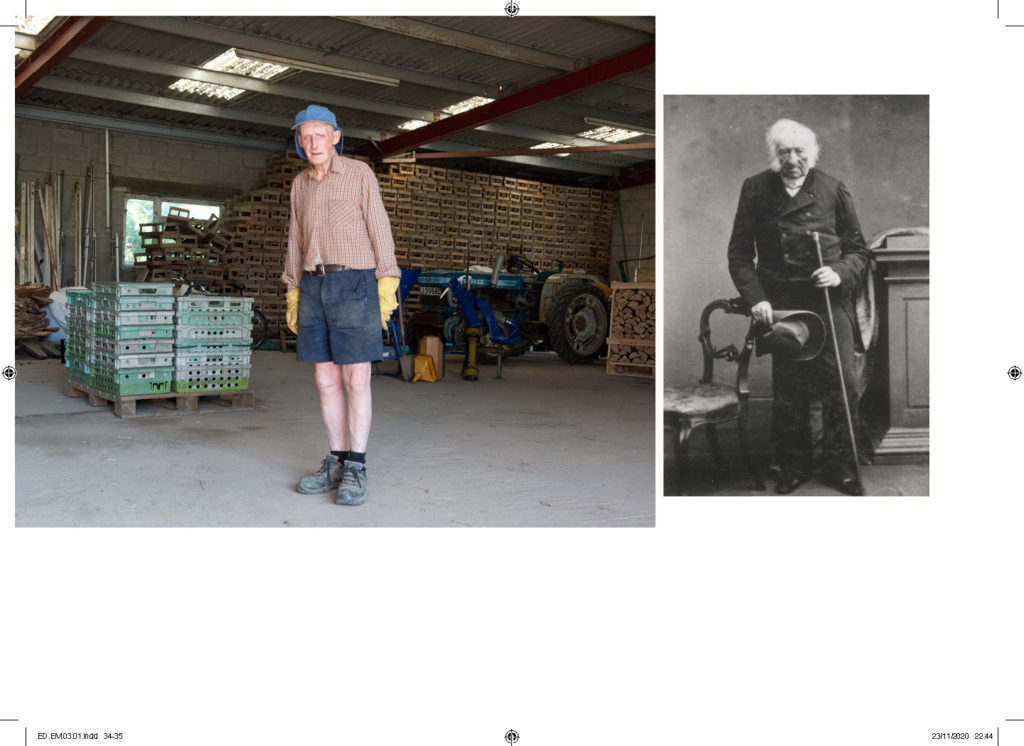
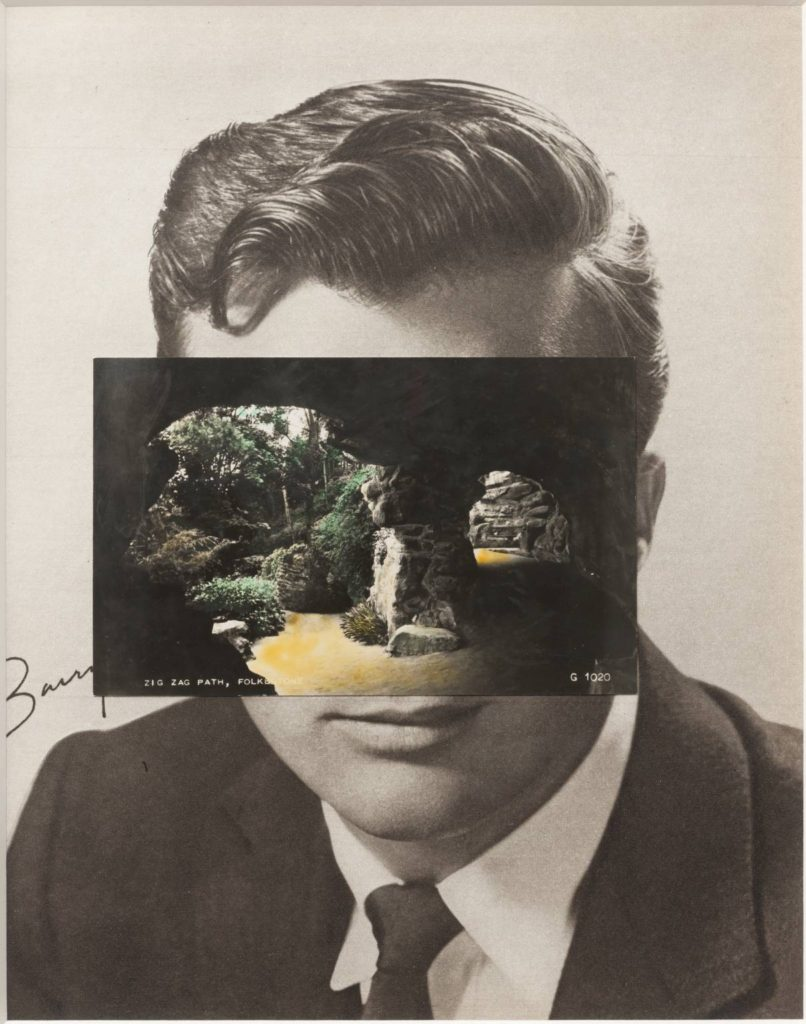
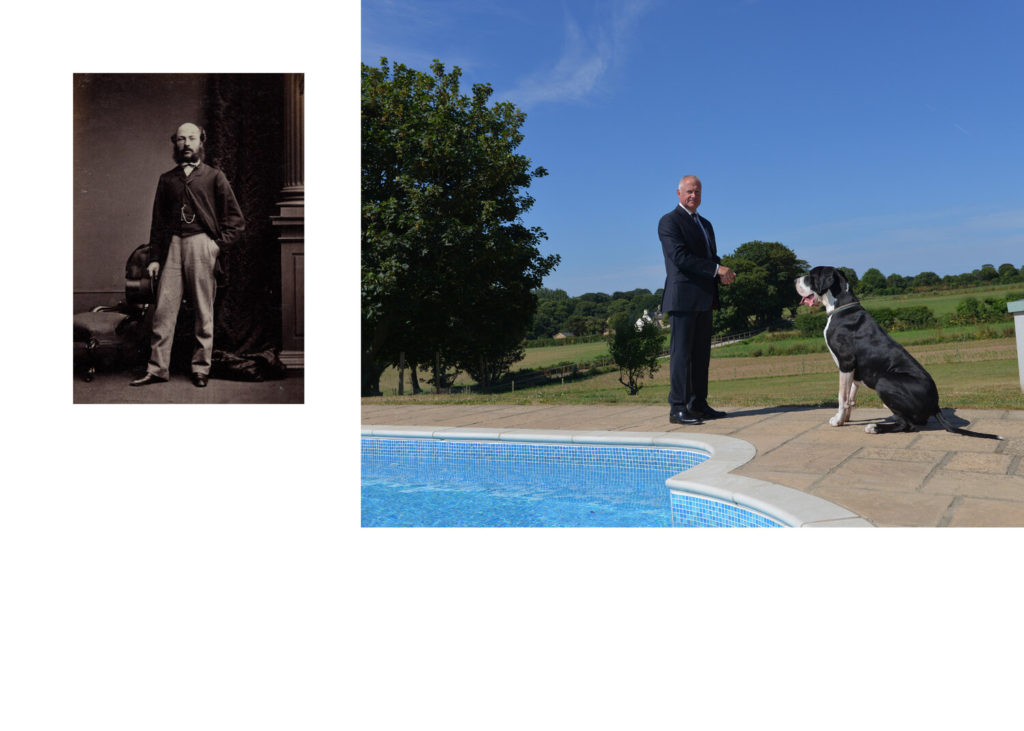
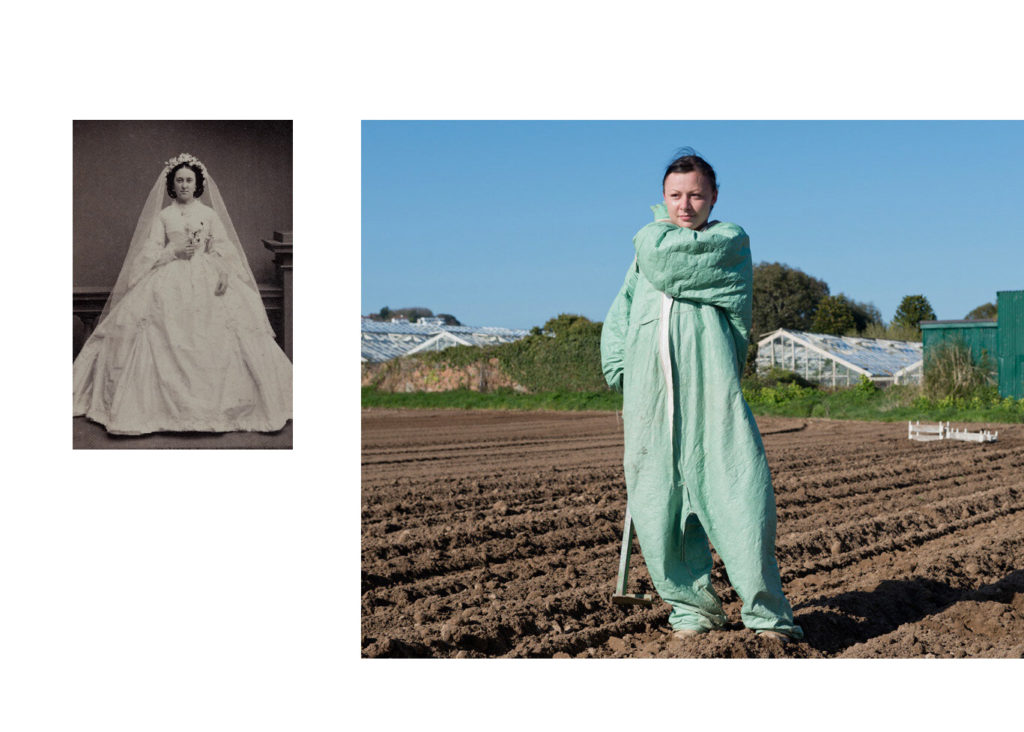
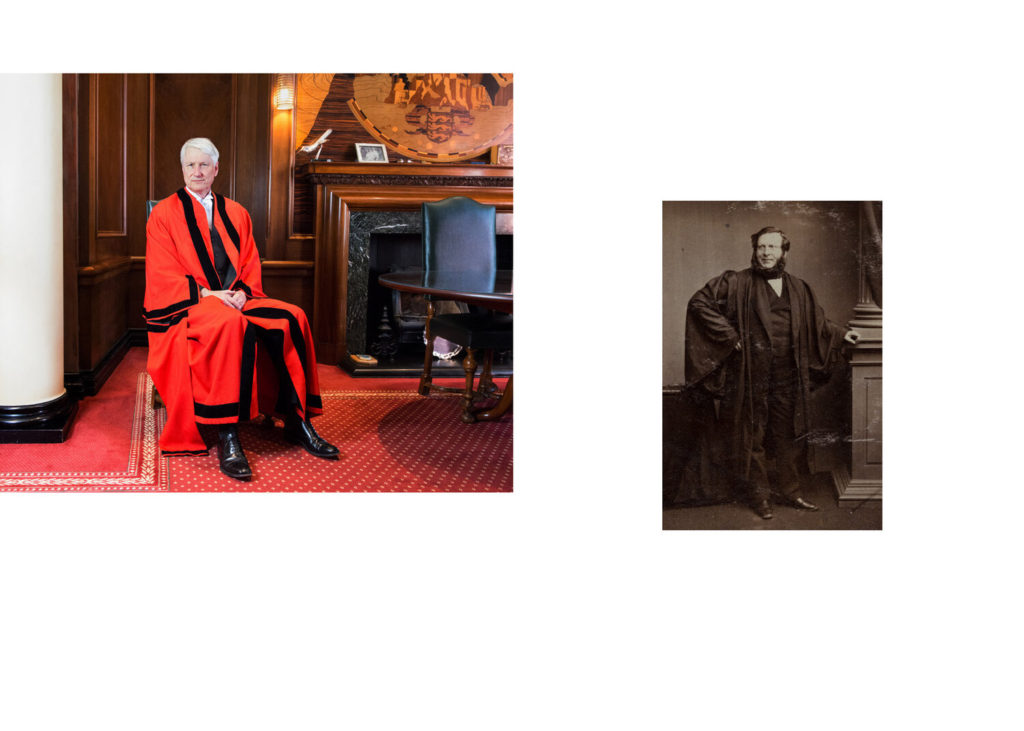
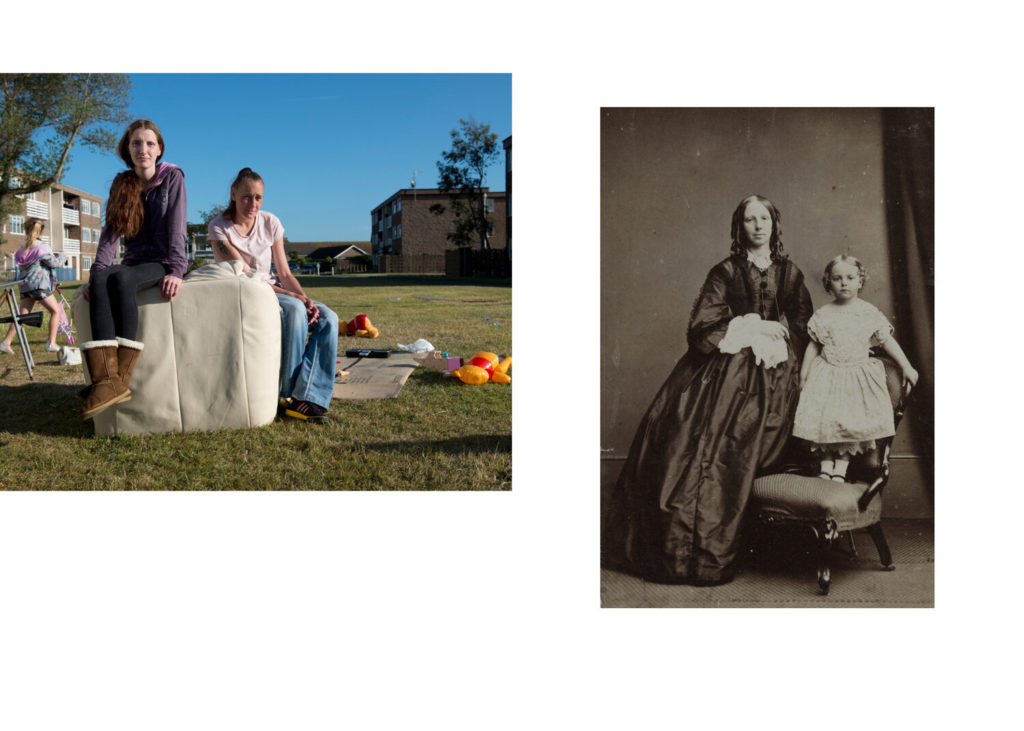
Juxtaposition is placing two images together to show contrast or similarities. For example, portraits of Henry Mullins and Michelle Sank are juxtaposed to show comparison/ similarities/ differences between different social and professional classes in Jersey mid-19th century and early 21st century.

Juxtapose images can be according to shapes, colours, repetition, object vs portrait.

Sequence/ Grid-

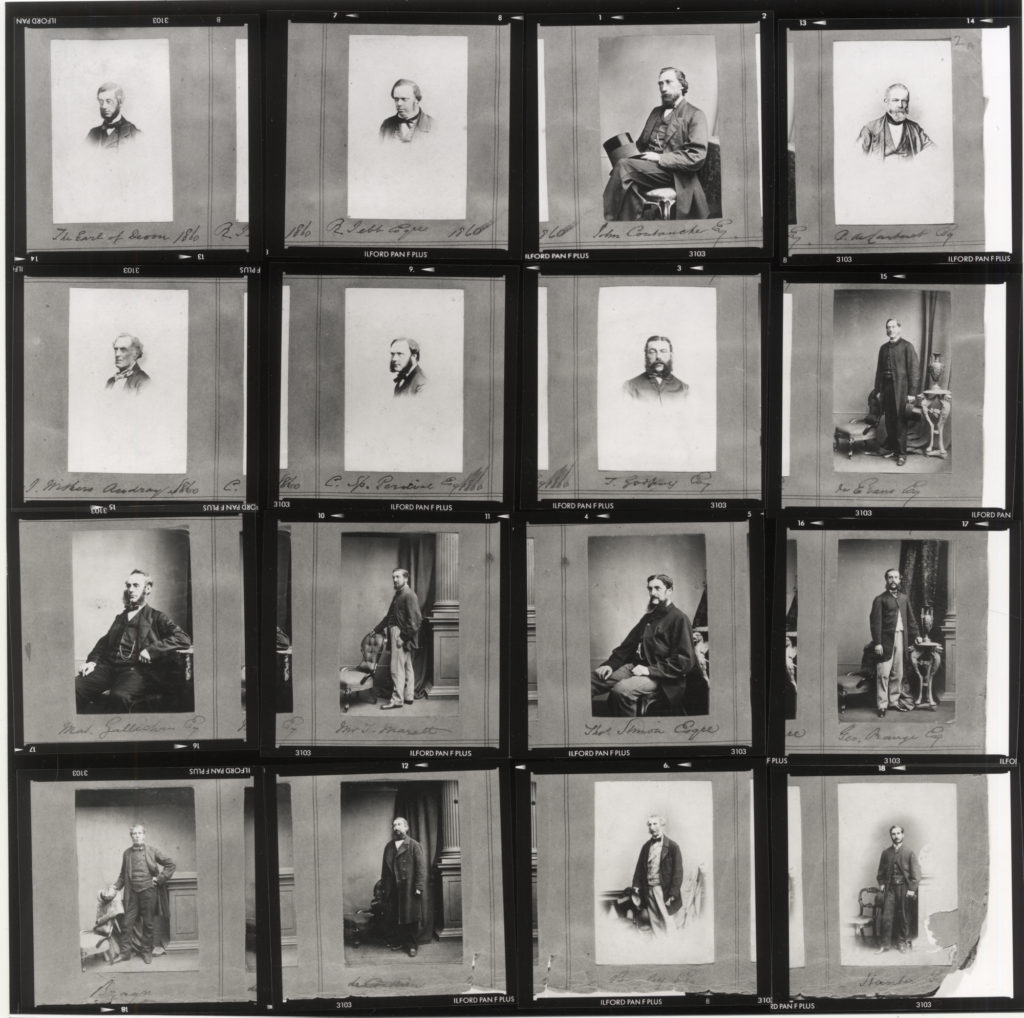
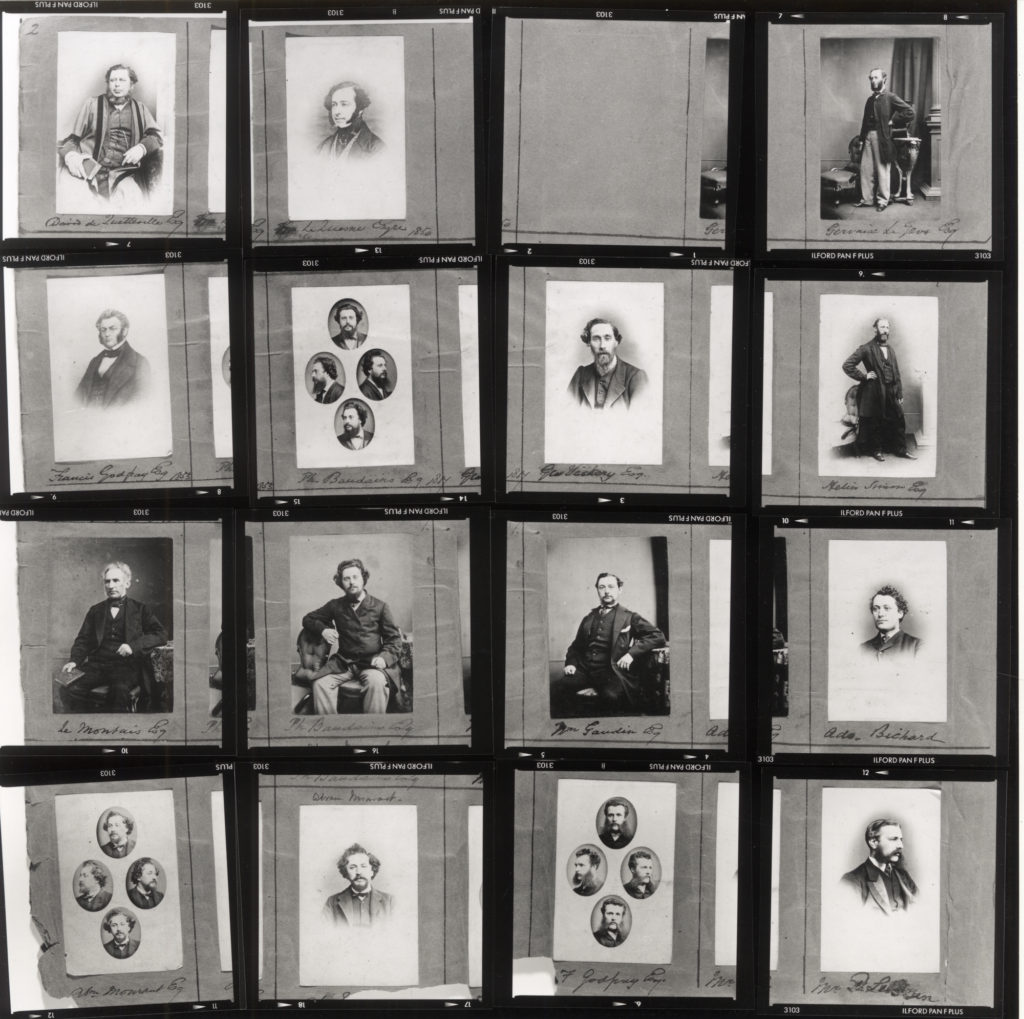
Henry Mullins make sequences/ grids, which are pages and re- constructed contact-sheets from his portrait albums.

Montage-

Photomontage is the process and the result of making a composite photograph by cutting, gluing, rearranging and overlapping two or more photographs into a new image. 

I am going to attempt to create each one of these techniques with my headshots. I will achieve this by taking multiple photos in the studio and editing them in Lightroom. Finally, I will do each technique in photoshop.

Intro to Headshots

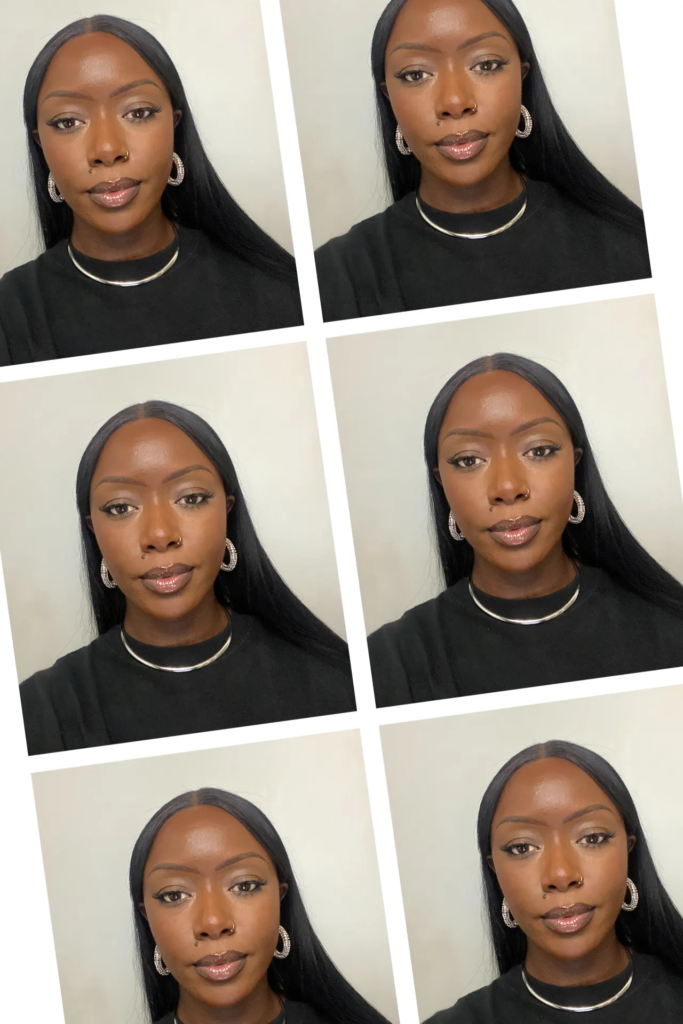
Headshot – A photograph of someone’s face, head and shoulders.

Headshots are mainly used as passport photos, resumes and for actors and musicians. This style of portrait helps to clearly define the subjects facial features as well as provide a clear basis for people to make assumptions on someone’s character, possibly based of appearance (like how they dress).

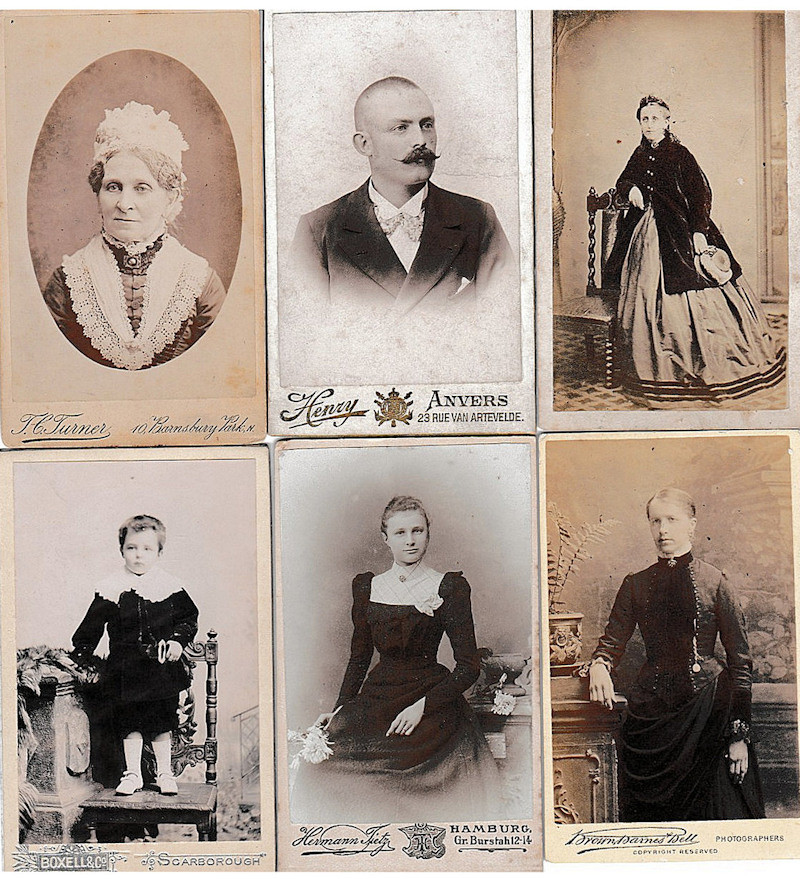
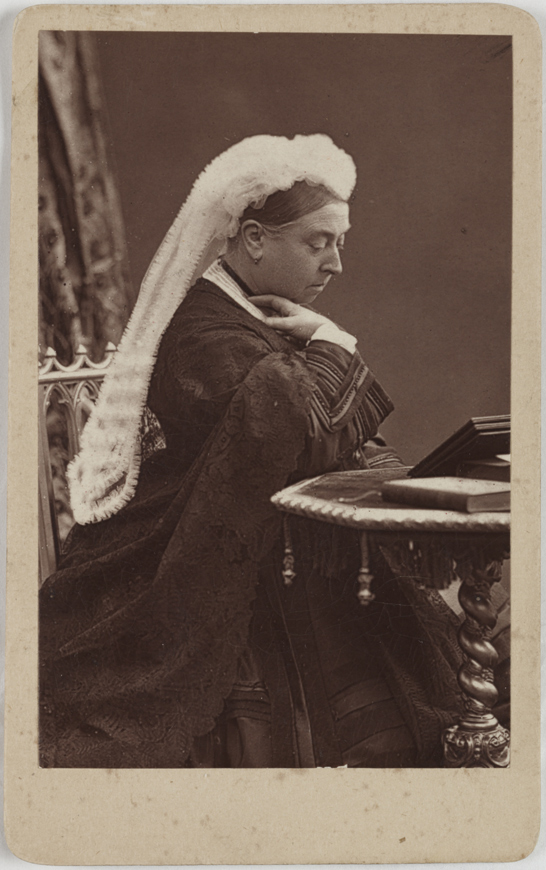
The first person to experiment with headshots in 1839 was Robert Cornelius. However, in 1854 André-Adolphe-Eugène Disdéri produced a more cost effective way of taking headshot photos, by cutting up full-sized plates into 4 seperate small portraits. These photos soon became known as Carte-de-visite.

These grew in popularity across both Europe and the US, where families of wealthy class got them to exercise their wealth. With some people such as queen Victoria getting one to flex her status.

The modern headshot is now used as an art form, for exploring different ways of portraying the face. They can also be used as professional headshots of someone with an influential status, like a celebrity. These can be used as a marketing purpose and can be sold. Another thing headshots are used for today are passport, or ID photographs. These are used to show someone’s age, identity and that they are suitable to fly.

Headshots and Techniques

Lighting-

The technical definition of lighting, or illumination is the deliberate use of light to achieve practical or aesthetic effects. Lighting includes the use of both artificial light sources like lamps and light fixtures, as well as natural illumination by capturing daylight.

There are different types of lighting, such as soft lighting, natural lighting, artificial lighting and hard lighting etc. Soft lighting is a type of light with few hard shadows that’s bright yet balanced. In soft lighting, the transition between the light and the shadows is more of a gradient and much smoother. When your subject is bathed in soft light, there will be little to no shadows on their face.

Hard lighting is a focused, often bright light that casts harsh shadows and draws attention to a specific part of a photo. In hard lighting, the transition between the light and the shadows is very harsh and defined.

Framing-

Framing in photography refers to the process of composing a picture. It involves choosing what you’ll include in the frame and what you’ll leave out. The goal is to create a pleasing composition that directs the viewer’s attention to the subject matter.

Headshots-

A headshot is a tightly cropped photo of the face, from the shoulders up. The subject is camera aware and typically looking right in the lens. Years ago, headshots were reserved for actors and models. For talent, these images are in some ways more important than a resume.

Focusing-

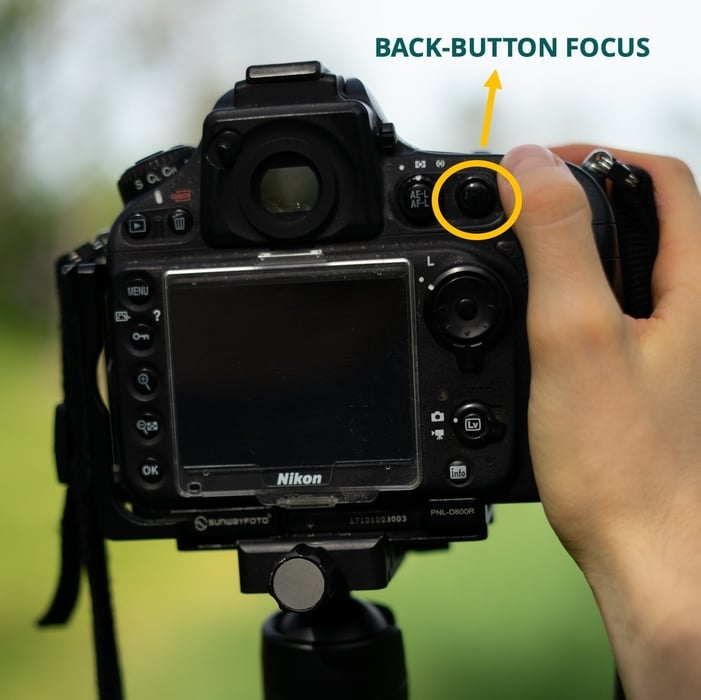
In photography, focus is the sharpest area of the image. It is the area where the lens works to highlight an object, a person, or a situation. Focus is one of the pillars of photography, along with ISO, aperture, and shutter speed. You can either use automatic or manual focus.

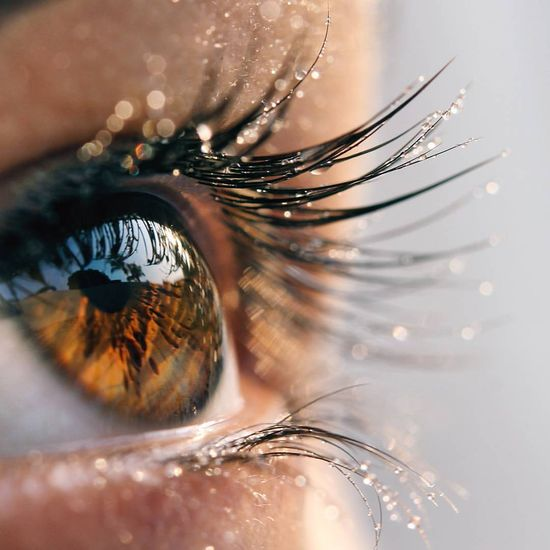
Focus on eyes-

In photography, focus is the sharpest area of the image. It is the area where the lens works to highlight an object, a person, or a situation. Focus is one of the pillars of photography, along with ISO, aperture, and shutter speed. You can either use automatic or manual focus.

Using AF (Autofocus) place the square, or set of squares on one eye of your subject. If the subject’s other eye is not on the same horizontal plane as the AF square, it will be out of focus. So, move your subject, or tilt your camera (if you can without ruining composition) so that the eyes are on the same plane.

Pose-

If you pose for a photograph or painting, you stay in a particular position so that someone can photograph you or paint you. Eg. position yourself, sit, model, strike a pose etc.

Expression-

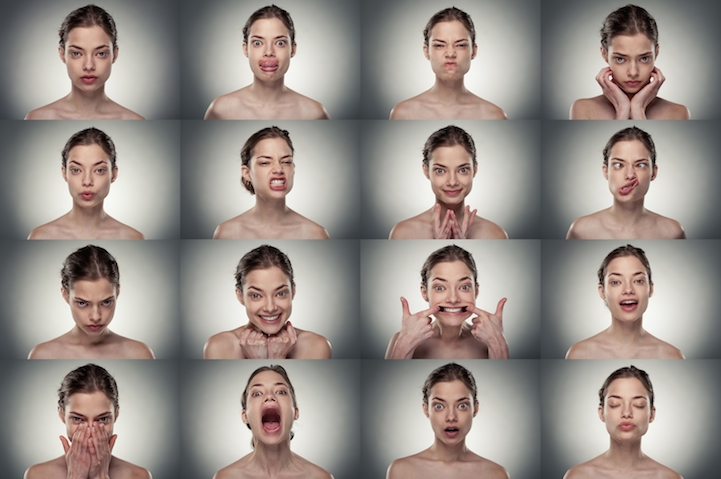
Expression is the action of making known one’s thoughts or feelings. In impressionist photography you create an image to communicate to others, using visual language, how you feel about a specific idea or a subject.

Henry Mullins

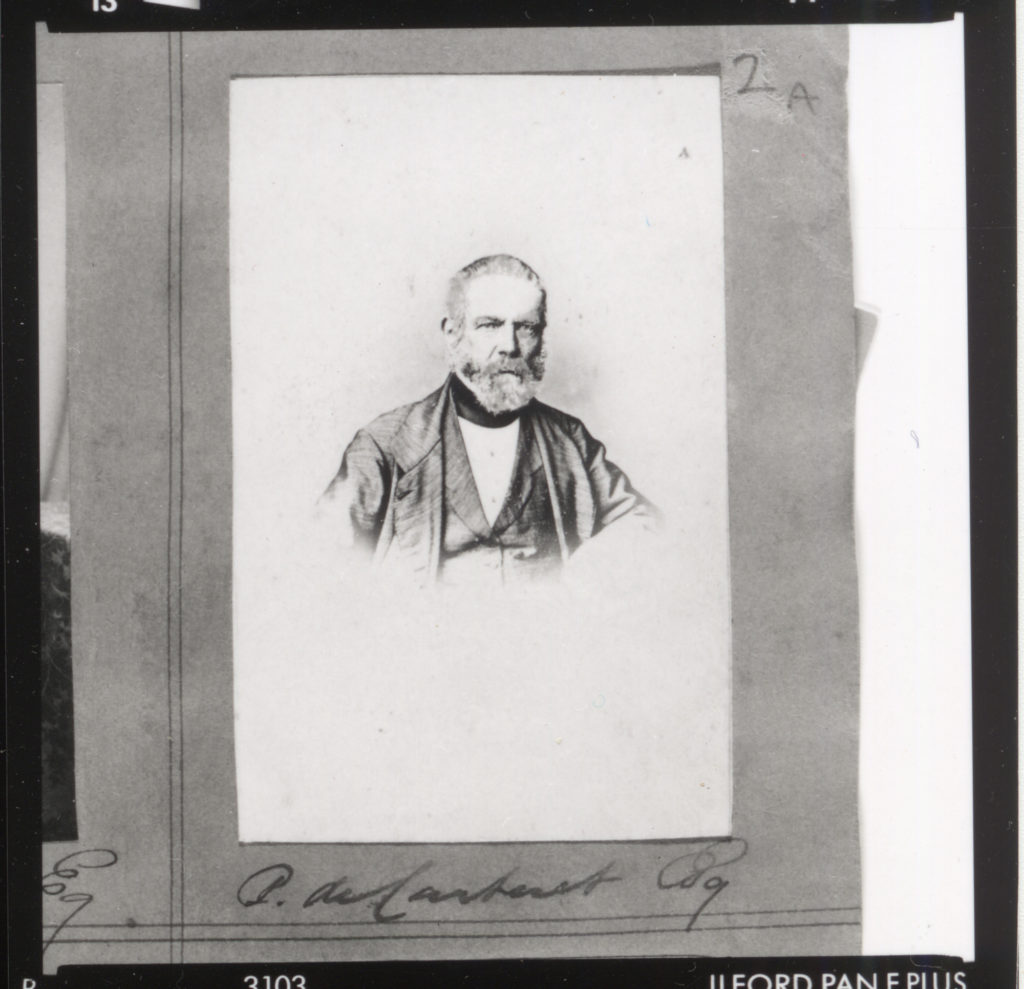
Henry Mullins is one of the famous photographers in Jersey, producing over 9000 portraits of islanders from 1852-1873 at the time when the population was around 55,000. The record we have of his photographs comes through his albums , in which he placed his clients in social hierarchy. The arrangement of his work of ‘who’s who’ in the 19th centaury Jersey are highly politicised.

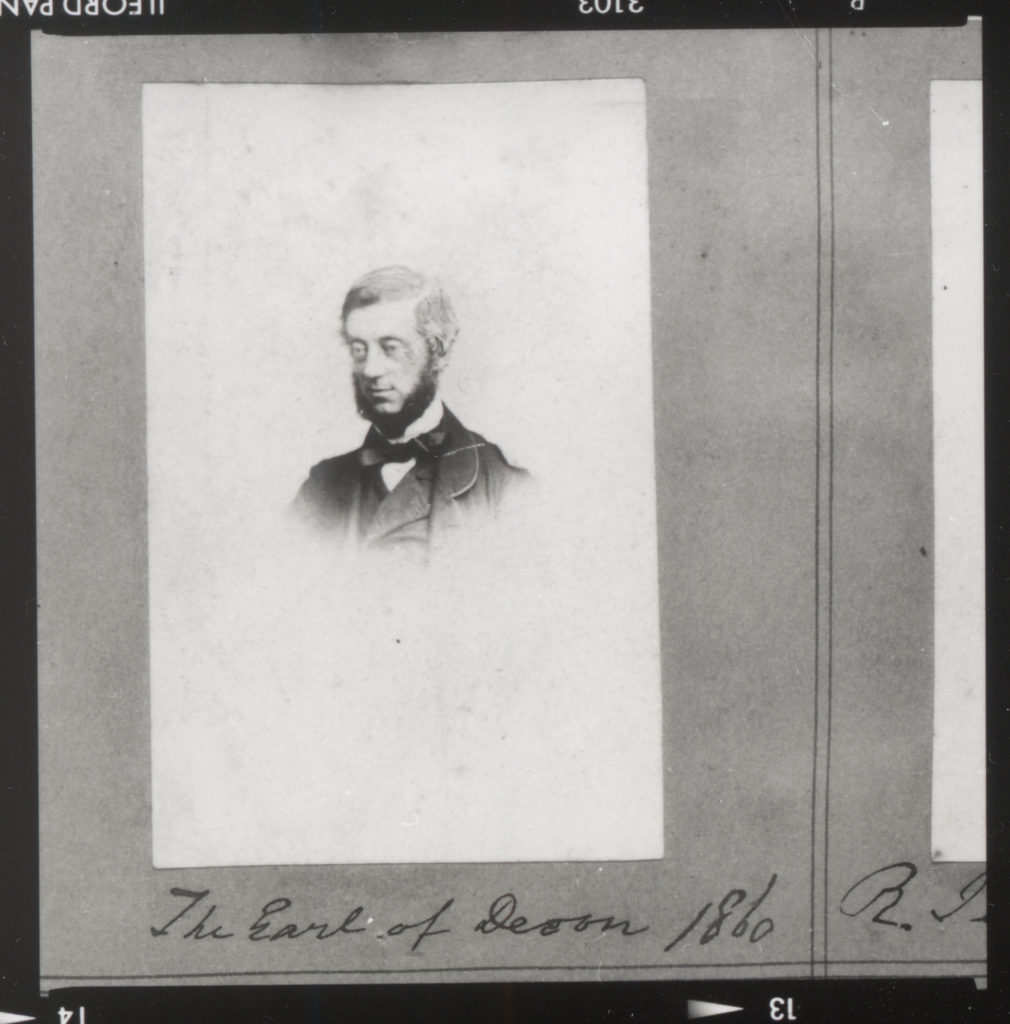
Henry Mullins Album showing his arrangements of portraits presented as cartes de visite

About him

When Henry Mullins arrived to Jersey in 1848 there were no photography studios to visit and no archive to consult. His was a community supported primarily by agriculture and maritime trades, and an emerging tourism industry. Mullins was already highly skilled in photography, so he set about setting up a highly successful business attracting Jersey’s wealthy upper classes to his studio. This cemented that his clients statuses among the island were elite. His most productive years were 1867-1872.

His work

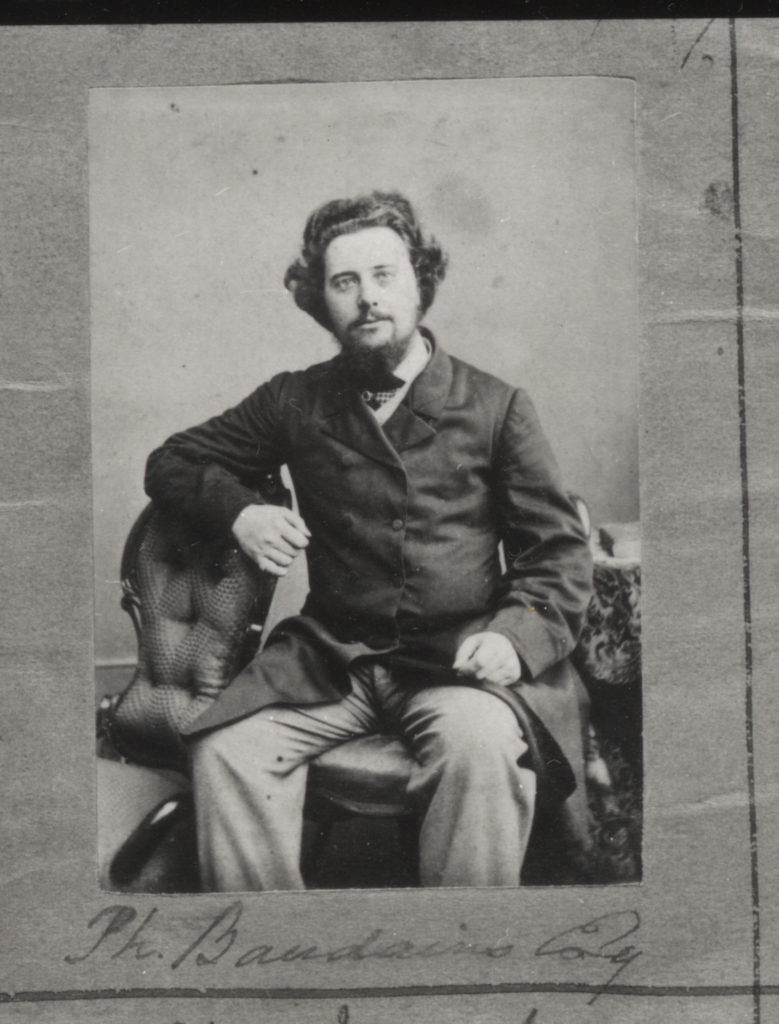
Henry Mullins started working at 230 Regent Street in London in the 1840s and moved to Jersey in July 1848, setting up a studio known as the Royal Saloon, at 7 Royal Square. This is where he would photograph Jersey political elite, such as; The Bailiff, Lt Governor, Jurats, Deputies etc. as well as mercantile families, such as; Robin, Janvrin, Hemery, Nicolle etc. and military officers and professional classes such as; (advocates, bankers, clergy, doctors etc.

His portrait were printed on a carte de visite as a small albumen print, which was the first commercial photographic print produced using egg whites to bind the photographic chemicals to the paper. It was a thin paper photograph mounted on a thicker paper card. The size of a carte de visite is 54.0 × 89 mm normally mounted on a card sized 64 × 100 mm. In Mullins case he mounted his carted de visite into an album. Because of the small size and relatively affordable reproducibility cartes de visite were commonly traded among friends and visitors in the 1860s. Albums for the collection and display of cards became a common fixture in Victorian parlors. The immense popularity of these card photographs led to the publication and collection of photographs of prominent persons.

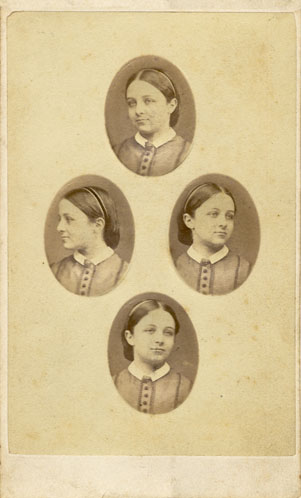
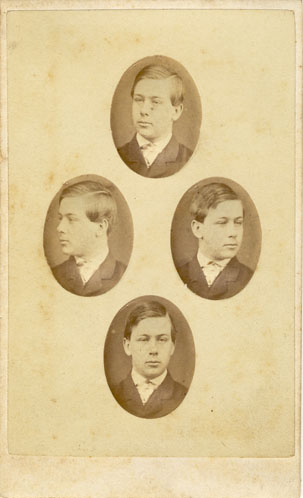
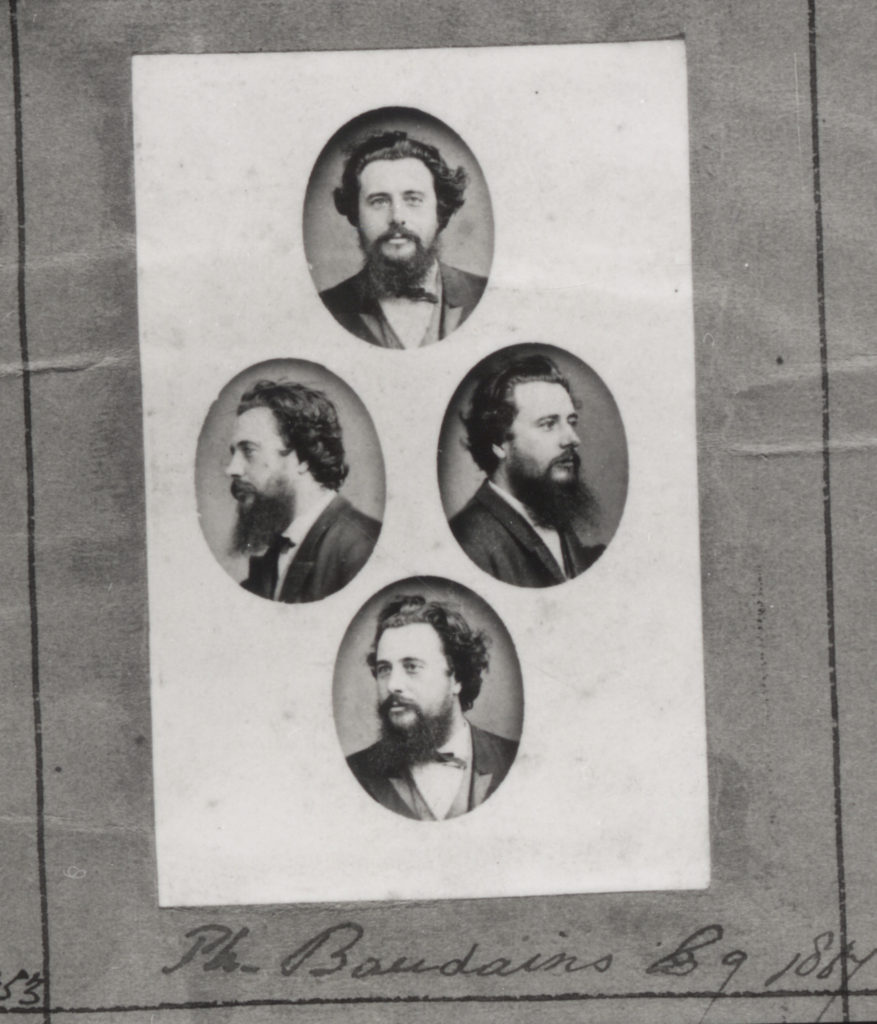
Portrait of Philip Baudains, Writer, Advocate, Constable and Deputy of St Helier. The four headshots of Baudains are presented in a Diamond Cameo.

Diamond Cameo- It is a process in which four separate portraits of the same subject are printed on a carte-de-visite.

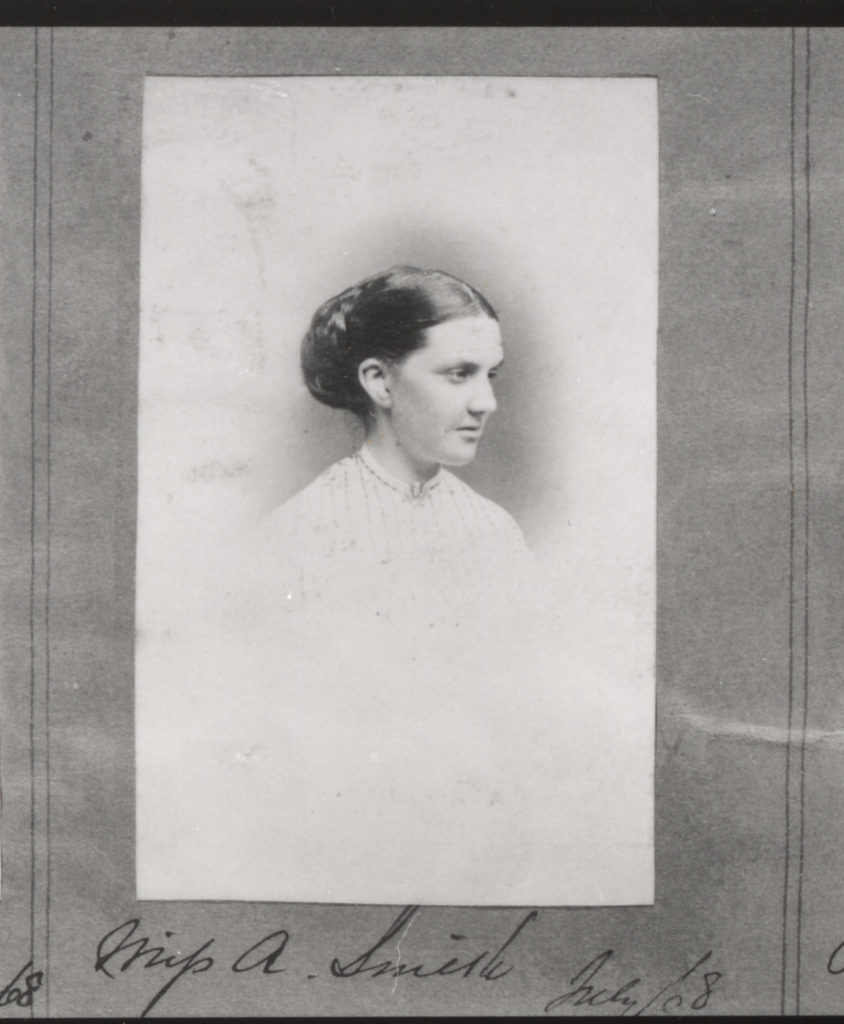
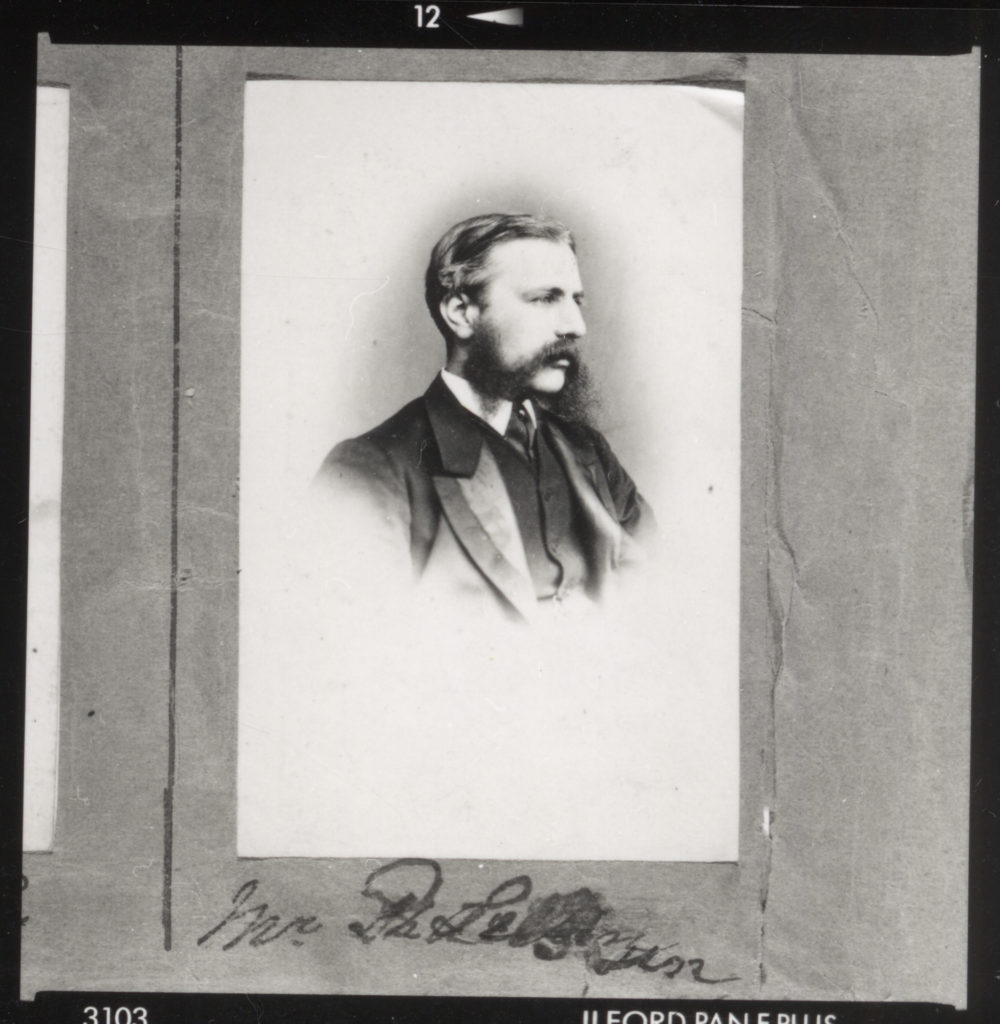
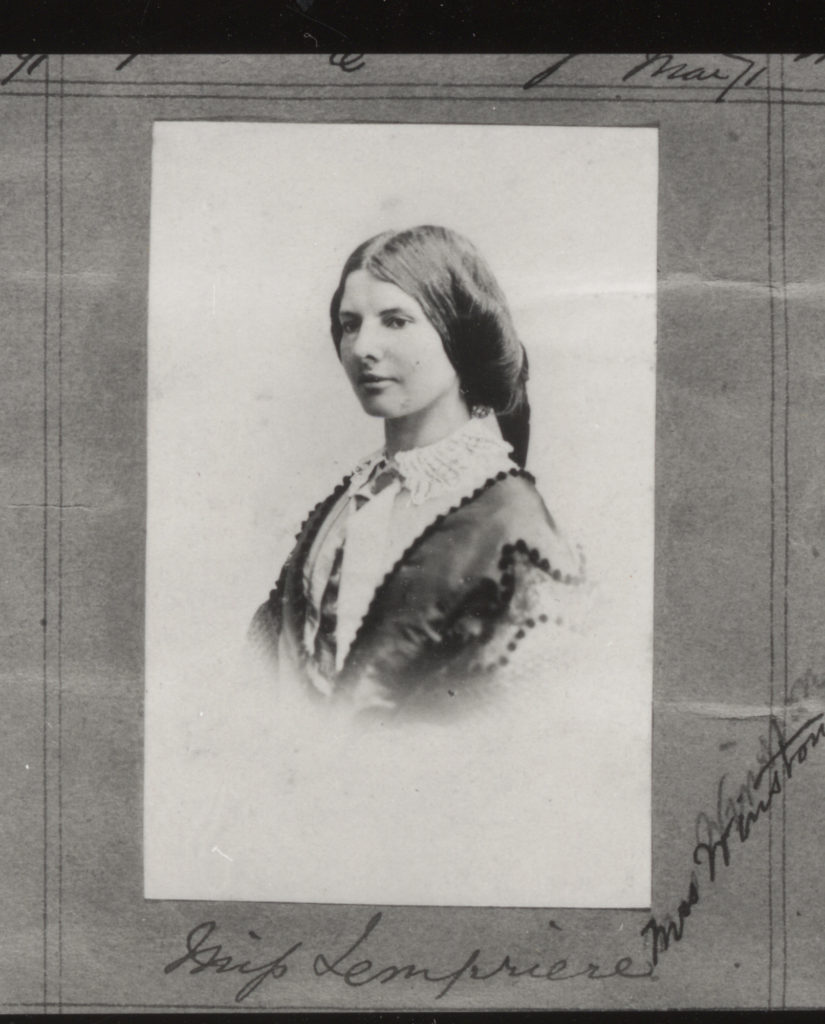
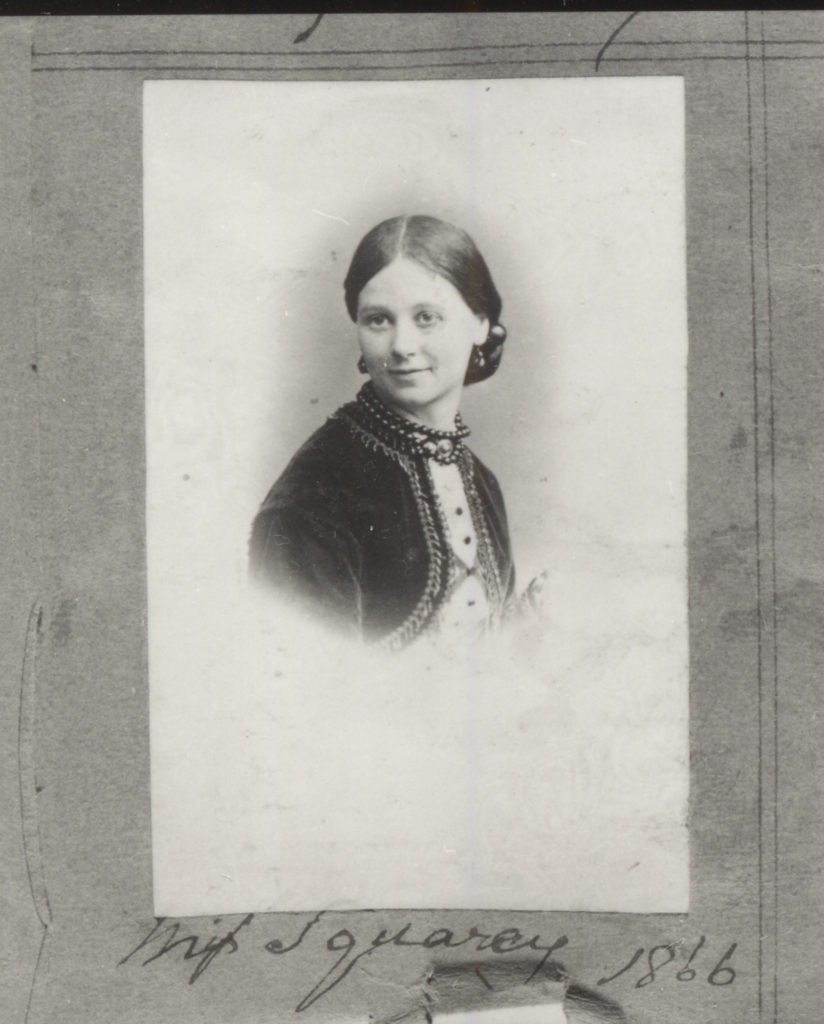
Some headshots by Mullins of both Jersey men and women produced as vignette portrait which was a common technique used in mid to late 19th century.

Mullins and Sank

Michelle Sank arrived to Jersey as the inaugural Archisle: Jersey Contemporary Photography Programme Photographer in Residence to complete a new commission of work for the Social Jersaiase Photographic Archivein response to insulur culture and society in 2013. With Mullins and Sank’s work we can therefore traffic 165 years a history. Over that period of time the lives of people in their portraits and the descendants and ancestors that lived between them have been radically changed by developments in every sphere of life. The photographic medium as a visual has also developed and changed due to constantly evolving technology.

Mullins and Sank’s work

Here are images of Mullin’s work from the years 1848- 1872 compared to Sank’s work from 2013 to modern day. The difference in their photographs of how men, women and children lived them compared to now are significant. There is also very obvious technology changes. Mullin’s photograph were in black and white, because technology wasnt very advanced, however Sank’s photographs are in colour.

Virtual Gallery

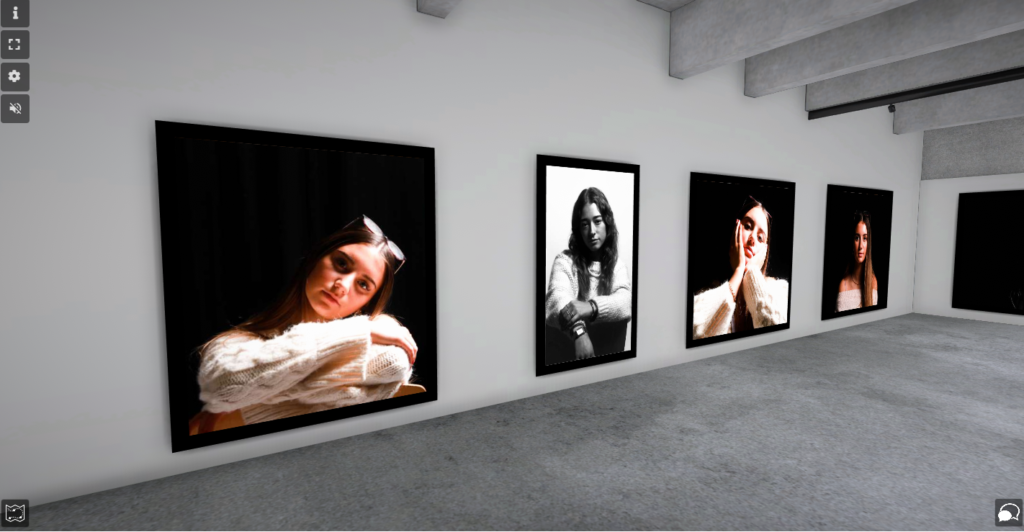
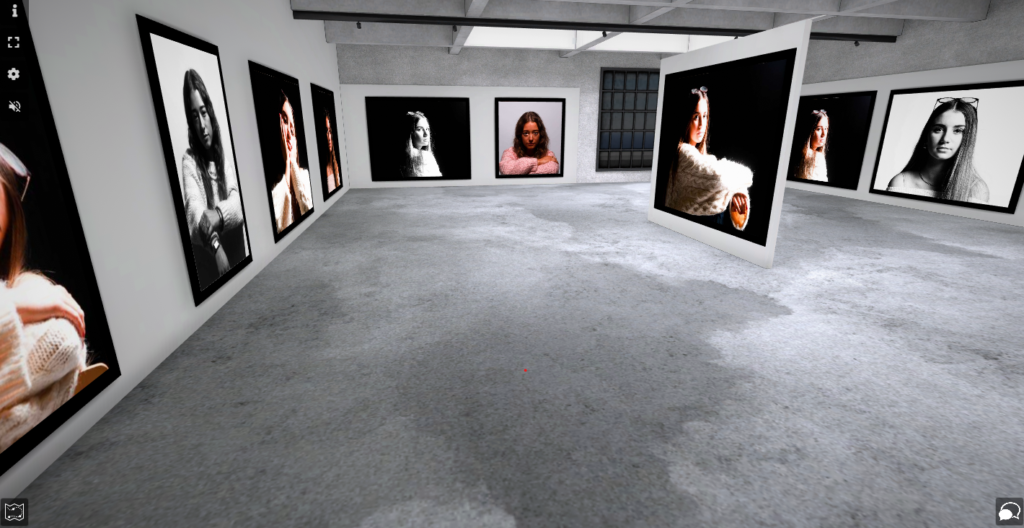
I used ArtSteps to create a virtual gallery of some of my best Rembrandt, Butterfly, Chiaroscuro lighting photographs.

I used a mixture of black and white images, colourful images and of all the different lighting techniques.

Firstly, I picked a virtual gallery on ArtSteps that I liked and wanted to put my photographs in. Then, I dragged the photos I wanted to use for my gallery from my documents into ArtSteps and gave them all unique names. Then, I inserted the photos into the gallery, positioned them where I thought looked good and added a black frame to each one.

This image has an empty alt attribute; its file name is 35d6016a-ef70-4a82-a2a5-21de403b258b-1024x532.png

I took a close up picture of one of the walls of the gallery, so the photographs details and features could be seen clearly. Next, I took a photo of the whole gallery from a distance, so all the photographs could be seen, and so the layout of my gallery could be seen clearly.

This image has an empty alt attribute; its file name is 0092d88a-4c1b-4b97-9eaf-4468cf5ae4ba-1024x528.png

Portraits

Photoshoot- Edits

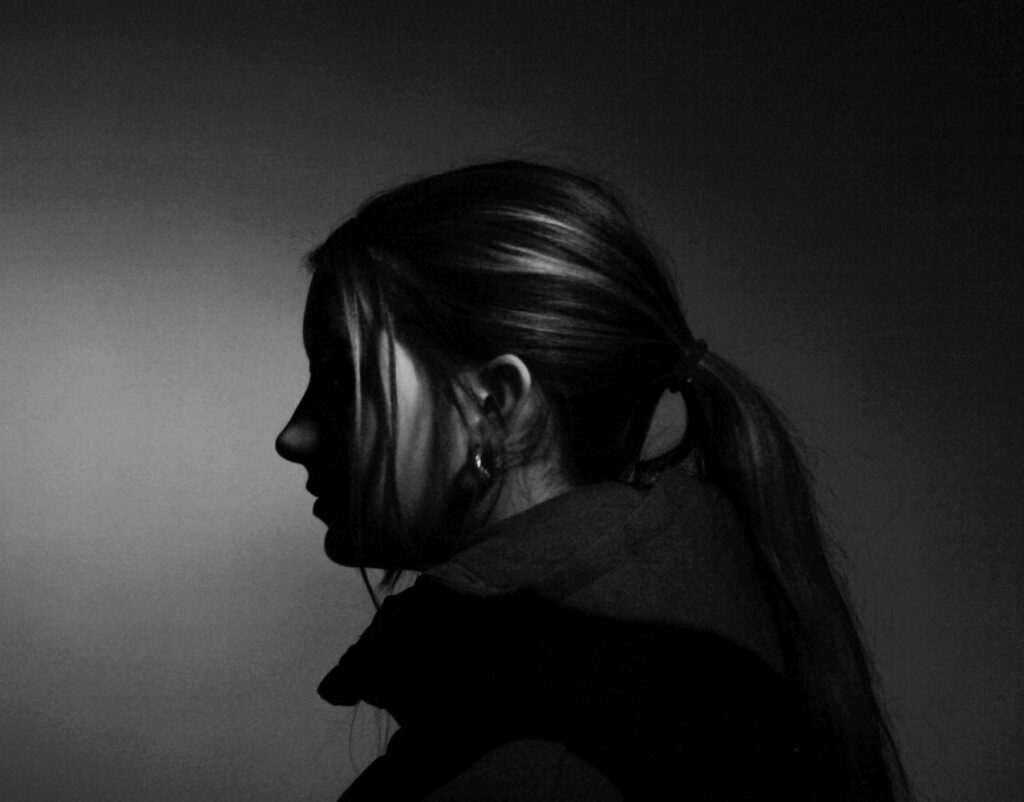
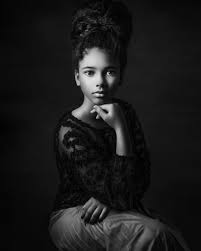
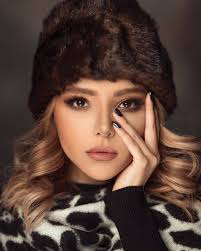
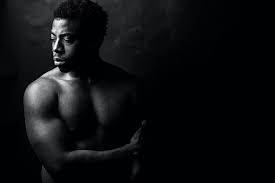
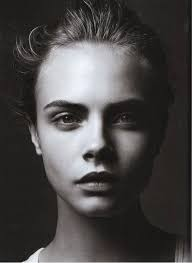
The photographs that are highlighted green are the photos I have chosen to edit, because they have the best poses and composition. They also display the different types of lighting the most effectively and well, so it is easy to tell which lighting was used for each of these photographs.

Chiaroscuro Lighting

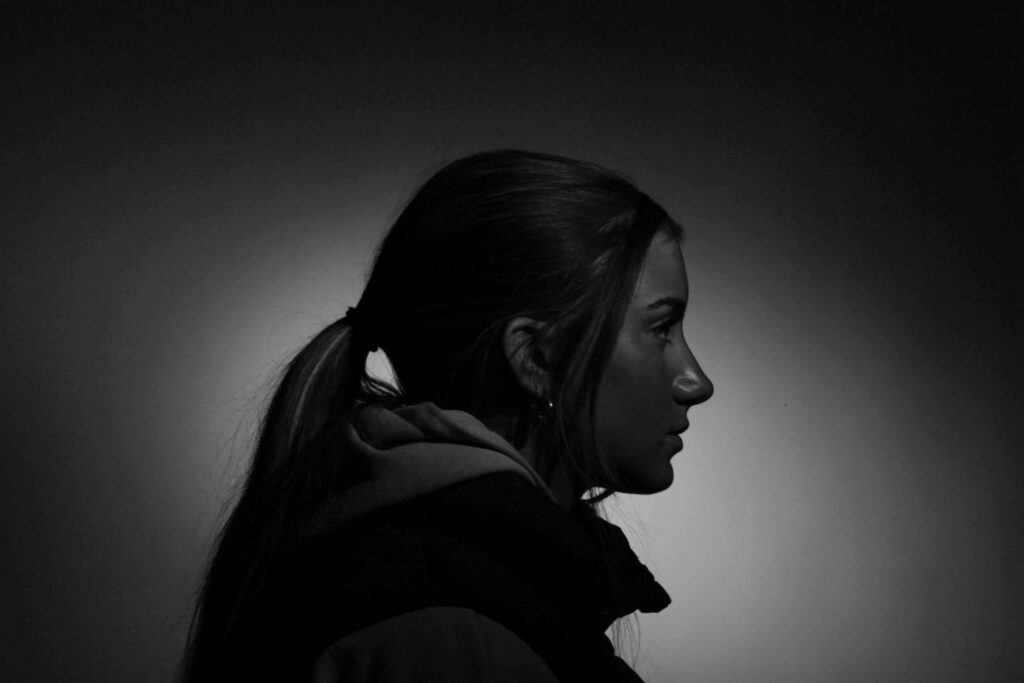
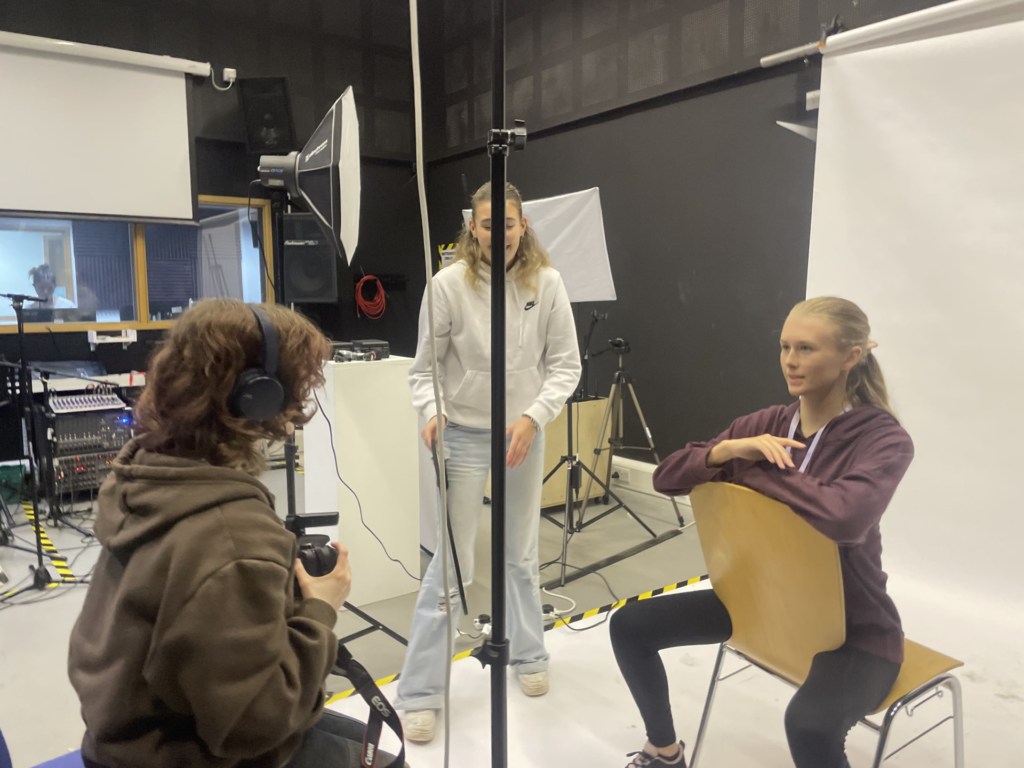
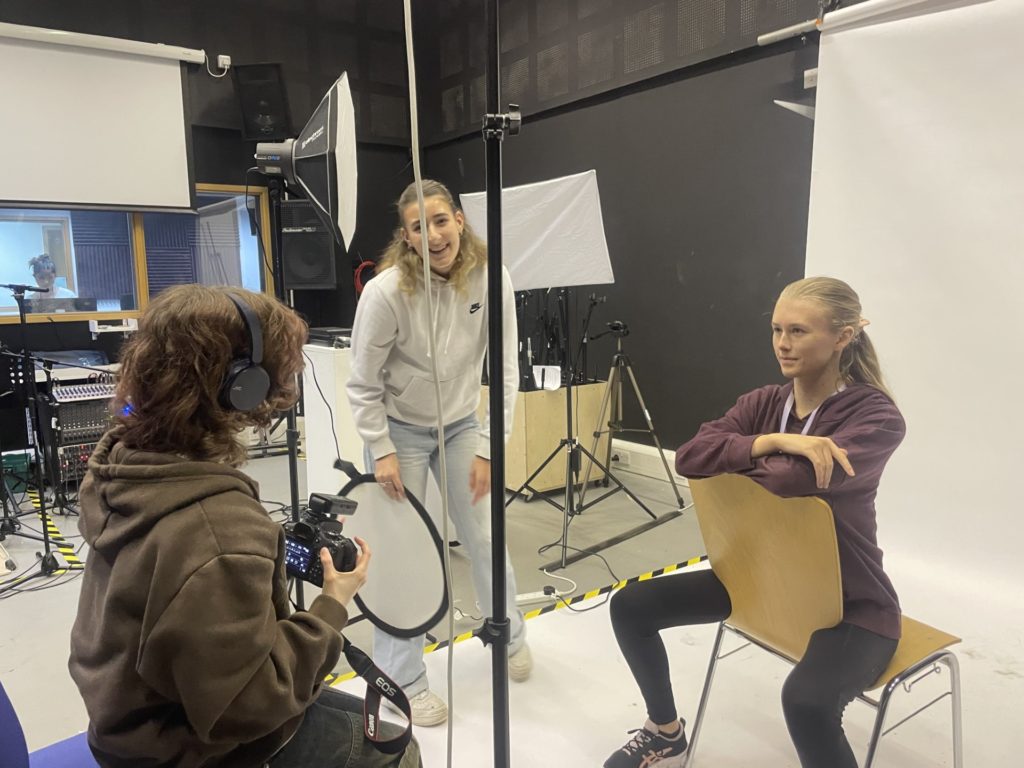
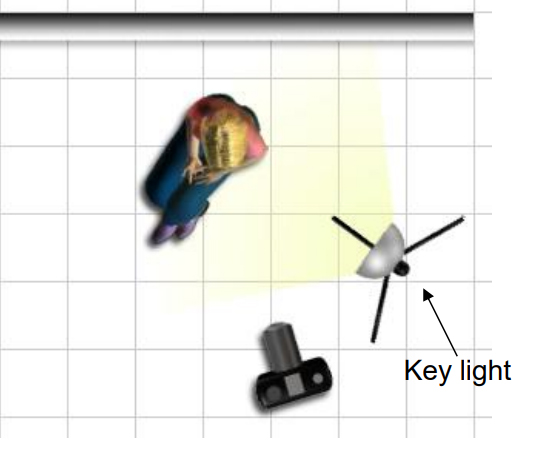
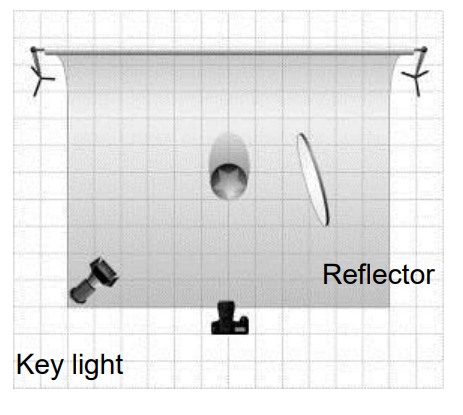
Chiaroscuro lighting, which is also known as split lighting shows a split of the lighting, where there is half dark and hark light. This is how you recognise Chiaroscuro Lighting. The set up, which was used is shown below;

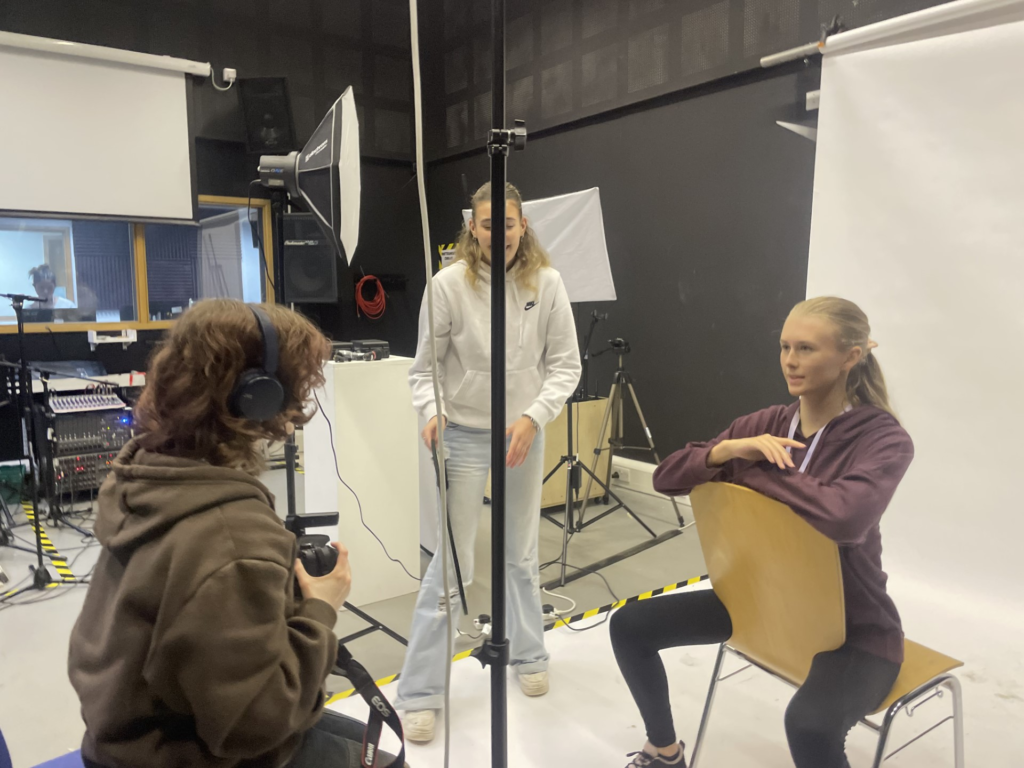
The light was positioned at the side of the model and camera and was angled on a 45 degree angle, to face the model. The light was about 2 feet higher than the model and slightly tilted down, to shine onto the model. The camera was also positioned on a 45 degree angle to face the model, or directly in front of the model at the same level. The reflector is then positioned under, or to the side of the model on an angle, so the light reflects of it into the models eyes, to make them brighter and more visible.

Edits

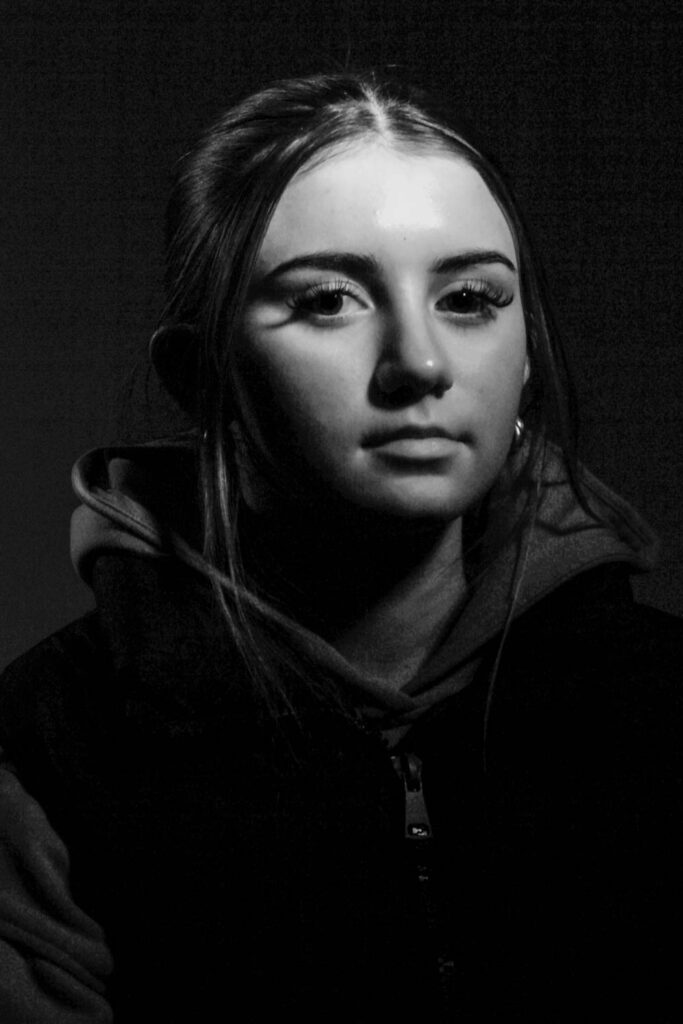
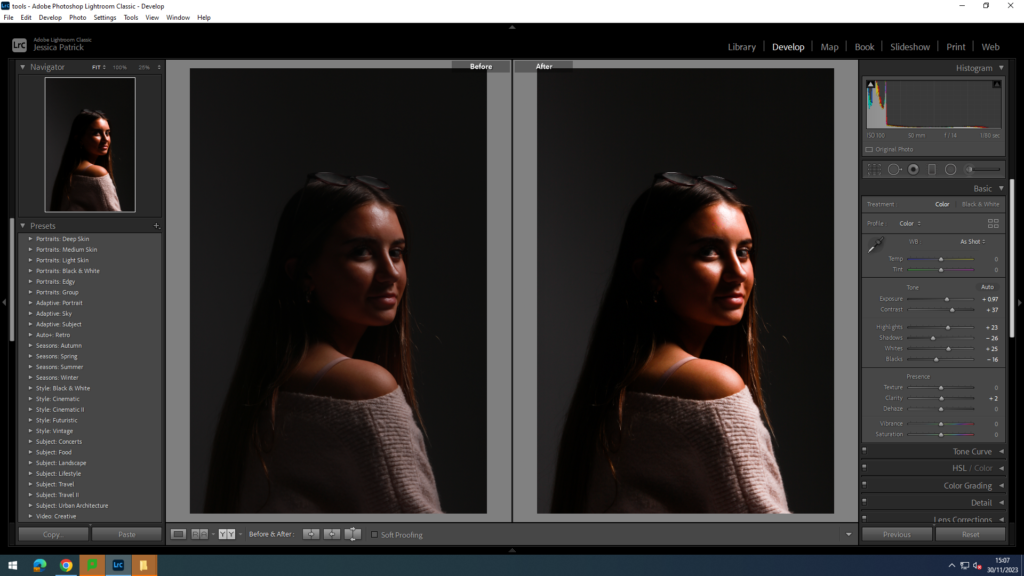
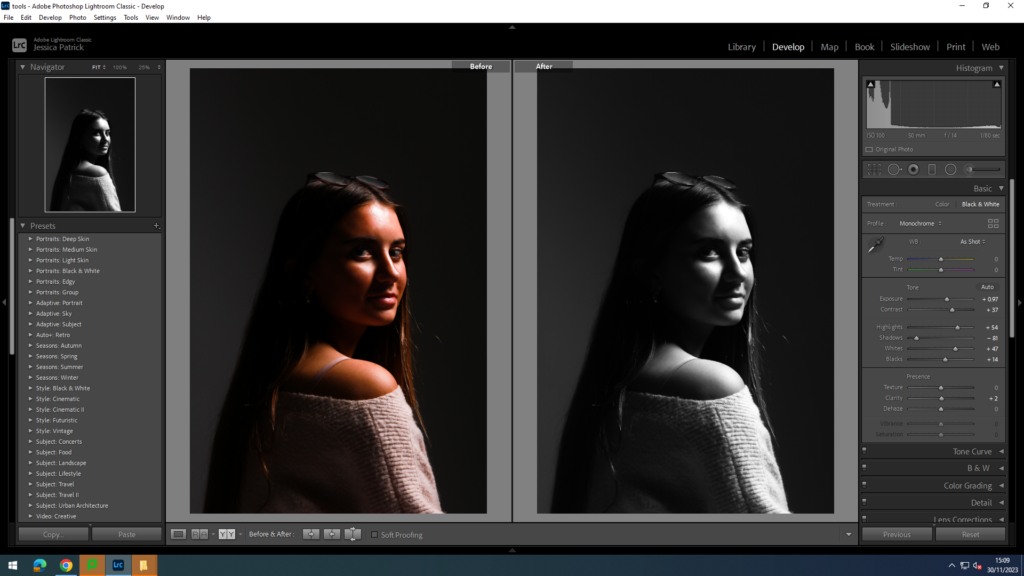
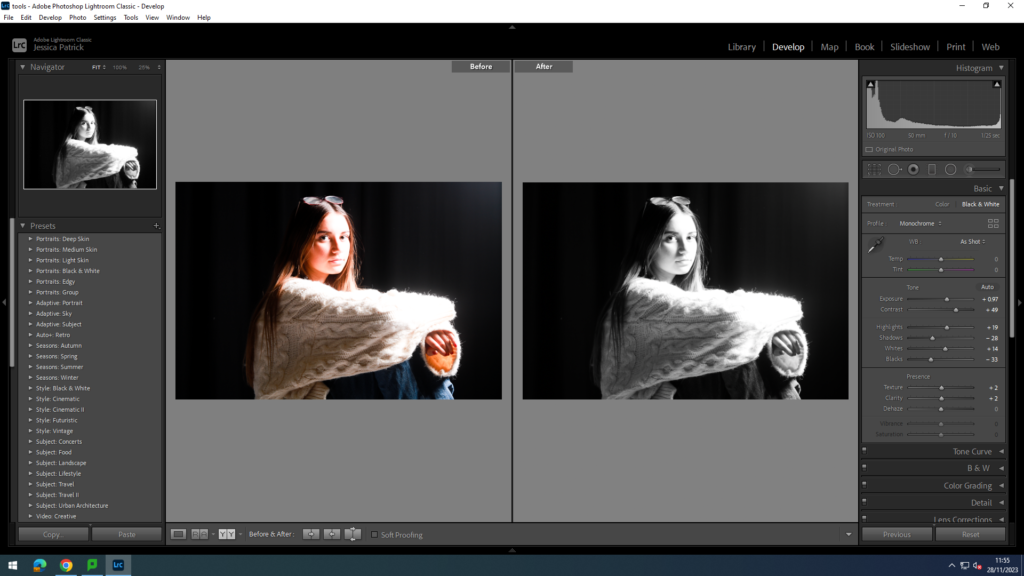
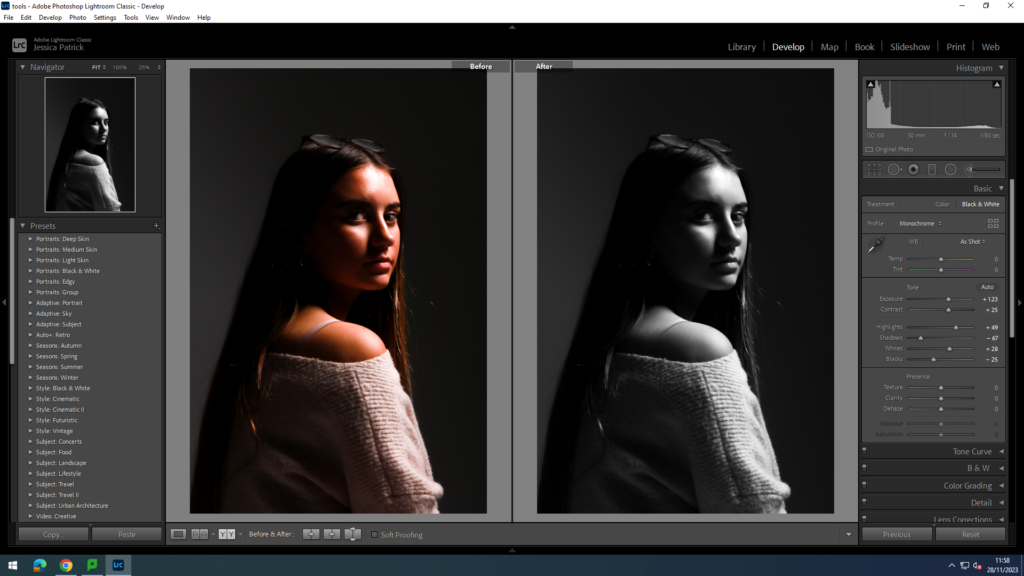
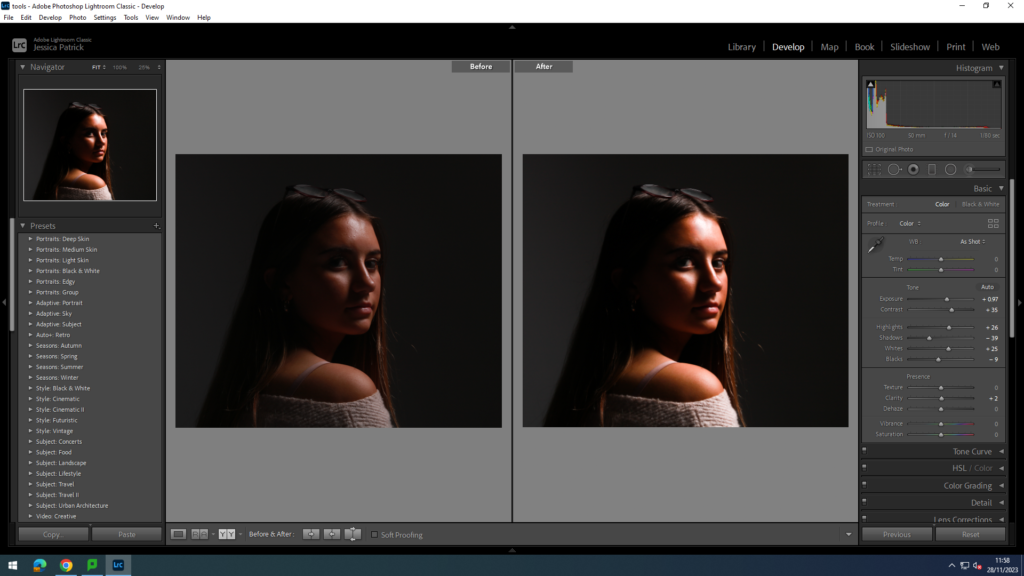
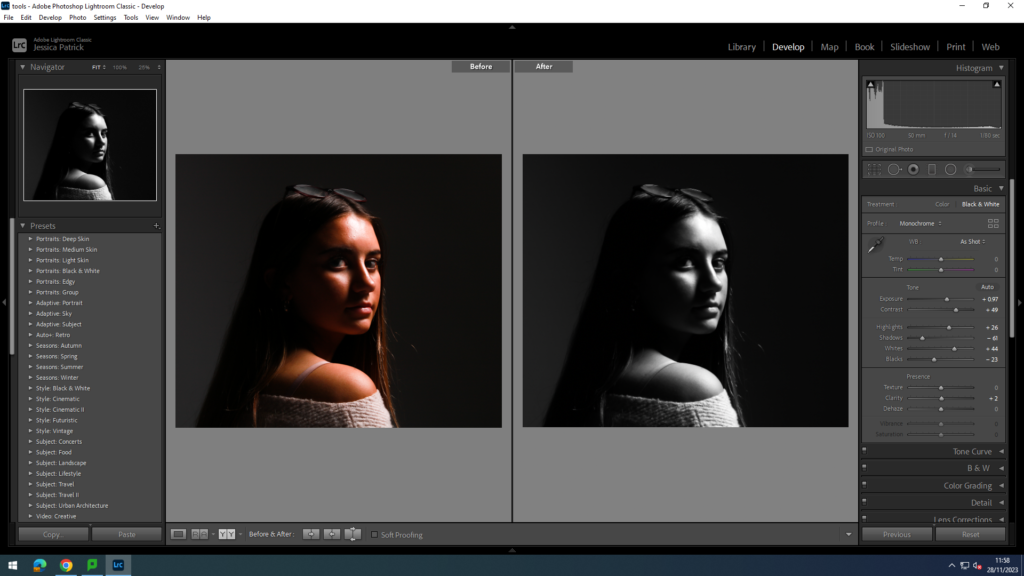
I edited this photo to make it brighter, so the model would stand out more and so the background would be brighter. I did this by increasing the exposure, contrast, whites, highlights, blacks and clarity, while decreasing the shadows. I also used a brightening tool on Lightroom to brighten up the models eyes and used a correction tool on Lightroom to get rid of any blemishes on the models skin, hair etc.

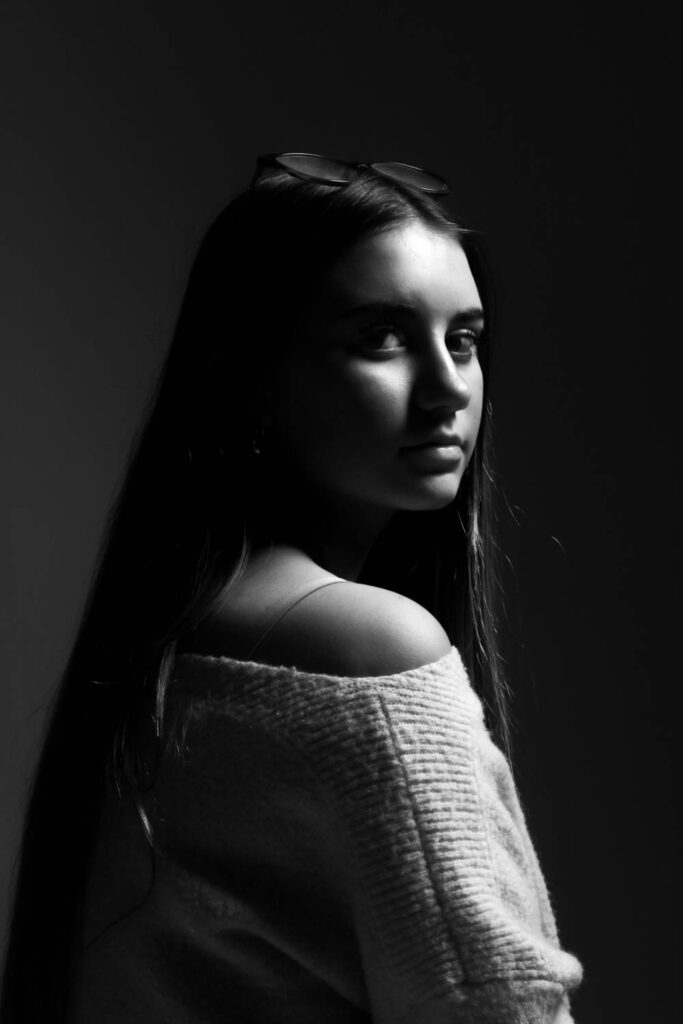
I then made a virtual copy of the edited photo and edited it again to make black and white version, to really help show that split lighting of dark and light.

I edited this photo to make it brighter and more vibrant, so the model and her accessories would stand out more. I did this by increasing the exposure, contrast, whites, highlights, texture and clarity, while decreasing the shadows and blacks. I also used a brightening tool on Lightroom to brighten up the models eyes and used a correction tool on Lightroom to get rid of any blemishes on the models skin, hair etc.
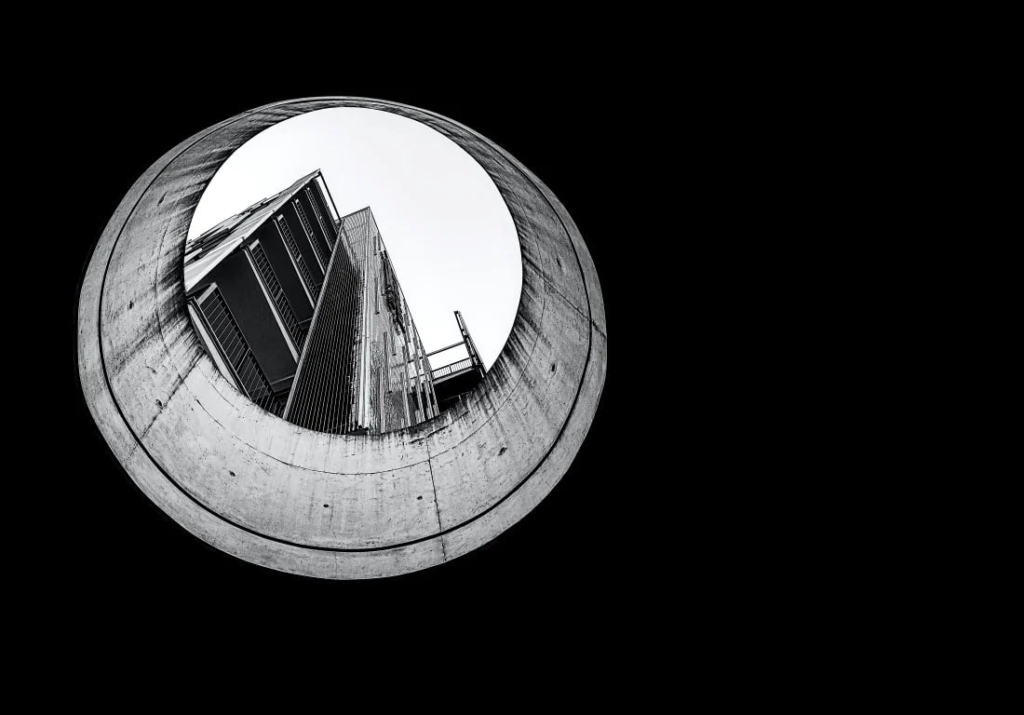
I then also made a virtual copy of the edited photo and edited it again, so I could create a black and white version.

I edited this photo to bring more highlights and light onto the models face, so that it has more contrast, with the dark and light split lighting. I did this by increasing the exposure, contrast, highlights, whites and clarity, while decreasing the shadows and blacks. I also used a brightening tool on Lightroom to brighten up the models eyes and used a correction tool on Lightroom to get rid of any blemishes on the models skin, hair etc.

I then made a virtual copy and edited it again to make a black and white version, so it has more of a contrast between the light and dark and so it shows different tones.

I edited this photo to bring more highlights onto the models face and to make it lighter, so it enhances the contrast between the light and dark. I also thinks this gives the photograph a different mood. I did this by increasing the exposure, contrast, highlights, whites and clarity, while decreasing the blacks and shadows. I also used a brightening tool on Lightroom to brighten up the models eyes and used a correction tool on Lightroom to get rid of any blemishes on the models skin, hair etc.

I then made a virtual copy of the edited photo and made a black and white version.

For all my Chiaroscuro photographs the camera settings were;

Aperture: f/10

Shutter Speed: 1/25 seconds

ISO: ISO-100

Top 8 Chiaroscuro Lighting photographs

Conclusion

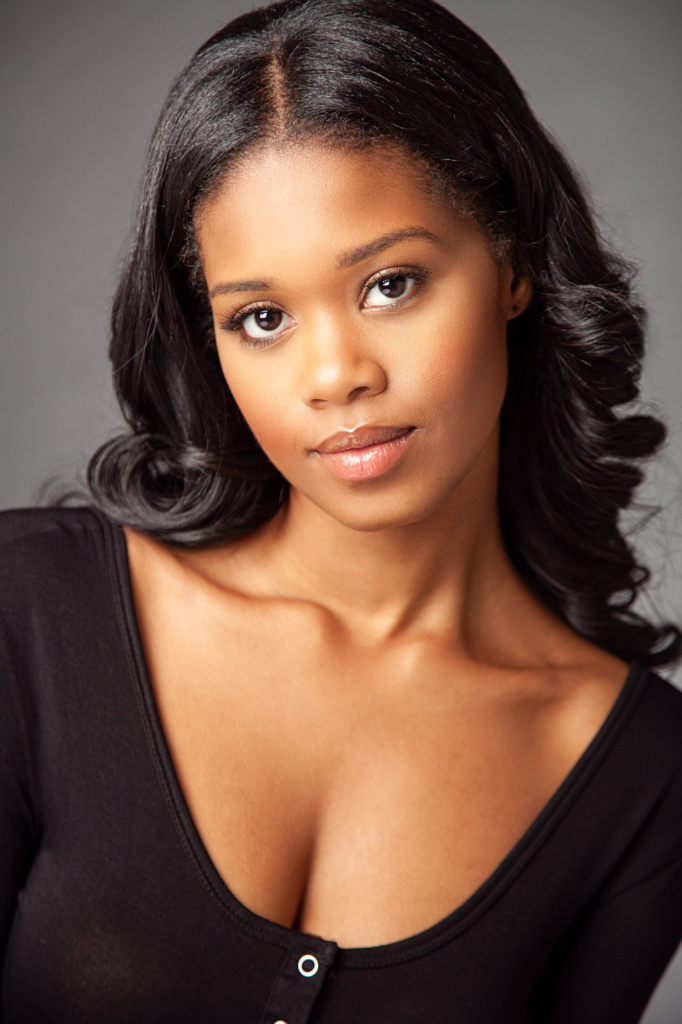
In conclusion, I think this photoshoot went well, as I understood the lighting technique and managed to achieve portraits using this lighting technique, because I was able to set up the studio correctly for the different types of lighting. I also experimented with different backgrounds, such as black or white backgrounds, to give the photograph a different mood. I was also able to direct my models to try different poses and to sit at different angles or facing different ways. This helped change the mood of the photographs. I also experimented a lot with my editing skills, as I used a brightening tool on Lightroom to brighten up my models eyes, so they would be more visible and stand out more. Furthermore, I also used a correction tool on Lightroom to correct or get rid of any blemishes on my models skin, hair etc. I then also experimented with making my photos black and white, so it would give a complete new portrait and a complete new mood.
Portraits

Photoshoot- Edits

The photographs that are highlighted green are the photos I have chosen to edit, because they have the best poses and composition. They also display the different types of lighting the most effectively and well, so it is easy to tell which lighting was used for each of these photographs.

Butterfly Lighting

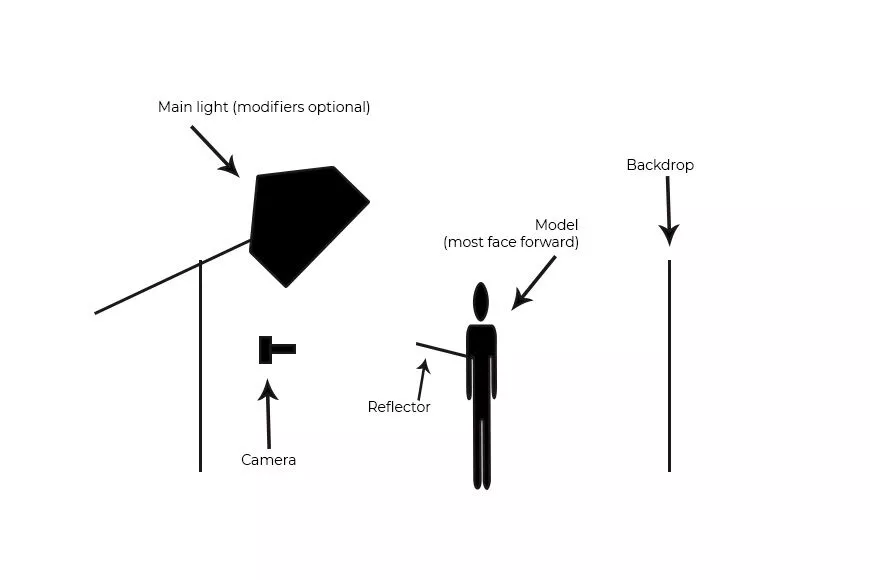
Butterfly lighting is lighting that displays a butterfly shadow under the nose. This is how you can tell it is butterfly lighting. The set up which was used is shown below;

The light was positioned directly in front of the model, but raised about 2 feet above the model, so the light would shine down onto them. The camera was also positioned directly in front of the model, but at the same level as the model. The reflector is then used to reflect the light into the models eyes to make them brighter and more visible in the photograph. The reflector is positioned either under the model on an angle, or to the side of the model on an angle. 

Edits

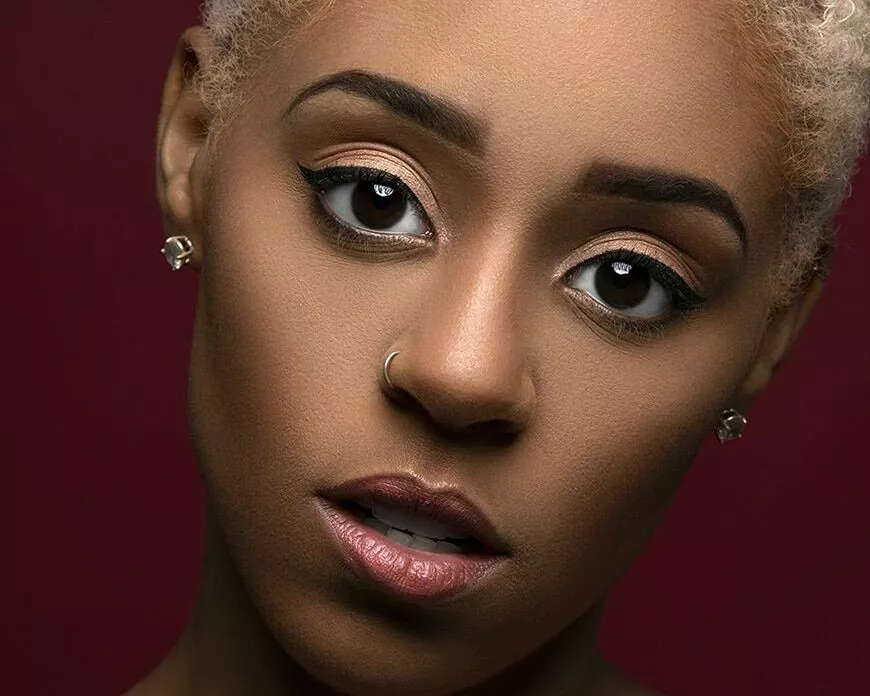
I edited this photo to make it much brighter, so that the model was more visible. I did this by increasing the exposure, contrast, highlights and whites, while also decreasing the shadows and blacks. I also experimented with editing in Lightroom, by using a brightening tool on the models eyes, so they are brighter and more visible. I also used a correction tool to get rid of any blemishes on the skin, hair etc.

I also experimented with the editing by making a virtual copy of the edited photo and making it black and white.

I edited this photo to make it much brighter, so that it was more vibrant and the model could be more visible. I did this by increasing the exposure, contrast, highlights, whites and clarity, while also decreasing the shadows and blacks. I also experimented with editing in Lightroom, by using a brightening tool on the models eyes, so they are brighter and more visible. I also used a correction tool to get rid of any blemishes on the skin, hair etc.

I also made a virtual copy of the edited photo and edited it again, so it was black and white. I did this to give the portrait a different mood and to just experiment with different tones and contrasts.

I edited this photo to make it brighter and more vibrant, so the model and her features were more visible. I did this by increasing the exposure, contrast, highlights, whites, texture and clarity, while decreasing the shadows and blacks. I also experimented with editing in Lightroom, by using a brightening tool on the models eyes, so they are brighter and more visible. I also used a correction tool to get rid of any blemishes on the skin, hair etc.

I also made a virtual copy of the edited photo and edited it again to make a black and white copy. I then started to experiment with different backgrounds, so I used a black background instead of white background.

I edited this photo to make the model more vibrant and the photo brighter, so that the model would stand out more. I did this by increasing the exposure, contrast, highlights, whites and clarity, while decreasing the shadows and blacks. I also experimented with editing in Lightroom, by using a brightening tool on the models eyes, so they are brighter and more visible. I also used a correction tool to get rid of any blemishes on the skin, hair etc.
I then made a virtual copy of the edited photo and edited it again to create a black and white version.

I edited this photo to make it brighter and to give the model’s face more highlights, so that the shadow under her nose stood out more, so it was easier to to tell it was butterfly lighting that was used. I did this by increasing the exposure, contrast, highlights, whites, texture and clarity, while decreasing the shadows and blacks. I also experimented with editing in Lightroom, by using a brightening tool on the models eyes, so they are brighter and more visible. I also used a correction tool to get rid of any blemishes on the skin, hair etc.

I also made a virtual copy of the edited photo and edited it again to make a black and white version.

For all my butterfly photographs the camera settings were;

Aperture: f/14

Shutter Speed: 1/80 seconds

ISO: ISO-100

Top 9 Butterfly lighting photographs

Conclusion

In conclusion, I think this photoshoot went well, as I understood the lighting technique and managed to achieve portraits using this lighting technique, because I was able to set up the studio correctly for the different types of lighting. I also experimented with different backgrounds, such as black or white backgrounds, to give the photograph a different mood. I was also able to direct my models to try different poses and to sit at different angles or facing different ways. This helped change the mood of the photographs. I also experimented a lot with my editing skills, as I used a brightening tool on Lightroom to brighten up my models eyes, so they would be more visible and stand out more. Furthermore, I also used a correction tool on Lightroom to correct or get rid of any blemishes on my models skin, hair etc. I then also experimented with making my photos black and white, so it would give a complete new portrait and a complete new mood.
Portraits

Photoshoot- Edits

The photographs that are highlighted green are the photos I have chosen to edit, because they have the best poses and composition. They also display the different types of lighting the most effectively and well, so it is easy to tell which lighting was used for each of these photographs.

Rembrandt

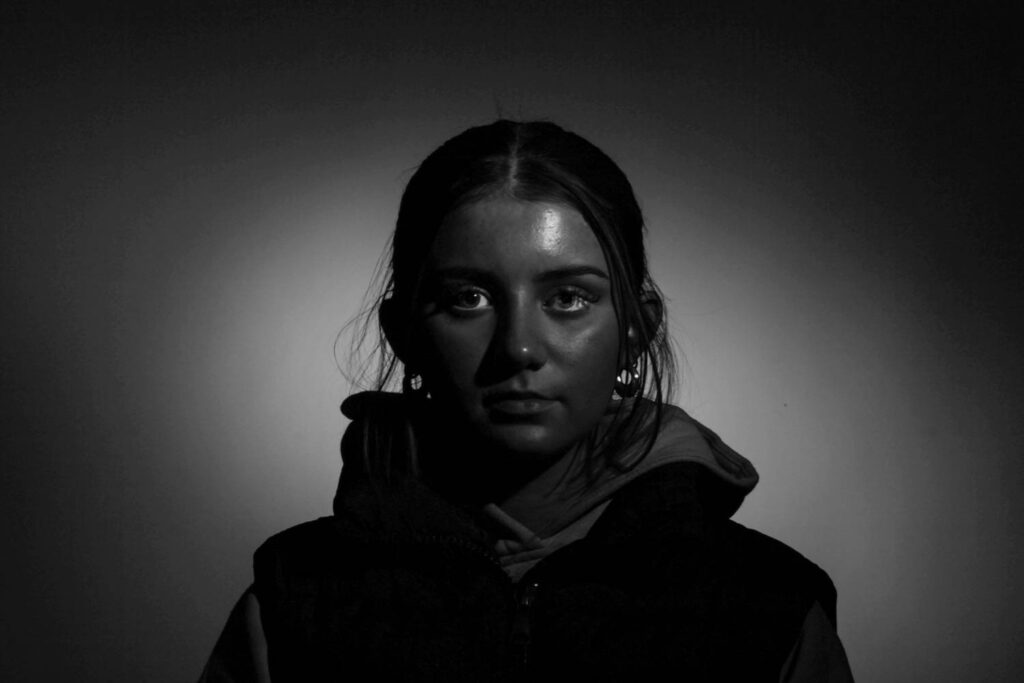
Rembrandt lighting usually displays a triangle on the cheek under one of the eyes. This is how we can tell it is Rembrandt lighting. The set up of Rembrandt lighting, that we used in the studio is below;

The light was on the right hand side of the camera on a 45 degree angle, onto the model. The light is also roughly 2 feet higher than the model and positioned to point slightly down. The reflector was then used to reflect that light into the eyes of the model to make them brighter and more visible in the photo. The reflector is positioned either under the model on an angle, or to the side of the model on an angle. The camera is then positioned directly in front of the model.

Edits

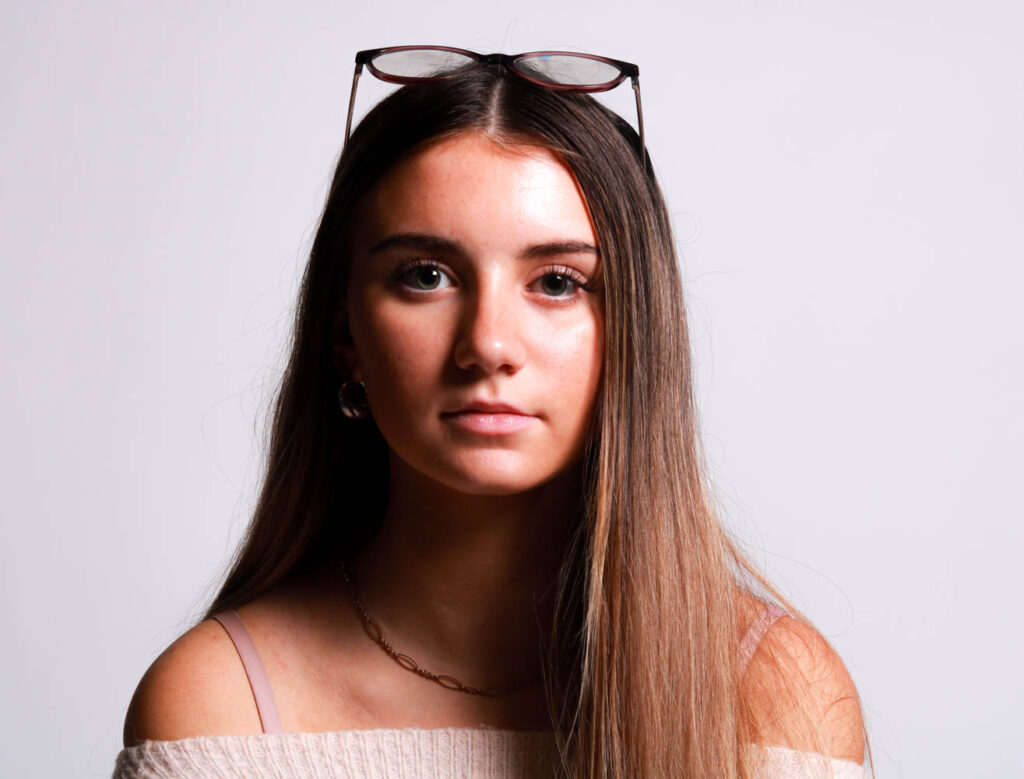
I edited this photo to make it brighter, so the model would stand out more. I did this by increasing the exposure, contrast, highlights, whites, texture and dehaze, while decreasing the shadows, blacks and clarity. I also then made a copy of the edited photo, which I edited again to make it black and white. I also used a brightening tool on Lightroom to brighten up the models eyes and used a correction tool on Lightroom to get rid of any blemishes on the models skin, hair etc.
I then took another photo of the model, but experimented with the background, and tried out a black background.

I edited this photograph to make the model brighter and exposure higher, so the model would be more visible and the viewpoint of this photograph. I edited this by increasing the exposure, contrast, highlights, whites, texture and clarity, while decreasing the shadows and blacks. I then also made of copy of the edited photograph and edited it again to create a black and white version. I also used a brightening tool on Lightroom to brighten up the models eyes and used a correction tool on Lightroom to get rid of any blemishes on the models skin, hair etc.

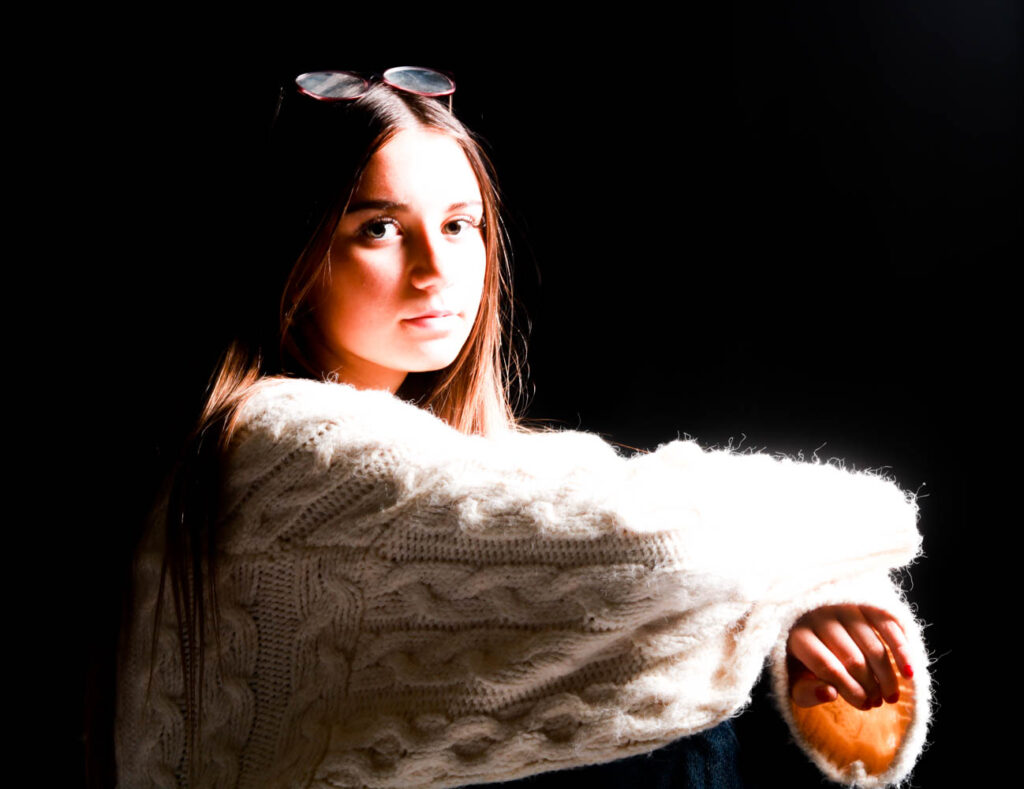
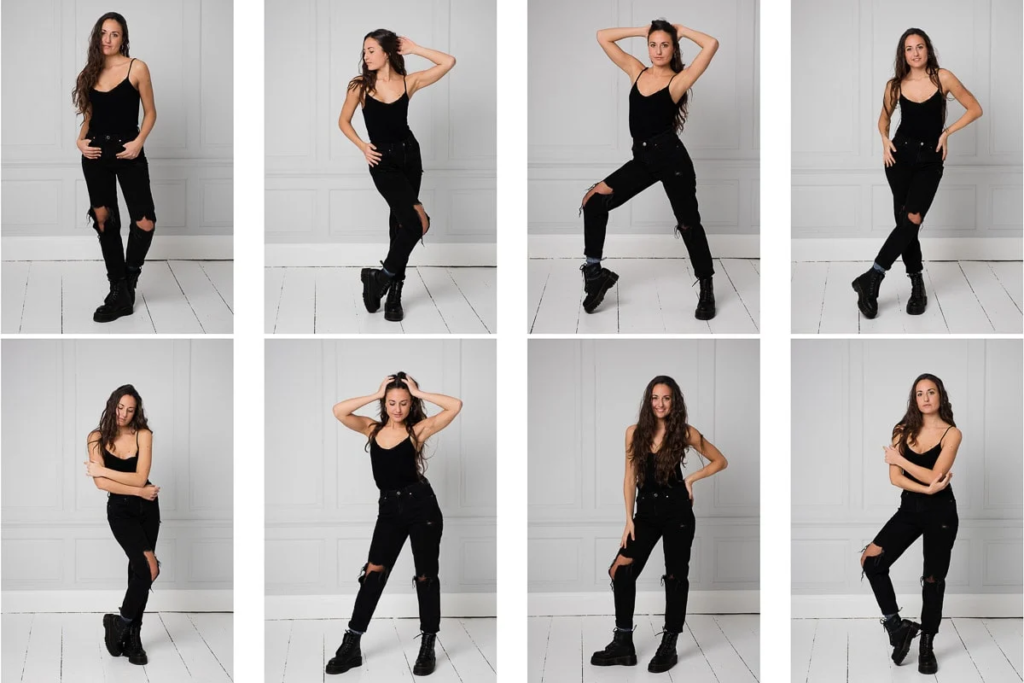
I then started to experiment with different poses, using hands, arms, legs, or body movement. In the photograph below I ask the model to turn to sit facing the side and to hug her legs and then look at the camera.

I edited this photograph to make it brighter, and to create more of a light contrast on the models face. I did this by increasing the exposure, contrast, highlights, whites, texture and clarity, while decreasing the shadows and blacks. I then made a copy of the edited photograph and edited it again, to create a black and white version. I also used a brightening tool on Lightroom to brighten up the models eyes and used a correction tool on Lightroom to get rid of any blemishes on the models skin, hair etc.

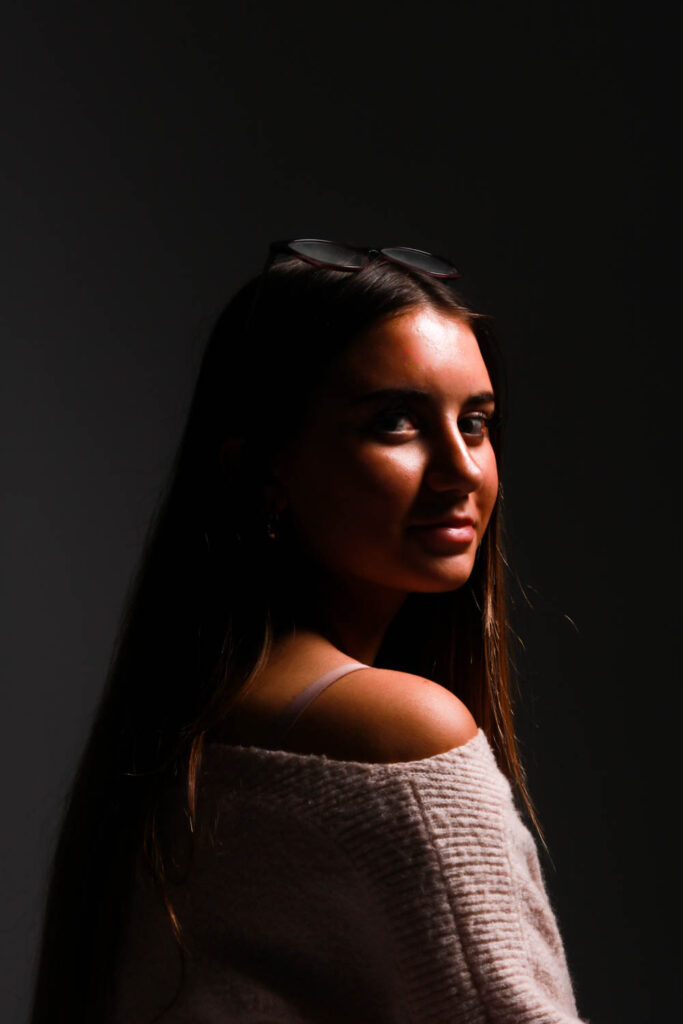
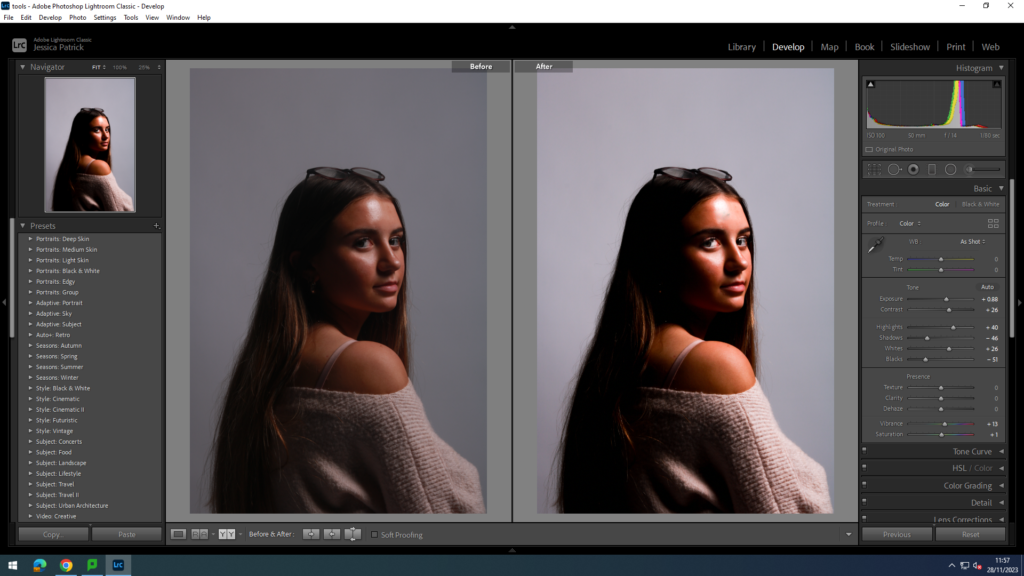
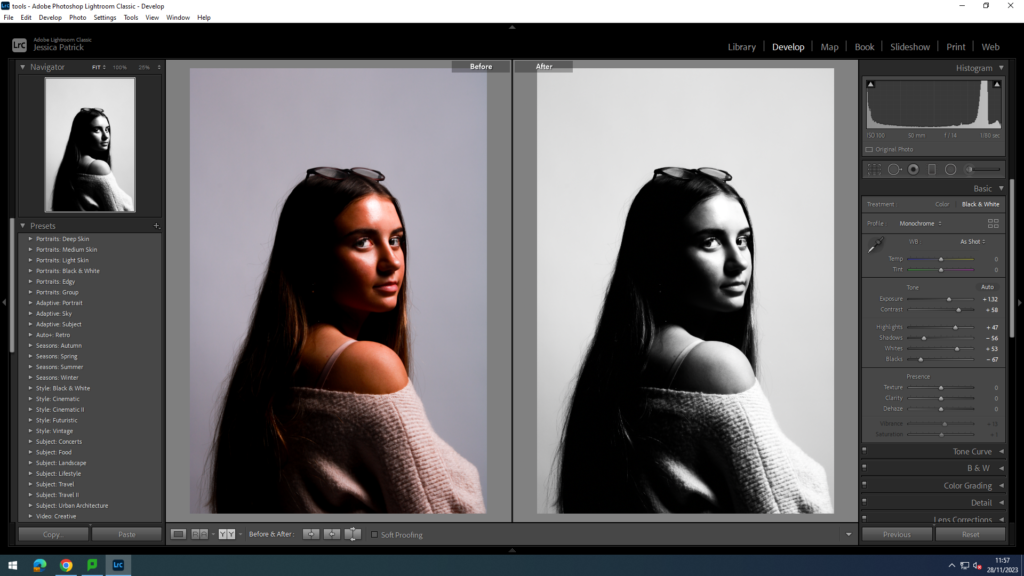
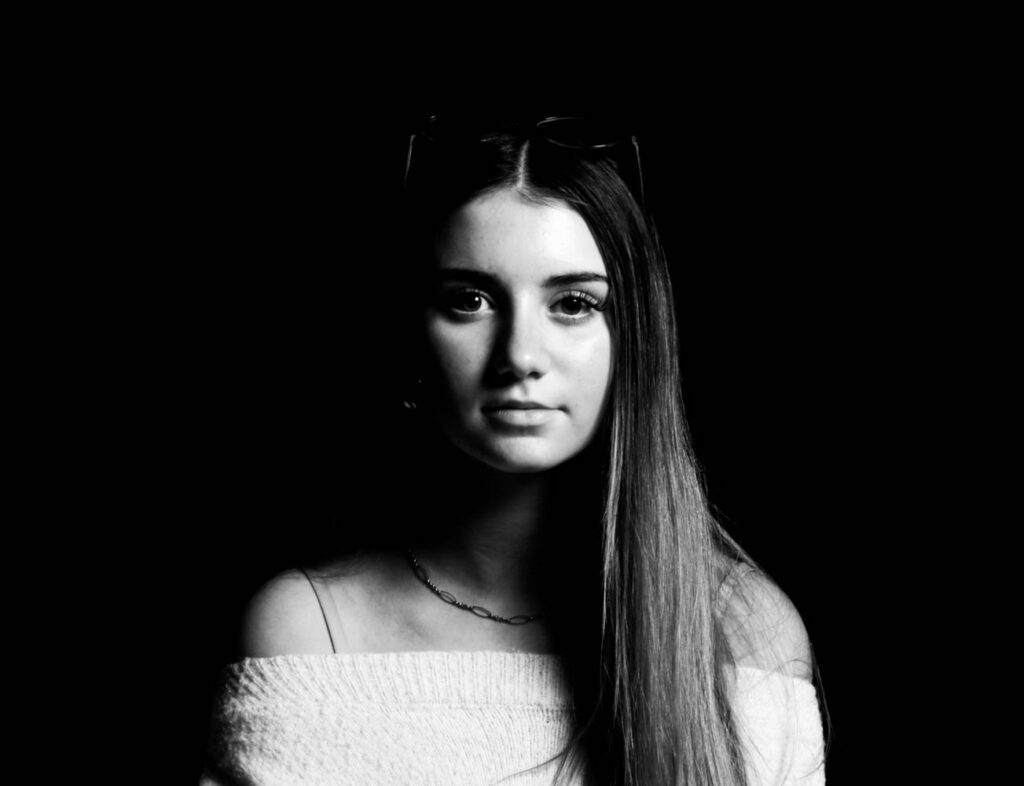
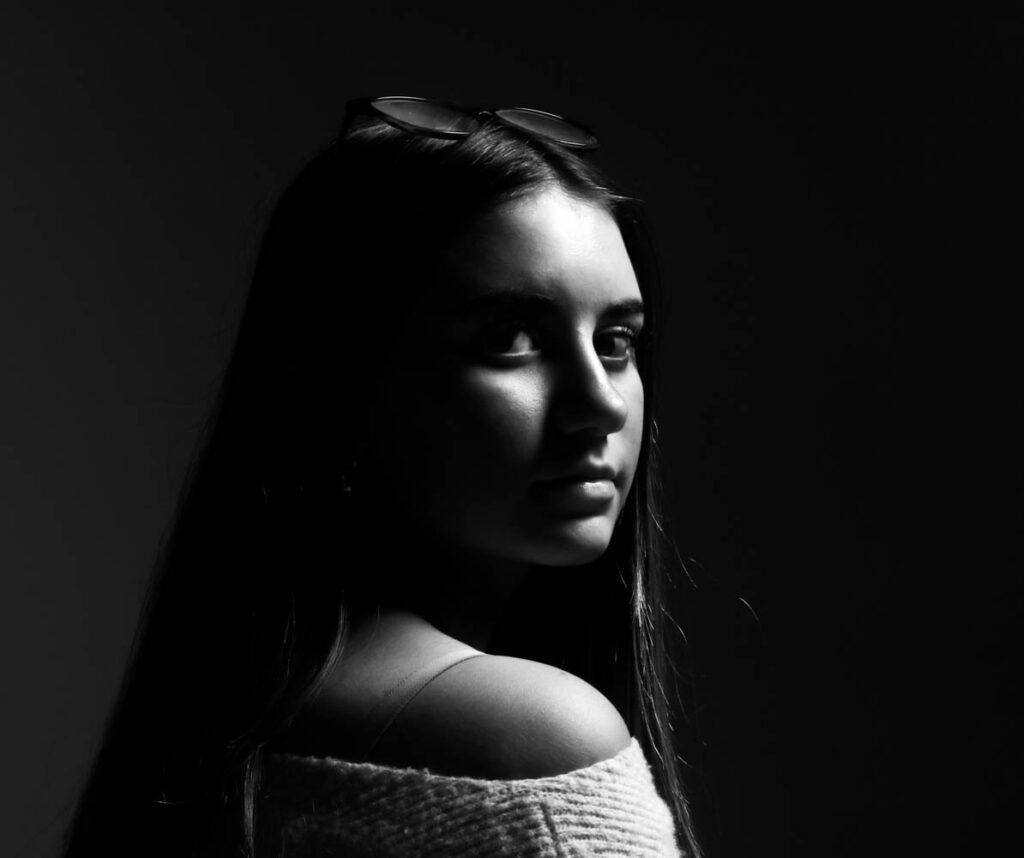
I then asked the model to sit facing away from the camera and turning around over her shoulder to look at the camera.

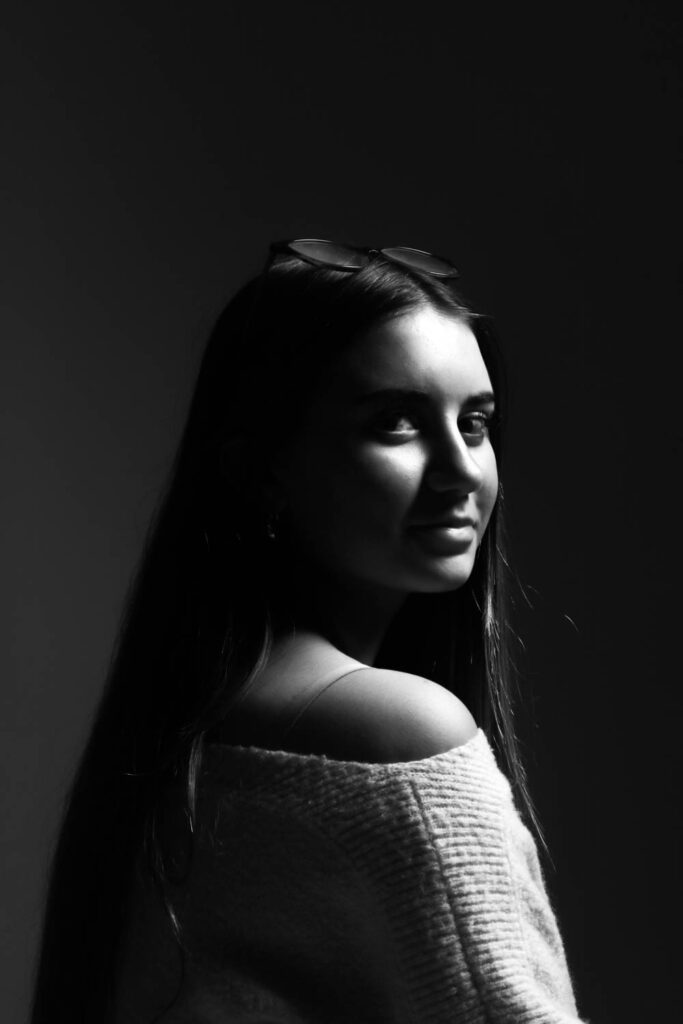
I edited this photo to make it brighter, so the all the models features were visible. I did this by increasing the exposure, contrast, highlights, whites, vibrancy and saturation, while decreasing the blacks and shadows. I then made a copy, to create a black and white version. I also used a brightening tool on Lightroom to brighten up the models eyes and used a correction tool on Lightroom to get rid of any blemishes on the models skin, hair etc.

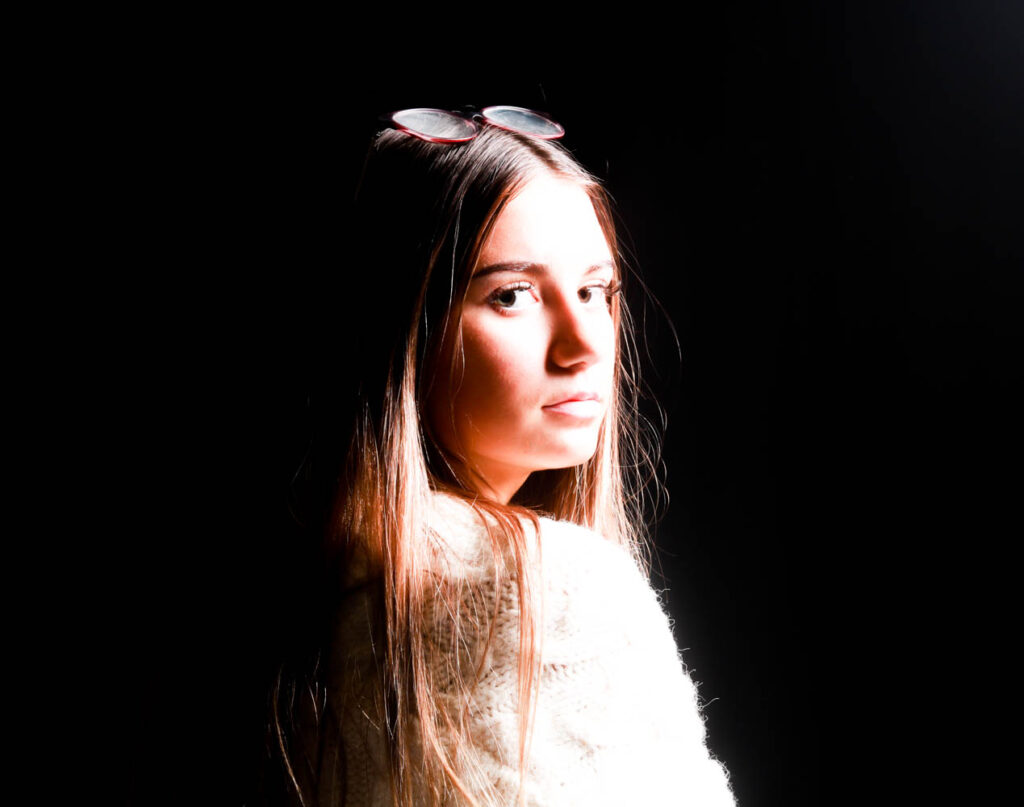
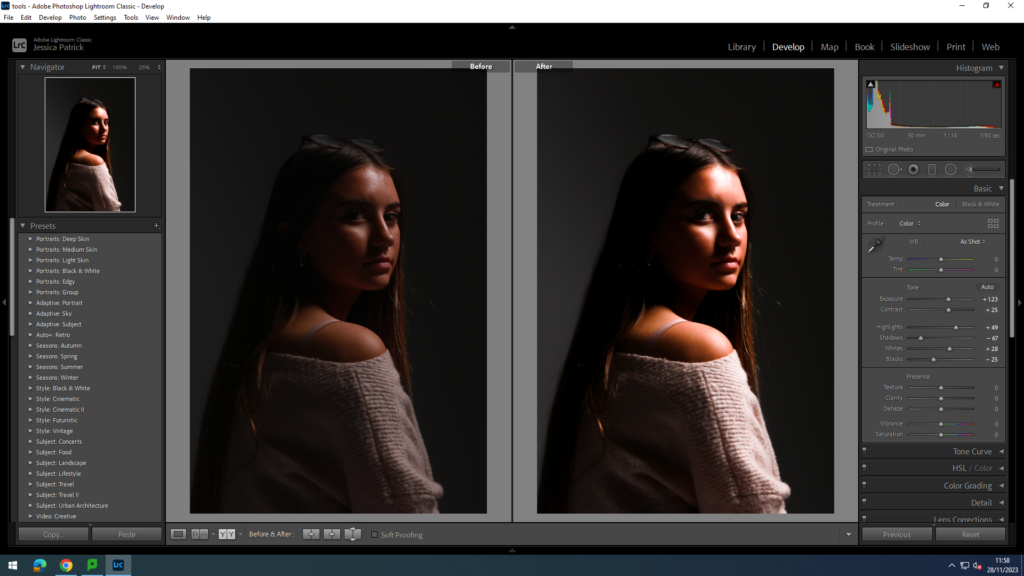
I then experimented with different backgrounds and used a black background, instead of a white background.

I edited this photo, to make it brighter and give it higher exposure, so the model was more visible against the darker background. I did this by increasing the exposure, contrast, highlights and whites, while decreasing the blacks and shadows. I then also made a black and white copy. I also used a brightening tool on Lightroom to brighten up the models eyes and used a correction tool on Lightroom to get rid of any blemishes on the models skin, hair etc.

I then experimented with the space around the model, by making the model much closer and bigger, with less space around her.

I also made a black and white copy of the edited photograph.

For all my Rembrandt photos the camera settings were:

Shutter speed: f/14

Aperture: 1/80 seconds

ISO: ISO-100

Top 9 Rembrandt photographs

Conclusion

In conclusion, I think this photoshoot went well, as I understood the lighting technique and managed to achieve portraits using this lighting technique, because I was able to set up the studio correctly for the different types of lighting. I also experimented with different backgrounds, such as black or white backgrounds, to give the photograph a different mood. I was also able to direct my models to try different poses and to sit at different angles or facing different ways. This helped change the mood of the photographs. I also experimented a lot with my editing skills, as I used a brightening tool on Lightroom to brighten up my models eyes, so they would be more visible and stand out more. Furthermore, I also used a correction tool on Lightroom to correct or get rid of any blemishes on my models skin, hair etc. I then also experimented with making my photos black and white, so it would give a complete new portrait and a complete new mood.
Studio Lighting Introduction

Exploring Technique

In most cases we can make use of natural or available / ambient light, but we must be aware of different kinds of natural light and learn how to exploit it thoughtfully and creatively;

  • intensity of the light
  • direction of the light
  • temperature of the light (and white balance on the camera)
  • making use of ‘the golden hour’
  • Using reflectors (silver / gold)

Golden hour- Seen as the best time to shoot, because the lighting is warm and soft, which enhances shots of landscapes, nature and more.
Artificial/ Studio Lighting

Using artificial lighting can offer many creative possibilities;

  • the size and shape of light
  • distance from subject to create hard / soft light
  • angles and direction, high, low, side lighting, filtered light
  • camera settings : WB / ISO / shutter speed etc
  • reflectors and diffusers
  • key lighting, fill lighting, back lighting, 1,2+3 point lighting
  • soft-boxes, flash lighting, spot lights and floodlights
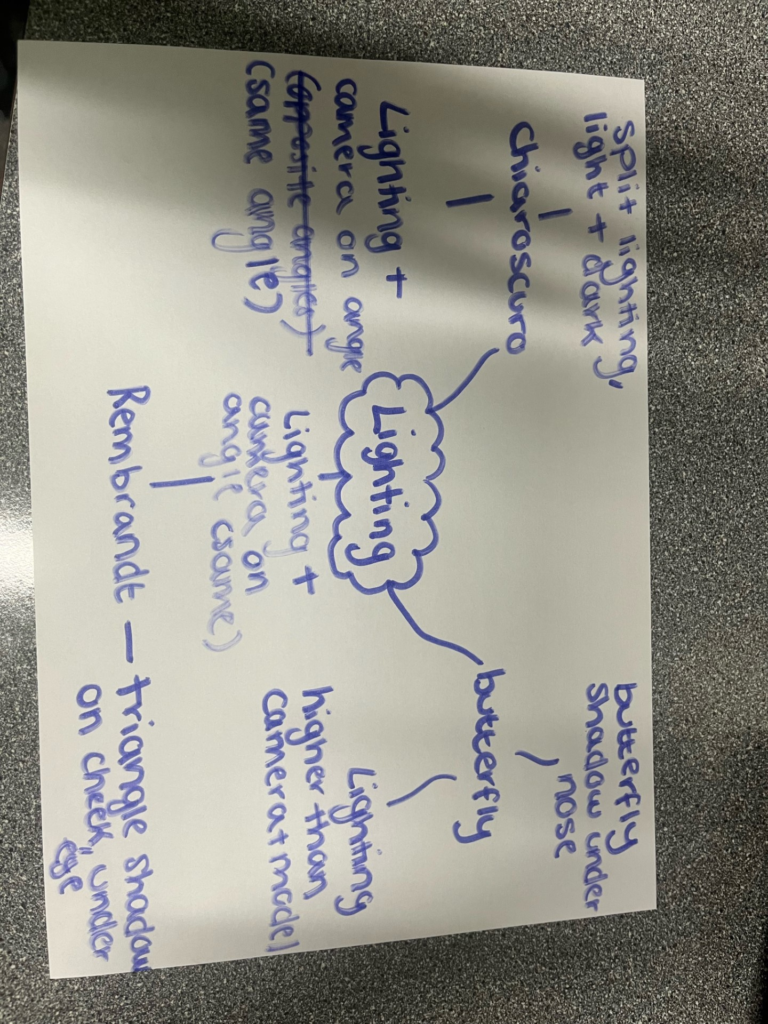
  • Rembrandt lighting, butterfly lighting, chiarascuro 
  • high key and low key lighting techniques
  • backdrops and infinity curves
  • long exposures and slow shutter speeds

Rembrandt Lighting

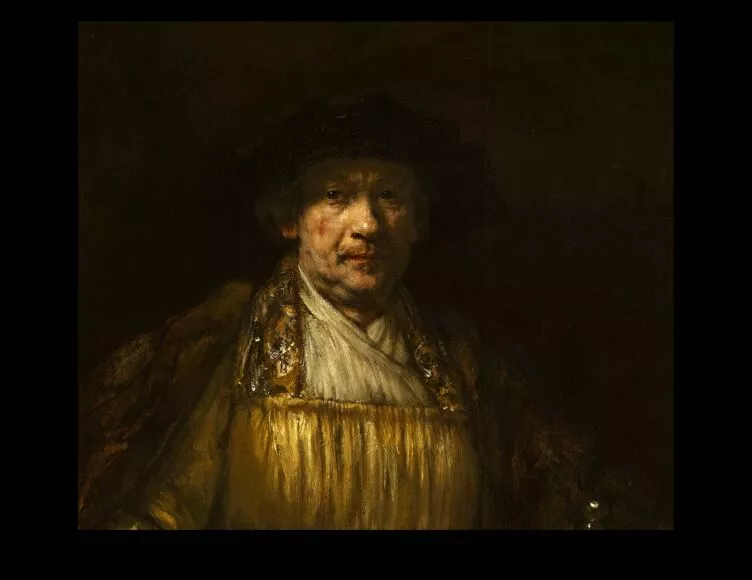
Rembrandt lighting is a technique for portrait photography, named after Rembrandt Harmenszoon van Rijn, the great Dutch painter. It refers to a way of lighting a face so that an upside-down light triangle appears under the eyes of the subject.

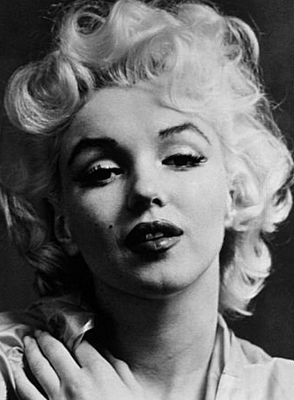
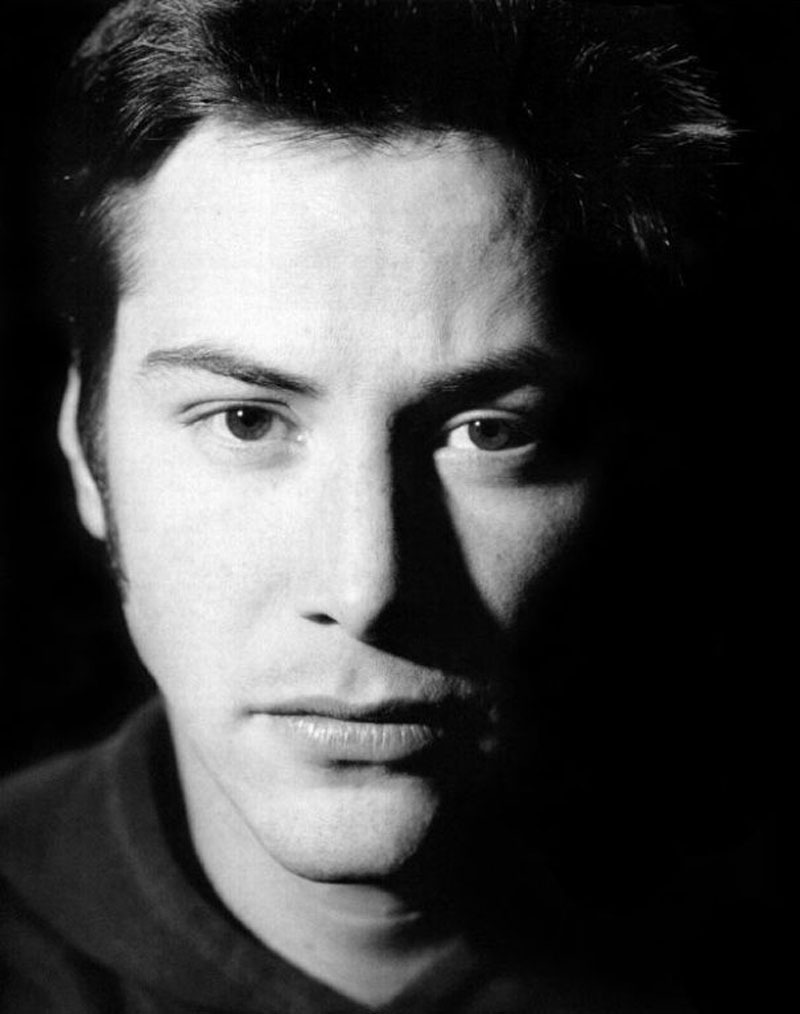
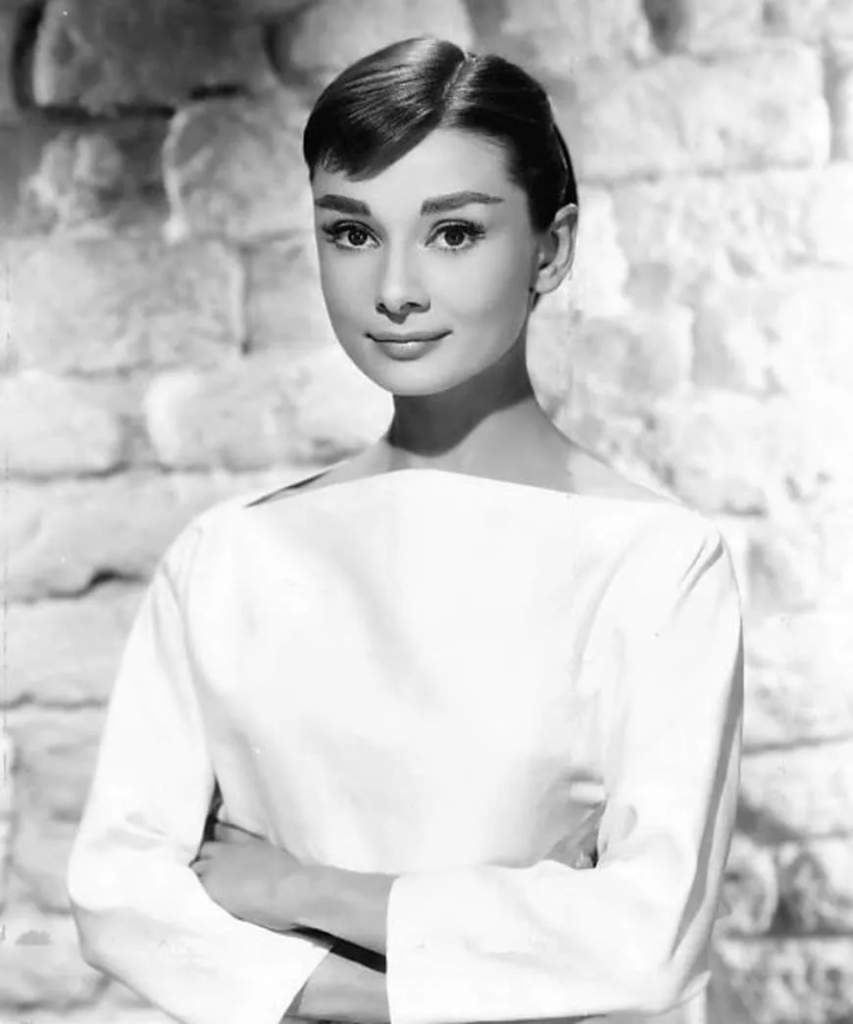
In Hollywood in the early 20th century, the legendary film director Cecil B. DeMille introduced spotlights to create more realistic effects of light and shadows into the ‘plain’ studio lighting setup that was generally in use. Rembrandt lighting is one effect that was created by this, and it became widely used in promotional photographs of film stars showing them in a dramatic and eye-catching way. An example of these film stars is Marylin Monroe and Keanu Revees;

Why use Rembrandt Lighting?

Rembrandt lighting is used to create shadows and contrast, and the ‘triangle of light’, beneath someone’s eye. This causes an element of drama and psychological depth onto the individual, who’s photo is being taken. Rembrandt lighting is an effective device to draw the eye. However, you can do this in many ways in photography, such as depth of field, leading lines, negative space etc. In portraiture, the eyes of your subject are nearly always the main point of focus. The triangle of light, placed just below the eye on the shadow side of the face, will increase the emphasis and the viewer really will be ‘drawn in’ to your image.

How to create Rembrandt Lighting set up?

Light: Lighting styles are determined by the positioning of your light source.  Rembrandt lighting is created by the single light source being at a 40 to 45-degree angle and higher than the subject. Use cans use both flashlights and continuous lights.

Lens: Use a 35mm or 50mm if space is at a premium, or if you’re looking at including more of the subject than just the head and shoulders. A 50mm works really nicely for portraits and will give a nice depth of field if you’re shooting at a shallow aperture. But a 35mm will give you a wider point of view and is great to fit more of the body in of your subject.
Examples of Rembrandt Lighting

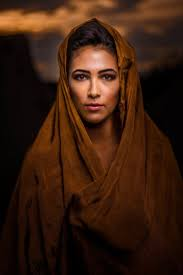
This photograph is using Rembrandt lighting, with hard lighting.

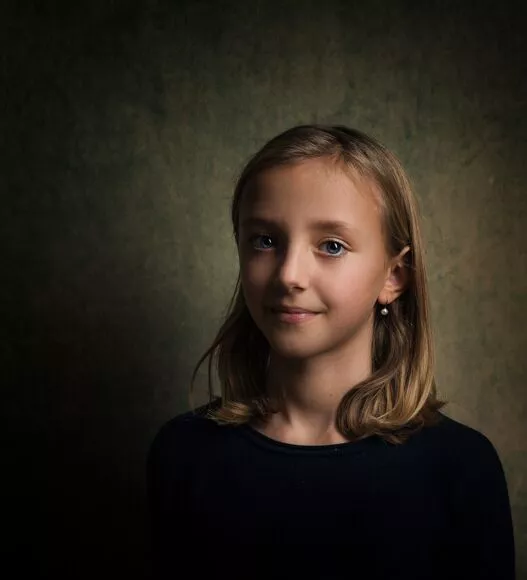
This photograph is using Rembrandt lighting, but now with soft lighting.

Butterfly Lighting

Butterfly lighting is a type of portrait lighting technique used primarily in a studio setting. Its name comes from the butterfly-shaped shadow that forms under the nose because the light comes from above the camera. You may also hear it called ‘paramount lighting’ or ‘glamour lighting’.

What is Butterfly Lighting used for?

Butterfly lighting is used for portraits, because it is a lighting that flatters almost everyone, as it can highlight cheekbones and create shadows under them, as well as under the neck, which makes the model look thinner. This makes it the most commonly used lighting setups. This lighting has also been used for famous stars, from classic Hollywood and that’s why it’s also called Paramount lighting.

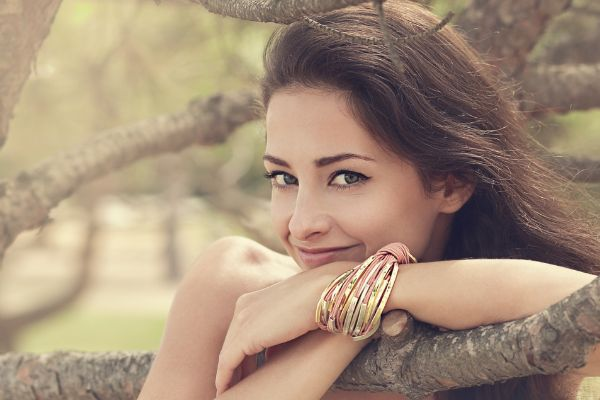
Lighting: Butterfly lighting requires a key light that can be a flash unit or continuous. If continuous, it can be artificial or natural. In other words, you can use strobes, speed lights, LEDs or even the sun. A butterfly lighting effect refers to the setup and not to the quality of light – it can be soft or hard light depending on the effect you want. If you want to create a soft light, you’ll need to use modifiers. A beauty dish is perfect for glamour photography as it distributes the light evenly and smooths the skin. You can also use a softbox or an umbrella. Instead, if you want to have hard light, you can leave the light source as it is. Alternatively, you can use grid spots to direct it and create different effects.

Experimentation: Once you have the key light set up, it’s time to fill the shadows. You can use a reflector to bounce the light back up and soften the shadow under the chin and the one from under the nose. To do so, position the reflector under the subject’s face. Start at waist level and see how it looks. If the shadows are still strong, move it closer to the face and so on. Experiment with different positions to achieve different effects. You can also change the colour of the reflector. A white one will give you a neutral tone, while a golden one gives a warming overcast. Once you’re happy with your butterfly lighting, direct the model to have a striking fashion pose or whatever the desired pose or expression you’re looking for. Just keep in mind that the subject’s face needs to be towards the light in order to have the butterfly shadow under the nose.
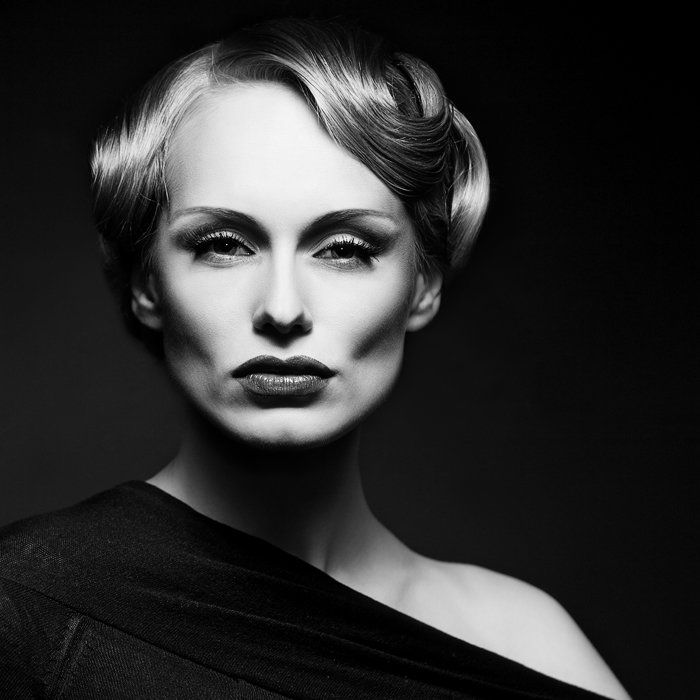
Examples of Butterfly Lighting

Chiaruscuro

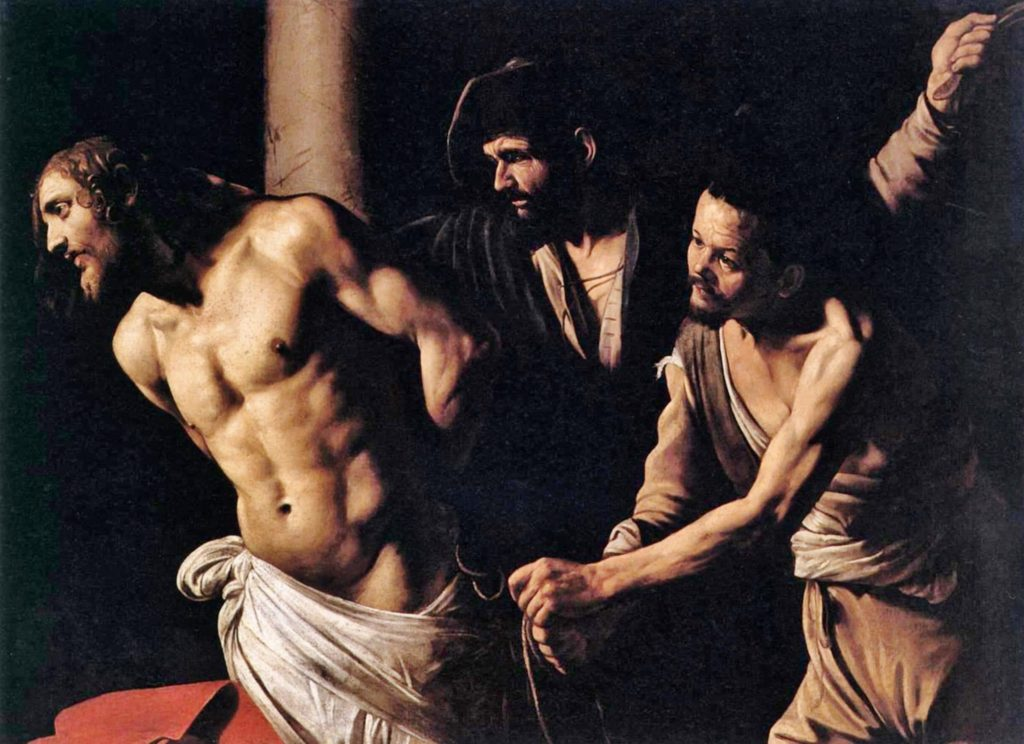
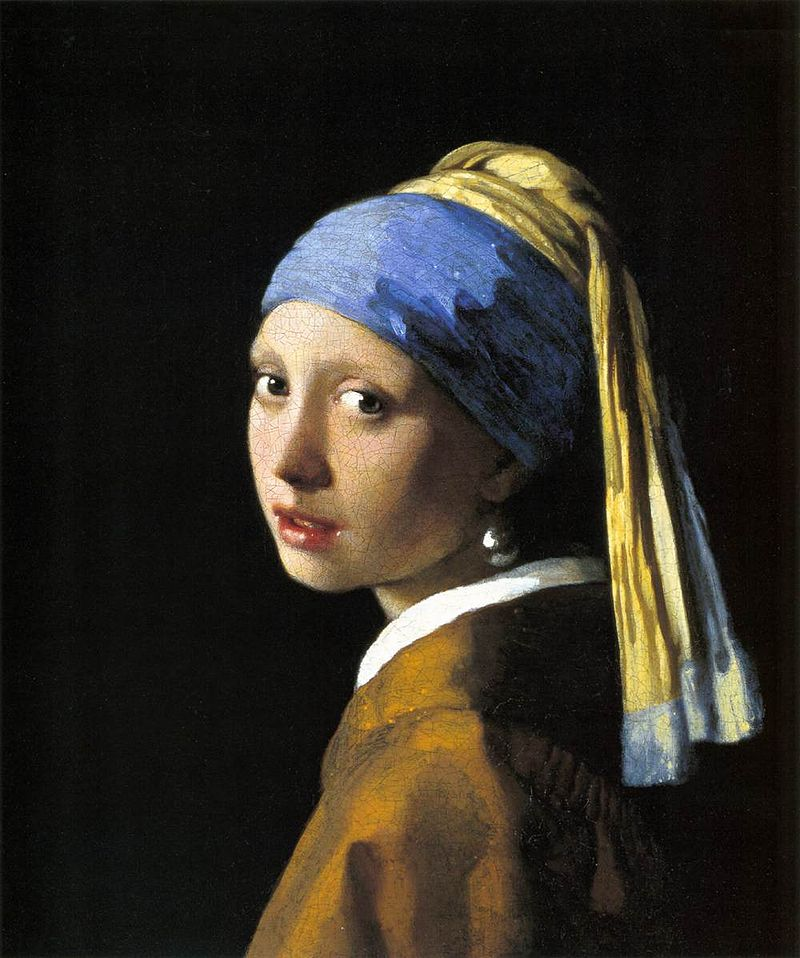
Chiaruscuro is a visual element of art, which is defined as a bold contrast between light and dark. It is called chiaruscuro, because it is an Italian word meaning lightdark. A certain amount of chiaroscuro is the effect of light modelling in painting where 3-dimensional volume is suggested by highlights and shadows. It first appeared in 15th century painting in Italy and Flanders (Holland), but true chiaroscuro
developed during the 16th century, in Mannerism and in Baroque art. Dark subjects were dramatically lighted by a shaft of light from a single constricted and often unseen source was a compositional device seen in the paintings of old masters such as Caravaggio and Rembrandt.

Chiaruscuro in Film

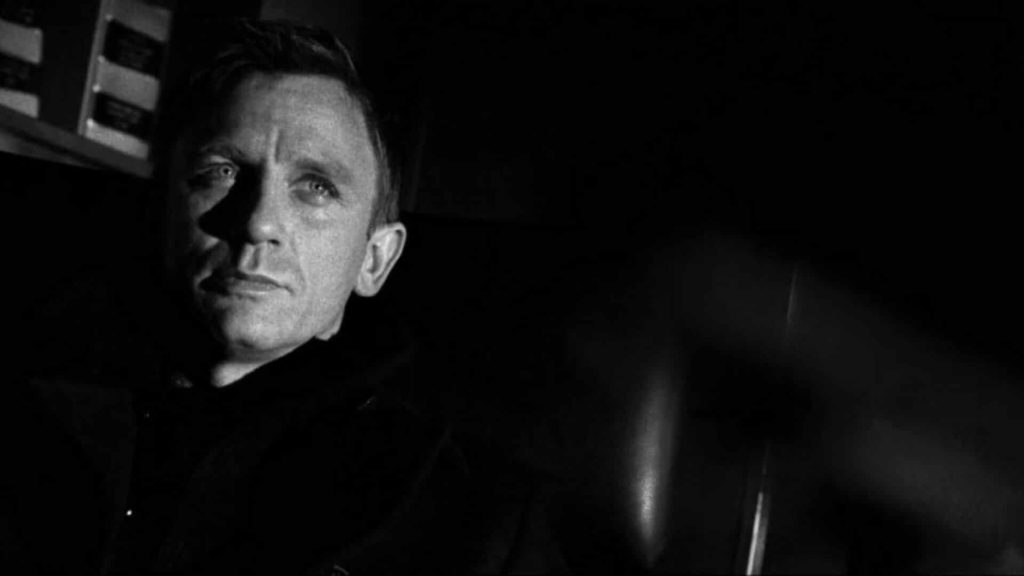
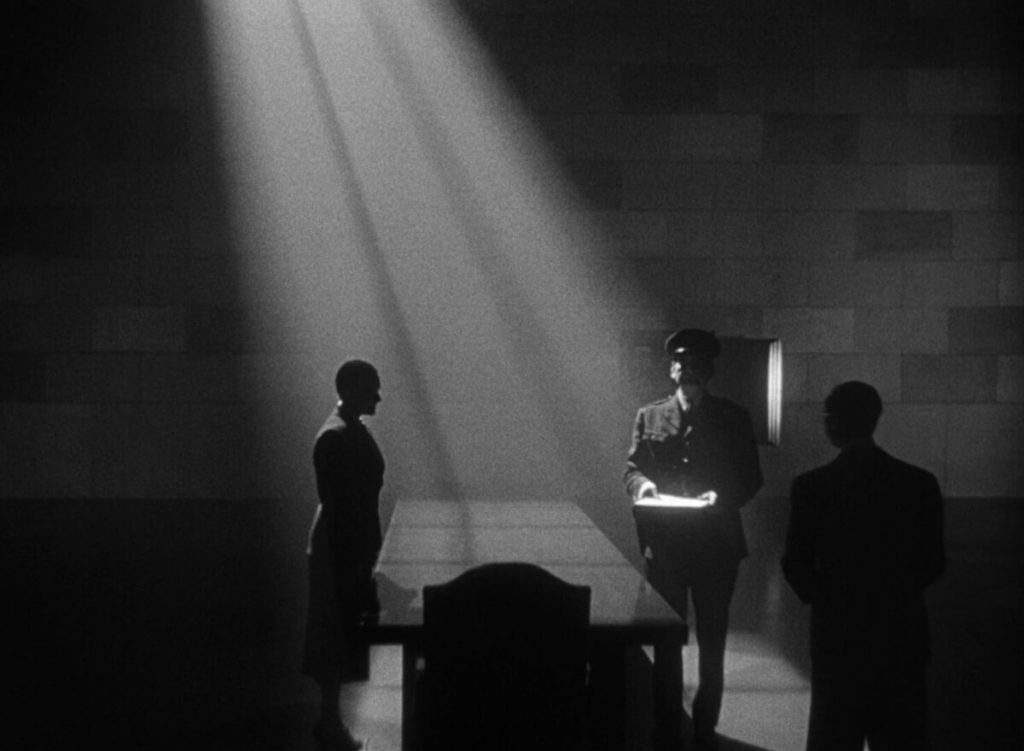
Film noir, which is French for Black Film, is a cinematic term used primarily to describe stylish Hollywood crime dramas, particularly those that emphasize moral ambiguity and sexual motivation. Hollywood’s classic film noir period is from the early 1940s to the late 1950s. Film noir of this era is associated with a low-key black-and-white visual style that has roots in German Expressionist cinematography, while many of the prototypical stories and much of the attitude of classic noir derive from the hardboiled school of crime fiction that emerged in the United States during the Depression.

Chiaruscuro in photography

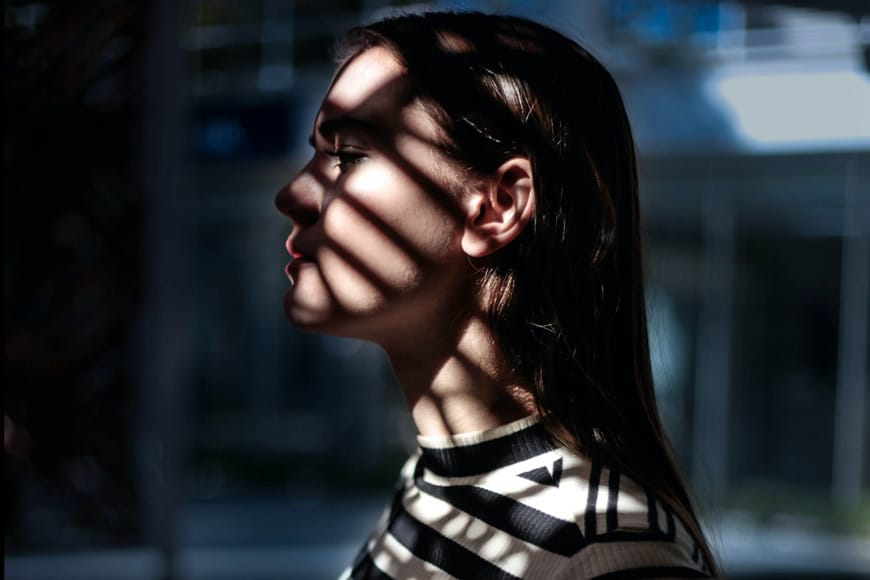
Chiaroscuro lighting uses one key light and a variation using a reflector that reflects light from the key light back onto the sitter.

Examples of Chiaruscuro

The photograph on the left is the Flagellation of Christ is a painting by the Italian Baroque painter Caravaggio, now in the Museo Nazionale di Capodimonte, Naples. It is dated to 1607. This painting uses chiaruscuro lighting. The photo on the right also uses chiaruscuro and is by Johannes Vermeer and is called The Girl with the Pearl Earring, 1665.

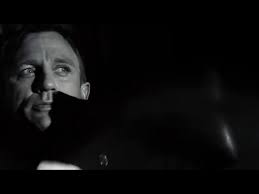
These two images are examples of chiaruscuro lighting being used in a film.

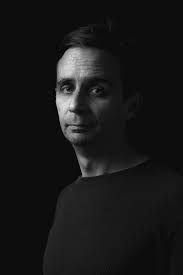
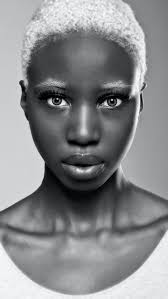
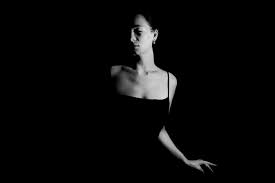
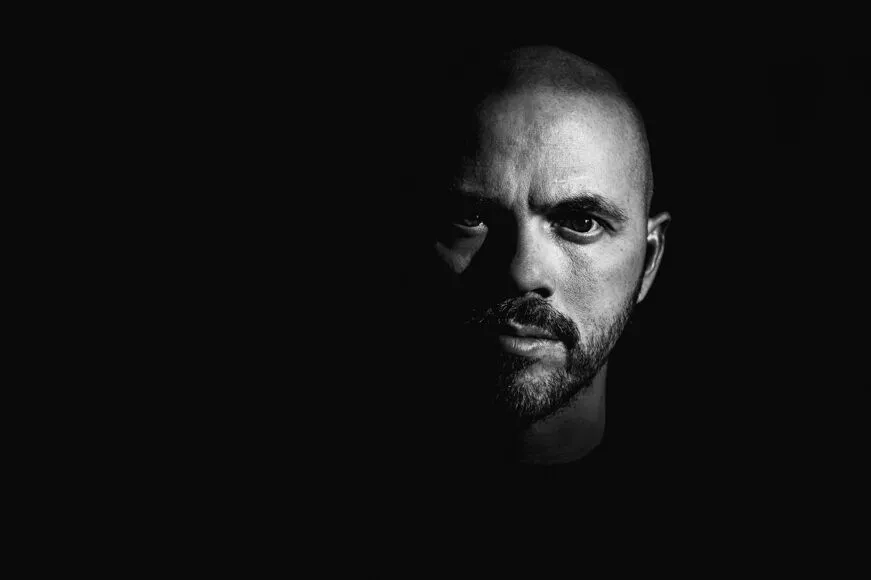
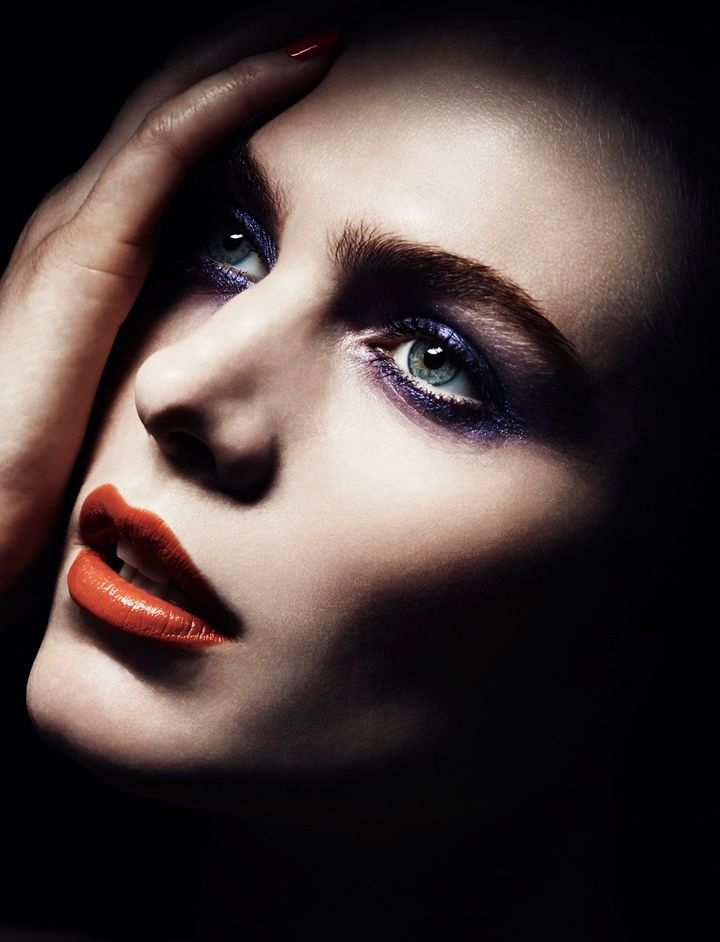
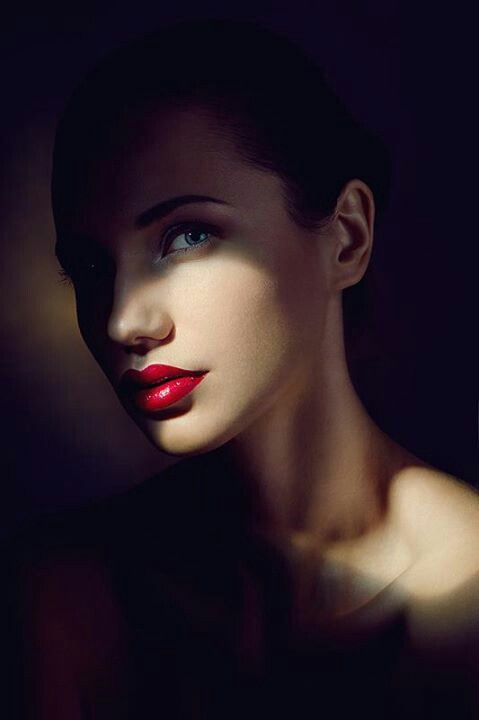
These three images are examples of chiaruscuro lighting being used photography.