Culture war
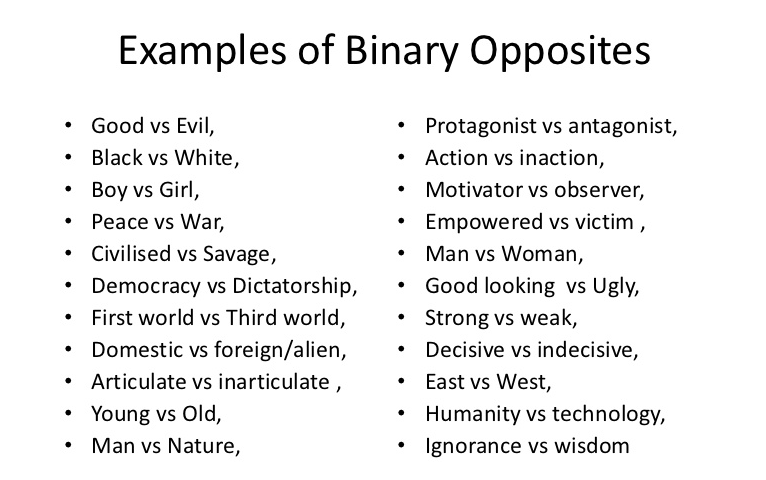
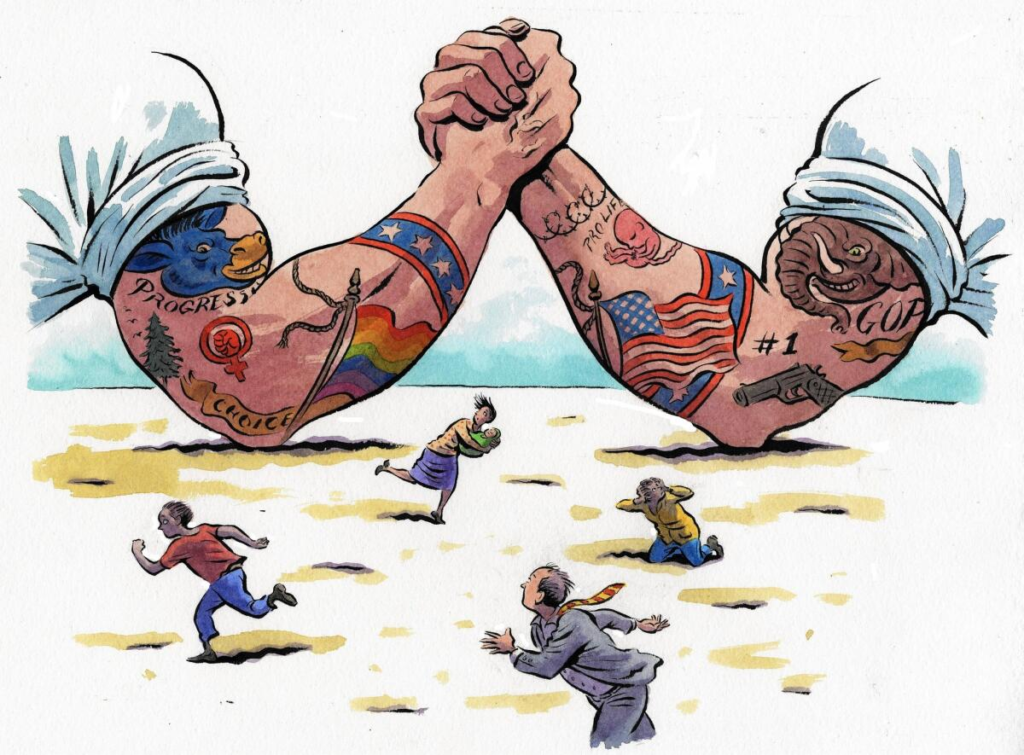
A culture war is a cultural conflict between social groups and the struggle for control of their values, beliefs, and customs. This generally refers to issues where there is disagreement or polarization of social values across society.
Identity politics
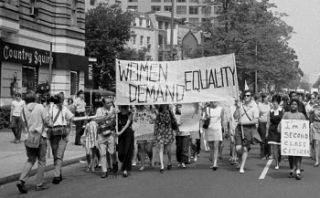
Identity politics is when people of a particular religion, race, social background, class, or other identifying element form exclusive social political alliances and support political movements apart from broader coalition politics. It is a term that describes the political approach pursued. A special quality of identification with them. Its purpose is to support and focus on the concerns, agendas, and projects of specific groups in line with specific social and political changes. The term was coined in 1977 by the Combahee River Collective. It was popularized in the early 1980s, and was used in countless cases over the next few decades with completely different meanings depending on the context of the term. It has become more prominent with the rise of social activism and is present in various conversations such as feminists, the American civil rights and LGBT movements, disability groups, some nationalist and postcolonial organizations, such as the Black Lives Matter movement. Politics has a huge impact on our daily lives because it directly affects the world we live in.
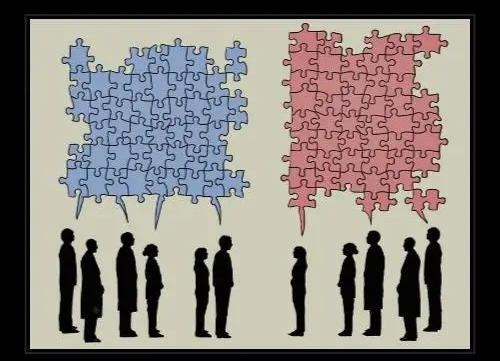
Social identity theory posits that people strive to achieve and maintain a sense of positive uniqueness in their group membership (Tajfel & Turner, 1986). Positive uniqueness means feeling valued and different from other groups. However, the downside is that it can lead to social pressure and out-group prejudice. Outgroup bias affects attitudes and negative behaviours toward people who are not seen as part of a particular group identity. This can lead to stereotyping and exclusion. Furthermore, a shared ingroup identity can be created directly by increasing the importance of an existing shared parent membership (e.g., team, school, company, nation) or category (e.g., student) or by introducing elements. It can be achieved. Membership (i.e., a common goal or destiny).
Tribalism refers to the possession of a strong cultural or ethnic identity that separates members of one group from other groups on the basis of strong proximity. Tribe members tend to have strong identities. Psychologically, people feel safe and secure when they feel part of something bigger than themselves, but tribalism excludes individuals and groups and denies them rights, status, and independence. If used for this purpose, it can have very negative consequences. Tribalism is defined as a social phenomenon related to the identity of members of one or more competing communal groups who seek to protect and promote their interests in a political system. Relevant community factors may include language, culture, race, religion, and/or shared history.
There are loads of types of identity such as:
Cultural identity – Cultural identification refers to a person`s experience of belonging to a specific lifestyle or group. This system entails mastering approximately and accepting traditions, heritage, language, religion, ancestry, aesthetics, wondering patterns, and social systems of a lifestyle.
Social identity – Social identification is the part of an individual’s self-idea derived from perceived club in a applicable social group.
Geographical identity – An person or group`s feel of attachment to the country, region, city, or village wherein they live. The key traits with which a selected country, region, city, or village is associated.
Political identity – Political identification is a shape of social identification marking club of sure organizations that proportion a not unusual place conflict for a sure shape of power. This can encompass identity with a political party, however additionally positions on precise political issues, nationalism, inter-ethnic members of the family or greater summary ideological themes.

