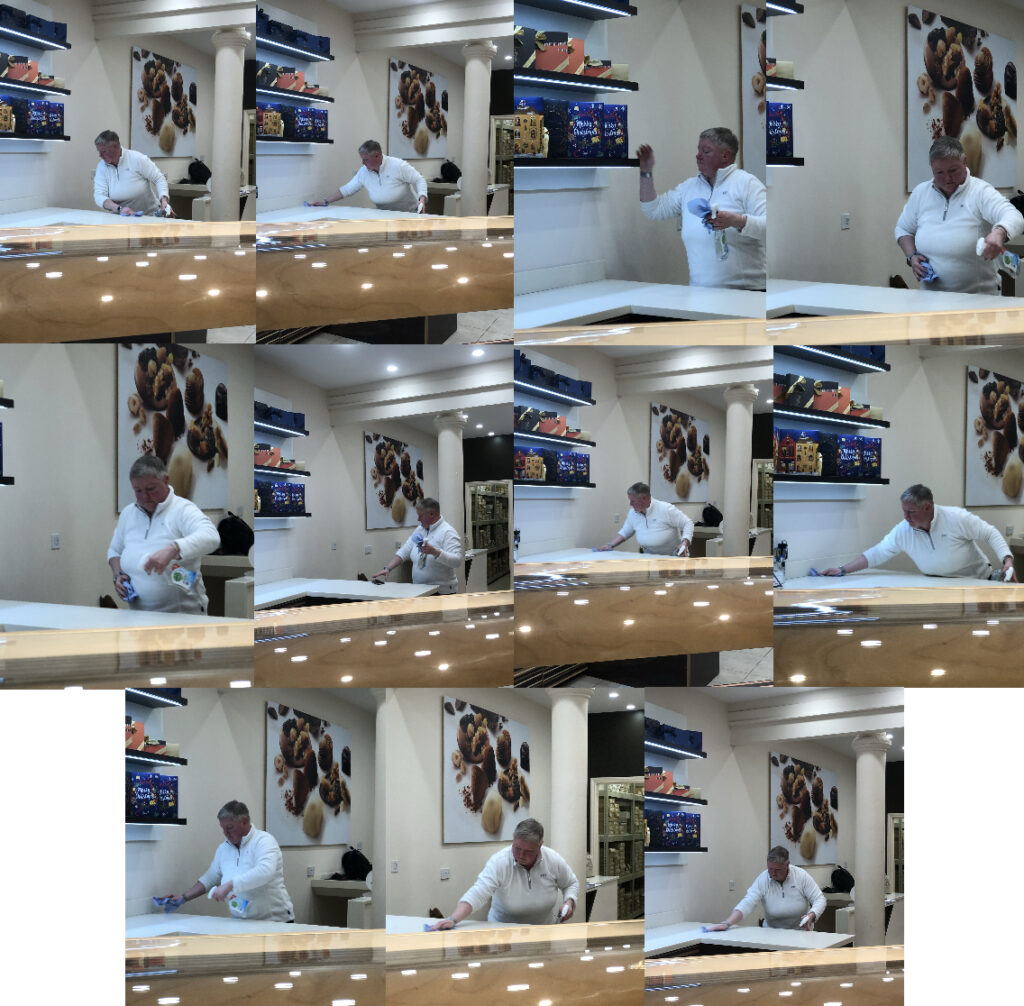
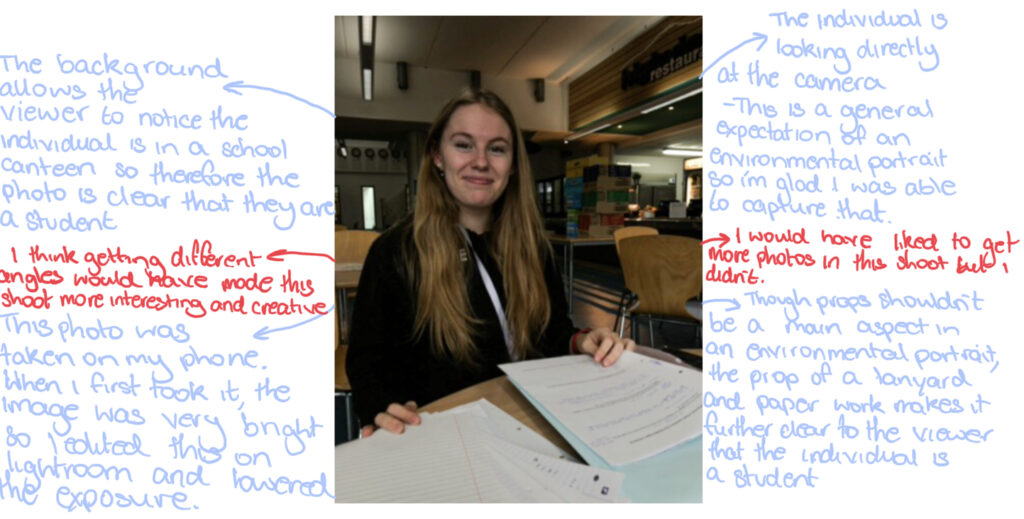
All posts by Jess Jones

Filters

Author:
Category:

Creating a Virtual Gallery

Photoshop:

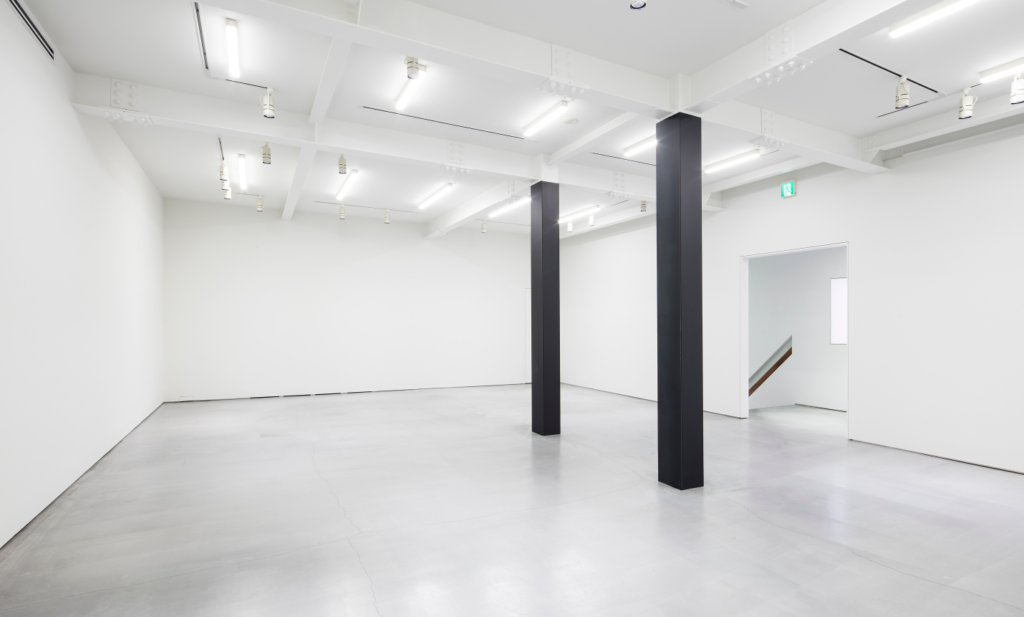
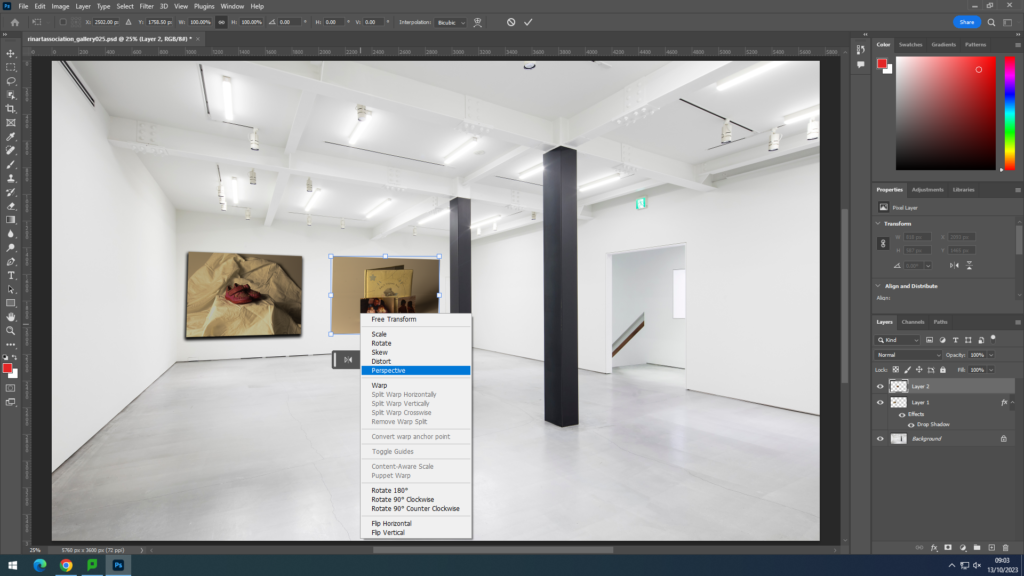
My first attempt of the photo gallery was created on photoshop. I first had to open up google to search ‘Blank gallery space’ to find my background. after I chose the one that is shown above, I put it into photoshop and then went to my files to open the image I wanted to present. the images I chose were ones that I had edited previously on Lightroom. I got my images from Lightroom which were already edited beforehand and imported them into photoshop. I used ‘control T’ to highlight the imported image to be able to move it to where I needed it. I also used the Ctrl icon when adjusting the image to make the angles change and for the photo to sit nicely on a wall. Using a drop shadow effect, I could make the image look more realistic and 3D when on the wall.
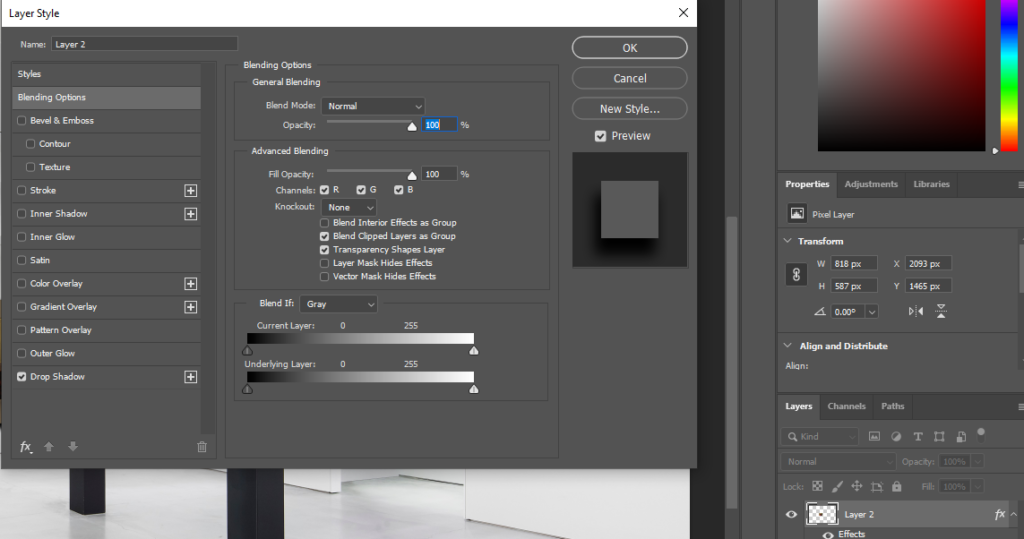
In the screenshot below, it shows how I was able to create the drop shadow on the images to make them more look like a photo on a wall. all I had to do was double click on the layer I wanted to edit and then tick drop shadow at the bottom. from there, I was able to adjust the amount of shadow and the angle I wanted it at.

Artsteps:

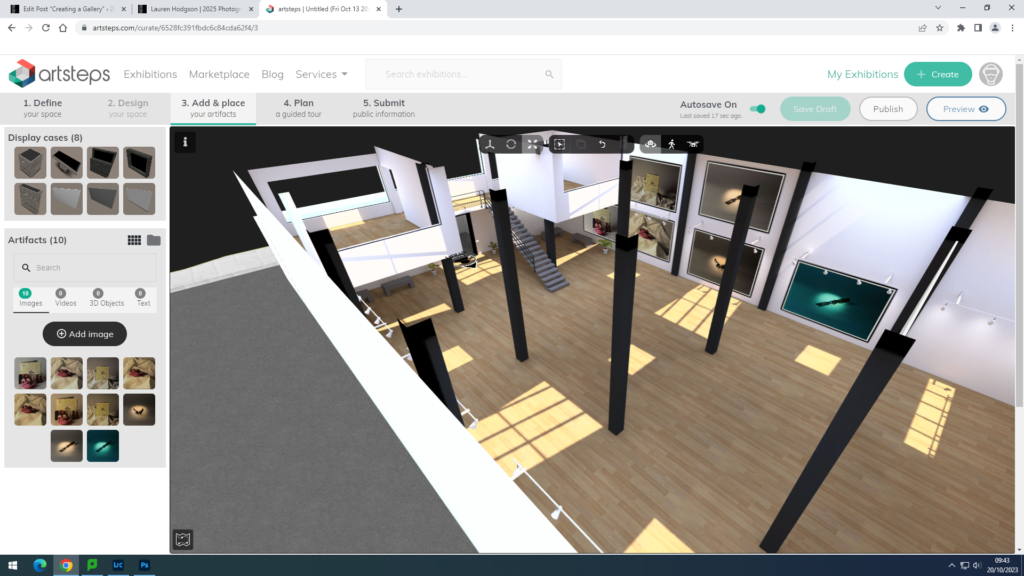
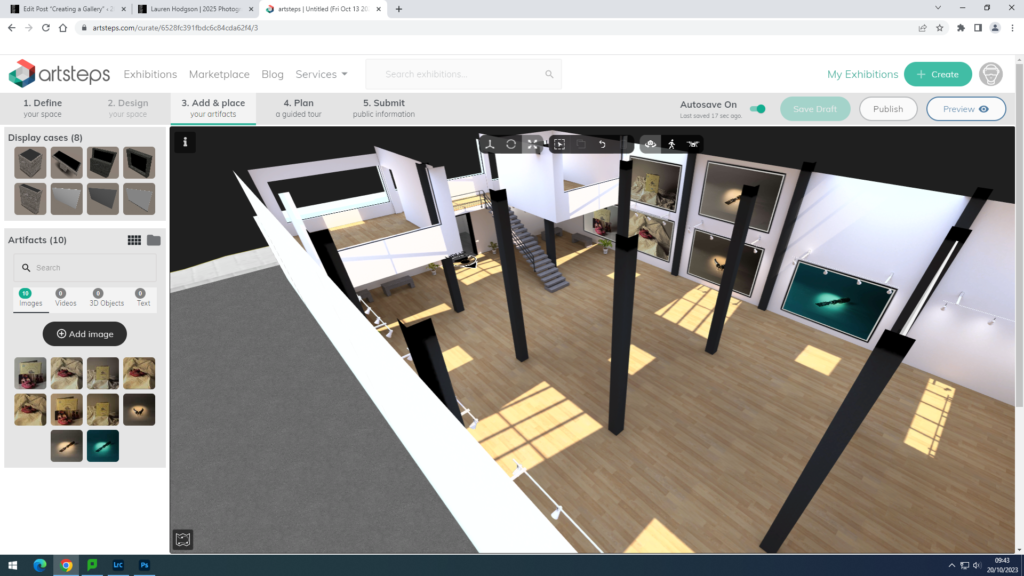
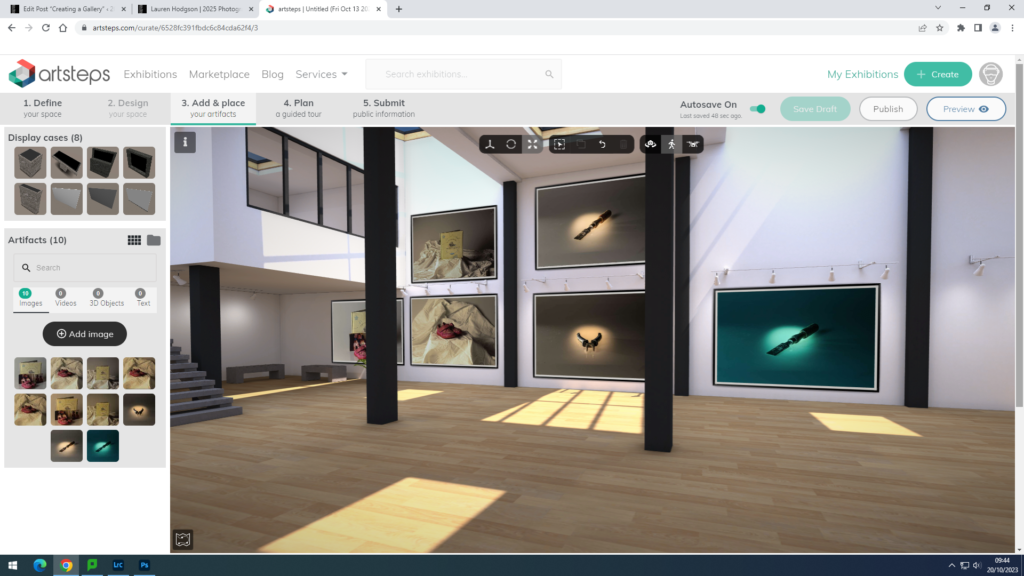
This was my attempt of the photo gallery using Artsteps. This was an easier process than photoshop as you can move around and choose the wall you want your image on while being in a large space. it doesn’t involve the added work of adjusting the image to a certain angle on a wall ands you can also add your own borders. You are also given the option to add more fixtures for your photos to go on so I experimented with that and added 2 walls on top of each other in the middle of the room. I chose my favourite photos from my Still Life Nostalgia photoshoot and then my favourite photos from my Formalism/Tools photoshoot.

Evaluation

Overall, I like how my gallery turned out on Artsteps. I like the gallery space I chose as I have a lot of areas to choose from and add my images to. I prefer this more than photoshop as its an easier process and on photoshop the angles of the images sometimes don’t turn out right or look the wrong angle.

Photoshoot: Tools

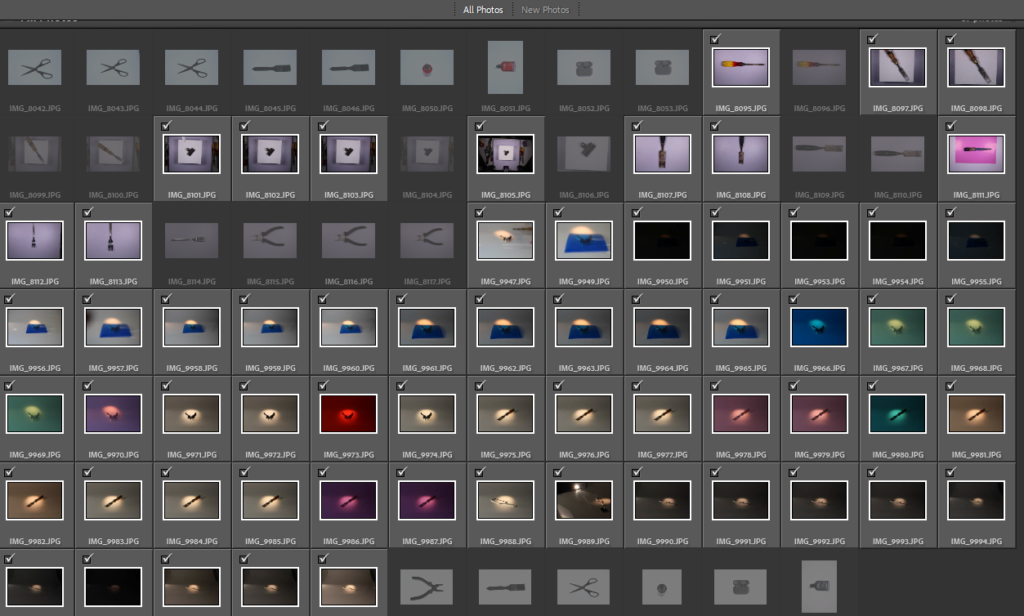
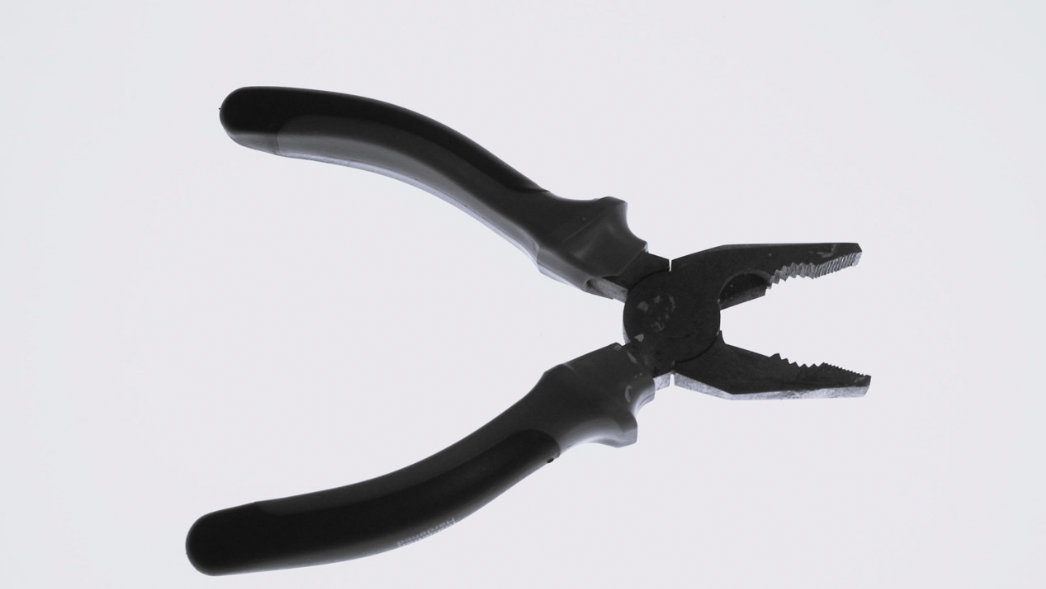
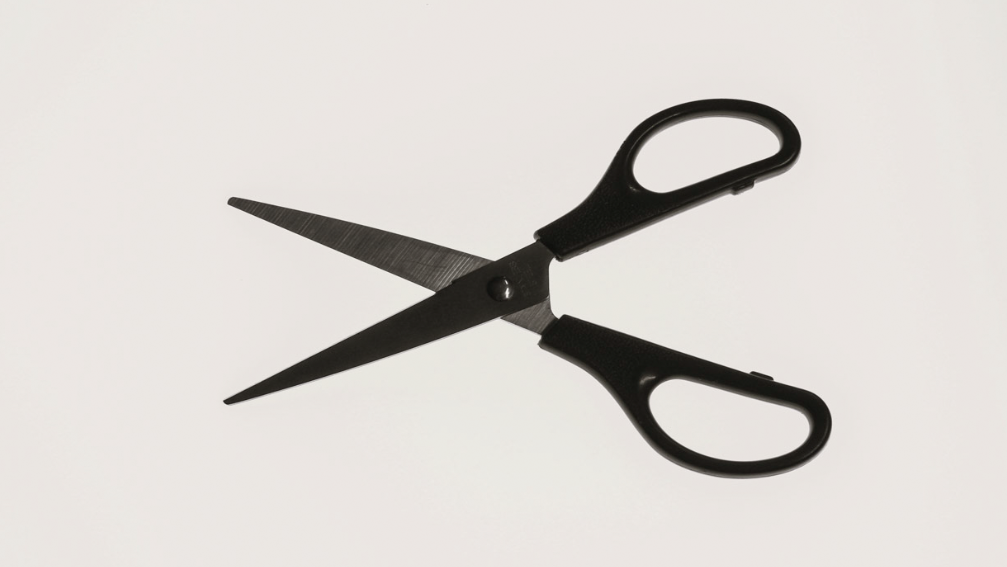
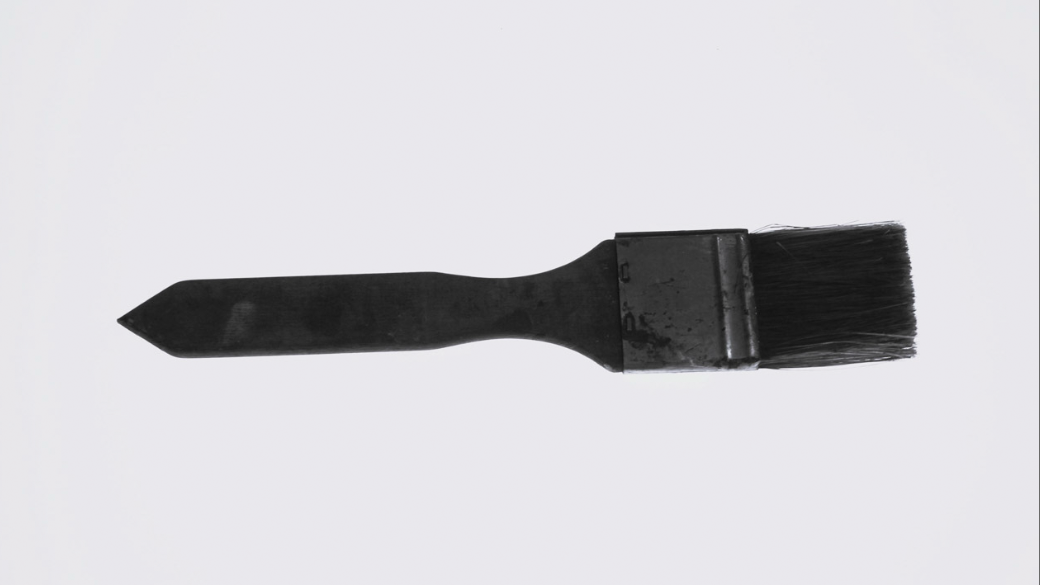
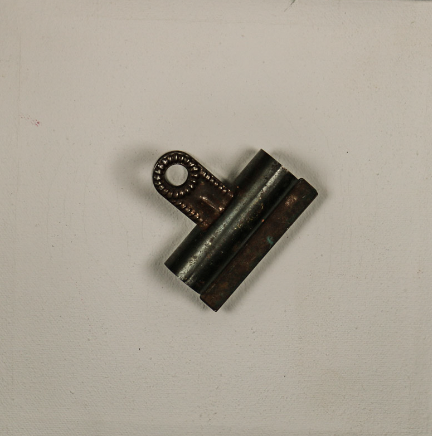
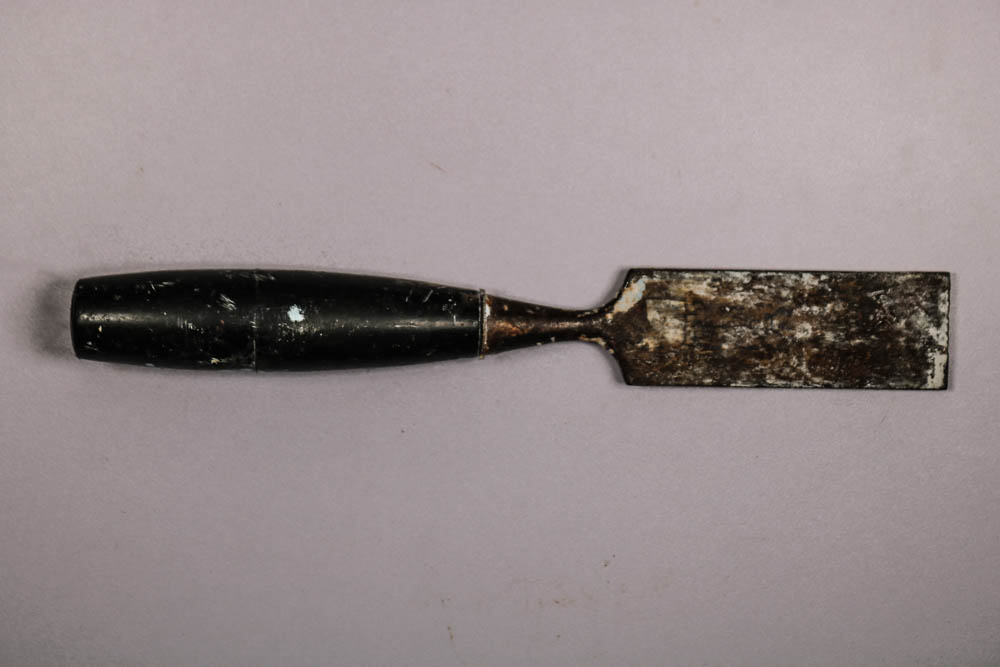
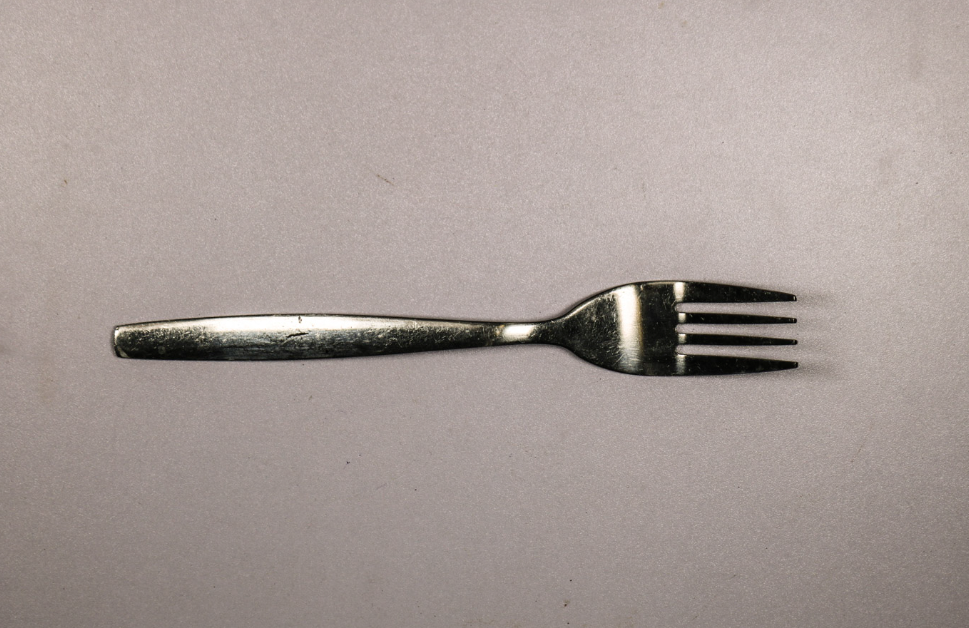
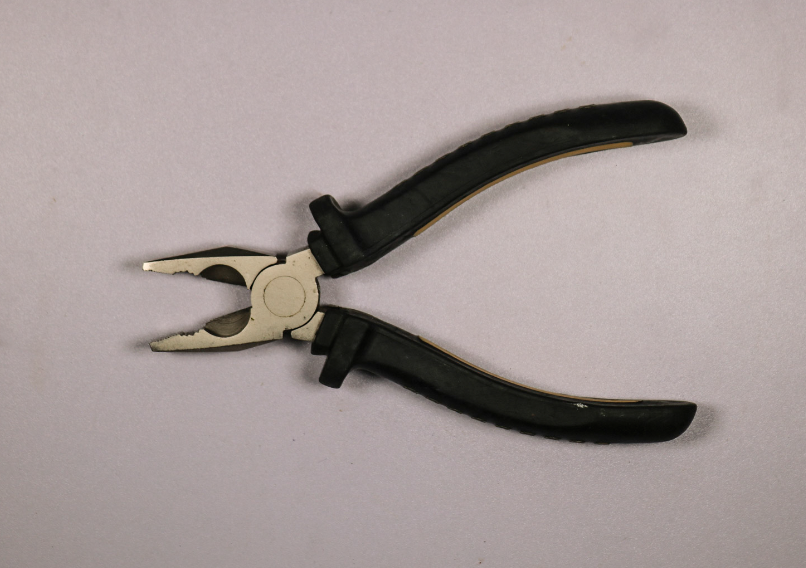
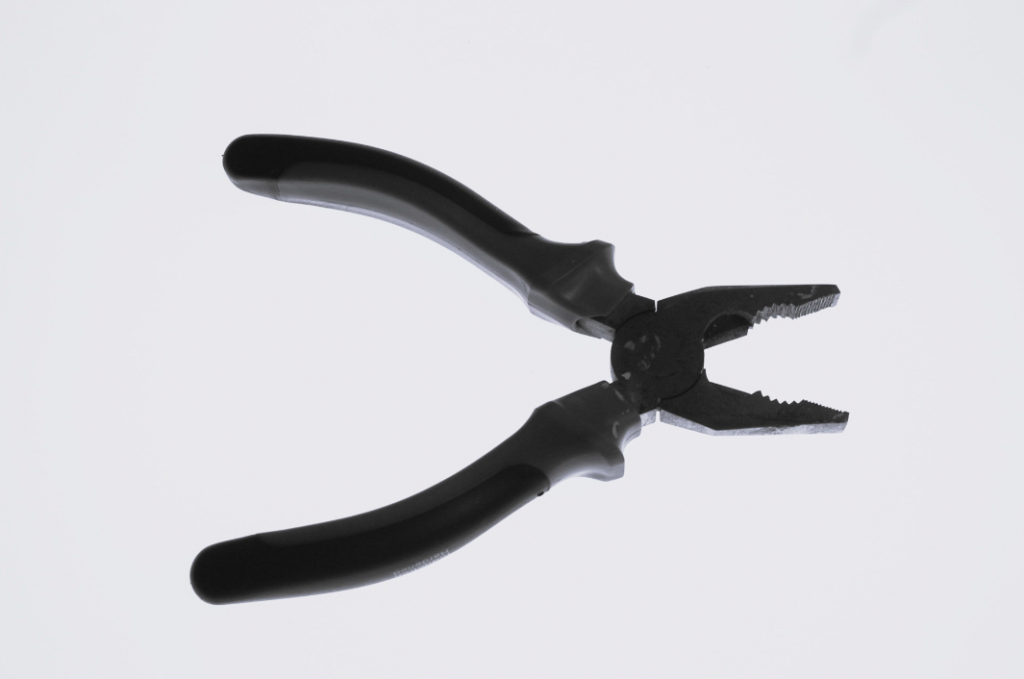
For this photoshoot I used a range of different tools that were provided to me. These included:

  • Scissors
  • Pliers
  • Paintbrushes
  • Cutlery

Most of my photos were taken in the studio using a white background with the camera angled at a Birdseye view. 3 of my photos were also taken using a light box in the classroom and a ladder to create enough height to get the Birdseye view.

My photos have been edited to black and white to make it more inspired by the artist.


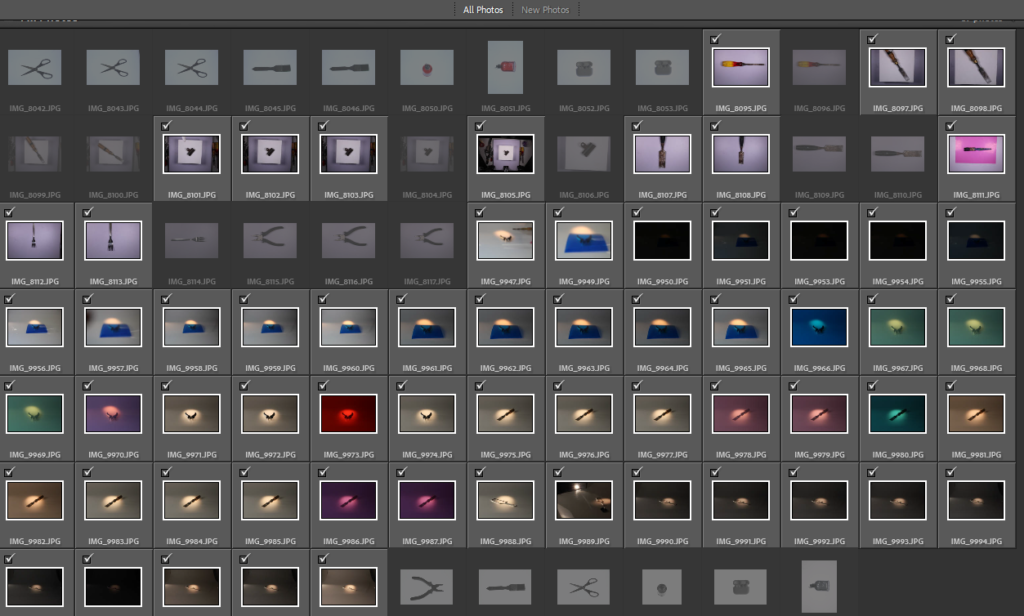
Contact sheet of all my photos:

Photos from Front View:

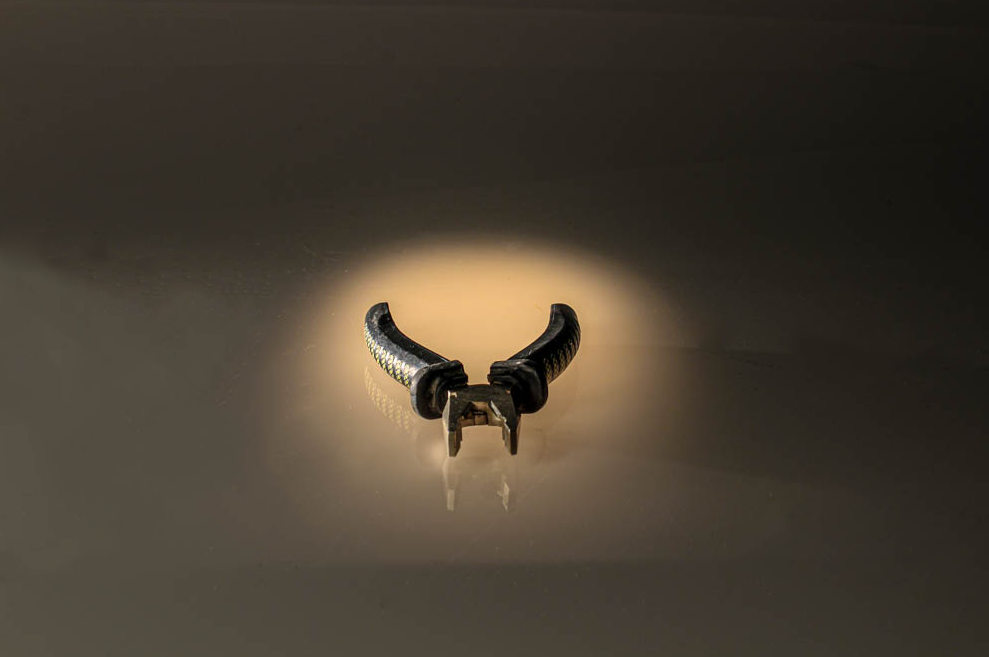
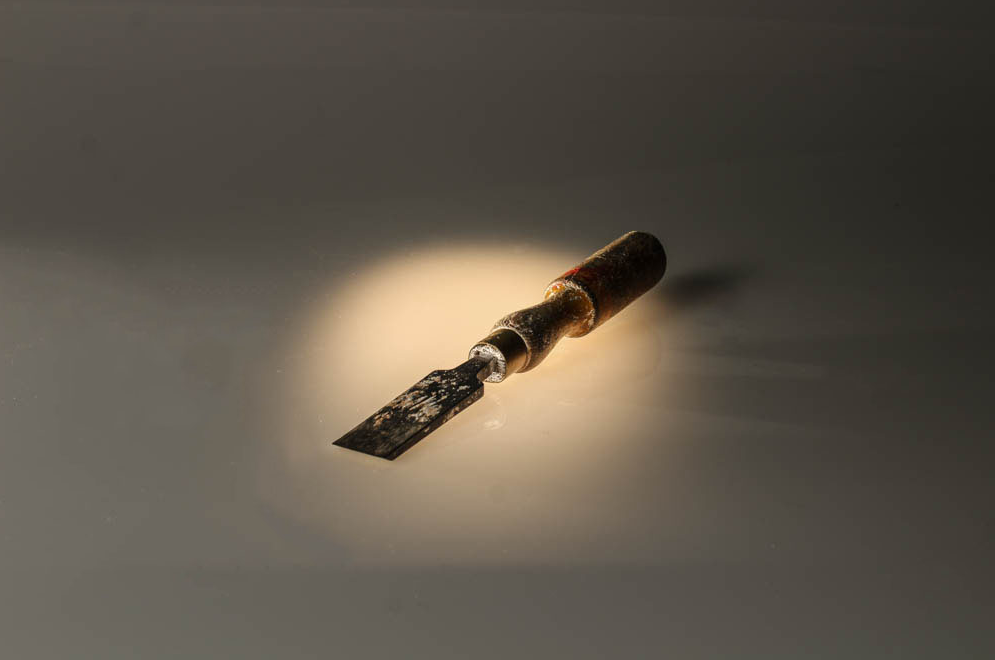
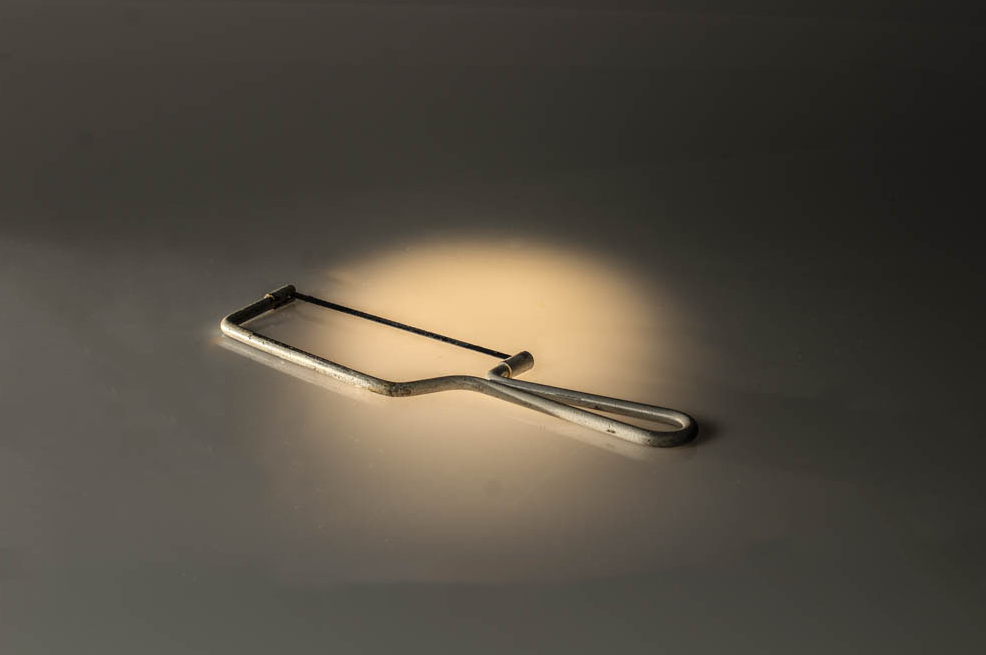
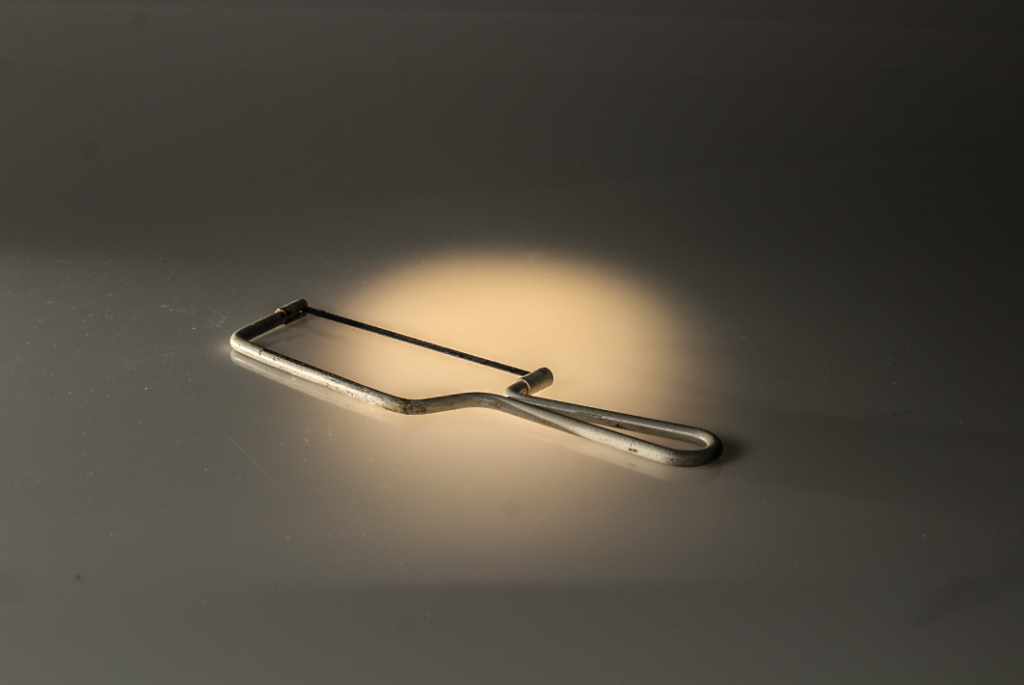
These photos were taken with a simple warm toned light and back light to make the object stand out. I lowered the brightness on these photos and increased the clarity for better quality. I used the spot like behind the surface to allow the light to make the object stand out. I made sure the object was centred in the light and that it was not off-centred.

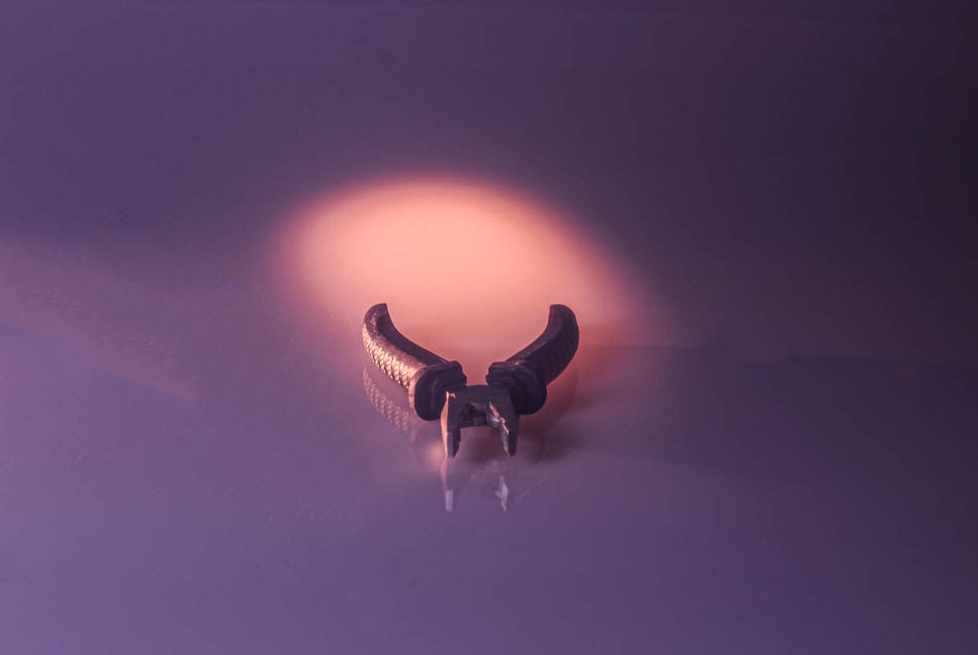
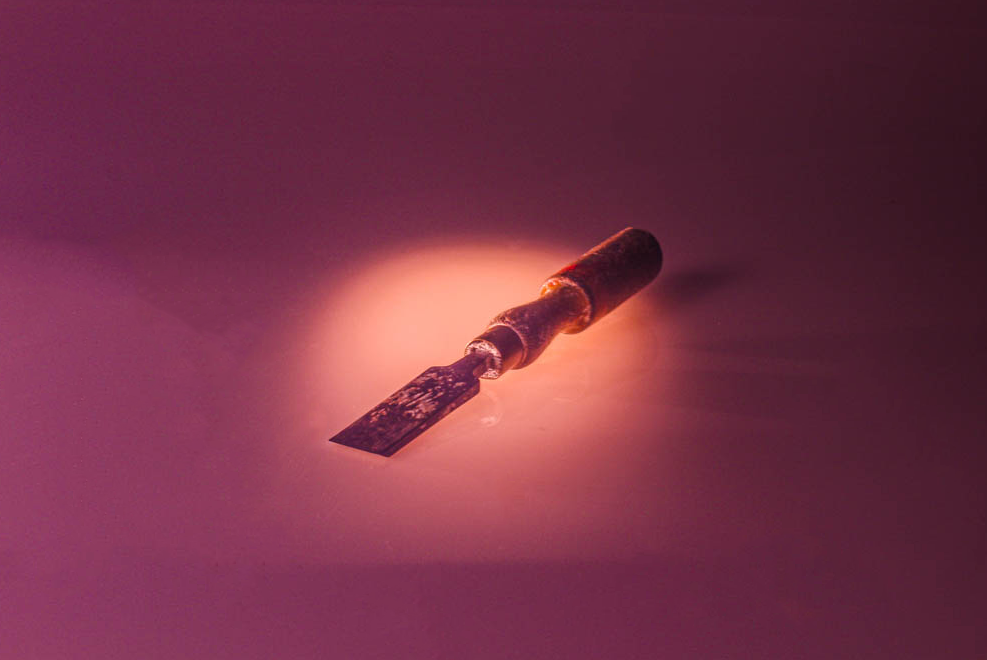
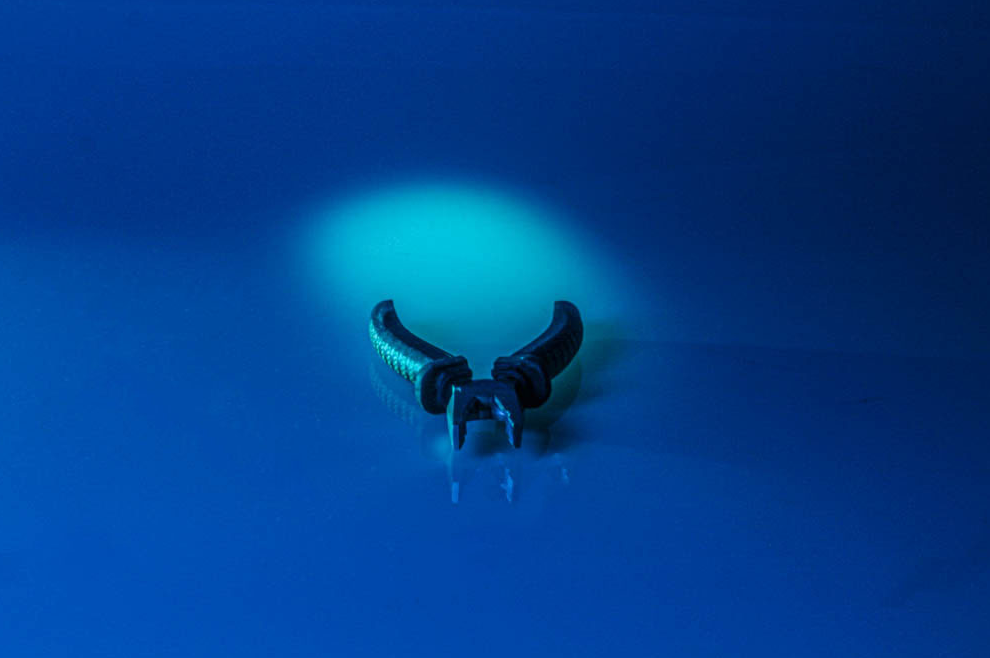
These photos were taken using coloured transparent card that was held over the camera lenses to create the desired colour. I like these because they differ and are unique from the standard natural colours photos. To edit these I either increased or decreased the brightness and I made sure it had more clarity. in some, I also upped the vibrancy. I use the spot healing brush tool on photoshop to erase any marks on the camera or scratches on the surface that my object was on.

The images above were all taken in the Studio

Photos at Birds-Eye View

These 3 images above were taken using a light box. I like these images however I think I should’ve experimented using colours more and not just kept the plain white background. I like the light box as it makes the objects stand out and its also an easy but affective outcome. I decided to make these 3 images black and white like the artist tended to do as well.

For these photos, the background of the photo made it produce a purplish tone to the photograph. To fix this I simply pressed auto on the white balance to make it more white than purple.

My Favourite photos

Camera settings: Taken on Canon Camera, F-Stop=f/5.6, Exposure setting= 1/60 second, ISO Speed= ISO-200, Exposure bias= 0, Focal length 38mm, No flash

Camera settings: Taken on Canon Camera, F-Stop= f/8, Exposure Time 1/8 second, ISO-Speed= ISO-100, Exposure bias 0, Focal length 35mm, No Flash

Though these photos are very different, they are both my favourite shoots. I think this is because I prefer the white/brighter backgrounds on the first image to contrast with my objects as the other background turned out with a purple tint which I didn’t particularly like. The second image was taken at a different angle and not Birdseye view. I still like this image because my group made sure to make the backlight sit directly under the object to give it a spotlight. in addition to this, I like the amount of clarity this photo has.

To edit my photos, I only simply changed the exposure by lowering it, as on my camera the outcome of the photos was quite bright and it did not look good. If needed, I also adjusted the clarity and vibrancy.

Formalism Artist Research

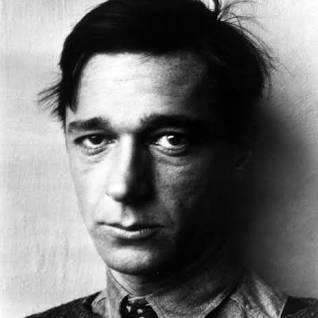
Walker Evans

Evans is best known for creating black and white ‘simple’

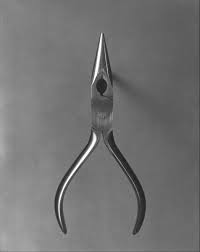
photos. in some of his other photos not related to objects, he said he wanted to focus on capturing the beauty of everyday events. in his object photos he does this by taking simple everyday objects and photographing them. many people look at hi work and think its nothing interesting. he likes his work because he has taken an uninteresting object and attempted to make it into art. Hi project was called ‘Beauties of a common tool’ and he usually placed his objects onto plain backgrounds (usually brighter colours than the object itself) this makes the object stand out to the viewers eye.

In his work, he used lighting to reflect off of his objects as they are usually metallic. I think this is good because it makes them stand out from the background. the glare is also positioned in different places of the tool so that you can see the different shadows.

The angles of his photos are generally taken from a Birdseye view and rarely from many other angle. Even though its from this angle you can still tell that all his photos are 3D because of the shadows he made sure to make visible. There is also a lot of empty space in his photos so that the viewer can understand that the photo is about the tools beauty and nothing else.

Photo Analysis (Walker Evans)

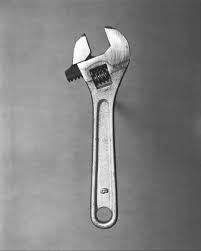
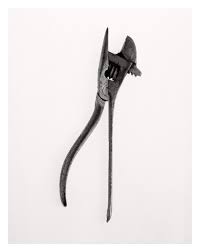
In this image, Evans has chosen to photograph a wrench. Along with his other photos, this tool is metallic which make the effects of lighting stand out. I am unable to be sure if the lighting projecting from the left is natural or unnatural lighting however it still greatly shows the effects of shadows and different shades in the image. I think the shadows that outline the tool work really well to create the illusion that the object is floating above the background and also shows us that it’s a 3D image. Evans purposefully creates this effect by using wooden sticks of prop up the image on the paper. the empty space in the background the image makes me focus only on the object Evans is showing the beauty of, as well as have different lightings on the background colour to make it less like a solid basic colour.

Darren Harvey-Regan

Darren Harvey Regan created photos that was inspired by Walker Evans ‘Beauties of a common tool’ photoshoot where he takes photos of usual everyday objects, such as tools, and makes them into photography. he created montages of Evans work and then made it into his own. He would do things like take two separate images of his own and split then in half for them to then be re-joined to become one. His work differs from Evans in different ways, as well as the split images he also uses more of a pale pink background to add colour to the photographs where as Walker Evans’ photos are in black and white with a white background.

Photo Analysis

One example of his work is this photo. I really like how subtle the split is down the middle of the photo because of the detail and work he pits into it. I like the colour he has used in the photo to create more of a brighter image compared to Evans work. I can see that his photos are taken from a bird eye view to be further inspired by Evans work but also to capture the whole object and not from one side where the full thing can’t be seen. Contrasting to Evans, his photos don’t include reflections from interior/ exterior light and does also not include shadows.

Nostalgia Still Life Photoshoot

For this photoshoot I brought in object that were nostalgic from my childhood. These objects included:

  • Baby Book
  • First pair of shoes
  • Photo (Grandad, Brother and myself)
  • Photo (My Brother and I)

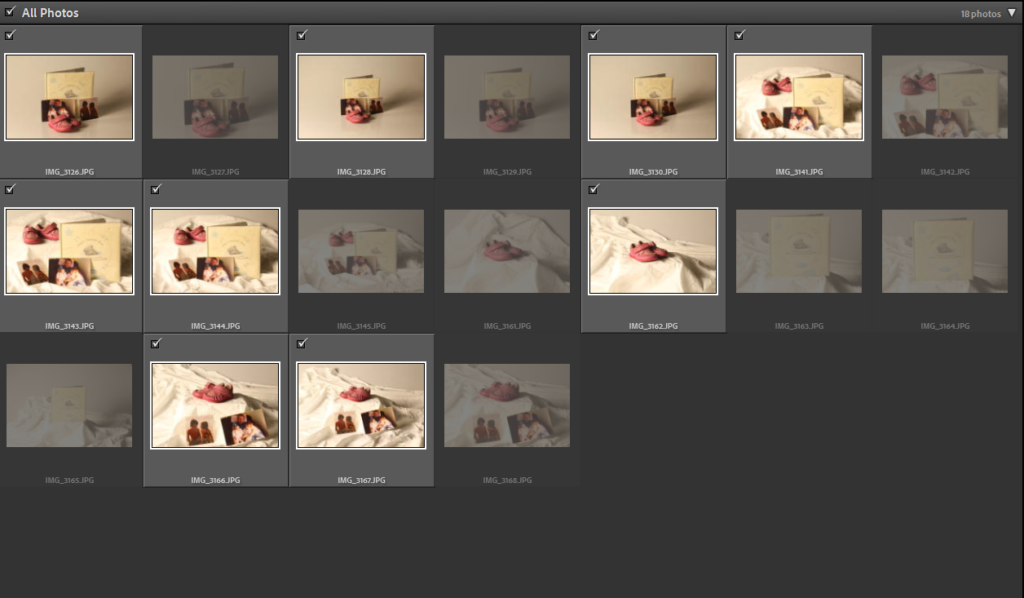
All of my shoots were taken in the studio on the main photo shoot area. I had access to a light that changes warmth so I was able to use that to my advantage and create more of a warming nostalgic affect. I also liked how this light worked with shadows behind my objects.

I also decided to use objects such as boxes and cloths to create more levels in my photos so that it wasn’t just a flat surface. I liked how this worked with my single object photos.

Contact sheet of all photos:

My Photos:

My Favourite Photos:

Both of these photos are my favourite shoots. I think because it is one singular object it draws more attention to that object instead of the shoot being too busy or packed. I think the use of the levels work well to centre the objects more and show their importance. I think the cloth I used on both photos works well to add more texture to the photo and less dullness to it. I also like how the top photo was more zoomed out to show more of the background as I think he cloth sits really well.

To edit my photos, I only simply changed the exposure by lowering it, as on my camera the outcome of the photos was quite bright and it did not look good. If needed, I also adjusted the clarity and vibrancy.

For the photo above, it was created on one of the Canon cameras with an exposure time of 1/3 second and an ISO speed of ISO-100. The focal length was 55mm, the F-stop of f/8 and the exposure bias was 0 step. I did not use flash for any of my photos.

Formalism

There are 7 basic elements to photographic art, they are:

1.Line

Lines in photography can be either curved, straight or both. Solid, dashed of part of a line. Vertical or horizontal. In photographs, when the viewer notices straight lines, it is not uncommon for the object to be manmade. however, curved lines would more likely be organic in nature. the direction of lines convey meaning inside the photograph. vertical or horizontal lines are seen to create a sense of stability. Vertical lines usually represent height, whereas horizontal would focus more in distance. Lines are very common in almost every photograph. Lines could be used to make the viewer focus on something the photographer wants them to see, the pathway of the line will lead the viewers eyes.

2. Shape

1 a : the visible makeup characteristic of a particular item or kind of item

1 b (1) : spatial form or contour

1 b (2) : a standard or universally recognized spatial form

Shapes are created by the joining of lines. these lines can usual shapes such as a simple circle or shapes but can also make unrecognisable ones based on the photographers viewpoint. in photographs with shapes it may be important to the photographer to take it from different angles as different angles could be completely different shapes. shapes can be created with things such as the structures of buildings but as well as this, the black space surrounding the structures also has its own space. This shows that shapes are everywhere in photography.

3. Form

unlike shape, form is 3-dimensional and it can be geometric (or regular) and organic. geometric forms are the the familiar shapes we know. organic are objects that surround us in our 3-dimensional world. forms can be complex like shapes. in photography, positive and negative forms of space are created. positive space is what is occupied by forms and negative space is what remains. Forms are everywhere in photography as the photograph captures all the forms in the field of view of the lens.

4. Texture

Texture can be felt with physical touch of the photo print or even just with the viewers eye. basically, texture can be smooth or rough as well as other descriptions. we can make our the feeling if photographs by our own experiences. for example, if someone has never touched gravel/stones then they are not going to be able to easily feel what that photo of a rough gravel path as well as someone who has.

5. Colour

Red, brown, pink or grey can be viewed as a phenomenon of light or visual perception that a person will have top differentiate otherwise identical objects. light has no per4cieved colour but it moments when light is send through water, it will create a rainbow effect of colours (like the sun at a water fountain for example).

The three properties of colour are Hue (description of the colour), Value (relative brightness or darkness of colour) and Saturation (intensity of colour). many colours have meanings, for example, Red can mean anger whereas blue can represent calm. colour can also bring across feelings of happiness. you would get a more brighter and happier feeling if you saw a field with bright yellow flowers rather than a black ands white photo of the flowers.

6. Size

if a familiar object is the main focus of a photo (meaning its the largest aspect of it and most likely what your eye catches first) then you are more likely going to be more interested in that photo rather than one that is difficult to find something you are familiar with. a camera lens can created the illusion of an object being larger than it actually is.

If the object takes up most of the frame then the viewer will assume its the largest aspect of the image. however, the photographer could have simply made that object closer to the lens or only zoomed up on that object.

7. Depth

in a usual photograph, we are given a sense of depth due to the visual cues. an image will always have depth (unless its a black smooth wall). but the amount of depth in your photo depends on the objects in your photograph. in most photos you will find there’s a foreground, middle ground, and background. the stronger the delineation between those three, the stronger the sense of depth is in your image. in a two dimensional photograph, depth is created by the use of linear perspective where we follow the distance of, for example a road, and perceive that its actually getting deeper in the photo.

Camera Simulator

My shutter speed for this photo is fast so it makes it look like the propeller is not moving, if I wanted the viewer to know that this way a moving plane then I would decrease t6he speed of the shutter speed. I have a shallow depth of field so the plane/ a few of the marbles are clear to see whereas everything else in blurry. 

In this attempt, my photo is very underexposed which means it does not have enough light. I know that to fix this I should increase my IOS 

(A few other attempts)

Photography Quiz

Photography Research

Q1: What is the etymology (origin & history) of the word photography? 

The origin of the word Photography means Writing with light

Q2: What year was the first photograph taken on camera?

The first photograph taken on camera was in 1826 and it was taken by Joseph Nicéphore Niépce

Q3: When did the first photograph of a human appear?

The first photograph of a human was taken in 1838, taken by Louis-Jacques-Mandé Daguerre

Q4: Who made the first ‘selfie’

The first selfie was created by Robert Cornelius in 1839

Q5: When did the first colour photograph appear?

The first colour photograph to appear was in 1861 and it was taken by James Clerk Maxwell

Q6: What do we mean by the word genre?

A style or category of art

Q7: What do we mean by the genre of still-life?

An image that shows inanimate objects from the natural or man-made world.

Q8: What was the main purpose of the Pictorialist movement?

To affirm photography as an art form

Q9: : How do we describe the term documentary photography?

Documentary photography capture images that truthfully portray people, places and events.

Q10: What is exposure in photography

To capture bright light.

Q11: What controls exposure on your camera?

The three controls are Aperture, shutter speed, ISO.

Q12: What control on our camera records moving objects?

Shutter controls the moving objects in a photo 

Q13: How do we explain depth of field?

How much of your image is in focus from different distances on a photo

Q14: What factors affect Depth of Field?

Lens aperture, distance from camera to subject, and lens focal length

Q15: What is composition in photography?

The arrangement of visual elements within the frame.

Q16: What is your understanding of aesthetics in art?

Aesthetic qualities refer to the way and artwork looks and feels.

Q17: : What are contextual studies in photography?

To provide historial, cultural and theoterical understanding of images.

Q18: How many images are captured on average every day worldwide?

4.7 billion

Q19: Which portrait is the most reproduced in the world?Queen Elizabeth