All posts by Jess Jones

Filters

Author:
Category:

Rembrandt Lighting

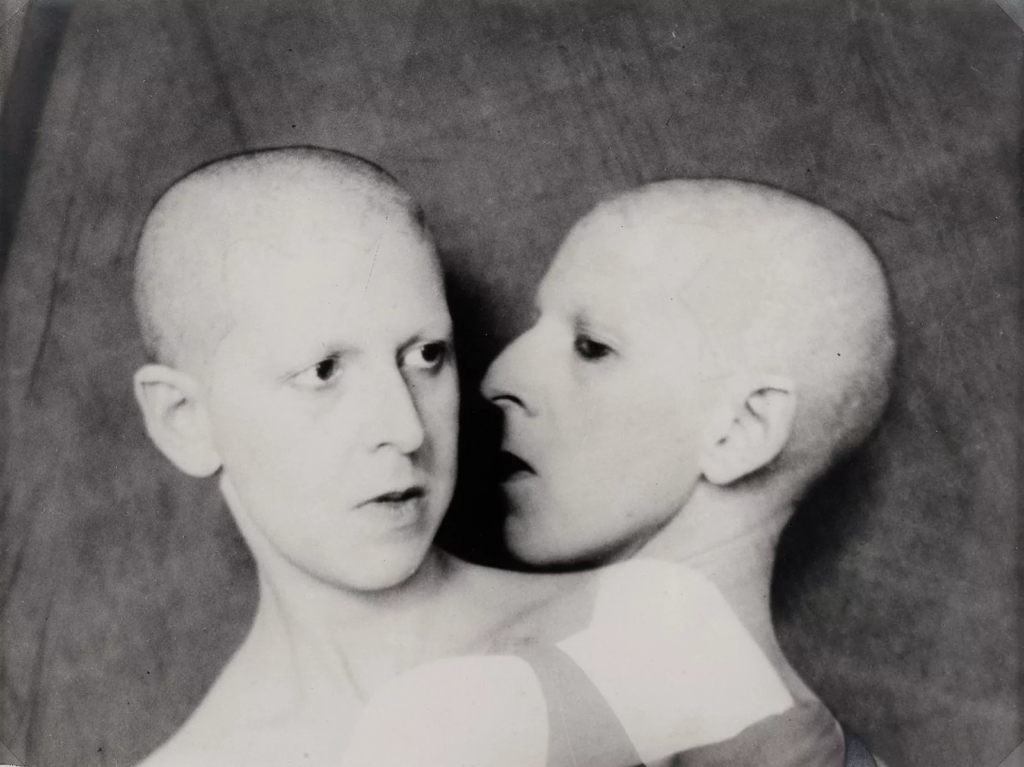
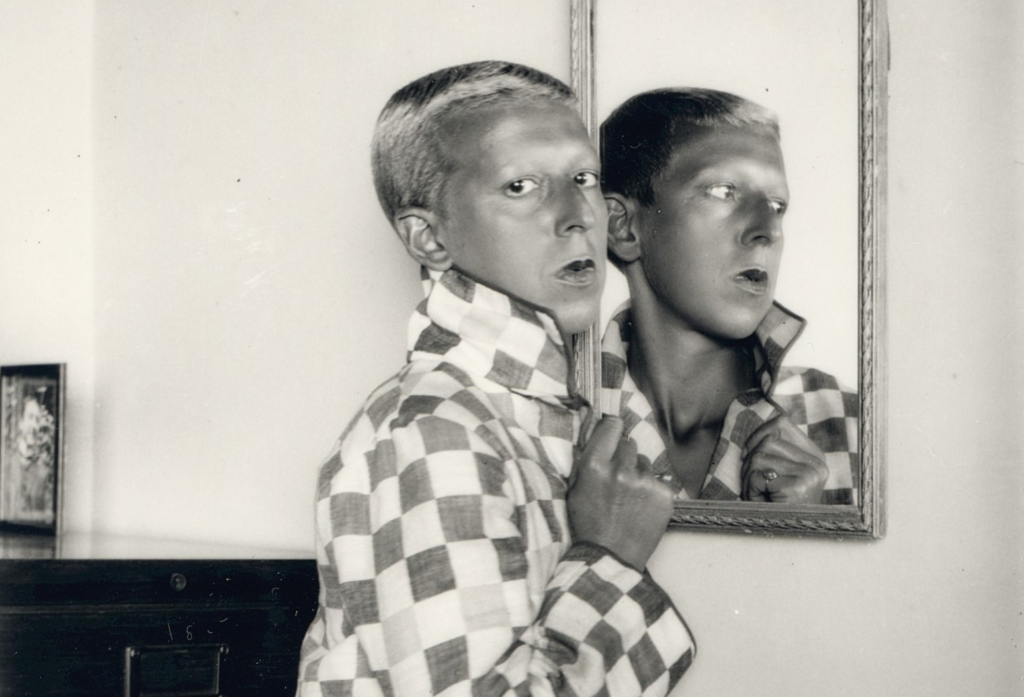
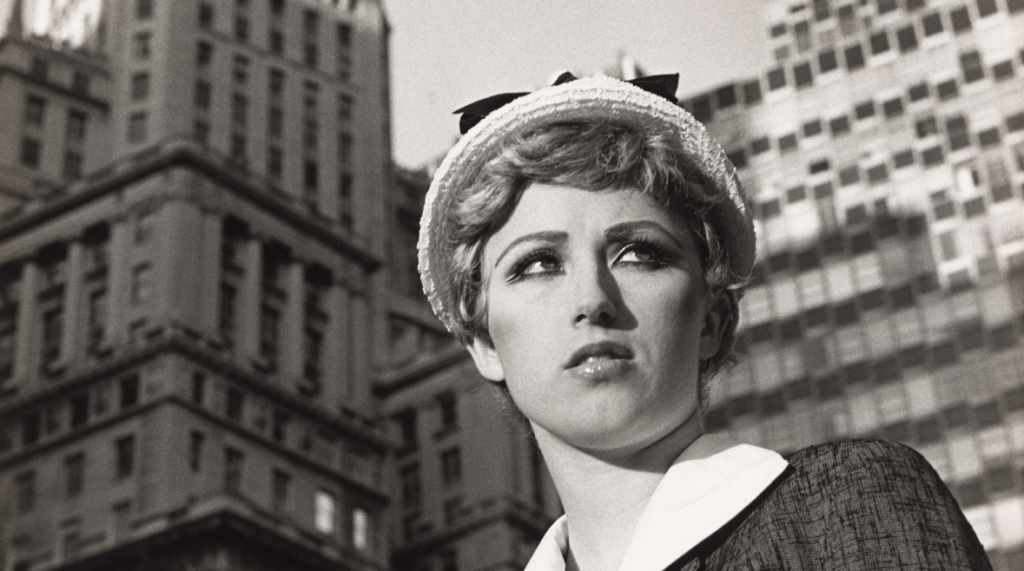
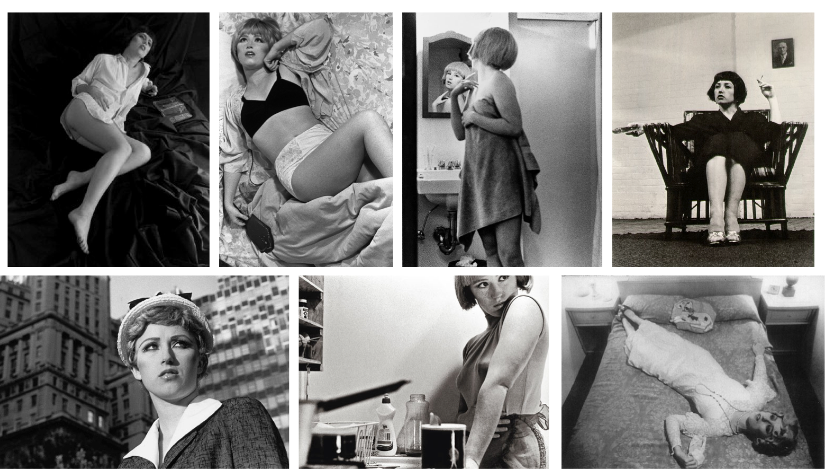
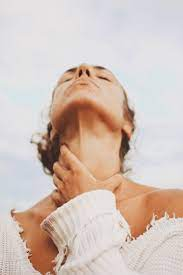
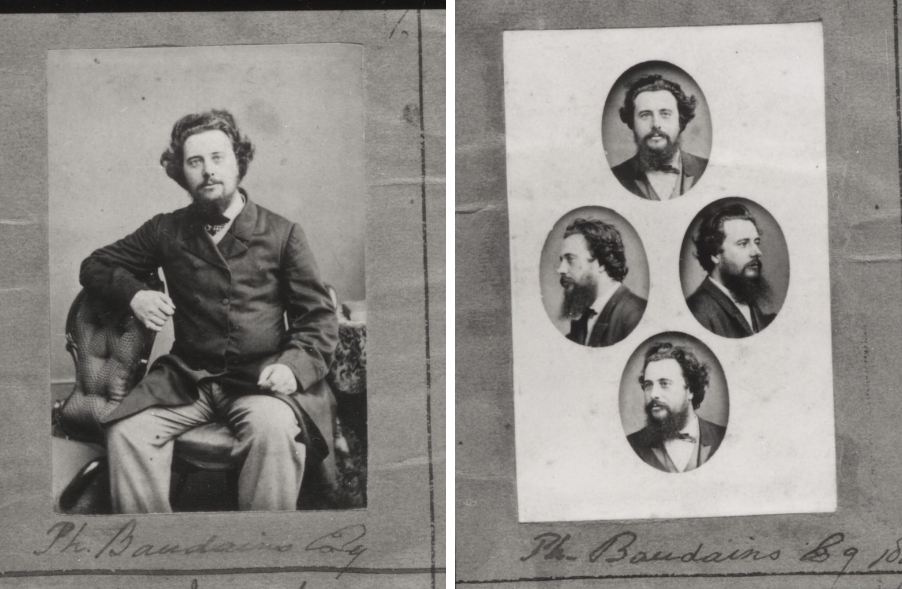
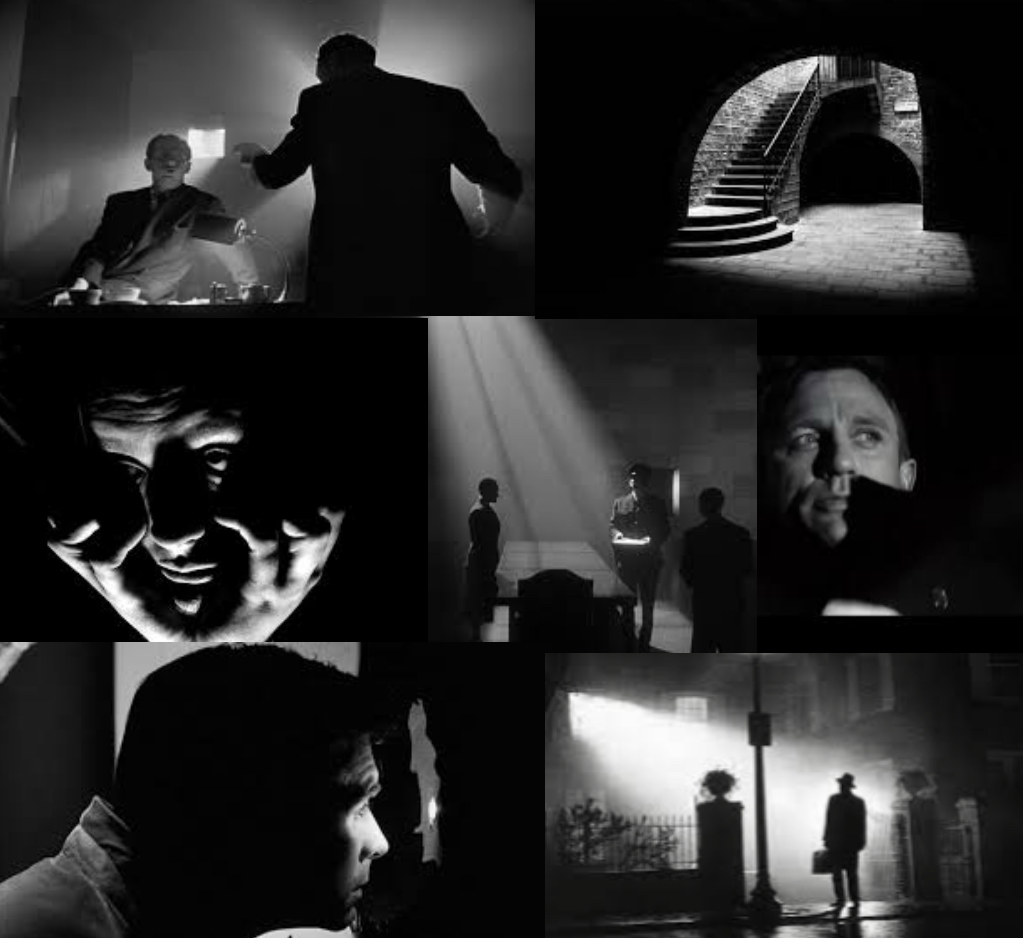
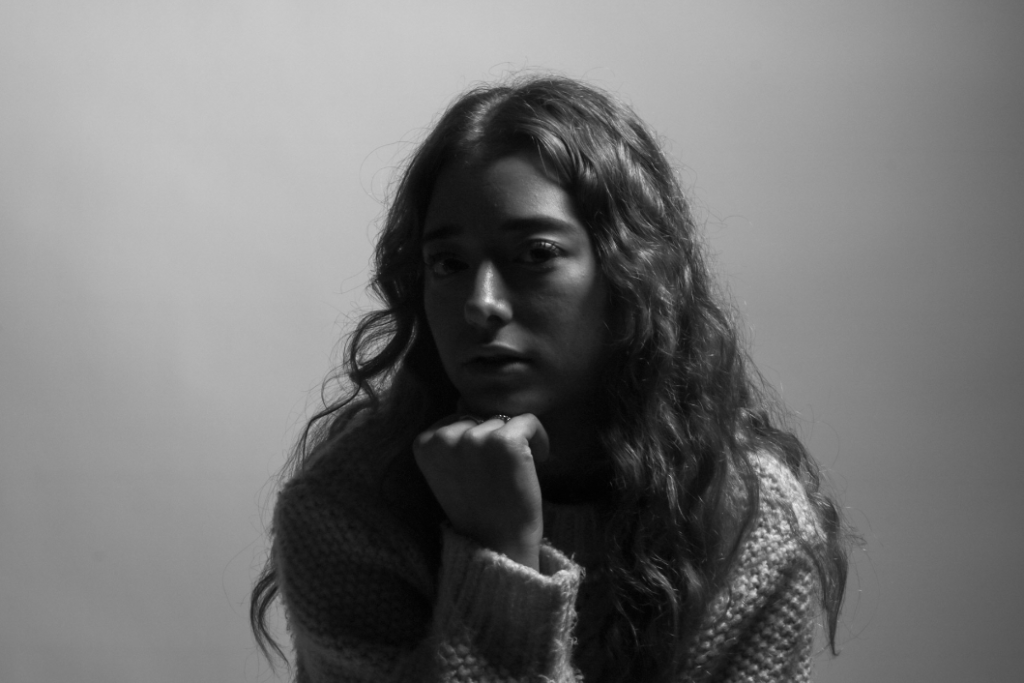
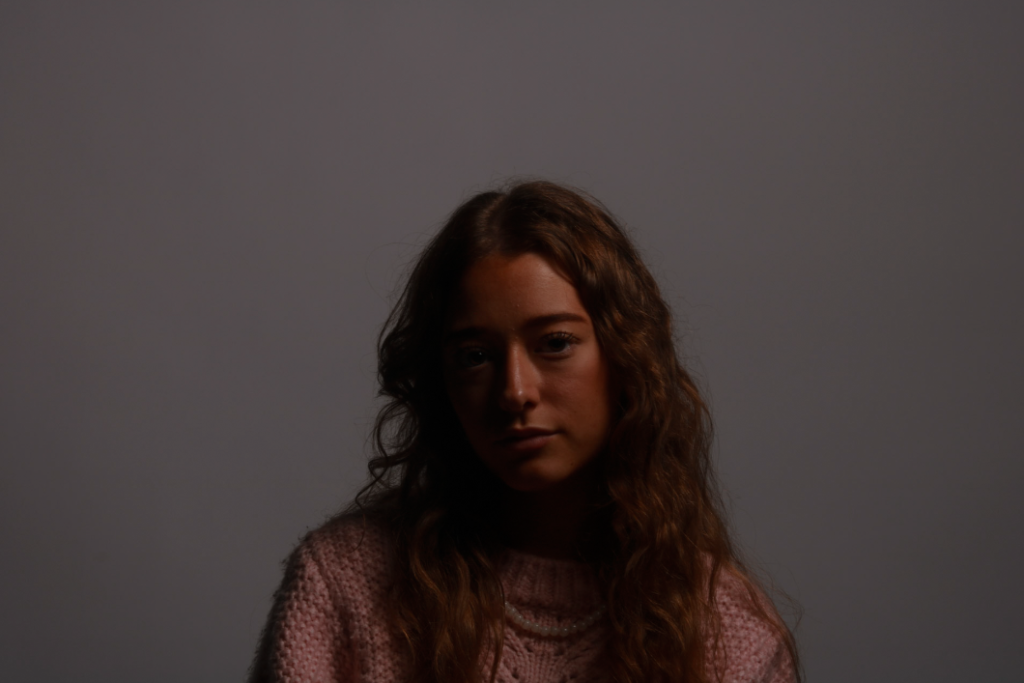
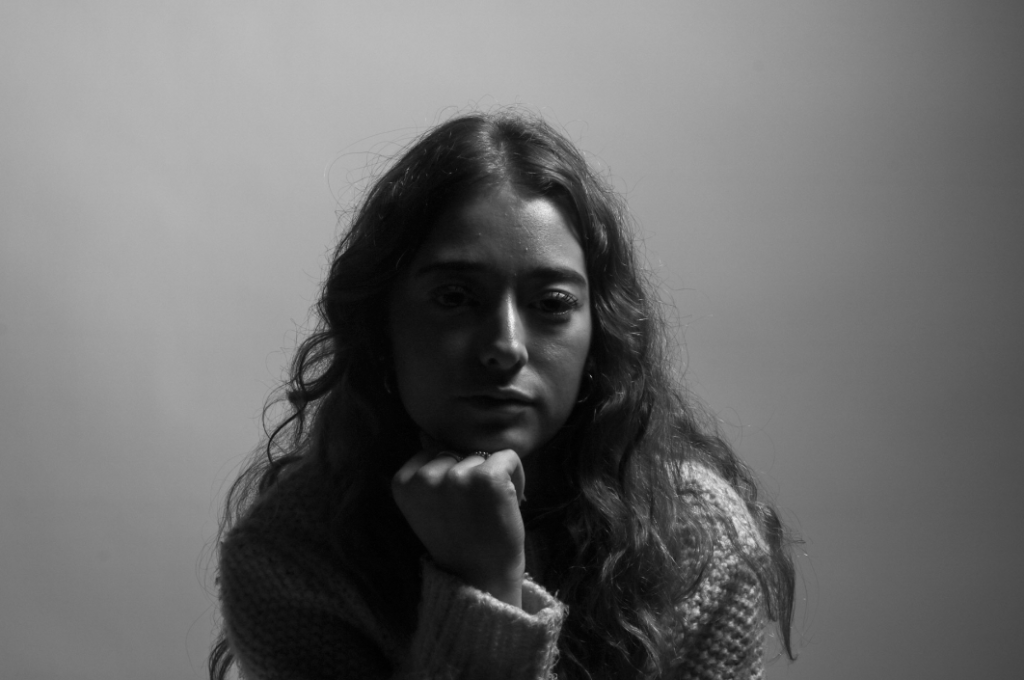
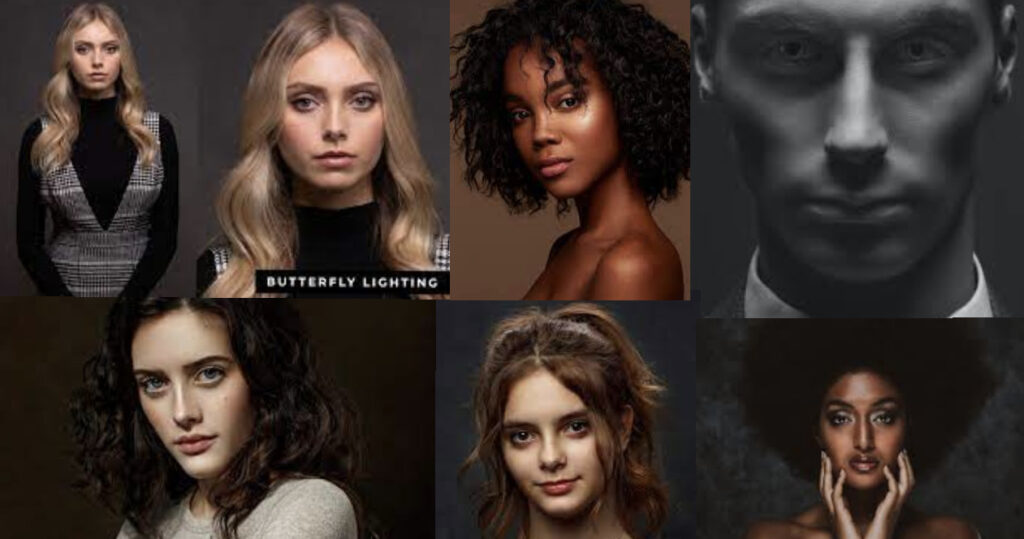
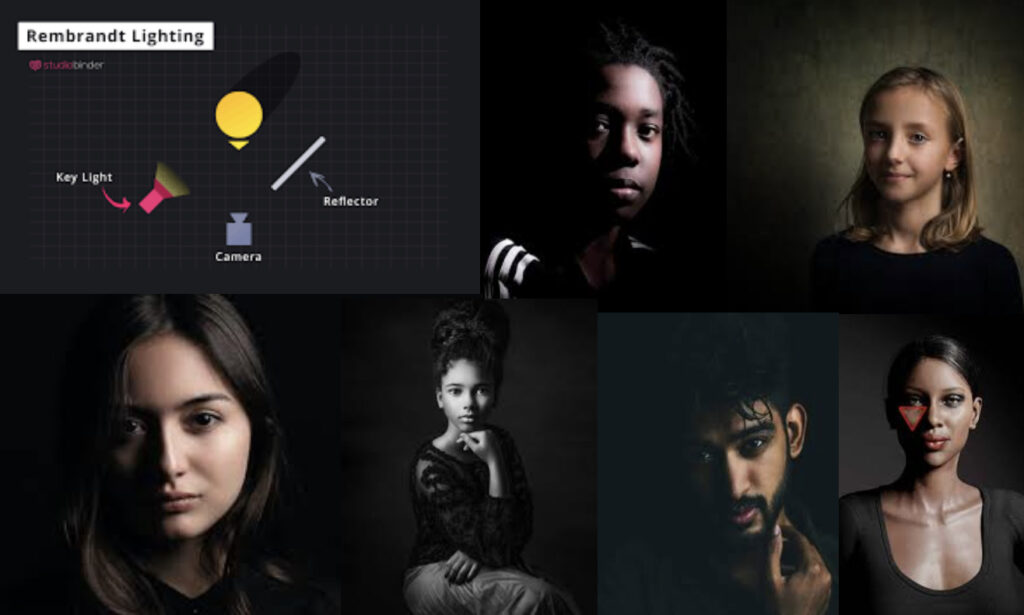
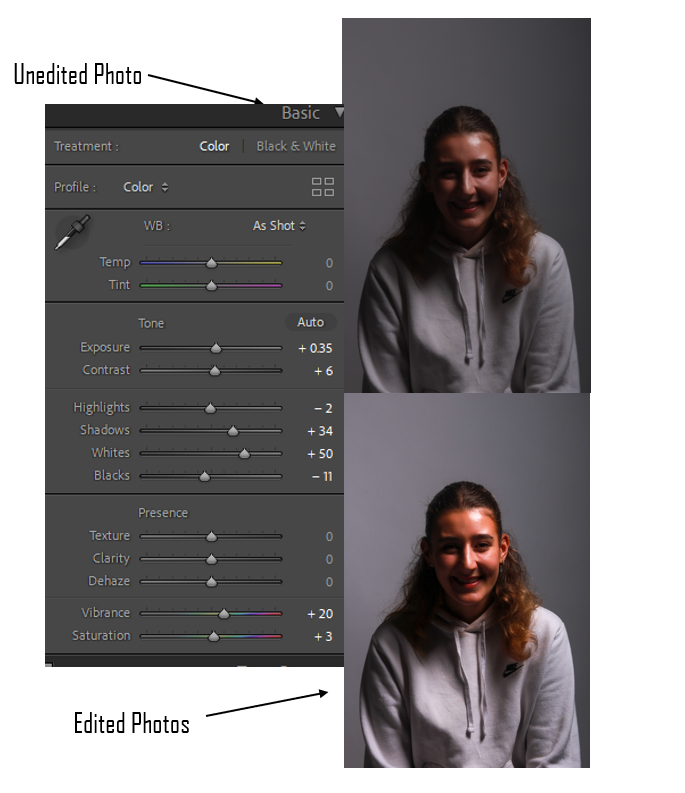
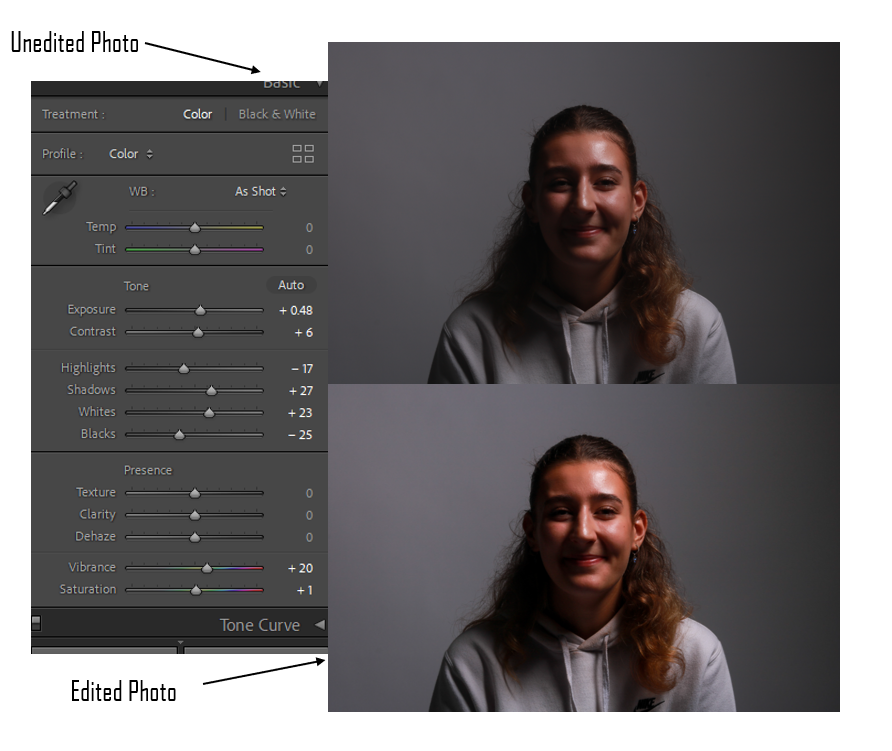
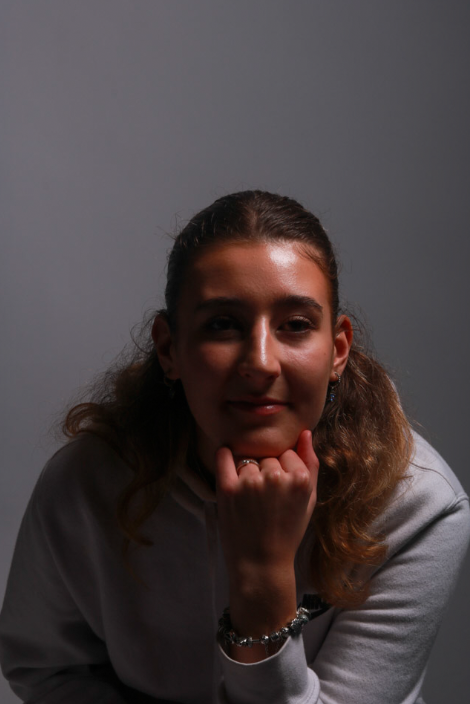
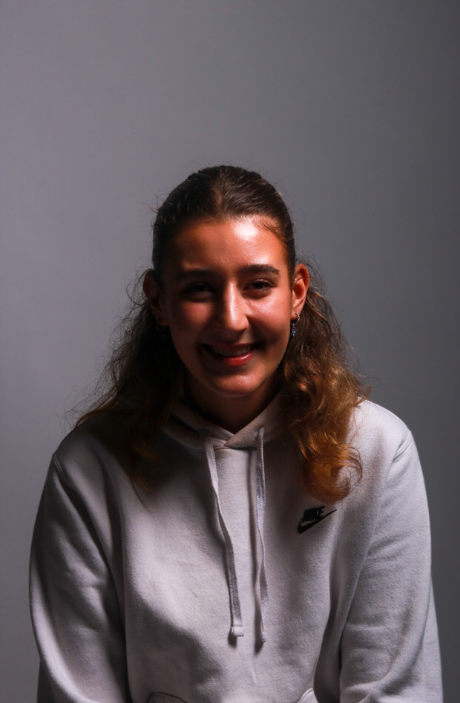
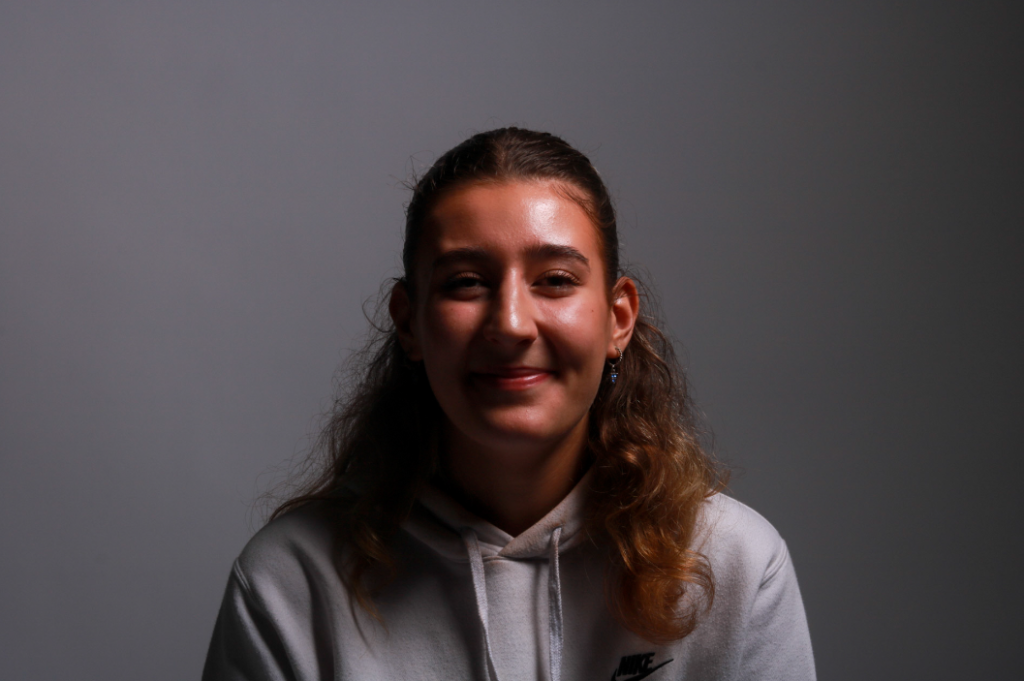
Rembrandt lighting is a technique utilizing one light and one reflector or two separate lights. It can make images look dramatic but at the same time still natural. It’s usually characterized by a lit-up triangle underneath the subject’s eye which is shown in one of the photos above. 


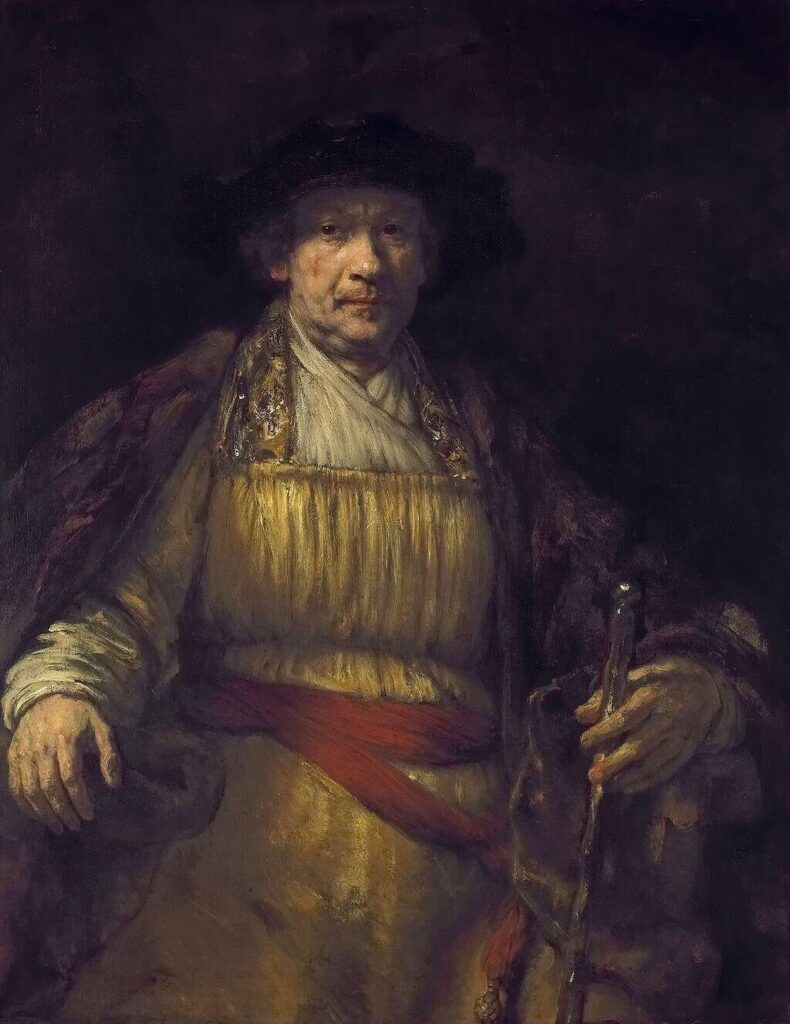
Cecile B. DeMille introduced Rembrandt lighting into photography. Rembrandt photography originated with the famous Dutch painter, Rembrandt. You can locate the triangle of light under his left eye in the self-portrait below.

How to do Rembrandt Lighting:

  • Use “window light” for a softer light that works to enhance the effect
  • Cloudy days work best, especially when the sun is low
  • Place your subject closer or further from the light source to control the amount of light

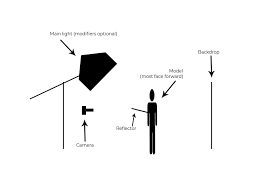
How to set up a Rembrandt lighting photoshoot

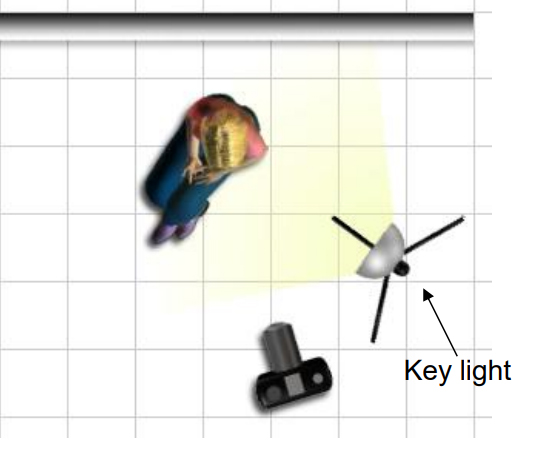
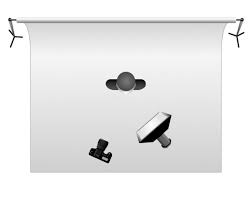
To create a studio portrait using the Rembrandt technique, you should place a single light source on a 45 degree offset from the subject, about 5 feet away. Its said to be more effective if the light is around 2 feet higher than the subjects eye level. the light should be angled slightly and you should aim for it to hit the side of the face that’s furthest away from the light source

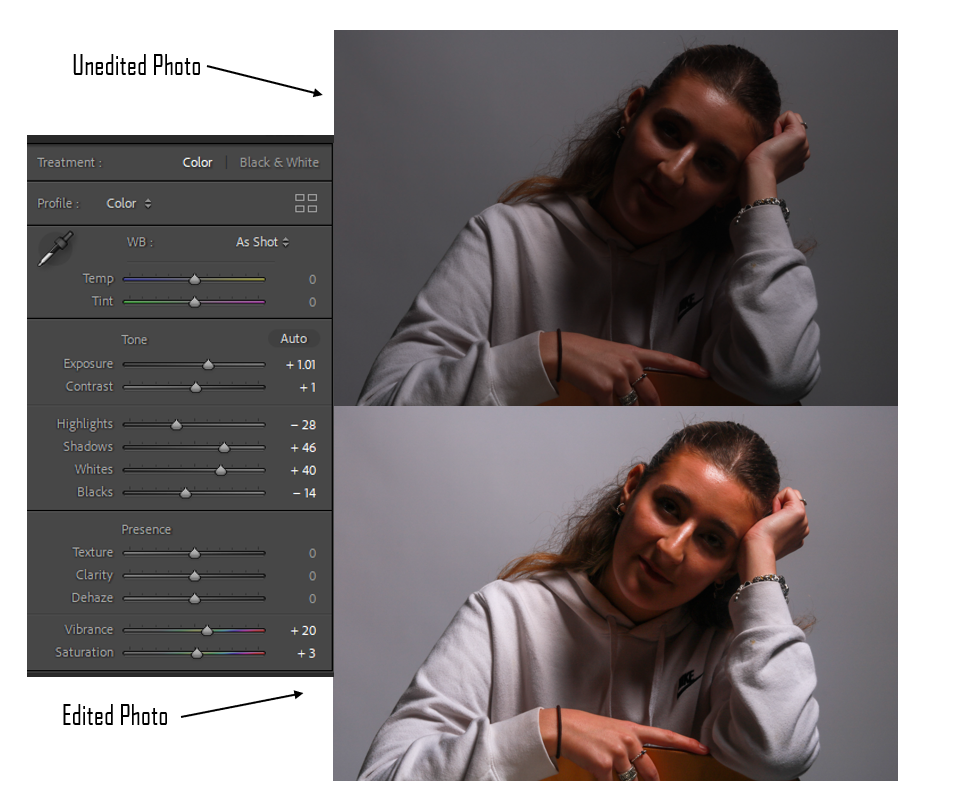
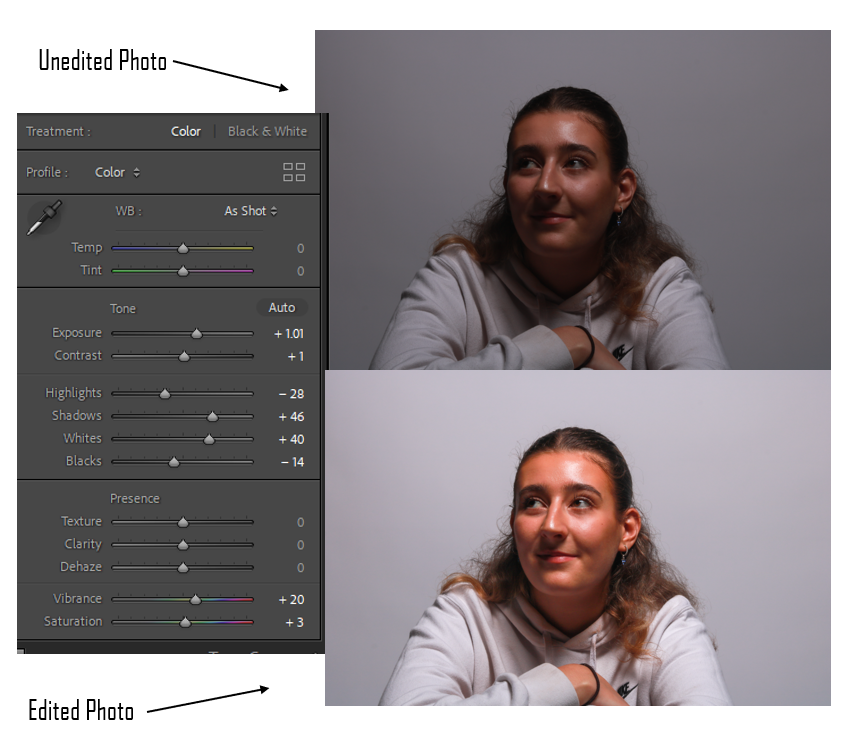
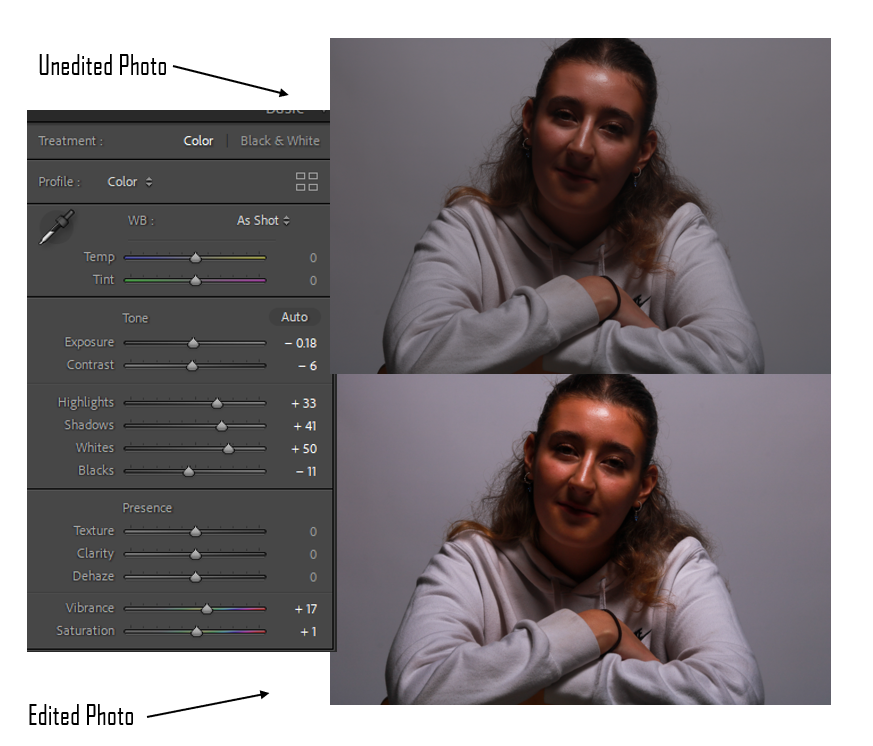
Rembrandt Lighting photoshoot edits:

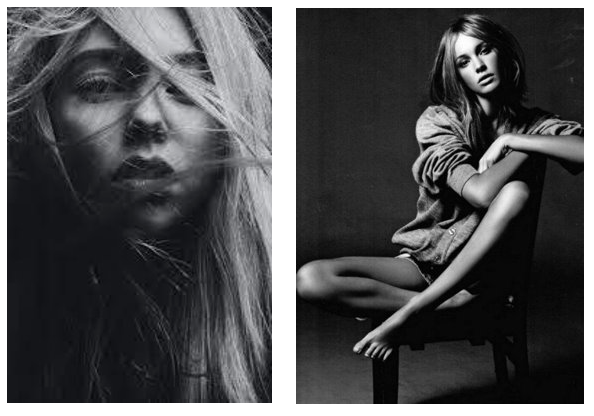
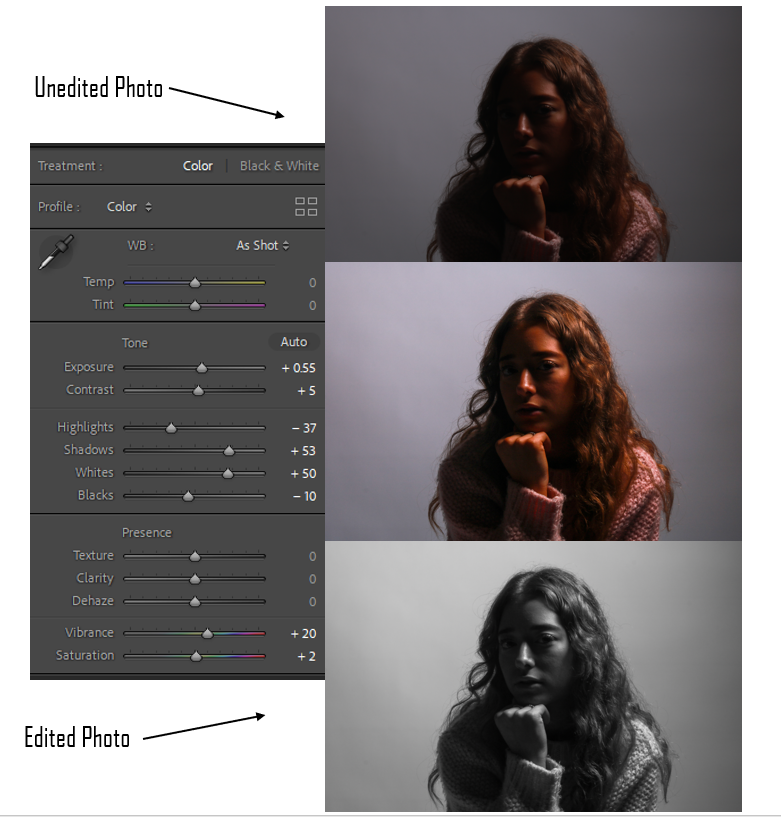
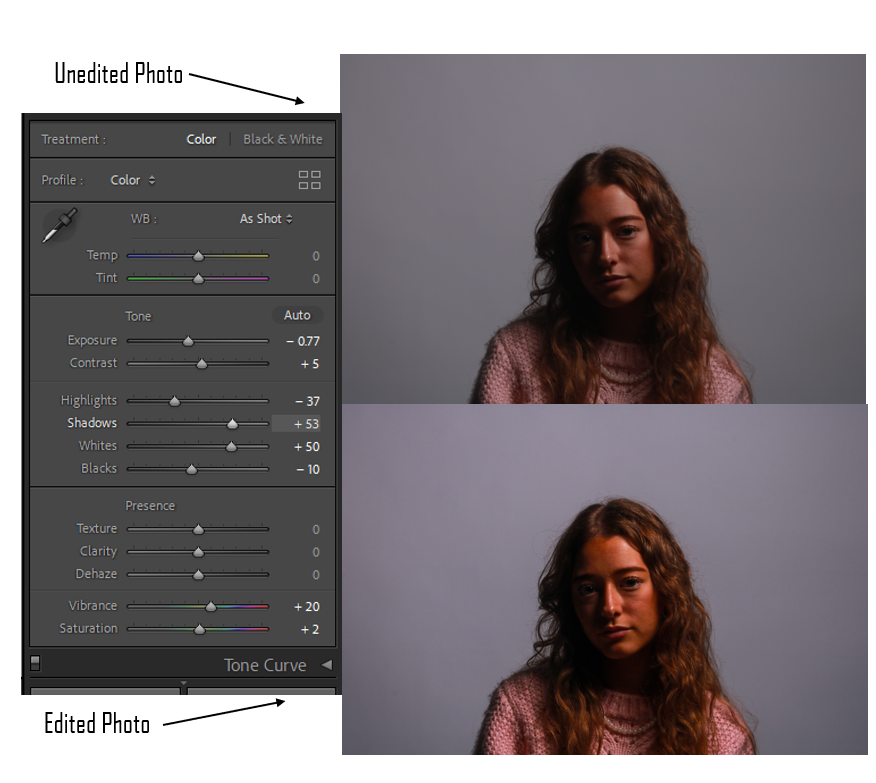
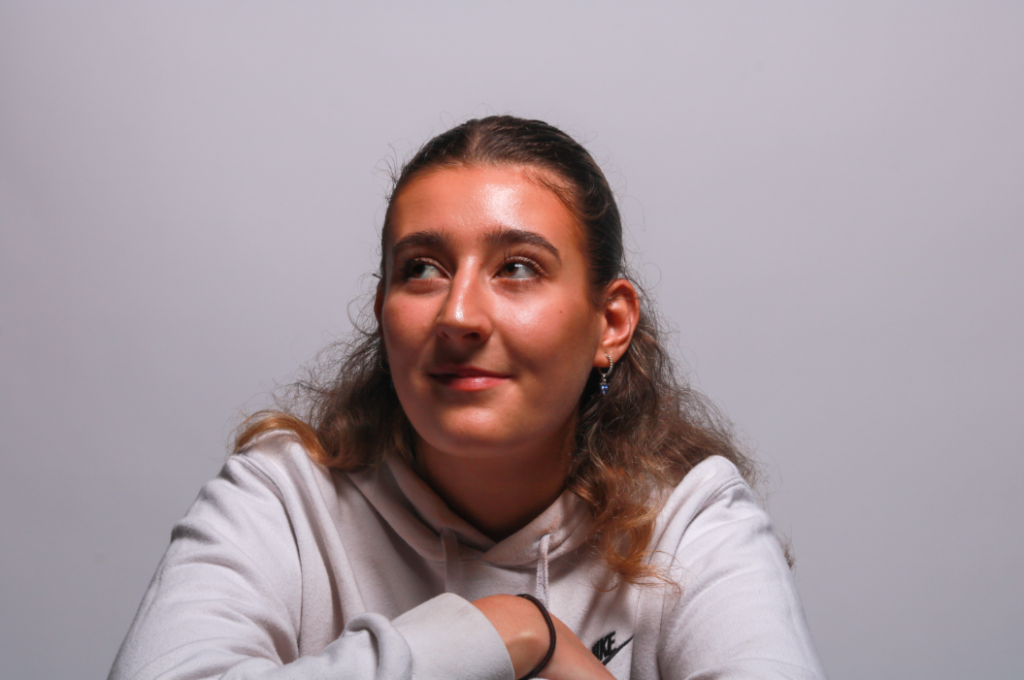
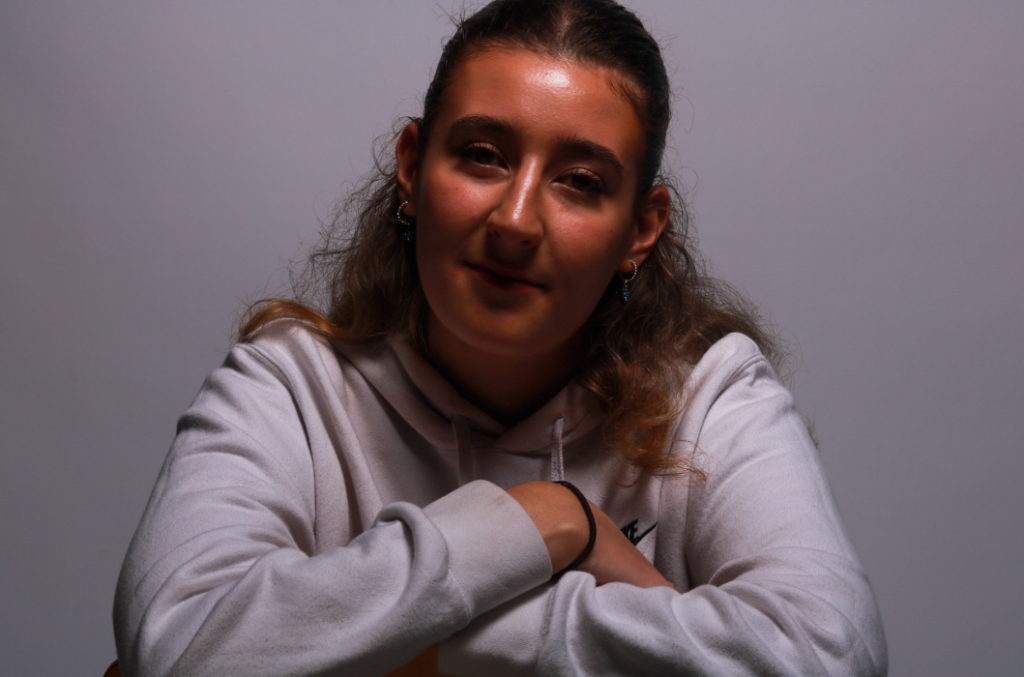
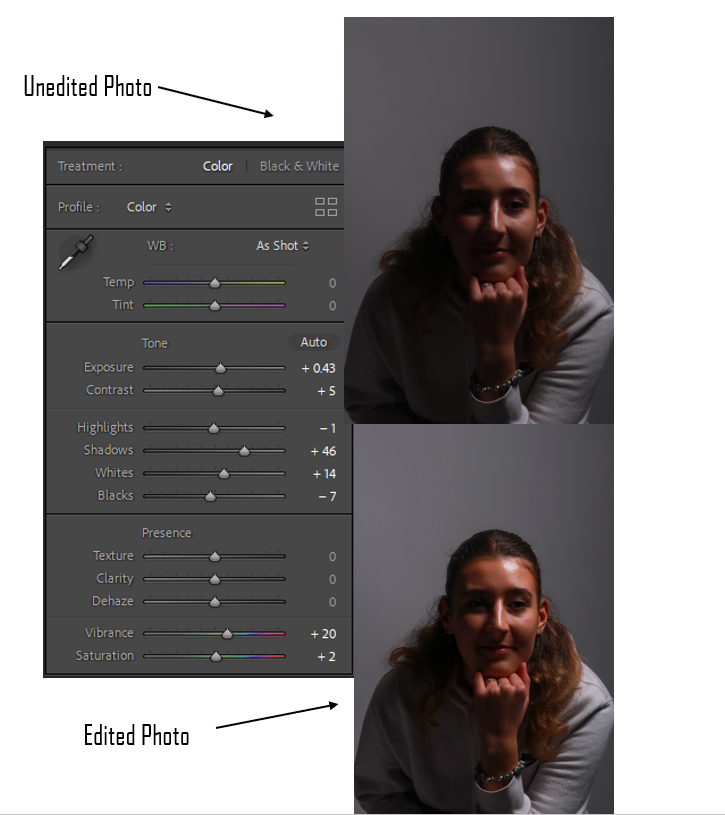
As you can see on the left side of the photo. The subjects face has been well lit up to create the Rembrandt effect. The upside down triangle under her right eye is very visible to the viewer and will make it fairly obvious of the lighting technique that has been created.

I also like this photo because its a different pose compared to the usual basic look at the camera.

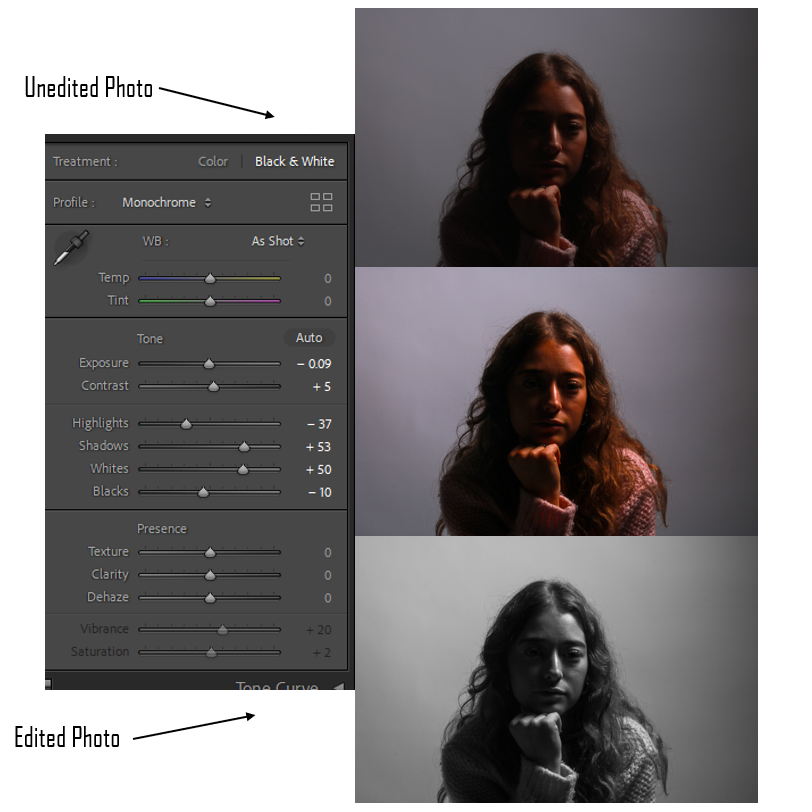
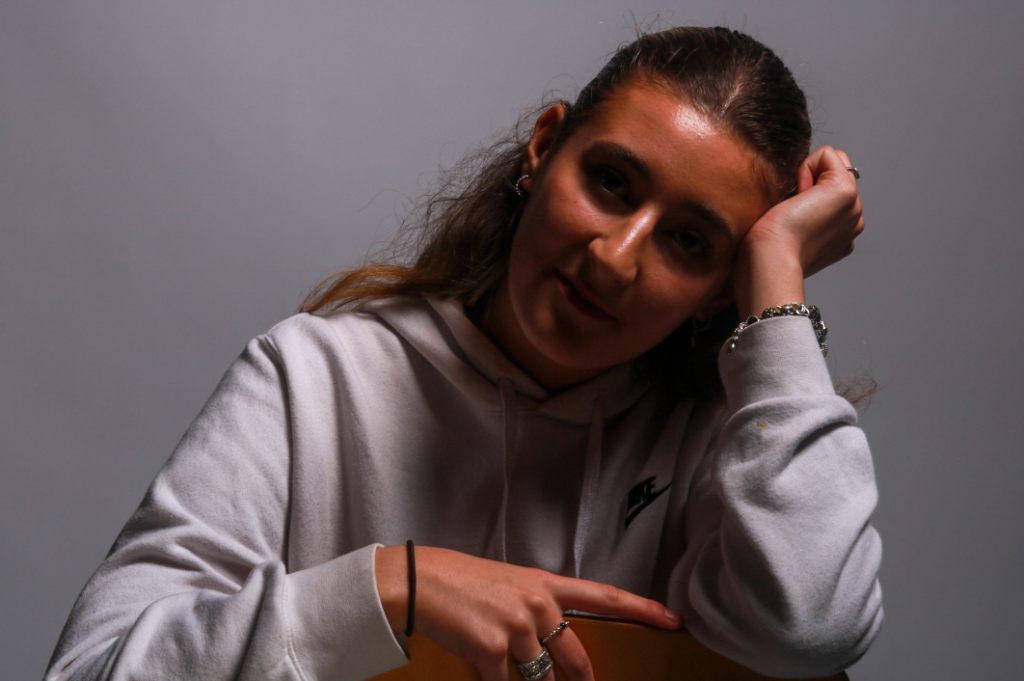
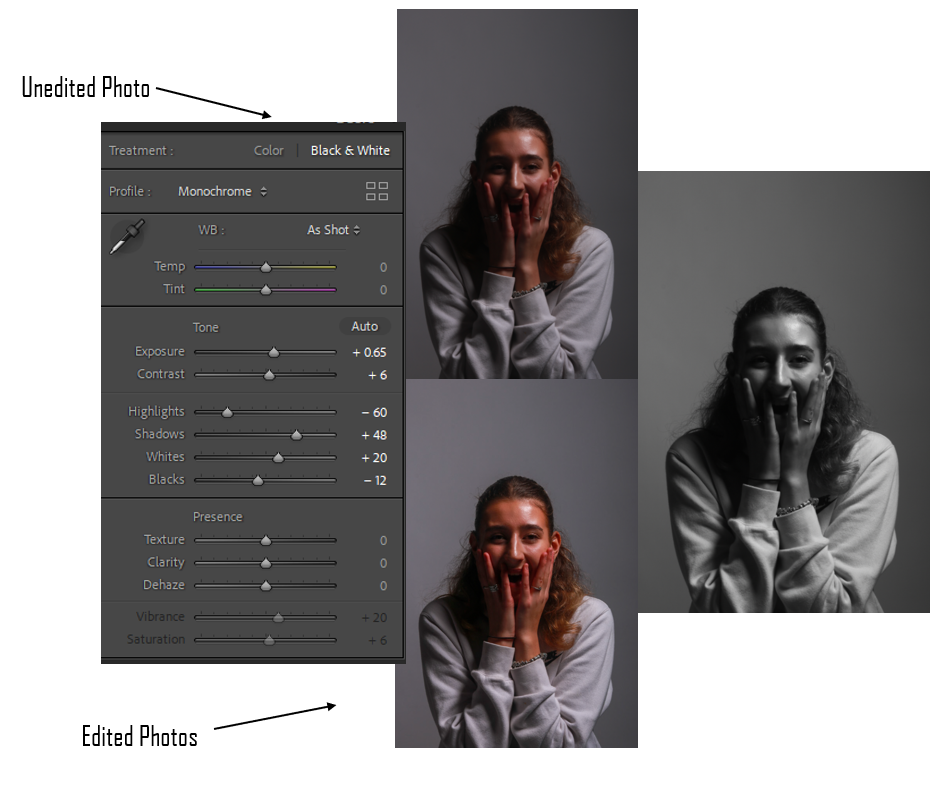
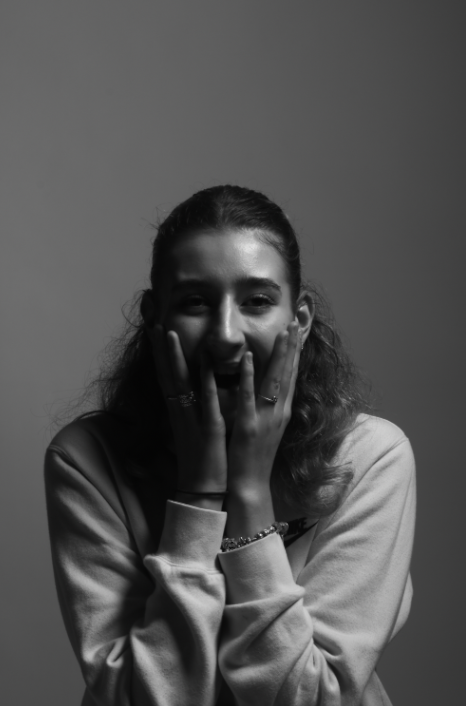
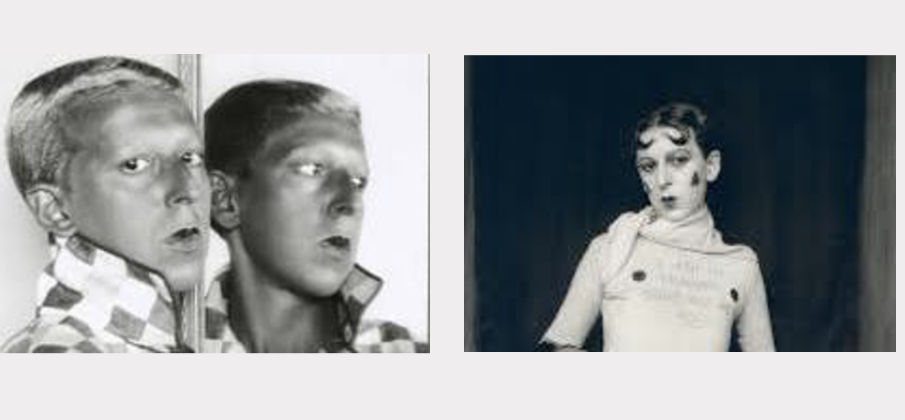
I decided to make this photo black a white so that it could experiment with the different effects on my photos. The upside down triangle has also successfully been created on the subjects right eye and it very clear. I think the poses and position of the subjects hands have also added to the effect of the triangle as her fingers outline it and make it more obvious to the viewer which I think worked really well.

Studio Portrait Photography

What is Studio Portrait Photography?

Studio portrait photography is a type of photography that focusses on the individual in the photography rather than the background.

These photos could involve props to allow the individuals personality to be expressed more. Furniture is also a common prop to be used as it will allow the photographer to get different angles of the individual, for example, sitting on a chair facing away from the camera but twisting your body to capture the face in the photograph. The photographs are taken in an indoor environment where various types of lighting is accessible. this would most likely be a photography studio. Like in usual photography photoshoots, studio portraits can take up to several hours or less than a hour. As well as this, photographers will aim to take as many photographs as they can to ensure they get the right outcomes from their shoot. they do this for reasons such as: many photos wont have focuses and will come out blurry, the lighting might have no looked right in some photos and the individual may have not been prepared for some of the shoots. Studio portraits usually have better outcomes when the individual and photographer are comfortable with each other. this is a good advantage as it gives the photographer the confidence to direct the individual during the photo and it also gives the individual the chance to express themselves and feel secure enough to be involved.


Studio set up for photoshoot

Environmental Portrait Artist Reference Comparison

A similarity between my photos and Davey’s is that we both only focus on one person. This means that the main view point is just on one particular place.
as well as this, a lot of my photo involve warmed toned colours like hers does. In these two photos, the mix of dark reds and forests green with the sunlight shining through creates a really warm tone in Davey’s photo. Though my photo has more brighter tones, use of wood, creams and browns also give across a warming feel to the photo.

One big comparison between our photos is that Davey’s photos are taken on a more personal level than mine. She photographs her children in their day to day lives. The photo above is taken from one of her projects which focuses on her daughter Alice. In contrast, my photos are simply focussing on people’s professions in their own work places. You can tell that Davey puts more effort into taking her photos than I do. She takes time controlling the lighting and props, whereas mine are just taken in the moment and as they are people who I am disturbing I try to be quite quick taking them.

Photo-Shoot action plan Environmental Portrait

Who?

For this photo shoot, I am wanting to photograph people in there working environments or in their natural setting like a home. I am planning to get some photos of my family members in my house as this is their natural setting and where they spend the most time. The people who I take photos of who are in their work environment will be taken as random. I will ask these people permission to do this. I also have an advantage in working in a work place myself so I will be able to capture photos of my work colleagues. as well as this, I have friends who work who will be happy for me to take a photo of them.

Where?

The places I am focussing on taking my photos in are my house and the stores in the market. I think the market is a good place to target as it’ll give me a range of retail businesses and a lot of the workers are proud of their profession so would be willing to be apart of a photo to show off their workplace. The places I will also go which are not the market will be my friends workplaces such as the bakery, the garden centre and De Gruchy. Taking photos in my house will also be a very obvious place as it is a natural setting for all of my family members.

Why

I am doing this to show the various different professions people have and be able to capture it in a photograph

How

I am most likely going to be taking these photo so my phone as it is more easier to carry around to various places. However, i also have a camera I am borrowing so I will still be able to get some photos using this. this is good because it will capture better quality photos and will also show the subject I am photographing that i am being genuine by saying it is for my photography work

What do I want the person I am photographing to do?

It would be ideal if my subject would be able to look at the camera when I am photographing them as this is what environmental portraits involves. however, I can understand if they do not want to do that as it is their decision.

Environmental Portraits Artist Research

Sian Davey (Looking for Alice & Project Martha)

Sian Davey was born in Brighton and later went to Bath academy of Fine Art where she studied fine art painting in 1985. she also went on to obtain an MA and an MFA in photography between the years 2014 to 2016. Sian has a daughter called Alice and a teenage Step-daughter called Martha. Sian Davey was greatly inspired by Louise Bourgeois retrospective. After visiting Tate Modern, London in 2007 she instantly loved the style of the photographs. After Martha’s 16th birthday, she questioned why Sian doesn’t take photos of her anymore. Sian had earlier assumed that Martha was becoming uninterested in being involved in the photography and wanted to give her space to grow up as she is a teenager. While she stopped taking photos of Martha, she took other photos of her youngest Alice where she created the project

‘Looking For Alice’

The context of this particular project highlights the meanings of Love and Family. Sian Davey focusses this project on her daughter Alice as she was born with down syndrome and she explains her struggles and the importance that her “imperfect baby” feels what everyone else feels.

Visually, This image gives off a dark tone but it is also a very warming photograph. The overload of patterns works well especially with the dark background as it doesn’t make it overly crazy. You can easily tell that the girl is the viewpoint of the image and i like how the use of a brighter colour outfit compared to the blankets and pillows works well to stand her out. It contrasts with the colours and patterns of red/pinks and greens on the pillows and blankets and is very eye catching in contrast to the background. It also adds a really effective aspect to the image.

In technical terms, I think the lighting in this particular image works really well and I love how the natural light shines on Alice’s face. it is very intensely shining on the left side of Alice’s face and therefore making that side have a glow. The aperture has been adjusted to full focus on Alice and the bedding around her as the background is not visible at all.

I think this photo also works well as an Environmental Portrait piece as Davey has said, the conceptual view of this photo shows that though Alice has down syndrome, she is like any other child who loves to explore their surroundings and go on adventures to places such as in the photo.

Visually, The viewpoint is immediately the centre of the image and the add of height to Alice creates more a focus on her, this could also be seen as her being in the centre box of a rule of thirds. In addition to this, the use of colour contrast in terms of Alice’s clothing also adds to the fact that she is the main focus as she differs from the rest of the image.

The technical aspects of this photo includes the use of the natural lighting. Though its clear that there are clouds cover the sky the light is still able to pass through and create a warming light

Project Martha

After Davey was asked the question by Martha, She then went on to begin her newest project called ‘Project Martha’ which involved being apart of her daughters teenage life with her friends. Sian expressed how she had to allow her friends to trust her and have her basically in the friend group to be able to capture these photos. She says the quote

‘I am always there as the photographer, as her step-mother, as mentor and friend, but where I am and where I place myself is harder to place as she grows and moves further away from her childhood.

These were photos like the ones below

I think Davey’s photographs are very powerful because as well as capturing Martha’s teenage life with her friends, she is also expressing the relationship between herself and her step-daughter and the trust they have in each other. I think the bright colours that are in every photograph of Martha’s friend group makes the photo have a large feeling of happiness and memories being made, whereas, if she decided to make her photos black and white it wouldn’t have the same effect that it does. I think this point is greatly evident in the 2nd image below. I really like how natural Davey’s photos are. In the first image, I think the use of only Martha being aware and looking directly at the camera works really well to show that its a document of her life and what she does. the use of the friends not being aware of the photo also adds to how naturalistic the image is. The colours In almost all of her photographs are soft and bright and bring across a feeling of warmth.

Some of the photos from ‘Project Martha’

Environmental Portraits

What is an environmental portrait?
An environmental portrait is where the photo is produced in the persons natural environment. this could be places such as their home or the place they work. In a portrait such as this, it is not only the person that is important, it is also crucial that the background of your image contributes to the viewers understanding of the persons profession. For example, the photo of the Chef above explains this well. though he is wearing a chefs outfit, the profession needs to be clear even if it didn’t involve the aspect of objects that relate to that profession. As it is clear there is a kitchen behind the man, this means the the photograph is clear and is a good demonstration of environmental photography. These photographs are also powerful pieces that could share a deeper story about the persons life

As well as a work profession, environmental portraits can be taken at home as it is the persons natural environment. Rooms such as the living room or someone’s bedroom works really well for this type of portrait as it demonstrates where the person spends most of their time.

Project Evaluation

at the beginning of this project I wasn’t skilled with adjusting the settings of the camera, I learnt how to do this and I could tell how a lot of my images increased in quality. The use of the studio gave me a chance to experiment with different lighting techniques and angles. I made sure to involve different levels into my photographs by using the objects provides such as plain boxes. I think my nostalgia project differs from the rest as I experimented more in this photoshoot and I think it turned out well. If I were to do this project again, I would try and involve different nostalgic which would be more interesting to photograph.


I really liked how my Tools photoshoot turned out as well. I used three different ways of photographing these by using the bird eye view using the set up in the studio. As well as this, I used the coloured transparent plastic to add different colours to my images which make it more interesting and make the, stand out form the rest. The third technique I used was using the light box. Like the first, this was also taken at bird eye view. If I were to do this photoshoot again, I would aim to take more photos than I did and make the photos more unique than just the basic object.

At the end of my photoshoots I created a phot gallery of both my photoshoots. First I did this on photoshoot which I didn’t really like as it was difficult to get the angles right on the walls and it doesn’t have the aspect of walking around like Artsteps does. I like how my gallery turned out on Artsteps. I like the gallery space I chose as I have a lot of areas to choose from and add my images to. I prefer this more than photoshop as it’s an easier process and on photoshop the angles of the images sometimes don’t turn out right or look the wrong angle.

Creating a Virtual Gallery

Photoshop:

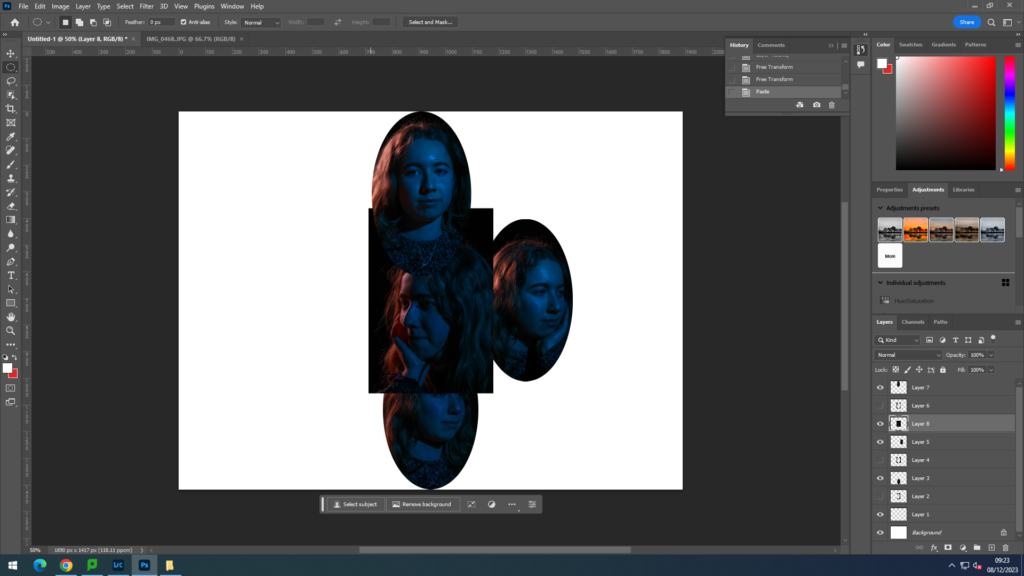
My first attempt of the photo gallery was created on photoshop. I first had to open up google to search ‘Blank gallery space’ to find my background. after I chose the one that is shown above, I put it into photoshop and then went to my files to open the image I wanted to present. the images I chose were ones that I had edited previously on Lightroom. I got my images from Lightroom which were already edited beforehand and imported them into photoshop. I used ‘control T’ to highlight the imported image to be able to move it to where I needed it. I also used the Ctrl icon when adjusting the image to make the angles change and for the photo to sit nicely on a wall. Using a drop shadow effect, I could make the image look more realistic and 3D when on the wall.

In the screenshot below, it shows how I was able to create the drop shadow on the images to make them more look like a photo on a wall. all I had to do was double click on the layer I wanted to edit and then tick drop shadow at the bottom. from there, I was able to adjust the amount of shadow and the angle I wanted it at.

Artsteps:

This was my attempt of the photo gallery using Artsteps. This was an easier process than photoshop as you can move around and choose the wall you want your image on while being in a large space. it doesn’t involve the added work of adjusting the image to a certain angle on a wall ands you can also add your own borders. You are also given the option to add more fixtures for your photos to go on so I experimented with that and added 2 walls on top of each other in the middle of the room. I chose my favourite photos from my Still Life Nostalgia photoshoot and then my favourite photos from my Formalism/Tools photoshoot.

Evaluation

Overall, I like how my gallery turned out on Artsteps. I like the gallery space I chose as I have a lot of areas to choose from and add my images to. I prefer this more than photoshop as its an easier process and on photoshop the angles of the images sometimes don’t turn out right or look the wrong angle.

Photoshoot: Tools

For this photoshoot I used a range of different tools that were provided to me. These included:

  • Scissors
  • Pliers
  • Paintbrushes
  • Cutlery

Most of my photos were taken in the studio using a white background with the camera angled at a Birdseye view. 3 of my photos were also taken using a light box in the classroom and a ladder to create enough height to get the Birdseye view.

My photos have been edited to black and white to make it more inspired by the artist.


Contact sheet of all my photos:

Photos from Front View:

These photos were taken with a simple warm toned light and back light to make the object stand out. I lowered the brightness on these photos and increased the clarity for better quality. I used the spot like behind the surface to allow the light to make the object stand out. I made sure the object was centred in the light and that it was not off-centred.

These photos were taken using coloured transparent card that was held over the camera lenses to create the desired colour. I like these because they differ and are unique from the standard natural colours photos. To edit these I either increased or decreased the brightness and I made sure it had more clarity. in some, I also upped the vibrancy. I use the spot healing brush tool on photoshop to erase any marks on the camera or scratches on the surface that my object was on.

The images above were all taken in the Studio

Photos at Birds-Eye View

These 3 images above were taken using a light box. I like these images however I think I should’ve experimented using colours more and not just kept the plain white background. I like the light box as it makes the objects stand out and its also an easy but affective outcome. I decided to make these 3 images black and white like the artist tended to do as well.

For these photos, the background of the photo made it produce a purplish tone to the photograph. To fix this I simply pressed auto on the white balance to make it more white than purple.

My Favourite photos

Camera settings: Taken on Canon Camera, F-Stop=f/5.6, Exposure setting= 1/60 second, ISO Speed= ISO-200, Exposure bias= 0, Focal length 38mm, No flash

Camera settings: Taken on Canon Camera, F-Stop= f/8, Exposure Time 1/8 second, ISO-Speed= ISO-100, Exposure bias 0, Focal length 35mm, No Flash

Though these photos are very different, they are both my favourite shoots. I think this is because I prefer the white/brighter backgrounds on the first image to contrast with my objects as the other background turned out with a purple tint which I didn’t particularly like. The second image was taken at a different angle and not Birdseye view. I still like this image because my group made sure to make the backlight sit directly under the object to give it a spotlight. in addition to this, I like the amount of clarity this photo has.

To edit my photos, I only simply changed the exposure by lowering it, as on my camera the outcome of the photos was quite bright and it did not look good. If needed, I also adjusted the clarity and vibrancy.