Mood Board:

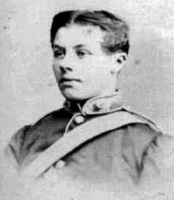
“One of the most curious spirits of our time”
Claude Cahun was a French surrealist photographer, sculptor and writer, born on October 25th 1894. After studying at the University of Paris, Cahun settled in Montparnasse in the early 1920s and began her artistic career. It was in Paris that Cahun adopted the name Claude in 1914, as she was originally born as Lucy Renee Mathilde Schwob but began to explore the idea of being gender neutral. They chose this new name because in French is both a male and female name. While Cahun was alive, it is argued that the pronouns used were either she/her or they/them because that is what was used when they were alive and used themselves; they/them because of their often-discussed detachment from being a woman or a man.
Cahun is best known as a writer and self-portraitist, who assumed a variety of performative persona. Moving to Jersey in 1937 with her stepsister and lover, Marcel Moore, she resisted the occupation taking place on our island. During their lives together in Jersey, the women decided to mount an underground resistance campaign following the Nazi’s occupation of the Island in June 1940. The two campaigned against them, provoking them in a risky manner for four years until 1944 when the Gestapo investigated them. Narrowly avoiding a death sentence, the two were freed from prison on the 9th of May 1945 following Jersey’s Liberation. Remaining on the island until 1953, Cahun suffered from ill health which unfortunately resulted her passing in hospital on the 8th of December. After this, Moore continued to live on in Jersey for many more years until sadly ending her own life.
Her life was a representation of resistance, defying the conventional ideas of beauty and femininity with her shaved head and male attire, challenging them. This was almost revolutionary in the 1930’s, being in a same-sex relationship and exploring her identity in a difficult time period of traditional values. Whilst Cahun was alive, they produced many pieces of work which The Jersey Heritage Trust collection represents. Their work challenged the politics of gender and identity, alongside the work of many male Surrealists who depicted women as objects of male desire. They used domestic settings such as a cupboard at home and introduced something interesting and new to this environment, exploring gender fluidity.
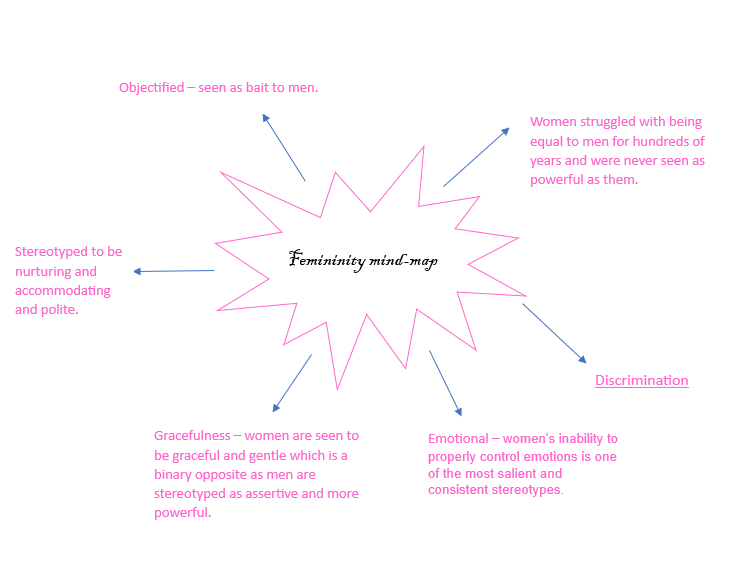
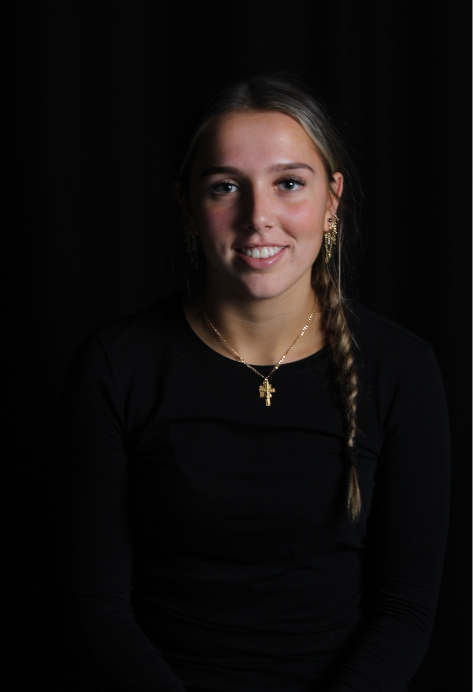
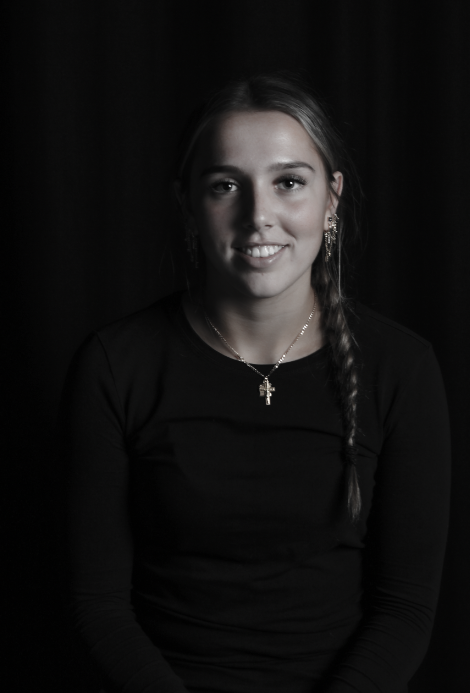
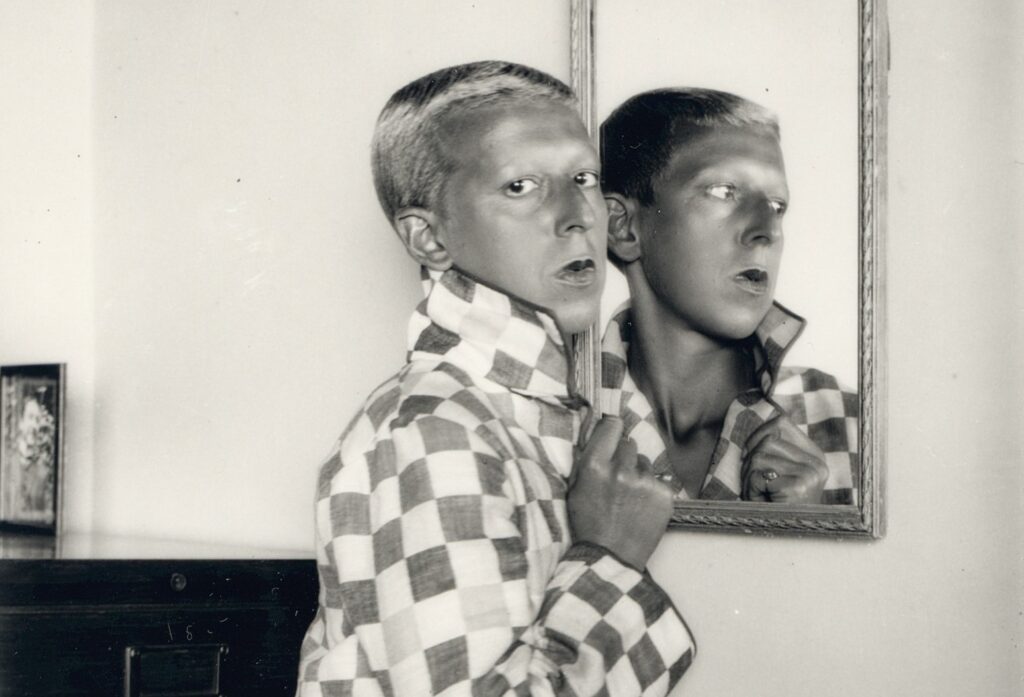
Image analysis:

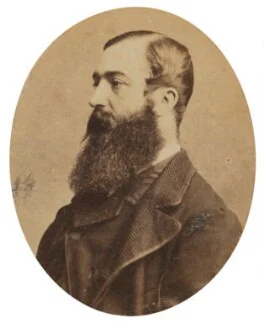
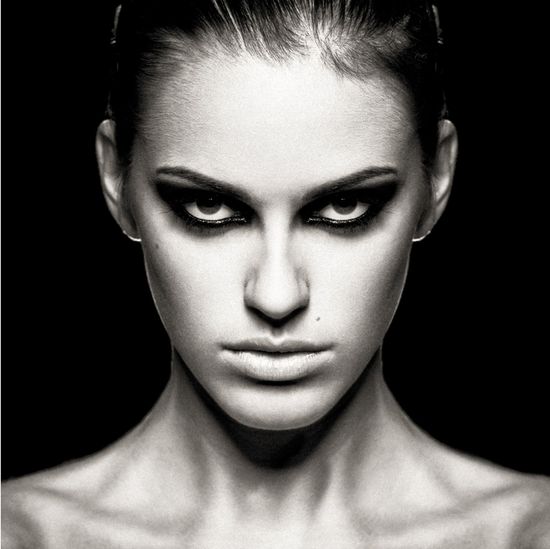
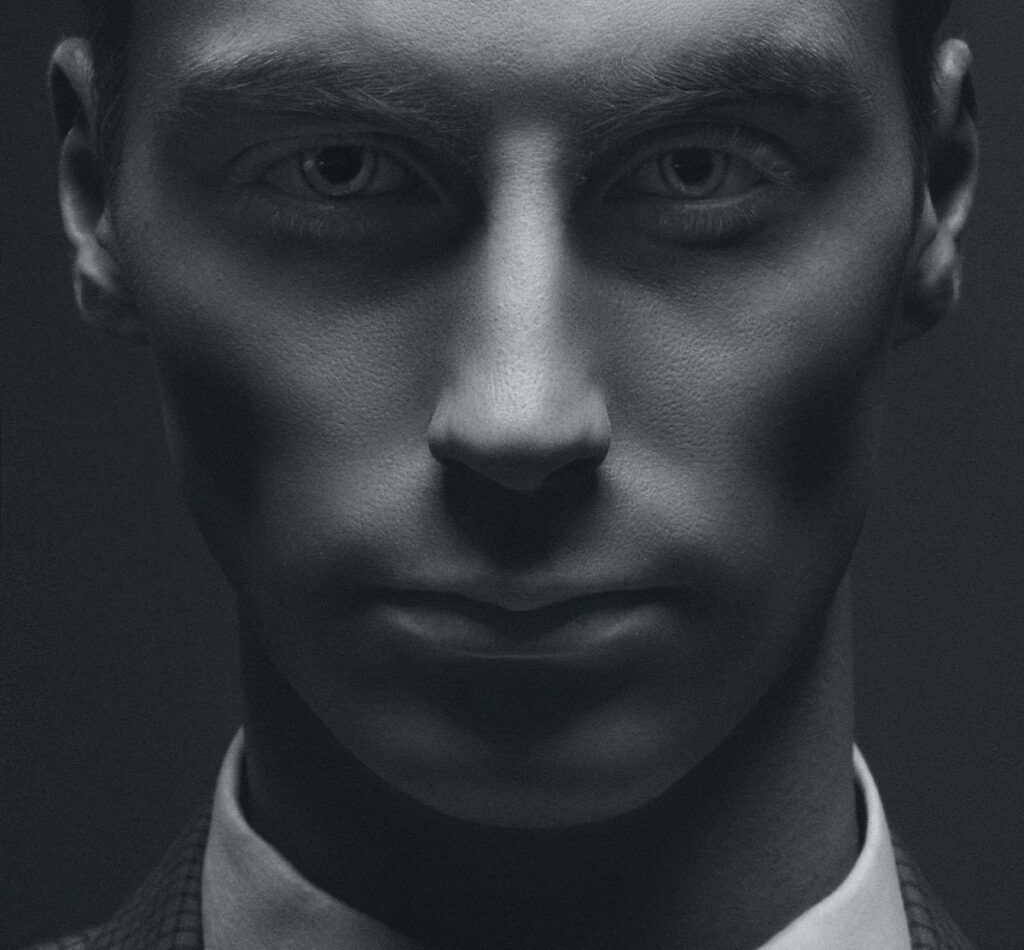
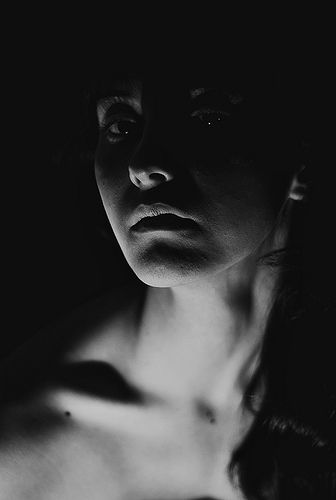
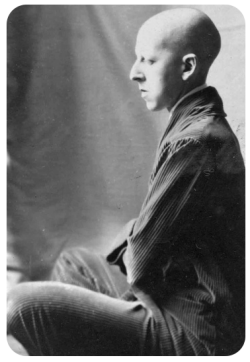
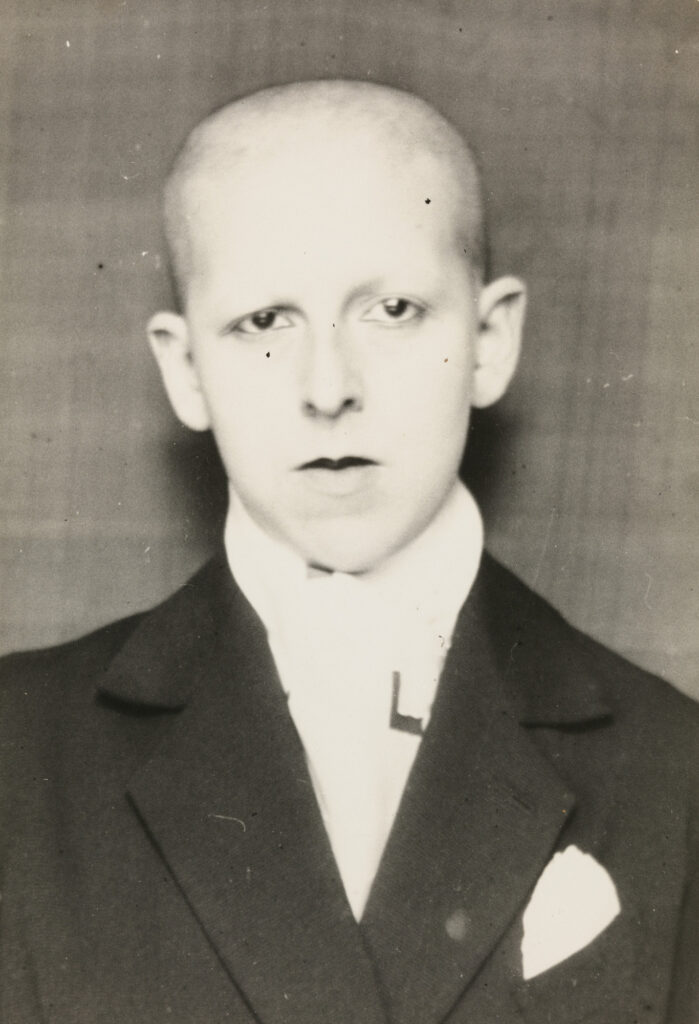
For example, in this image Claude Cahun is representing the masculine stereotype, which I can see from their shaved head and dressed in a suit, giving the image a monotone look. This contrasts well from some of their other photographs because they have also been seen wearing makeup, portraying a more feminine side. I believe Cahun’s work is important in todays society because it breaks down the idea that females must be feminine or males should be masculine. Being a vision of gender fluidity and breaking down the gender roles that were traditionally assigned.