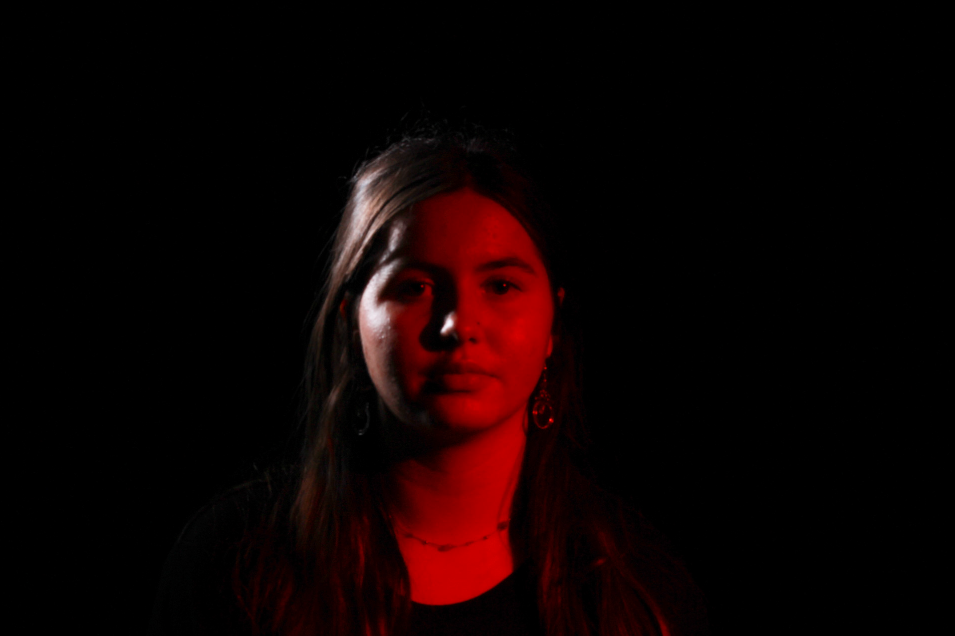
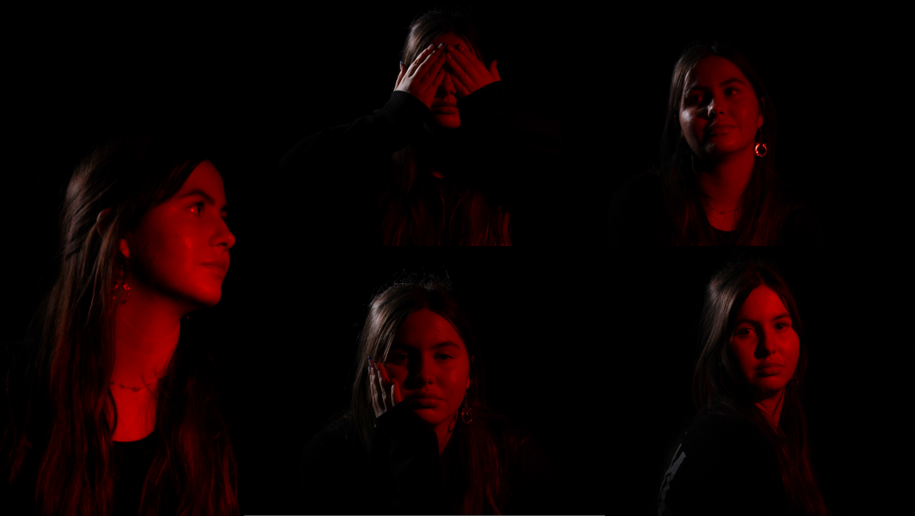
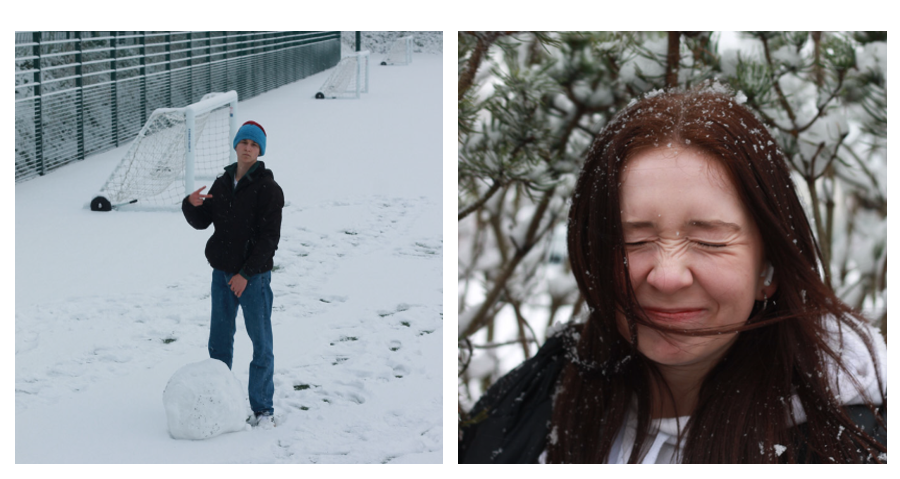
Photoshoot 1
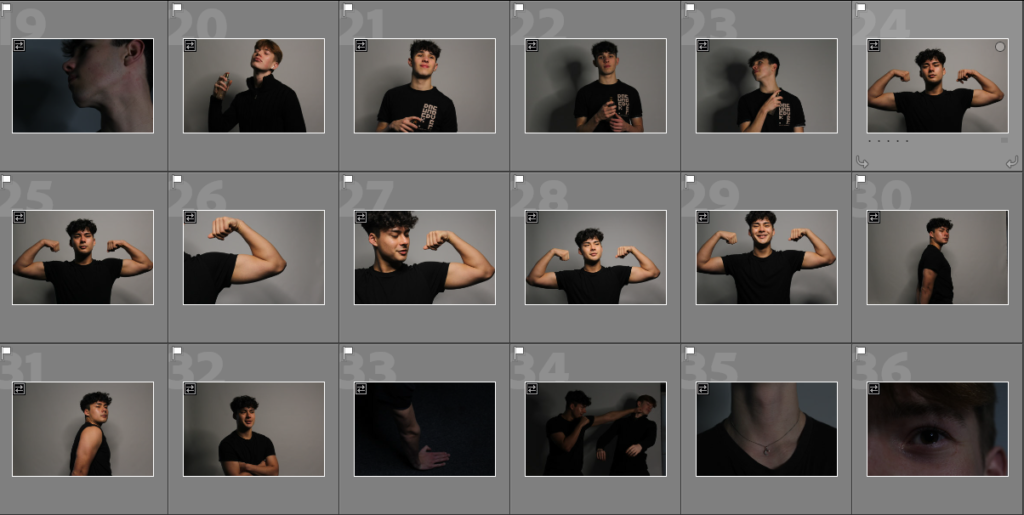

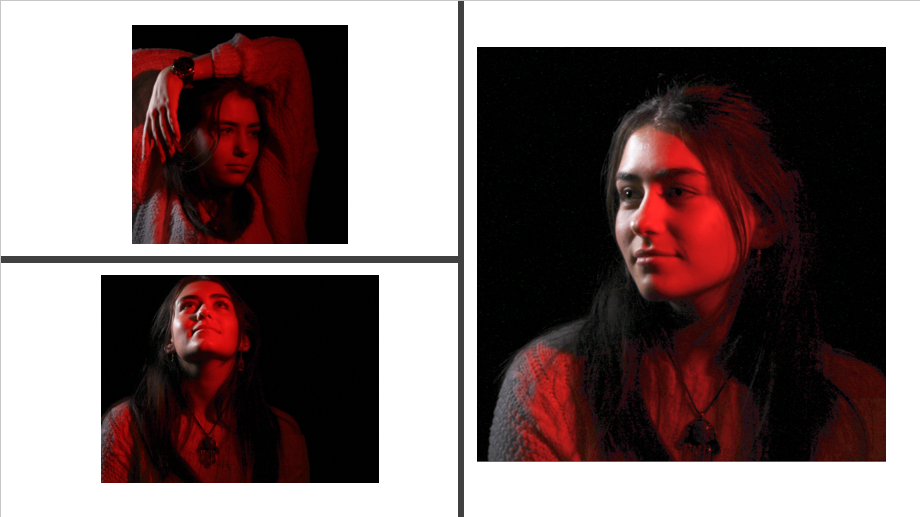
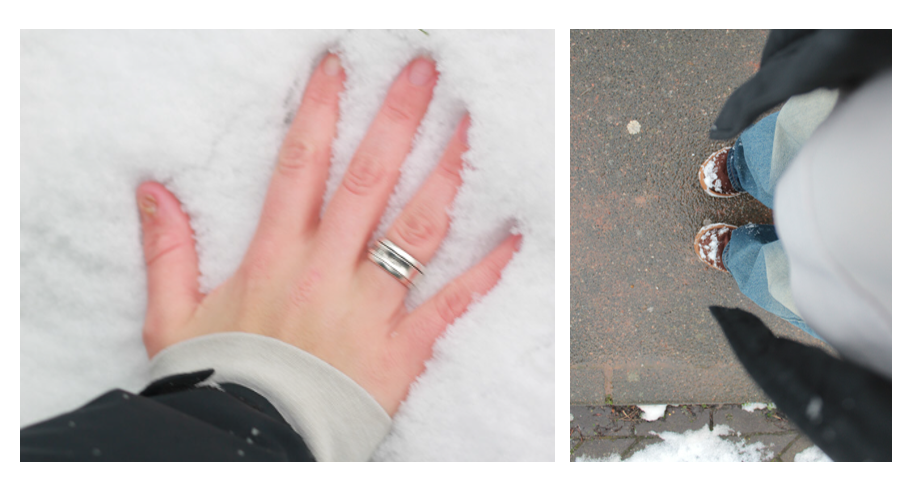
Photoshoot 2
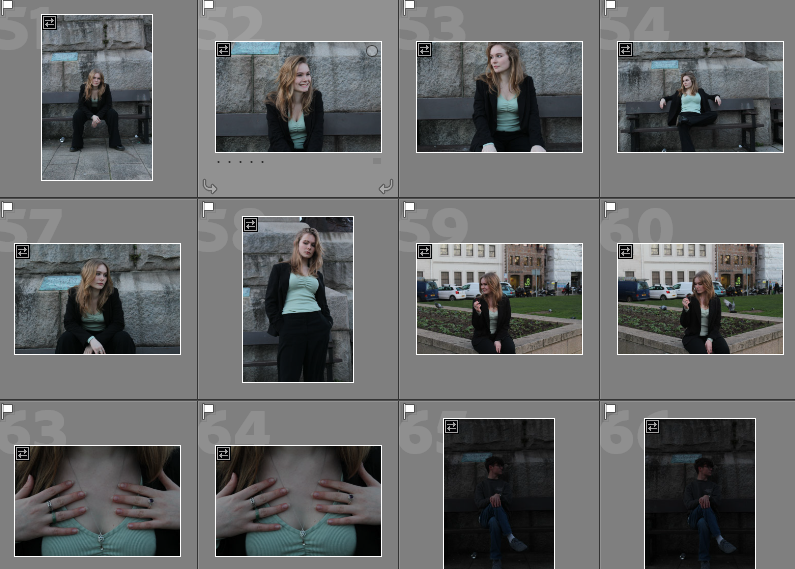
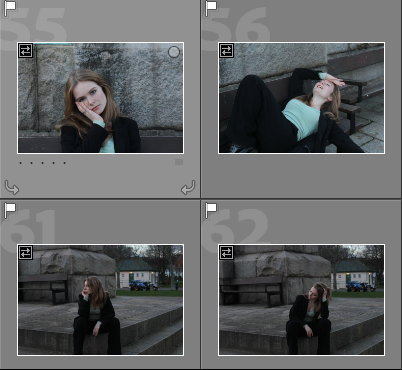
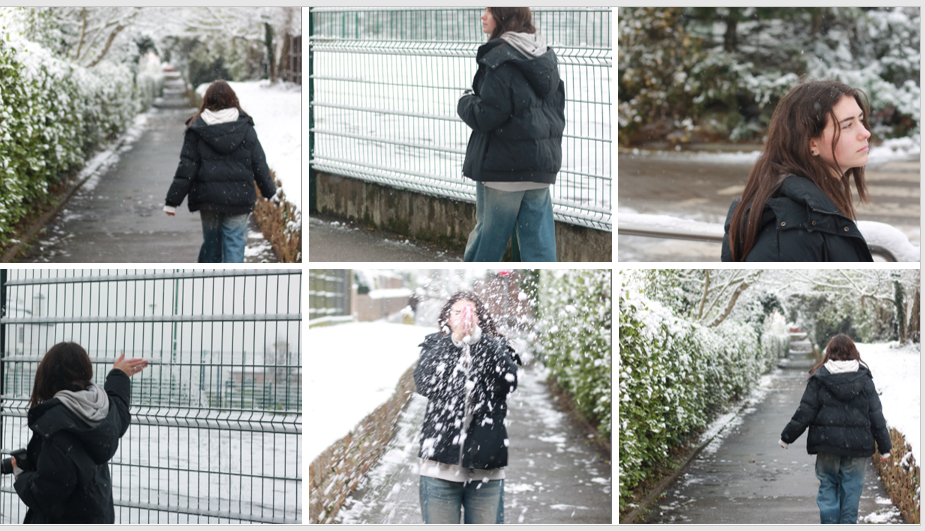
Photoshoot 3
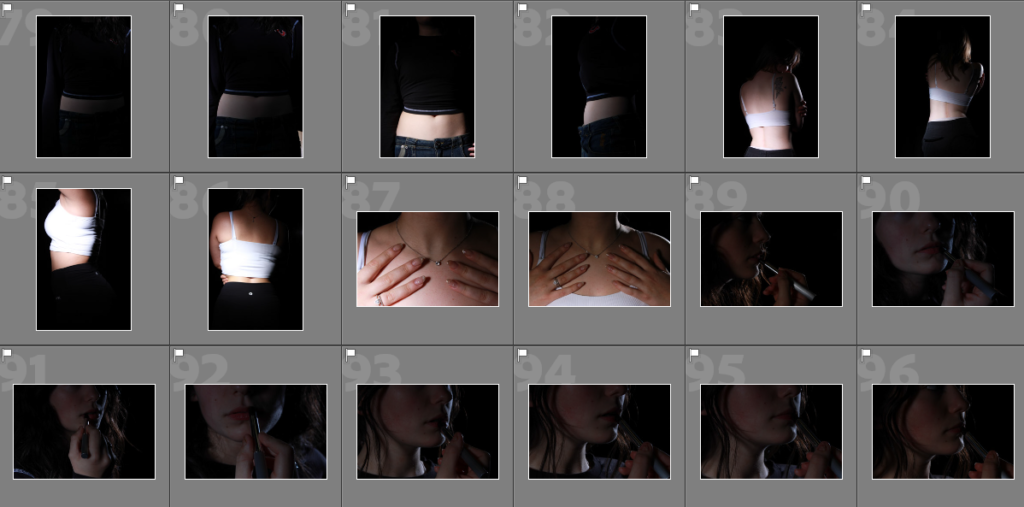

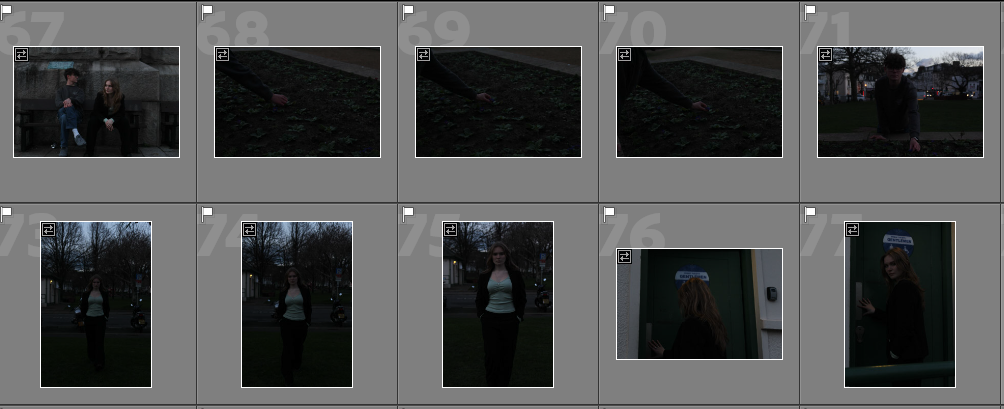
Photoshoot 4
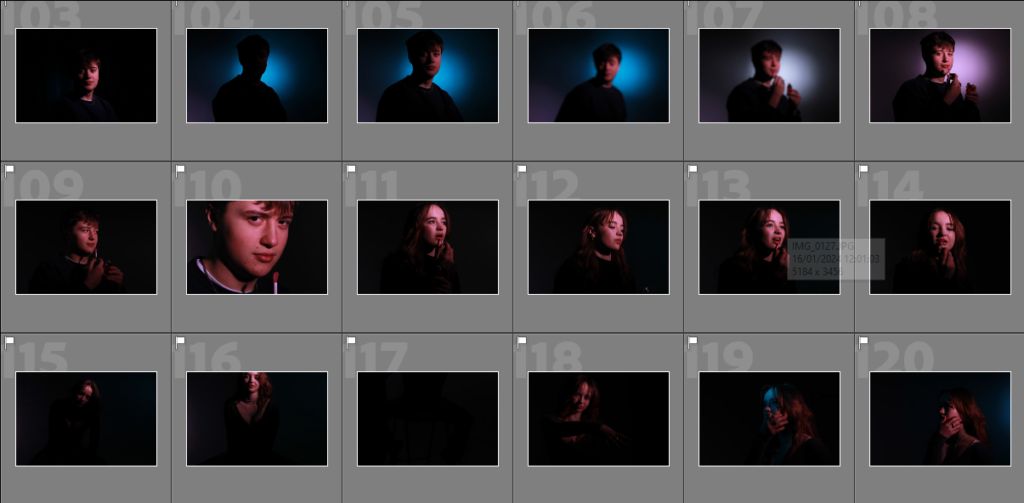

Photoshoot 1


Photoshoot 2


Photoshoot 3


Photoshoot 4


Where?
Who?
What will i use?
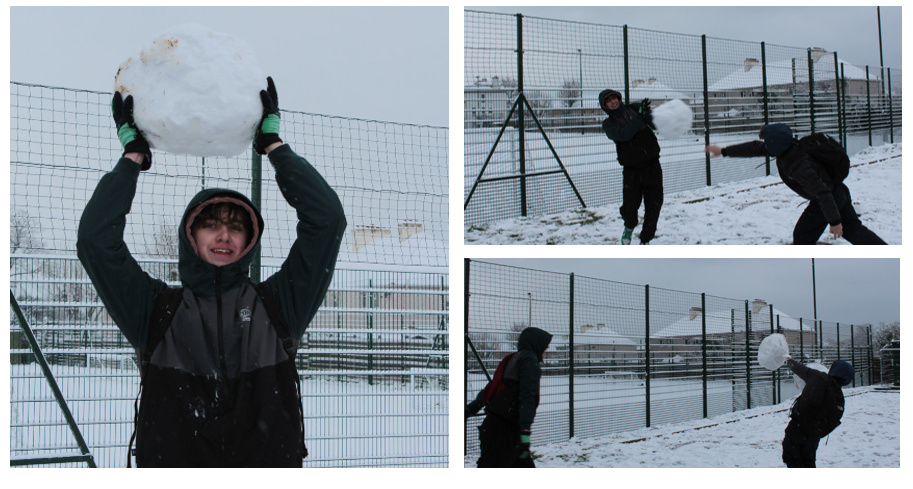
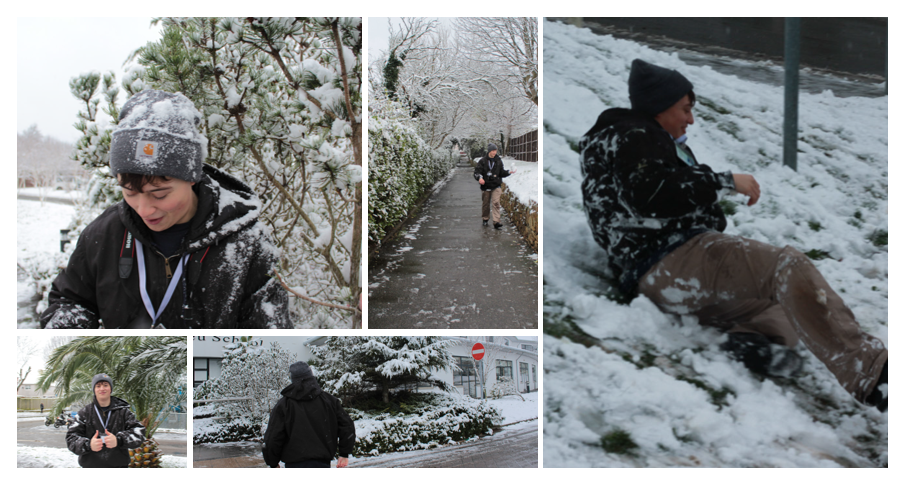

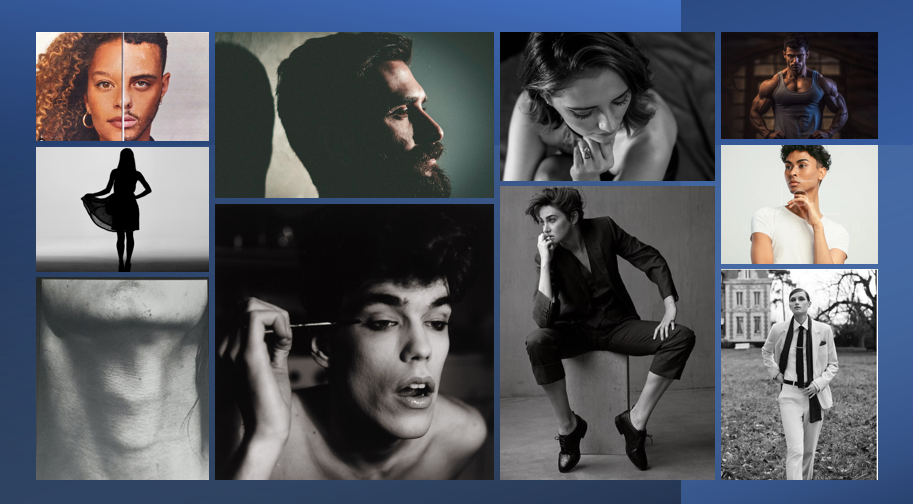
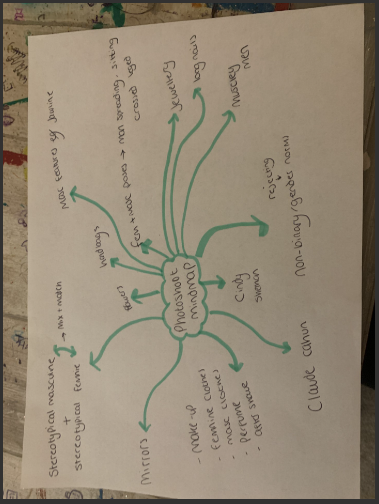
Claude Cahun
Who is Claude Cahun?
Claude Cahun, born Lucy Schwob, was a French artist, photographer, and writer. She was born on October 25, 1894, in Nantes, France, and died on December 8, 1954. Cahun is best known for her self-portraits and photomontages, where she played with gender identity and explored themes of self-expression and identity. She was associated with the surrealist movement and was an activist, challenging traditional gender roles and societal norms through her art and writing. Cahun’s work gained recognition posthumously, and she is now considered an important figure in the history of queer and feminist art.
Cahun was raised in a wealthy and intellectual family, which exposed them to literature, art, and philosophy from an early age. They developed a love for writing and poetry and adapted the name Claude Cahun in their teenage years, intending to adopt a gender-neutral persona. Alongside their stepsister and lifelong collaborator Suzanne Malherbe, they created many of their renowned works.
Cahun’s work was often Avant-garde and politically charged, particularly during the rise of fascism in Europe. they actively resisted the Nazis during the German occupation of Jersey where they engaged in acts of nonviolent resistance and produced anti-Nazi propaganda. Unfortunately, they were eventually arrested and sentenced to death, although their sentence was commuted due to the liberation before it could be carried out.
Despite their significant contributions to art and the surrealist movement, Cahun’s work remained relatively unknown until much later. Only in the 1980s did their photographs gain recognition and appreciation, and they are now considered influential figures in both surrealism and gender-related art.
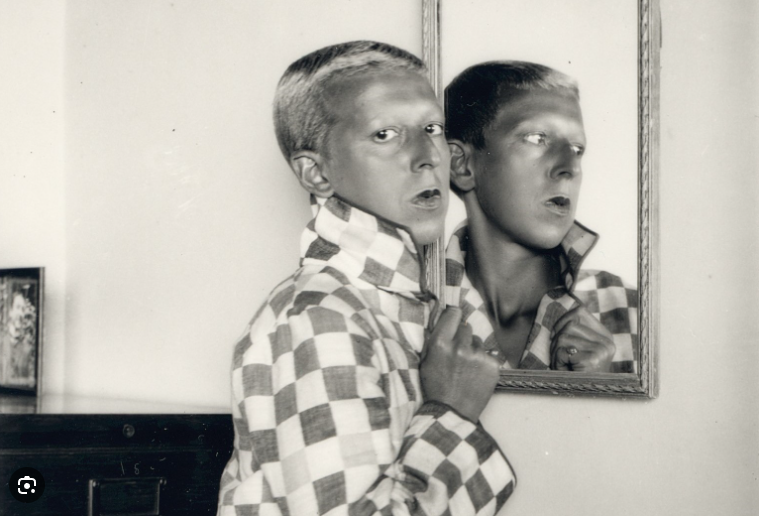
This particular photo resembles to me the challenging questioning of social norms of identity that Claude Cahun does. I find this one the most intriguing and meaningful, as Claude Cahun not only changed her name but also shaved her head to challenge gender roles and show her way of self-expression. In this photo Claude Cahun is presented in a very masculine way, the way the makeup or posture and positioning, make her look like a male but the stance and mirror and clothes add a sense of femininity to it as well, almost making the viewer look at it and wonder, if she is female or masculine, but either way it does not matter as she is comfortable and confident in her skin. Also With the mirror, Claude is looking directly into our eyes yet in the mirror looking another way, which could almost symbolize that she is confident in the way she looks and will act like that but inside she is scared, and many different parts and thoughts run through her mind.
In this iconic self-portrait, Claude Cahun showcases their distinctive androgynous appearance, coupled with their surrealist-inspired utilization of reflective surfaces. these elements encapsulate the essence of Cahun’s immense artistic significance. Whereas mirrors traditionally served to accentuate feminist beauty or narcissism in classical portraits, Cahun reimagines their symbolism to challenge and reject such simplistic portrayals of gender.
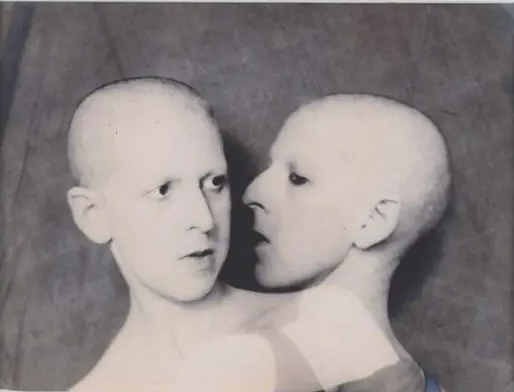
This photo is also very impressive as back then there was no Photoshop or editing so Claude Cahun had to get the film from her photos, and overlaid them together.
The photograph portrays a disturbing sight – a fusion of two heads forming conjoined twins, created by the camera. The pair appears locked in a fierce struggle, each head reflecting contrasting emotions. One face appears awake, tense, and empathetic, gazing beyond the frame, eager to engage with the world. The other face is turned inward, fixated on its twin, masking its sinister intentions behind a single hooded eye. The overall countenance seems drugged, detached, and reminiscent of a vampire. The shaved heads further enhance the eerie feeling, evoking abnormality and illness. It is as if we are glancing at an image found within the pages of an aged medical manual. This picture vividly portrays a self torn apart, with the “normal” woman on the left tormented, hunted, and somehow disciplined by her nocturnal doppelgänger.
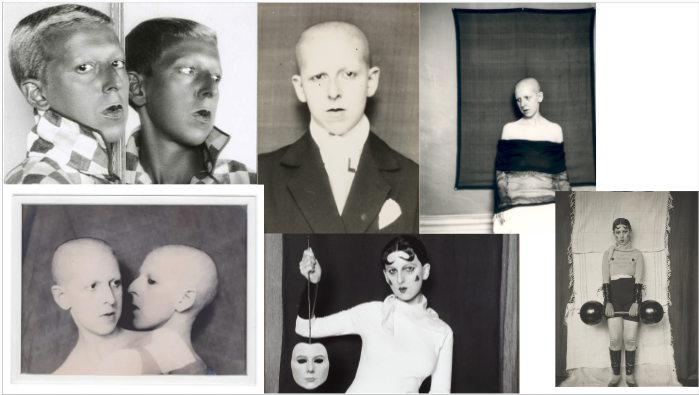
Cindy Sherman
Who is Cindy Sherman?
Cindy Sherman is an American artist and photographer known for her conceptual self-portraits. Born in 1954 in Glen Ridge, New Jersey, Sherman rose to prominence in the 1970s by challenging traditional notions of identity and representation through her photographs. She often serves as both the model and the photographer in her work, donning various costumes, wigs, and makeup to create characters and explore themes such as gender, cultural stereotypes, and the portrayal of women in art and media. Sherman’s photographs have been exhibited internationally and have earned her critical acclaim as one of the most influential contemporary artists working today.
The photograph portrays a disturbing sight – a fusion of two heads forming conjoined twins, created by the camera. The pair appears locked in a fierce struggle, each head reflecting contrasting emotions. One face appears awake, tense, and empathetic, gazing beyond the frame, eager to engage with the world. The other face is turned inward, fixated on its twin, masking its sinister intentions behind a single hooded eye. The overall countenance seems drugged, detached, and reminiscent of a vampire. The shaved heads further enhance the eerie feeling, evoking abnormality and illness. It is as if we are glancing at an image found within the pages of an aged medical manual. This picture vividly portrays a self torn apart, with the “normal” woman on the left tormented, hunted, and somehow disciplined by her nocturnal doppelgänger.
Cindy Sherman is an American artist and photographer known for her conceptual self-portraits. Born in 1954 in Glen Ridge, New Jersey, Sherman rose to prominence in the 1970s by challenging traditional notions of identity and representation through her photographs. She often serves as both the model and the photographer in her work, donning various costumes, wigs, and makeup to create characters and explore themes such as gender, cultural stereotypes, and the portrayal of women in art and media. Sherman’s photographs have been exhibited internationally and have earned her critical acclaim as one of the most influential contemporary artists working today.
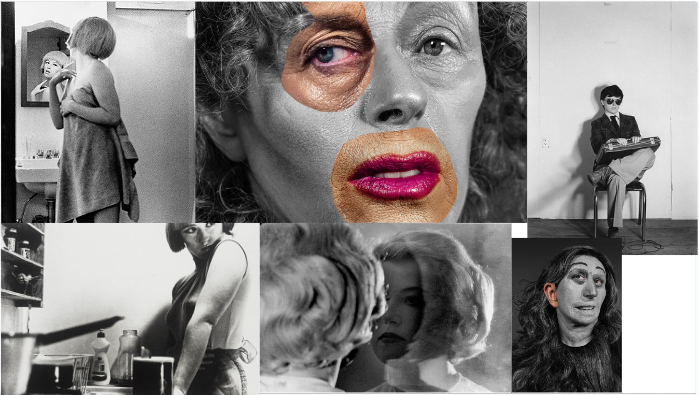
Cindy Sherman is widely regarded as one of the most important and influential artists of our time. She is best known for her groundbreaking series of conceptual self-portraits, which she began in the late 1970s. In these photographs, Sherman explores the construction of identity by assuming different roles and personas, often challenging societal norms and stereotypes. Sherman’s work is characterized by her ability to transform herself into diverse characters through the use of costumes, props, makeup, and settings. She meticulously constructs each image, paying attention to every detail, including facial expressions, gestures, and body language, creating convincing and thought-provoking narratives. By stepping into various fictional roles, Sherman not only challenges traditional notions of portraiture but also questions how women have been historically depicted and objectified in art and media. Throughout her career, Sherman has delved into various themes and genres. Her early works, such as the “Untitled Film Stills” series, explore the language and tropes of Hollywood and film noir. In these images, Sherman assumes the roles of women from different cinematic genres, raising questions about female representation in popular culture.
In later series like “History Portraits” and “Clowns,” Sherman continues to challenge notions of beauty, aging, and the grotesque. She often utilizes prosthetics, masks, and distorted perspectives to subvert traditional expectations of appearance and identity. Sherman’s work has been widely exhibited in major galleries and museums around the world, and she has received numerous awards and recognition for her contributions to contemporary art. Through her provocative and highly influential photographs, Cindy Sherman has made significant contributions to the fields of photography, feminist art, and critical theory.
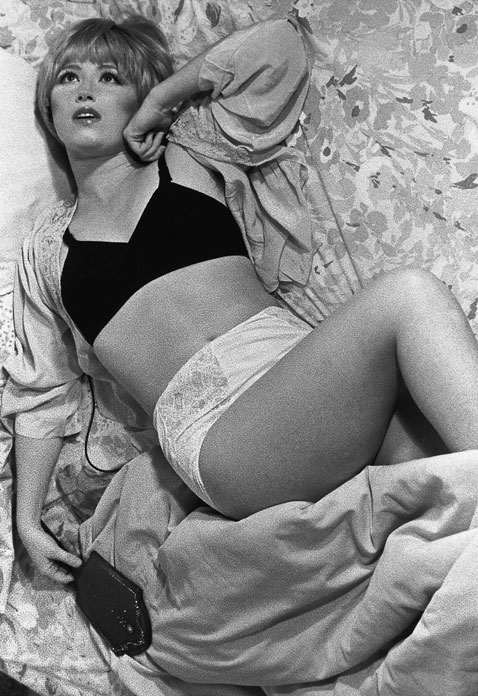
Cindy Sherman’s artistic talent extends beyond her meticulous planning and attention to detail in her compositions, props, and costumes. One of her remarkable abilities lies in her capacity to evoke and convey emotion in her photographs. Each image feels like a frozen moment of truth for the character portrayed. If her photographs were film stills, they would capture the exact moment when the protagonist experiences a profound revelation about their past and future.
Comprising of seventy black-and-white photographs, Cindy Sherman’s renowned series, “Untitled Film Stills,” features the artist assuming the roles of different archetypal female characters commonly seen in movies. Her portrayals encompass a range of personas, including the ingénue, working girl, vamp, and lonely housewife. The photographs are intentionally staged to resemble scenes from 1950s and ’60s Hollywood, film noir, B movies, and European art-house films. Notably, the images are printed in a format, scale, and quality reminiscent of the promotional stills used in the film industry. By photographing herself within these stereotypical roles, Sherman actively engages in a dialogue about the conventional portrayal of women in media. While it remains unclear if she released the camera’s shutter or employed technical assistance, Sherman is universally regarded as the mastermind behind these photographs, making her the author of the works. However, despite her evident presence in the images, the Untitled Film Stills series should not be interpreted as self-portraits.
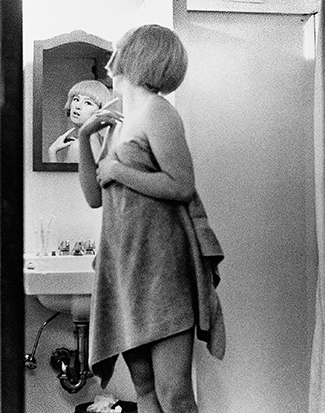
One notable photograph by Cindy Sherman depicts a woman in a towel looking into a mirror. This photograph, like many of Sherman’s works, challenges traditional narratives surrounding female representation in art and media. With her signature focus on identity and performance, Sherman invites viewers to question the concept of the female gaze and the role of self-perception. In this particular image, Sherman presents a moment of vulnerability and introspection. The woman, draped in a towel, is caught in the act of examining herself in the mirror. By removing the external trappings of clothing, the focus shifts to the woman’s perception of herself, free from societal expectations or external influences. Sherman’s decision to include this moment in her repertoire speaks to the broader conversation on body image and self-reflection. Furthermore, Sherman’s use of a mirror introduces an element of self-awareness and self-reflexivity. By capturing the woman observing herself, the photograph raises questions about the construction and performance of identity. It prompts viewers to contemplate how one’s sense of self is shaped, influenced and sometimes distorted by external factors such as societal norms and media representations.
Through her photography, Cindy Sherman engages with complex themes of identity, gender, and self-perception. By presenting a woman in a vulnerable yet introspective state, she challenges viewers to critically examine traditional ideals and narratives surrounding women in the broader cultural landscape.
What are Identity politics?
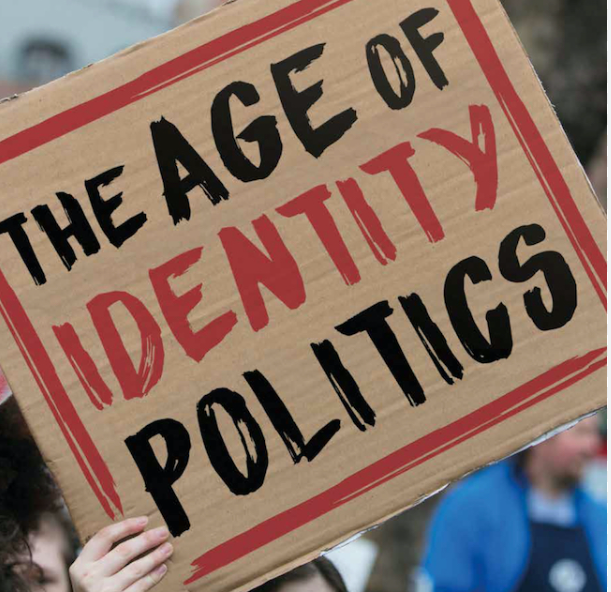
Identity politics refers to a political approach that prioritizes the interests and concerns of specific social identity groups, such as race, gender, sexuality, ethnicity, religion, or disability. It recognizes that individuals’ social identities play a significant role in shaping their experiences, perspectives, and political interests. Proponents of identity politics argue that addressing the unique challenges faced by marginalized groups is necessary to achieve social justice and equality.
They believe that due to historical disadvantages and systemic inequalities, these groups require targeted policies and activism to address their specific needs and achieve equal representation and treatment. Critics of identity politics contend that it can foster division and fragmentation within society, as it emphasizes group identities rather than a shared sense of national or universal solidarity.
They argue that it can lead to a focus on individual grievances and personal differences, potentially undermining broader common goals. Critics also suggest that identity politics may contribute to the neglect of economic and class-based issues, diverting attention from socioeconomic inequalities.
What are culture wars?
Culture wars refer to societal conflicts and debates that revolve around opposing ideas and values related to social, cultural, and moral issues. These conflicts often occur within a specific society or between different societal groups who hold differing beliefs and perspectives on topics such as religion, sexuality, gender roles, family values, education, and national identity. Culture wars can arise when there are deep divisions and disagreements over what is considered acceptable or moral within a society.
These conflicts often manifest in public discussions, political debates, legal battles, and media portrayals. They can be seen as a clash between more traditional or conservative viewpoints and more progressive or liberal perspectives.
Culture wars can have significant implications for public policy, as they shape the way society addresses and legislates issues related to marriage equality, abortion, sex education, immigration, religious freedom, and other societal matters. They can also influence political campaigns and electoral choices, as candidates align themselves with particular cultural stances to garner support from their base.
The term “culture war” gained prominence in the United States during the late 20th century to describe the ongoing divisions and debates on various social issues. However, culture wars can occur in other countries as well, as societies grapple with changing values, norms, and ideologies.
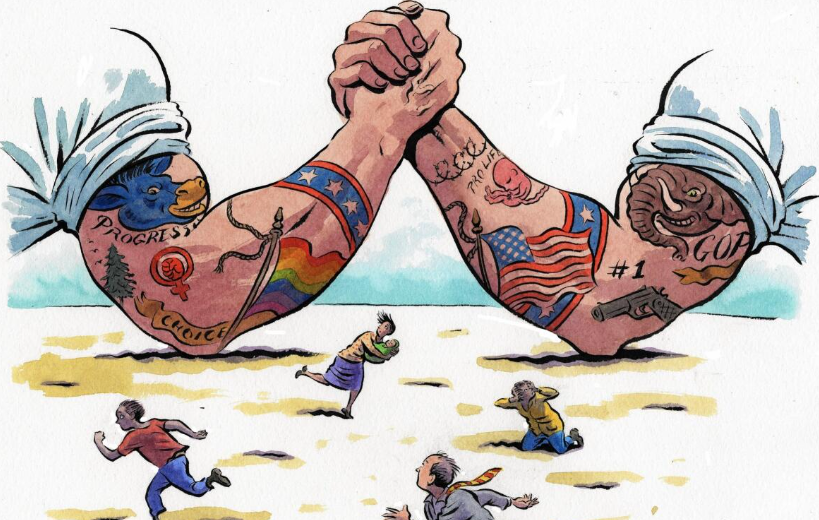
How does it impact society?
Culture wars can have significant impacts on society in various ways:
1. Polarization and Division: Culture wars can deepen societal divisions, creating us-versus-them mentalities and fueling animosity between different groups. This polarization can lead to social fragmentation, hindering constructive dialogue and collaboration.
2. Political Gridlock: Culture wars often spill into the political arena, with parties and politicians aligning themselves with specific cultural positions to attract support. This can lead to political gridlock and hinder the ability to address pressing social and economic issues effectively.
3. Policy Making: Culture wars shape the development and implementation of public policies. Conflicting cultural values can lead to contentious debates and the formulation of policies that reflect the dominant ideology or compromise between divergent perspectives.
4. Legal Battles: Cultural conflicts often find their way into courts, leading to legal battles and landmark rulings that shape societal norms and practices. Supreme Court decisions on issues like abortion rights, same-sex marriage, and religious freedom often stem from culture war debates.
5. Social Change: Culture wars are linked to social change and progress. They can give impetus to social movements and activism, spurring new ideas, demands for equality, and promoting societal transformations. Culture wars can pave the way for greater acceptance and inclusion of marginalized groups.
6. Media Influence: Media plays a crucial role in culture wars, as it can shape public opinion and perpetuate or challenge cultural divisions. Media outlets often cater to specific audiences with particular cultural leanings, reinforcing existing biases and narratives.
7. Public Discourse: Culture wars influence public discourse by determining which topics dominate public conversations and how they are framed. This can impact public awareness, understanding, and the ability to engage in constructive discussions on important societal issues.
Ultimately, the impacts of culture wars on society depend on the intensity and duration of conflicts, the receptiveness of societal institutions to change, and the ability of individuals and groups to find common ground and foster dialogue.
How does Identity politics impact society?
Identity politics refers to political movements and ideas that are primarily concerned with the interests and perspectives of specific social groups based on their shared identity, such as race, gender, sexuality, religion, or nationality. The impact of identity politics on society is multifaceted and can be both positive and negative:
1. Empowerment and Representation: Identity politics can empower marginalized communities by giving them a voice and platform to express their unique experiences, challenges, and demands. It highlights the importance of representation and can lead to increased diversity in political leadership, media, and other influential spheres.
2. Social Justice and Equality: Identity politics aims to address historical and ongoing injustices by advocating for the rights and equality of marginalized groups. It brings attention to systemic discrimination and calls for policies and reforms to address these inequalities.
3. Fragmentation and Polarization: Critics argue that the emphasis on identity can lead to fragmentation and polarization within society. Instead of fostering dialogue and understanding, identity politics can sometimes contribute to heightened divisions and a sense of “us-versus-them” mentality.
4. Lack of Universalism: Another criticism is that identity politics can sometimes prioritize specific group interests over broader social or universal concerns. This can lead to a lack of focus on issues that affect society as a whole or result in exclusionary practices that undermine cooperation and inclusivity.
5. Intersectionality: Identity politics has played a crucial role in developing the concept of intersectionality, which recognizes that individuals hold multiple identities that intersect and interact with one another. This framework promotes an understanding of the complexities and overlapping forms of oppression and discrimination faced by individuals with multiple marginalized identities.
6. Backlash and Divisiveness: Identity politics has drawn criticism from those who see it as a source of division and a trigger for backlash. Some argue that it can exacerbate identity-based tensions and hinder efforts to foster national or collective unity.
7. Identity Salience: Identity politics can result in the increased salience of identity categories, wherein individuals may prioritize and define themselves primarily in terms of their group identities. This can have implications for intergroup relations and can hinder genuine dialogue, empathy, and cooperation between different social groups.
As with any socio-political concept, the impact of identity politics on society is nuanced and depends on how it is practiced, articulated, and understood. It can be a powerful tool for social change and justice, but it also poses challenges in terms of fostering unity and addressing societal divisions.
What is femininity?
Femininity is a set of characteristics, behaviours, and qualities traditionally associated with women and girls. It typically includes aspects such as tenderness, nurturing, empathy, sensitivity, gracefulness, modesty, gentleness and a focus on relationships and community.

What is masculinity?
masculinity is a set of characteristics, behaviours, and qualities traditionally associated with men and boys. Typically includes traits such as strength, courage, assertiveness, independence, competitiveness, resilience and a focus on achievement an success.

What is identity?
Identity refers to the qualities, characteristics, beliefs and values that define an individual or a group. it is a multidimensional and complex concept that encompasses various aspects of a persons life, such as heir race, ethnicity, gender, sexuality, nationality, religion, social class, and personal experiences. identity can also be influenced by external factors such as culture, society and interactions with other individuals. It plays a significant role in shaping an individuals sense of self and how they relate to others.

.
My diamond Cameo final presentation and evaluation.
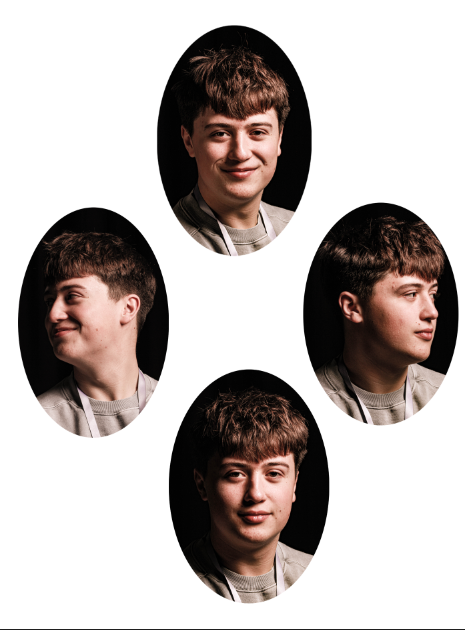
This was my first diamond cameo, I really like the photos and i edited them slightly in Lightroom which added more affect and depth then before, What I don’t like is that its a bit basic and the top and bottom photo are very similar and aren’t different angles its just the facial expression. In some ways I do like that they have different facial expressions as it can tell more of a story of the kind of guy he is, whether he is tough or soft and happy or sad and the viewer has more to interrupt.
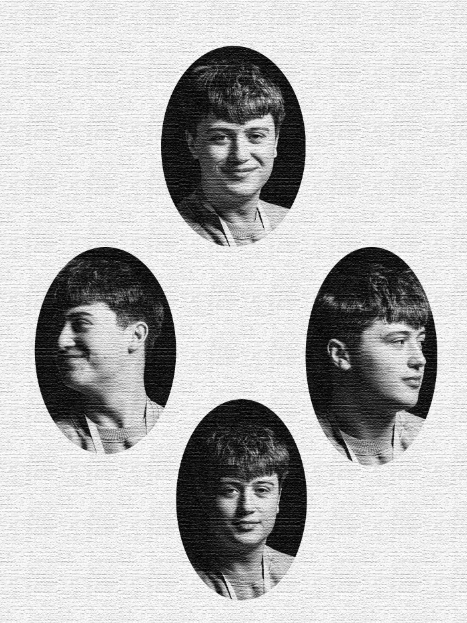
For my second diamond cameo I wanted to try something different but used the same photos, this is because in the first photoshoot I take enough different ones and need to take more next time. I edited them in grey and while to give them an old affect that was inspired by henry mullions. I also think it told more of a story, to continue to add this affect I added texture on photoshop to look like the same vibe from old photos once again. I like this but I also think there is too much of the texture and it is hiding the face more.
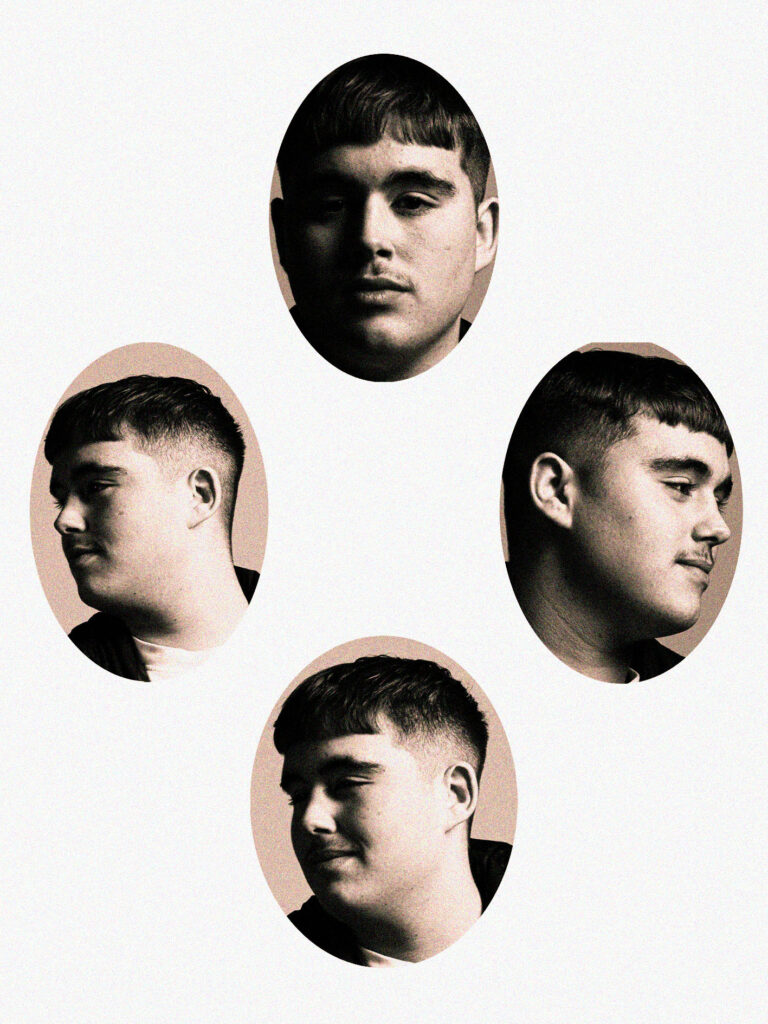
What I love with these photos is I really started to improve and I did the things that I didn’t like and changed it to make these ones better, I like that all the photos are Edgar going in different directions and it has a yellow tint now to give the coffee spilled affect and oldie look, it also has a slight bit of texture that’s fuzzy but not too much so you can still see the face and the texture given so it can tell its story to the viewer.
What I don’t like is that I should have fixed the contrast ad exposure more as there is a lot of dark shadowing on too much of his face.
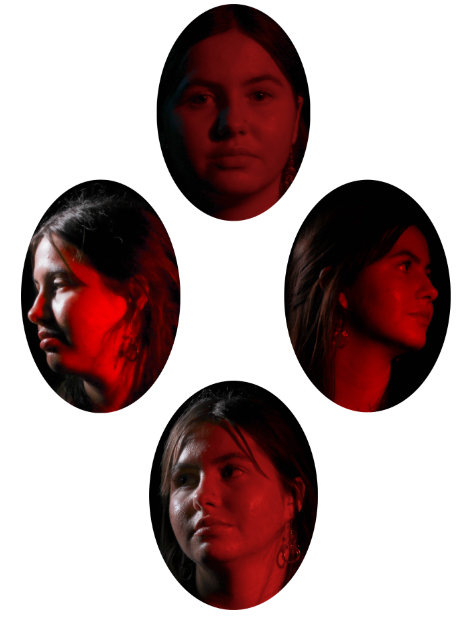
This is my final diamond cameo which I loved with the lighting and the different angles but I think it was still boring with no editing and different texture and the oval was cut too tightly around the heads with not much space of the backgrounds.
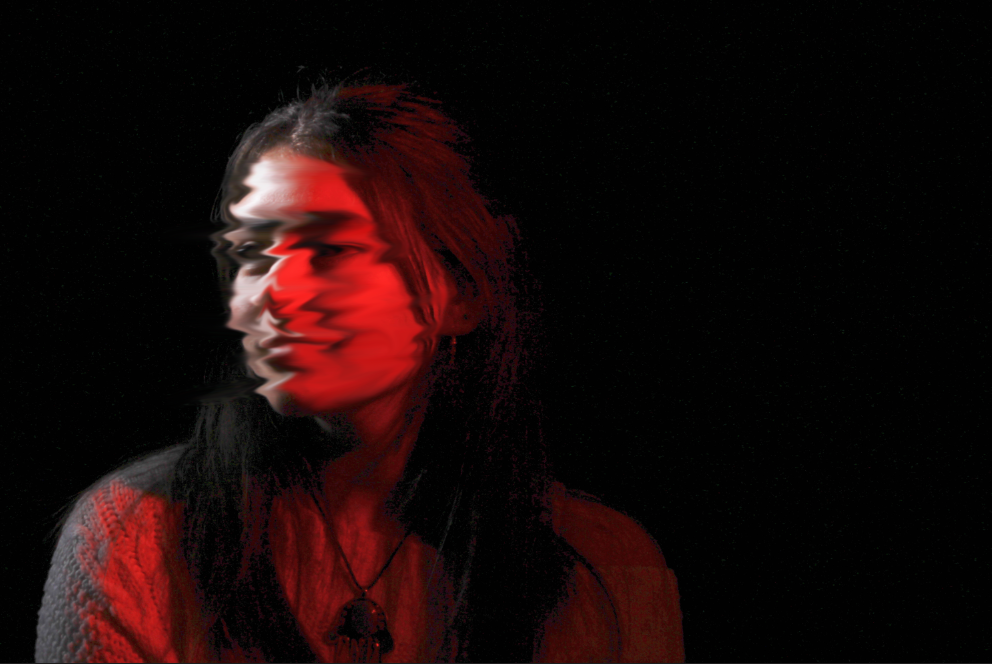
I liked these photos and mainly wanted to experiment with Photoshop editing to create different affects I had seen. I like this blurry affect on the face and was testing if I wanted it on only the eyes or mouth but then tried it on all the face and like that more. It looks cool but still not my favourite way of editing and I don’t like how it blurred.
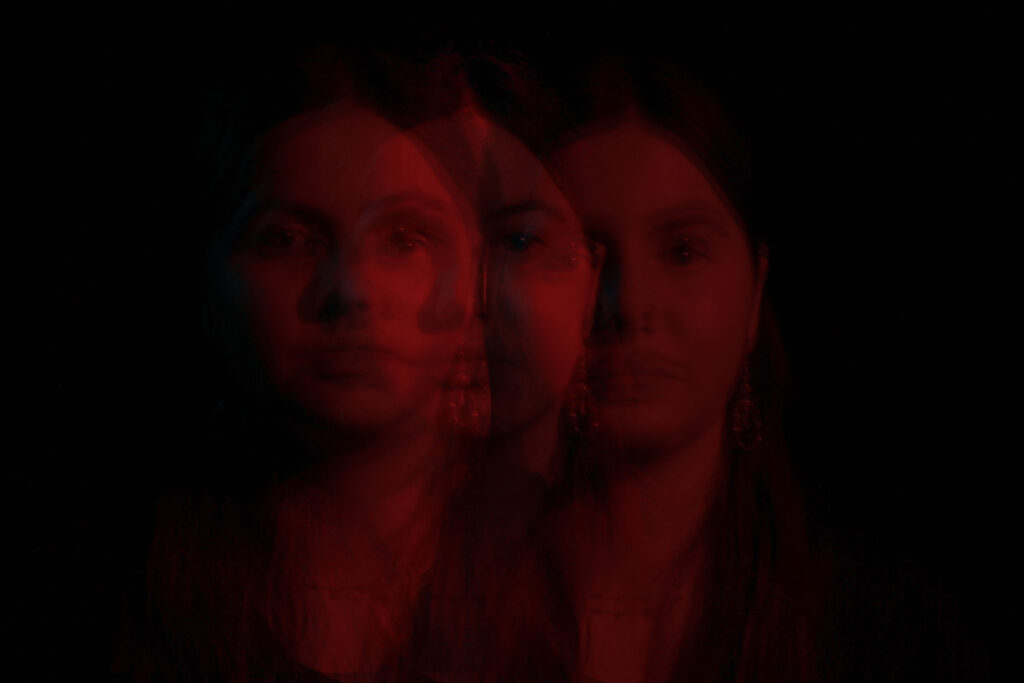
This is one of my favourite edits, I figured out how to bring the image over more times and make it transparent in a glitchy, blurred sense , which I actually preferred then using the smudge or blur tool. I really like it but if I was to change it I would make the first image more prominent then the others so it stands out more.
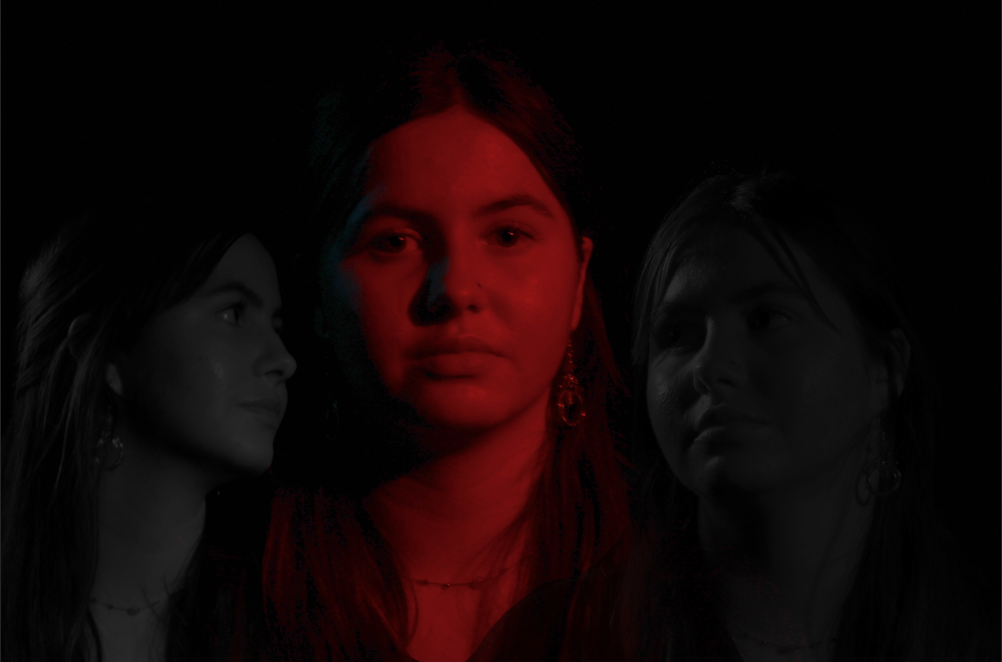
This is some more new editing I was trying that I also really liked and thought looked cool I as trying to add an effect of voices or other people around her to give different meanings to the viewer. I think adding more faces might be cool or having her face in a different facial expression might work better.
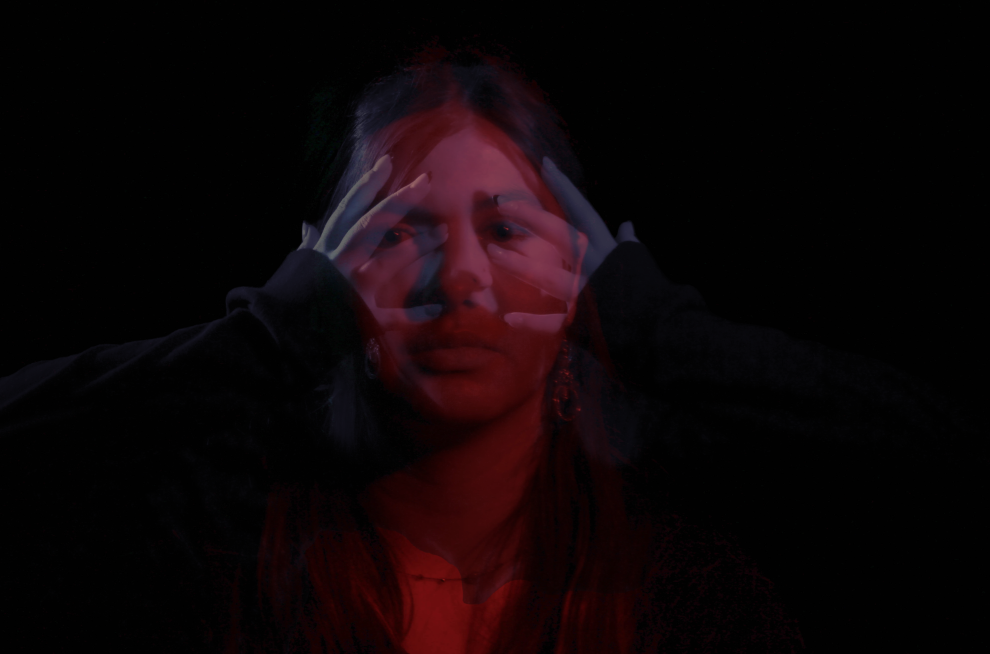
I like how this photo turned out but it still wasn’t quite what I was looking for as it is a photo of Ellen with a straight face layered with a more transparent photo of Ellen screaming in a blue colour to give a cool affect that inside she is screaming but shows no emotion, yet it didn’t look quite how I picture but still gives a cool effect and now I think gives more interpretation to viewers.
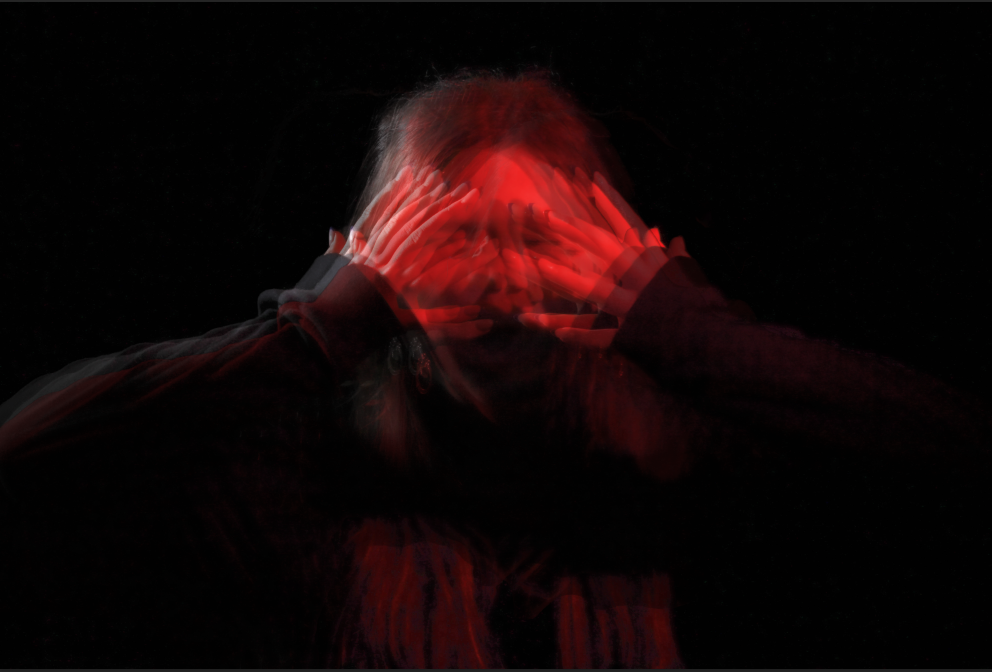
This is more layering technique which I really liked gave a cool affect.

This is my first diamond cameo, I edited the actual photos of Lightroom then exported them over to photoshop and turned them into this diamond cameo.
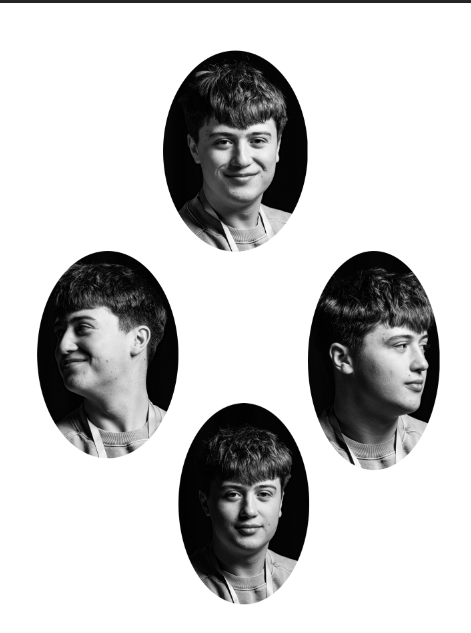
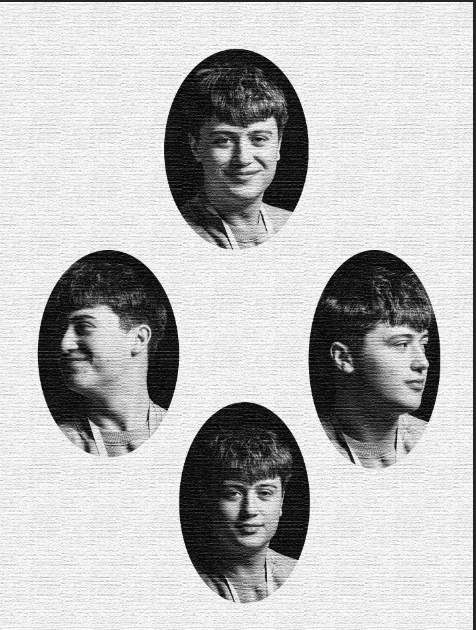
These were two more diamond cameos with the same image but edited differently and placed in diamond cameo form, in the second one I gave it a different texture to look more old and mysterious.
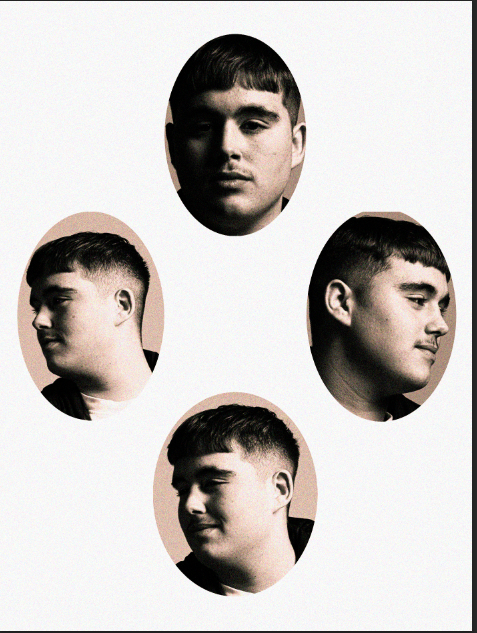
How I make my diamond cameos

Firstly I go on to photoshop, and export my image I want to use off of Lightroom onto photoshop, by opening file.
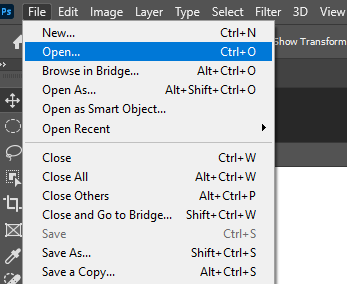
Then once on file I select open.
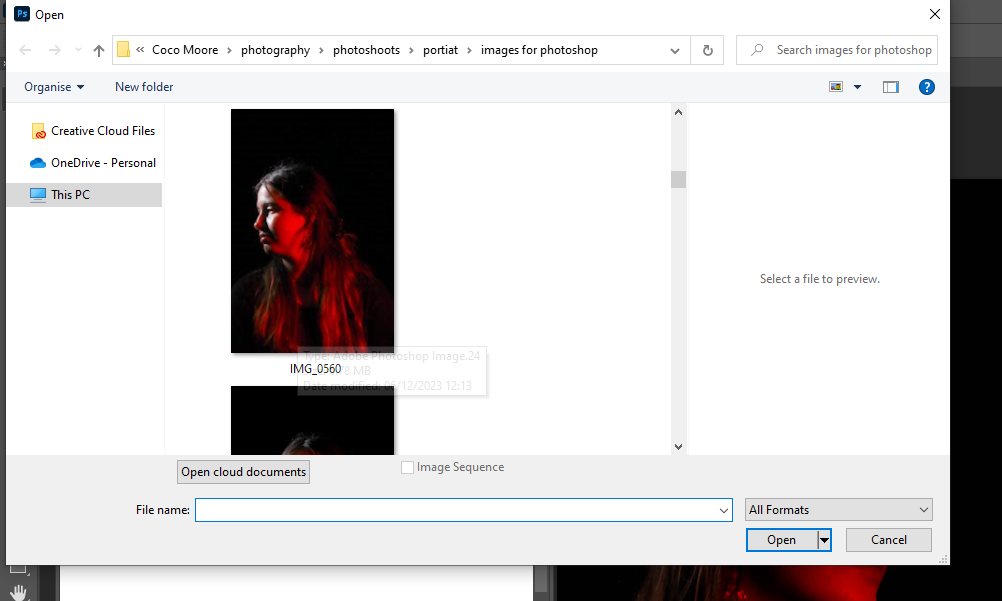
Once I press open it gives me the images I have exported and I select one

After that I press this button on photoshop, which allows me to make an oval shape.
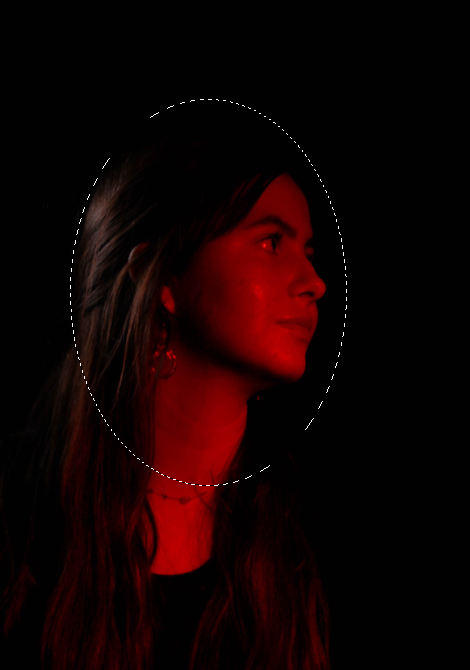
Then I shape the oval around the face.

After that I select this button which cuts the oval shape and allows me to move it around and place it onto the blank page to create my diamond cameo. Then I do the same for all the images and place them correctly.
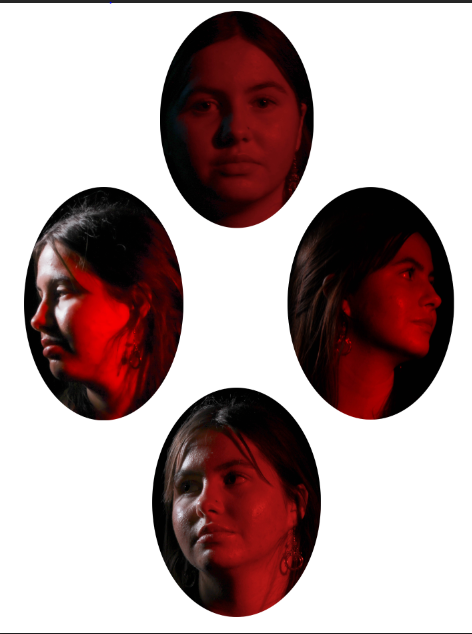


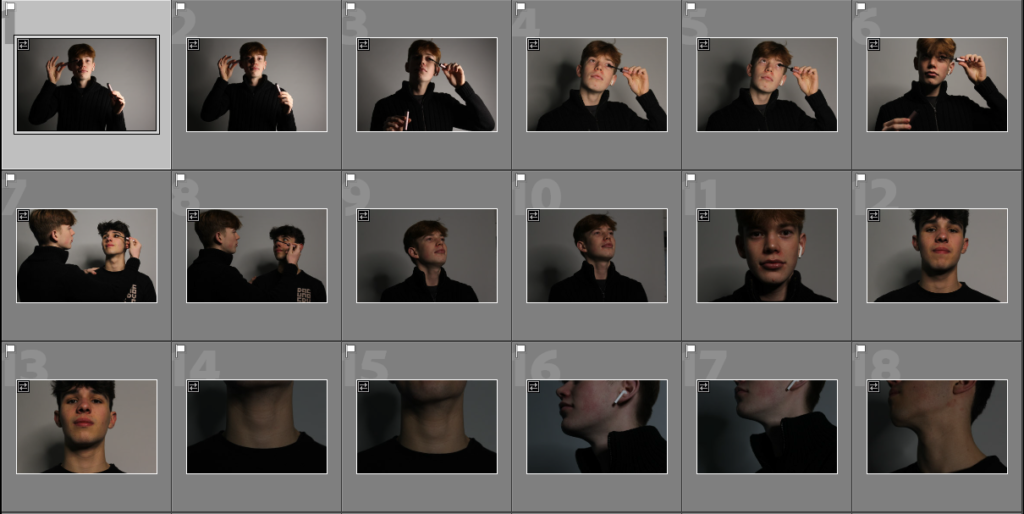
These I plan on turning into diamond cameos once edited.


But with these two and maybe more I might have some fun with and do them like other creative inspiration I have seen.


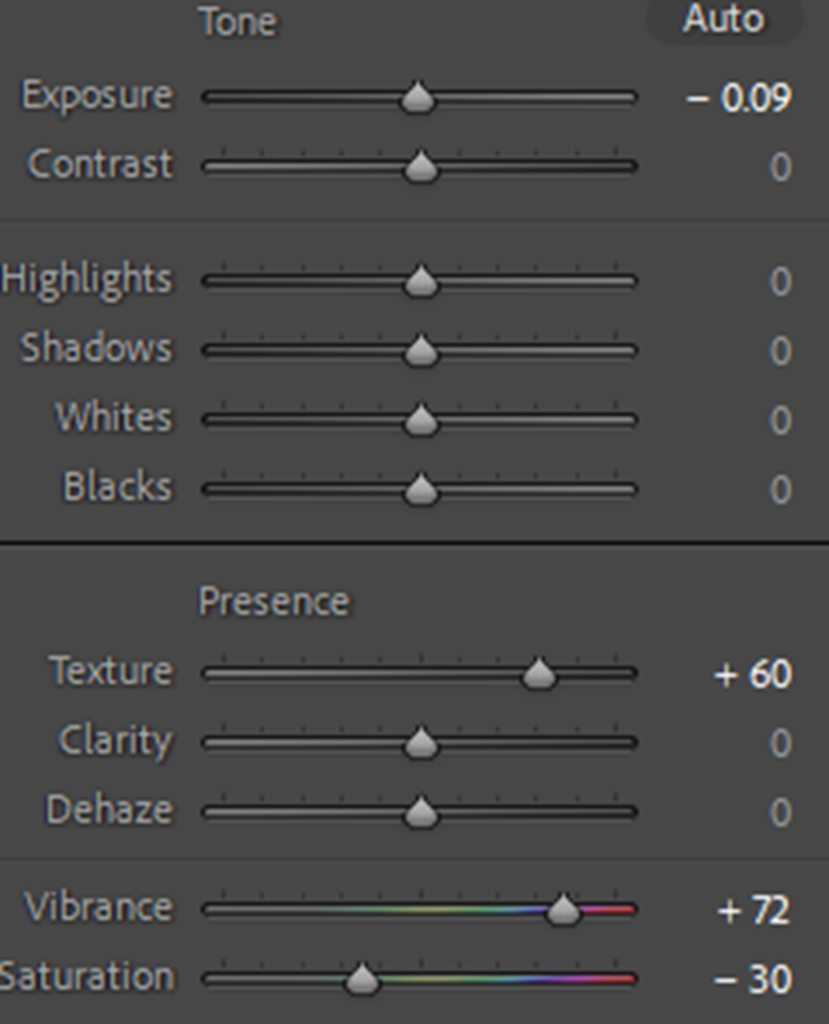

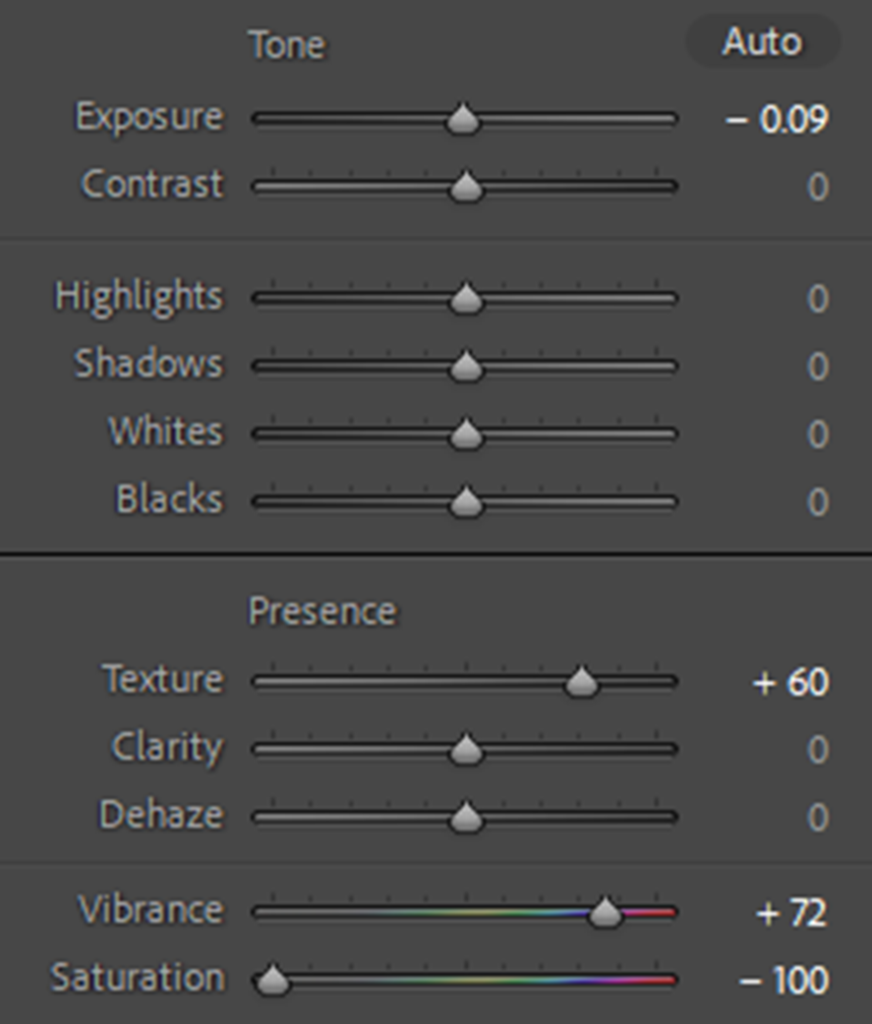
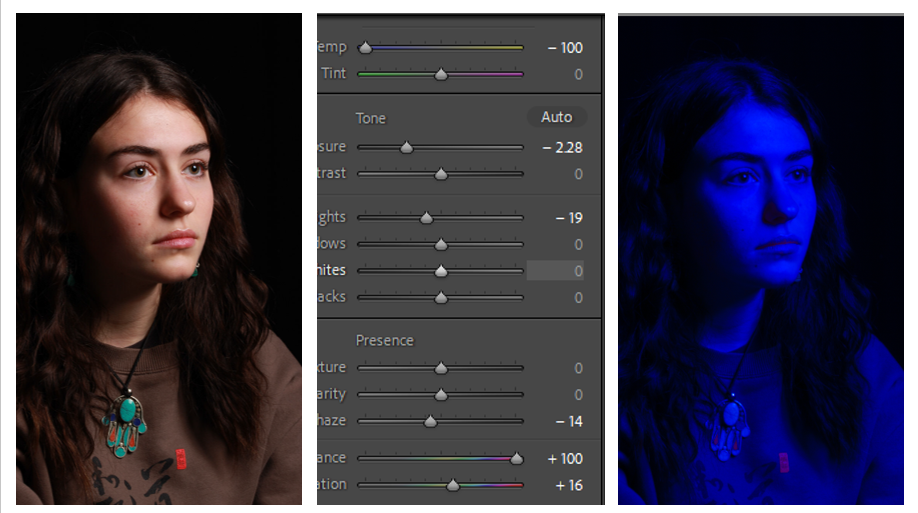
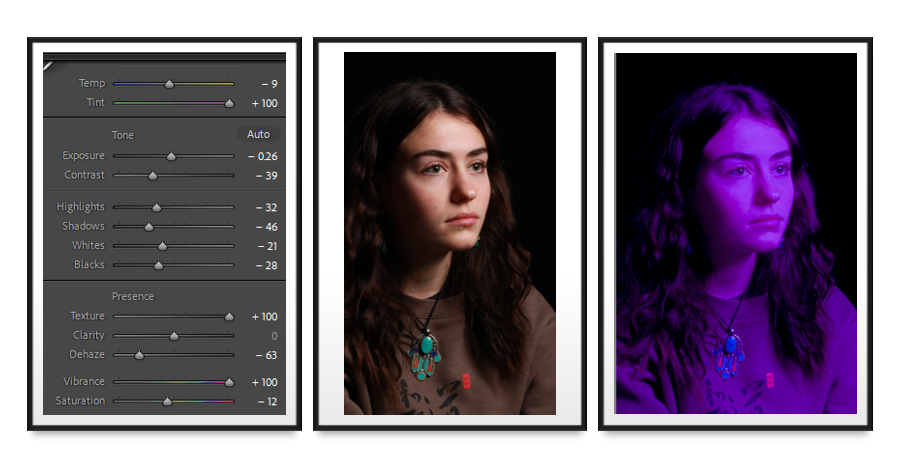
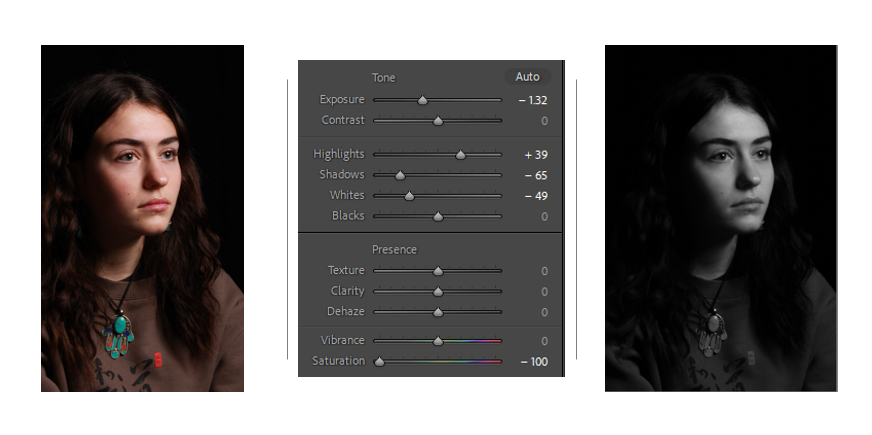
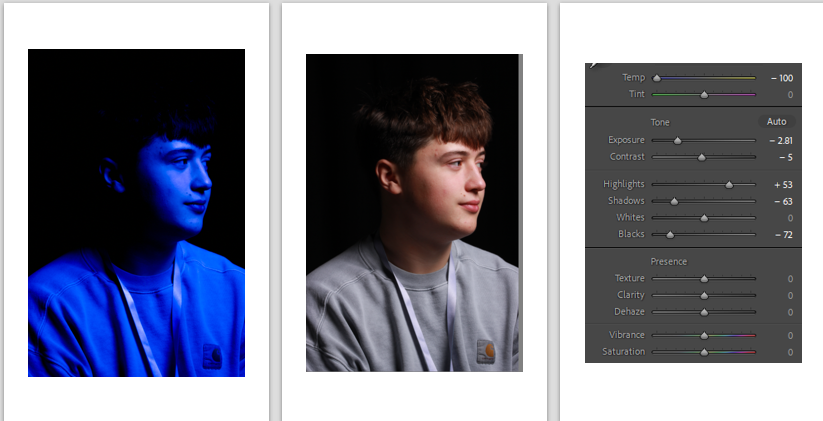

My favourite 2nd photoshoot photos;
