All posts by Alannah Landers

Filters

Author:
Category:

Zine: Design & Layout

To create my zine with images from the harbour and the Maritime museum, I opened InDesign selected the amount of pages I needed then made the measurements width: 148mm,
height: 210, pages: 16, orientation: portrait, columns: 2, column gutter: 5mm, margins: top, bottom, inside, outside: 10mm, bleed: top, bottom, inside, outside: 3mm.

I ma using this zine to create a story with my images taken from the photoshoots. My photos will all link in with each other and I am going to pair certain photographs together which relate to each other.

I printed out the images that I wanted to use for the zine, in small, to make a mock up zine. Unfortunately, the printer had some issues with colours but it still allowed me to make a plan for the zine. I placed the images in the order that I thought would work well together.

I started by using the rectangle frame tool to draw out the size I wanted to import my image to and where on the page I would like it.

Once this was done, I used the short cut, ctrl D, to select my chosen image. I then needed to go into fitting and decide which setting made my photo fit the best, without it cropping and without it going over the border.

Photoshoot – Jersey Maritime

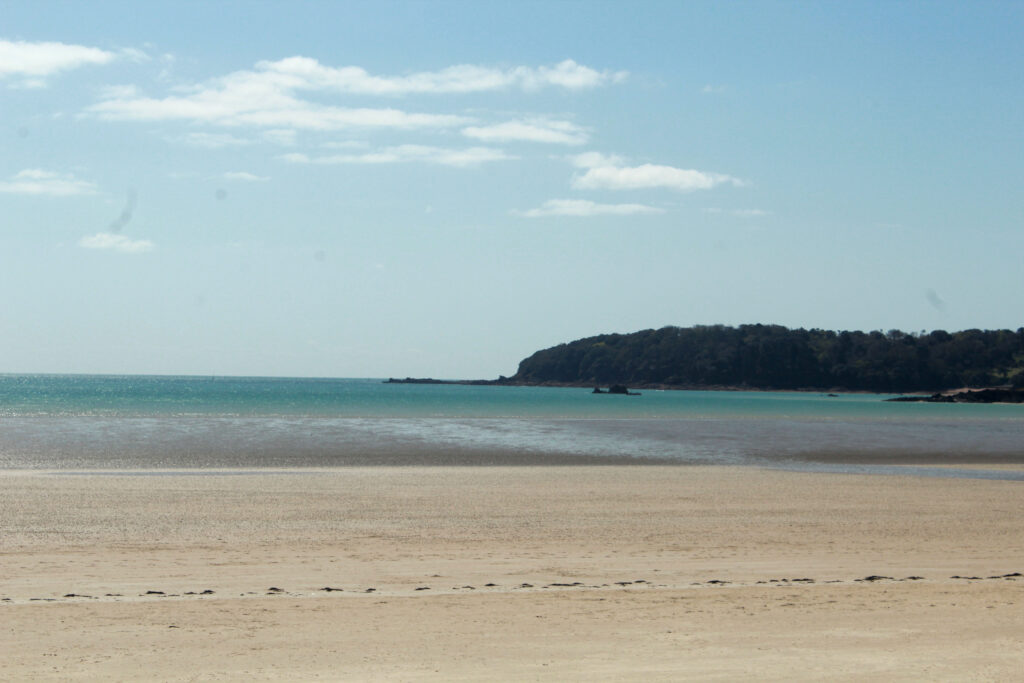
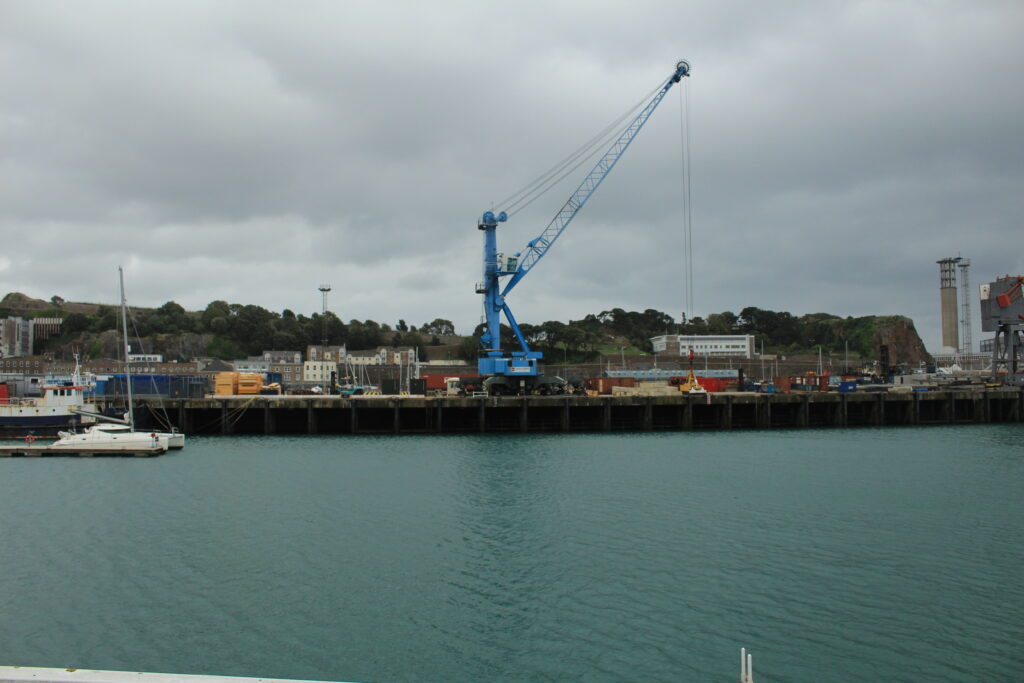
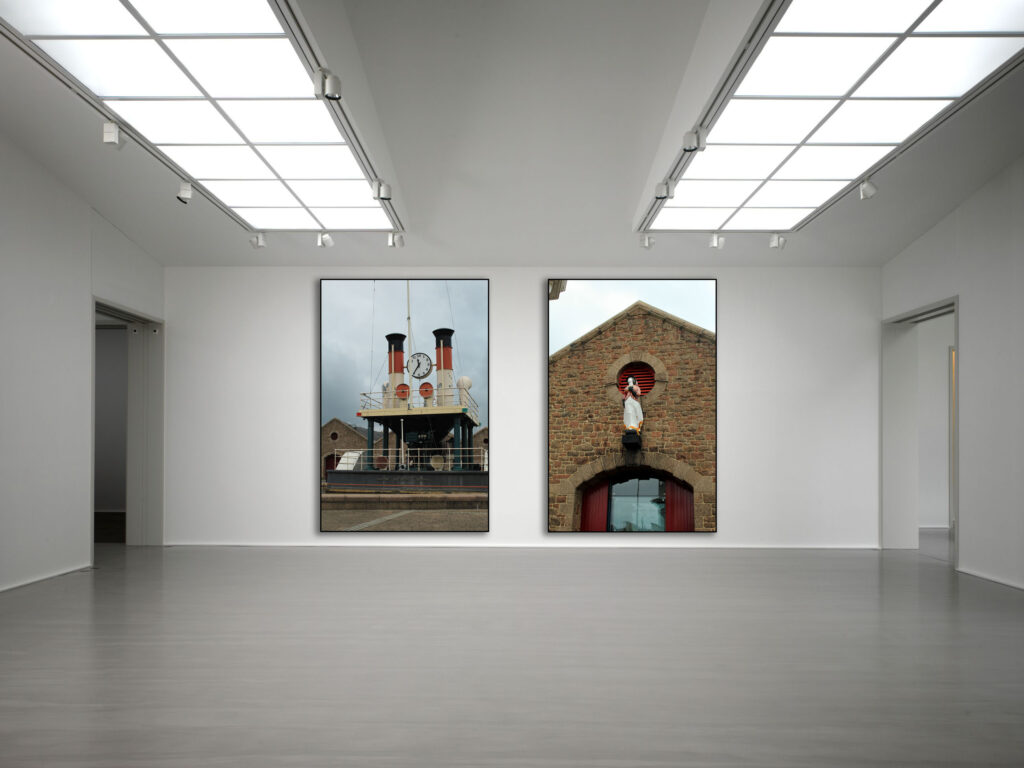
For this photoshoot, I went to the Maritime Museum which displays many pieces and facts about Jersey’s maritime history which I took photos of. I then walked around the old harbours and to Victoria pier taking photographs of the old and new parts.

If I were to redo this photoshoot, I would capture more, better images of the artefacts and things inside of the maritime museum. Although I did try to take images of these things, they didn’t turn out as well as I would have hoped and I would’ve liked to incorporate them alongside the images of the boats, harbours, piers etc.

Edits:

Photoshoot – Jersey Harbours

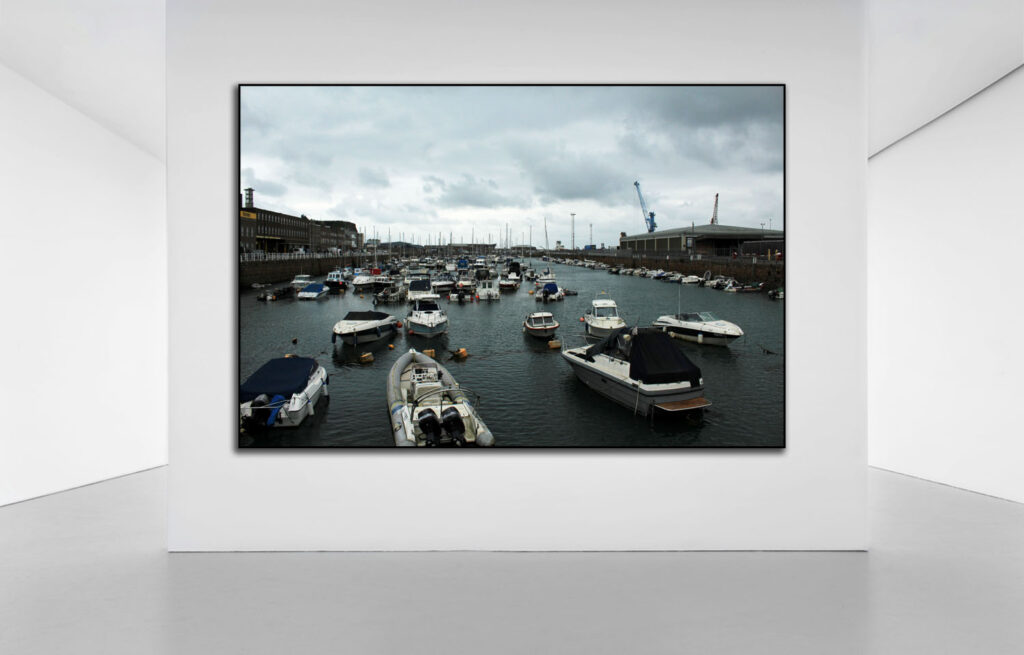
For this photoshoot, I walked along the harbours and photographed the structures and landscapes along with the smaller details. I tried to capture the historic side and the modern.

This photoshoot was fairly successful as I was able to capture a small variance of photographs of different aspects of the harbours. However, I would have liked to capture more images of the areas as a whole and the formations of the different harbours.

Edits:

Jersey Maritime History

Since the prehistoric days to today, the sea has been Jersey’s way of connecting to the outside world. We are surrounded by water meaning people would use our maritime routes to people travel and settle making new families and communities. For the island communities, their ports and piers are symbolic and practically significant.

The islands, Jersey, Guernsey, Alderney and Sark, were separated from mainland Europe with rising sea levels in the Neolithic period, which is when maritime activity commenced.

Needing to trade, the islanders were innovative. Over time they built up skills, earning money and investing capital in maritime businesses.

Jersey merchants sold and bought cod from Canada. Many merchants were engaged in the Atlantic trade, referred to as the ‘merchant triangle’ with commodities of manufactured goods and agricultural products.

They sailed to and/or traded with the British Empire, other European colonies in the Caribbean, Mediterranean, South America and even going to Hong Kong and Australia.

Sugar, molasses, rum, cotton, coffee and tobacco were all different good which Jersey merchants exchanged for cod-fish.

Jersey cod-merchants also exported cod-fish to British colonies in the West Indies and later Brazil in exchange for plantation goods, which it brought to markets in America, Europe and the UK (including Jersey). Because of this, Jersey benefitted from the profits made in the British Empire build on a capitalist model of a slave-based economy.

Stories of the sea, about voyages, encounters and even shipwrecks holds mythological and romantic notions in the imagination of humans. For centuries, artists, writers, poets and filmmakers have been inspired by the see and the unknown secrets of it.

Théodore Géricault, The Raft of the Medusa.1818–19. Oil on canvas

Jersey’s Harbour History

St Aubin harbour in early 19th century

St Aubin used to be the main harbour for Jersey merchants. St Helier then became the central maritime hub. However, St Helier harbours were too small for the larger ships and increasing tonnages, with both drying out at low tide. So, Jersey added a few piers to its harbour, such as Victoria and Albert Piers.

View of St Helier Harbour, 1903 © Société Jersiaise

St. Helier Harbour and Waterfront, present day

Saint Helier Harbour is the now main harbour in Jersey. It’s on the south coast of the island, and occupies most of the coast of St. Helier.

Origin of Photography

  • Henry Mullins & Carte-de-Visit

Camera Obscura & pinhole Photography

A camera obscura (camera obscuras; from Latin camera obscūra ‘dark chamber’) is the natural occurrence where in a blacked out room with only a pinhole of natural light, the outside view reflects inside and upside down – like a projected image. The physics behind it is, the rays of light travel in a straight line and change when reflected and partly absorbed by an object. Similar to how, our eyes observe the world upside down but our brain flips it the right way round for us to see it how we do. Camera obscuras with a lens in the opening have been used since the 16th century. They then became popular ways to draw and paint. In the first half of the 19th century, this was developed to be the photographic camera.

Nicephore Niepce & Heliography

The term, heliography, derives from helios (Greek), meaning “sun”, and graphein, “writing”). It is the photographic process invented, and named by Joseph Nicephore Niepce around 1822 which he used to make the earliest known surviving photograph from nature, View from the Window at Le Gras (1826 or 1827). This method consisted of dissolving light-sensitive bitumen in oil of lavender and applying a thin coat over a polished pewter plate. He inserted the plate into a camera obscura and positioned it near a window. After it had been sat, exposed to sunlight for days, the plate yielded an impression of the courtyard, outbuildings, and trees outside. 

Louis Daguerre & Daguerreotype

Louis Daguerre was a French artist and photographer who became known for his invention of the daguerreotype. This is a process of photography which is done with a silver-plated copper plate that had to be cleaned and polished until it looked like a mirror. After that, the plate was sensitized in a closed box over iodine up until it took on a yellow-rose appearance. The plate, held in a lightproof holder, was then transferred to the camera. After exposure to light, the plate was developed over hot mercury until an image appeared. To fix the image, the plate was immersed in a solution of sodium thiosulfate or salt and then toned with gold chloride.

Henry Fox Talbot & Calotype

Henry Fox Talbot invented the calotype in the 19th century, this way of photographing images is done by Iodising a sheet of writing paper by applying solutions of silver nitrate and potassium iodide to the paper’s surface under candlelight before washing and drying. Then, Sensitise the same surface using a “gallo-nitrate of silver” solution. You would then dry the paper and load it into a camera obscura, exposing it to light. After, remove the paper and brush it with the same sensitising solution to develop the image. Lastly, rinse the negative with water, wash it with a solution of potassium bromide, and rinse it again before laying it out to dry.
Robert Cornelius & self-portraiture

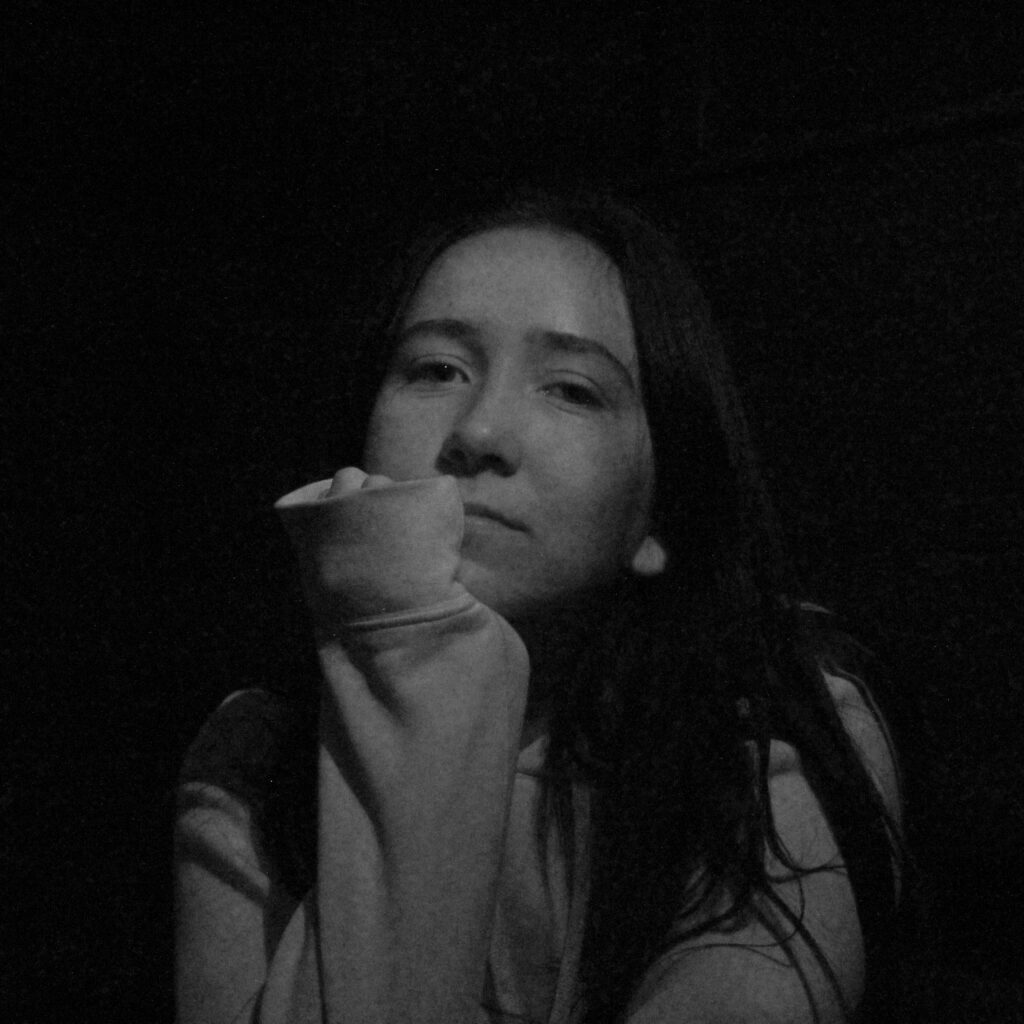
In 1839, Robert Cornelius used makeshift camera, with a lens made from an opera glass to take the earliest extant self-portrait, daguerreotype photograph. He had decided that the daylight was adequate to expose the prepared metal plate within the camera and take a photograph of himself. To do this, it required him posing for 10-15 minutes without moving.

Julia Margaret Cameron & Pictorialism

Julia Margaret Cameron was an English photographer who’s main focus was portraits in the 19th century. She is known for her soft-focus close-ups of famous Victorians as well as her illustrative images which depicted characters of Christianity, mythology and literature. The start of her photography journey was when she was 48, after her daughter gave her a sliding-box camera.

The term pictorialism is an approach to photography that emphasizes beauty of subject matter, tonality, and composition rather than the documentation of reality, which is what Cameron’s images are.

Henry Mullins & Carte-de-Visite

The term, ‘Carte de visite’ translates from the French as ‘visiting card’ or ‘calling card’. These were album prints which were usually portraits and were then mounted on thick card to stop the image being creased. Henry Mullins was the most prolific Jersey Photographer in the 19th century. He is known for his portrait photographs of islanders between 1848 and 1873, in his studio in the Royal Square, St. Helier.

Picture Stories

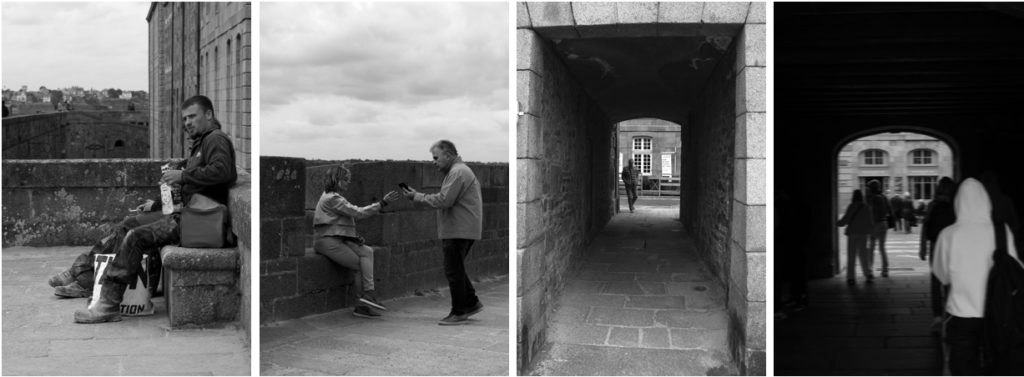
To start off, I added my first two images and moved them around to figure out what kind of layout I would want. I used the column lines to measure up my images and used the margins to base where the photos should go.

After I added all of the images, I chose one specific photograph to be bigger than the rest to stand out as I feel it is a strong image. I then inserted an image and moved it to the back and lowered the opacity to have a subtle background. I also added an eye-catching title which describes the images used and added text about St. Malo and the images that I used.

Picture Stories: Research and Analysis

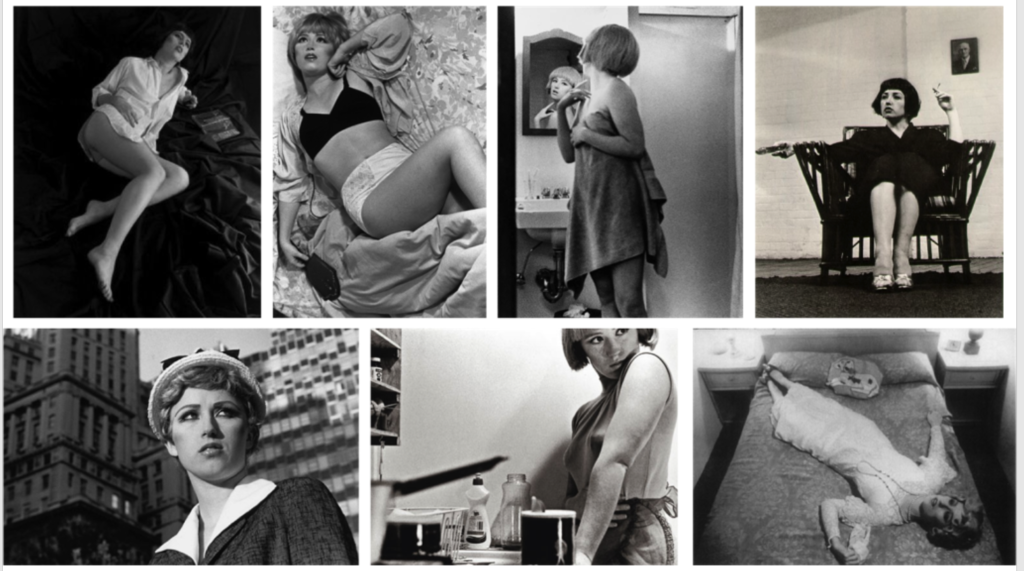
Picture stories are a way that you can portray images from a project or photoshoot. The images can be laid out to show all of the different images taken or to show a series of similar images and how they relate. You can add text next to the images to tell the story and/or explain the images in depth. For example you could write about the area the photos were taken, the inspiration behind them, what the goal was, or to discuss the photographs further you could talk about what type of images they are e.g. environmental portrait, formal, how you captured the image.
Motion Blur

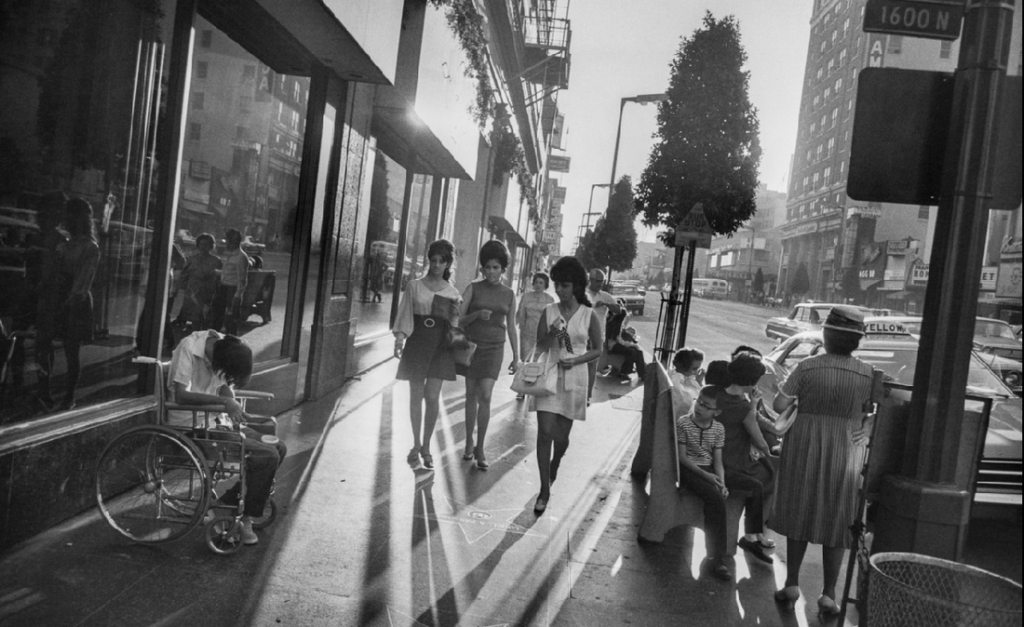
First I started with this image and used the quick selection tool to select everything but the person in the foreground. I than layered via copy to allow me to use the motion blur filter to make the whole background blurry. I then changed both layers to be black and white as I found it made the image look better and more meaningful. This is my final image;

I think this image works really well with the motion blur however, the person in the foreground doesn’t stand out as much as I anticipated so I am going to experiment, using the same technique, with other photographs I have taken.

Colour Splash

To make my photographs appear more appealing, I have decided to edit some in a way that makes a specific part of the image stand out. To make the colour splash photos, I first used the quick selection tool to cut out what I wanted to stay in colour, I then selected that area and layered via copy this copied the area I had cut out. I then changed the original image to black and white, making sure my copy of the umbrella I cut out , was the top layer.

This is the final image. I think it turned out really well, the cut out of the umbrella looks very smooth and I think that it was a good idea to use the umbrella as the colour popping out as it is really bright and stands out well against the black and white.
Other edits: