For my personal study I have chosen my theme to be youth culture and identity expressed through nightlife. I have chosen this theme as I think it is a fun thing to be taking pictures of and a good way to take fun photos and experiment with them. Firstly I did a photoshoot with my friends of us at one of our houses and got my friend to act drunk in the shower

For this image I got my friend to act drunk in the shower, I had her put makeup and a nice dress on because this matched with one of the parties that I took pictures at so I thought it would be a good filler image to use. I edited this with high contrast and increased highlights and whites to make it look brighter. I wanted this effect because It’s very in your face and in contrast to the images of one of the parties that I went to it has the opposite lighting effect which looks cool.
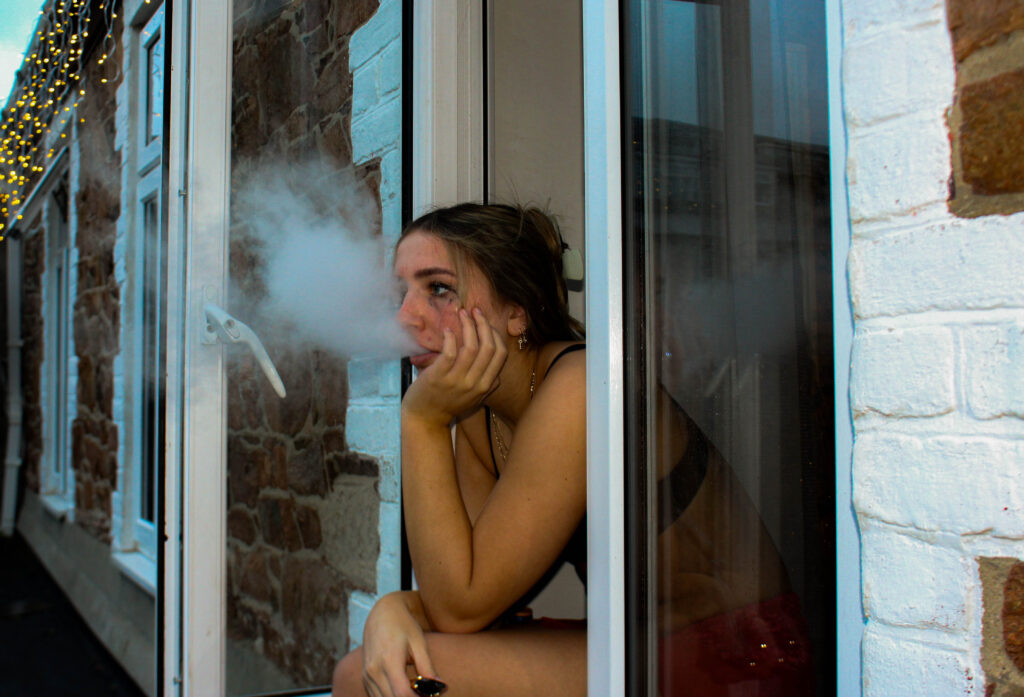
This image is also set up where I had my friend smoke out of a window to represent someone who is hungover after a night out. I turned the exposure down to replicate the early hours of the morning. I increased the contrast to make the image seem a bit more rough and turned up the saturation for this yellow tone which matches with the final images in my photobook.
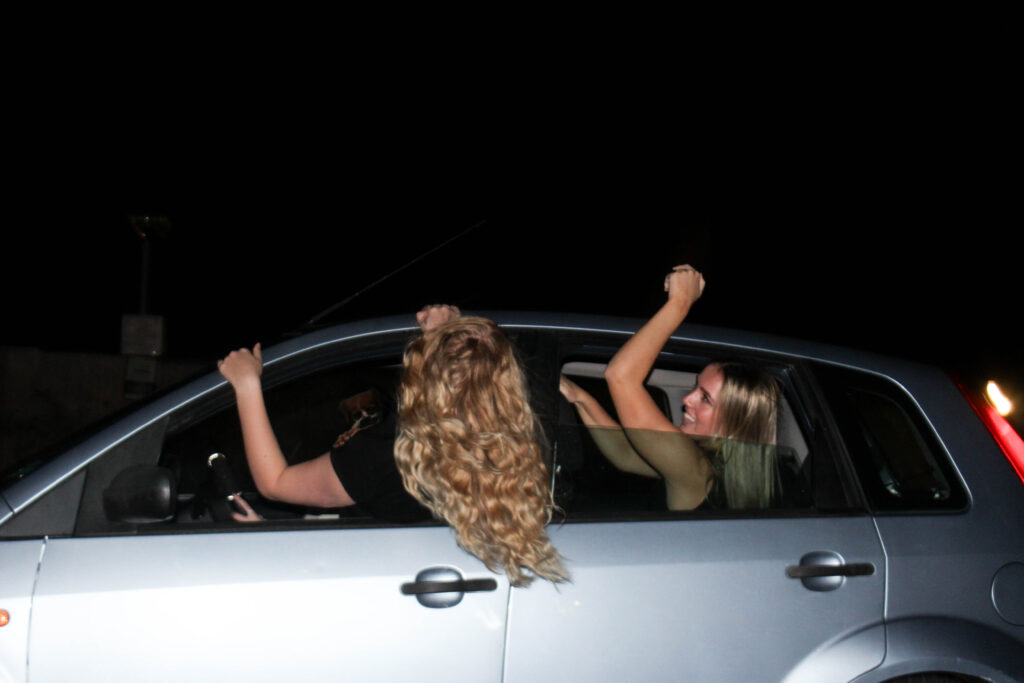
This image of two girls hanging out of a car is a filler image for my photobook, as it will be used to separate one night from another. I decided to use this photo because it still fits my theme of youth culture and identity in nightlife as its night time and its two girls having fun but without going to a party which is a break from all my other images of partying. I increased the exposure the overall image brighter but also for the car to look brighter because it contrasts better with the hair coming out of the car window.
AI
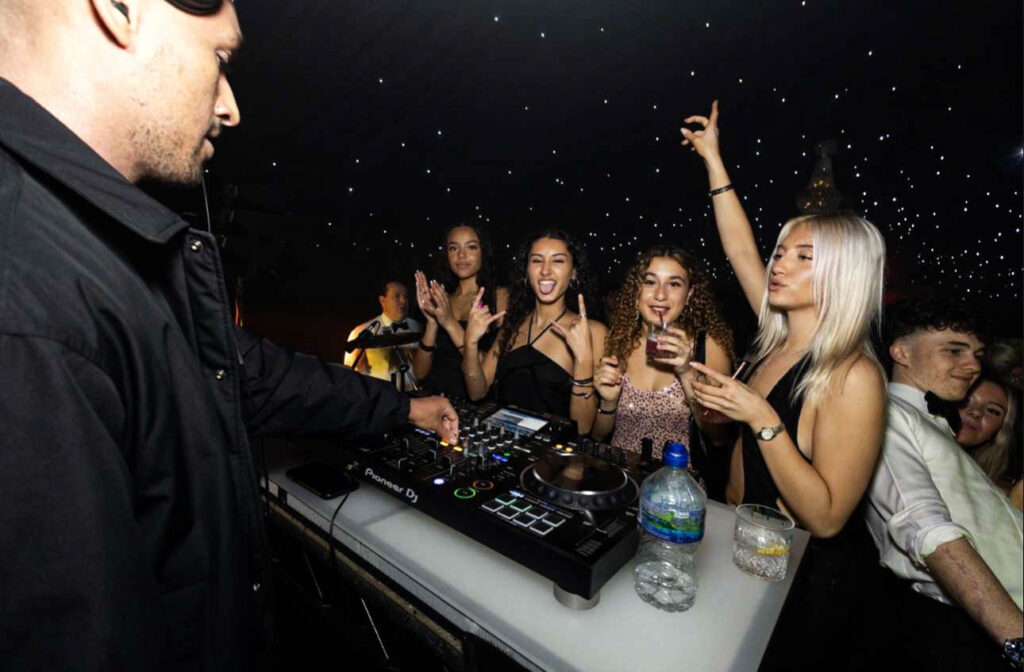
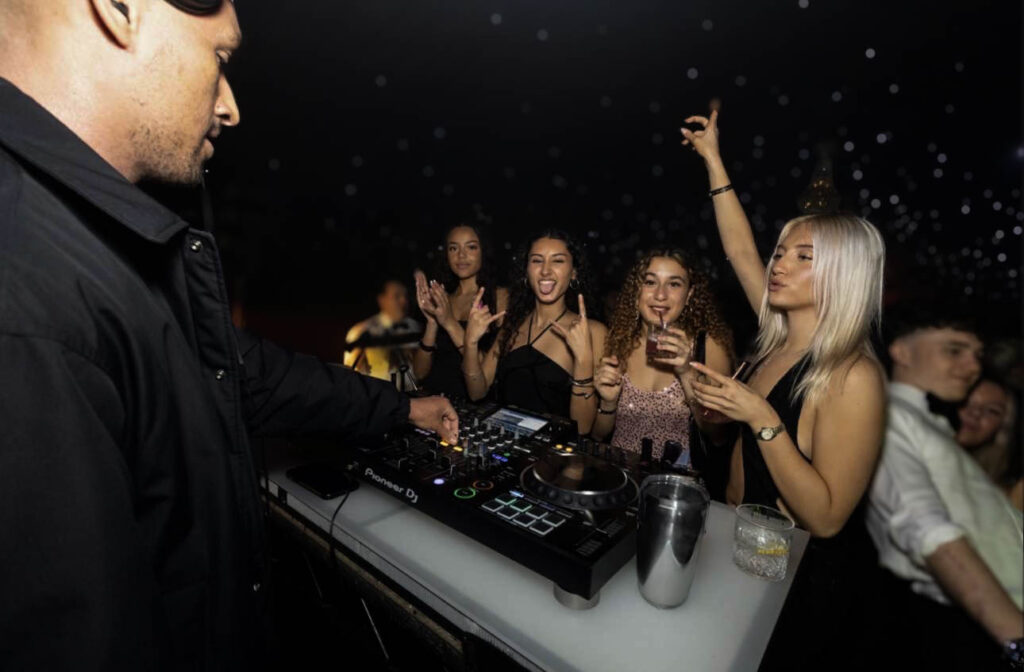
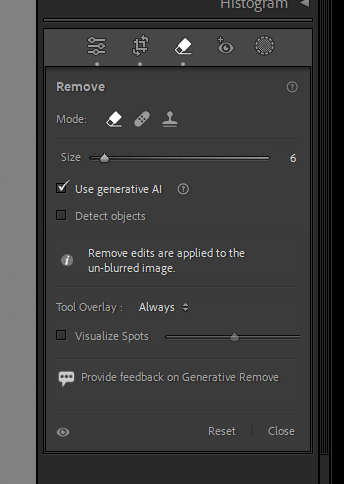
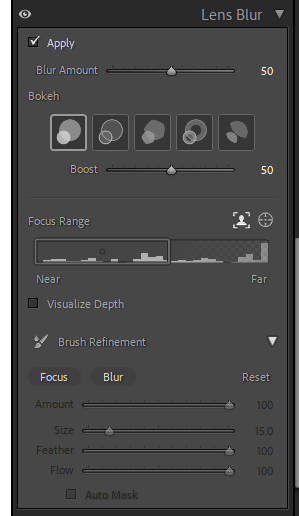
For this image I used AI to remove a water bottle and replace it with a metal cup because the water bottle looked out of place and to me ruined the picture, I couldn’t remove it fully without it looking weird, so I replaced it with the cup, which looked better overall and matched with the other things on the desk better. I also used a blurring filter for this photo so you could focus fully at the DJ and the 4 girls at the front. It also looked nice with the blurred background with the little star lights in the background.
Colours
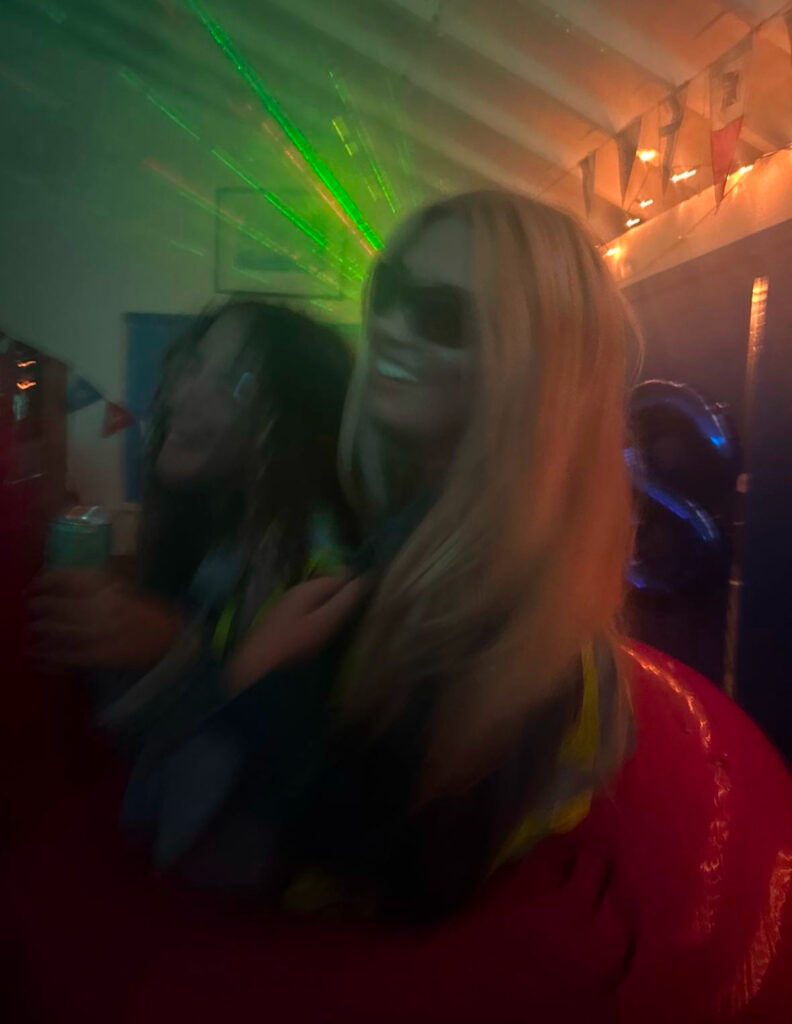
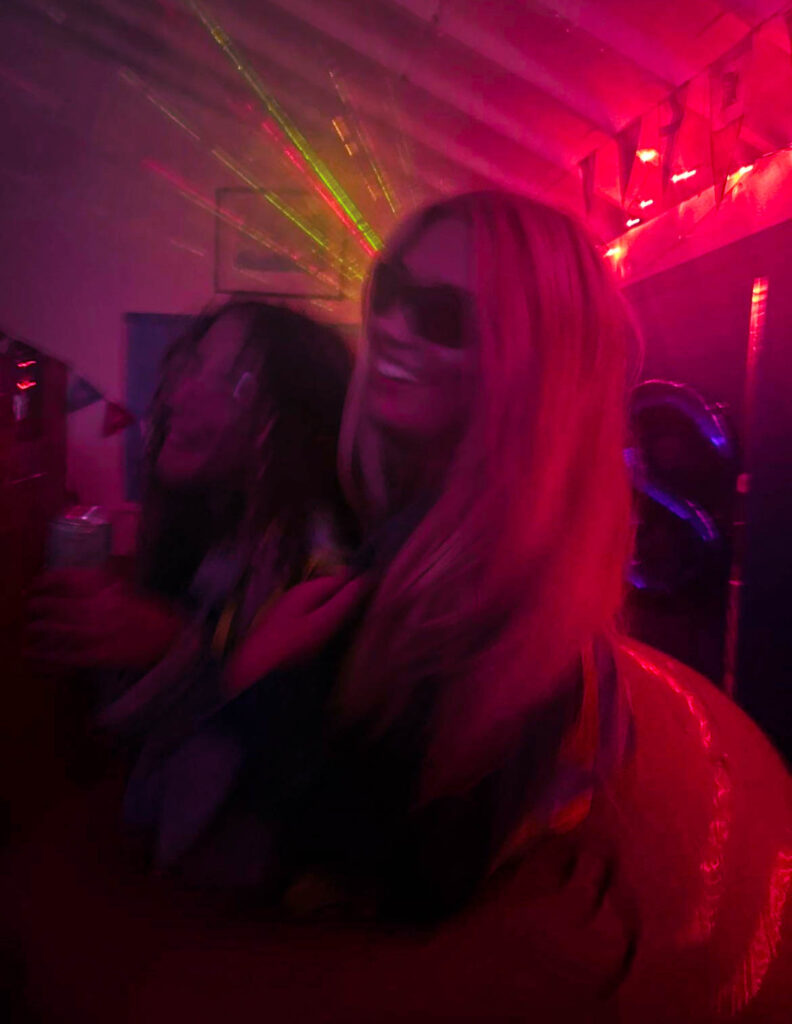
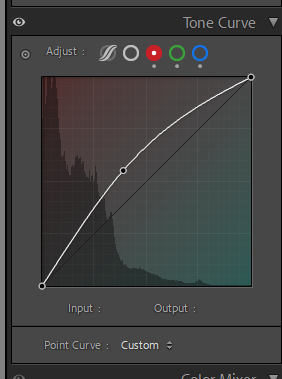
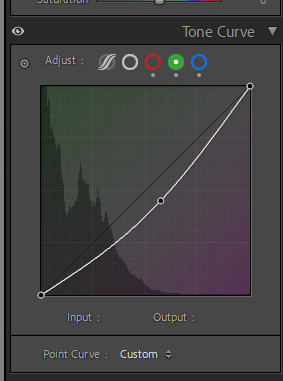
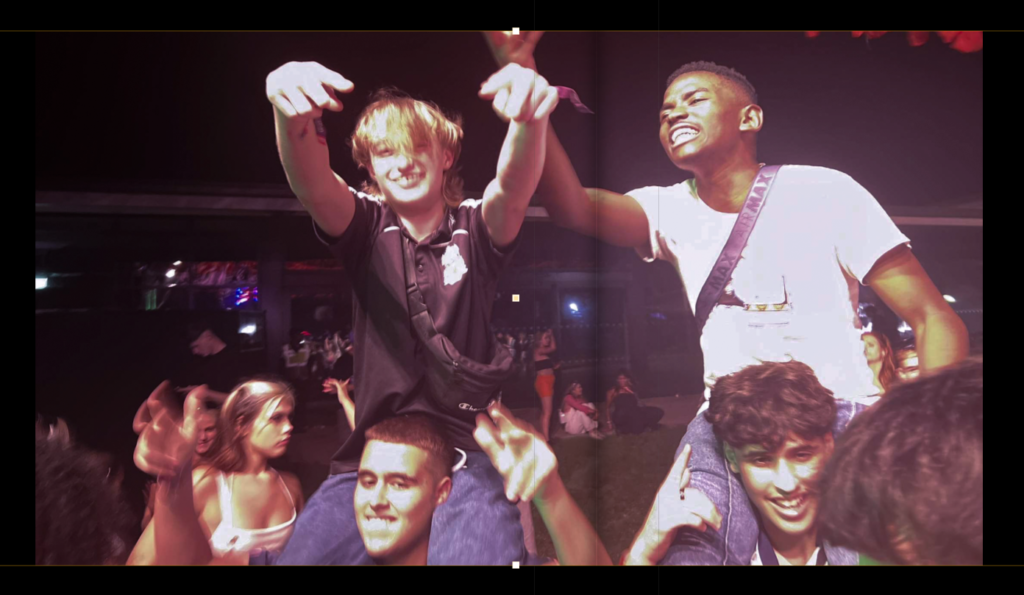
For this the picture it originally had green lighting but I changed it to pink to match another image that I was using in my book with the same posing and movement, which is originally a pink/purple colour but I made it brighter and the colour stand out more.
How its used in the photobook:
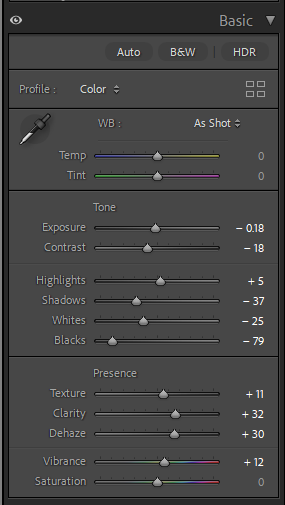
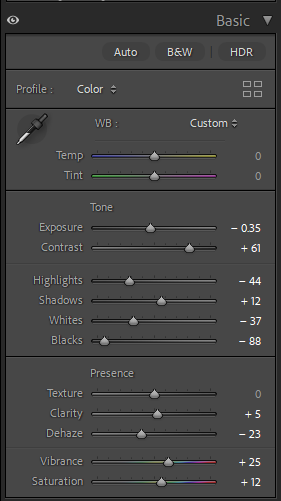
How I edited this image:
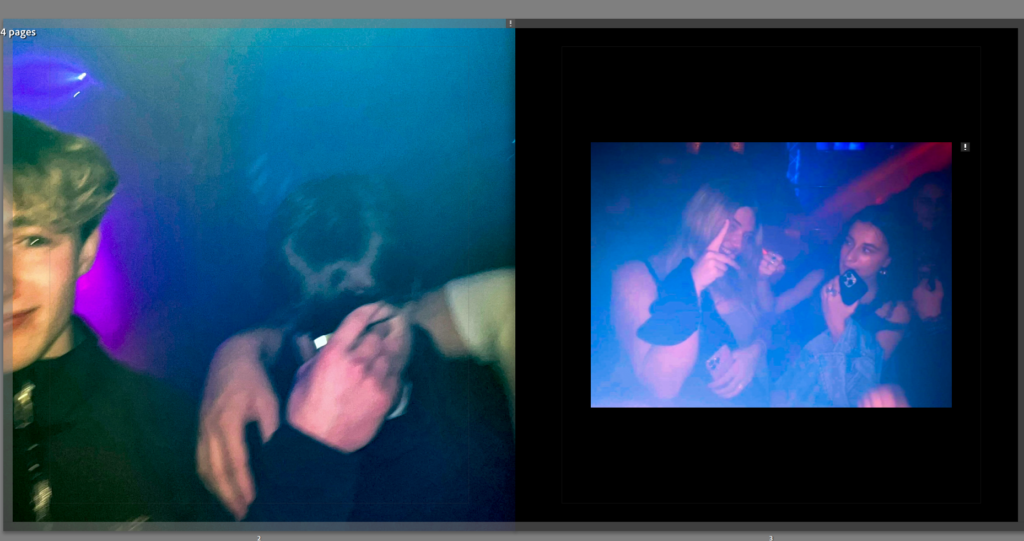
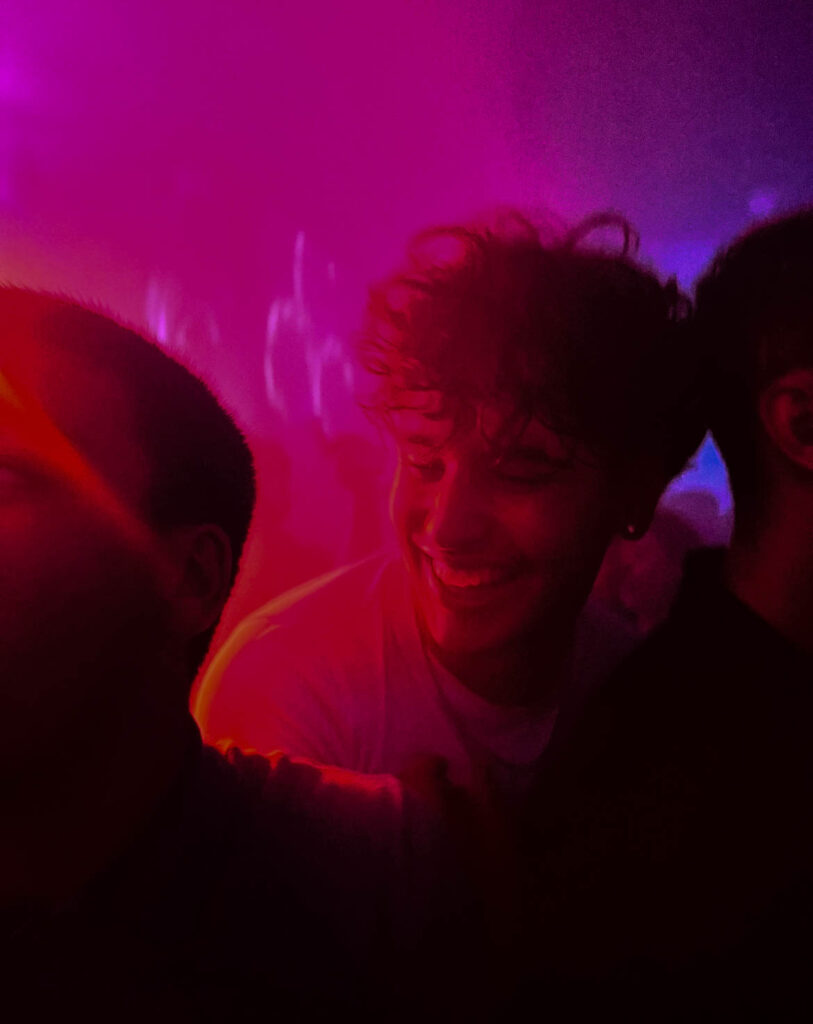
The first image already had bright lighting but I turned up the dehaze and clarity to make the lighting pop out more while also turning down the exposure and contrast to make it darker in general with the bright colourful lighting in the background. For the second image I turned up contrast so it wasn’t too blurry and then turned up vibrance and saturation to make the colours stand out more. I made the overall tone much darker than the original because the picture looked well lit with blue tones but looked too bright compared with the other.
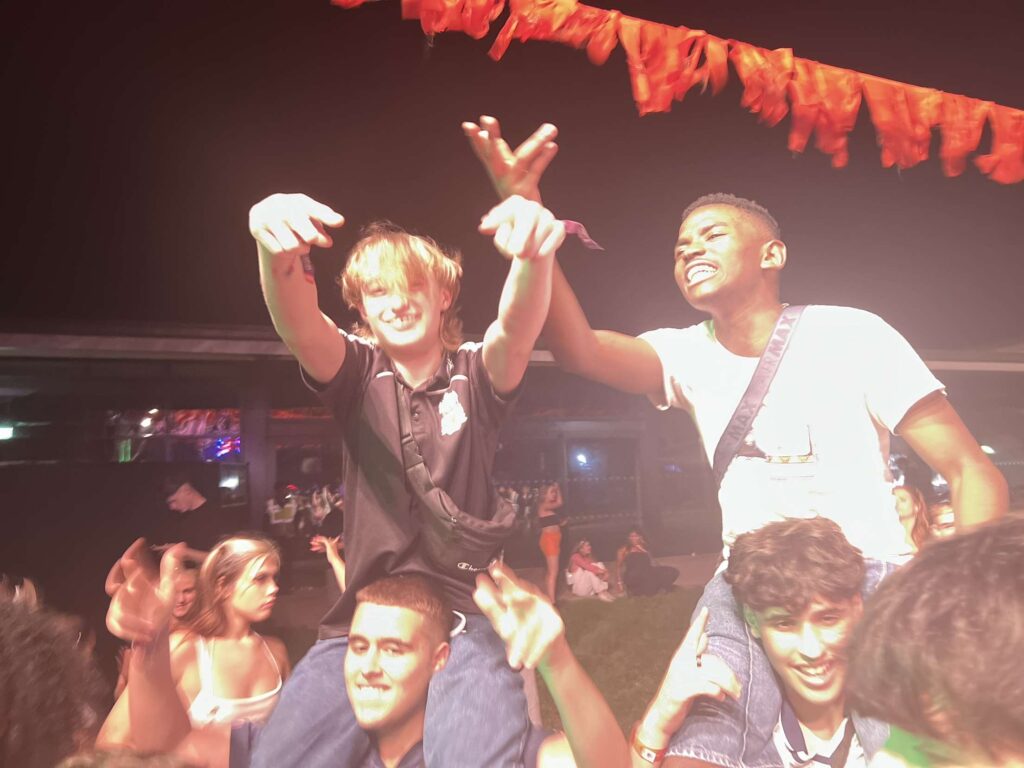
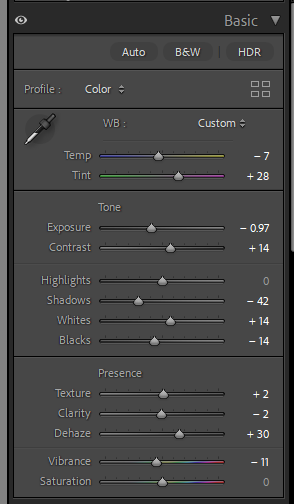
For this image it originally was more orangey and bright but but I turned down exposure so that you could see things more clearly without it being so bright and then turning down vibrance and increasing the pink tint for a neutral tone because it is placed in my photobook next to images with brown and neutral tones.