
Experimentation 1
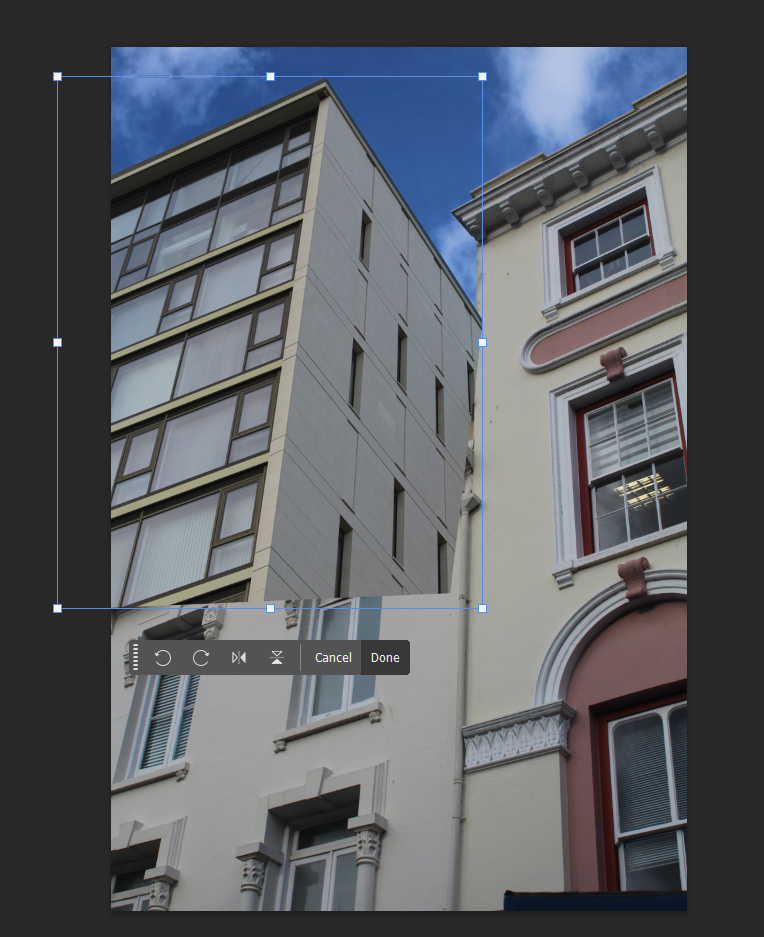
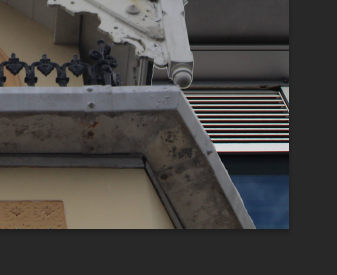
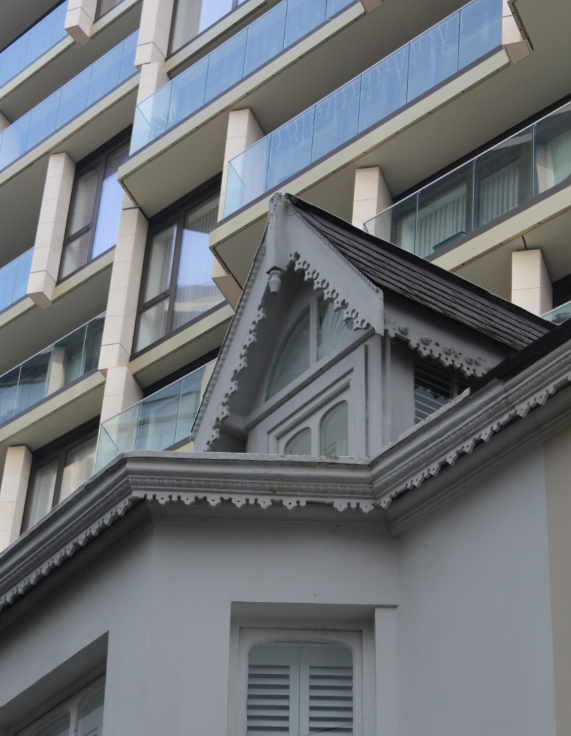
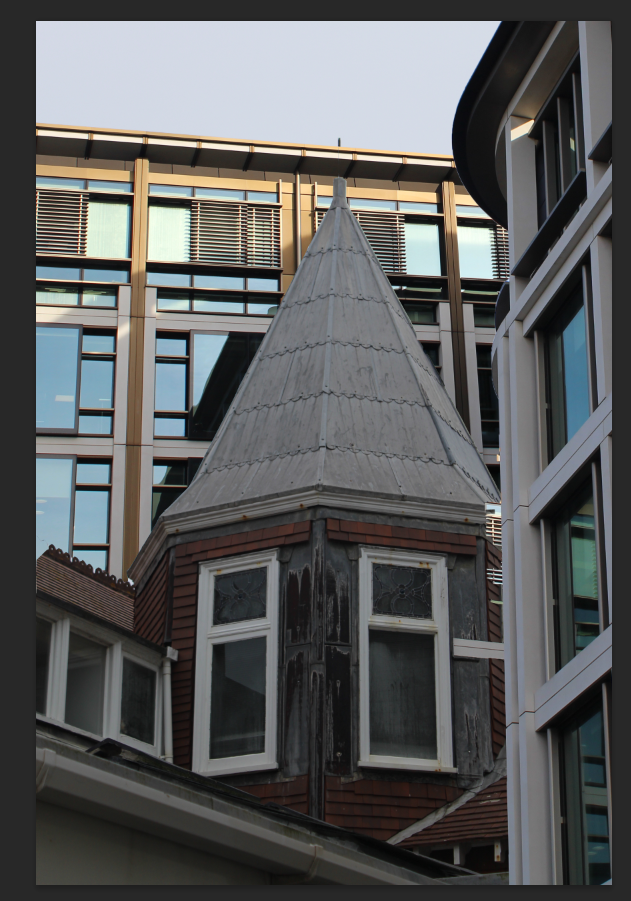
For this edit, I wanted to try and make it look like there was a modern building towering behind a historic one. Firstly, I started by cropping the image and copying it to then paste it on top of the other in Photoshop. I then used Ctrl T > Distort to move the image and change the perspective to make it more realistic.

Once I had the building in place, I used the eraser tool to erase the edges that were overlapping the other building. To make this a bit easier, I lowered the opacity of the layer so that I could see the layer below.
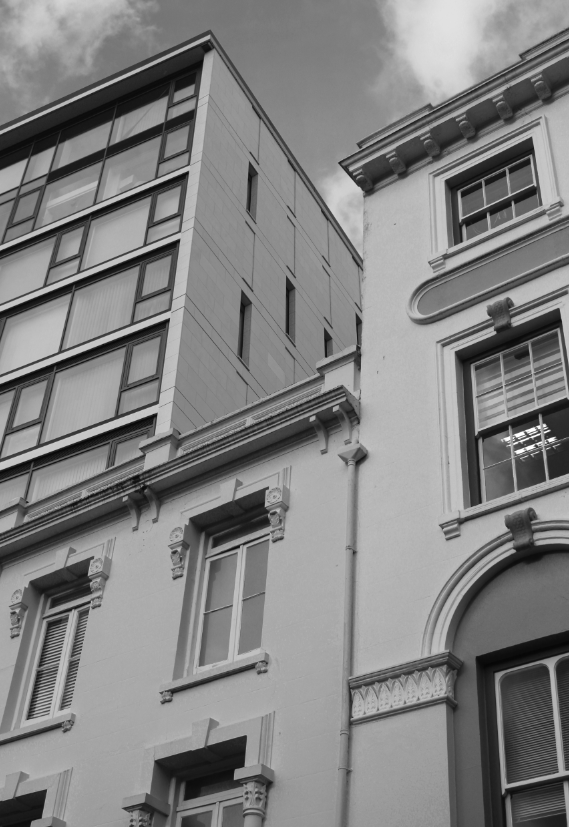
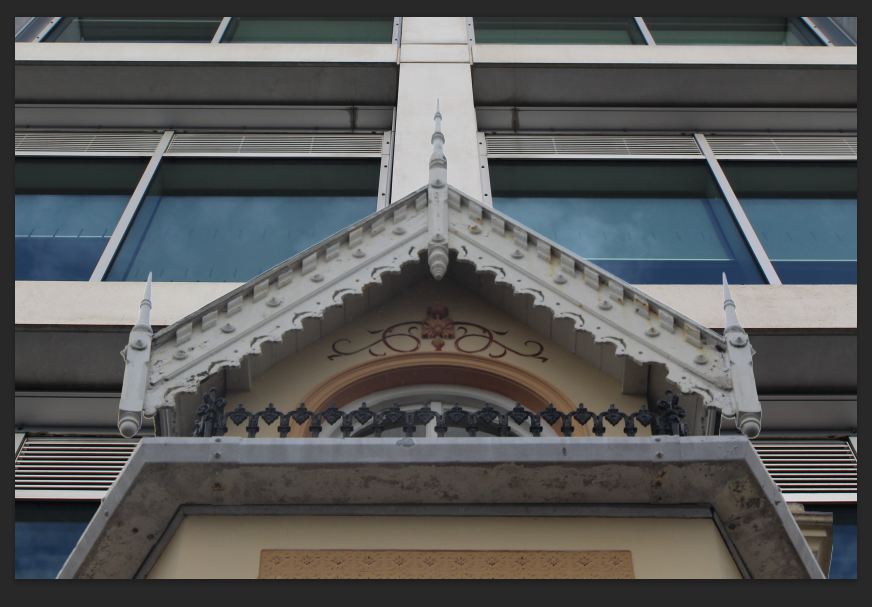
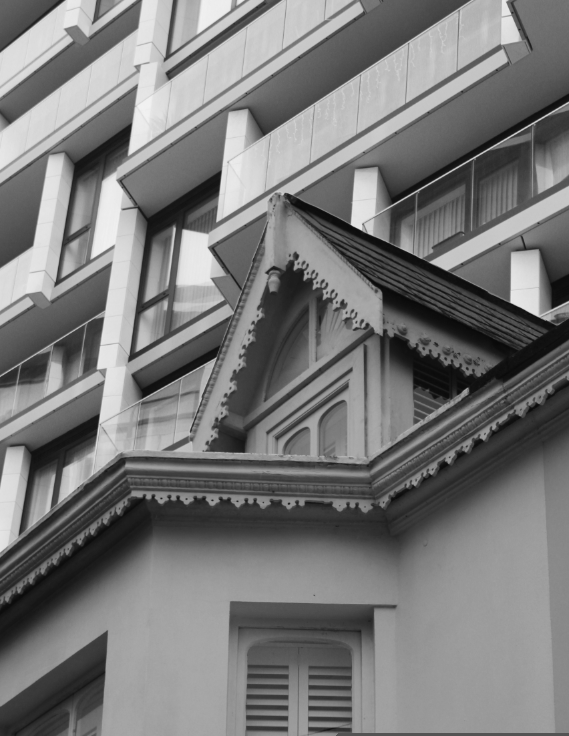
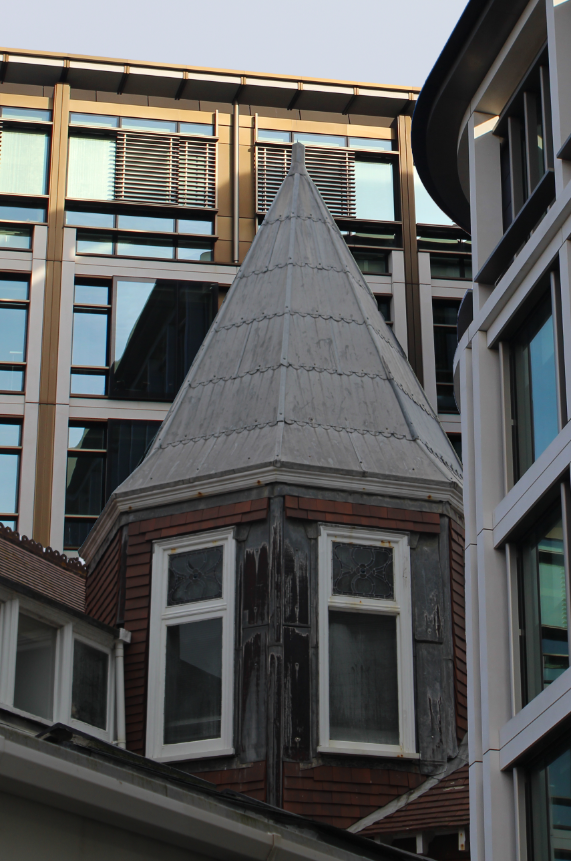
Finally, I flattened the layers and put the image in B&W and adjusted the brightness and contrast. This was my final result. It didn’t turn out quite as good as I expected as it makes me question whether it actually looks real.
Experimentation 2
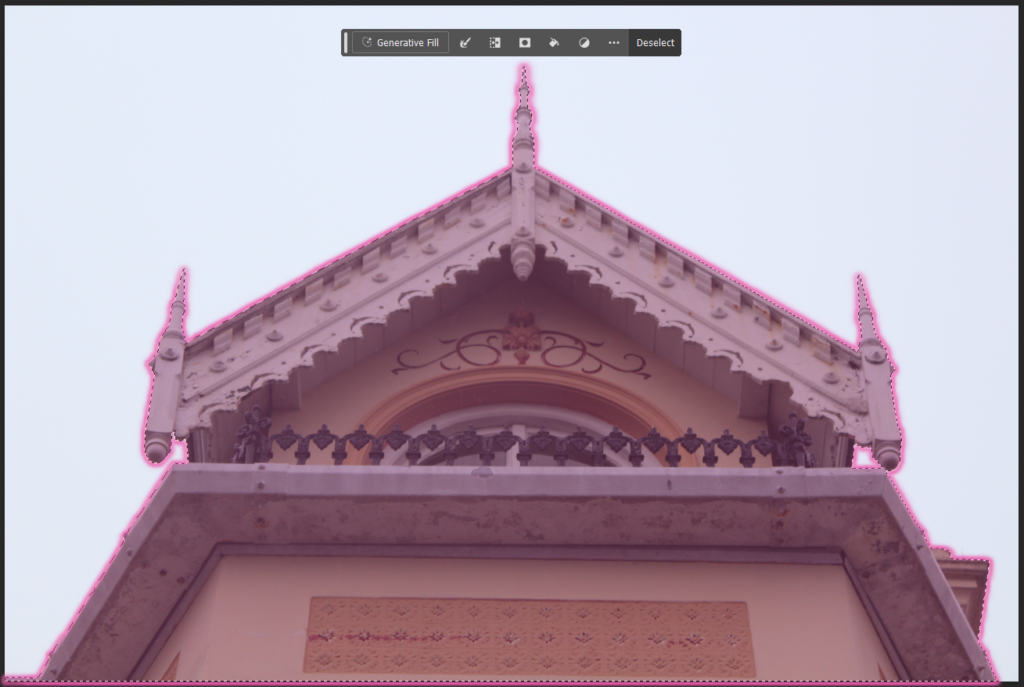
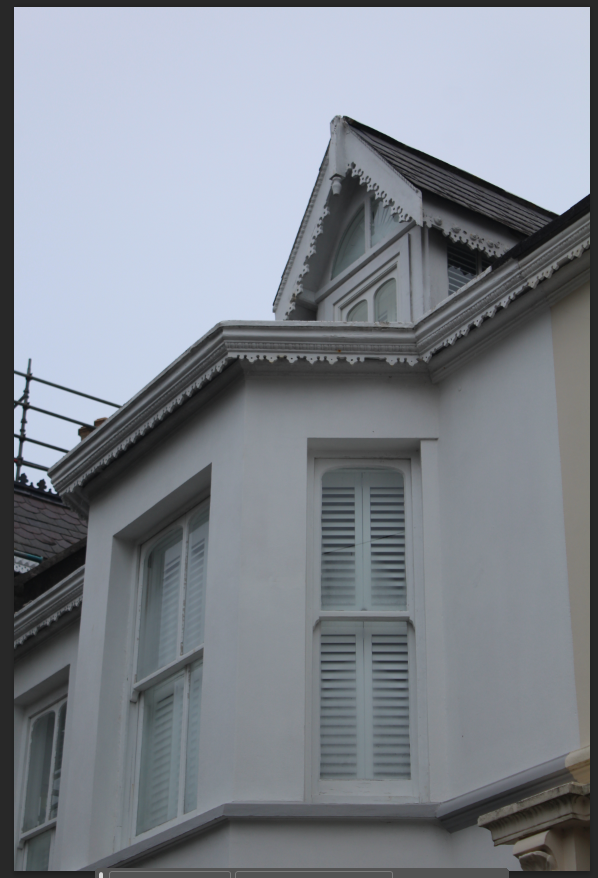
For this edit, I wanted to use an image of part of a historical building and create a background behind it using a modern building. I started off by using the quick selection tool to select the building and paste it onto the other.
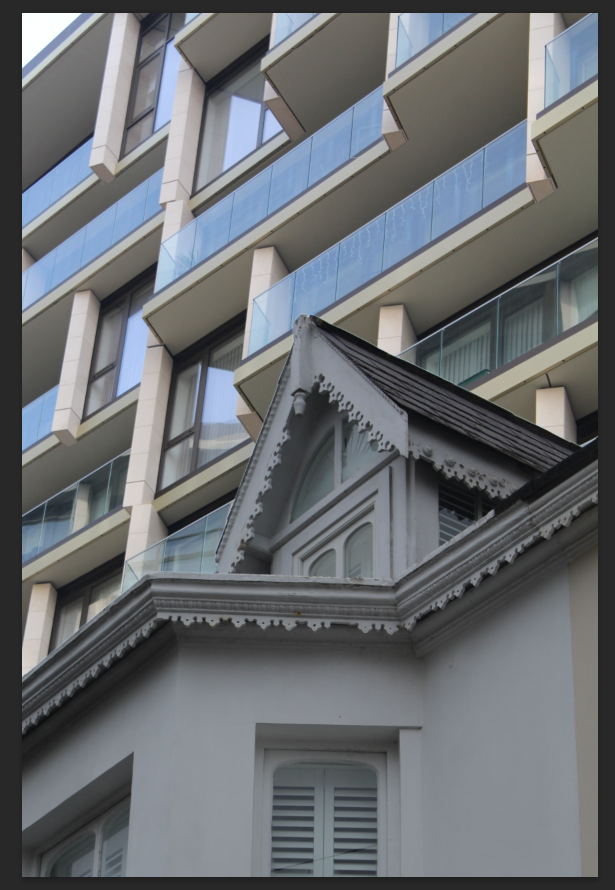
Here is the building on top of the other I played around for a bit, adjusting the positioning of the layer.
I then cropped the full image and made some further adjustments.
I then erased a little part of the older building which looked out of place.
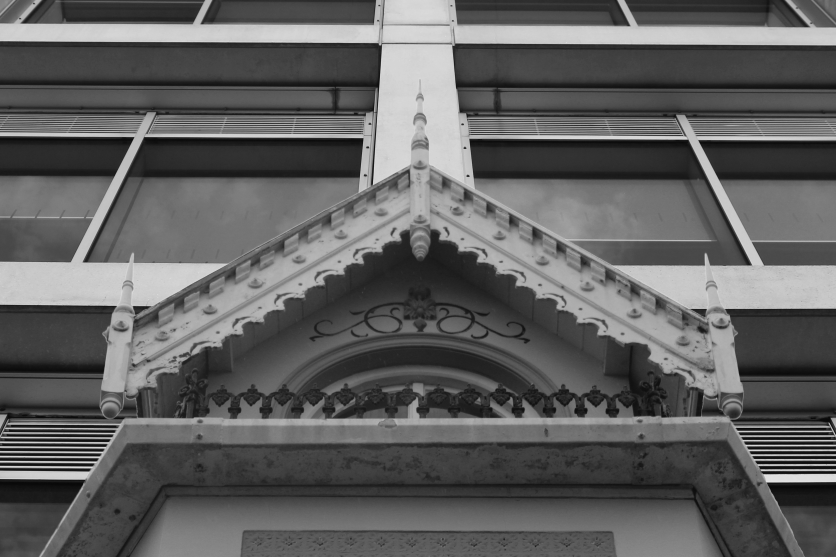
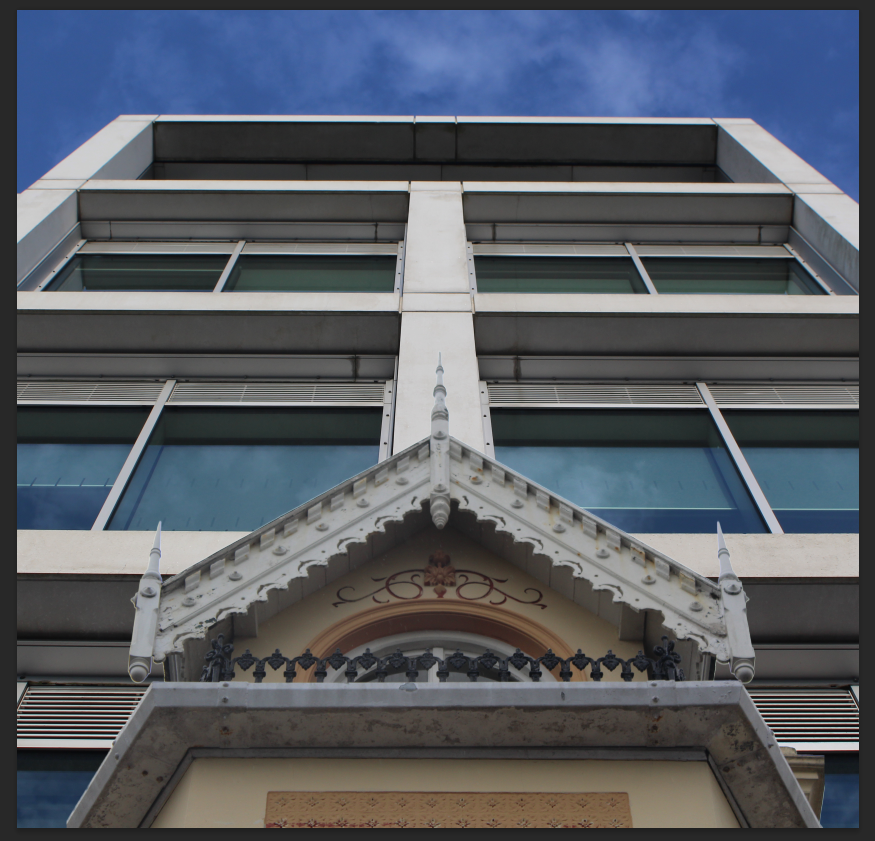
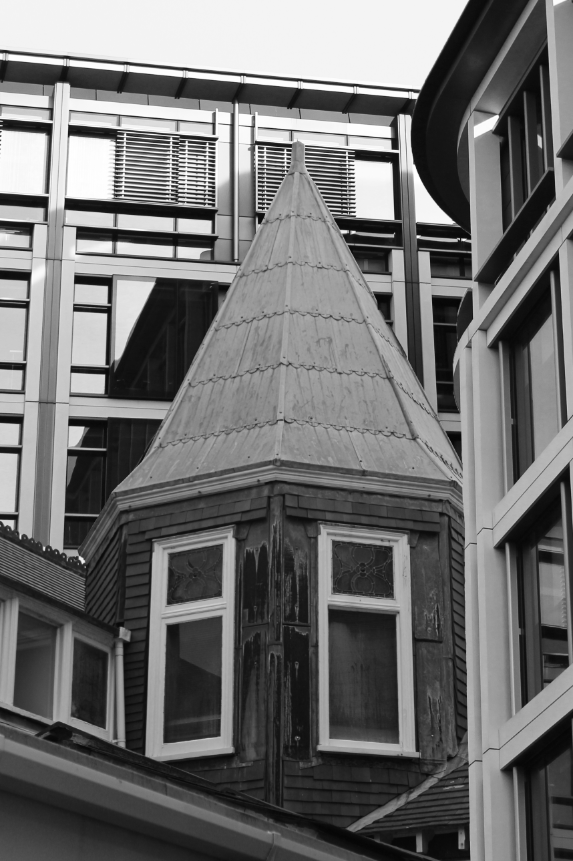
This is my final result in B&W, after increasing the brightness and contrast. I think that this image looks better than the previous but still not very realistic.
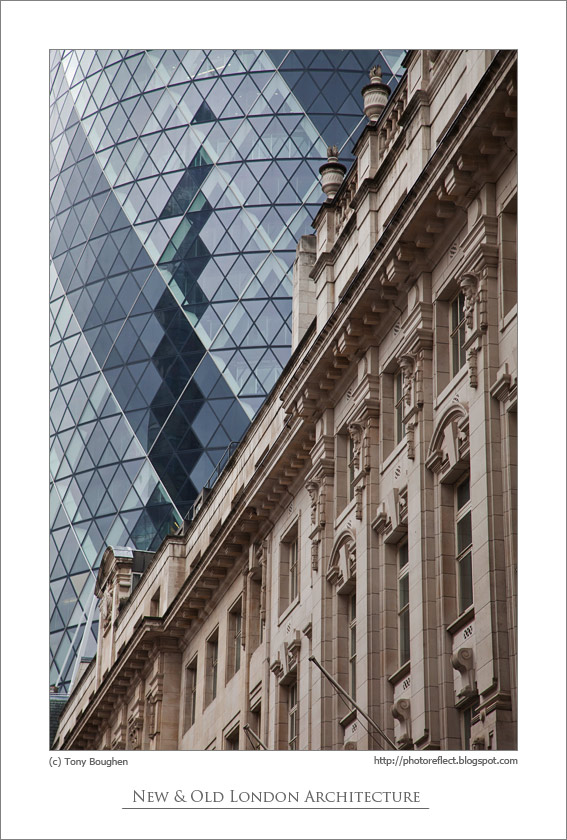
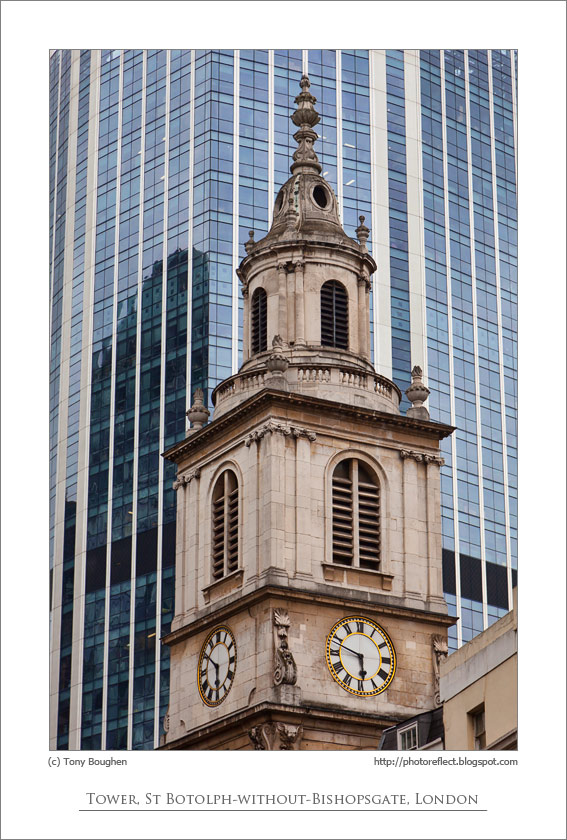
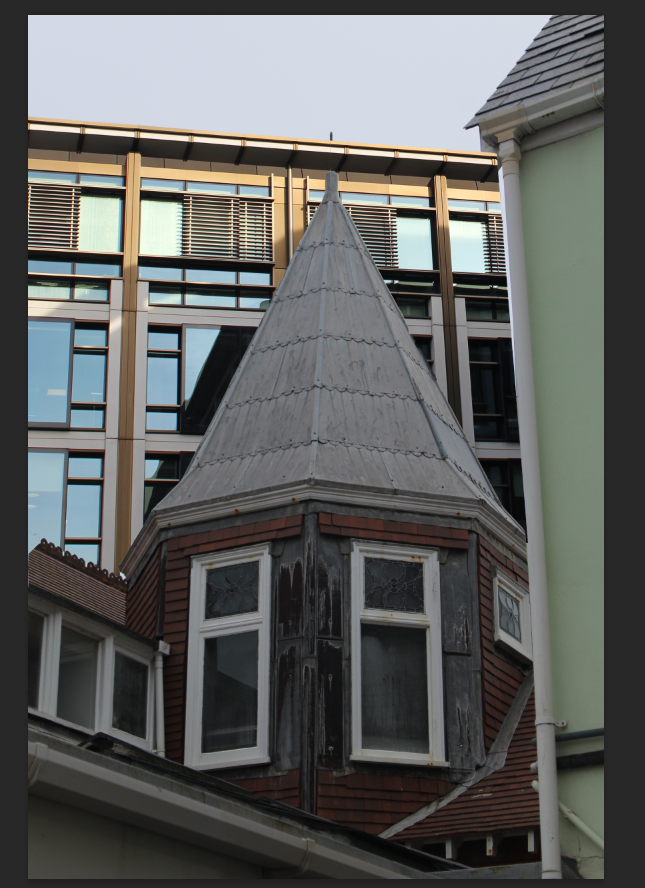
These are the images which inspire me, however they’re not edited and they are in fact real which is why mine doesn’t look great compared. I also don’t have access to settings like the ones photographed in Jersey as there aren’t many high-rise, especially ones adjacent to old buildings as the high-rises are mostly on the Waterfront which is a new/modern area.
Experimentation 3
I tried to do the same thing again for other images. I started off my opening them both in photoshop.
I then used the object selection tool to paste the layer on top then adjusted it.
I cropped the image at top and moved the layer slightly down.
Finally, I put the image in B&W and increased the brightness and contrast for my final result. I think that this looks more realistic to the previous edit of mine as it looks like it could have been taken in a built up residential area.
Experimentation 4
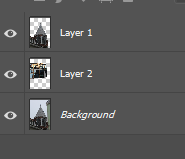
For this edit, I wanted to make it more interesting and have a combination of 3 buildings. I started off by selected the older building and creating another layer with just the parts I wanted. I then pasted one of the buildings in and made sure that it was the layer below so it didn’t overlap the other building.
Then, I added in another layer to the side of the image which was of another building, this building being on top of the older one.
I then erased the edges of the previous layer I had added.
Finally, I flattened the image and put it in B&W then increased the brightness and contrast to get my completed result. I personally think that this is the best experimentation edit yet as it looks the most realistic.
For this image and the previous two, I wanted to represent the difference in styles between old and modern buildings and how modern/high-rise buildings dominate and tower over old ones.
Experimentation 5
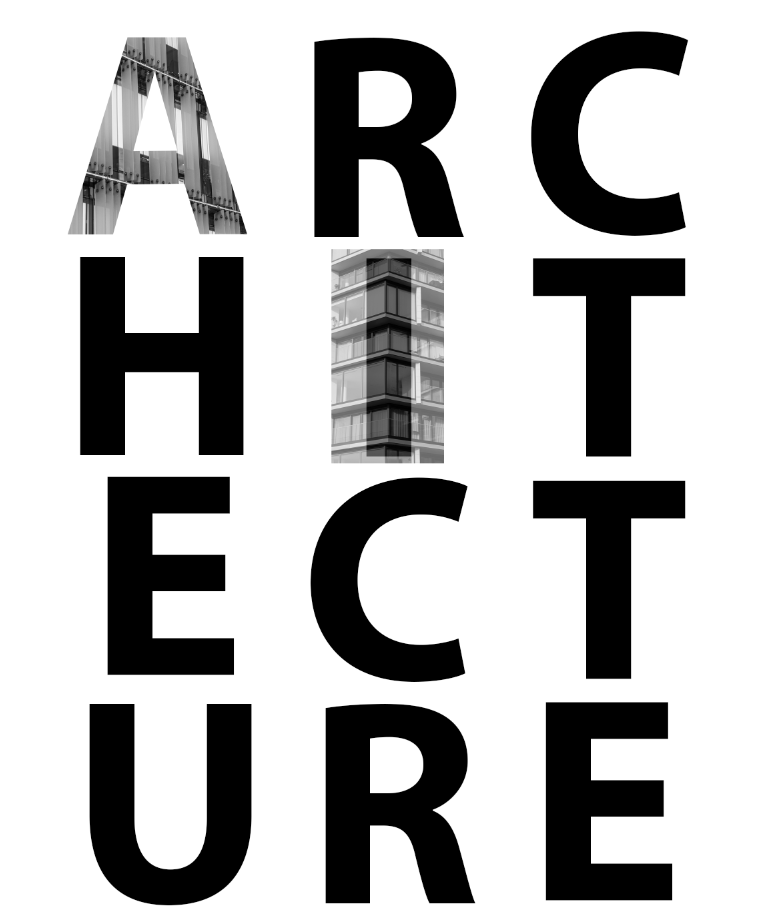
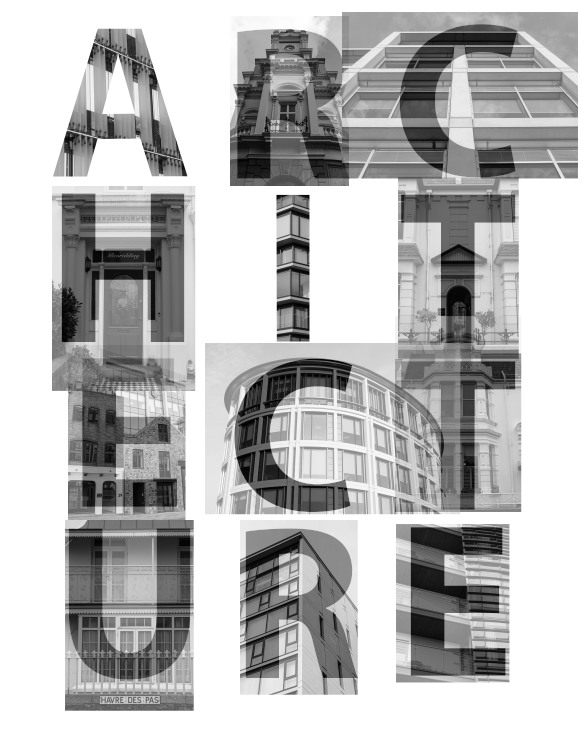
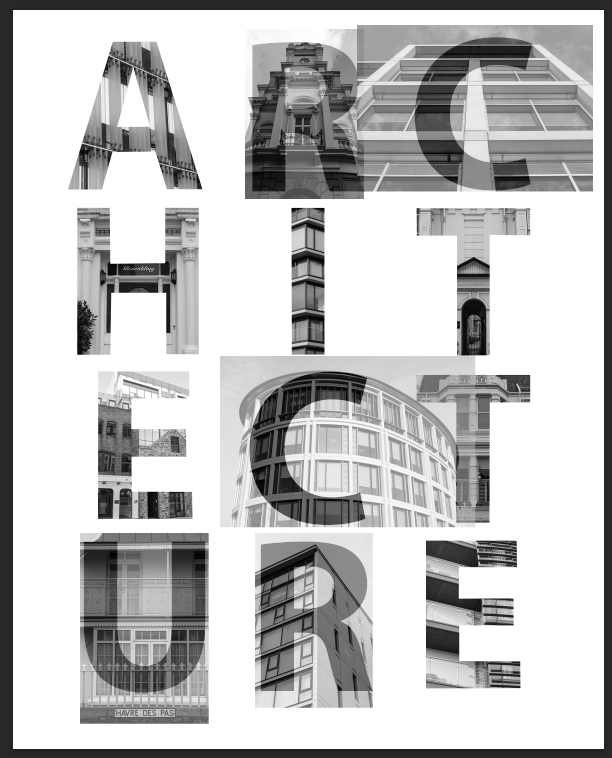
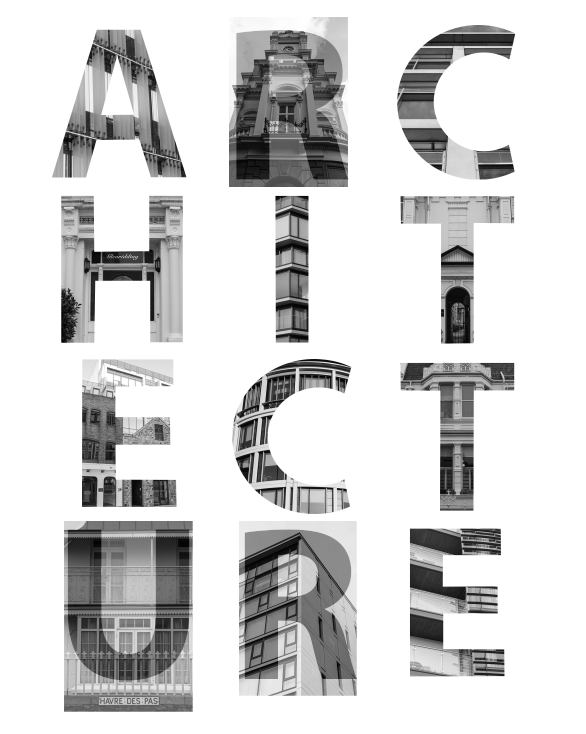
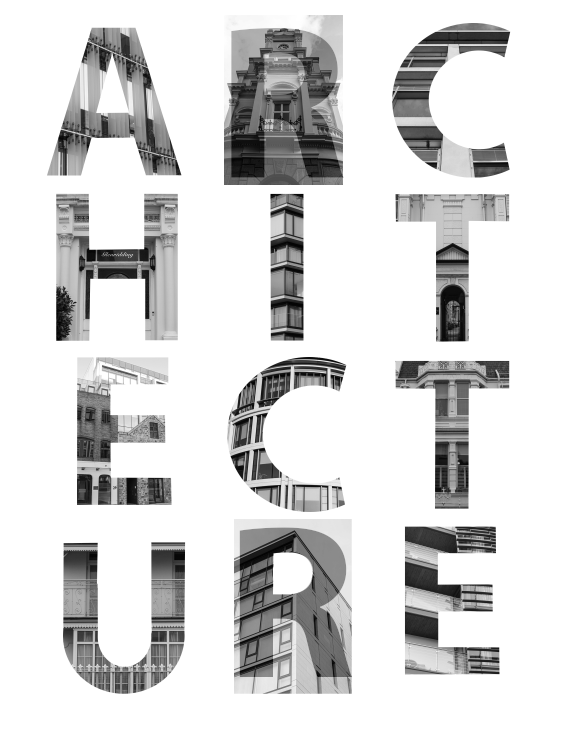
For the cover of my photobook, I wanted to have the word ‘ARCHITECTURE’ with each individual letter being and image. This is how I did it:
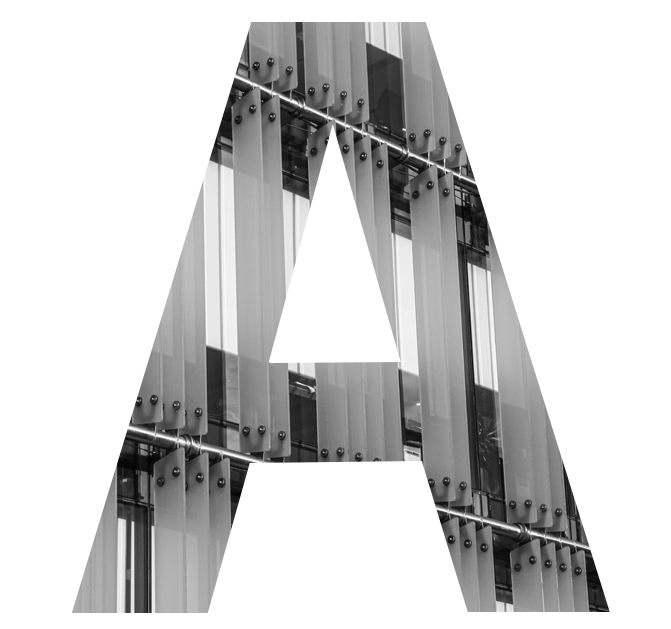
Here is the first A. Below I will show how I did this with another letter.
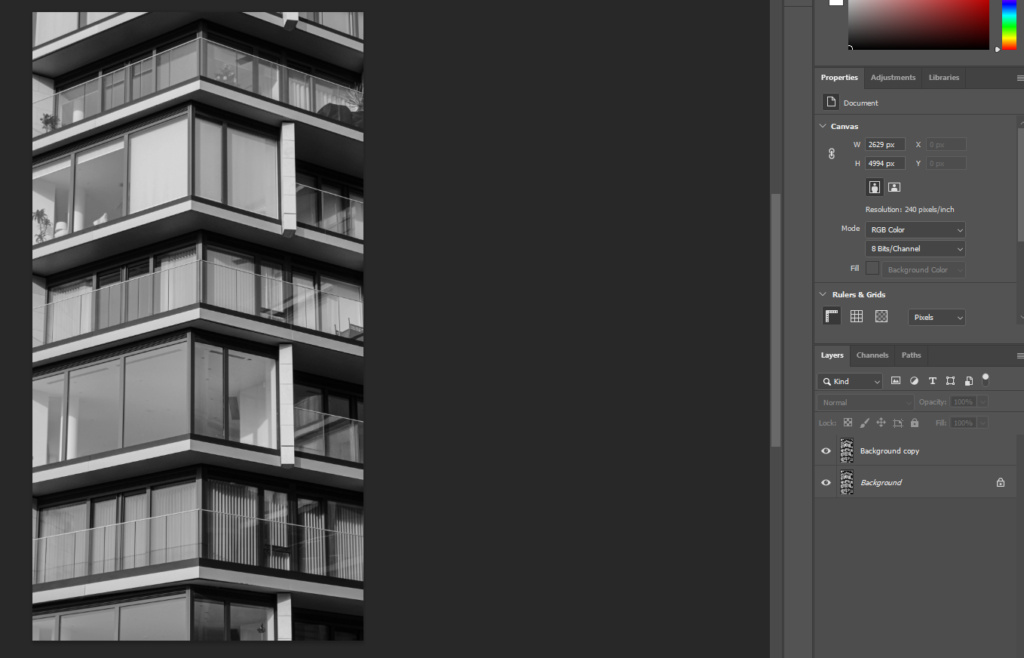
Firstly, I opened the image I wanted to use and created a background copy.
Then, I pasted the image onto the document with text and lowered its opacity so that I could see the letter below.
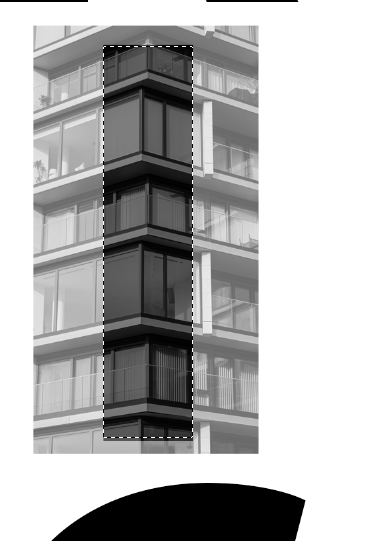
After that, I used the Polygonal Lasso Tool to select the image in the shape of the letter then select its inverse to delete the outside.
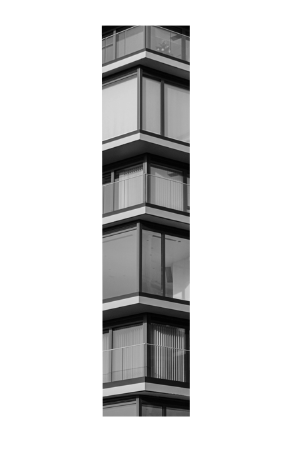
This was the result.
I then added in all my images on top of the letters I would like them to be. I repeated the previous process for all of the letters with straight lines.
As for letters with a curve, I had a bit of a different process.
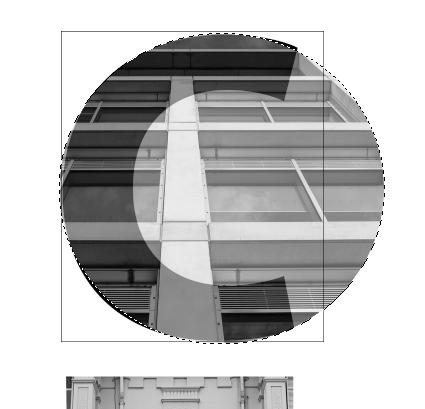
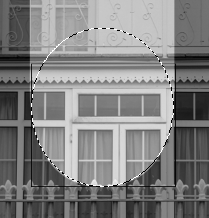
for the C, I used a square as a guide for the edges then the eliptical marquee tool to select the outline. I then selected the inverse and deleted the extrenal area. I then did the same for the middle of the C.
I then used the Polygonal Lasso Tool to get rid of the rest.
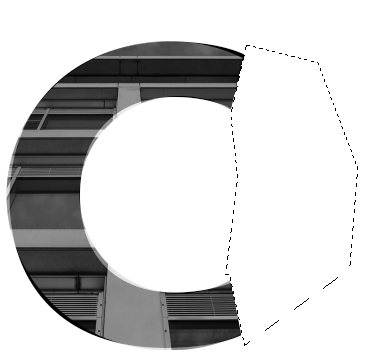
I repeated this for the other C.
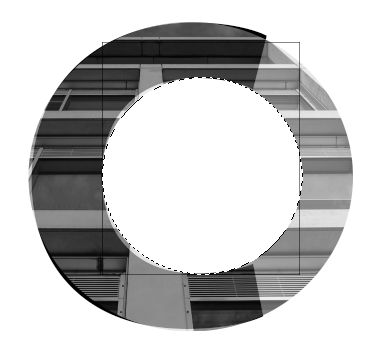
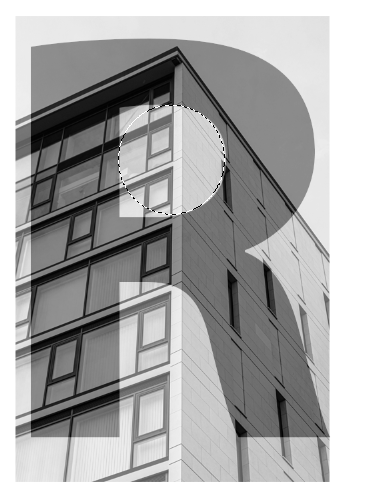
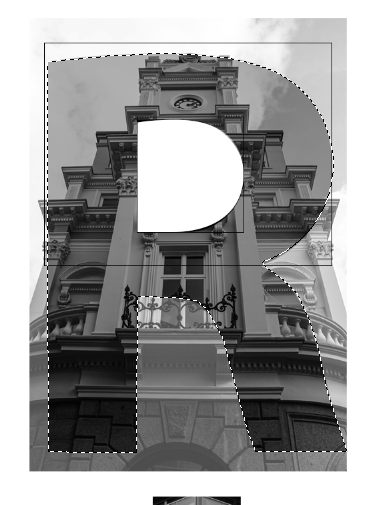
I then started the R’s by getting rid of the middle. I did this by, firstly, cutting out a circle. Then, using the polygonal lasso tool to delete the rest.
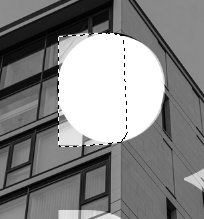
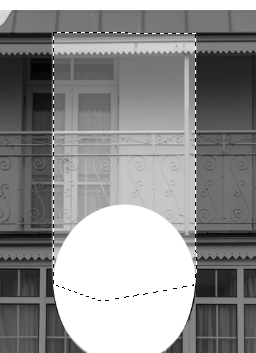
I then moved on to the middle of the U. I, once again, used a combination of the eclipse with a square and the polygonal tool.

I then finished the R’s by using both the eclipse and polygonal tools again. I used shift and alt to add and remove parts of my selection until I was satisfied with it.
These are my finished letters:
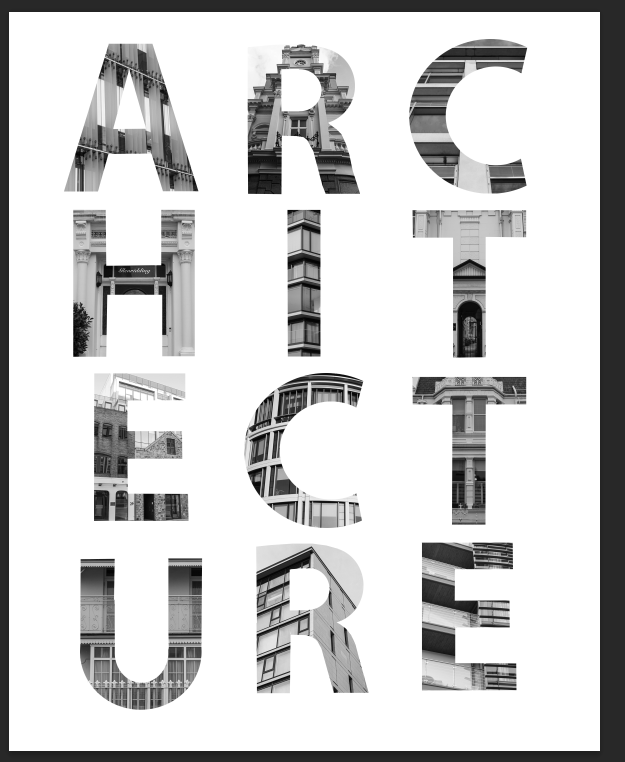
I then created a Guide Layout for the letter placement.

This is the finished product:
