Concept
when looking at developing photos to tell the crooked fairies story through photos my first concern was how I would depict the ‘crooked fairy’ how was I going to photograph something that had nothing with its likeness and didn’t exist?
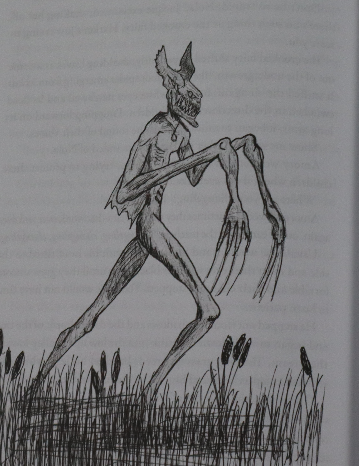
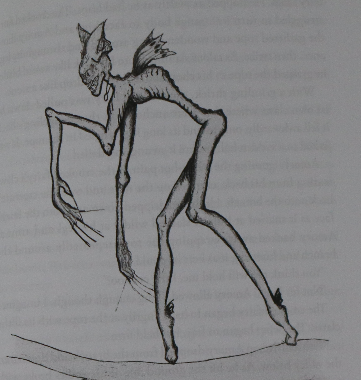
when looking at the illustrations in the original material I figured my only option was to create a sculpture.
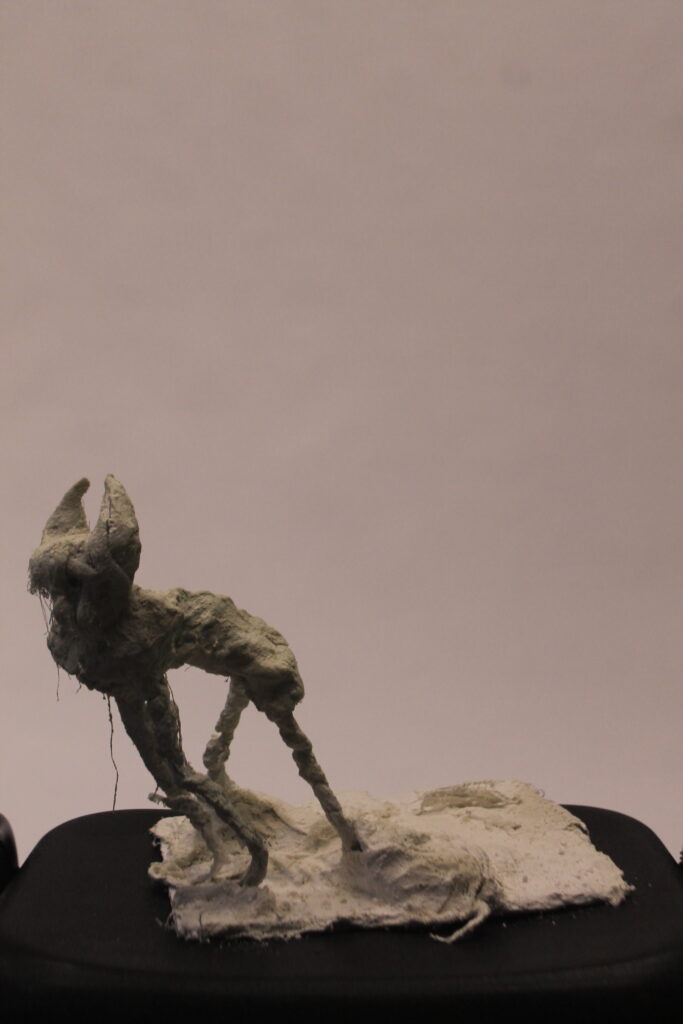
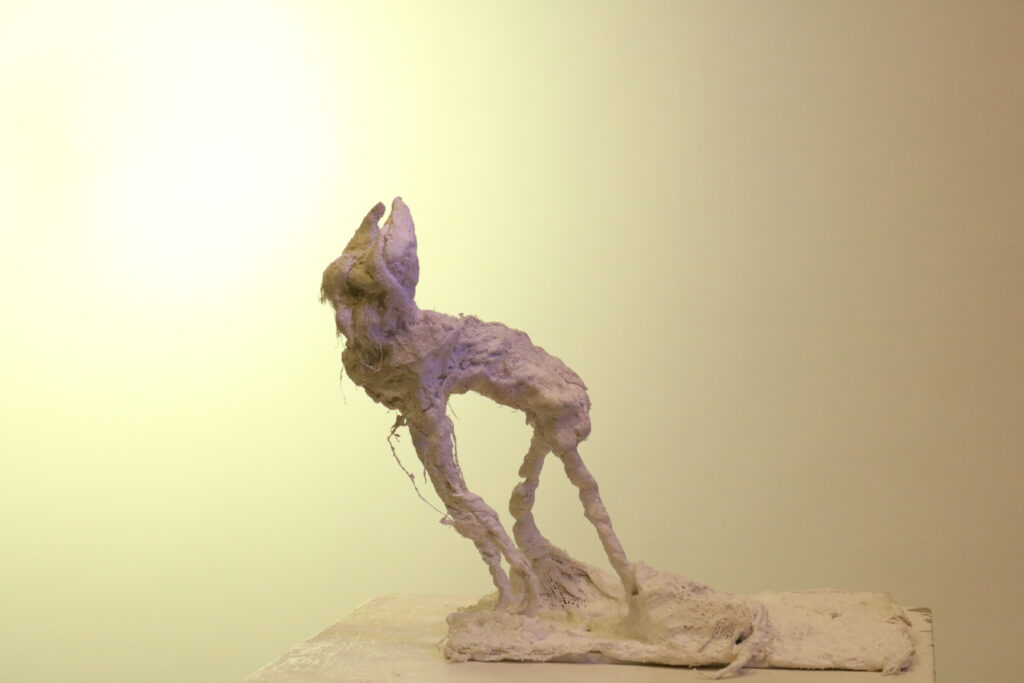
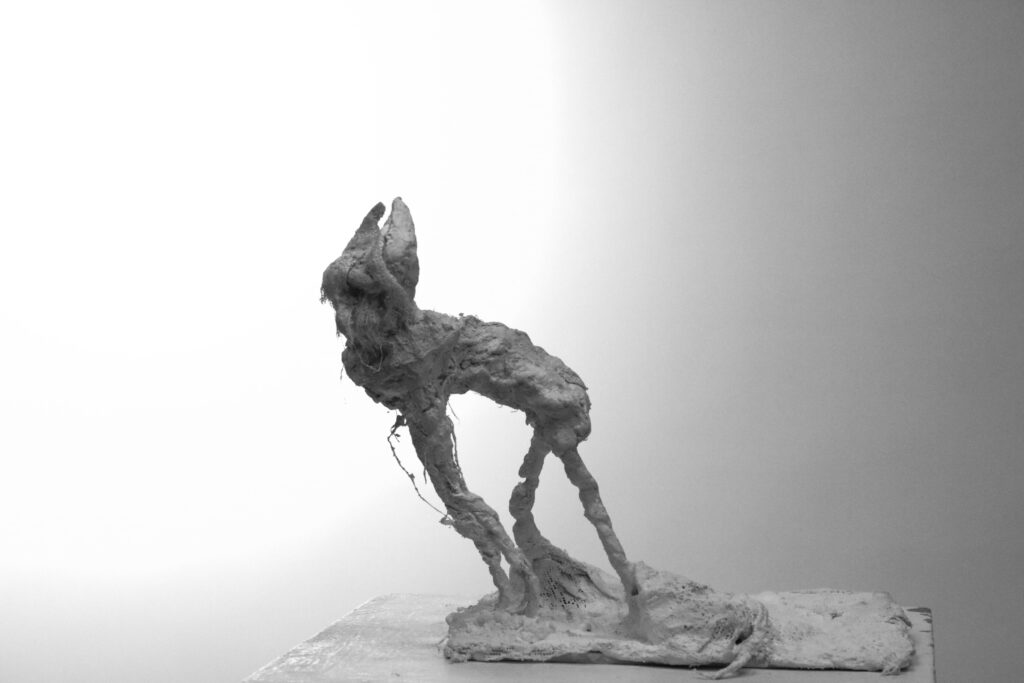
in light of this I figured the most effective option was to create e a small doll sized figure of the ‘crooked fairy’ and play with perspective and lighting to make it appear ‘larger than life’
Constructing The Crooked Fairy
when creating my crooked fairy i used only cardboard, mud rock, tinfoil, wire and water.
original inspiration of design
raw creation
i used wire as support for the two back legs and secured them too and piece of cardboard to give provide support, in order to create the signature arching back in detail i used tin foil to create a base frame for the torso and draped mud-rock over the legs and torso to attach and shape the fairy further, then using mud-rock alone I created the arms shoulders head and horns, shaping with my hands and water as I went.
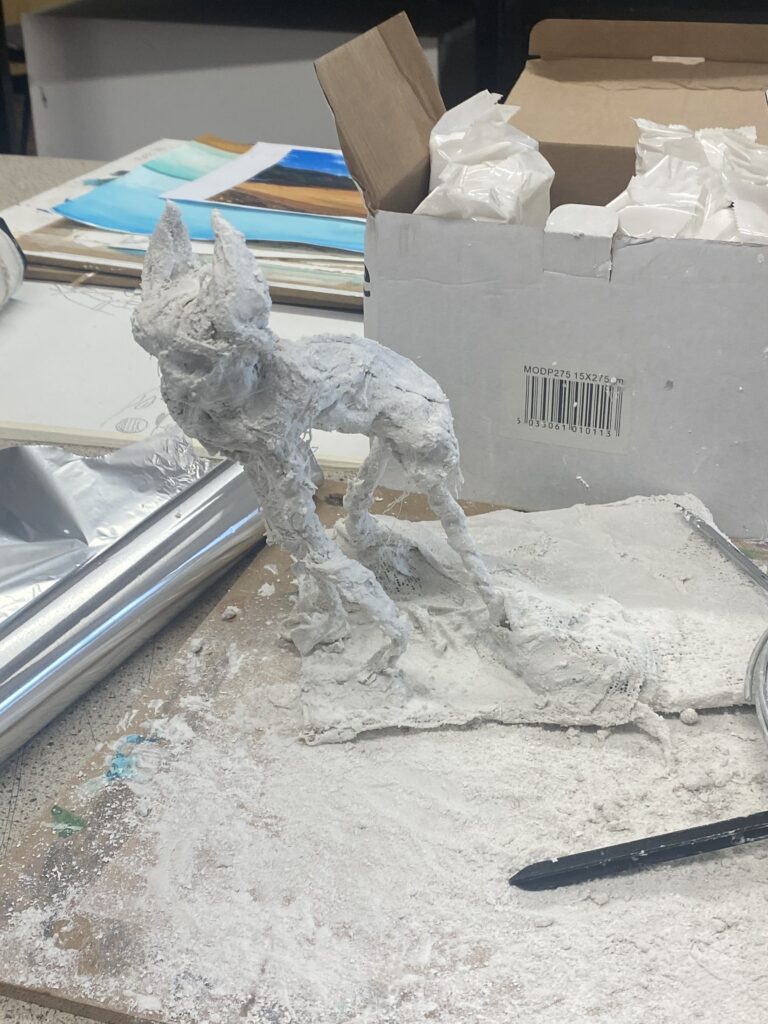
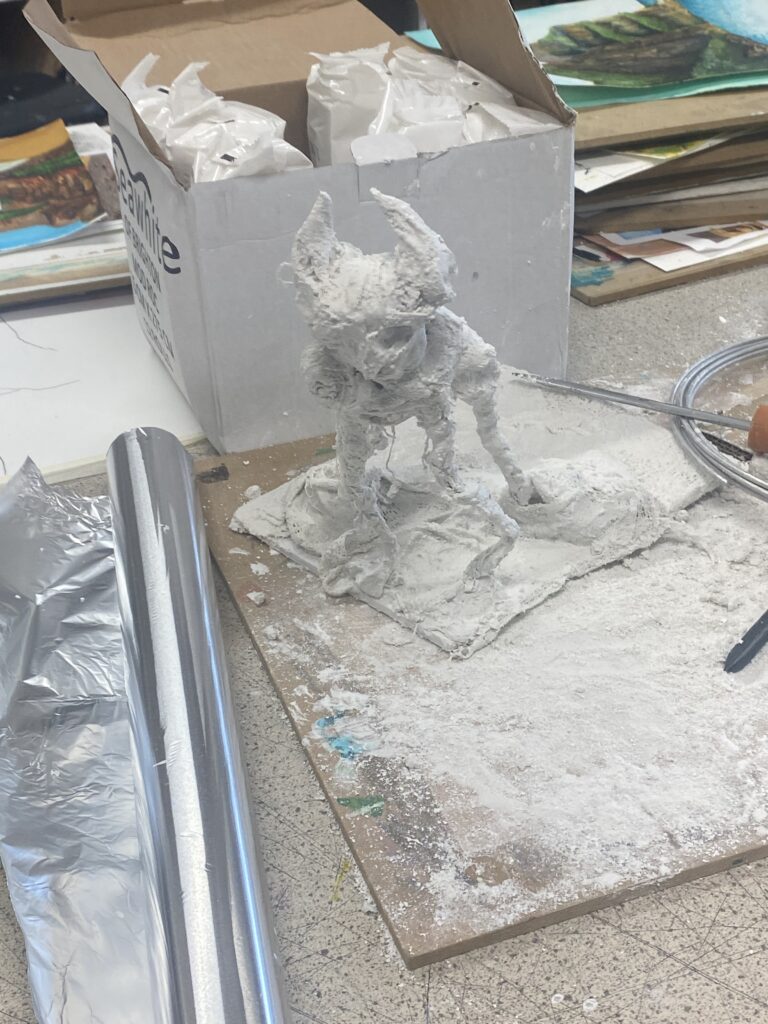
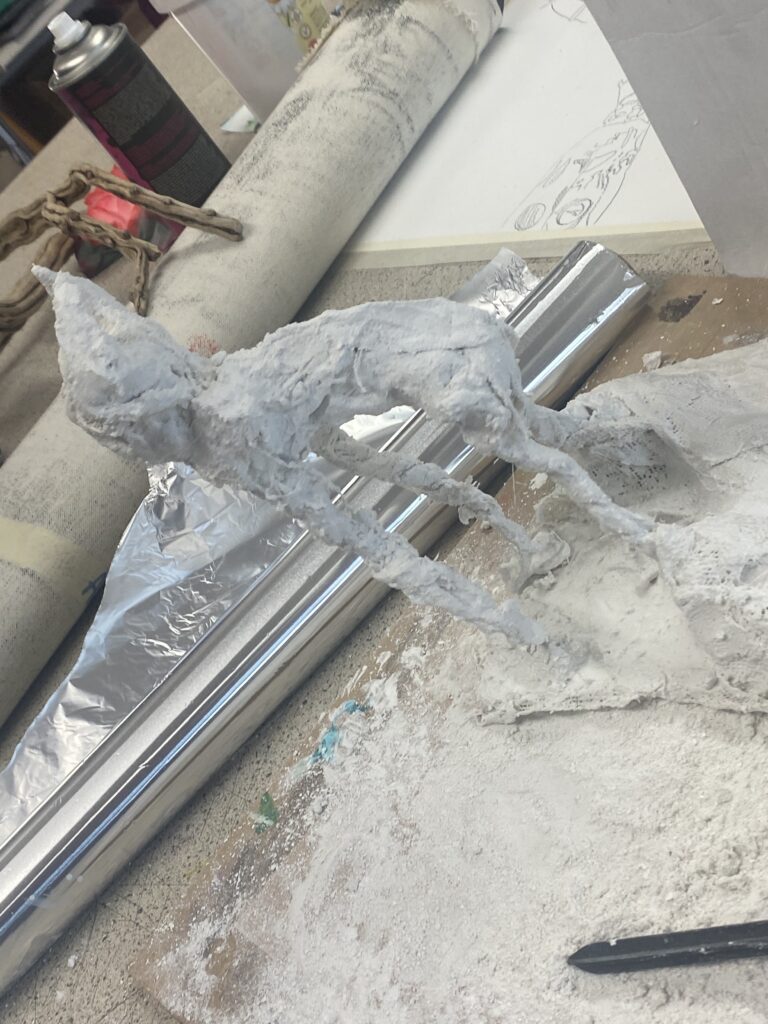
Although a good start this sculpture didn’t yet have the detail it needed, both for up close images but with sharp enough details that they would been seen in its silhouette.
refinement
i began the process of refining my sculpture with a box knife and sand paper,
first focusing on the face and horns.
then the arched back, thin frame and ribbed back.
defining leg shape
carving strong shoulders and back detail
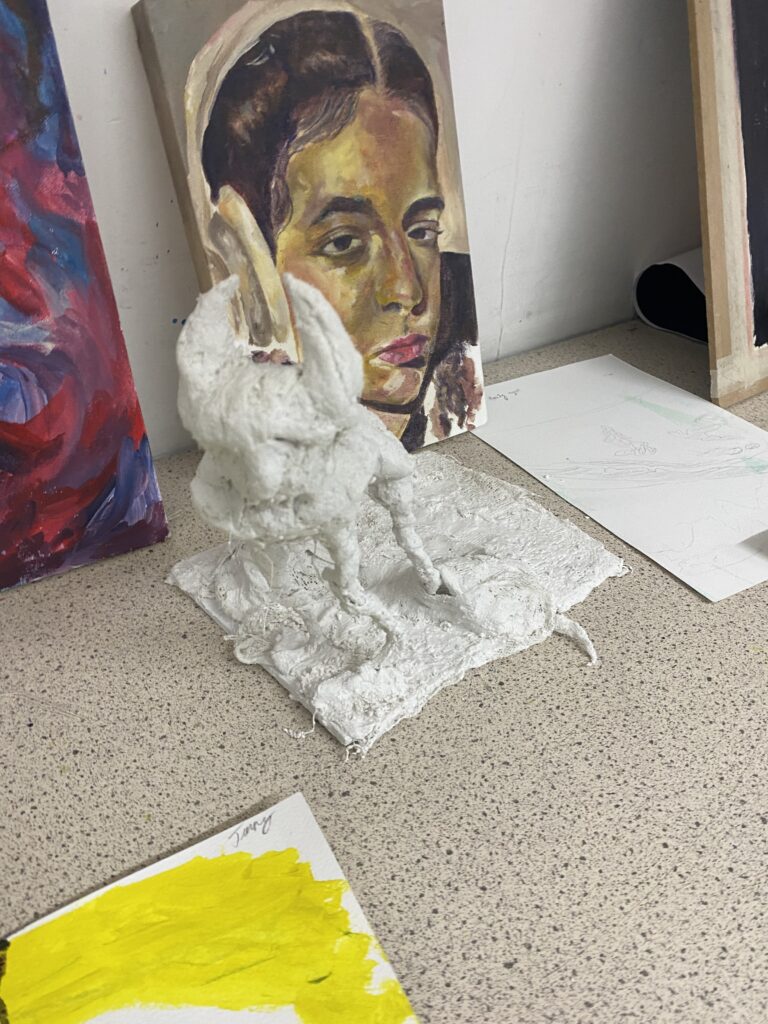
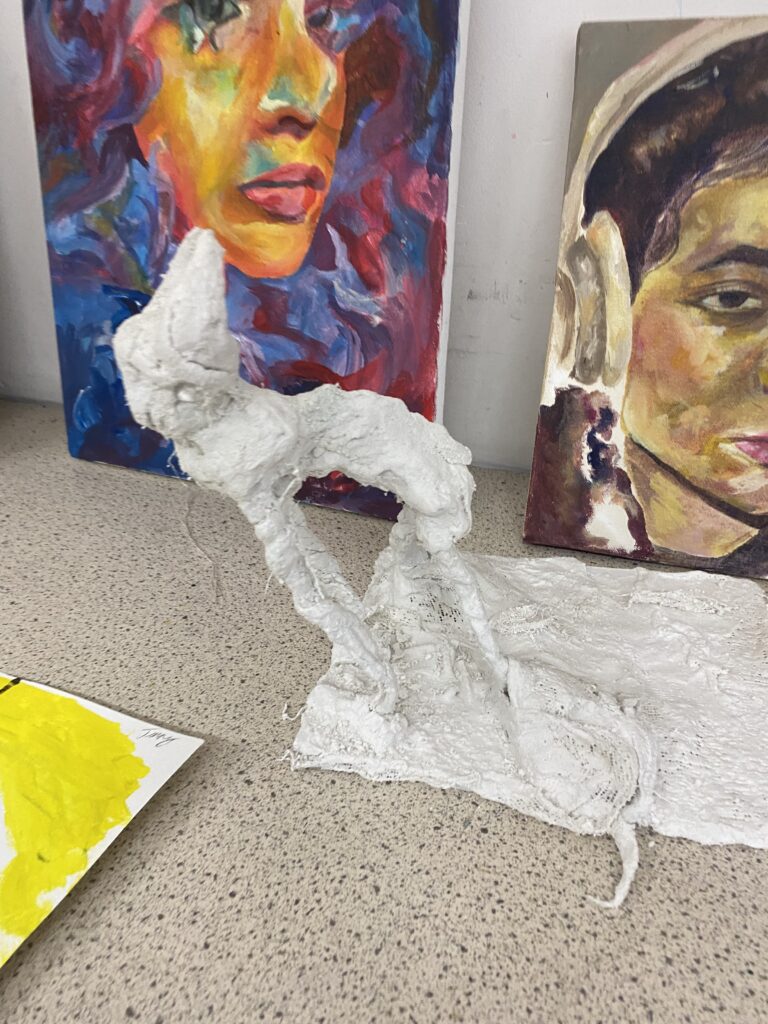
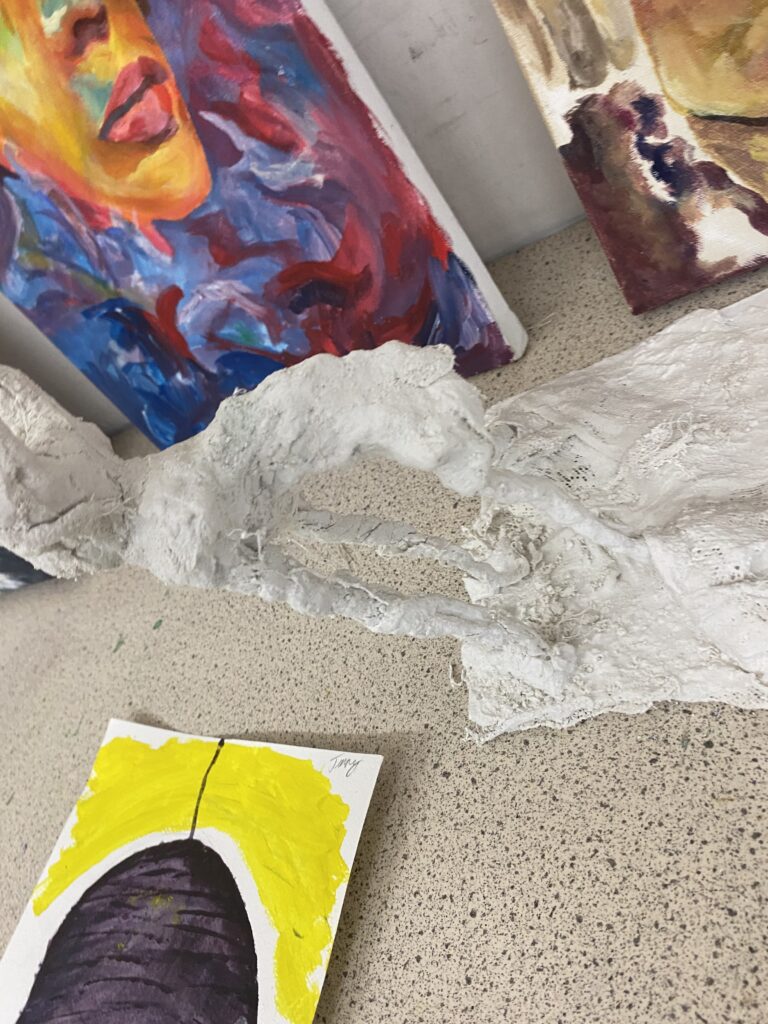
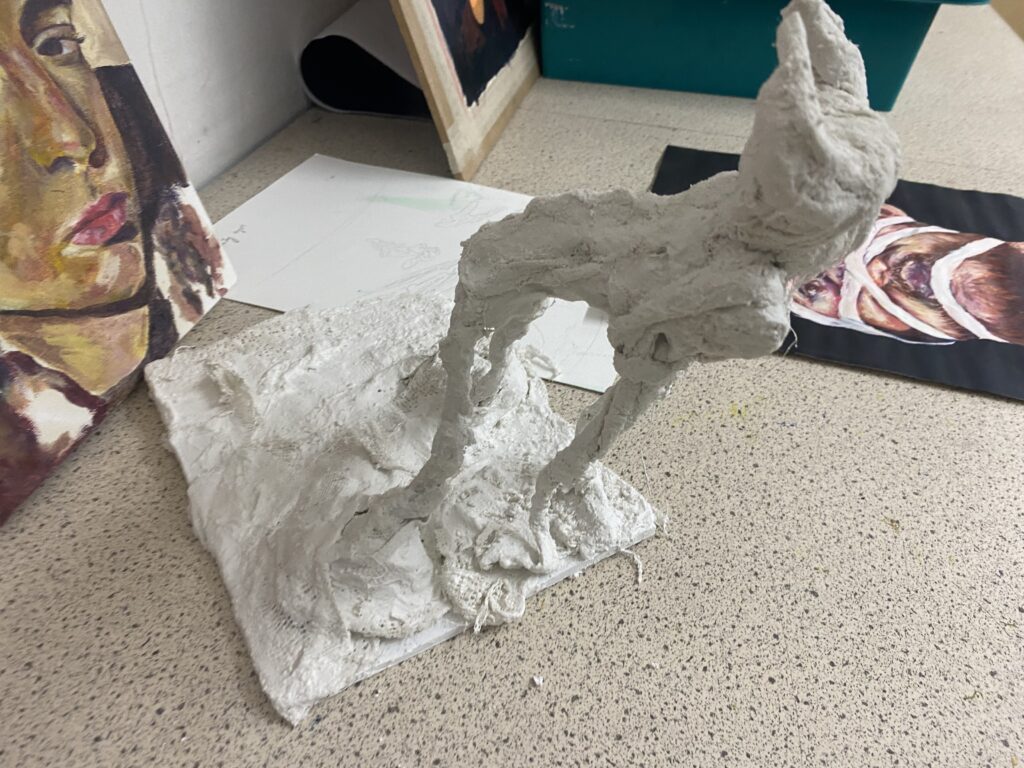
final result
