
Windows- Contact Sheet

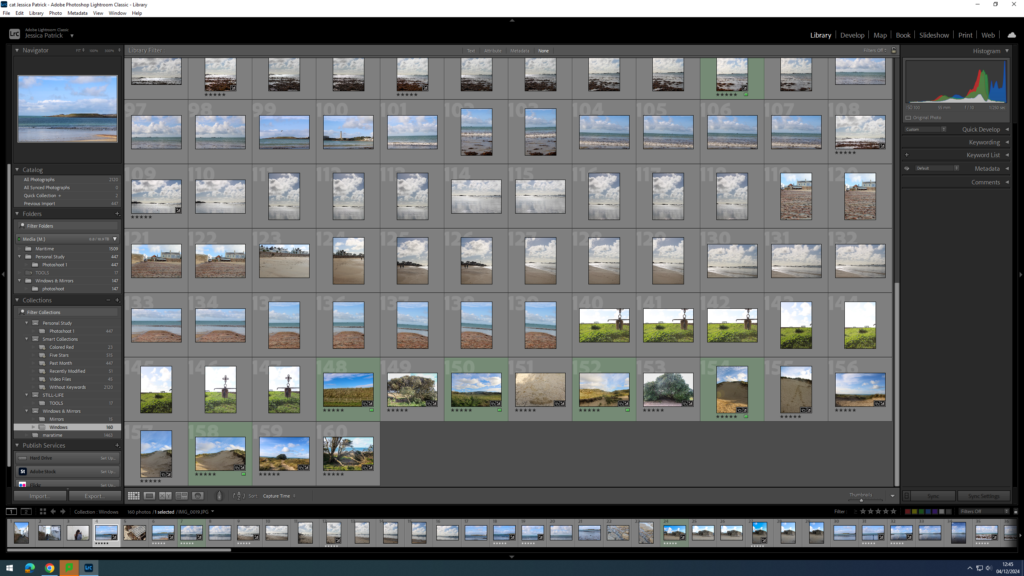
The images which are highlighted green are the images I have chosen to edit, because they are my best images with the best composition and layout. I also chose images with different colours in them, so I could create an image in photoshop with different colours and similar colours.
Edits
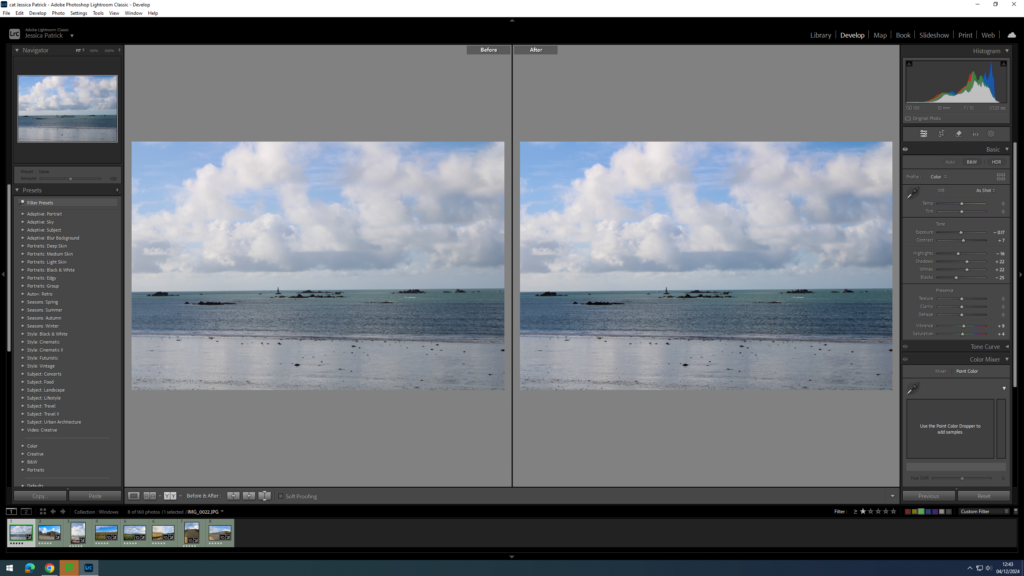
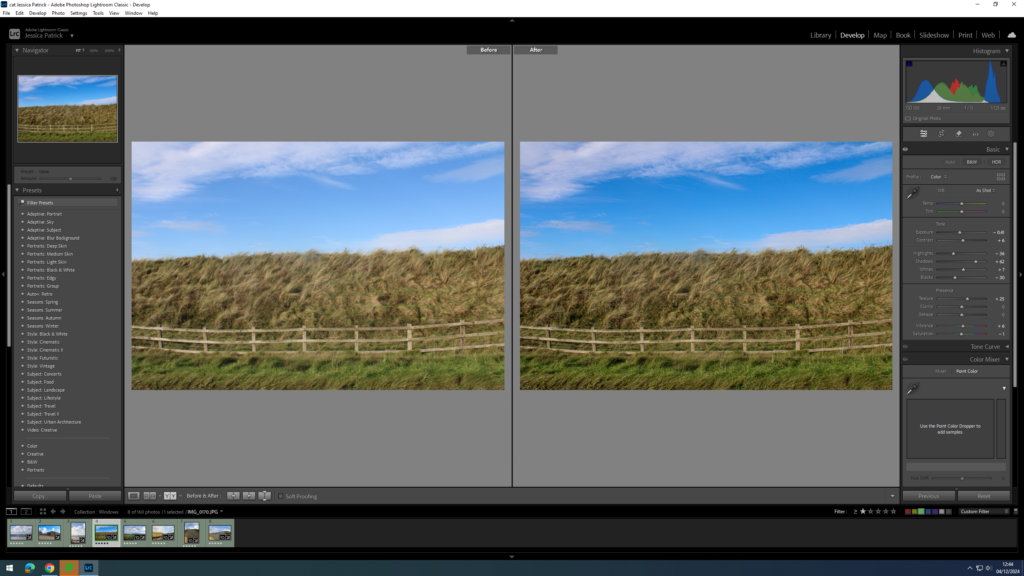
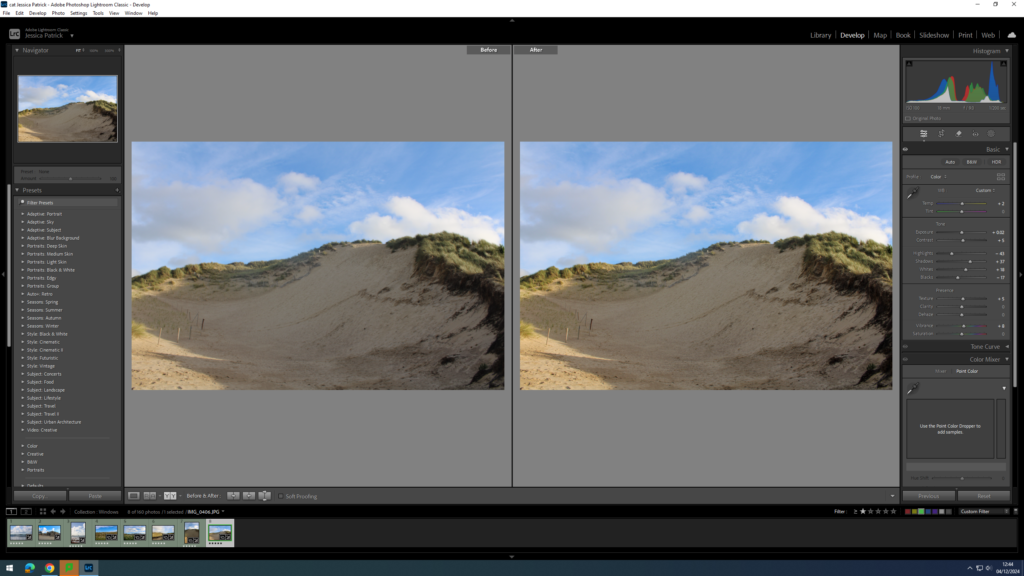
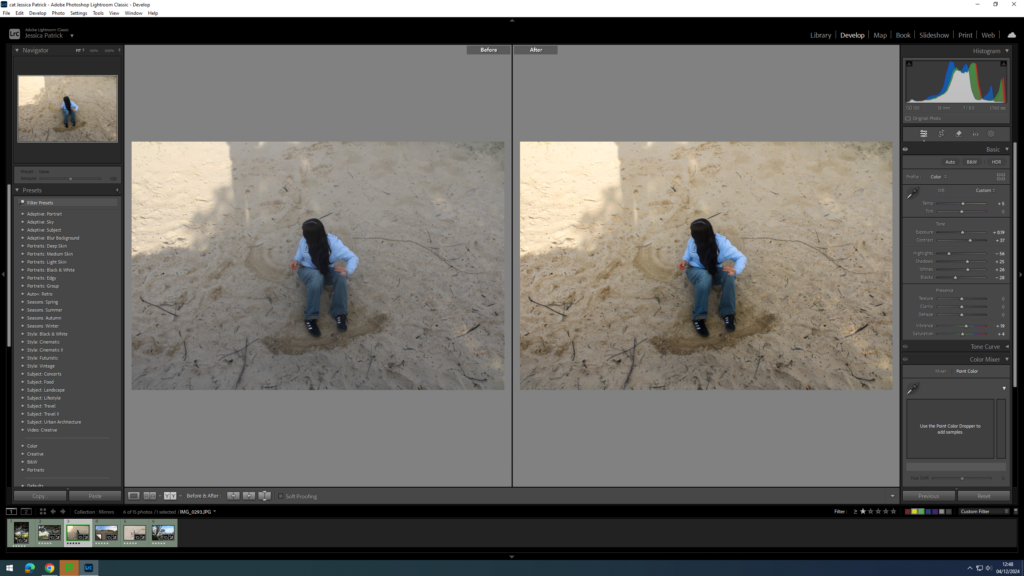
I edited this image by increasing the contrast, shadows, whites, vibrancy and saturation, while decreasing the exposure, highlights and blacks. I did this, so that the image would have slightly better lighting and have more vibrant blue tones.
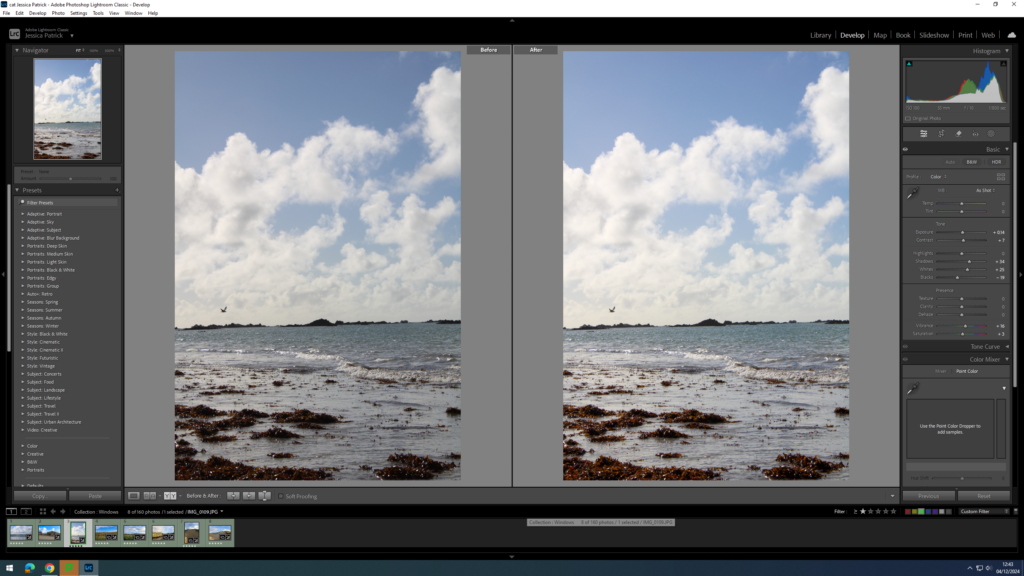
I edited this image by increasing the contrast, shadows, whites, vibrancy and saturation, while decreasing the exposure, highlights and blacks. I did this, so that the image would have slightly better lighting and be more vibrant.
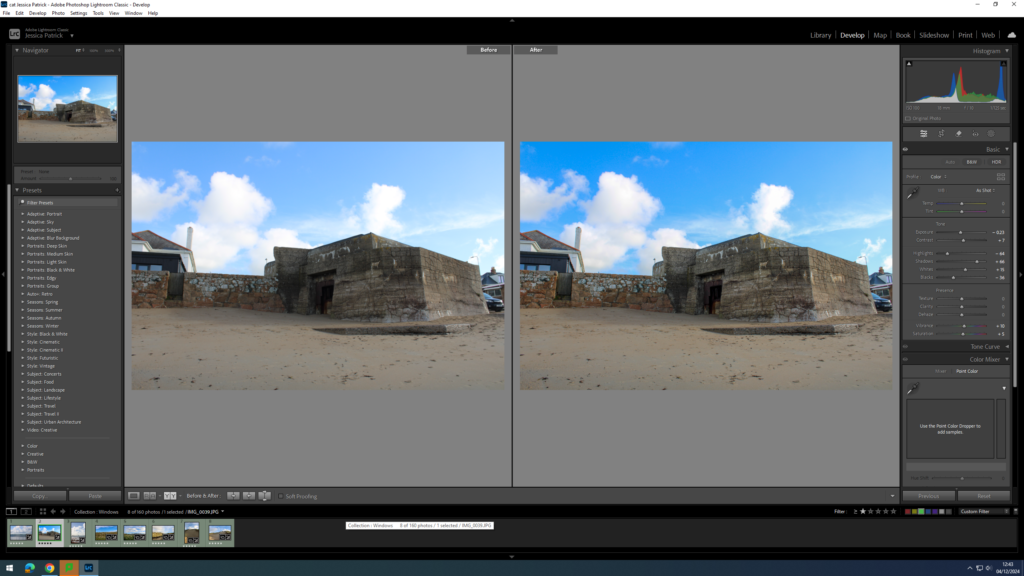
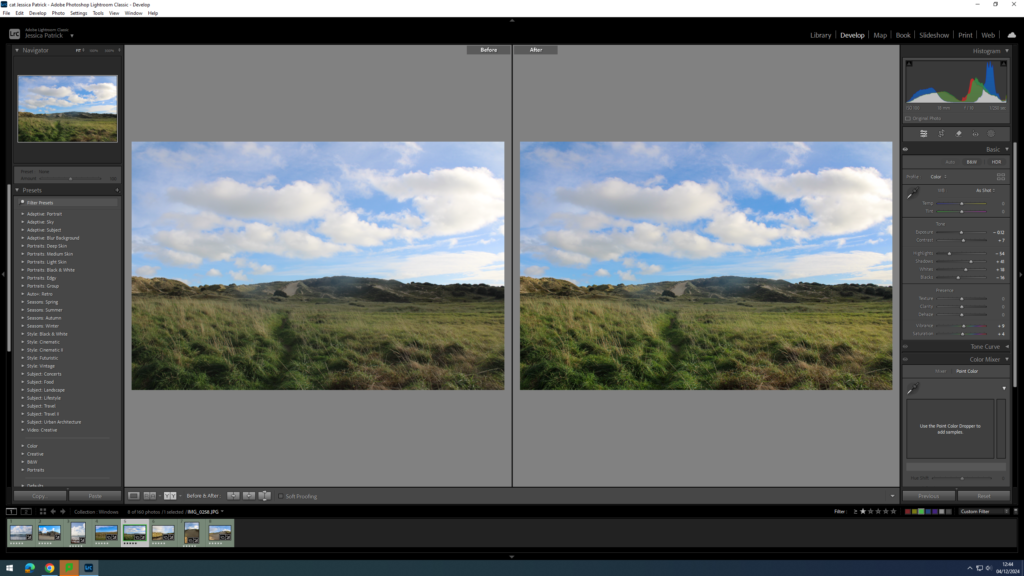
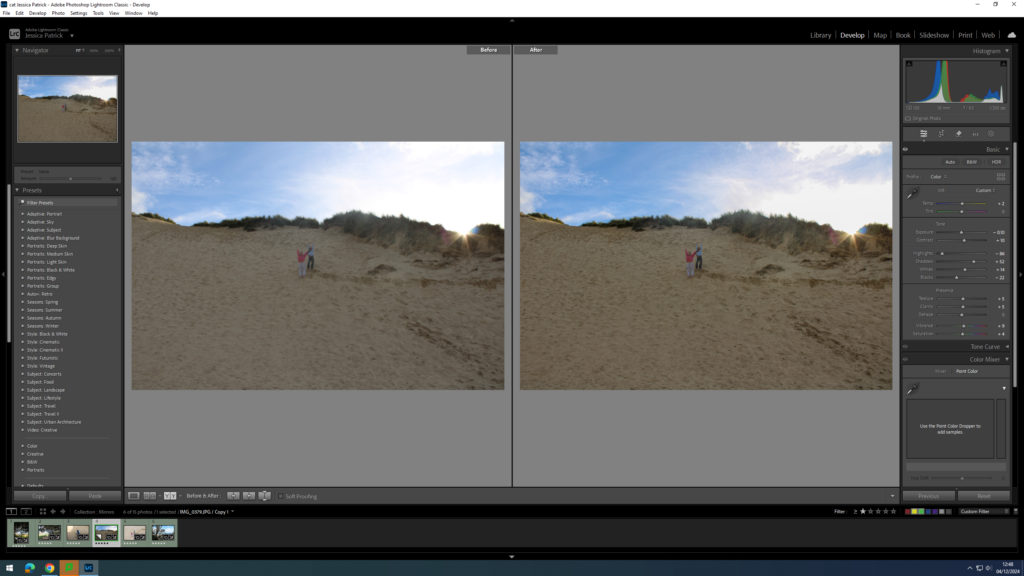
I edited this image by increasing the exposure, contrast, shadows, whites, vibrancy and saturation, while decreasing the blacks. I did this, so that the image would be slightly more exposed so the lighting was better and the image was more vibrant.
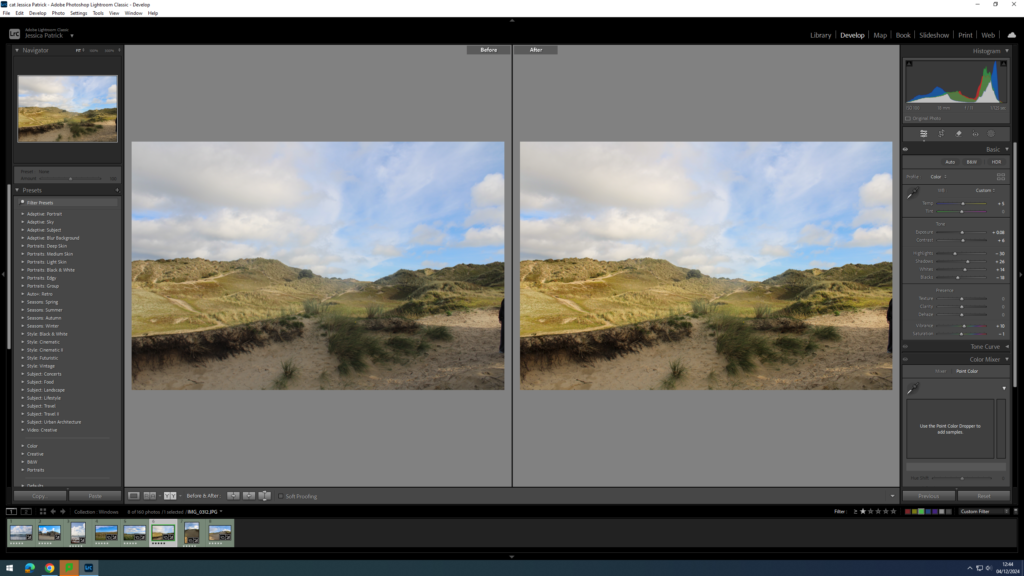
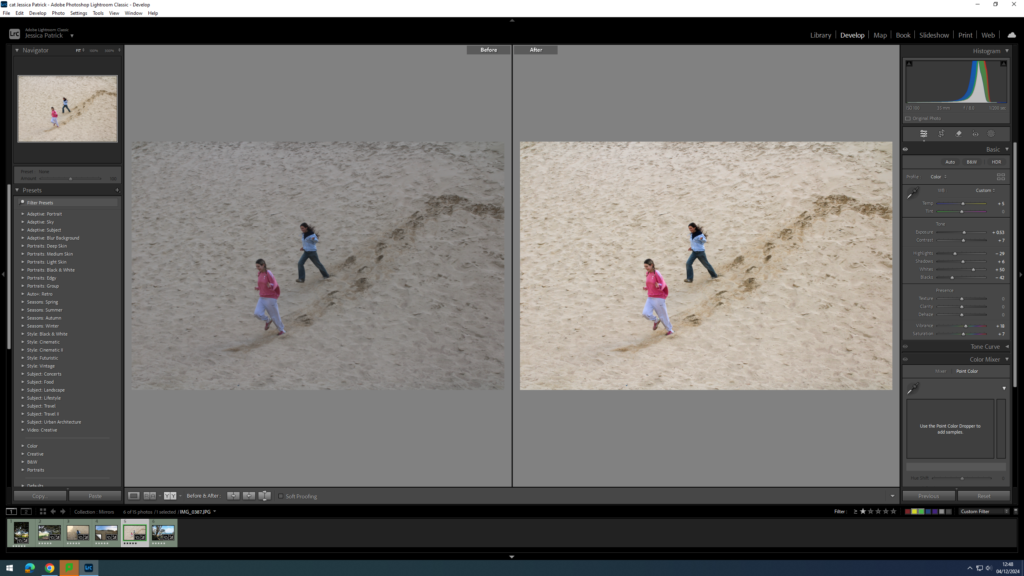
I edited this image by increasing the contrast, shadows, whites and vibrancy, while decreasing the exposure, saturation, highlights and blacks. I did this, so that the image was slightly less exposed, so the lighting was less harsh, and so different shades and tones of the grass could be more visible.
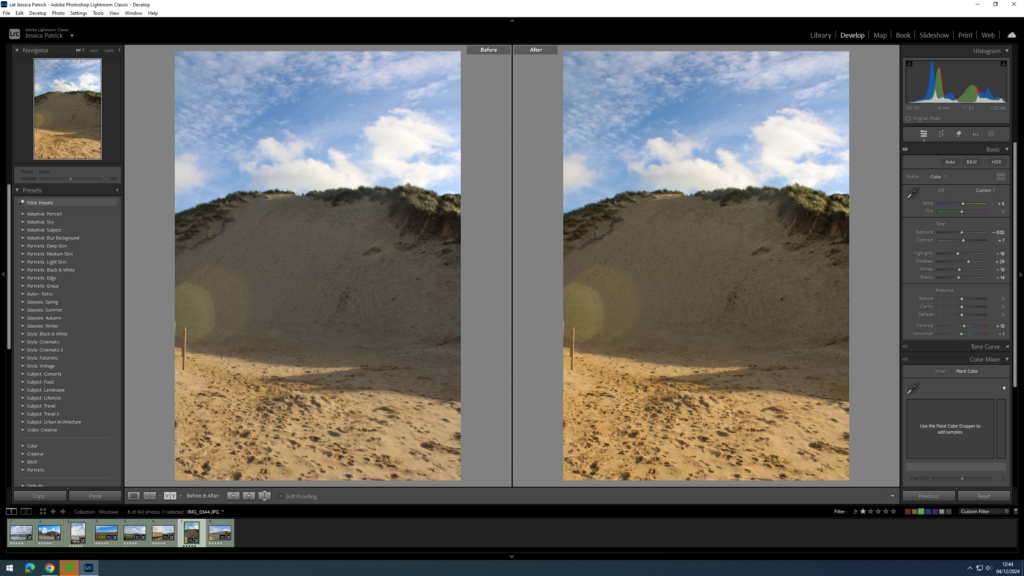
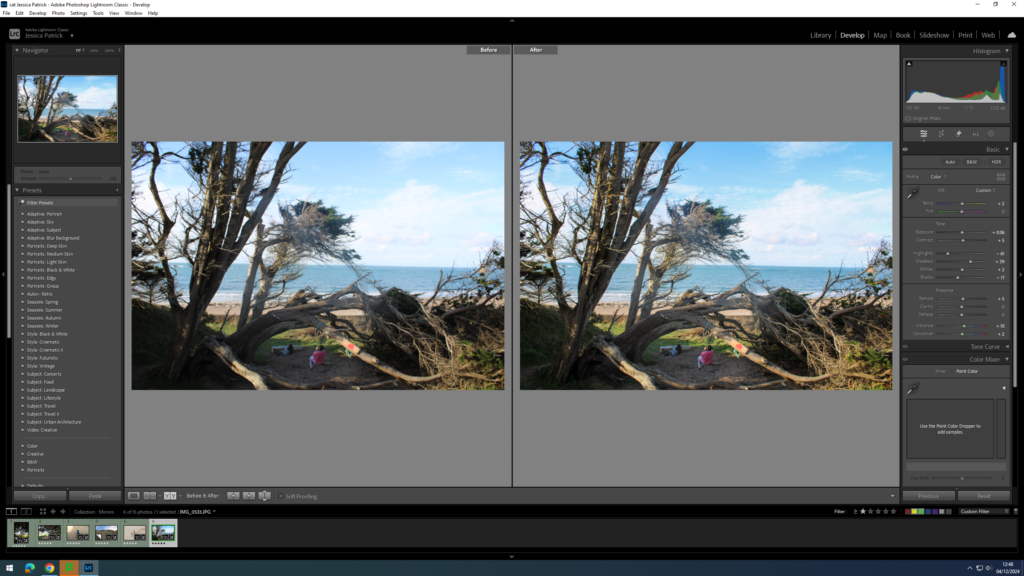
I edited this image by increasing the contrast, shadows, whites, vibrancy and saturation, while decreasing the exposure, highlights and blacks. I did this, so that the image had better lighting.
I edited this image by increasing the exposure, contrast, shadows, whites and vibrancy, while decreasing the highlights, blacks and saturation. I did this, so the image would have better lighting and be more vibrant.
I edited this image by increasing the exposure, contrast, shadows, whites and vibrancy, while decreasing the highlights, blacks and saturation. I did this, so the image would have better lighting and be more vibrant.
I edited this image by increasing the exposure, contrast, shadows, whites and vibrancy, while decreasing the highlights and blacks. I did this, so the image would have better lighting and be more vibrant.
Mirrors- Contact Sheet
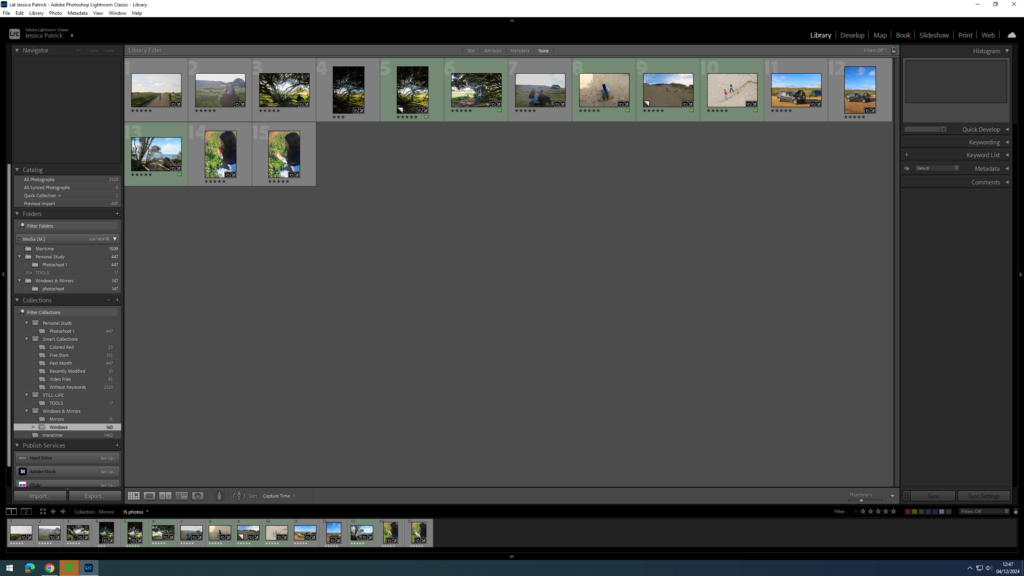
The images which are highlighted green are the images I have chosen to edit, because they have the best composition and layout and display the mirrors theme the best.
Edits
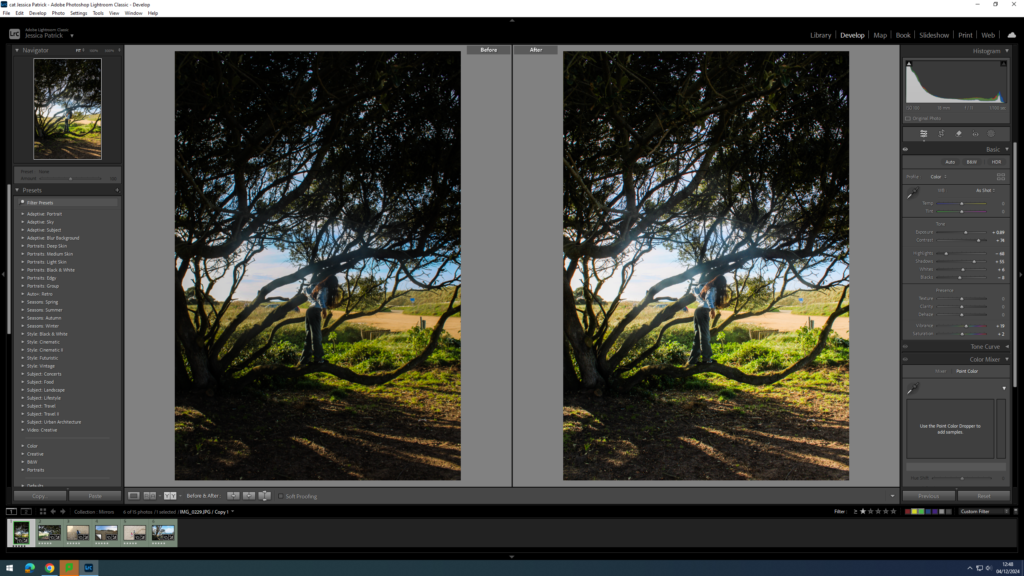
I edited this image by increasing the exposure, contrast, shadows, whites, vibrancy and saturation, while decreasing the highlights and blacks. I did this, so that the image would have more contrast and better lighting.
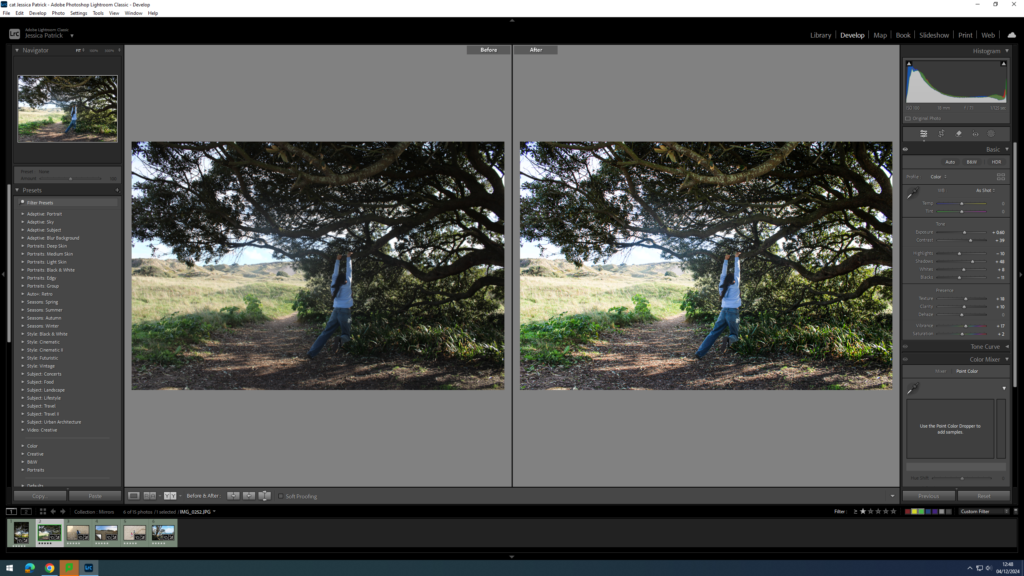
I edited this image by increasing the exposure, contrast, shadows, whites, vibrancy and saturation, while decreasing the highlights and blacks. I did this, so that the image would have better lighting.
I edited this image by increasing the exposure, contrast, shadows, whites, vibrancy and saturation, while decreasing the highlights and blacks. I did this, so that the image would have better lighting and be more vibrant.
I edited this image by increasing the contrast, shadows, whites, vibrancy and saturation, while decreasing the exposure, highlights and blacks. I did this, so that the image would have better lighting and be more vibrant.
I edited this image by increasing the exposure, contrast, shadows, whites, vibrancy and saturation, while decreasing the highlights and blacks. I did this, so that the image would have better lighting and be more vibrant.
I edited this image by increasing the exposure, contrast, shadows, whites, vibrancy and saturation, while decreasing the highlights and blacks. I did this, so that the image would have better lighting and be more vibrant.
Photoshop
