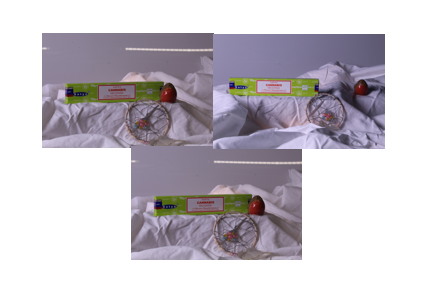
first photoshoot:

This was the first photoshoot I’ve done and I tried to vary the lighting so they would be somewhat different to each other.
I brought in some objects that reminded me of the theme of nostalgia such as the incense and dream catcher which remind me a lot of my childhood because I always had incense burning in my house and constantly had dreamcatchers above my bed.
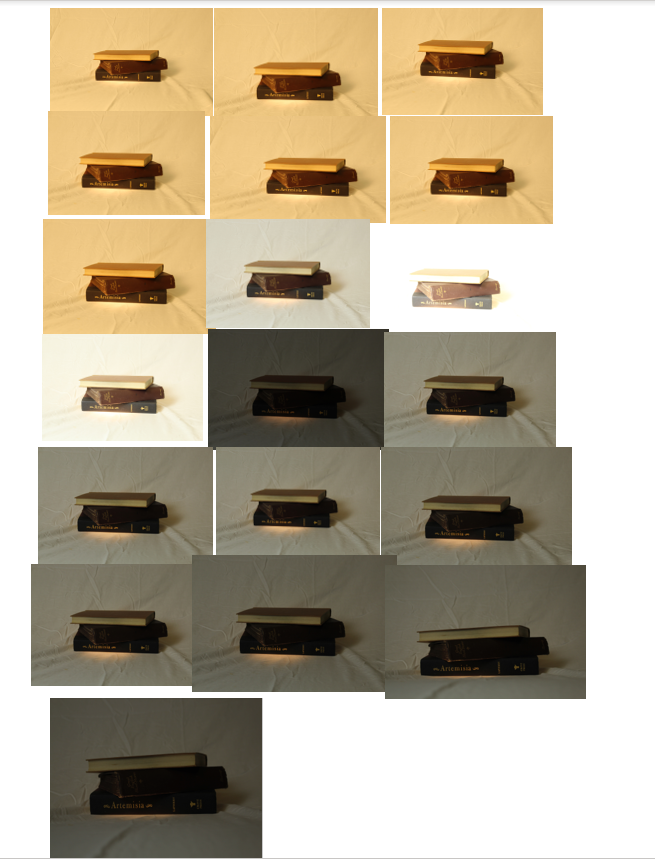
second photoshoot :

For my second photoshoot I wanted to focus a lot more on the theme of nostalgia and use the lighting techniques and ideas talked about in lesson.
I took a considerably more photos then the first shoot to give myself more options to edit because with the first shoot I only had 3 photos to choose from. I took some photos using the tripod and some others by hand to get different angles and options.
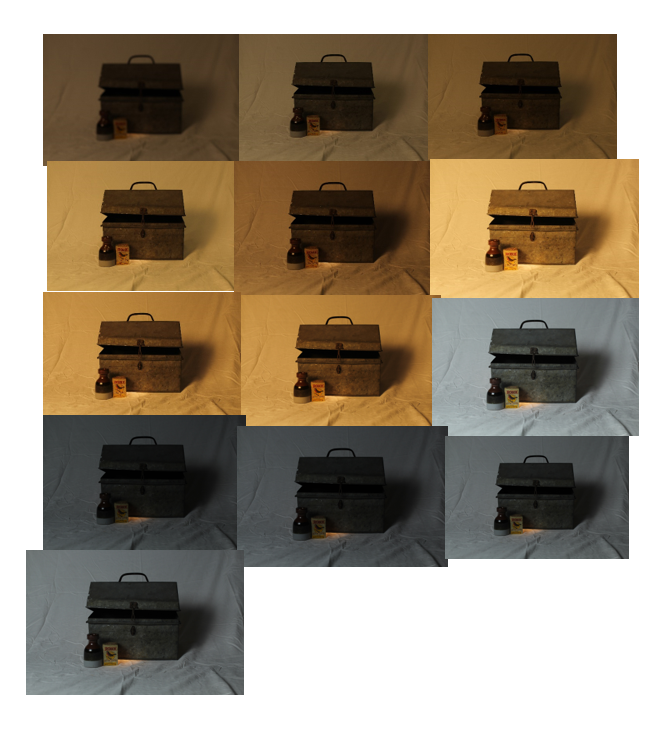
third and final photoshoot :

This photoshoot I would say is my best one, because it has multiple different colour lighting used from warm light to colder light because I wanted to see what kind of light would look better for the silver box in the photo.
I also had the warm spotlight in the cold lighted photos to give some contrast in the lighting. I also changed the ISO on the camera too, so that I could see what kind of light I needed to produce the most impressive photos.
