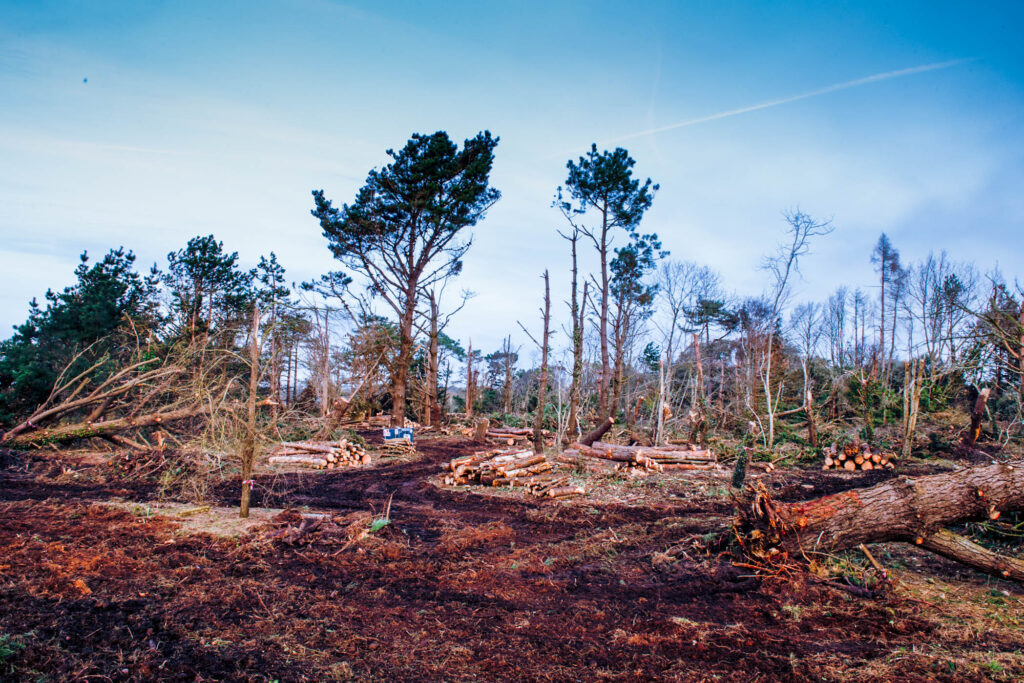
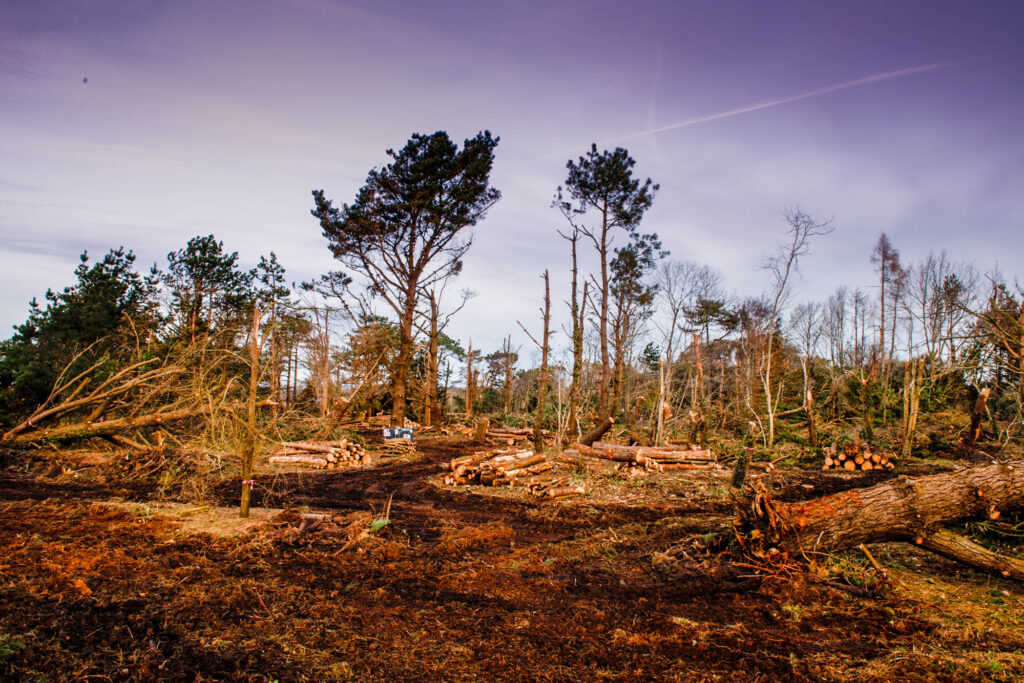
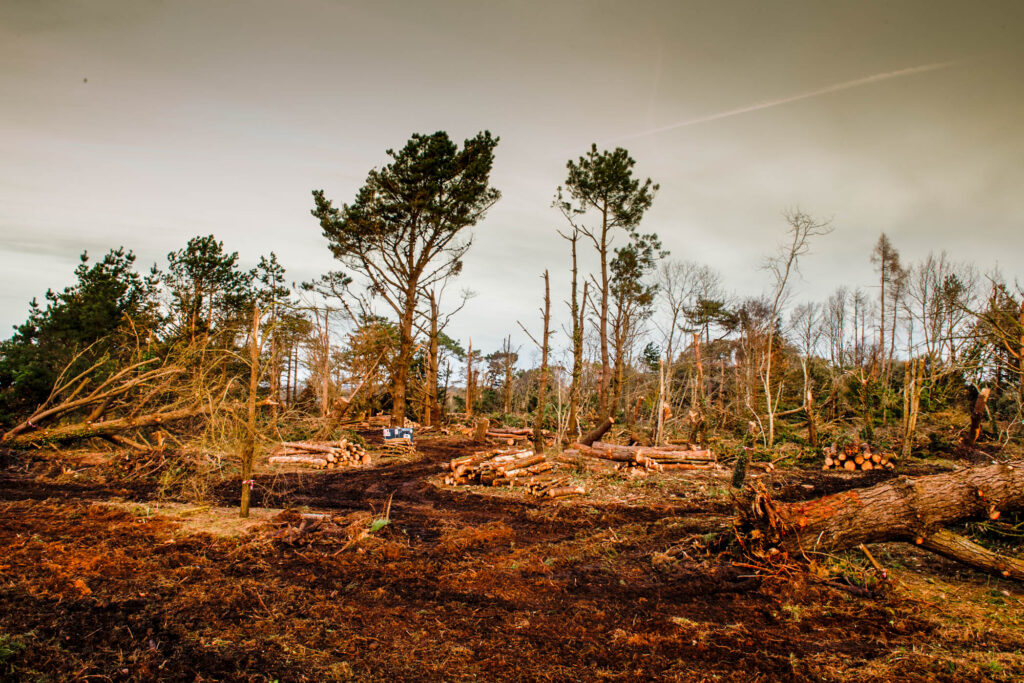
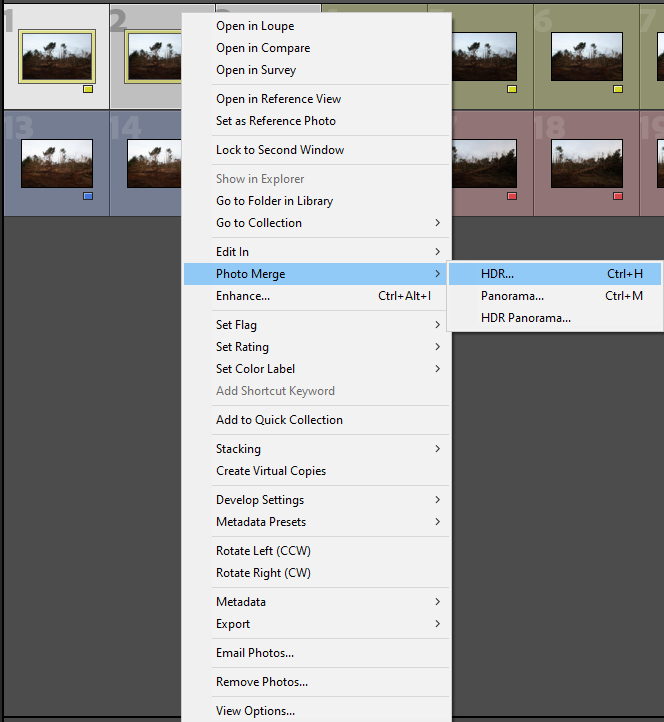
On Lightroom I merged 3 images using HDR after using exposure bracketing. This is where you take an image slightly under-exposed and another slightly over-exposed through either negative or positive exposure compensation. By doing this, I am then able to combine the images to get a perfectly exposed shot to capture all of the details that I can see myself. This makes sure I don’t just rely on the camera’s dynamic range and are able to visualise my image before I take the shot and can capture all the tones in the image. This technique is inspired by Ansel Adams zone system.
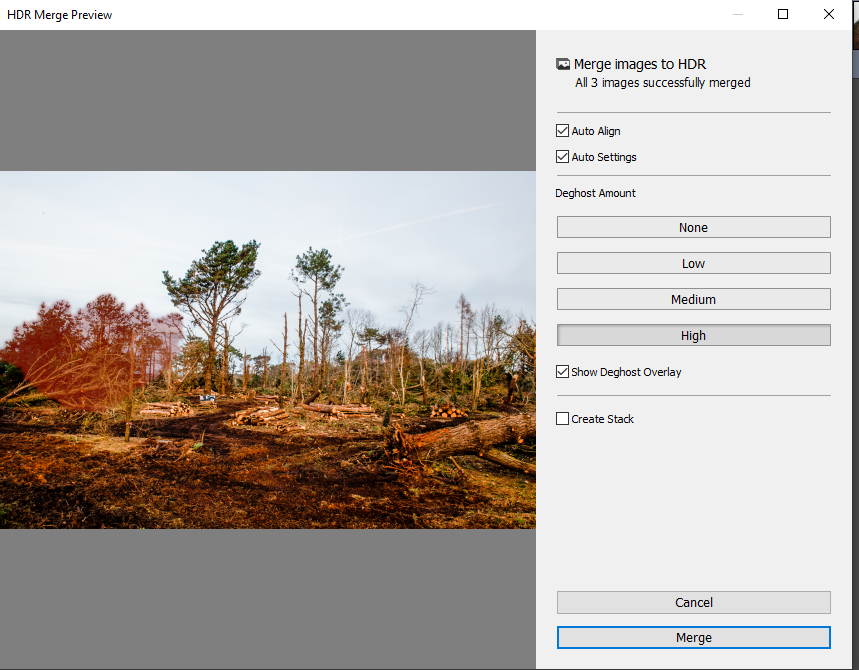
Here I’m able to experiment with how I want the merged images to be produced by picking how much I want to correct semi-transparent areas of the blended image by varying the deghost amount. The transparent red part is where this effect is taking place. I put mine up high to make sure the entire image was blended well together as the red part shows that area moved in-between exposure bracketing.
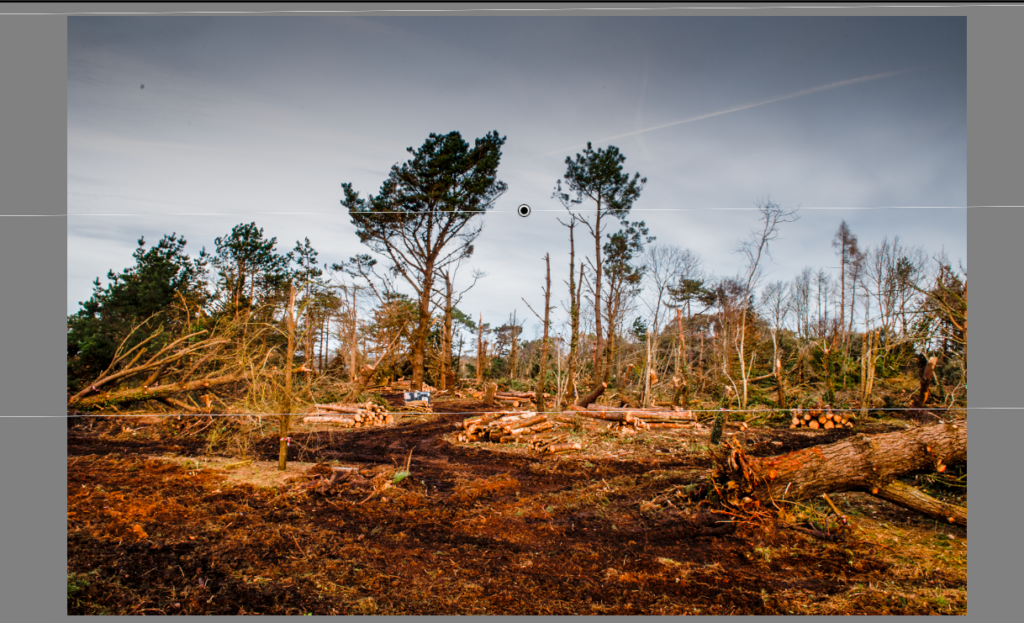
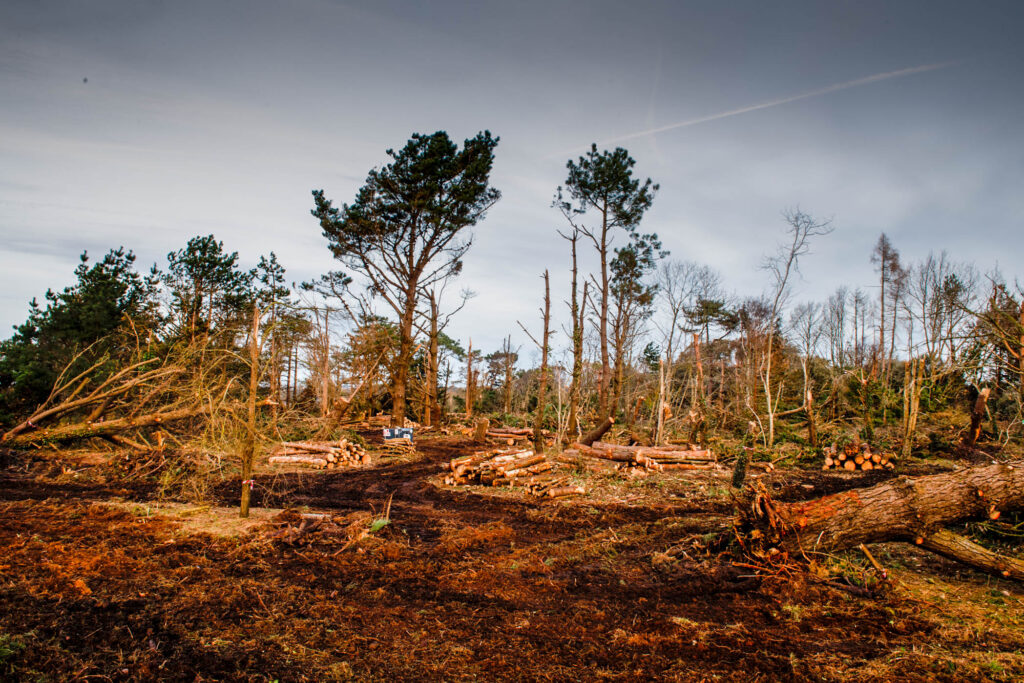
After I blended my images, I used the graduated filter and pulled it downwards from the top of the image. After, I lowered the exposure on the marked area as this creates a gradient in the sky, darker towards the top of the sky and lighter the closer it gets to the trees. By doing this, the clouds are more visible and doesn’t leave the sky looking so blank and dull. This will also make the environment that I’m shooting appear brighter due to the contrast.
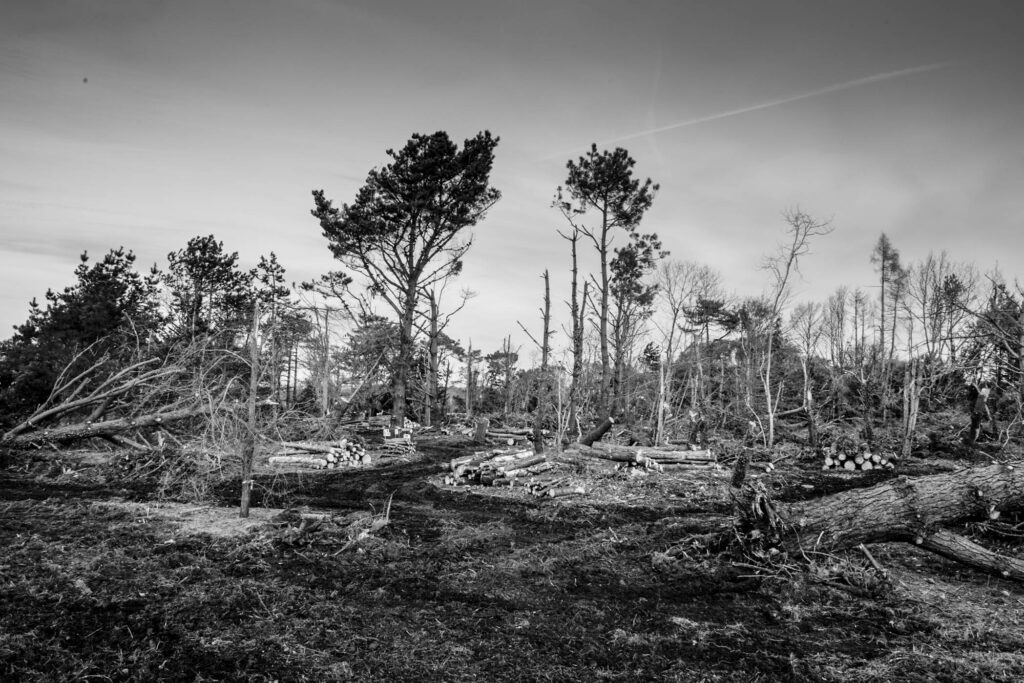
I also decided to create a blank and white version of this image as Ansel Adams’ images were also monochrome:
I decided to experiment with the tones and temperatures of the graduated filter alongside the actual image itself:
